
Pro Techniques for Using StoreBought Puff Pastry Successfully

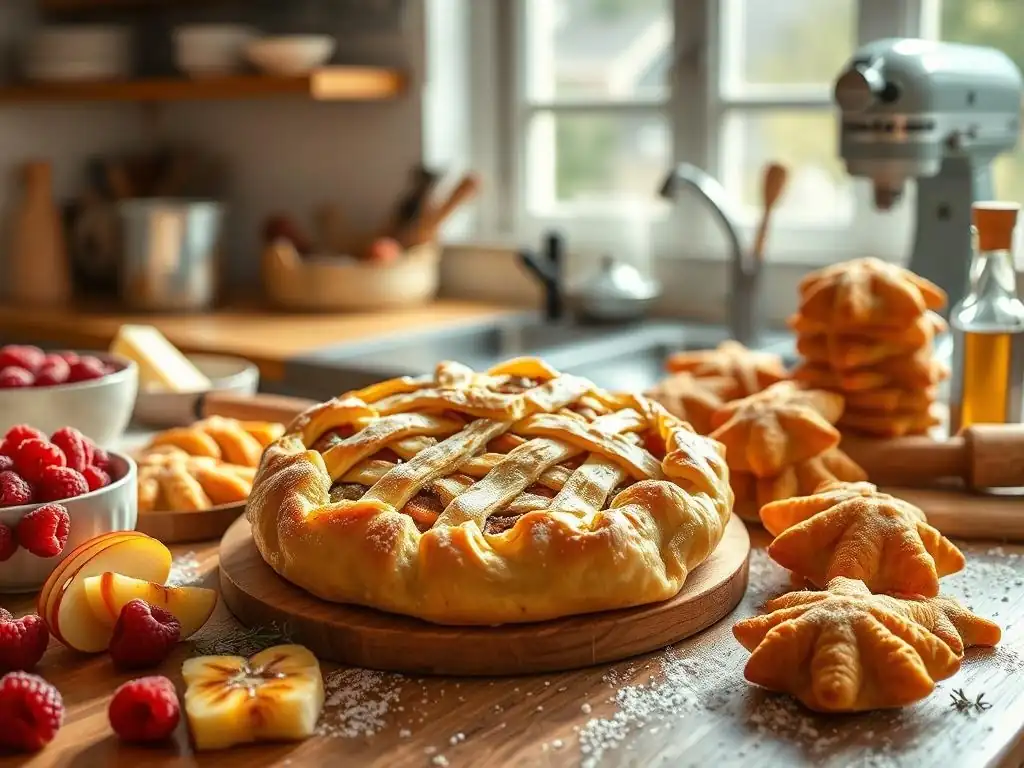
Welcome to BakeWithEase, your trusted guide to baking bliss! Ever wondered how to achieve those perfectly flaky, golden-brown results using storebought puff pastry? It's easier than you think! This article unlocks the secrets to successfully using storebought puff pastry, transforming it from a convenient shortcut into the star of your next culinary masterpiece. Prepare to elevate your baking game and unlock a world of delicious possibilities. Intrigued? Let's get started!
- Mastering Store-Bought Puff Pastry: Techniques & Recipes
- Introduction: Unleashing Culinary Creativity with Puff Pastry
- Understanding Puff Pastry: Ingredients, Types & Thawing
- Essential Techniques for Working with Puff Pastry
- Achieving Perfect Flakiness: Rolling, Cutting & Docking
- Baking Puff Pastry: Temperature, Timing & Tools
- Troubleshooting Common Puff Pastry Issues
- Savory Puff Pastry Recipes
- Sweet Puff Pastry Recipes
- Advanced Puff Pastry Techniques
- Storing and Reheating Puff Pastry
- Conclusion: Elevating Your Baking with Puff Pastry Mastery
- Frequently Asked Questions
- Final Reflection: Mastering the Art of Store-Bought Puff Pastry
- Unleash Your Inner Pastry Chef!
Mastering Store-Bought Puff Pastry: Techniques & Recipes
Introduction: Unleashing Culinary Creativity with Puff Pastry
The Convenience and Versatility of Store-Bought Puff Pastry
Store-bought puff pastry is a true game-changer in the kitchen, offering a shortcut to impressive baked goods without the laborious process of making puff pastry from scratch. It provides a convenient foundation for countless sweet and savory creations, from elegant tarts and vol-au-vents to simple turnovers and quick appetizers. The ability to pull a sheet of perfectly laminated dough from the freezer allows even novice bakers to achieve results that look and taste professional, opening up a world of culinary possibilities on busy weeknights or for impromptu gatherings.
Successfully using storebought puff pastry means harnessing its inherent flakiness and buttery potential. Whether you're aiming for delicate layers in a dessert or a sturdy base for a savory filling, understanding how this pre-made dough behaves is key. Its versatility extends across meal times, transforming simple ingredients like cheese and herbs into sophisticated snacks or fruit into comforting desserts. This convenience factor makes it a staple for anyone looking to elevate their baking with minimal effort but maximum impact.
Your Guide to Achieving Professional Results
Achieving professional-level results when successfully using storebought puff pastry is entirely within reach with the right knowledge and techniques. This guide will walk you through the essential steps, from selecting the best dough to mastering handling, rolling, cutting, and baking. We'll demystify the process, turning potential frustrations into successful baking experiences. The goal is to empower you to create dishes that boast those coveted golden-brown exteriors and airy, flaky layers that define great puff pastry.
By focusing on a few critical factors – primarily temperature control and gentle handling – you can unlock the full potential of store-bought dough. We'll share practical tips and common pitfalls to avoid, ensuring your tarts don't shrink excessively and your pastries puff up beautifully. Mastering these techniques means you can confidently tackle a range of recipes, impressing yourself and your guests with delicious results achieved with surprising ease. Let's dive into making your store-bought puff pastry endeavors consistently successful.
Understanding Puff Pastry: Ingredients, Types & Thawing
Butter-Based vs. Oil-Based Puff Pastry
When selecting store-bought puff pastry, you'll typically encounter two main types based on the fat used: butter-based and oil-based (often using palm oil, soybean oil, or other vegetable shortenings). Butter-based puff pastry is generally considered superior in flavor, offering a rich, creamy taste that is characteristic of traditional puff pastry made from scratch. It tends to produce incredibly tender layers and a beautiful golden color when baked. However, butter dough can be slightly more delicate to work with and might require stricter temperature control due to butter's lower melting point.
Oil-based or shortening-based puff pastry is often more forgiving to handle, especially in warmer kitchens, as vegetable shortenings have a higher melting point than butter. This can make it easier to roll and shape without the fat melting out. While it still achieves impressive puff and flakiness, the flavor profile is typically less complex and buttery compared to its all-butter counterpart. Understanding this difference helps you choose the best product for your specific recipe and desired outcome, ensuring you are successfully using storebought puff pastry that meets your expectations.
Decoding Ingredient Lists: What Matters Most
Reading the ingredient list on store-bought puff pastry packaging provides crucial information about the dough's quality and characteristics. The first ingredient listed is the most abundant by weight. For butter-based pastry, you want to see "butter" listed early, ideally as the first or second ingredient after flour or water. This indicates a higher proportion of butter, contributing to better flavor and texture. Be wary of labels that list "partially hydrogenated oils" or "trans fats," although these are becoming less common due to health regulations.
Other ingredients like flour, water, and salt are standard. Some brands may include dough conditioners or preservatives to improve shelf life and handling properties. While these aren't necessarily bad, a shorter, simpler ingredient list with butter as the primary fat often correlates with a higher-quality product that yields superior results when successfully using storebought puff pastry. Pay attention to the fat type and its position on the list to make an informed choice for your baking needs.
Achieving Optimal Texture: Thawing Methods Explained
Proper thawing is perhaps the most critical step in successfully using storebought puff pastry. Incorrect thawing can lead to dough that is either too cold and brittle (causing it to crack when unfolded or rolled) or too warm and sticky (causing the fat layers to melt and combine, inhibiting puff). The recommended method is slow thawing in the refrigerator. A standard 1.1 lb (500g) box containing two sheets typically needs 8-12 hours, or even overnight, in the fridge. This gradual warming keeps the fat solid and distinct from the dough layers.
If you're in a hurry, some brands offer instructions for room temperature thawing. This usually involves letting the sealed package sit at room temperature for about 30-40 minutes. However, this method requires careful monitoring. The dough should be pliable but still very cold to the touch, not warm or soft. It's better to err on the side of slightly too cold than too warm. Avoid using a microwave to thaw puff pastry at all costs, as this will unevenly heat the dough and melt the fat layers, destroying the potential for flakiness.
Essential Techniques for Working with Puff Pastry
Temperature Control: The Key to Flaky Layers
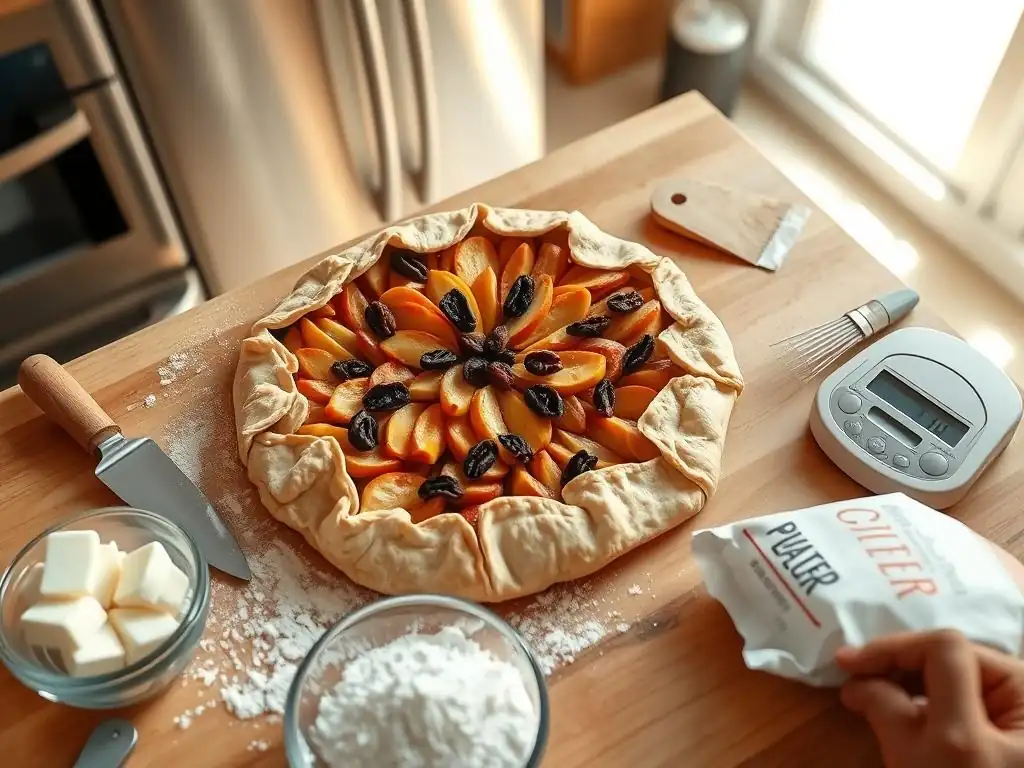
Maintaining the correct temperature of your puff pastry dough is paramount for achieving those desired light, airy, and distinct layers. Puff pastry relies on solid fat melting and creating steam pockets between thin sheets of dough during baking. If the dough gets too warm while you're working with it, the fat melts into the dough before it hits the oven, resulting in a dense, tough pastry with minimal puff. The ideal temperature for handling is cold but pliable, typically between 40°F and 50°F (4°C and 10°C).
This means working quickly, especially in a warm kitchen. If the dough starts to feel soft or sticky, or if you see the fat starting to ooze, stop working immediately and place the dough back in the refrigerator for 10-15 minutes to firm up. This chilling step can be repeated as needed throughout the rolling and shaping process. A cool surface, like marble or granite, can also help keep the dough temperature down. Successfully using storebought puff pastry hinges heavily on respecting its need for cold.
Gentle Handling: Preventing Tough Dough
Puff pastry dough is a delicate balance of flour, water, and fat layers. Overworking or stretching the dough can damage the gluten structure, leading to shrinkage during baking and a tough, chewy texture instead of a light, flaky one. Always handle the dough gently. When unfolding a thawed sheet, do so carefully on a lightly floured surface to prevent cracking. If it resists, let it sit for another minute or two to become more pliable.
When rolling, use even pressure and roll from the center outwards. Avoid pressing down too hard. If you need to cut shapes, use a sharp knife or pastry wheel and make clean cuts without dragging the blade. This seals the edges minimally, allowing for better puff. Any scraps should be stacked, not kneaded together, before re-rolling gently. Kneading scraps destroys the layers. By treating the dough with care, you ensure you are successfully using storebought puff pastry to its fullest potential.
Flour Management: Avoiding Stickiness and Ensuring Crispness
Using the right amount of flour on your work surface and rolling pin is essential when working with puff pastry. Too little flour, and the dough will stick, forcing you to use more pressure and potentially tearing the delicate layers. Too much flour, however, can be incorporated into the dough as you roll, making it tough and dry, and leaving white streaks on the finished product. The goal is a very light dusting – just enough to prevent sticking.
Brush off any excess flour from the dough surface before folding or cutting. This prevents dry spots and ensures the layers adhere properly where they should, while still separating cleanly during baking for optimal flakiness. A pastry brush is a useful tool for this. Proper flour management is a subtle but important technique for successfully using storebought puff pastry and achieving a crisp, golden finish without a powdery residue.
Achieving Perfect Flakiness: Rolling, Cutting & Docking
Rolling Techniques: Even Thickness for Uniform Baking
Rolling store-bought puff pastry to an even thickness is crucial for uniform baking and consistent puff. Most recipes call for rolling the thawed sheets slightly thinner, perhaps from the original roughly 1/4 inch (6mm) to about 1/8 inch (3-4mm). Start by gently unfolding the sheet onto a lightly floured surface. If it cracks, let it rest briefly to become more pliable. Use a rolling pin, applying even pressure from the center outwards in all directions.
Lift and rotate the dough occasionally to prevent it from sticking and to ensure you're rolling evenly. If the dough starts to resist or shrink back excessively, it means the gluten is tense. Cover it loosely with plastic wrap and let it rest in the refrigerator for 10-15 minutes before continuing. This resting period allows the gluten to relax, making the dough easier to roll without tearing or excessive shrinkage, contributing to successfully using storebought puff pastry for beautiful results.
Cutting Precise Shapes: Minimizing Shrinkage
Precise cutting is vital for achieving clean edges and minimizing shrinkage when working with puff pastry. Always use a very sharp knife, pizza cutter, or pastry wheel. For shapes like squares, rectangles, or strips, use a ruler or straight edge as a guide for accuracy. When cutting, press straight down firmly rather than dragging the blade. Dragging can seal the edges of the layers together, which prevents them from puffing up properly during baking.
For round shapes, use a sharp cookie cutter or biscuit cutter. Again, press straight down firmly without twisting. If cutting multiple shapes, try to place them close together to minimize scrap dough. As mentioned earlier, scraps should be stacked, not kneaded, and gently re-rolled only once if possible, as subsequent re-rolls yield less flaky results. Clean, precise cuts are key to successfully using storebought puff pastry for aesthetically pleasing pastries.
Docking and Scoring: Controlling Puff and Preventing Bubbles
Docking involves pricking the surface of the puff pastry with a fork. This technique is used when you want the pastry to bake flat, such as for a tart base or the top layer of a pithivier. The small holes allow steam to escape during baking, preventing large, uneven bubbles from forming. For a tart shell, you might dock the entire surface multiple times. For a top crust that you want to puff but not balloon excessively in the center, you might only dock the very center area.
Scoring, on the other hand, involves making shallow cuts on the surface of the dough, usually in a decorative pattern. These cuts do not go all the way through the dough. Scoring helps guide the puff and can create beautiful patterns on pastries like beef Wellington or decorative tart tops. It also allows some steam to escape but still encourages significant lift around the scored areas. Understanding when and how to dock or score helps you control the final shape and appearance, essential for successfully using storebought puff pastry in various applications.
Baking Puff Pastry: Temperature, Timing & Tools
Optimal Oven Temperature: Achieving Maximum Rise
Baking puff pastry at the correct high temperature is crucial for achieving maximum rise and flakiness. The sudden exposure to high heat causes the water in the dough to rapidly turn to steam, which forces the layers of dough and fat apart. Most recipes call for baking puff pastry at a relatively high temperature, typically between 400°F (200°C) and 425°F (220°C). This initial high heat provides the necessary burst of steam for lift.
Sometimes, recipes might call for starting at a high temperature and then reducing it slightly after the initial puff is achieved (e.g., after 10-15 minutes). This allows the pastry to cook through and brown evenly without burning the exterior. Ensure your oven is fully preheated to the specified temperature before placing the pastry inside. An oven thermometer can help verify accuracy. Proper temperature is a non-negotiable step for successfully using storebought puff pastry and getting that glorious puff.
Visual Cues for Doneness: Golden Brown Perfection
Knowing when your puff pastry is perfectly baked is key to achieving that coveted golden-brown exterior and fully cooked, flaky interior. Don't rely solely on the time specified in a recipe, as oven temperatures can vary. Instead, look for visual cues. The pastry should be significantly puffed up, at least double or triple its original height, depending on the application. The surface should be a deep golden brown, not pale or just lightly tanned.
The layers should look separated and airy from the sides. For larger or filled pastries, you might check the bottom; it should also be golden brown and feel firm, not soft or doughy. If the top is browning too quickly, you can loosely tent it with foil. Baking until adequately browned ensures the pastry is cooked through and crispy, preventing a pale, underbaked result. This visual check is vital for successfully using storebought puff pastry every time.
Baking Sheets and Parchment: Ensuring Even Heat Distribution
The right baking surface plays a role in how evenly your puff pastry bakes. A standard metal baking sheet is ideal. Avoid dark-coated pans, which can cause the bottom of the pastry to brown too quickly. For best results and easy cleanup, line the baking sheet with parchment paper or a silicone baking mat. Parchment paper is particularly useful as it prevents sticking and allows for easy transfer of the delicate baked pastry.
Using parchment paper also helps distribute heat evenly across the bottom of the pastry, promoting uniform browning and preventing soggy bottoms. Ensure the pastry pieces are placed on the baking sheet with enough space between them to allow for expansion. Overcrowding the pan can inhibit proper air circulation, leading to uneven baking and less impressive puff. These simple tools are essential aids for successfully using storebought puff pastry.
Troubleshooting Common Puff Pastry Issues
Preventing Soggy Bottoms: Tips and Tricks
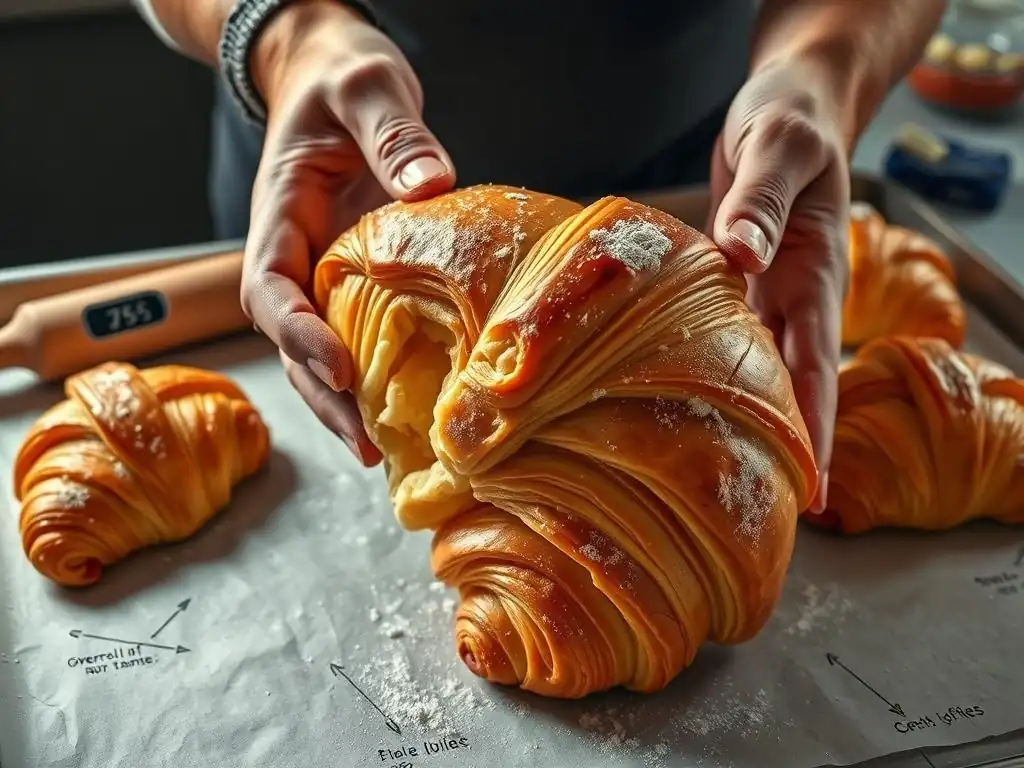
Soggy bottoms are a common frustration when baking tarts or filled pastries with puff pastry. This usually occurs when moisture from the filling seeps into the bottom crust before it has a chance to set and crisp up. Several techniques can help prevent this. One method is blind baking the bottom crust partially before adding the filling. Prick the base with a fork (docking), line it with parchment paper, fill with pie weights or dried beans, and bake until lightly golden and set, typically 10-15 minutes at 375°F (190°C). Remove weights and parchment before adding the filling.
Another strategy is to create a barrier between the dough and a wet filling. This can be a thin layer of breadcrumbs, finely grated cheese, or a simple egg wash brushed over the base before adding the filling. For very wet fillings, cooking them down slightly beforehand to reduce moisture can also be effective. Ensuring your oven is hot enough and the pastry is baked directly on a hot baking sheet (lined with parchment) also helps promote a crisp bottom crust, vital for successfully using storebought puff pastry in tarts.
Addressing Uneven Puffing: Identifying and Correcting Causes
Uneven puffing can result in lopsided pastries and inconsistent textures. This can be caused by several factors, including uneven dough thickness from rolling, inconsistent oven temperature, or improper handling. If one part of the pastry is thicker than another, it will likely puff more slowly or less effectively. Ensure you roll the dough to a uniform thickness across the entire sheet, aiming for roughly 1/8 inch (3-4 mm).
Drafts in the oven or inconsistent hot spots can also lead to uneven baking and puffing. Knowing your oven's quirks helps; some ovens bake hotter in the back or on one side. Rotating the baking sheet halfway through the baking time can help mitigate this. Finally, rough handling or excessive stretching of the dough can damage the layers in certain areas, preventing them from separating and puffing properly. Gentle handling and consistent rolling are key to successfully using storebought puff pastry for even results.
Minimizing Shrinkage: Techniques for Stable Shapes
Shrinkage is another frequent issue, where pastry shapes pull inwards during baking, losing their intended size and form. This is often due to gluten tension caused by stretching the dough during rolling or handling. To minimize shrinkage, allow the rolled dough to rest before cutting shapes. Place the rolled sheet in the refrigerator for 15-30 minutes. This allows the gluten to relax, making the dough more stable.
When cutting shapes, use a sharp cutter and avoid dragging or sawing motions, which can stretch the dough edges. For strips or lattices, cut them cleanly and avoid pulling them taut when transferring. Using a template can help ensure accurate sizing before cutting. Baking the pastry on a cold baking sheet can also help slow down the initial set and reduce shrinkage. Implementing these steps helps in successfully using storebought puff pastry to maintain desired shapes.
Savory Puff Pastry Recipes
Asparagus and Gruyere Tart
This elegant tart is a fantastic way to showcase successfully using storebought puff pastry for a savory dish. It typically starts with a sheet of puff pastry rolled slightly and placed on a baking sheet lined with parchment paper. A common size is roughly 10x14 inches. The edges are often folded in slightly to create a raised border. The base is usually docked lightly in the center to prevent excessive puffing.
The filling often involves a layer of grated Gruyere cheese (about 1 cup for a standard sheet), followed by blanched or thinly sliced fresh asparagus spears arranged neatly on top. Sometimes a light custard mixture (like 2 eggs whisked with 1/4 cup cream and seasoning) is poured over the cheese and asparagus. Baked at around 400°F (200°C) for 20-25 minutes, or until the pastry is golden brown and the filling is set, this tart is perfect for brunch or a light meal.
Sausage Rolls with Caramelized Onions
Classic sausage rolls are a beloved savory treat, and successfully using storebought puff pastry makes them incredibly simple. Start with about 1 lb of good quality sausage meat (pork, beef, or a mix). Caramelize 1-2 large onions slowly until deeply golden and sweet, which takes about 30-40 minutes over low heat. Mix the cooled caramelized onions into the sausage meat along with seasonings like salt, pepper, and perhaps a pinch of dried herbs.
Roll out a sheet of puff pastry slightly thinner if needed, perhaps to 1/8 inch (3mm). Cut the sheet into two long rectangles. Form the sausage mixture into logs the length of the pastry rectangles. Place a sausage log along one edge of each pastry rectangle and roll up tightly to enclose the filling.
Brush the seam with egg wash to seal. Cut each roll into smaller segments, typically 1-2 inches long. Brush the tops with egg wash and bake at 400°F (200°C) for 20-25 minutes, until golden brown and the sausage is cooked through. This yields roughly 12-16 rolls per standard sheet.
Spinach and Feta Spanakopita Triangles
Inspired by Greek spanakopita, these triangles are a delicious appetizer or snack. You'll need about 10 oz of frozen spinach, thawed and squeezed very dry (removing excess water is key to avoid soggy pastry). Mix the spinach with about 6-8 oz of crumbled feta cheese, 1/4 cup chopped fresh dill and parsley, 1 beaten egg, and seasoning.
Roll out a sheet of puff pastry slightly and cut it into long strips, roughly 3-4 inches wide. Place a spoonful of the spinach and feta filling at one end of a strip. Fold the corner over the filling to form a triangle, then continue folding the triangle along the strip, as if folding a flag, maintaining the triangle shape. Seal the edges. Brush the tops with egg wash. Bake at 400°F (200°C) for 15-20 minutes, until golden brown and crispy. Each sheet can yield 8-12 triangles, making successfully using storebought puff pastry easy for this crowd-pleaser.
Sweet Puff Pastry Recipes
Apple Turnovers with Cinnamon
Simple yet satisfying, apple turnovers are a perfect sweet treat. You'll need 2-3 apples (like Granny Smith or Honeycrisp), peeled, cored, and finely diced. Toss the diced apples with 2-3 tablespoons of sugar, 1 teaspoon of cinnamon, a pinch of nutmeg, and a squeeze of lemon juice (about 1 teaspoon). You can cook this mixture briefly (5-10 minutes) to soften the apples and thicken the juices, or use it raw if you prefer firmer apples. Let it cool if cooked.
Roll out a sheet of puff pastry slightly thinner and cut it into squares, roughly 4-5 inches (10-12 cm) per side. Place a spoonful of the apple filling on one half of each square, leaving a border. Brush the edges with egg wash or water. Fold the other half of the square over the filling to create a triangle or rectangle. Crimp the edges with a fork to seal.
Cut a few vents in the top of each turnover. Brush with egg wash and sprinkle with coarse sugar if desired. Bake at 400°F (200°C) for 18-22 minutes, until golden brown and puffed. Successfully using storebought puff pastry yields about 4-6 turnovers per sheet.
Chocolate Croissants (Pain au Chocolat)
While not true laminated croissants made from scratch, you can approximate the experience by successfully using storebought puff pastry. You'll need good quality chocolate, typically bittersweet or semi-sweet in baton or stick form. If using a bar, cut it into pieces roughly 3-4 inches long and 1/2 inch wide. Roll out a sheet of puff pastry slightly thinner, perhaps to 1/8 inch (3mm). Cut the sheet into rectangles about 4-5 inches wide and 8-10 inches long.
Place a chocolate stick along one short edge of a rectangle, about an inch from the edge. Roll the dough over the chocolate once. Place a second chocolate stick just behind the seam. Continue rolling tightly to enclose both chocolate sticks. Brush the seam with egg wash to seal.
Place the "croissants" seam-side down on a parchment-lined baking sheet. Brush the tops with egg wash. For a slightly better texture, you can let them proof (rest) at room temperature for 20-30 minutes before baking. Bake at 400°F (200°C) for 15-20 minutes, until golden brown and puffed. Each sheet yields roughly 4-6 pain au chocolat.
Palmiers (Elephant Ears)
Palmiers are one of the easiest and most visually striking pastries to make when successfully using storebought puff pastry. You only need two ingredients: puff pastry and sugar. Roll out a sheet of puff pastry into a large rectangle, roughly 12x15 inches (30x38 cm), about 1/8 inch (3mm) thick. Sprinkle the surface generously and evenly with 1/2 cup granulated sugar (you can also use cinnamon sugar).
Starting from one long side, tightly roll the dough inwards halfway to the center. Repeat this from the opposite long side, meeting the first roll in the middle. You should have a shape resembling a scroll rolled from both ends. Wrap the log tightly in plastic wrap and chill in the refrigerator for at least 30 minutes (up to several days) to firm up.
Once chilled, slice the log into pieces about 1/2 inch (1.25 cm) thick. Lay the slices flat on a parchment-lined baking sheet, leaving plenty of space as they expand. Bake at 400°F (200°C) for 10-15 minutes per side, flipping halfway through, until deeply golden brown and caramelized. Yields about 12-18 palmiers per sheet.
Advanced Puff Pastry Techniques

Lamination Variations: Enhancing Flakiness
While store-bought puff pastry comes pre-laminated, you can technically enhance its flakiness slightly, though it requires careful handling. This isn't typically necessary for successfully using storebought puff pastry in most recipes, but it's an interesting exploration. One method involves carefully unfolding the thawed sheet, giving it a single gentle fold (like folding a letter into thirds), chilling, and then re-rolling. This adds an extra "turn," potentially increasing the layer count.
However, attempting to re-laminate store-bought dough comes with risks. The dough is already quite thin, and the fat layers might not be as robust or evenly distributed as in dough made from scratch specifically for multiple turns. Overworking the dough during this process can lead to tearing, uneven layers, or forcing the fat out. For most home bakers, focusing on proper thawing, handling, and baking techniques provides the best path to successfully using storebought puff pastry without risking these advanced manipulations.
Decorative Shaping: Braids, Twists, and Rosettes
Successfully using storebought puff pastry extends to creating beautiful, decorative shapes that elevate the presentation of your baked goods. Beyond simple squares and circles, you can easily form braids, twists, and rosettes. To make a braid, cut strips of dough (e.g., three 1-inch wide strips for a simple braid) and gently plait them, sealing the ends. This works well for topping savory logs or sweet fillings.
Twists are made by cutting strips, placing a filling like cheese or cinnamon sugar down the center, folding the strip in half lengthwise, and then twisting the folded strip. Rosettes can be formed by cutting thin strips, spreading a filling (like pesto or jam), and then coiling the strip into a spiral shape. These techniques require the dough to be cold and pliable and clean, sharp cuts. Practice makes perfect, turning simple ingredients into visually appealing pastries.
Flavor Infusions: Herbs, Spices, and Zests
Infusing flavor directly into the puff pastry dough itself is a simple yet effective way to add an extra dimension to your creations. This is easily achieved when successfully using storebought puff pastry by gently pressing finely chopped herbs, spices, or citrus zests into the surface of the dough before rolling. For example, you could press dried Italian herbs into the dough before making savory palmiers or twists.
For sweet applications, pressing cinnamon sugar or citrus zest (like orange or lemon) into the dough before rolling adds flavor throughout the layers as they bake. Be sure the additions are very finely chopped or grated to avoid tearing the dough during rolling. Sprinkle the desired flavorings evenly over the dough surface, then use the rolling pin to gently press them into the dough before continuing with your recipe's rolling and shaping steps.
Storing and Reheating Puff Pastry
Proper Storage: Maintaining Freshness
Unused portions of store-bought puff pastry should be stored properly to maintain their freshness and usability. If you've only used one sheet from a box containing two, re-wrap the remaining sheet tightly in plastic wrap or its original packaging. Place the wrapped dough back in the freezer immediately. Properly stored in the freezer, puff pastry can last for several months – check the expiration date on the packaging, which is typically 6-12 months from the production date.
Once thawed, puff pastry should not be refrozen in its raw state, as this can damage the layers and affect the texture. Thawed dough can typically be kept in the refrigerator for 1-2 days if kept well-wrapped. If you have baked items made from puff pastry, store them in an airtight container at room temperature for 1-2 days, or in the refrigerator if they contain moist or perishable fillings. Successfully using storebought puff pastry includes knowing how to store leftovers properly.
Reheating Techniques: Restoring Crispness
Baked puff pastry is best enjoyed fresh, but leftovers can often be reheated to restore some of their crispness. Avoid using a microwave, which will make the pastry soggy and tough. The best method for reheating is in a conventional oven or a toaster oven. Preheat the oven to a moderate temperature, typically around 300°F to 350°F (150°C to 175°C).
Place the baked pastries on a baking sheet. Reheat for 5-10 minutes, or until warmed through and the exterior feels crisp again. The exact time will depend on the size and thickness of the pastry. For items with delicate fillings, monitor closely to avoid overheating the filling. This gentle reheating method helps revive the flaky texture, allowing you to enjoy your successfully baked storebought puff pastry creations again.
Conclusion: Elevating Your Baking with Puff Pastry Mastery
Confidently Creating Delicious Dishes
Mastering the techniques for successfully using storebought puff pastry opens up a world of culinary possibilities, allowing you to confidently create a wide array of delicious and impressive dishes. By understanding the importance of temperature control, gentle handling, and proper baking, you can transform a simple frozen block into elegant tarts, savory appetizers, and delightful sweet treats. No longer limited by the complexity of making puff pastry from scratch, you gain the freedom to experiment with various fillings and shapes.
The ability to produce consistently flaky, golden-brown results with store-bought dough is a valuable skill for any home baker. It empowers you to tackle recipes that might have seemed intimidating before, providing a reliable shortcut to sophisticated pastries. Whether you're preparing a quick weeknight dessert or a show-stopping party appetizer, successfully using storebought puff pastry means you can spend less time on the dough and more time on the creative aspects of your baking.
Your Partner in Baking Success
At BakeWithEase.com, we aim to be your trusted partner in achieving baking success, and that includes guiding you in successfully using storebought puff pastry. We believe that achieving great results shouldn't require a culinary degree or hours of strenuous effort. By providing clear explanations, practical tips, and reliable recipes, we hope to make the process enjoyable and rewarding for bakers of all levels.
Successfully using storebought puff pastry is a skill that yields immediate and delicious dividends. With the knowledge shared here, you are well-equipped to avoid common pitfalls and consistently produce pastries that are beautifully puffed, wonderfully flaky, and utterly delicious. Keep practicing, keep experimenting, and enjoy the ease and versatility that store-bought puff pastry brings to your kitchen. Happy baking!
Frequently Asked Questions
How can I prevent my store-bought puff pastry from shrinking during baking?
To avoid shrinkage, ensure your puff pastry is completely thawed but still cold. Also, avoid over-handling the dough and docking it appropriately with a fork.
What is the best way to thaw store-bought puff pastry?
The best method is to thaw it in the refrigerator overnight. This ensures even thawing and prevents the dough from becoming too warm and sticky.
Why is my puff pastry not rising properly?
Insufficient rise often occurs when the pastry is not cold enough or if the oven temperature is too low. Make sure your oven is preheated correctly.
Can I refreeze unused store-bought puff pastry?
Yes, you can refreeze it, but the quality might slightly decrease. Wrap it tightly in plastic wrap and then in a freezer bag to prevent freezer burn.
What are some easy recipes I can make using store-bought puff pastry?
Puff pastry is incredibly versatile! Try making simple fruit tarts, savory pinwheels with cheese and herbs, or quick and easy appetizers using various fillings.
Final Reflection: Mastering the Art of Store-Bought Puff Pastry
The seemingly simple act of successfully using store-bought puff pastry is, in reality, a gateway to unlocking a world of culinary creativity. It's a skill that transcends mere convenience, offering a shortcut to impressive desserts, savory appetizers, and elegant entrees, all without the daunting commitment of making puff pastry from scratch. This accessibility democratizes deliciousness, putting the power of flaky, buttery perfection within everyone's reach.
The impact of readily available puff pastry on home cooking cannot be overstated. It has empowered countless home bakers to confidently tackle recipes once considered too challenging, fostering a sense of accomplishment and joy in the kitchen. This ease of use has also broadened culinary horizons, inspiring experimentation and the creation of unique dishes. The best things in life are simple,
a sentiment perfectly encapsulating the transformative power of this humble ingredient. It allows us to focus on the creative aspects of cooking, rather than being bogged down in complex techniques.
Now, consider your own culinary journey. What ambitious pastry project have you been putting off? What delicious creation has been held back by the perceived difficulty of puff pastry? I encourage you to revisit those aspirations, armed with the knowledge and techniques shared in this article. Embrace the potential of store-bought puff pastry; let it be your springboard to culinary confidence and the satisfaction of creating something truly special, something delicious, something yours.
Unleash Your Inner Pastry Chef!
Thanks for taking the time to explore the world of store-bought puff pastry with us! We hope you've gained some confidence in tackling this versatile ingredient. Ready to put your newfound skills to the test?
- Bake your masterpiece! Try one of the recipes mentioned in the article, or let your creativity run wild and design your own puff pastry creation. Don't be afraid to experiment!
- Share your success! Show off your delicious results on social media using #BakeWithEasePuffPastry. We'd love to see your culinary creations!
- Leave a comment below and tell us: What's your favorite puff pastry recipe or application?