
Preheat Like a Pro: How Long and How Hot for Perfectly Risen Muffins

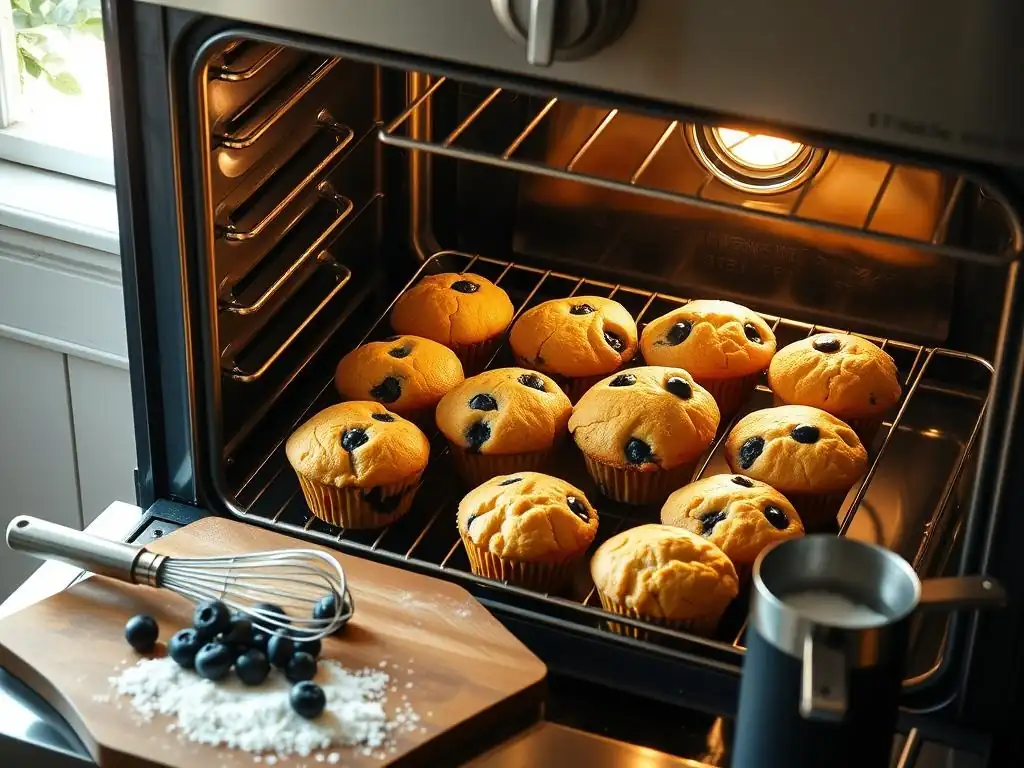
Welcome to BakeWithEase, your kitchen companion for all things baking! Ever wondered if you're really mastering the preheating process? This time, unlock the secrets to perfectly risen muffins. Learn how long and how hot your oven needs to be to achieve that golden dome you've always dreamed of. Get ready to elevate your baking game and say goodbye to flat, dense muffins!
- Mastering Oven Preheating for Baking Success
- Understanding the Importance of Preheating
- Setting the Right Oven Temperature
- Determining Preheat Time
- Recognizing a Properly Preheated Oven
- Troubleshooting Preheating Problems
- Factors Beyond Temperature
- Advanced Preheating Techniques
- Achieving Consistent Baking Results
-
Frequently Asked Questions
- How crucial is preheating the oven for muffin success?
- What temperature is generally recommended for baking muffins?
- How long should I preheat my oven before baking muffins?
- What happens if I bake muffins without preheating the oven?
- How can I tell if my muffins are fully baked and have achieved their perfectly risen time?
- Final Reflection: The Alchemy of the Perfect Muffin
- Unleash Your Inner Baker: Perfect Muffins Every Time!
Mastering Oven Preheating for Baking Success
Understanding the Importance of Preheating
The Science of Heat Transfer in Baking
When you place batter into a properly preheated oven, it's immediately exposed to consistent, high temperatures. This initial blast of heat is crucial because it activates the leavening agents – like baking soda or baking powder – quickly. As the batter heats up, these agents produce carbon dioxide gas, which gets trapped in the batter's structure, causing it to expand and rise.
Simultaneously, the heat begins to set the proteins and starches in the batter, creating the structure that holds this rise. Without adequate preheating, this crucial initial burst of heat is missing, leading to a slower, less vigorous rise.
The heat transfer in your oven happens primarily through radiation from the hot walls and heating elements, and convection from the circulating hot air (especially in convection ovens). Preheating ensures that all surfaces inside the oven have reached the target temperature and are radiating heat evenly.
This consistent radiant heat from all directions helps the exterior of your baked goods set quickly, allowing the interior to continue rising before the structure becomes too rigid. For delicate items like muffins, achieving the perfect preheat muffins perfectly risen time means harnessing this initial heat to get maximum lift before the crust forms.
Consequences of Insufficient Preheating
Baking in an oven that hasn't reached its target temperature can lead to a cascade of problems, significantly impacting the final texture and appearance of your baked goods, particularly muffins. The most common issue is poor rise. If the oven is too cool, the leavening agents won't react quickly enough, and the batter will spread out before it has a chance to set upwards.
This often results in flat, dense muffins with sad, pale tops instead of beautifully domed, light ones. Imagine putting muffin batter into a 300°F oven when the recipe calls for 375°F; the baking powder simply won't get the necessary jolt to create lift.
Furthermore, insufficient preheating leads to uneven baking. Different parts of the oven will be at varying temperatures, causing some muffins in the batch to bake faster or brown more than others. The longer bake time required to compensate for a cool oven can also dry out the muffins, resulting in a less tender crumb. For anyone aiming for the perfect preheat muffins perfectly risen time, skipping this step is a direct path to disappointing results, characterized by inconsistent texture and a significant lack of volume.
Setting the Right Oven Temperature
Calibrating Your Oven Thermostat
It's a common misconception that the temperature displayed on your oven's dial or digital screen is perfectly accurate. In reality, oven thermostats can be notoriously unreliable, often being off by as much as 25°F to 50°F (or even more) in either direction. This discrepancy can be the difference between a perfectly baked cake and a disaster. To know the true temperature inside your oven, you absolutely need an inexpensive, standalone oven thermometer. Place it in the center of your oven rack where you typically bake.
To "calibrate" your understanding (rather than the oven itself, which usually requires a service technician), preheat your oven to a specific temperature, say 350°F, according to its own indicator. Once the oven signals it's ready, check the reading on your external thermometer. Let it sit for another 15-20 minutes to allow the temperature to stabilize, and check again.
Note the difference between your oven's setting and the thermometer's reading. For instance, if your oven says 350°F but the thermometer reads 325°F, you know you need to set your oven to approximately 375°F to actually achieve 350°F. This simple step is vital for consistent results and achieving the optimal preheat muffins perfectly risen time.
Temperature Considerations for Different Recipes
The specified oven temperature in a recipe isn't arbitrary; it's carefully chosen to achieve a desired outcome based on the ingredients and type of baked good. Cakes, for example, are often baked at a moderate 350°F (175°C) to allow for even heat penetration and a tender crumb without excessive browning. Cookies might be baked at 375°F (190°C) to encourage spread and browning, while lean bread doughs or pizzas might require very high temperatures, like 450°F to 500°F (230°C to 260°C), to create a crisp crust and significant oven spring.
For muffins, recipes commonly call for temperatures between 375°F and 400°F (190°C to 200°C). This slightly higher temperature range compared to cakes is intentional. It helps create that desirable domed top and contributes to a good rise by setting the exterior quickly while the interior expands. Understanding why a recipe specifies a particular temperature and ensuring your oven actually reaches and maintains that temperature using a thermometer is fundamental to mastering the preheat muffins perfectly risen time and achieving the texture and appearance you expect.
Determining Preheat Time
Factors Influencing Preheat Time
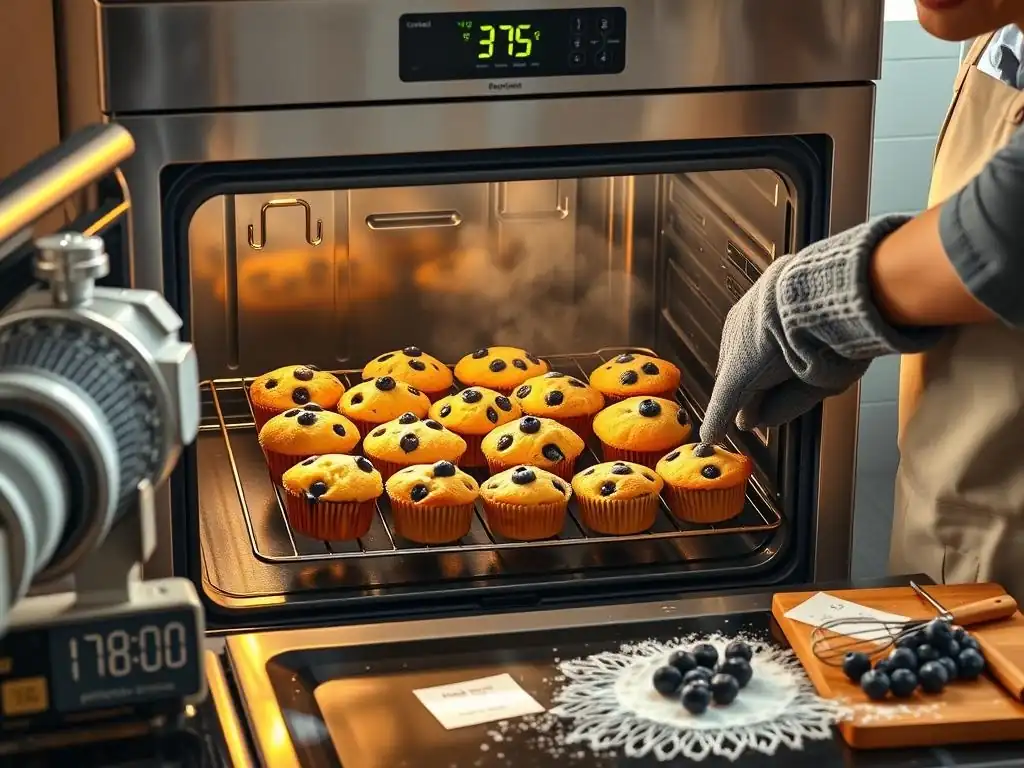
Several variables affect how long it takes for your oven to reach the set temperature. The type of oven is a major factor; gas ovens often heat up faster than electric ovens. The size of the oven cavity also plays a role; a larger oven takes longer to heat. The starting temperature of the oven (is it cold or still warm from previous use?) and the ambient room temperature can also influence the time. Furthermore, the insulation of your oven door and walls affects how well it retains heat during the preheating process.
Adding items inside the oven, such as baking stones or steel, significantly increases preheat time. These thermal masses absorb a large amount of heat energy and can add 30 minutes to an hour or more to the preheating process, although they offer benefits in terms of heat stability once the oven is ready. Considering these factors helps you estimate the preheat muffins perfectly risen time needed for your specific oven setup. It's rarely just a few minutes; a standard electric oven preheating to 375°F might take 15-20 minutes, but allowing even more time is often necessary for full stabilization.
Using an Oven Thermometer to Verify Temperature
Relying solely on your oven's indicator light or beep to signal it's preheated is one of the biggest baking mistakes. Most oven indicators simply tell you when the oven's sensor thinks the air temperature has reached the target setting, or when the heating element has been on long enough to potentially be close. However, the internal components (walls, racks) may not have absorbed enough heat yet to radiate evenly, and the air temperature itself can fluctuate significantly.
The most reliable way to verify your oven is truly ready is by using an independent oven thermometer. Place it on the middle rack. Once your oven's light goes off or it beeps, check the thermometer. Then, wait an additional 15-20 minutes, leaving the oven door closed. Check the thermometer again. This waiting period allows the heat to fully saturate the oven cavity and stabilize. It's this stabilized temperature that provides the consistent baking environment needed for things like achieving the optimal preheat muffins perfectly risen time. Always trust the external thermometer over the oven's built-in gauge.
Recognizing a Properly Preheated Oven
Visual Indicators of Reaching Temperature
While not as reliable as a thermometer, some visual cues might suggest your oven is approaching or has reached its set temperature. In many electric ovens, the heating element will cycle on and off to maintain temperature. You might observe the element turning off once the initial preheating phase is complete. Some digital ovens have a progress bar or display the current temperature as it rises. However, these are often estimates based on internal sensors that may not reflect the true, stable temperature throughout the oven cavity.
Another subtle indicator might be the radiant heat you feel when briefly opening the oven door (do this quickly to minimize heat loss!). A properly preheated oven will feel intensely hot. However, these visual or sensory cues should never replace the certainty provided by an oven thermometer. For critical tasks like ensuring the perfect preheat muffins perfectly risen time, relying solely on these indicators can lead to inconsistent baking outcomes.
Relying on an Oven Thermometer for Accuracy
As stressed previously, an oven thermometer is your most essential tool for accurate preheating. Place it in the center of the middle rack, which is typically the most common baking position. When your oven indicates it's preheated, check the thermometer. If it reads the target temperature, great! Now, here's the critical step: wait an additional 15 to 20 minutes after the oven indicates it's ready. This extra time allows the oven walls, racks, and air to reach a stable, uniform temperature.
During this stabilization period, the heating elements will cycle on and off more frequently to maintain the temperature, rather than working at full blast to get there. This stable environment is crucial for consistent baking. For instance, if your recipe requires 375°F for muffins, ensure your thermometer reads 375°F and stays there for this additional time before you even think about putting the batter in. This extra waiting time is a key component of determining the true preheat muffins perfectly risen time for your specific oven.
Troubleshooting Preheating Problems
Causes of Slow or Incomplete Preheating
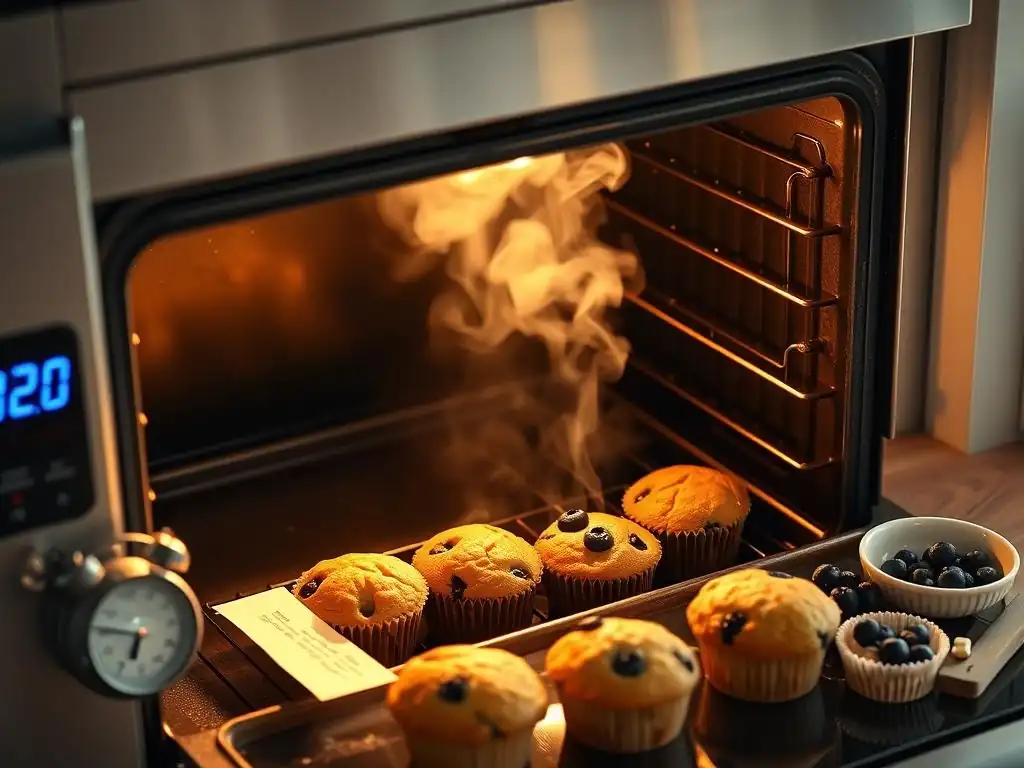
If your oven seems to take an unusually long time to preheat, or never quite reaches the set temperature according to your external thermometer, several issues could be at play. Older ovens may simply be less efficient due to wear and tear on components or degraded insulation. A faulty heating element (either the bake element on the bottom or the broiler element on top, which sometimes assists in preheating) can significantly slow down the process or prevent the oven from reaching high temperatures.
Another common cause is a malfunctioning temperature sensor or thermostat. If the sensor isn't accurately reading the internal temperature, it won't signal the heating elements to stay on long enough or get hot enough. Problems with the oven door seal can also cause heat loss, making it difficult for the oven to reach and maintain temperature. If you suspect your oven isn't preheating correctly, especially if an external thermometer confirms it, it might be time to consult your oven's manual or consider professional servicing.
Addressing Uneven Heating Issues
Even if your oven eventually reaches the correct temperature, it might suffer from hot spots or cold spots, leading to unevenly baked goods. This is often due to inconsistent heat distribution, which can be caused by factors like a partially failing heating element, poor airflow, or even the design of the oven cavity. Using an oven thermometer placed in different locations (front, back, sides) can help you identify these inconsistencies.
While some unevenness is inherent in many ovens, you can mitigate it. Rotating your baking pans halfway through the baking time helps ensure all items are exposed to similar heat levels. If you consistently notice one area is hotter or cooler, you can adjust rack placement or avoid placing items in problematic spots.
For serious or worsening unevenness confirmed by a thermometer, there might be a technical issue with the oven's heating system or fan (in convection models) that requires professional attention. Addressing these issues is part of mastering the environment needed for the optimal preheat muffins perfectly risen time across the entire batch.
Factors Beyond Temperature
Impact of Rack Placement
Where you place your baking pan within the oven has a significant impact on how your baked goods bake, even in a perfectly preheated oven. Heat radiates from the top, bottom, and sides of the oven cavity. The middle rack is generally considered the sweet spot for most baking, including muffins, cakes, and cookies. This position provides the most even exposure to radiant heat from both the top and bottom elements, promoting uniform rising and browning.
Baking on the top rack exposes items more directly to the broiler element (even when it's off, it retains heat) and less to the bottom element, which can lead to faster browning on top and potentially a less developed bottom crust. The bottom rack is closer to the main bake element, resulting in more direct heat from below, which is often used for things like pies to ensure a crisp bottom crust, but might over-brown the bottoms of muffins before the tops are done.
Choosing the correct rack position complements your preheating efforts to achieve the desired texture and rise.
Influence of Baking Stone or Steel
Adding a baking stone or steel to your oven transforms it into a more stable heat environment, particularly beneficial for items that require a strong initial heat boost, like bread, pizza, and some pastries. These dense materials absorb a large amount of heat during preheating and then radiate it steadily and intensely. When you place dough or batter onto a stone or steel, the direct conductive heat transfer from the hot surface provides a powerful spring, contributing to a better rise and crust development.
However, incorporating a stone or steel significantly increases the time needed to properly preheat your oven. While the air temperature might reach the set point relatively quickly, the stone or steel itself needs much longer – often 30 to 60 minutes, sometimes even longer at very high temperatures – to fully heat through and become an effective heat source. For muffins, while not strictly necessary, preheating an oven with a stone or steel already inside can provide a more stable temperature environment, potentially contributing to a more consistent preheat muffins perfectly risen time across multiple batches.
Advanced Preheating Techniques
Convection Oven Adjustments
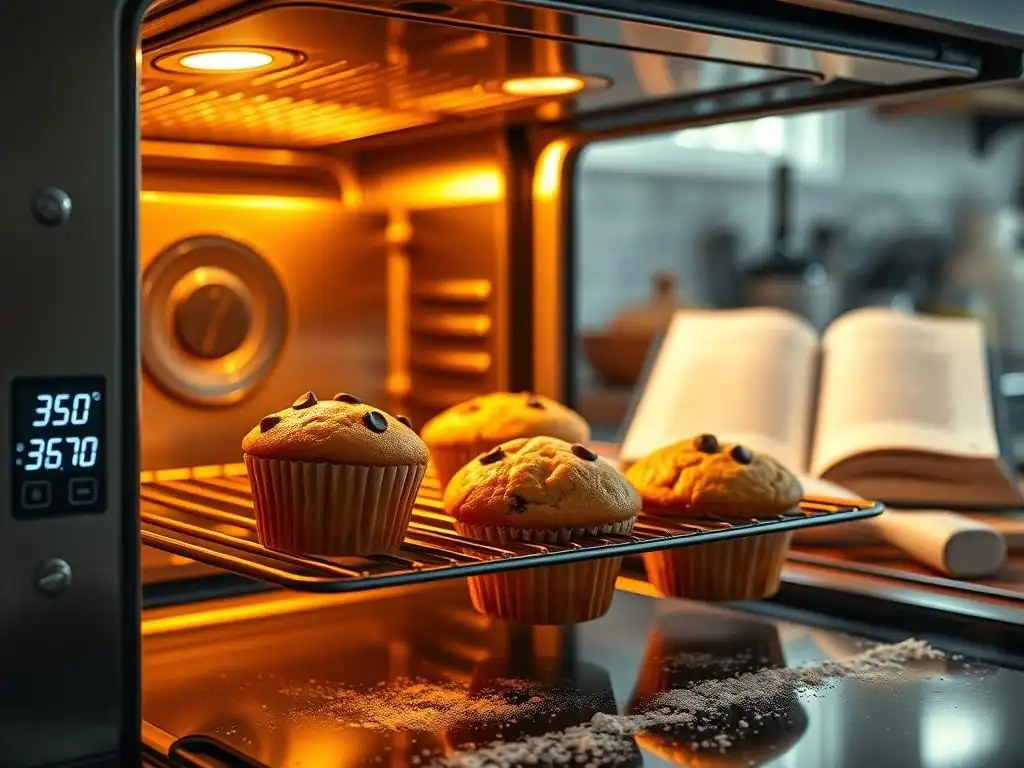
Convection ovens use a fan to circulate hot air, which results in faster and more even heat distribution compared to conventional ovens. This forced airflow means that heat penetrates baked goods more quickly and efficiently. While preheating is still essential in a convection oven, the time required is often shorter than in a conventional oven. Additionally, because the circulating air is so effective at transferring heat, you often need to reduce the baking temperature by about 25°F (15°C) or shorten the baking time specified in conventional recipes.
For example, a muffin recipe calling for 375°F in a conventional oven might bake perfectly at 350°F in a convection oven. However, the principle of ensuring the oven is fully preheated and stabilized before introducing the batter remains crucial. The circulating air helps maintain a more uniform temperature throughout the cavity, potentially minimizing hot spots, but verifying the temperature with an external thermometer is still recommended to account for variations between models. Understanding these adjustments helps optimize the preheat muffins perfectly risen time when using a convection oven.
Preheating for Specific Baking Needs
Different types of baked goods benefit from specific preheating strategies beyond just hitting the target temperature. For items that require a powerful initial spring, like artisan bread or some muffins, ensuring the oven is not just at temperature but also fully saturated with heat (as discussed with the extra 15-20 minute wait) is paramount. This ensures maximum radiant heat transfer from the moment the item enters the oven.
Conversely, for delicate items like soufflés or cheesecakes that require a very stable, gentle environment, ensuring the oven temperature is precisely maintained and doesn't fluctuate is key. Some recipes might even call for preheating with a water bath already in the oven to create a humid environment and further stabilize the temperature. Tailoring your preheating time and verification process to the specific demands of the recipe, whether it's for a rustic loaf or achieving the perfect preheat muffins perfectly risen time, is a mark of an experienced baker.
Achieving Consistent Baking Results
Best Practices for Oven Management
Consistency in baking starts with consistent oven performance, and that begins with preheating. Make it a habit to always preheat your oven for the recommended time plus the additional stabilization period (typically 15-20 minutes after the oven signals it's ready, verified by an external thermometer). Avoid the temptation to rush this step, even if you're in a hurry. That extra waiting time is an investment in the success of your bake.
Minimize opening the oven door during baking. Each time you open the door, the oven temperature can drop by 25°F to 50°F, and it takes time for the oven to recover. For items like muffins that rely on consistent heat for a good rise, frequent door opening can cause them to collapse or bake unevenly. Trust the process and your preheating; check for doneness only when the recipe suggests the bake time is nearing its end. These simple practices contribute significantly to achieving reliable and repeatable baking outcomes, including the perfect preheat muffins perfectly risen time batch after batch.
Maintaining Accurate Temperature Control
Maintaining accurate temperature control throughout the entire baking process is just as important as hitting the right temperature during preheating. Continue to monitor your oven thermometer periodically during the bake, especially if you are working on a long bake or a new recipe. Be aware that opening the oven door will cause a temperature dip, so try to be quick if you need to rotate pans or check for doneness.
If your oven temperature fluctuates significantly (more than 10-15°F) during baking, or consistently reads differently from your external thermometer, it might indicate an issue with your oven's thermostat or heating elements. Addressing these underlying problems is crucial for consistent baking results. By prioritizing accurate temperature control, starting with a proper preheat and verifying with a thermometer, you create the optimal environment for your baked goods to rise and bake as intended, ensuring you hit that perfect preheat muffins perfectly risen time every time.
Frequently Asked Questions
How crucial is preheating the oven for muffin success?
Preheating is absolutely essential. It ensures the muffins bake evenly and achieve that desirable perfectly risen time and texture. Without preheating, the batter may not rise properly.
What temperature is generally recommended for baking muffins?
While it varies, most muffin recipes call for a higher temperature, usually around 375°F (190°C) to 425°F (220°C). This initial high heat helps the muffins rise quickly.
How long should I preheat my oven before baking muffins?
Aim for at least 15-20 minutes of preheating. This guarantees the oven reaches the correct temperature and that it's consistent throughout for optimal baking.
What happens if I bake muffins without preheating the oven?
You'll likely end up with flat, dense muffins. The batter won't get the initial heat burst needed for the necessary chemical reactions and a proper rise.
How can I tell if my muffins are fully baked and have achieved their perfectly risen time?
A toothpick inserted into the center should come out clean or with a few moist crumbs. The muffins should also be golden brown on top and spring back slightly when gently pressed.
Final Reflection: The Alchemy of the Perfect Muffin
The seemingly simple act of preheating your oven is, in reality, the cornerstone of perfectly risen muffins. A few degrees too low, a minute too short, and your fluffy dreams crumble into dense disappointment. This article has explored the nuanced science behind achieving that perfect rise, demonstrating that even the smallest details can make a world of difference.
The quest for the ideal muffin transcends mere baking; it's a reflection of our desire for precision and control in a world often characterized by uncertainty. The meticulous attention to detail required – the careful measurement of ingredients, the precise timing of preheating, the gentle handling of the batter – mirrors our own striving for perfection in other aspects of life. Baking is about precision, but it's also about heart. You put your love into it, and it shows.
This quote, though not directly about muffins, perfectly encapsulates the emotional connection we forge with the process and the results.
Now, consider your own baking journey. Have you ever experienced the frustration of a fallen muffin? Perhaps this article has provided you with the knowledge to avoid that disappointment in the future. More importantly, I hope it has inspired you to approach your baking – and indeed, your life – with a renewed appreciation for the power of preparation and attention to detail. Take the time to preheat, not just your oven, but your intentions. The results will be remarkably rewarding.
Unleash Your Inner Baker: Perfect Muffins Every Time!
Thanks for joining us on this muffin-making adventure! We hope you've gained some valuable insights into achieving perfectly risen, golden-brown muffins. Now it's time to put your new knowledge into practice!
- Bake a batch of your favorite muffin recipe, using the preheating tips you just learned. Pay close attention to the oven temperature and timing – you'll be amazed at the difference!
- Share your baking success (or even your challenges!) with our community on social media. Use #BakeWithEaseMuffins and tag us!
- Experiment with different muffin recipes, adjusting the preheating time according to their specific instructions. What new flavors will you discover?
Ready to transform your baking game? What new muffin recipe will you tackle first?