
Fixing Bread That's Too Sour (When It Shouldn't Be)

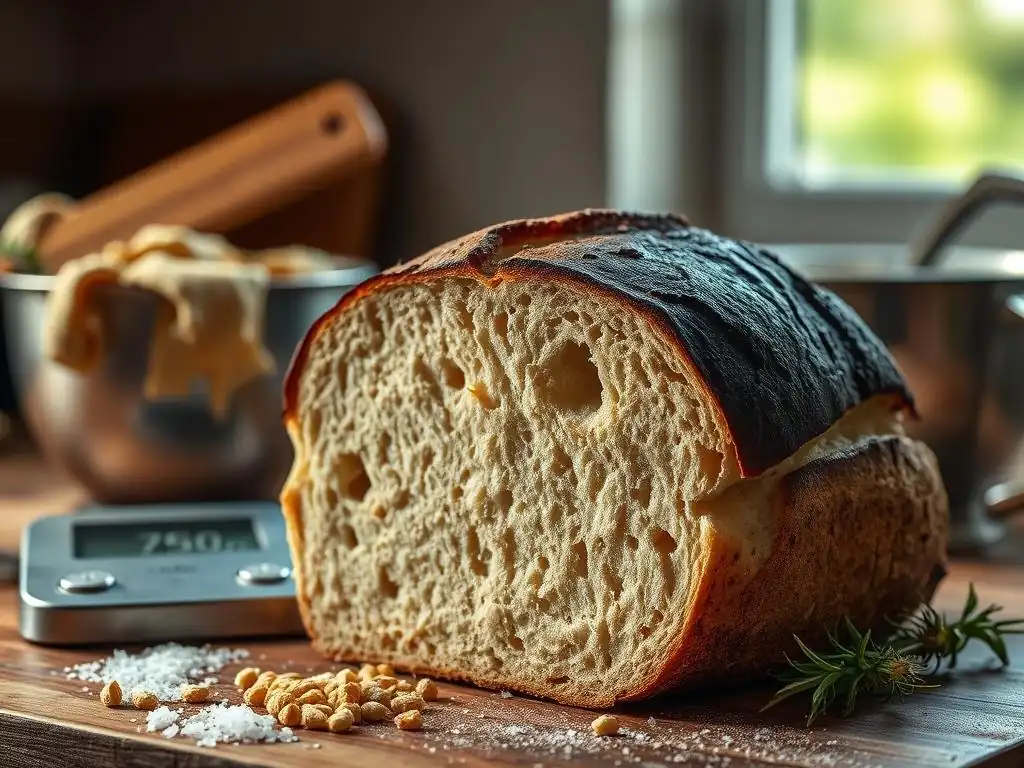
Welcome to BakeWithEase, your kitchen companion for all things baking! Ever wondered if you can tame the tang in your sourdough? This week, we're diving into sour bread baking tips to help you understand why your loaf might be too sour and, more importantly, how to fix it. Get ready to unlock the secrets to perfectly balanced, delicious sourdough – read on to discover how!
- Troubleshooting Overly Sour Sourdough Bread: A Comprehensive Guide
- Understanding Sourdough Sourness: Desired Tang vs. Unpleasant Acidity
- Pinpointing the Source of Over-Sourness
- Practical Solutions for Reducing Sourness
- Proactive Measures for Preventing Over-Sourness
- Advanced Techniques for Flavor Control
- Achieving Perfectly Balanced Sourdough: Tips & Best Practices
-
Frequently Asked Questions
- How can I tell if my sourdough bread is supposed to be sour?
- What are the most common reasons why sourdough bread becomes too sour?
- Can the type of flour I use affect the sourness of my sourdough?
- What can I do during the baking process itself to reduce the sourness of my bread?
- How can I adjust my starter maintenance routine to prevent overly sour sourdough in the future?
- Final Reflection: The Sweetness Found in Sourdough's Challenges
- Unlock the Secrets to Perfectly Balanced Bread!
Troubleshooting Overly Sour Sourdough Bread: A Comprehensive Guide
Welcome to BakeWithEase! If you've ever pulled a beautiful loaf from the oven only to find its flavor profile leans more towards intense vinegar than pleasant tang, you're not alone. Achieving that perfect balance of crust, crumb, and flavor is the sourdough baker's quest. This guide offers valuable sour bread baking tips to help you diagnose and fix bread that's become too sour.
Understanding Sourdough Sourness: Desired Tang vs. Unpleasant Acidity
Sourdough bread is celebrated for its characteristic tangy flavor, a result of the metabolic activity of lactic acid bacteria (LAB) and wild yeasts present in the starter. This tang adds complexity and depth to the bread. However, when the balance shifts, the acidity can become overwhelming, tasting more like vinegar or even nail polish remover (acetone), which is generally undesirable. Understanding the different types of acids produced is key to mastering sour bread baking tips and controlling your loaf's flavor.
The goal is often a pleasant, rounded acidity that complements the bread's other flavors, not one that dominates or tastes harsh. Many factors influence this balance, from the health of your starter to the specifics of your fermentation process. By delving into these elements, you can gain control over the final taste profile of your sourdough loaves and avoid that unwanted, excessively sour result.
Common Causes of Excessive Sourness
Excessive sourness in sourdough bread often stems from an imbalance in the microbial activity within your starter and dough. One of the primary culprits is often a starter that has become overly acidic itself, potentially due to infrequent feeding or storage conditions that favor acid production over yeast activity. For instance, a starter left unfed in the refrigerator for weeks can develop a very strong, acetic acid-heavy aroma.
Another significant factor is the fermentation process, particularly duration and temperature. Longer fermentation times, especially bulk fermentation at warmer temperatures (say, above 80°F or 27°C), tend to favor the production of acetic acid by certain LAB strains. Over-proofing the dough is a classic example; leaving the dough to ferment for too long allows acids to accumulate to an unpleasant level, leading to excessively sour bread. These are critical areas to examine when seeking sour bread baking tips.
Distinguishing Between Lactic and Acetic Acid Flavors
The two primary acids contributing to sourdough flavor are lactic acid and acetic acid. Lactic acid bacteria produce both, but different strains and conditions favor one over the other. Lactic acid provides a milder, more rounded, yogurt-like tang, which is generally the desired flavor profile in many sourdoughs. Think of a pleasant, slightly creamy acidity.
Acetic acid, on the other hand, is the acid found in vinegar. It imparts a sharper, sometimes pungent, or even vinegary bite to the bread. While a little acetic acid can add complexity, too much results in that harsh, overly sour taste. Cooler fermentation temperatures and longer fermentation times, particularly cold retardation in the refrigerator, tend to increase acetic acid production. Recognizing which type of sourness dominates your bread is a crucial step in applying the right sour bread baking tips to correct the issue.
Pinpointing the Source of Over-Sourness
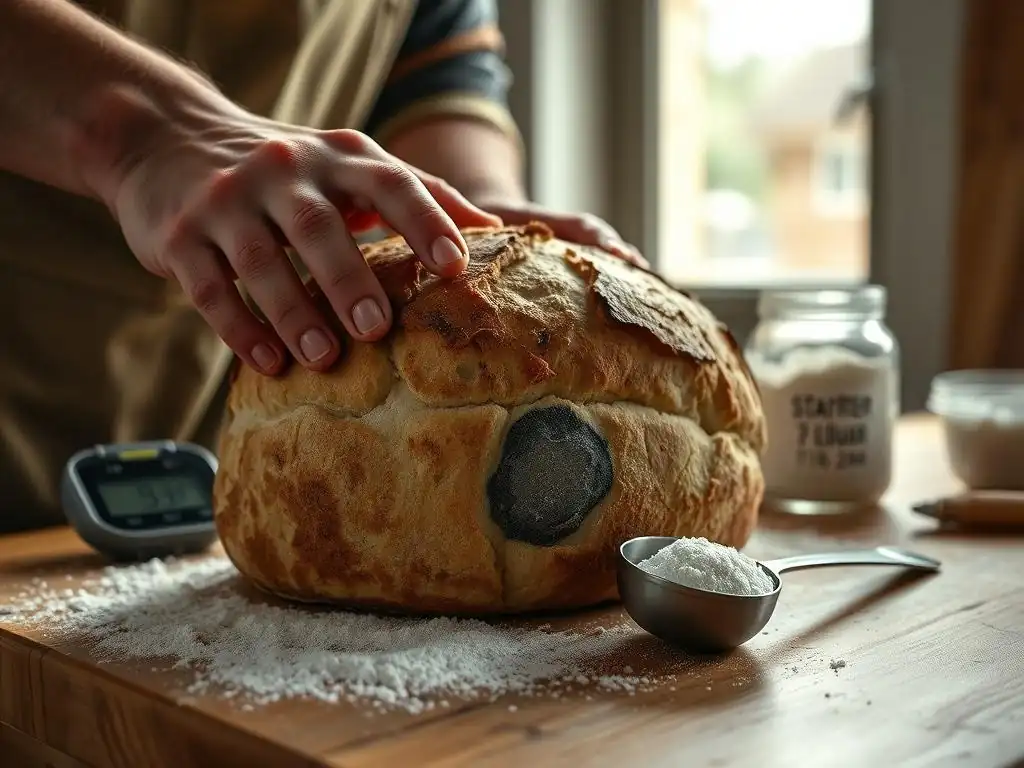
Identifying exactly why your bread is too sour requires a bit of detective work, examining each stage of the sourdough baking process. Is the issue with your starter? The recipe? The fermentation? By systematically evaluating each part, you can pinpoint the cause and implement effective sour bread baking tips to achieve a better outcome next time.
Analyzing your starter's health and activity is the first logical step. A weak or overly acidic starter will inevitably lead to sour bread. Following that, scrutinizing your recipe and the ingredients used can reveal potential factors influencing acidity. Finally, a thorough review of your fermentation and proofing stages is essential, as these are often where excessive acid develops.
Evaluating Starter Health and Management
The health and feeding regimen of your sourdough starter are foundational to the flavor of your bread. A starter is a living ecosystem, and its balance of yeast and bacteria directly impacts the types and amounts of acids produced. An unhealthy or improperly managed starter is a frequent cause of overly sour bread.
Consider your feeding schedule and ratios. Are you feeding frequently enough? Is your starter doubling predictably? A starter that is rarely fed or fed with very high ratios of flour and water to starter (e.g., 1:5:5 or higher) might become overly acidic between feedings. This is because the yeast consume the simple sugars quickly, leaving the complex carbohydrates for the slower-acting bacteria, which continue producing acids long after the yeast have peaked. These sour bread baking tips emphasize starting with a healthy foundation.
Identifying an Overly Acidic Starter: Visual and Olfactory Clues
An overly acidic starter often provides clear warning signs. Visually, it might separate quickly after feeding, developing a layer of hooch (a dark liquid, often alcoholic) on top. The texture might become very loose or watery soon after feeding, indicating rapid breakdown of the flour structure by enzymes, often accelerated in acidic environments.
Olfactorily, the smell test is critical. A healthy, vibrant starter should smell pleasantly yeasty with a mild, slightly tangy aroma, perhaps reminiscent of ripe fruit or yogurt. An overly acidic starter, however, will have a much stronger, pungent smell. This can range from sharply vinegary (acetic acid) to strong acetone or nail polish remover notes, which are signs of a stressed starter producing fusel alcohols due to lack of food and high acidity. Recognizing these smells is a key sour bread baking tip.
Revitalizing Your Starter for Optimal Flavor Balance
If your starter shows signs of excessive acidity, it's time for a revitalization strategy. One effective method is implementing a series of frequent feedings, sometimes referred to as "washing" the starter. This involves feeding your starter with a 1:1:1 ratio (1 part starter, 1 part water, 1 part flour) every 8-12 hours, discarding most of the starter each time, for several days.
Using warm water (around 80°F or 27°C) for feedings can also help encourage yeast activity, which tends to be more sensitive to high acidity than LAB. Ensure you are using unbleached flour, as bleached flour can sometimes inhibit microbial activity. After several days of consistent, frequent feeding, the strong acidic smells should dissipate, and your starter should show more predictable doubling and a milder aroma, ready to contribute balanced flavor to your bread following these sour bread baking tips.
Recipe and Ingredient Analysis
Beyond the starter, the recipe itself and the ingredients you choose play a role in the final flavor of your sourdough. Small adjustments here can significantly impact the acidity level in your finished loaf. It's worth reviewing your standard recipe to see if any elements might be contributing to excessive sourness.
Factors like the overall hydration of the dough and the types of flour used can influence microbial activity and acid production during fermentation. A recipe calling for very high hydration or specific types of flour might inherently lead to a tangier loaf compared to a lower hydration dough using a different flour blend. Considering these aspects is part of a holistic approach to sour bread baking tips.
Hydration's Influence on Sourness
Dough hydration, the ratio of water to flour, has a notable impact on the type of acids produced during fermentation. Higher hydration doughs (e.g., 75% hydration and above) tend to favor the production of lactic acid. This is because the wetter environment allows lactic acid bacteria to move and proliferate more easily.
Conversely, lower hydration doughs (e.g., 65% hydration) often encourage the production of acetic acid. The stiffer environment restricts the movement of LAB, potentially favoring strains that produce more acetic acid, especially during longer or cooler fermentation periods. If your bread is consistently too sour with a sharp, vinegary bite, and you're using a lower hydration recipe, this could be a contributing factor worth considering among your sour bread baking tips.
Flour Type and its Contribution to Acidity
The type of flour used in your starter and dough also influences the resulting flavor profile. Different flours contain varying amounts of nutrients and enzymes that can affect microbial activity. For example, using a high percentage of whole wheat or rye flour, particularly in the starter, can lead to a tangier result.
Whole grain flours contain more minerals and nutrients that can fuel both yeast and bacteria, but they also often contain more enzymes that break down starches into simpler sugars more readily. This can sometimes lead to faster fermentation and potentially higher acid production if not managed carefully. While these flours contribute wonderful flavor and nutrition, they are also key considerations when troubleshooting sour bread using these sour bread baking tips.
Fermentation Process Review
The fermentation stage is arguably the most critical period for flavor development in sourdough bread. It's during bulk fermentation and proofing that the yeast produce carbon dioxide for rise, and the bacteria produce the organic acids that give sourdough its characteristic tang. Mistakes or imbalances during this stage are common reasons for overly sour bread.
Key factors to review include the duration of your bulk fermentation, the temperature at which it occurs, and the length of your final proof. Each of these variables significantly influences the balance of lactic and acetic acid production, directly impacting the final flavor of your loaf. Mastering the fermentation process is central to applying effective sour bread baking tips.
Over-Proofing and its Impact on Acetic Acid Production
Over-proofing is a frequent culprit behind excessively sour bread. When dough is left to ferment for too long, the yeast eventually run out of easily accessible sugars. While yeast activity slows down, the lactic acid bacteria continue to thrive and produce acids, particularly acetic acid if conditions are right (like cooler temperatures or a very long proof).
A dough that has over-proofed will often appear very gassy, may start to deflate, and will feel fragile. When baked, the loaf might have poor oven spring and a dense crumb, in addition to the strong, overly sour flavor. Recognizing the signs of proper proofing versus over-proofing is a vital sour bread baking tip to prevent unwanted acidity.
Temperature's Crucial Role in Fermentation
Temperature is a powerful lever for controlling the balance of acids produced during fermentation. Warmer temperatures (e.g., 75-80°F / 24-27°C) during bulk fermentation tend to favor the production of lactic acid, resulting in a milder tang. Yeast activity is also more vigorous at these temperatures, leading to faster rise.
Cooler temperatures, such as cold proofing in the refrigerator (typically 38-40°F / 3-4°C), significantly slow down yeast activity but allow psychrotrophic (cold-loving) lactic acid bacteria to continue producing acids, primarily acetic acid. While cold retardation can enhance flavor complexity, excessively long cold proofing (e.g., beyond 24-48 hours for some recipes) can lead to a very sharp, vinegary sourness. Adjusting fermentation temperatures is a primary sour bread baking tip for flavor control.
Practical Solutions for Reducing Sourness
Once you've identified potential causes for the excessive sourness in your bread, you can implement specific strategies to mitigate the issue. These solutions target the areas where the acidity is developing, primarily your starter and your fermentation process. Experimenting with one or two changes at a time is the best way to determine what works for your specific baking environment and starter.
These practical sour bread baking tips focus on adjusting your starter's feeding, modifying your recipe slightly, and refining your fermentation techniques. By making deliberate changes, you can shift the microbial balance and slow down the production of excessive acids, moving closer to that perfectly balanced sourdough flavor.
Adjusting Starter Feeding Ratios and Schedules
Modifying how you feed and maintain your starter is one of the most direct ways to influence its acidity and, consequently, the sourness of your bread. The goal is often to encourage yeast activity and maintain a less acidic environment in the starter itself before it's added to the dough.
Consider feeding your starter more frequently, especially in the 12-24 hours leading up to mixing your dough. This ensures you are using the starter when it's active and less acidic, having recently peaked in yeast activity. Using a higher ratio of fresh flour and water to starter in your feeding (e.g., 1:2:2 or even 1:3:3 instead of 1:1:1) can also help dilute acidity and provide more food, encouraging a milder flavor. These are fundamental sour bread baking tips for managing starter acidity.
Lowering Acidity Through Feeding Ratios
Feeding your starter with a higher ratio of fresh ingredients helps to dilute the existing acidity. For example, if you typically feed 1 part starter with 1 part flour and 1 part water (1:1:1 ratio), switching to a 1:2:2 ratio means you're providing twice as much fresh food for the same amount of starter. This larger food supply allows the microbes to consume sugars and produce desired byproducts (like CO2 and milder acids) for a longer period before food becomes scarce and acidity builds excessively.
Using a 1:3:3 ratio or even higher can further "sweeten" the starter, making it less acidic. When preparing to bake, you might transition from your maintenance ratio to a higher ratio feed for the portion of starter you plan to use in your levain or dough. This ensures the starter added to your mix is vibrant and less acidic, contributing to less sour bread. Applying these sour bread baking tips requires consistent observation of your starter's response.
Tailoring Feeding Schedules to Starter Activity
The frequency of feeding should ideally be tailored to how quickly your starter becomes active and then peaks. A very active starter stored at warmer room temperature might need feeding every 12 hours, while one kept cooler might be fine with 24-hour feedings. When preparing to bake, aim to use your starter when it has approximately doubled or just slightly passed its peak – this is when yeast activity is high and acidity is relatively lower compared to when it has fallen significantly.
If your starter is consistently producing overly sour bread, consider feeding it more frequently (e.g., every 8-12 hours) for a few days leading up to baking, always using it around its peak. This ensures you are incorporating a less acidic, more vigorous culture into your dough. Adjusting your feeding schedule based on observation is a key aspect of mastering sour bread baking tips.
Modifying Your Recipe for a Milder Flavor Profile
Sometimes, adjustments to the recipe itself, independent of starter management and fermentation, can help reduce overall sourness. These modifications often involve ingredients that can either buffer acidity or slightly alter the microbial activity in the dough.
While sourdough purists might stick to just flour, water, salt, and starter, incorporating small amounts of other ingredients can significantly impact the final flavor. Consider elements like hydration level, the addition of sweeteners, or even fats, all of which can influence the perception and production of acidity in your loaf. These recipe-based sour bread baking tips offer alternative approaches.
Reducing Hydration for Less Acidity
As discussed earlier, lower hydration doughs tend to favor acetic acid production, but if your current recipe is very high hydration (say, 80%+) and yielding overly sour lactic tang, slightly reducing the hydration can sometimes help. A dough with 70-75% hydration might offer a different balance than a very wet dough.
However, if your sourness is sharp and vinegary (acetic), and you are already using a lower hydration, increasing it slightly might shift the balance towards milder lactic acid. This is a nuanced point, and the impact of hydration depends on the type of sourness you are experiencing. Experimenting with hydration levels, perhaps decreasing by 5% initially, can be a useful sour bread baking tip.
Incorporating Sweeteners to Counteract Sourness
Adding a small amount of sugar or malt to your dough can provide easily accessible food for the yeast, potentially encouraging faster CO2 production and rise, and perhaps slightly altering the balance of microbial activity. More simply, residual sugar that doesn't get consumed during fermentation can help balance out the perception of sourness on the palate.
Ingredients like honey, maple syrup, or diastatic malt powder (used in small quantities, like 0.5-1% of the total flour weight) can provide fermentable sugars. While the yeast will consume most of this, any unfermented sugar can soften the acidic bite in the final bread. This is a simple sour bread baking tip for tempering flavor.
Adding Fats to Buffer Acidity
Fats, such as butter or olive oil, can also help to soften the perception of acidity in bread. While not traditionally found in lean sourdough recipes (just flour, water, salt, starter), enriched doughs containing fat often have a milder, less pronounced tang.
Fats can coat the palate and interact with flavor compounds, making the sourness seem less intense. Adding a small amount of fat, perhaps 2-5% of the flour weight, could be an option if you are struggling with excessive sourness and are open to slightly modifying a traditional lean recipe. This is a less common, but potentially effective, sour bread baking tip.
Refining Fermentation Techniques
The techniques you use during bulk fermentation and proofing are powerful tools for controlling sourness. By adjusting timings, temperatures, and handling, you can directly influence the microbial activity and the types of acids produced. These adjustments are often the most impactful sour bread baking tips.
Consider the total fermentation time from mixing to baking. Are you letting the dough rise for too long at any stage? Is the temperature consistent? Even small variations can significantly alter the outcome. Paying close attention to the dough's development rather than strictly adhering to time is crucial.
Shortening Bulk Fermentation Time
Bulk fermentation is the period after mixing the dough (and autolyse, if used) up until shaping. This is where the majority of the dough's volume increase and flavor development occur. If your bread is too sour, shortening the bulk fermentation time is a primary strategy to reduce acid production.
Instead of fermenting for 5 hours at room temperature (e.g., 75°F), try reducing it to 3.5-4 hours, or until the dough has increased in volume by a specific percentage (e.g., 30-50%, depending on the recipe and desired outcome) and shows signs of activity (bubbles, domed surface). Watch the dough, not the clock. A shorter bulk fermentation means less time for acids to accumulate. This is a fundamental sour bread baking tip for managing tang.
Maintaining Consistent Temperatures During Proofing
Temperature control is vital throughout fermentation. While bulk fermentation temperature influences acid types, the temperature during the final proof (after shaping) also matters. Warmer final proofs (e.g., 75-80°F) are faster and tend to yield a milder tang than long, cold proofs in the refrigerator.
If you are cold proofing and getting excessive acetic sourness, try shortening the cold proofing time (e.g., reducing from 24 hours to 12-18 hours) or consider doing a shorter, warmer final proof at room temperature instead (e.g., 2-3 hours at 75°F). Maintaining a consistent temperature during whichever proofing method you choose helps predict fermentation speed and manage acid development, offering essential sour bread baking tips.
Proper Shaping for Even Fermentation
Proper shaping isn't just about getting a nice loaf shape; it impacts the dough's structure and how evenly it ferments during the final proof. A well-shaped loaf holds its structure better, allowing for a more consistent distribution of gases and heat.
Poor shaping can lead to uneven pockets of fermentation or areas that become overly acidic compared to others. While less directly related to overall sourness than temperature or time, ensuring your dough is properly shaped and has good surface tension can contribute to a more balanced fermentation and a better final crumb and flavor profile. Paying attention to shaping is a detail in your sour bread baking tips repertoire.
Proactive Measures for Preventing Over-Sourness
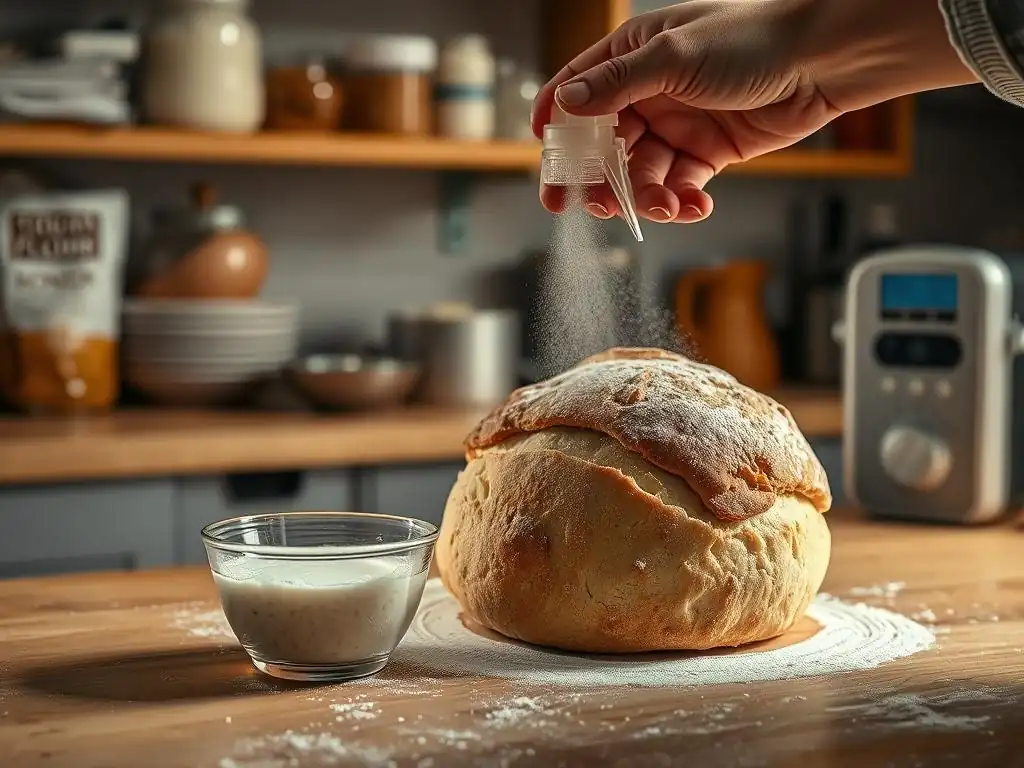
Prevention is often easier than correction when it comes to overly sour sourdough. By establishing good habits in your starter maintenance and baking process, you can significantly reduce the likelihood of developing excessive acidity in your bread. These proactive sour bread baking tips focus on consistency and control from the outset.
The key areas to focus on are maintaining a healthy, balanced starter and implementing best practices throughout your baking workflow, from ingredient selection to final proofing. Building a solid foundation in these areas will set you up for consistently achieving the desired flavor profile in your sourdough loaves.
Maintaining a Robust and Balanced Starter
A healthy starter is the cornerstone of flavorful sourdough. A starter that is regularly fed and active is less likely to become overly acidic or produce off-flavors. Think of it as nurturing the right balance of yeast and bacteria so they work synergistically to produce desirable flavors and leavening.
Consistency is key. Find a feeding schedule and ratio that works for your environment and stick to it. Observe your starter regularly – does it double predictably? Does it smell pleasant? Addressing issues early, like signs of excessive hooch or strong acidic smells, prevents them from negatively impacting your bread's flavor. These are fundamental sour bread baking tips for long-term success.
Consistent Feeding and Observation
Regular feeding with good quality flour and water is paramount. Whether you keep your starter at room temperature with daily feedings or in the refrigerator with weekly feedings, establish a routine. When refreshing a refrigerated starter for baking, perform 2-3 consecutive feedings at room temperature (e.g., 1:1:1 or 1:2:2 ratio, every 12-24 hours depending on temperature) before using it in your dough.
Equally important is observation. Get to know your starter's behavior. Note how quickly it rises and falls at different temperatures. Pay attention to its aroma. This intimate knowledge allows you to use your starter at its peak activity and lowest acidity, ensuring it contributes optimal flavor to your bread. Consistent application of these sour bread baking tips builds intuition.
Proper Storage for Optimal Health
How you store your starter between bakes affects its health and acidity. Storing it in the refrigerator (typically at 38-40°F / 3-4°C) significantly slows down microbial activity, allowing you to feed it less frequently (e.g., once a week). However, even in the fridge, acids accumulate slowly.
Ensure your starter is well-fed and active before refrigerating it. Store it in a clean container with enough head space for potential expansion. When you take it out to bake, give it those few consistent room temperature feedings to revitalize it and reduce accumulated acidity. Avoiding storing a weak or overly acidic starter in the fridge is a proactive sour bread baking tip.
Optimizing Baking Processes
Beyond the starter, attention to detail throughout the mixing, fermentation, and baking process is crucial for preventing excessive sourness. Precision in measurements, careful management of time and temperature, and proper handling of the dough all contribute to a balanced final product.
Think of each step as an opportunity to guide the microbial activity towards desirable outcomes. From ensuring ingredients are accurately weighed to monitoring the dough's development rather than relying solely on recipes' time estimates, optimization at each stage helps control flavor development and avoid unwanted acidity. These sour bread baking tips cover the entire baking workflow.
Accurate Measurements and Quality Ingredients
Consistency in baking starts with accurate measurements. Using a digital scale to weigh flour, water, salt, and starter is essential. Even small variations in the hydration or the amount of starter can alter fermentation speed and acid production. For example, using slightly too much starter can accelerate fermentation and lead to over-proofing and increased sourness.
The quality of your ingredients also matters. Use unbleached bread flour for consistent results. Filtered water is often recommended, as chlorine in tap water can sometimes inhibit microbial activity. Using good quality salt is also important, as it not only adds flavor but also helps regulate fermentation. Precise measurements and quality ingredients are foundational sour bread baking tips.
Precise Fermentation and Proofing Management
This ties back to previous points but is worth emphasizing as a proactive measure. Develop a keen sense of how your dough should look and feel at each stage of fermentation and proofing. Learn to recognize adequate bulk fermentation (e.g., 30-50% volume increase, bubbly surface) and proper final proofing (e.g., dough passes the poke test, feels light and airy).
Use temperature control – whether that means finding a warm spot in your kitchen, using a proofing box, or utilizing the refrigerator strategically – to guide fermentation speed. Don't blindly follow recipe times; instead, use them as guidelines and rely on visual and tactile cues from the dough. Mastering this aspect is perhaps the most impactful of all sour bread baking tips for flavor control.
Advanced Techniques for Flavor Control

For bakers who have mastered the basics and want to fine-tune their sourdough's flavor profile, there are more advanced techniques that offer greater control over acidity and complexity. These methods often involve manipulating the starter or dough in specific ways to influence the balance of microbial activity and acid production.
Exploring the use of a levain (a build of starter specifically for a bake) versus using starter directly, or incorporating pre-ferments like poolish or biga (though less common in traditional sourdough, they illustrate the principle of pre-fermenting flour), can provide nuanced control over flavor. These advanced sour bread baking tips require a deeper understanding of fermentation science.
Utilizing a Levain for Greater Flavor Control
Many sourdough recipes call for building a levain rather than using the "discard" portion of your regular starter. A levain is a specific amount of your mature starter that is fed separately, usually 4-12 hours before mixing the dough, with precise ratios of flour and water to reach peak activity at the desired time.
Building a levain allows you to control the hydration and feeding ratio of the culture that goes into your dough more precisely than using your regular maintenance starter. For example, you might build a levain at 100% hydration with a 1:2:2 ratio (starter:water:flour) to ensure it's active and less acidic when added to the mix, contributing a milder tang. This offers a layer of control over the microbial state entering your dough, providing fine-tuned sour bread baking tips.
Exploring the Benefits of Pre-Ferments
While not strictly traditional sourdough techniques, understanding pre-ferments like poolish or biga (mixtures of flour, water, and commercial yeast fermented for a period before being added to the final dough) can shed light on how pre-fermenting flour impacts flavor. These methods develop flavor and strength before the main mix.
In a sourdough context, the levain itself acts as a type of pre-ferment. Some bakers might also experiment with autolysing a portion of the flour with water for a longer period (though this is more for dough development than flavor control directly). The principle here is that manipulating a smaller portion of the total flour and water ahead of time allows for targeted flavor development before it's diluted into the main dough mass. This concept informs advanced sour bread baking tips.
Optimizing Retardation for Flavor Development
Cold retardation (proofing the shaped loaf in the refrigerator) is a common technique used to slow down fermentation for scheduling convenience and to deepen flavor. As noted, it tends to increase acetic acid production, contributing sharp tang and complexity. However, optimizing this stage is key to avoiding excessive sourness.
Experiment with the duration of cold proofing. Instead of a standard 24 hours, try 12, 18, or 36 hours to see how the flavor changes. The ideal time depends heavily on your starter's activity, the dough's temperature going into the fridge, and the fridge temperature itself. Finding the sweet spot where complexity develops without becoming overly vinegary is a crucial advanced sour bread baking tip. Some bakers even experiment with different fridge temperatures (e.g., slightly warmer than standard) to influence the acid balance.
Achieving Perfectly Balanced Sourdough: Tips & Best Practices
The journey to consistently baking perfectly balanced sourdough loaves with just the right amount of tang is one of continuous learning and refinement. There's no single magic bullet; it's about understanding the interplay of your starter, ingredients, time, and temperature, and applying appropriate sour bread baking tips.
The goal isn't necessarily to eliminate sourness entirely, but to control it so that it complements the other flavors and textures of the bread. This requires developing your palate, paying close attention to your baking process, and being willing to experiment and document your results.
Recognizing the Ideal Sourness Profile
What constitutes "perfectly balanced" sourness is somewhat subjective and varies depending on the type of bread and personal preference. A classic San Francisco-style sourdough is known for a more pronounced tang, while a country loaf might have a milder, more rounded acidity.
Develop your palate by tasting different sourdoughs. Pay attention to the type of sourness – is it sharp and vinegary (acetic) or mellow and yogurt-like (lactic)? Decide what profile you are aiming for in your own baking. Understanding your desired outcome makes applying sour bread baking tips much more effective.
Dialing in Specific Recipes for Desired Flavor
Once you have a sense of the flavor profile you want, you can start adjusting specific variables in your recipe and process. If your recipe is consistently too sour, try implementing one or two of the sour bread baking tips discussed:
- Feed your starter more frequently before use.
- Use a higher feeding ratio (e.g., 1:2:2 or 1:3:3) for your levain.
- Slightly reduce bulk fermentation time.
- Shorten or eliminate cold proofing, opting for a warmer, shorter final proof.
- Consider a slight reduction in hydration if using a very high percentage.
Make one change at a time and bake the bread. Taste it and note the difference. This iterative process allows you to dial in the recipe and process for your specific starter and environment.
Documenting and Refining Your Baking Process
Keeping a baking journal is an invaluable tool for mastering sourdough and applying sour bread baking tips effectively. Record details about each bake:
- Date
- Room temperature and humidity
- Starter feeding details (ratio, time, temperature)
- Levain build details (ratio, time, temperature, peak time)
- Recipe details (hydration, flour types, salt %)
- Bulk fermentation start/end times, temperature, and observations (volume increase, texture)
- Shaping notes
- Final proofing details (time, temperature)
- Baking details (oven temp, time, covered/uncovered)
- Resulting flavor notes (including sourness level and type)
Reviewing your notes helps you identify patterns and understand which adjustments lead to desired outcomes. Over time, you'll develop a process that consistently yields sourdough with the perfect balance of flavor for your taste. Consistent documentation is key to refining your sour bread baking tips.
Frequently Asked Questions
How can I tell if my sourdough bread is supposed to be sour?
A properly fermented sourdough should have a noticeable tang, but not an overwhelming sourness. The flavor should be balanced with other flavors like wheat and sweetness.
What are the most common reasons why sourdough bread becomes too sour?
Over-fermentation is a primary culprit, either of the starter or the bulk fermentation stage. Also, using too much starter can contribute to excessive sourness.
Can the type of flour I use affect the sourness of my sourdough?
Yes, using whole wheat flour can sometimes lead to a more pronounced sour flavor due to its higher acidity and nutrient content that fuels fermentation.
What can I do during the baking process itself to reduce the sourness of my bread?
The baking process itself doesn't directly reduce sourness after the fermentation. However, ensuring the bread is fully baked can help balance the flavors and minimize any lingering overly acidic tastes.
How can I adjust my starter maintenance routine to prevent overly sour sourdough in the future?
Regular feeding with the correct flour-to-water ratio and maintaining a consistent schedule will help control the acidity and keep the starter balanced, preventing it from becoming overly sour.
Final Reflection: The Sweetness Found in Sourdough's Challenges
The perfect loaf, a testament to patience and precision, remains elusive even for the most experienced bakers. Sourdough, with its capricious nature, often presents unexpected challenges, and a surprisingly common one is bread that's too sour, even when following a recipe meticulously. This article explored the nuanced reasons behind this issue, from starter health to fermentation time and even the type of flour used. Understanding these factors is crucial for achieving consistent, delicious results.
The journey of baking sourdough is a microcosm of life itself; it's a process of trial and error, of learning to adapt and adjust to unexpected outcomes. The best bread is made with love, and a little bit of frustration.
This quote, though not directly from a baking master, perfectly encapsulates the emotional rollercoaster of sourdough baking. The frustration of a too-sour loaf can be immense, but the eventual triumph of a perfectly balanced crumb is all the sweeter for the lessons learned along the way. It's a reminder that even in imperfection, there's a profound beauty to be found.
Now, consider your own baking journey. Have you experienced the frustration of a sour surprise? What did you learn from that experience? I encourage you to reflect on the techniques discussed in this article—the importance of starter vitality, the impact of fermentation time, and the subtle nuances of flour selection—and apply them to your next bake. Don't let the fear of a sour loaf deter you; embrace the challenge, learn from your mistakes, and savor the sweet reward of a perfectly balanced, delicious sourdough. The journey, with all its ups and downs, is as rewarding as the destination.
Unlock the Secrets to Perfectly Balanced Bread!
Thanks for taking the time to explore the nuances of bread baking with us! We hope you gained valuable insights into rescuing your unexpectedly sour loaves. Now it's time to put your new knowledge into action.
- Try our recommended troubleshooting steps: Re-evaluate your starter activity, check your hydration levels, and experiment with different flours. This is your best bet to avoid sour surprises in the future.
- Share your baking wins (or woes!): Let's build a supportive community! Tell us about your experience – did you manage to salvage your loaf? What adjustments did you make?
- Explore our sourdough starter guide: Ready to dive deeper into sourdough mastery? We've compiled a detailed guide to help you create and maintain a consistently happy starter.
So, what's your next baking adventure? What recipe are you tackling, and what will you do differently next time to ensure a perfectly balanced, delicious loaf?