
The Easiest Basic Sourdough Recipe You'll Ever Need

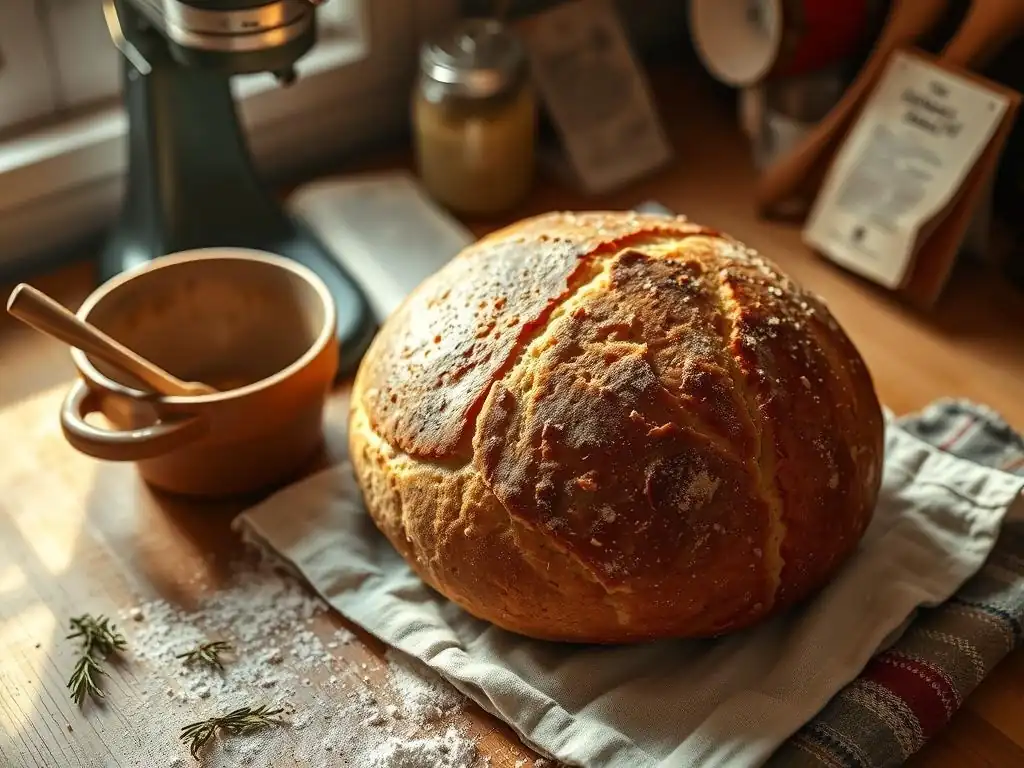
Welcome to BakeWithEase, your trusted companion on your baking journey!
Ready to unlock the secrets of sourdough without the intimidation? This might be categorized as "Intermediate Baking," but we promise, even if you're just starting out, you'll find our easy beginner sourdough recipe surprisingly achievable. We've broken down the process into simple steps, demystifying the art of sourdough baking. Curious to see how easy it really is? Let's get started!
- BakeWithEase's Foolproof Beginner Sourdough Bread Recipe
- Essential Equipment for Your First Sourdough Loaf
- Simple Sourdough Ingredients: What You Need
-
Step-by-Step: The Easiest Sourdough Recipe
- Step 1: Autolyse - The Secret to a Better Crumb
- Step 2: Mixing the Dough - Simple and Effective
- Step 3: Bulk Fermentation - Developing Flavor and Strength
- Step 4: Shaping Your Sourdough Loaf - Easy Techniques
- Step 5: Proofing - The Final Rise
- Step 6: Baking Your Sourdough Bread - Achieving the Perfect Crust
- Step 7: Cooling and Slicing - Patience is a Virtue
- Troubleshooting Common Sourdough Problems
- Sourdough Recipe Variations for Beginners
- Storing Your Homemade Sourdough Bread
- Enjoy Your Delicious, Easy Beginner Sourdough Bread!
- Frequently Asked Questions
- Final Reflection: The Humble Loaf and the Journey Within
- Unleash Your Inner Baker: Start Your Sourdough Journey Today!
BakeWithEase's Foolproof Beginner Sourdough Bread Recipe
Welcome to Sourdough Baking Made Easy!
Embarking on your sourdough journey might seem daunting at first glance, but it doesn't have to be complicated. Our goal at BakeWithEase is to demystify the process and show you just how achievable baking a beautiful, tangy loaf from scratch can be. This guide is specifically designed to be the easiest basic sourdough recipe you'll find, perfect for anyone just starting out.
We'll walk you through each step with simple instructions and helpful tips, ensuring your first attempt is a resounding success. Think of this as your friendly introduction to the wonderful world of natural leavening, paving the way for many delicious loaves to come.
This easy beginner sourdough recipe focuses on simplicity without sacrificing flavor or texture. We've stripped away unnecessary complexities often found in advanced recipes, concentrating on the fundamental techniques that truly matter for a successful bake. You won't need fancy equipment or years of experience; just a little patience and willingness to learn. By the end of this article, you'll have the confidence and knowledge to bake a delicious loaf of sourdough bread right in your own kitchen, proving that mastering sourdough is well within your reach.
Why This is the Best Easy Sourdough Recipe for Beginners
This particular recipe stands out as an excellent easy beginner sourdough recipe because it prioritizes forgiveness and clear instruction. We use a slightly higher hydration level than some very stiff doughs, which makes mixing and handling a bit more manageable for newcomers. The steps are broken down into easily digestible segments, focusing on observable cues rather than strict, unforgiving timings. For example, instead of saying "ferment for exactly 4 hours," we guide you on how to look for signs of adequate fermentation, like increased volume (typically 30-50%) and the presence of small bubbles.
Furthermore, this recipe employs a straightforward mixing method that doesn't require intensive kneading, relying more on time and gentle folds to develop gluten structure. This reduces the physical effort and the potential for overworking the dough, common pitfalls for beginners. We also provide flexible proofing options, including a forgiving cold proof in the refrigerator, which not only develops deeper flavor but also makes the baking time more convenient. Our aim is to build your confidence with an easy beginner sourdough recipe that consistently produces delicious results, encouraging you to bake again and again.
Essential Equipment for Your First Sourdough Loaf
Must-Have Sourdough Baking Tools
To successfully bake this easy beginner sourdough recipe, you don't need a professional bakery setup, but a few key tools will make the process significantly smoother. A digital kitchen scale is absolutely essential; sourdough recipes rely on precise ingredient ratios (hydration percentages, salt percentages relative to flour weight), and measuring by volume (cups) is simply too inaccurate for consistent results.
You'll need a large mixing bowl, preferably clear or translucent so you can observe the dough's development during bulk fermentation. A bench scraper is incredibly useful for handling and shaping sticky dough without it sticking to your hands and surfaces.
Another crucial piece of equipment for achieving a great crust is something to create steam during baking. The most popular and effective method for home bakers is using a Dutch oven. A 5 or 6-quart cast iron Dutch oven is ideal, as it traps the steam released by the dough, mimicking a professional steam-injected oven. This steam keeps the crust soft initially, allowing the loaf to expand fully before the crust sets, resulting in a beautiful rise and crispy finish. Without adequate steam, your crust will set too early, restricting oven spring and potentially leading to a dense loaf.
Optional Equipment for Enhanced Sourdough Results
While not strictly necessary for this easy beginner sourdough recipe, certain optional tools can further enhance your baking experience and the quality of your loaf. A proofing basket, also known as a banneton, is a cane or wood pulp basket used for the final proofing. It helps the dough maintain its shape as it rises and imparts a lovely pattern on the crust if using a floured linen liner. Using a banneton is particularly helpful for wet doughs, preventing them from spreading out flat during proofing.
Other helpful items include a lame (pronounced "lahm"), which is a razor blade on a handle used for scoring the dough before baking. Proper scoring allows the loaf to expand predictably in the oven and prevents blowouts.
While you can use a sharp knife or razor blade held carefully, a lame offers better control for precise cuts. Additionally, a spray bottle filled with water can be used to mist the inside of your oven if you're baking on a stone without a Dutch oven, though a Dutch oven is generally more effective at trapping sufficient steam for an easy beginner sourdough recipe.
Simple Sourdough Ingredients: What You Need
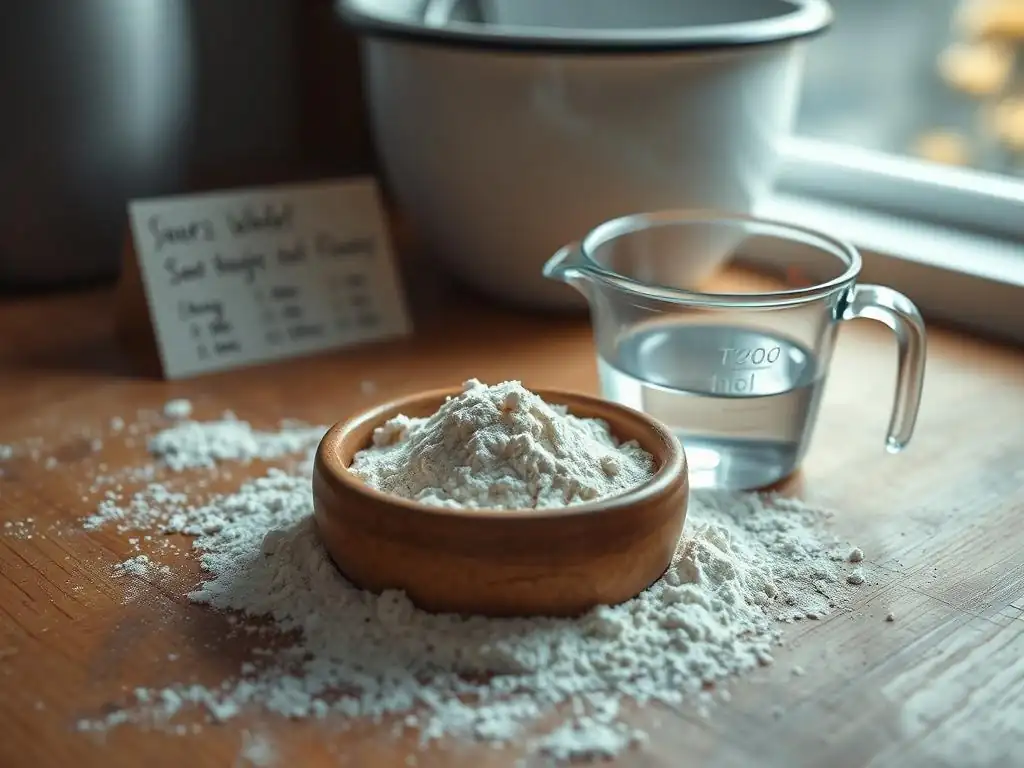
High-Quality Flour: The Foundation of Great Sourdough
The type and quality of flour you use significantly impact the outcome of your easy beginner sourdough recipe. For your first loaf, we recommend using a good quality bread flour. Bread flour typically has a higher protein content (around 12-14%) compared to all-purpose flour (around 10-12%). This higher protein level translates to more gluten development, which is essential for creating the structure and elasticity needed for a well-risen sourdough loaf with a good crumb structure. Look for unbleached bread flour from a reputable mill if possible.
While all-purpose flour can work, especially for a very easy beginner sourdough recipe, bread flour will generally give you more consistent and robust results. Using organic or freshly milled flour can also enhance flavor, but for your initial attempt, focus on finding readily available, good quality bread flour. The difference in protein content between flours from different brands can vary, so sticking to one brand initially can help you understand how that specific flour behaves in this recipe.
Water: Hydration is Key to Sourdough Success
Water is a critical component in your easy beginner sourdough recipe, not just for hydration but also for activating the gluten and feeding the sourdough starter. The temperature of the water can influence the dough's temperature, which in turn affects fermentation speed. Using room temperature water, roughly 70-75°F (21-24°C), is a good starting point for most home environments, providing a moderate fermentation rate that is easy to manage.
The amount of water relative to the flour is known as the hydration percentage. This easy beginner sourdough recipe typically uses a hydration level around 70-75%, meaning the water weighs 70-75% of the total flour weight. For example, if you use 500 grams of flour, you'd use 350-375 grams of water. Higher hydration makes the dough stickier and harder to handle but can result in a more open crumb. This range offers a good balance for beginners – manageable dough that still yields a nice texture.
Salt: Enhancing Flavor and Controlling Fermentation
Salt plays a vital role in your easy beginner sourdough recipe, contributing significantly to the flavor of the final loaf and also helping to control the rate of fermentation. Without salt, sourdough can taste bland and ferment too quickly, potentially leading to an overly sour flavor profile. Salt also strengthens the gluten network, which helps the dough hold its shape and rise.
For this recipe, we typically use around 2% salt relative to the flour weight. So, if you're using 500 grams of flour, you'll add approximately 10 grams of salt. Fine sea salt or kosher salt are good choices; avoid iodized table salt, which can sometimes impart an off-flavor and contains anti-caking agents. Add the salt after the initial autolyse phase (mixing flour and water), as salt can inhibit enzyme activity important during that stage.
Your Active Sourdough Starter: The Heart of the Recipe
The most unique and essential ingredient in an easy beginner sourdough recipe is your active sourdough starter. An active starter is one that has been recently fed and is bubbly, risen, and smells pleasantly tangy, like yogurt or ripe fruit. It should have enough vigor to double in size within 4-8 hours after feeding at room temperature (around 70-75°F or 21-24°C). You'll need a specific amount of this active starter, usually around 20-25% of the total flour weight, to leaven the dough effectively.
Using a starter that is at its peak activity (often referred to as "ripe") is crucial for a successful rise. If your starter is sluggish, your dough won't ferment properly, resulting in a dense loaf. Ensure your starter is active by feeding it 4-12 hours before you plan to mix your dough, using a ratio like 1:2:2 (1 part starter, 2 parts water, 2 parts flour by weight). Wait until it has visibly risen and shows plenty of bubbles before using it in your easy beginner sourdough recipe.
Step-by-Step: The Easiest Sourdough Recipe
Step 1: Autolyse - The Secret to a Better Crumb
The first step in this easy beginner sourdough recipe is the autolyse. This simple technique involves mixing just the flour and water (minus the salt) until no dry bits of flour remain. The mixture will look shaggy and unmixed at this stage. Once combined, cover the bowl and let it rest for 30 minutes to 1 hour at room temperature. This resting period allows the flour to fully hydrate and activates enzymes that begin to break down proteins, starting the gluten development process without any mechanical mixing.
The autolyse step is a game-changer for beginners because it makes the dough much easier to handle later on. After resting, the dough will feel less shaggy and more cohesive and extensible. This initial hydration and enzyme activity mean you'll need less physical kneading to develop the gluten structure, which is perfect for an easy beginner sourdough recipe. It also contributes to a more open and airy crumb structure in the final baked loaf.
Step 2: Mixing the Dough - Simple and Effective
After the autolyse, it's time to incorporate the active sourdough starter and salt into the dough. Add your ripe starter and the measured salt to the autolysed dough in the bowl. Now, gently mix and squeeze the dough with your hands until the starter and salt are evenly distributed throughout. The dough might feel a bit resistant at first, but keep working it gently.
Once everything is roughly combined, you can perform a few simple stretch and folds right in the bowl or turn the dough out onto a lightly wet surface. Stretch one edge of the dough up and over the center, then rotate the bowl and repeat with the other sides. Do this 4-8 times until the dough starts to feel a bit smoother and more cohesive. Cover the bowl and let the dough rest for 20-30 minutes before moving to the next step. This minimal mixing is part of what makes this an easy beginner sourdough recipe.
Step 3: Bulk Fermentation - Developing Flavor and Strength
Bulk fermentation, also known as the first rise, is where the magic of sourdough truly happens. This is the period from when you finish mixing the ingredients until you shape the dough. During this time, the wild yeasts and bacteria in your starter work to ferment the sugars in the flour, producing carbon dioxide (which makes the dough rise) and organic acids (which give sourdough its characteristic flavor). Place your dough in a lightly oiled or wet clean bowl or container and cover it.
Throughout bulk fermentation, you'll perform a series of "stretch and folds" to develop the dough's strength and structure. Every 30-60 minutes for the first 2-3 hours, gently stretch and fold the dough as described in Step 2. For a typical easy beginner sourdough recipe using 500g flour, you might do 4-6 sets of folds. After the initial folds, let the dough rest undisturbed. The total bulk fermentation time can range from 4 to 12 hours, depending heavily on the ambient temperature and the activity of your starter.
Understanding Bulk Fermentation Time and Temperature
The duration of bulk fermentation is highly dependent on the temperature of your environment and the dough itself. A warmer room temperature, say 78°F (26°C), will result in a much faster fermentation (perhaps 4-6 hours) compared to a cooler room, around 68°F (20°C), where it might take 8-12 hours or even longer. The goal isn't a specific time, but rather for the dough to increase in volume by about 30-50% and show signs of fermentation, such as bubbles on the surface and along the sides of the container.
Over-fermenting can lead to a dough that is difficult to shape and results in a dense crumb, while under-fermenting means the dough won't have enough strength or flavor development. As an easy beginner sourdough recipe, focus on the visual cues: watch for noticeable volume increase and a slightly domed surface. If you gently poke the dough with a wet finger, the indentation should slowly spring back but not disappear completely (this is called the "poke test" and is more commonly used after shaping, but observing the dough's resilience during bulk fermentation is also helpful).
Step 4: Shaping Your Sourdough Loaf - Easy Techniques
Once bulk fermentation is complete, it's time to shape your dough into its final form. Gently turn the dough out onto a lightly floured or wet surface. Be careful not to deflate it too much; you want to preserve the gases that have developed. For this easy beginner sourdough recipe, we'll focus on two simple shapes: a round boule or an oblong batard. The key is to create tension on the surface of the dough, which helps it hold its shape during proofing and baking.
Before final shaping, you might consider a brief "pre-shape" or "bench rest." Gently gather the dough into a rough ball or log, cover it, and let it rest for 15-20 minutes. This allows the gluten to relax, making the final shaping easier. After the rest, proceed with your chosen shaping method, focusing on tucking the edges underneath to create a smooth, taut surface on top.
Simple Shaping for a Round Boule
To shape a boule for this easy beginner sourdough recipe, gently flatten the pre-shaped dough into a rough circle. Imagine the circle has four points like a compass (North, South, East, West). Take the North edge and fold it down towards the center. Take the South edge and fold it up over the North edge. Then, take the East and West edges and fold them towards the center. Finally, flip the dough over so the seams are underneath.
Now, using your hands (or a bench scraper), gently cup the dough and pull it towards you across the surface. This motion creates tension on the top surface and rounds the dough further. Rotate the dough a quarter turn and repeat the pulling motion. Do this a few times until you have a tight, round ball with a smooth surface. Place the shaped boule seam-side up in a floured banneton or a bowl lined with a floured tea towel.
Shaping for an Oblong Batard
To shape a batard (an oval loaf) for your easy beginner sourdough recipe, gently flatten the pre-shaped dough into a rough rectangle. Imagine the rectangle is oriented vertically. Take the top edge and fold it down about two-thirds of the way. Then, take the bottom edge and fold it up over the folded top edge, like folding a letter. Gently seal the seam along the bottom.
Now, turn the dough 90 degrees so the seam is running horizontally in front of you. Starting from the top edge furthest away, roll the dough down towards you, tucking the dough under itself as you roll. Use your hands to gently coax the sides inward as you roll, creating an oblong shape. Once rolled, gently seal the final seam underneath. Place the shaped batard seam-side up in a floured oval banneton or a bowl lined with a floured tea towel.
Step 5: Proofing - The Final Rise
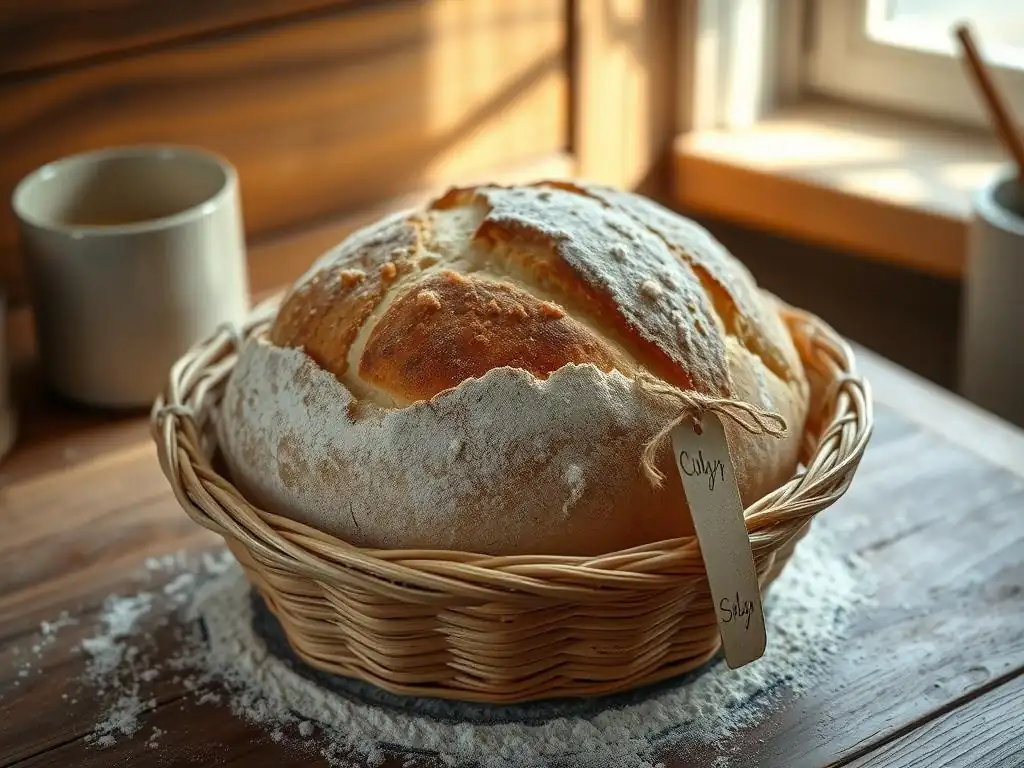
Proofing is the final rise of the shaped dough before baking. This step allows the dough to lighten up and expand further, developing its final structure and texture. There are two main methods for proofing in this easy beginner sourdough recipe: cold proofing in the refrigerator or proofing at room temperature. Cold proofing is highly recommended for beginners as it slows fermentation, makes the dough easier to handle and score, and develops more complex flavors.
Place your shaped dough (in its banneton or lined bowl) inside a plastic bag or cover it tightly with plastic wrap to prevent it from drying out. The dough should be placed seam-side up in the proofing container because it will be flipped out seam-side down onto your baking surface.
Proofing in the Refrigerator (Cold Proof)
Cold proofing involves placing the shaped dough in the refrigerator, typically at temperatures between 38-40°F (3-4°C), for an extended period. For this easy beginner sourdough recipe, a cold proof of 8-24 hours is common. This slow, cool fermentation significantly enhances the flavor development, resulting in a tangier loaf. It also firms up the dough, making it much easier to score cleanly just before baking.
A major advantage of cold proofing for an easy beginner sourdough recipe is flexibility. You can shape the dough in the evening and bake it the next morning, or even the morning after. The dough will rise slowly in the cold, and you'll know it's ready when it has increased in volume (perhaps by 20-40% from its shaped size) and passes the "poke test" – an indentation from a gentle poke should spring back slowly but not completely.
Room Temperature Proofing
Alternatively, you can proof your shaped dough at room temperature. This method is much faster than cold proofing, typically taking 1-4 hours depending on the ambient temperature. Place the covered dough in a warm spot in your kitchen. You'll need to monitor it closely, as it can overproof quickly.
For a room temperature proof in this easy beginner sourdough recipe, the dough is ready when it has visibly increased in size (perhaps 50-75% from its shaped size) and passes the poke test: a gentle poke should leave an indentation that springs back very slowly, leaving a small dent. If it springs back immediately, it needs more time. If it doesn't spring back at all, it may be overproofed. Room temperature proofing requires more precise timing and can be less forgiving for beginners compared to the flexibility of a cold proof.
Step 6: Baking Your Sourdough Bread - Achieving the Perfect Crust
Baking is the final exciting step in this easy beginner sourdough recipe! The goal is to achieve maximum oven spring, a beautiful golden-brown crust, and a well-cooked interior. Preheating your oven and baking vessel thoroughly is absolutely critical for success.
If using a Dutch oven, place it in the oven while it's cold and preheat the oven to a high temperature, typically 450-500°F (230-260°C), for at least 30-60 minutes. This ensures the Dutch oven is scorching hot when the dough goes in, providing an initial burst of heat that promotes oven spring and creates steam.
Baking in a Dutch Oven for Optimal Results
Baking in a preheated Dutch oven is the recommended method for this easy beginner sourdough recipe as it effectively traps steam, mimicking a professional oven. Carefully remove the hot Dutch oven from the oven. Gently flip your cold-proofed dough (which is seam-side up in the banneton) into the hot Dutch oven – it should land seam-side down. If you proofed seam-side down, you would score the top before flipping.
Once the dough is in the hot pot, score the top surface quickly with a sharp blade (like a lame or razor blade). Scoring allows the dough to expand in a controlled manner. Immediately cover the Dutch oven with its lid and place it back in the preheated oven.
Bake with the lid on for 20-25 minutes. This initial covered period allows the dough to expand fully in a steamy environment. After 20-25 minutes, remove the lid and continue baking for another 20-30 minutes, or until the crust is deep golden brown and the internal temperature reaches around 205-210°F (96-99°C).
Baking on a Baking Stone or Sheet Pan
If you don't have a Dutch oven, you can bake your easy beginner sourdough recipe on a preheated baking stone or a heavy-duty baking sheet. Preheat your oven with the stone or sheet pan inside at 450-500°F (230-260°C) for at least 30-60 minutes. You will need to create steam manually in the oven to achieve a good crust.
To create steam, you can place a cast iron pan or oven-safe tray on the bottom rack of your oven while it preheats. Just before you slide your scored dough onto the hot stone/sheet pan, carefully pour about a cup of hot water into the hot pan on the bottom rack. This will create a burst of steam. Quickly close the oven door.
Alternatively, you can mist the oven walls with a spray bottle of water (avoiding the light bulb or glass door) immediately after placing the dough in. Bake for 30-40 minutes, or until the crust is golden brown and the internal temperature is 205-210°F (96-99°C). You may need to repeat the steaming process once or twice in the first 10 minutes of baking.
Step 7: Cooling and Slicing - Patience is a Virtue
After your beautiful easy beginner sourdough recipe loaf is baked, the hardest part is waiting to slice into it! Immediately transfer the bread from the Dutch oven or baking surface to a wire cooling rack. It is crucial to let the bread cool completely before slicing, which typically takes 1.5 to 3 hours for a loaf of this size.
During the cooling process, residual heat continues to cook the interior of the loaf, and the starches set. Slicing into hot bread will result in a gummy, dense crumb because the internal structure hasn't fully set. Allow the loaf to cool fully on the rack, ensuring air circulation around all sides. Once completely cool, slice with a sharp serrated knife and enjoy the fruits of your labor!
Troubleshooting Common Sourdough Problems
My Sourdough Didn't Rise! What Went Wrong?
One of the most common frustrations for beginners is a loaf that doesn't rise adequately. In an easy beginner sourdough recipe, the primary culprit is usually an inactive or weak sourdough starter. If your starter wasn't bubbly, didn't double in size after feeding, or had a thin, watery consistency, it likely didn't have enough power to leaven the dough. Ensure your starter is consistently fed and active before baking.
Other reasons for poor rise include insufficient bulk fermentation time (the dough didn't develop enough gas), over-proofing (the dough rose and then collapsed), or not creating enough surface tension during shaping. Ambient temperature also plays a huge role; fermentation slows significantly in cooler environments. If your kitchen is cold, consider using a proofing box or placing the dough in a slightly warmer spot (like an oven with the light on) to encourage fermentation.
My Sourdough is Too Sour! How to Adjust.
While a pleasant tang is characteristic of sourdough, sometimes the flavor can be overwhelmingly sour, especially in an easy beginner sourdough recipe. Excessive sourness is often a result of prolonged fermentation, particularly at warmer temperatures, which favors the production of acetic acid (the vinegary tang). Using too much starter relative to the flour can also accelerate acid production.
To reduce sourness, try shortening the bulk fermentation time, especially if proofing at room temperature. Using a cooler environment for bulk fermentation or opting for a longer cold proof in the refrigerator (which favors lactic acid, a milder tang) can help. Ensure you are using your starter when it's at its peak, shortly after doubling, rather than when it has peaked and started to fall back down, as this indicates it has consumed most of its food and is producing more acids. Reducing the percentage of starter slightly in the recipe can also help temper the tang.
My Sourdough is Dense and Gummy! Solutions.
A dense or gummy crumb can be disheartening after following an easy beginner sourdough recipe. Several factors can contribute to this. One major cause is under-proofing or over-proofing. Under-proofed dough hasn't developed enough gas or strength, resulting in a tight, dense structure. Over-proofed dough, on the other hand, has exhausted its leavening power and may collapse slightly, leading to a dense, often gummy interior. Pay close attention to the visual cues and the poke test during bulk fermentation and final proofing.
Insufficient gluten development is another factor. While this easy beginner sourdough recipe uses minimal kneading, the stretch and folds during bulk fermentation are crucial for building strength. Not performing enough folds, or not allowing adequate rest time between folds, can result in a weak gluten network unable to support the dough's structure. Finally, slicing the loaf before it has fully cooled will almost always result in a gummy texture, as the starches haven't had time to set properly. Always let your loaf cool completely on a wire rack.
Sourdough Recipe Variations for Beginners
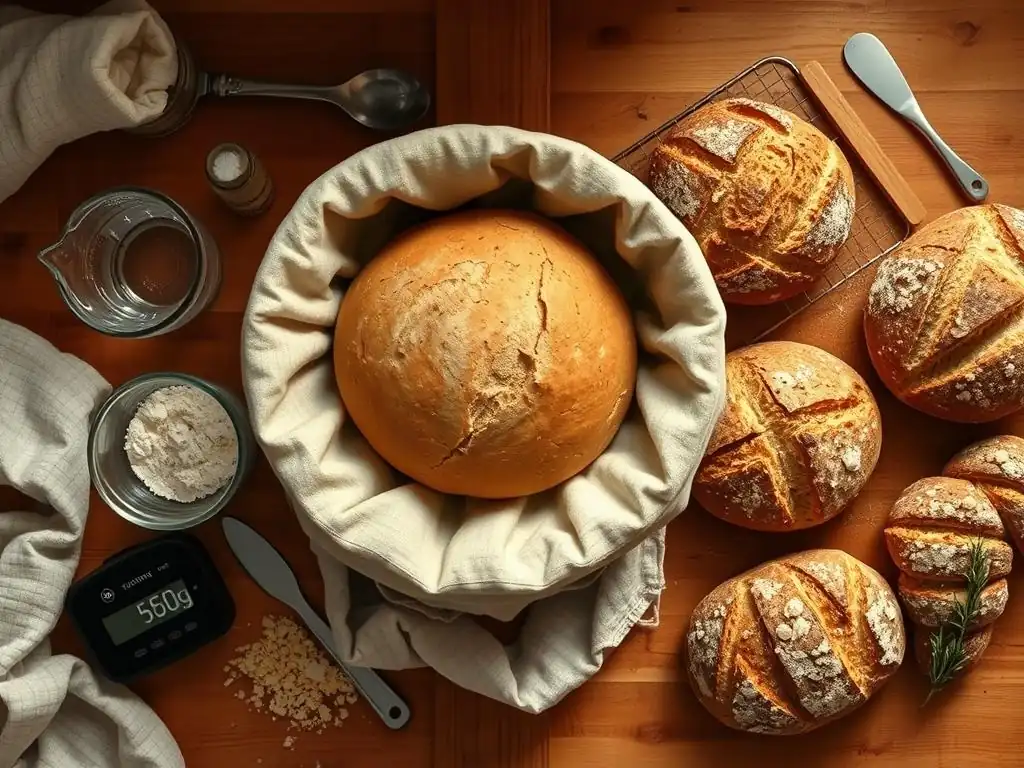
Adding Whole Wheat Flour for a Nutty Flavor
Once you've successfully baked this easy beginner sourdough recipe with white bread flour, you might want to experiment with adding other types of flour. Incorporating a percentage of whole wheat flour is a popular variation that adds a deeper, nuttier flavor and increases the fiber content. For your first attempt at this variation, try substituting 10-20% of the bread flour with whole wheat flour (e.g., if using 500g total flour, use 400-450g bread flour and 50-100g whole wheat flour).
Whole wheat flour absorbs more water than white flour due to the presence of the bran and germ. You might need to slightly increase the total water amount (by perhaps 5-10 grams for every 50 grams of whole wheat added) to maintain a similar dough consistency. The dough might also ferment slightly faster due to the extra nutrients in whole wheat flour. This simple substitution is a great way to explore variations on your easy beginner sourdough recipe.
Incorporating Seeds and Grains for Texture
Adding seeds and grains introduces wonderful texture and nutritional benefits to your easy beginner sourdough recipe. Popular additions include sesame seeds, poppy seeds, flax seeds, sunflower seeds, and oats. You can add them directly to the dough during the mixing stage after the autolyse, or roll the shaped loaf in seeds before proofing.
A common method is to add about 5-10% of the total flour weight in seeds directly into the dough. For instance, with 500g flour, you might add 25-50g of a seed mix. Some seeds, like flax seeds, absorb a lot of water, so you might need to increase the water content slightly, or soak the seeds in a small amount of water beforehand (called a 'soaker') to prevent them from drying out the dough. Experimenting with additions is a fun way to personalize your easy beginner sourdough recipe.
Creating a Simple Flavored Sourdough (e.g., Rosemary Garlic)
Infusing your easy beginner sourdough recipe with flavors is a fantastic way to elevate your loaf. Herbs like fresh rosemary, thyme, or chives, and aromatics like roasted garlic or caramelized onions, work beautifully. A simple rosemary and garlic variation is a great starting point.
Finely chop about 1-2 tablespoons of fresh rosemary and mince 2-3 cloves of roasted garlic (roasting mellows the garlic's bite). Add these ingredients to the dough during the mixing stage, after the autolyse and addition of salt and starter. Ensure they are evenly distributed throughout the dough during your initial mixing and subsequent stretch and folds. The fermentation process will help integrate the flavors into the bread. Avoid adding too much wet or oily ingredients, as this can interfere with gluten development in your easy beginner sourdough recipe.
Storing Your Homemade Sourdough Bread
Keeping Your Sourdough Fresh for Longer
Proper storage is key to enjoying your delicious easy beginner sourdough recipe loaf for as long as possible. The best way to store sourdough bread is at room temperature, unsliced, in a paper bag or a cloth bread bag. This allows the crust to remain crispy while protecting the interior from drying out too quickly. A whole loaf stored this way can stay fresh for 2-3 days.
Avoid storing sourdough in plastic bags or airtight containers at room temperature for extended periods, as this traps moisture and can make the crust soft and chewy, and potentially encourage mold growth. If you've sliced the loaf, store the cut side down on a cutting board or wrap just the cut surface in beeswax wrap or plastic wrap, leaving the rest of the loaf exposed to air in a bag. For longer storage, sourdough freezes exceptionally well.
Allow the loaf to cool completely, then wrap it tightly in plastic wrap and then in foil or a freezer bag. Frozen sourdough can last for several months. Thaw at room temperature, and refresh the crust by warming it in a moderate oven for 10-15 minutes.
Enjoy Your Delicious, Easy Beginner Sourdough Bread!
Frequently Asked Questions
What makes this sourdough recipe "easy" for beginners?
This recipe focuses on a simple process and uses readily available ingredients, minimizing the complexity often associated with sourdough baking. It includes clear, step-by-step instructions.
How long does it take to make this easy beginner sourdough recipe from start to finish?
The entire process, including feeding the starter, mixing, bulk fermentation, proofing, and baking, takes approximately 24-36 hours. Most of this time is hands-off.
What if I don't have a sourdough starter?
You'll need to create a sourdough starter first. BakeWithEase.com offers resources and guides on how to cultivate your own from scratch.
Can I use this recipe with different types of flour?
While all-purpose and bread flour work best, you can experiment. However, adjust hydration as needed, as different flours absorb water differently.
How do I know when my sourdough loaf is properly baked?
The loaf should have a deep golden-brown crust, sound hollow when tapped on the bottom, and have an internal temperature of around 200-210°F (93-99°C).
Final Reflection: The Humble Loaf and the Journey Within
The enduring appeal of sourdough bread lies not just in its tangy flavor, but in the simple act of creation itself. It's a testament to the power of patience and the surprising rewards of embracing a process that, at first glance, might seem daunting. This recipe, designed for absolute beginners, aims to demystify the art of sourdough baking, making it accessible to everyone.
Sourdough's influence extends far beyond the kitchen table; it represents a connection to a long and rich history of food production, a testament to the enduring power of simple ingredients and mindful practice. It's a reminder that slowing down, observing the subtle changes in our creations, and appreciating the natural processes at work can be incredibly rewarding. Bread making is a metaphor for life. You put in the effort, you wait patiently, and you are rewarded with something beautiful and nourishing.
This quote, though not directly about sourdough, perfectly encapsulates the experience.
Now, I invite you to consider your own journey. Perhaps you've already tried your hand at this recipe, experiencing the satisfaction of a perfectly risen loaf. Or maybe you're still contemplating the leap. Regardless, I encourage you to embrace the challenge. Don't be afraid to get your hands dirty, to experiment, and to learn from your mistakes. The journey of baking sourdough, like life itself, is about the process as much as the product. The rewards – a delicious loaf and a newfound appreciation for the simple things – are well worth the effort.
Unleash Your Inner Baker: Start Your Sourdough Journey Today!
Thanks for taking the time to explore the world of sourdough with us! We hope you now feel confident in tackling this seemingly daunting bread. Ready to put your new knowledge into practice?
- Bake your first sourdough loaf: Use the recipe from the article as your guide, and don't be afraid to experiment! Even small adjustments can lead to amazing results. This is the primary action we encourage you to take today.
- Share your baking journey: Snap a picture of your beautiful loaf and share it on social media – tag us @BakeWithEase (not a real tag, example only) and use #BakeWithEaseSourdough so we can see your creations!
- Explore our other recipes: Discover more easy-to-follow recipes on our site to continue your baking adventure. You might be surprised at what you can create!
Now, tell us: What unique ingredient are you most excited to try in your next sourdough creation?