
Stop Burning the Bottom of Your Bread Loaves

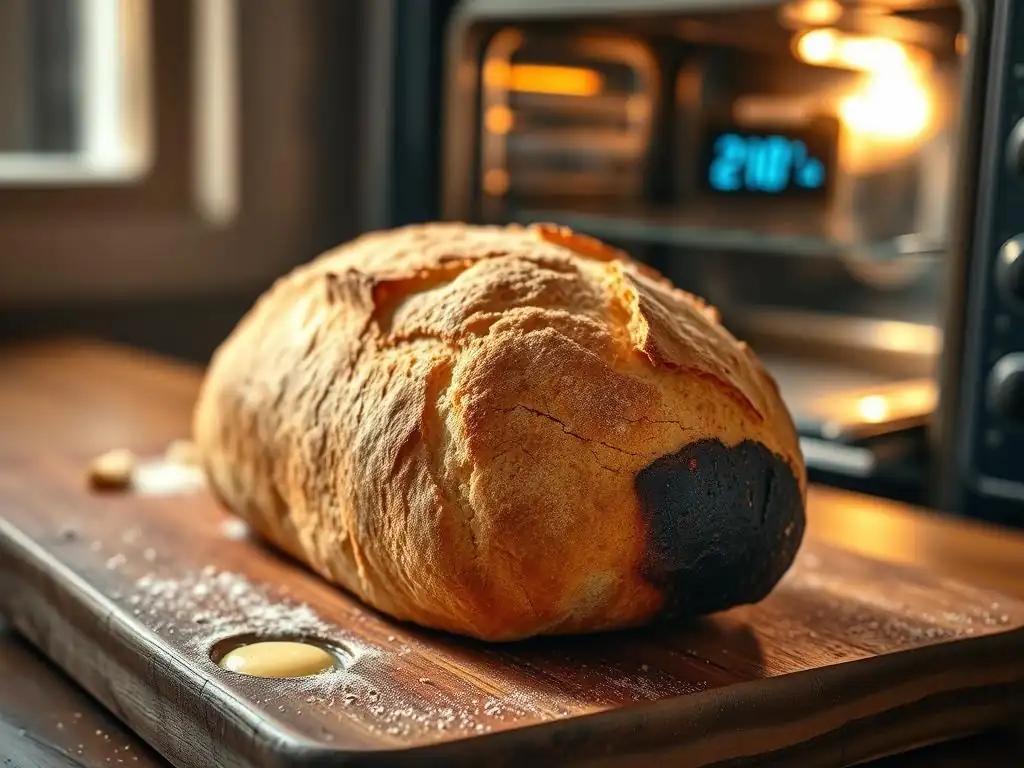
Welcome to BakeWithEase, where we turn baking challenges into delicious triumphs! Tired of that dreaded burnt bottom ruining your perfect loaf? In this article, we're diving deep into how to prevent bread burning, unlocking the secrets to achieving that golden-brown crust you've always dreamed of. Discover simple yet effective techniques that will transform your baking game and leave you wondering why you didn't try them sooner. Ready to say goodbye to burnt bread forever?
- Stop Burning the Bottom of Your Bread Loaves: A BakeWithEase Guide
- Understanding Why Bread Bottoms Burn
- Troubleshooting Burnt Bread Bottoms: Solutions and Prevention
- Preventing Burnt Bread Bottoms: Proactive Baking Tips
- Advanced Techniques for Perfect Bread Crusts
- Conclusion: Baking Bread with Confidence and Avoiding Burnt Bottoms
-
Frequently Asked Questions
- How can I prevent the bottom of my bread from burning in the oven?
- What oven temperature is best to avoid burning the bottom crust of my bread?
- What type of baking pan is least likely to cause burning?
- Is there a specific dough recipe that is more prone to burning?
- If my bread continues to burn, even with adjustments, what else could be the problem?
- Final Reflection: The Humble Crust and the Art of Patience
- Unleash Your Inner Baker: Perfect Loaves Every Time!
Stop Burning the Bottom of Your Bread Loaves: A BakeWithEase Guide
Understanding Why Bread Bottoms Burn
The Science Behind Burnt Bread: Heat Distribution Explained
Understanding how your oven heats is the first step in learning how to prevent bread burning. Ovens primarily use radiant heat, which travels in waves directly from the heating elements (usually at the bottom and sometimes the top).
When your bread pan is placed too close to the lower heating element, the bottom crust is exposed to a much higher intensity of this direct radiant heat compared to the top or sides. This concentrated energy transfer causes the sugars and proteins in the bottom crust to brown and eventually char much faster than the rest of the loaf, resulting in that frustrating burnt bottom.
Furthermore, oven interiors are full of convection currents – the movement of hot air. While convection generally helps bake things evenly, hot spots can exist, and the air near the bottom element is significantly hotter. The baking surface itself (pan, stone, steel) also absorbs this intense heat and radiates it directly into the base of the bread. A dark metal pan, for example, absorbs more radiant heat than a shiny one, accelerating the browning process on the bottom. All these factors combine to make the bottom of your loaf particularly vulnerable to scorching if not managed properly.
Common Causes of Burnt Bread Crusts: A Baker's Checklist
Identifying the specific culprit in your kitchen is key to preventing bread burning in the future. Often, it's not just one issue but a combination of factors. Review this checklist to pinpoint potential problems causing your bread bottoms to burn:
- [ ] Rack Position: Is your bread pan on the lowest rack, too close to the bottom heating element?
- [ ] Oven Temperature Accuracy: Is your oven thermostat calibrated correctly, or is it running hotter than the set temperature? Many home ovens can be off by 25-75°F (15-40°C).
- [ ] Baking Surface Temperature: If using a baking stone or steel, was it preheated for an excessively long time or placed too low in the oven?
- [ ] Pan Type: Are you using a dark metal pan which absorbs more heat and promotes faster browning on the bottom?
- [ ] Baking Time: Is the bread simply baking for too long at a high temperature?
- [ ] Dough Composition: Does your recipe have a high sugar content? Sugars caramelize and burn more readily at high temperatures.
Addressing one or more items on this list can significantly improve your results and help you learn how to prevent bread burning effectively.
Troubleshooting Burnt Bread Bottoms: Solutions and Prevention
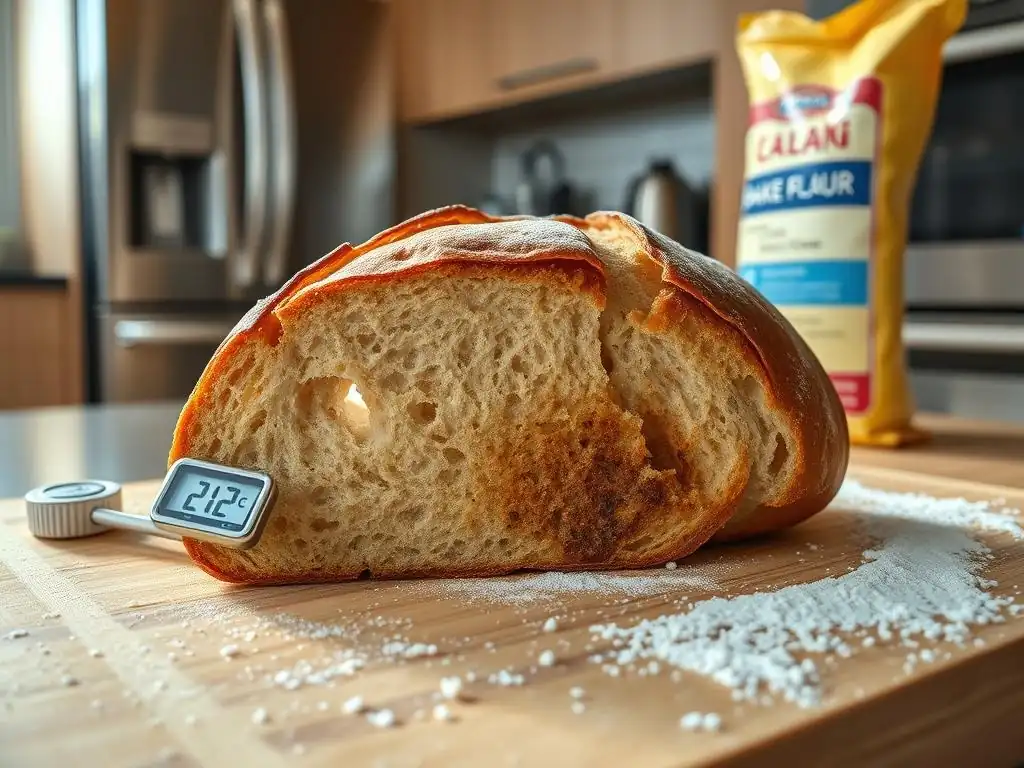
Solution 1: Adjusting Oven Temperature for Even Baking
Lowering the Oven Temperature: A Simple Fix
One straightforward method to combat burnt bread bottoms is to slightly reduce your oven's baking temperature. While recipes often call for temperatures like 400-450°F (200-230°C) for a good crust and oven spring, these high temperatures increase the risk of scorching the bottom, especially in certain ovens or with specific pans. Try lowering the temperature by 25°F (about 15°C).
Reducing the temperature means the radiant heat from the bottom element is less intense over time. You will likely need to increase the baking time slightly to ensure the loaf is fully cooked through, but this slower, gentler heat allows the entire loaf to bake more evenly, giving the bottom crust time to brown nicely without burning. For example, if a recipe calls for 425°F for 30 minutes, try 400°F for 35-40 minutes, monitoring closely.
Using an Oven Thermometer for Accurate Readings
Relying solely on your oven's built-in thermostat can be misleading. Many home ovens have internal thermostats that are not perfectly calibrated, leading to actual temperatures that are significantly higher or lower than what is displayed. An oven running just 30°F (17°C) hotter than set can drastically increase the rate at which the bottom of your bread burns, especially if it's already close to the heat source.
Investing in an inexpensive, standalone oven thermometer is a simple yet powerful tool for preventing bread burning. Place it near where your bread bakes and check the actual temperature after the oven has preheated for at least 20-30 minutes. If your oven consistently reads high, you can adjust your set temperature accordingly (e.g., set it to 400°F if you want an actual temperature of 425°F). Knowing the true temperature allows you to make informed decisions about baking time and other variables.
Solution 2: Shielding the Bread Loaf from Direct Heat
Baking Sheets as Heat Shields: Protect Your Dough
A highly effective way to prevent direct radiant heat from scorching the bottom of your bread is to use a simple baking sheet as a shield. Place an empty baking sheet on the oven rack directly below where your bread pan or baking stone is located. This sheet will absorb much of the intense radiant heat rising from the bottom element, preventing it from directly hitting the bottom of your bread.
This technique is particularly useful if you must bake on a lower rack due to oven configuration or if you're using a pan known to cause dark bottoms. A standard aluminum baking sheet works well, though a darker sheet will absorb slightly more heat. You can place the shield in the oven from the beginning of the preheating process or slide it in when you add the bread. This simple barrier is a fantastic method for how to prevent bread burning from direct bottom heat.
Using Pizza Stones or Baking Stones for Even Heat
Baking stones or steels are popular for creating crispy crusts and achieving excellent oven spring because they absorb and radiate heat very effectively. However, this intense radiant heat can also lead to burnt bottoms if the stone is placed too low or preheated too aggressively. If you bake directly on a stone or steel and experience burnt bottoms, consider placing the stone on a higher rack (middle or slightly above).
Alternatively, you can still use your stone on a lower rack but employ the shielding method discussed above – place an empty baking sheet on the rack below the stone. This protects the stone itself from the most intense direct heat, allowing it to radiate heat more evenly into the bread from above and its sides, rather than scorching the bottom. Preheating the stone for 45-60 minutes is usually sufficient; excessive preheating time at high temperatures can make the surface too hot.
Solution 3: Optimizing Rack Placement in Your Oven
Finding the Sweet Spot: The Ideal Rack Position for Bread
Where you place your bread in the oven makes a significant difference in how to prevent bread burning. The ideal position for most bread loaves is typically on the middle oven rack. This position allows for the best circulation of hot air around the entire loaf and places the bread equidistant from both the bottom and (if applicable) top heating elements.
In a standard oven with multiple rack positions, the middle rack is usually the second or third position from the bottom. Baking here minimizes the direct exposure to the intense radiant heat from the bottom element while still allowing sufficient heat transfer for a good bake and crust development. Experiment with the middle rack first if you're consistently burning the bottom on lower racks.
Avoiding the Bottom Rack: Why It Leads to Burning
Placing your bread pan or baking surface directly on the lowest oven rack is one of the most common reasons for burnt bottoms. The heating element responsible for bringing the oven up to temperature is almost always located at the very bottom. When this element cycles on (which it does frequently during baking to maintain temperature), anything placed directly above it receives the full force of its radiant heat.
This intense, direct heat transfer to the bottom of your pan or stone will inevitably cause the base of your loaf to brown and burn much faster than the rest of the bread. Unless a recipe specifically calls for baking on the bottom rack (which is rare for standard loaves and usually involves specific techniques), it's best to avoid it entirely if you want to prevent bread burning on the bottom.
Solution 4: Using the Right Baking Pan for Bread
The Impact of Pan Material on Bread Baking: Glass, Metal, and Ceramic
The material of your baking pan significantly affects how heat is transferred to your dough and can contribute to burnt bottoms.
- Metal Pans: Aluminum or steel pans conduct heat efficiently. Shiny metal reflects some radiant heat, leading to lighter crusts, while dark metal absorbs more heat, resulting in darker, crispier crusts faster. If using a dark metal pan and experiencing burnt bottoms, consider reducing your oven temperature by 25°F (15°C) or using a heat shield below the pan.
- Glass Pans: Glass heats up slower than metal but retains heat exceptionally well. This can sometimes lead to the bottom crust getting too dark or even burning towards the end of the bake, especially if the oven temperature is too high. It's often recommended to reduce the oven temperature by 25°F (15°C) when using glass baking dishes for bread.
- Ceramic Pans: Similar to glass, ceramic retains heat well. While they provide even baking, they can also contribute to overly dark or burnt bottoms if the temperature is too high or the baking time is too long without shielding.
Understanding how your pan material interacts with oven heat is vital for preventing bread burning.
Choosing the Right Pan Size
Using a pan that is too small for your dough volume can also contribute to problems, including potentially uneven heat distribution that affects the bottom. If a pan is too small, the dough rises excessively high, which can bring the top of the loaf too close to the top element (if it cycles on) or simply concentrates the heat more intensely at the bottom edges and base.
A standard loaf recipe (using around 3-4 cups of flour) typically fits best in a 9x5-inch loaf pan. Using a pan of the size recommended by your recipe ensures the dough has adequate space to rise and that heat can circulate more evenly around the loaf, reducing the likelihood of concentrated heat scorching the bottom.
Solution 5: Baking Bread on a Higher Rack
Elevating your Bake
As previously mentioned, the lowest rack is a hotspot for direct radiant heat. If you are currently baking on the lowest or second-lowest rack and experiencing burnt bottoms, the simplest and often most effective solution is to move your bread pan or baking surface up to a higher rack, such as the middle position.
This single adjustment significantly increases the distance between your bread and the intense heat source at the bottom of the oven. Even moving up just one rack level can dramatically reduce the amount of direct radiant heat hitting the base of your pan, allowing the bottom crust to brown more gradually and evenly along with the rest of the loaf. Make this change and observe the difference; it's a fundamental technique for how to prevent bread burning.
Preventing Burnt Bread Bottoms: Proactive Baking Tips
Tip 1: Preheating Your Oven Properly
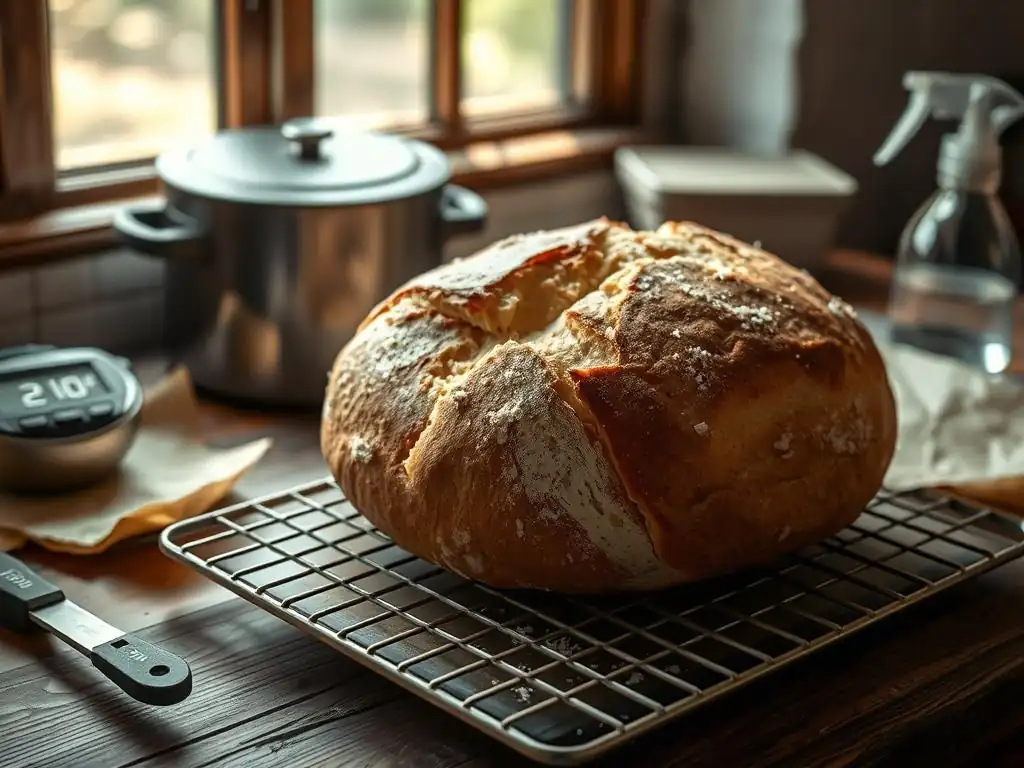
Proper oven preheating is crucial for even baking and helping how to prevent bread burning from the start. Ensure your oven is fully preheated to the correct temperature before you place your bread inside. This means waiting at least 20-30 minutes after the oven indicates it has reached the set temperature, especially if you are using a baking stone or steel, which takes longer to heat through.
Placing bread into an oven that hasn't fully preheated means the heating element will be working harder and staying on for longer periods to reach the desired temperature. If your bread is on a lower rack during this initial intense heating phase, the bottom is exposed to excessive radiant heat right away, increasing the risk of scorching before the loaf has even properly begun to bake.
Tip 2: Monitoring Your Bread During Baking
Don't just set a timer and walk away, especially if you've had issues with burnt bottoms before. Get into the habit of visually checking your bread as it bakes, particularly during the second half of the baking time. Use the oven light and, if necessary, open the door briefly to get a good look.
Pay attention to the color of the top crust – when it reaches your desired golden brown, quickly check the bottom. If the bottom is browning too quickly compared to the top, you still have time to act. This is when you can employ a heat shield, like sliding a baking sheet onto the rack below the bread pan, to protect the bottom for the remainder of the baking time.
Tip 3: Adjusting Baking Time as Needed
Recipes provide estimated baking times, but every oven is different, and factors like the actual dough temperature, hydration, and loaf size can affect how quickly your bread bakes. The best indicator of doneness is often internal temperature (around 190-210°F or 88-99°C for most lean loaves) or the sound the bottom makes when tapped (hollow).
If you notice the bottom is getting too dark before the internal temperature is reached or the loaf sounds done, you might need to reduce the remaining baking time or apply a shield immediately. Conversely, if the top is perfectly golden but the bottom is still pale (and you're not having burning issues), it might need a few more minutes, potentially with the top shielded loosely with foil to prevent over-browning while the bottom catches up. Learning to adjust based on visual cues and feel is key to preventing bread burning and achieving perfect loaves.
Advanced Techniques for Perfect Bread Crusts
Using a Water Bath for Even Baking: Steam Baking Explained
Introducing steam into your oven is a technique widely used by professional bakers and can also help how to prevent bread burning on the bottom while promoting a beautiful crust. One common method is placing a pan of hot water (boiling water is best for maximum steam) on a rack below where your bread will bake.
The steam created helps keep the surface of the dough moist during the initial phase of baking, allowing the loaf to expand fully before the crust sets. This contributes to better oven spring and a thinner, crispier crust overall. Crucially, the presence of the water pan on a lower rack also acts as a physical barrier, absorbing some of the direct radiant heat from the bottom element, providing a gentle shield for the base of your bread.
Dutch Oven Baking: Achieving a Crispy Crust Without Burning
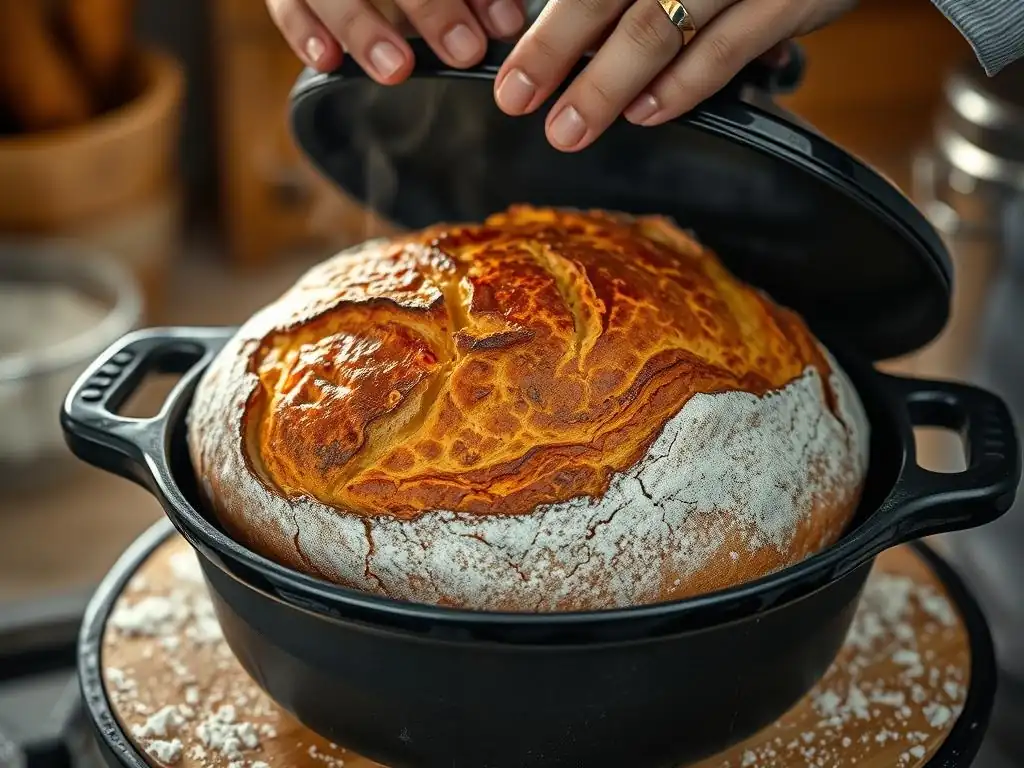
Baking bread in a lidded Dutch oven is an excellent method for achieving a fantastic crust without the risk of burning the bottom. When you bake bread in a preheated Dutch oven with the lid on, the moisture released by the dough during the first part of the bake is trapped inside, creating a steamy environment similar to a professional deck oven.
The heavy cast iron (or other material) of the Dutch oven heats up evenly and its thick base provides a buffer, shielding the bottom of the loaf from the direct radiant heat of the oven element. After 20-30 minutes with the lid on (depending on the recipe), you remove the lid to allow the crust to fully brown and crisp up. This two-stage process – steam-filled initial bake followed by dry heat – results in a wonderful, crispy crust on the top and sides, while the protection offered by the Dutch oven base helps prevent the bottom from scorching.
Conclusion: Baking Bread with Confidence and Avoiding Burnt Bottoms
Frequently Asked Questions
How can I prevent the bottom of my bread from burning in the oven?
The most common solution is to lower the oven rack. Another effective method is to place a baking sheet underneath your bread pan to act as a heat shield.
What oven temperature is best to avoid burning the bottom crust of my bread?
While recipe temperatures vary, consider lowering the oven temperature by 25 degrees and baking for a slightly longer time. This helps ensure the bread cooks evenly without burning.
What type of baking pan is least likely to cause burning?
Glass or ceramic pans tend to retain more heat, potentially increasing the risk of burning. Metal pans are generally a better choice as they distribute heat more evenly.
Is there a specific dough recipe that is more prone to burning?
Doughs with high sugar content can caramelize and burn more easily on the bottom. Keep a closer eye on these and use the heat shielding techniques mentioned earlier.
If my bread continues to burn, even with adjustments, what else could be the problem?
Your oven's temperature might be inaccurate. Consider using an oven thermometer to verify the actual temperature and calibrate your oven if necessary.
Final Reflection: The Humble Crust and the Art of Patience
The seemingly simple act of baking bread reveals a profound truth about the pursuit of perfection: it's often found not in speed, but in mindful attention to detail. Preventing a burnt bottom isn't just about avoiding a culinary mishap; it's about understanding the delicate dance between heat, time, and ingredients, a dance that mirrors many aspects of life.
The frustration of a blackened crust is a universal experience, a shared moment of culinary disappointment that speaks to our inherent desire for mastery. The best bread is made with patience and care, not haste.
This simple truth, often overlooked in our fast-paced world, resonates deeply with the article's core message. The journey of baking, from kneading the dough to achieving that perfect golden-brown crust, is a metaphor for the patience and precision required in other areas of life, reminding us that true success comes from a careful consideration of the process, not just the outcome.
So, the next time you find yourself facing a baking challenge – whether it's a burnt bottom or a more metaphorical one – remember the lessons learned here. Take a deep breath, adjust your approach, and embrace the process. Don't let the fear of imperfection prevent you from experimenting and learning. The journey towards mastery is a rewarding one, filled with small victories and valuable lessons, and the perfectly baked loaf, free from burnt bottoms, is a testament to your dedication and perseverance.
Unleash Your Inner Baker: Perfect Loaves Every Time!
Thanks for taking the time to learn how to avoid those frustrating burnt bottoms! You've now got the knowledge to bake consistently amazing loaves. Ready to put your new skills to the test?
- Bake a masterpiece today! Try out the techniques we discussed – you'll be amazed at the difference. Experiment with different types of bread and share your results!
- Join our baking community! Connect with fellow bread enthusiasts on our forums to share tips, recipes, and photos of your perfect loaves.
- Share your baking success on social media using #BakeWithEase and inspire others!
What's your favorite bread to bake, and what's one tip you're most excited to try?