
How to Save Dough That UnderProofed: A Second Chance

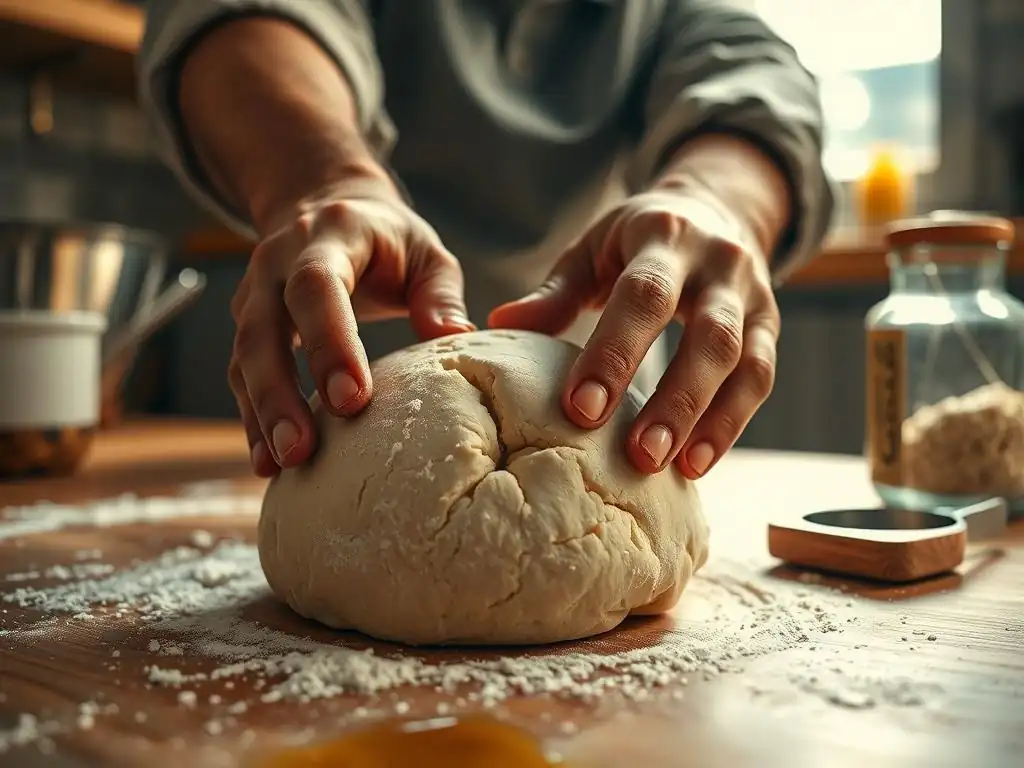
Welcome to BakeWithEase, your haven for stress-free baking! Ever faced the sinking feeling of underproofed dough? Don't despair! Discover our expert rescue tips and turn baking blunders into delicious triumphs. Ready to give your dough a second chance? Let's get baking!
- How to Save Underproofed Dough: A Second Chance for Baking Success
- Understanding Underproofed Dough and Its Impact
- Rescue Tips for Underproofed Dough
- Troubleshooting Specific Dough Types
- Preventing Underproofing: Best Practices
- Salvaging Underproofed Dough
- Conclusion: Mastering Dough Proofing
-
Frequently Asked Questions
- What is underproofing and how do I know if my dough is underproofed?
- What are some common causes of underproofing?
- Can I always rescue underproofed dough, or are there situations where it's too late?
- What are some effective methods for rescuing underproofed dough?
- Will rescuing underproofed dough always result in the same quality as properly proofed dough?
- Final Reflection: Giving Underproofed Dough a Second Chance
- Rediscover Your Dough: Give Your Underproofed Bread a Second Chance!
How to Save Underproofed Dough: A Second Chance for Baking Success
Understanding Underproofed Dough and Its Impact
Underproofed dough is a common hurdle for bakers, leading to dense, heavy loaves instead of the airy, light bread we crave. It occurs when the dough hasn't had enough time or the right conditions for the yeast or starter to produce sufficient carbon dioxide gas. This gas is what creates the network of bubbles within the dough, giving bread its structure and texture. When dough is underproofed, this internal structure hasn't fully developed, resulting in a less voluminous final product.
The impact of underproofing extends beyond just the appearance of your bread. It affects the crumb structure, making it tight and sometimes gummy. The flavor can also be less complex, as the fermentation process, which contributes to taste, hasn't fully matured. Recognizing and addressing underproofed dough early is key to applying effective underproofed dough rescue tips and turning a potential baking mishap into a success.
Recognizing the Signs of Underproofed Dough
Identifying underproofed dough before it goes into the oven is crucial for implementing underproofed dough rescue tips. One of the most reliable signs is its appearance: the dough will look dense and hasn't significantly increased in size, certainly not doubling or tripling as many recipes suggest for a full proof. It might still look relatively tight and compact, lacking the puffy, airy quality of properly proofed dough.
Another key indicator is the poke test. Gently press a floured finger into the dough about half an inch deep. If the indentation springs back immediately and completely, the dough is likely underproofed. Properly proofed dough will show an indentation that springs back slowly and only partially, leaving a small mark. The surface might also appear smooth and tight, without the slightly bubbly texture often seen in dough ready for baking.
Common Causes of Underproofing
Several factors can contribute to dough being underproofed. The most frequent culprit is insufficient proofing time. Many recipes provide time guidelines, but these are often estimates based on ideal conditions. If the dough isn't given enough time to ferment and rise, it won't develop properly, leading to underproofing. Rushing this crucial step is a primary reason bakers seek underproofed dough rescue tips.
Temperature plays a significant role as well. Yeast activity slows down considerably in cooler environments. If your kitchen is cold, or if the ingredients (like cold water or milk) were used directly from the refrigerator without warming slightly, the proofing process will take much longer than specified. Using inactive or old yeast is another common cause; if the yeast isn't viable, it won't produce the necessary gases, regardless of time or temperature. Finally, insufficient kneading can also hinder proofing by not properly developing the gluten structure needed to trap the gases produced by the yeast.
Rescue Tips for Underproofed Dough
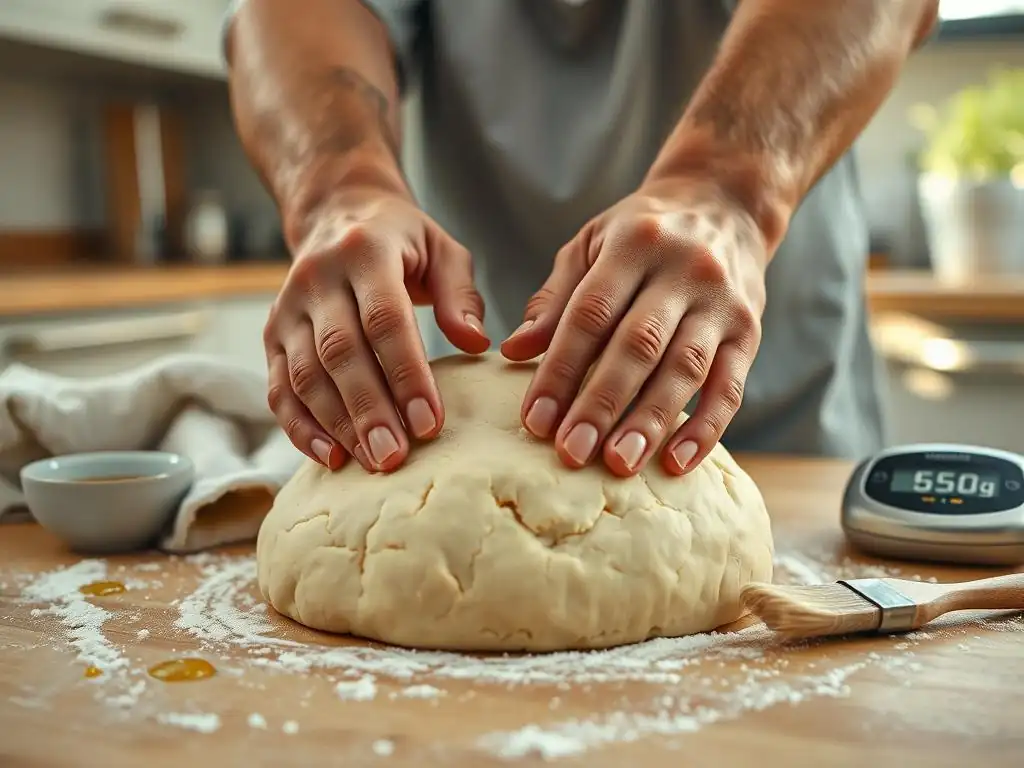
Discovering your dough is underproofed doesn't mean all is lost! There are several effective underproofed dough rescue tips you can employ depending on how underproofed the dough is and the stage of the process. These techniques aim to give the yeast the time and conditions it needs to finish its work, salvaging your potential loaf.
The best approach depends on the degree of underproofing. For slightly underproofed dough, adjusting baking parameters might be sufficient. However, for dough that has barely risen, more intervention like extending proofing time or even re-kneading might be necessary. Evaluating the dough's state using the poke test and visual cues will help you choose the most appropriate rescue method.
Extending the Proofing Time
The simplest and often most effective underproofed dough rescue tip is to simply give the dough more time to proof. If the dough feels dense and the poke test indicates it's underproofed, let it continue to rise in a warm spot. Be patient; it could take anywhere from another 30 minutes to a couple of hours, depending on how far along the initial proofing was and the ambient temperature.
This extended proofing allows the yeast to continue producing carbon dioxide, expanding the dough and developing its structure. It's a low-intervention method that works well if you catch the underproofing early. Continuously monitor the dough during this extended period to avoid overproofing, which presents its own set of challenges.
Temperature and Time Considerations for Extended Proofing
To facilitate extended proofing, aim for a warm, draft-free environment. An ideal temperature range for proofing is typically between 75°F and 85°F (24°C to 29°C). You can create such an environment by placing the dough in an oven with just the light on (this usually generates enough warmth), or in a microwave (turned off) with a cup of hot water. Avoid placing the dough in direct sunlight or on a hot surface, as this can cause uneven heating or kill the yeast.
The duration of the extended proofing is entirely dependent on the dough's progress. There's no fixed time; it's about observing the dough. For example, if your recipe suggested a 1-hour proof and after 1 hour it hasn't visibly grown much and the poke test springs back instantly, you might need another 30-60 minutes in a warm spot. If it's barely risen at all, it could require 2-3 hours or even longer. Patience and observation are key here.
Monitoring Dough Development
During extended proofing, regular monitoring is essential to prevent the dough from becoming overproofed. Check the dough every 15-30 minutes, especially if using a warm environment like an oven with the light on. Look for visible signs of expansion – the dough should be noticeably larger and puffier than when you started the extended proof.
Continue using the poke test as your primary guide. When you gently press your finger into the dough, the indentation should spring back slowly and only partially. If the indentation remains completely or the dough collapses, it's likely overproofed. Stopping the extended proof at the right moment ensures you achieve a well-proofed dough ready for baking, effectively utilizing these underproofed dough rescue tips.
Re-Kneading and Reproofing
Sometimes, simply extending the proof isn't enough, particularly if the dough is severely underproofed or if the initial kneading was insufficient. In such cases, re-kneading the dough can be an effective, albeit more interventionist, underproofed dough rescue tip. This process reactivates the yeast, redistributes it throughout the dough, and helps further develop the gluten structure.
Re-kneading can seem counterintuitive, as it degasses the dough, but it provides a fresh start for the yeast to work. After a brief re-knead, the dough is shaped again and allowed to undergo a second, full proofing period. This method is particularly useful if you suspect issues beyond just time, such as uneven yeast distribution or a slightly underdeveloped gluten network.
When Re-Kneading is Appropriate
Re-kneading is most appropriate for dough that is significantly underproofed – perhaps it has barely risen at all after the initial proofing time, or the poke test shows absolutely no resistance. It's also a good strategy if you suspect the yeast might have been sluggish initially or if the dough felt particularly tight or undeveloped after the first mix. This method essentially resets the clock on proofing.
This technique is generally not recommended for dough that is only slightly underproofed, as it involves degassing and handling the dough unnecessarily. It's best reserved for situations where the initial proofing has clearly failed to achieve significant volume increase or development. Think of it as a more drastic underproofed dough rescue tip for more pronounced problems.
Step-by-Step Guide to Re-Kneading and Reproofing
Here's how to perform a re-knead and reproof:
- Gently turn the underproofed dough out onto a lightly floured surface.
- Knead the dough briefly, for just 2-4 minutes. The goal is to reactivate the yeast and slightly develop gluten, not to overwork it. You might feel it tighten up slightly.
- Shape the dough back into a ball or your desired shape (loaf, rolls, etc. ).
- Place the dough back into a clean, lightly oiled bowl or proofing basket.
- Cover the dough and let it proof again in a warm spot.
- Allow the dough to proof fully, monitoring it using the poke test and visual cues until it is properly proofed (doubled in size, springs back slowly and partially). This second proof might take a similar amount of time as the first intended proof, or slightly less.
Adjusting Baking Parameters for Slightly Underproofed Dough
For dough that is only slightly underproofed – meaning it has risen somewhat but perhaps not quite doubled, and the poke test springs back a little too quickly but not instantly – you might be able to compensate during the baking process. This is a less direct underproofed dough rescue tip, focusing on maximizing oven spring.
By adjusting oven temperature and potentially baking time, you can encourage the dough to expand more rapidly in the initial phase of baking before the crust sets. This technique relies on the yeast having some activity left and the dough having some potential for further expansion when exposed to heat.
Identifying Dough Suitable for Oven Adjustments
Dough suitable for oven adjustments is typically just short of perfect proofing. It should have increased in volume considerably, perhaps 75-90% of the target size, and the poke test should show a slow but slightly too quick return. If the dough has barely risen or the poke test springs back instantly, oven adjustments alone are unlikely to fix the dense crumb that will result; you'll need one of the other underproofed dough rescue tips mentioned earlier.
This method works best for freeform loaves or dough baked in a Dutch oven, where the initial heat can aggressively expand the dough before the crust hardens. It's less effective for dough baked in loaf pans, where the shape is constrained.
Modifying Baking Time and Temperature
One common strategy for slightly underproofed dough is to start baking at a slightly higher temperature than usual for the first 10-15 minutes. For instance, if your recipe calls for baking at 450°F (230°C), you might start at 475°F (245°C) for the initial phase. This intense heat encourages a burst of activity from the yeast and rapid expansion, maximizing oven spring. After this initial period, reduce the oven temperature to the recipe's specified temperature to ensure the interior cooks through without the crust burning.
Alternatively, you might simply extend the overall baking time slightly. Underproofed dough can sometimes take a little longer to cook through to the center and develop a fully cooked crumb. Use a thermometer to check the internal temperature; most bread is done when the internal temperature reaches 200-210°F (93-99°C). Combining a slightly higher initial temperature with a slightly longer overall bake can help salvage slightly underproofed loaves.
Troubleshooting Specific Dough Types
While the general underproofed dough rescue tips apply broadly, certain types of dough have unique characteristics that influence how you might approach fixing underproofing. Understanding these nuances can help you apply the rescue techniques more effectively.
Different dough types vary in their hydration levels, the type of leavening used (commercial yeast vs. sourdough starter), and the presence of enriching ingredients like butter, eggs, and sugar. These factors all impact the rate and nature of fermentation and proofing, requiring slightly tailored approaches when troubleshooting underproofing.
Rescuing Underproofed Sourdough
Sourdough dough proofs differently than dough made with commercial yeast. It typically proofs slower and is more sensitive to temperature fluctuations due to the wild yeast and bacteria in the starter. Rescuing underproofed sourdough often requires patience and a focus on providing a consistent, warm environment. If your sourdough hasn't risen sufficiently, the primary underproofed dough rescue tip is extending the proofing time significantly in a warm place (75-80°F or 24-27°C is often ideal).
Be mindful that sourdough can take many hours, sometimes 4-8 hours for the bulk fermentation and 2-4 hours for the final proof, depending on the starter's activity and ambient temperature. If it's severely underproofed, you might consider a brief, gentle re-knead (just enough to redistribute) followed by a full second proof. Avoid aggressive re-kneading, as sourdough can be more delicate than commercial yeast dough.
Fixing Underproofed Enriched Dough
Enriched dough, containing ingredients like butter, eggs, milk, and sugar, presents its own set of challenges. These ingredients can slow down yeast activity and also make the dough heavier and denser. When this type of dough is underproofed, extending the proofing time in a warm environment is usually the best first step.
The fat and sugar in enriched dough can inhibit gluten development and yeast activity, so ensuring the dough is properly kneaded and kept consistently warm during proofing is even more critical. If a re-knead is necessary for severely underproofed enriched dough, be gentle, as the fat can make it more prone to tearing. Aim for a soft, pliable dough before attempting the second proof.
Saving Underproofed Pizza Dough
Underproofed pizza dough often results in a dense, tough crust rather than a light, airy one with good structure. Pizza dough can be proofed relatively quickly compared to loaf bread, but it still needs adequate time. If your pizza dough hasn't become bubbly and airy, and feels tight, it's likely underproofed.
The most common underproofed dough rescue tip for pizza dough is to simply let it sit longer at room temperature (covered, of course) until it looks and feels properly proofed – bubbly, airy, and easily stretched. You can also place it in a slightly warmer spot. Re-kneading isn't typically recommended for pizza dough, as you want to preserve the delicate bubbles that contribute to the crust's texture. If it's severely underproofed and you're in a hurry, sometimes the best option is to accept a denser crust or consider the salvaging options below.
Preventing Underproofing: Best Practices
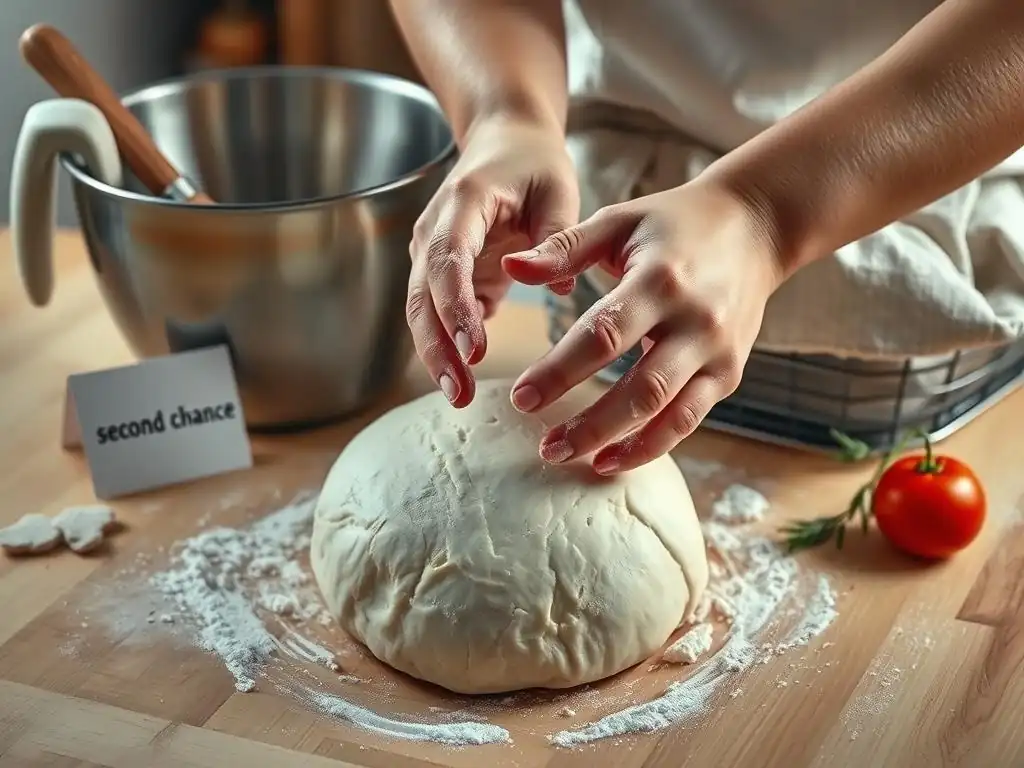
While underproofed dough rescue tips are invaluable, the best approach is always prevention. Mastering the art of proofing involves understanding the process and controlling the variables that affect it. By implementing best practices, you can significantly reduce the likelihood of ending up with underproofed dough in the first place.
Consistent results come from paying attention to detail throughout the dough-making process. This includes everything from the vitality of your yeast to the temperature of your ingredients and environment. Developing a feel for correctly proofed dough through practice is perhaps the most crucial preventative measure.
Mastering the Proofing Process
Understanding what proper proofing looks like and feels like is fundamental. Don't rely solely on the time specified in a recipe. Use visual cues (dough size increasing significantly, often doubling) and the poke test (indentation springs back slowly and partially) as your primary indicators. Practice making dough regularly to develop this intuition.
Keep a baking journal to note down proofing times, temperatures, and results. This helps you identify patterns and understand how your specific kitchen environment and ingredients affect proofing. Over time, you'll become adept at recognizing when your dough is perfectly proofed and less likely to need underproofed dough rescue tips.
Temperature and Humidity Control
Temperature is arguably the most critical factor in yeast activity and proofing speed. Aim for a consistent, warm environment, typically between 75°F and 85°F (24°C to 29°C). Avoid cold drafts or placing dough directly on cold countertops. Using an oven with the light on, a proofing box, or even just covering the dough and placing it in a slightly warmer room can make a big difference.
Humidity also plays a role, preventing the dough surface from drying out and forming a skin, which can restrict expansion. Always cover your dough tightly with plastic wrap, a damp towel, or place it in a covered container during proofing. This maintains humidity around the dough and allows for uniform rising.
Recipe Adjustments for Consistent Proofing
Sometimes, a recipe might require slight adjustments based on your environment or ingredients. If you consistently find your dough is underproofed following a specific recipe, consider whether you might need to slightly increase the amount of yeast used, especially in colder conditions.
Ensure your ingredients, particularly water or milk, are at the correct temperature specified by the recipe (lukewarm is common for active dry yeast). Using room temperature ingredients can also help kickstart the process. If using whole wheat or other flours that absorb water differently, you might need slight hydration adjustments, which can also impact proofing. Experimentation and careful note-taking are key to dialing in recipes for consistent proofing.
Salvaging Underproofed Dough
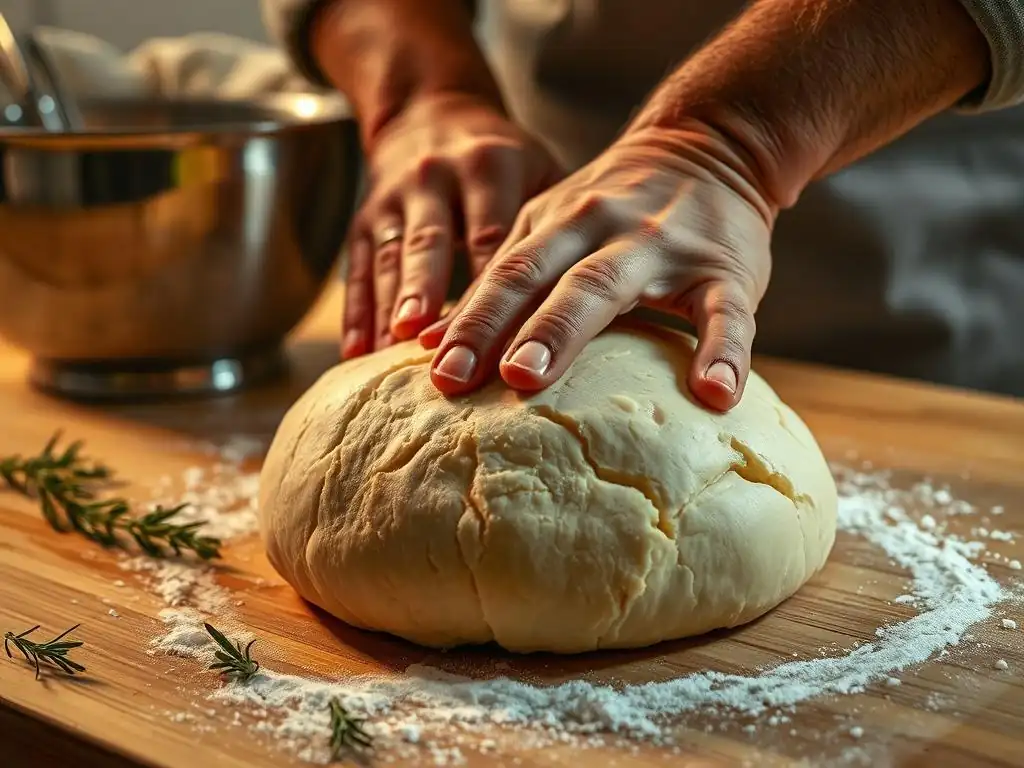
Despite your best underproofed dough rescue tips efforts, sometimes the dough simply hasn't developed enough, or you might not have time for extended proofing or re-kneading. In these cases, rather than baking a dense, disappointing loaf, you can salvage the underproofed dough by transforming it into other delicious items. This prevents waste and still yields a tasty result.
While the goal is usually to bake a beautiful loaf, knowing how to repurpose dough that didn't proof correctly is a valuable skill for any baker. It's a practical solution when traditional rescue methods aren't feasible or successful.
Underproofed dough can be baked off into a very dense bread, which isn't ideal for slicing but makes excellent breadcrumbs. Simply shape the underproofed dough into a loaf or flatter pieces and bake it thoroughly until it's very firm and dry, perhaps at a slightly lower temperature for a longer time to ensure it dries out completely.
Once baked and cooled, break the dense bread into pieces and process them in a food processor until fine crumbs form. Spread the crumbs on a baking sheet and bake at a low temperature (around 200°F or 90°C) for another 15-30 minutes, stirring occasionally, until completely dry and crisp. Store the cooled breadcrumbs in an airtight container for future use in recipes like meatballs, breaded cutlets, or as a topping for casseroles.
Transforming Underproofed Dough into Dumplings
Underproofed dough can also be repurposed into simple dumplings, particularly for savory dishes like stews or soups. The lack of full proofing isn't a disadvantage here, as dumplings are meant to be denser than leavened bread.
Cut the underproofed dough into small pieces or roll it into small balls. You can then drop these pieces directly into simmering broth or stew during the last 15-20 minutes of cooking. They will cook through and absorb the flavors of the liquid, providing a hearty addition to your meal. This is a quick and easy way to ensure your underproofed dough doesn't go to waste.
Conclusion: Mastering Dough Proofing
Encountering underproofed dough is a common experience on the baking journey, but it doesn't have to mean failure. By understanding the signs, causes, and applying these underproofed dough rescue tips, you can often salvage your dough and still bake delicious bread. Remember that patience, observation, and a willingness to adapt are key skills in baking.
Learning to prevent underproofing through best practices like temperature control, mastering proofing indicators, and adjusting recipes will lead to more consistent success. And for those times when rescue isn't possible, knowing how to salvage the dough into other useful forms ensures that your ingredients and effort are never wasted. Happy baking!
Frequently Asked Questions
What is underproofing and how do I know if my dough is underproofed?
Underproofing is when dough hasn't risen enough. You'll know because it will be dense, tight, and not doubled in size. It may also spring back quickly when poked.
What are some common causes of underproofing?
Common causes include incorrect yeast measurement, too-cold temperatures during the proofing process, or insufficient time allotted for rising.
Can I always rescue underproofed dough, or are there situations where it's too late?
You can often rescue it! However, if the dough is extremely dense or has been sitting for an excessively long time in a very cold environment, it might be best to start over.
What are some effective methods for rescuing underproofed dough?
The most effective method is to provide a warmer environment and give the dough more time to rise. You can also try adding a small amount of additional yeast if you suspect yeast inactivity.
Will rescuing underproofed dough always result in the same quality as properly proofed dough?
While rescuing can save your bake, the final product might not be exactly the same. It could be slightly denser or have a less airy texture than dough that proofed perfectly the first time.
Final Reflection: Giving Underproofed Dough a Second Chance
The fight against wasted dough is far from over, and the battleground is your kitchen counter. Millions of loaves are lost each year to the dreaded underproof, a silent saboteur of baking dreams. But this article proves that even seemingly ruined dough can be salvaged, transforming a potential disaster into a delicious victory. The techniques outlined here aren't just about saving ingredients; they're about fostering resilience and resourcefulness in the kitchen.
The impact of mastering dough rescue extends beyond the individual baker. It speaks to a larger cultural shift towards minimizing waste and maximizing potential. We live in a world obsessed with perfection, often discarding imperfect attempts. Learning to revive underproofed dough challenges this mindset, teaching us patience, adaptability, and the value of second chances. The greatest glory in living lies not in never falling, but in rising every time we fall.
– Nelson Mandela. This quote perfectly encapsulates the spirit of rescuing underproofed dough – a testament to perseverance and the belief in the possibility of redemption.
Now, it's your turn. Don't let fear of failure keep you from experimenting in the kitchen. The next time your dough falls short of expectations, remember the techniques you've learned here. Embrace the challenge, adjust your approach, and rediscover the joy of baking, even when things don't go exactly as planned. The reward? Not just delicious bread, but a newfound confidence in your baking abilities and a deeper appreciation for the process itself. Go forth and conquer those underproofed doughs!
Rediscover Your Dough: Give Your Underproofed Bread a Second Chance!
Thanks for taking the time to learn how to rescue your underproofed dough! We hope you now feel confident tackling this common baking challenge. Ready to put your new skills to the test?
- Try the techniques: Immediately head back to your kitchen and attempt the repair method described in the article. Note your results!
- Share your baking journey: Post a picture of your revived loaf on social media using #BakeWithEaseRescue, and tag us! We'd love to see your success (or even your learning moments! ).
- Experiment with different flours: Explore how various types of flour respond to underproofing – the results might surprise you!
What unique challenges have you faced with underproofed dough, and how did you overcome them? Let's discuss in the comments!