
Caramelization Secrets: Turning Sugar into Liquid Amber for Amazing Flavor

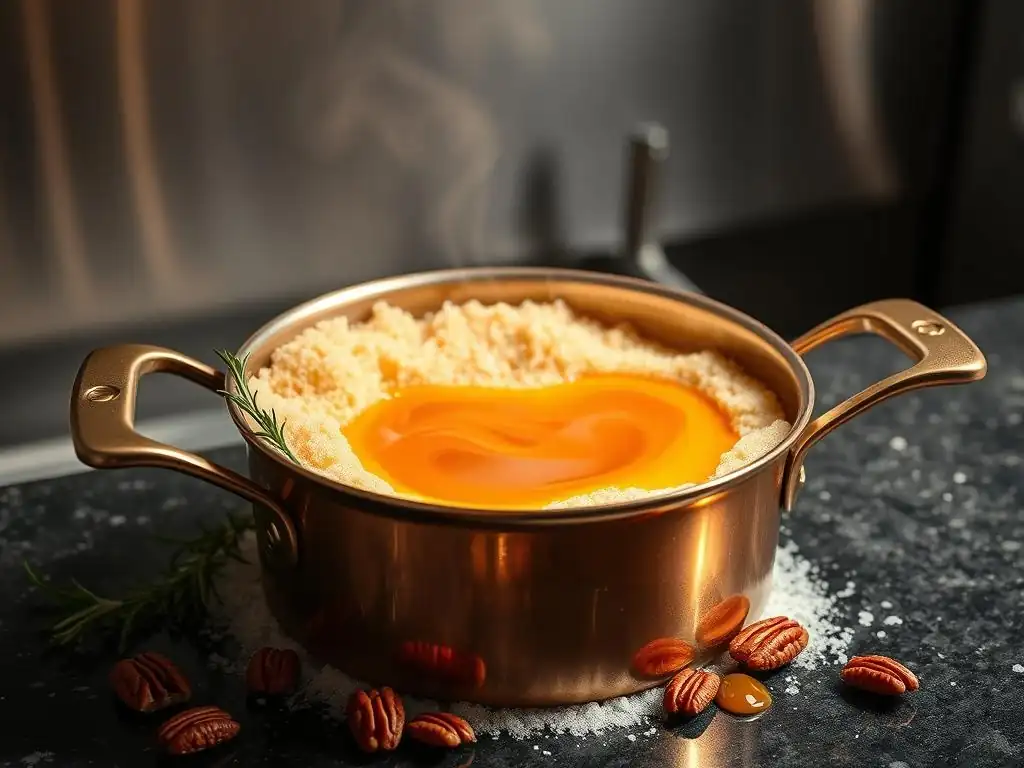
Welcome to BakeWithEase, where the joy of baking meets effortless execution! Ever wondered how to unlock the true potential of sugar and transform it into a symphony of rich, decadent flavor? Our latest deep dive into perfecting caramel flavor techniques will unveil the secrets to achieving that liquid amber perfection. Prepare to elevate your baking game and discover how to coax nuanced caramel notes into your favorite treats. Intrigued? Read on to unlock the golden rules of caramelization!
- Unlocking the Secrets to Perfecting Caramel Flavor Techniques
- Understanding the Science of Caramelization
- Essential Equipment and Ingredients for Caramel Making
- Mastering Caramelization Techniques: A Step-by-Step Guide
- Troubleshooting Common Caramelization Problems
- Elevating Your Baking with Enhanced Caramel Flavor
- Beyond the Basics: Advanced Caramel Techniques
- Storing and Using Caramel Effectively
- Perfecting Caramel Flavor Techniques: A Recap for Bakers
-
Frequently Asked Questions
- What is caramelization and why is it important in baking?
- What are some common mistakes people make when trying to caramelize sugar?
- What are some key techniques for achieving the perfect caramel flavor?
- Besides sugar, what other ingredients can be caramelized to enhance flavor?
- How can I prevent my caramel from burning or crystallizing?
- Final Reflection: The Enduring Allure of Caramel's Golden Embrace
- Unlock Your Inner Pastry Chef: Master Caramelization Today!
Unlocking the Secrets to Perfecting Caramel Flavor Techniques
Caramel is a magical transformation of simple sugar into a complex, flavorful substance that forms the backbone of countless desserts. It's more than just melted sugar; it's a chemical process that unlocks deep, nutty, slightly bitter, and wonderfully sweet notes. Mastering the art of caramelization is a key step in perfecting caramel flavor techniques, allowing you to create sauces, candies, and components that elevate your baking from good to extraordinary. This guide will walk you through the science, methods, and tips needed to achieve that perfect liquid amber every time.
Achieving truly remarkable caramel flavor requires understanding the nuances of heating sugar and controlling the process. From selecting the right ingredients to recognizing the subtle color changes that indicate different stages of flavor development, every step plays a role. Whether you're aiming for a light, delicate caramel for a crème brûlée or a deep, intense caramel for a sticky toffee pudding, perfecting caramel flavor techniques is within your reach with a little knowledge and practice.
Understanding the Science of Caramelization
What is Caramelization? A Baker's Definition
Caramelization is the non-enzymatic browning of sugar under heat. Unlike the Maillard reaction, which involves amino acids and sugars, caramelization only requires sugar. When sugar is heated to a sufficiently high temperature, its molecules break down and rearrange, forming hundreds of new compounds. These compounds are responsible for the characteristic color, aroma, and complex flavor we associate with caramel.
This transformation begins subtly as the sugar melts, typically around 160°C (320°F) for sucrose (common granulated sugar). As the temperature increases, the sugar molecules undergo fragmentation, dehydration, and polymerization. Different stages of heating produce distinct flavor profiles, ranging from light, sweet, and slightly nutty at lower caramelization temperatures to dark, smoky, and more bitter as the temperature rises, often exceeding 170°C (340°F).
The Chemical Reactions Behind Caramel's Richness
At a molecular level, caramelization is a cascade of chemical reactions initiated by heat. Sucrose, a disaccharide composed of glucose and fructose, first breaks down into these simpler monosaccharides. As heating continues, these monosaccharides lose water molecules (dehydration) and break apart into smaller volatile compounds. These volatile compounds are what give caramel its distinctive smell.
Simultaneously, the fragmented sugar molecules begin to polymerize, forming larger, complex molecules. These polymers contribute to the color and viscosity of the caramel. Compounds like caramelan (C24H36O18), carmelen (C36H50O25), and caramelin (C125H188O80) are formed at different temperature ranges, with caramelin forming at higher temperatures and contributing to the darker, more bitter notes. Perfecting caramel flavor techniques involves controlling these reactions to achieve the desired balance of sweetness, bitterness, and aroma.
The Role of Temperature in Achieving the Perfect Caramel
Temperature is the single most critical factor in caramelization. The precise temperature dictates the extent of the chemical reactions and, consequently, the final color and flavor of the caramel. A candy thermometer is highly recommended for accuracy, though experienced bakers can often rely on visual cues and smell.
| Temperature Range | Appearance | Flavor Profile | Common Use Cases |
|---|---|---|---|
160-165°C (320-330°F) |
Very Light Amber | Sweet, slightly nutty | Crème brûlée topping, light sauces |
165-170°C (330-340°F) |
Medium Amber | Rich, balanced sweet and bitter | Caramel sauces, sticky buns |
170-175°C (340-350°F) |
Dark Amber | More bitter, intense, complex | Pralines, darker sauces, candies |
> 175°C (350°F) |
Very Dark Brown | Distinctly bitter, potentially burnt | Use with caution, for very specific recipes |
Slight variations in temperature within these ranges can significantly impact the final taste, emphasizing the importance of careful heat management when perfecting caramel flavor techniques.
Essential Equipment and Ingredients for Caramel Making
Choosing the Right Sugar for Caramel: Granulated, Brown, and More
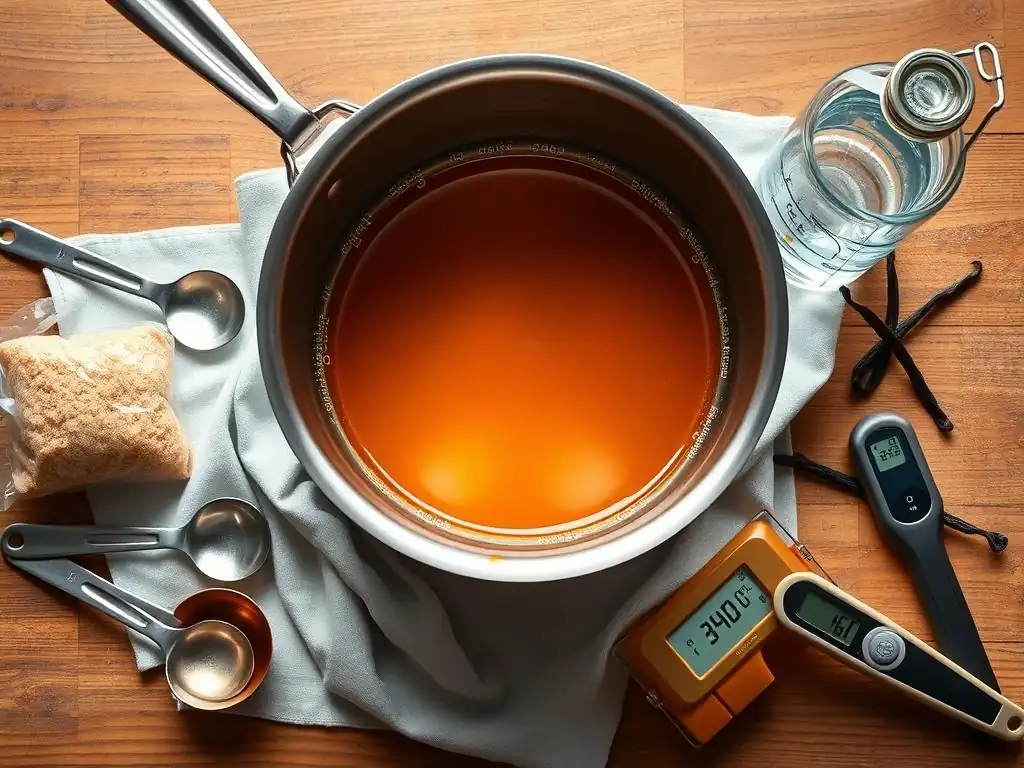
Standard granulated white sugar (sucrose) is the most common choice for making caramel. Its purity allows for a clean caramel flavor without interference from other compounds. When heated, it melts evenly and caramelizes predictably, making it ideal for both dry and wet methods. Using high-quality, fine-grain granulated sugar can help ensure smoother melting.
While granulated sugar is standard, other sugars can be caramelized, yielding different results. Brown sugar, which contains molasses, will caramelize at a slightly lower temperature and produce a caramel with a deeper color and a distinct molasses flavor. Honey and maple syrup can also be caramelized, though they contain other sugars (like fructose and glucose) and compounds that affect the process and final taste, often resulting in a less pure caramel flavor but adding their own unique notes. Perfecting caramel flavor techniques often starts with understanding how different sugars behave under heat.
The Importance of a Heavy-Bottomed Pan
A heavy-bottomed pan is crucial for successful caramelization. The thick base distributes heat evenly across the bottom of the pan, preventing hot spots that can cause sugar to burn in one area while remaining unmelted in another. Stainless steel or copper pans are excellent choices because they conduct and distribute heat efficiently and evenly.
Using a thin pan can lead to rapid and uneven heating, making it very difficult to control the caramelization process. This increases the risk of burning the sugar, resulting in a harsh, acrid flavor instead of the desired rich caramel. A pan with straight, high sides is also beneficial, as it reduces the chance of sugar crystals splashing onto the sides, which can cause crystallization.
Other Useful Tools: Thermometers, Spatulas, and Whisks
While not strictly essential for seasoned pros, a candy thermometer is an invaluable tool for anyone serious about perfecting caramel flavor techniques, especially beginners. It provides an accurate reading of the sugar's temperature, allowing you to track the caramelization process precisely and stop it at the desired stage. Look for a thermometer that clips securely to the side of the pan.
Other helpful tools include a heatproof spatula (silicone is excellent) for stirring (especially in the wet method) and scraping down the sides of the pan, and a whisk, often used when adding liquids like cream or butter to the finished caramel to ensure a smooth emulsion. Having these tools ready before you start is key to a smooth caramel-making process.
Mastering Caramelization Techniques: A Step-by-Step Guide
The Dry Caramel Method: A Simple Approach
The dry method involves heating sugar directly in a pan without any added liquid. This method can be faster but requires careful attention as the sugar melts and caramelizes. Start by pouring an even layer of sugar into your heavy-bottomed pan. Place the pan over medium heat.
As the sugar heats, you'll first see it clump together, then start to melt around the edges. Resist the urge to stir initially. Once the edges start to melt and turn liquid, you can gently tilt the pan or use a heatproof spatula to pull the melted sugar into the center. Continue heating and gently stirring or swirling until all the sugar is melted and the desired color is achieved. This method is preferred by some for its intensity of flavor, as there's no water to evaporate first, allowing the sugar to heat directly.
The Wet Caramel Method: Adding Water for Control
The wet method involves dissolving sugar in water before heating. This creates a syrup that heats more evenly and gives you more control over the caramelization process. The water evaporates as the syrup heats, and only once all the water is gone does the sugar begin to caramelize. A common ratio is 1 part water to 2-3 parts sugar, but precise ratios can vary.
Combine the sugar and water in your heavy-bottomed pan. Stir gently over low heat until the sugar is completely dissolved. Once dissolved, stop stirring to prevent crystallization. Increase the heat to medium-high and let the syrup boil.
The temperature will rise steadily as the water evaporates. Once the water is gone, the syrup temperature will quickly climb, and the sugar will start to caramelize. Watch the color closely and remove from heat when the desired shade is reached. The wet method is often recommended for beginners as it's less prone to burning initially and provides a longer window to observe the color change.
Achieving Deep, Amber Colors: Tips and Tricks
To achieve a deep, rich amber color, you need to allow the caramel to cook to a higher temperature, typically above 170°C (340°F). This develops more of the complex, slightly bitter compounds that balance the sweetness. However, the line between perfect dark amber and burnt sugar is very thin. Once the caramel reaches a medium amber, the color can deepen very rapidly.
Keep a close eye on the color and smell. Dark caramel will have a more pronounced, slightly smoky aroma. Have your next ingredient (often butter or cream for sauces) ready to add as soon as the desired color is reached. Adding a cooler ingredient immediately stops the caramelization process, preventing it from burning. Practicing both the dry and wet methods and observing the color progression is key to perfecting caramel flavor techniques at different intensities.
Troubleshooting Common Caramelization Problems
Preventing Crystallization: Solutions and Remedies
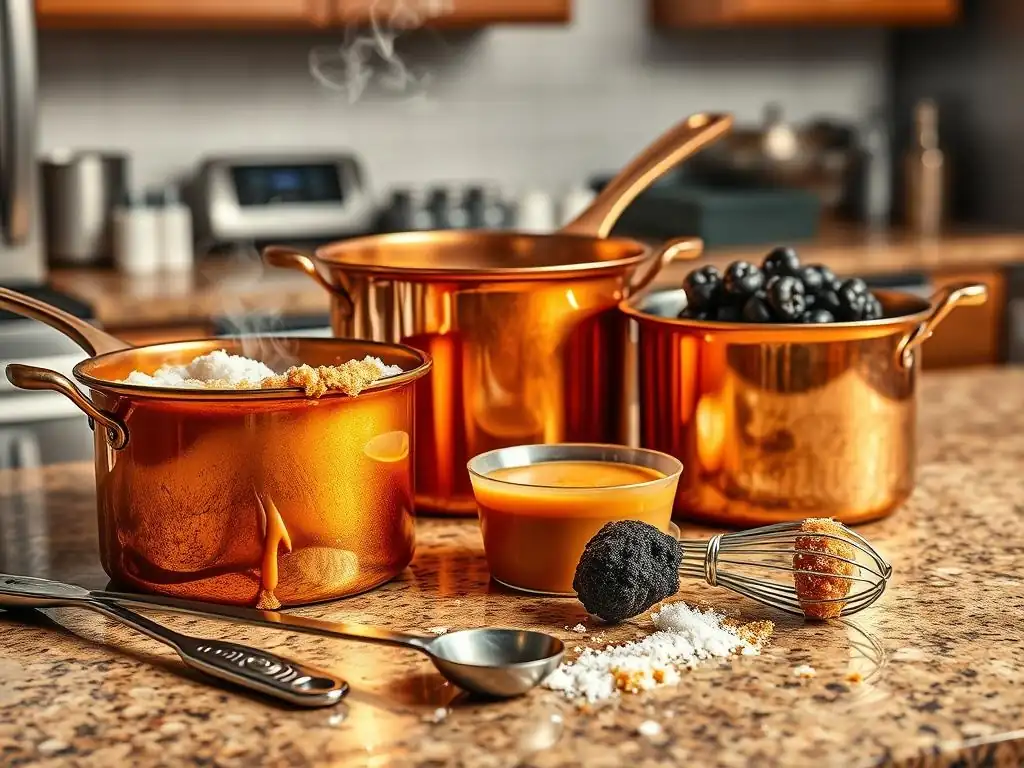
Crystallization is a common frustration when making caramel, turning your smooth liquid amber into a grainy, solid mass. It happens when sugar crystals act as seeds, causing the dissolved sugar to recrystallize. This can be triggered by even a single stray crystal falling back into the syrup or by stirring the sugar solution before the water has fully evaporated in the wet method.
To prevent crystallization, ensure your pan and tools are scrupulously clean before starting. In the wet method, avoid stirring once the sugar has dissolved and the syrup is boiling; swirling the pan is acceptable if needed for even cooking.
If crystals form on the sides of the pan, you can brush them down with a clean pastry brush dipped in water. If crystallization occurs, sometimes adding a small amount of hot water or a tiny pinch of cream of tartar (which helps invert the sugar) and gently reheating can dissolve the crystals and save the batch, though this is not always successful.
Avoiding Burning: Heat Control is Key
Burning sugar is easily done and results in a harsh, acrid flavor that cannot be fixed. The key to avoiding burning is vigilant heat control and observation. Use medium heat – high heat makes the process too fast and difficult to manage.
Stay by the pan the entire time the sugar is heating and caramelizing. Watch the color change constantly. As the caramel approaches the desired shade, have your next ingredient ready to immediately add and stop the cooking process. If using the dry method, remove the pan from the heat entirely as soon as the desired color is achieved, as residual heat will continue to cook the sugar. Learning to recognize the speed at which caramel darkens at different temperatures is vital for perfecting caramel flavor techniques without disaster.
Dealing with Lumpy Caramel: Rescue Techniques
Sometimes, when adding cooler ingredients like butter or cream to hot caramel, the temperature difference can cause the caramel to seize up and become lumpy or solid. This is a common issue, but often salvageable.
If your caramel seizes, simply return the pan to very low heat. Stir gently but continuously. The heat will gradually melt the seized caramel and incorporate the added ingredients, resulting in a smooth sauce again. Be patient and keep the heat low to avoid burning the mixture while it melts. Ensure the added ingredients are at least at room temperature, or even slightly warmed (like cream), to minimize the temperature shock and reduce the likelihood of seizing in the first place.
Elevating Your Baking with Enhanced Caramel Flavor
Infusing Caramel with Flavors: Vanilla, Salt, and Spices
Caramel's rich flavor is a fantastic base for infusions. Vanilla extract or a scraped vanilla bean can be added at the very end, after the caramel is cooked and off the heat, for a classic pairing. The warmth of the caramel helps release the vanilla's aromatic compounds.
Salt is another iconic addition, creating the ever-popular salted caramel. High-quality sea salt or kosher salt added at the end balances the sweetness and enhances the complexity of the caramel flavor. Spices like cinnamon, cardamom, or a pinch of chili powder can also be added cautiously to warm cream before it's mixed into the caramel, or as a tiny pinch directly into the finished caramel, for unique flavor profiles. Experimenting with these additions is part of perfecting caramel flavor techniques.
Using Caramel in Baking: Recipes and Applications
Caramel is incredibly versatile in baking. It can be used as a simple sauce drizzled over cakes, ice cream, or puddings. It forms the luscious filling for tarts, éclairs, and macarons. Harder caramel stages are used for making brittle, toffee, or spun sugar decorations.
Specific applications include using a light caramel base for crème caramel or flan, incorporating a medium caramel sauce into brownie batter or cookie dough, or creating a dark, chewy caramel for millionaire's shortbread or caramel candies. Understanding the different stages of caramelization allows you to choose the right type of caramel for each specific recipe, showcasing the versatility of perfected caramel flavor techniques.
Salted Caramel: A Delicious Variation
Salted caramel has become a beloved flavor combination, and for good reason. The salt crystals provide a pleasant textural contrast (if using flake salt) and, more importantly, the saltiness cuts through the sweetness of the caramel, highlighting its complex toasted and nutty notes.
To make salted caramel sauce, simply follow your preferred caramel method (wet or dry), then add warm cream and butter to the cooked caramel as usual. Once smooth, stir in your salt. The amount of salt can be adjusted to taste, but a good starting point is often 1/2 to 1 teaspoon of flaky sea salt or kosher salt per cup of finished caramel sauce. Adding the salt at the end preserves its distinct flavor and texture.
Beyond the Basics: Advanced Caramel Techniques
Caramelizing Sugar with Honey or Maple Syrup
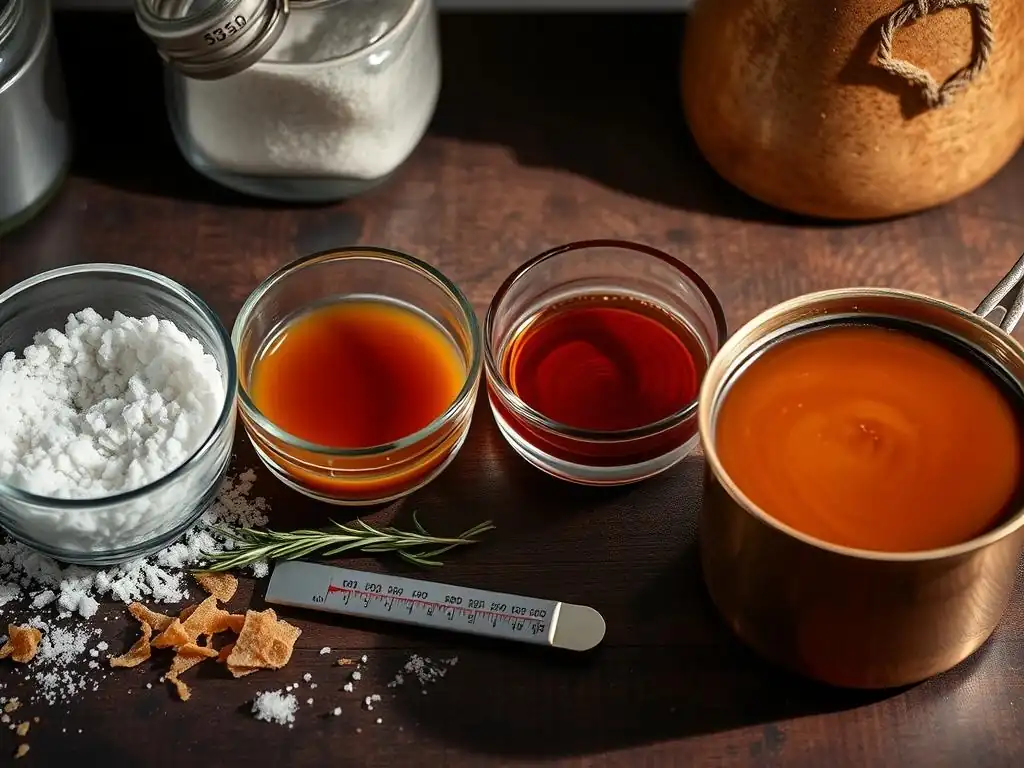
While pure sugar caramelizes cleanly, honey and maple syrup, which are primarily composed of fructose and glucose (honey) or sucrose and various other sugars (maple syrup), also undergo browning reactions when heated. However, due to their composition and lower water content compared to a simple sugar syrup, they caramelize differently and at slightly lower temperatures.
Heating honey or maple syrup carefully can create a rich, slightly darker syrup with enhanced flavor. This isn't pure caramelization but a combination of caramelization and other browning reactions. It requires lower heat and constant vigilance to prevent burning, as the fructose in honey browns much faster than sucrose. The resulting product retains some of the original flavor of the honey or maple syrup, blended with toasted, caramel-like notes, offering an interesting variation when perfecting caramel flavor techniques.
Making Caramel Sauces and Toppings
Caramel sauce is perhaps the most common application of caramel in baking. It's made by cooking sugar to the desired caramel stage, then carefully whisking in warm liquid, typically heavy cream, and often butter. The hot caramel reacts violently with the cooler liquid, producing steam, so caution is essential.
The ratio of caramel to cream and butter determines the sauce's thickness and richness. More cream results in a thinner sauce, while less cream or more butter yields a thicker, richer sauce. Additional flavorings like vanilla or salt are usually added after the sauce is smooth. Mastering the technique of incorporating the liquid smoothly without seizing or burning is key to creating luxurious sauces, a vital part of perfecting caramel flavor techniques.
Caramel Candies and Confections: A Deeper Dive
Making caramel candies involves cooking the sugar to a specific, higher temperature range than sauces, typically 120-130°C (248-266°F), which corresponds to the "firm ball" or "hard ball" stage on a candy thermometer. This higher temperature results in a much firmer texture when cooled.
Ingredients like butter, cream, and often corn syrup (to help prevent crystallization) are added before the mixture is cooked to the desired temperature. The mixture is then boiled and stirred until the target temperature is reached. Cooling the mixture correctly and cutting it at the right consistency are also crucial steps. Making caramel candies requires precision and attention to temperature, representing a more advanced level of perfecting caramel flavor techniques.
Storing and Using Caramel Effectively
Proper Storage Techniques for Caramel Sauce
Proper storage ensures your homemade caramel sauce stays fresh and delicious. Once cooled, caramel sauce should be transferred to an airtight container, such as a glass jar with a tight-fitting lid.
Store the sauce in the refrigerator. Homemade caramel sauce, especially those made with dairy, will typically last for 2-3 weeks when stored correctly in the fridge. Always check for any signs of spoilage, such as off odors or discoloration, before using. Labeling the container with the date you made the caramel is a good practice.
Reheating Caramel: Maintaining Texture and Flavor
Reheating caramel sauce is straightforward. For small amounts, you can gently warm it in a microwave in short intervals, stirring between each interval, until it reaches the desired consistency. Be careful not to overheat, as this can alter the flavor or cause it to burn.
For larger amounts or for better control, reheat the sauce in a small saucepan over very low heat on the stovetop. Stir constantly until it is smooth and pourable. If the sauce seems too thick after reheating, you can stir in a tiny amount of hot water or cream until it reaches your desired consistency. Avoid vigorous boiling during reheating, which can make the caramel tough.
Incorporating Caramel into Different Baking Projects
Caramel can be incorporated into baking projects in numerous ways. Use cooled caramel sauce as a swirl in cheesecake or brownie batter before baking. Layer cooled, slightly thickened caramel between cake layers or as a filling for cupcakes.
For tarts or bar recipes, a firmer caramel (cooked to a slightly higher temperature or allowed to cool more) works well as a base layer that sets up. Hard caramel can be crushed and sprinkled as a topping for added crunch. Experimenting with how caramel interacts with different textures and temperatures in baked goods is part of perfecting caramel flavor techniques in practical application.
Perfecting Caramel Flavor Techniques: A Recap for Bakers
Key Takeaways for Achieving Optimal Caramelization
To achieve optimal caramelization and truly master perfecting caramel flavor techniques, remember the fundamentals: start with clean equipment, use a heavy-bottomed pan, and control the heat carefully. Choose the right sugar for your desired flavor profile. Use a thermometer for precision, especially when starting out.
Understand the difference between the wet and dry methods and choose the one that suits your comfort level and recipe. Watch the color and smell closely, as these are your best indicators of flavor development. Be prepared to stop the cooking process immediately when the desired stage is reached by adding a cooler ingredient or removing the pan from the heat. Patience and attention are your most valuable tools.
Practice Makes Perfect: Experimenting with Caramel Flavors
Like any baking skill, perfecting caramel flavor techniques takes practice. Don't be discouraged by initial attempts that may burn or crystallize. Each batch, successful or not, is a learning opportunity. Pay attention to what went wrong and adjust your approach next time.
Experiment with different heat levels, pan types, and even types of sugar (once you've mastered the basics with granulated). Try adding different flavor infusions like citrus zest, coffee, or various salts. Keep notes on what works and what doesn't. The more you practice, the better you'll become at judging the perfect moment to stop the caramelization process for your desired flavor outcome.
We love seeing what our community creates! Once you've started perfecting caramel flavor techniques, share photos and descriptions of your caramel sauces, candies, or baked goods featuring caramel with us. Whether it's a classic tarte tatin, innovative caramel brownies, or a simple, perfect caramel sauce drizzle, your creations can inspire others.
Join the conversation on our website or social media platforms. Ask questions, share your tips, and celebrate your successes in mastering this delicious and rewarding baking skill. Happy caramelizing!
Frequently Asked Questions
What is caramelization and why is it important in baking?
Caramelization is the browning of sugar through heat, creating complex flavors and aromas. It's crucial for adding depth and richness to desserts, enhancing the overall flavor profile of baked goods. It's all about the Maillard reaction.
What are some common mistakes people make when trying to caramelize sugar?
Common errors include overcrowding the pan, causing uneven heating, and not using enough heat, which leads to slow caramelization. Also, stirring too much can prevent the sugar from melting properly.
What are some key techniques for achieving the perfect caramel flavor?
Using a heavy-bottomed saucepan ensures even heat distribution. Controlling the heat and being patient are crucial. Adding a touch of acid (like lemon juice) can help prevent crystallization.
Besides sugar, what other ingredients can be caramelized to enhance flavor?
While sugar is the base, ingredients like onions, garlic, and fruits can be caramelized. This process draws out their natural sugars and creates a rich, savory, or sweet flavor profile.
How can I prevent my caramel from burning or crystallizing?
Use a clean pan and avoid introducing impurities. Monitor the heat closely, and if crystallization starts, try adding a small amount of water or an acid like lemon juice to dissolve the crystals.
Final Reflection: The Enduring Allure of Caramel's Golden Embrace
The pursuit of the perfect caramel, a seemingly simple act of melting sugar, is a journey into the heart of flavor itself. This journey, as we've explored, is far from straightforward, demanding precision, patience, and a deep understanding of the Maillard reaction and the delicate dance between heat and sugar. The techniques discussed here remain as relevant today as they were centuries ago, proving that some culinary arts transcend trends and remain timeless expressions of creativity and skill.
The transformative power of caramelization extends far beyond the simple sweetness of the finished product. It's a testament to the alchemy of cooking, where humble ingredients are elevated to something extraordinary through careful manipulation. The subtle nuances of flavor—from the deep, buttery notes to the hints of bitterness—are a testament to the artistry involved. As Julia Child once wisely said, Find something you're passionate about and keep tremendously interested in it.
This passion, applied to the craft of caramel making, is what elevates it from a simple recipe to a deeply satisfying experience.
Now, consider your own culinary journey. Perhaps you've already mastered the art of caramel, or perhaps you're just beginning to explore its possibilities. Regardless of your skill level, I invite you to embrace the process, to experiment with different sugars and temperatures, and to savor the journey as much as the destination. The perfect caramel isn't just a recipe to follow; it's a testament to your dedication, your patience, and your unwavering pursuit of flavor. So, go forth, and create your own liquid amber—a golden testament to the magic of caramelization.
Unlock Your Inner Pastry Chef: Master Caramelization Today!
Thanks for taking the time to explore the magic of caramelization with us! We hope you now feel confident in tackling this essential baking technique. Ready to put your new skills to the test?
- Craft your signature caramel creation: Try one of the recipes mentioned in the article, or experiment with your own caramel-infused masterpiece. Don't be afraid to get creative!
- Share your caramel triumphs (or tales!): Post a picture of your creation on social media and tag us – we’d love to see what you bake!
- Explore deeper into the sweet science: Dive into our other articles on sugar and baking techniques to expand your culinary expertise.
What unexpected flavor combination will your first caramelized creation feature? Let us know in the comments!