
Getting Water Temperature Right for Yeast Activation

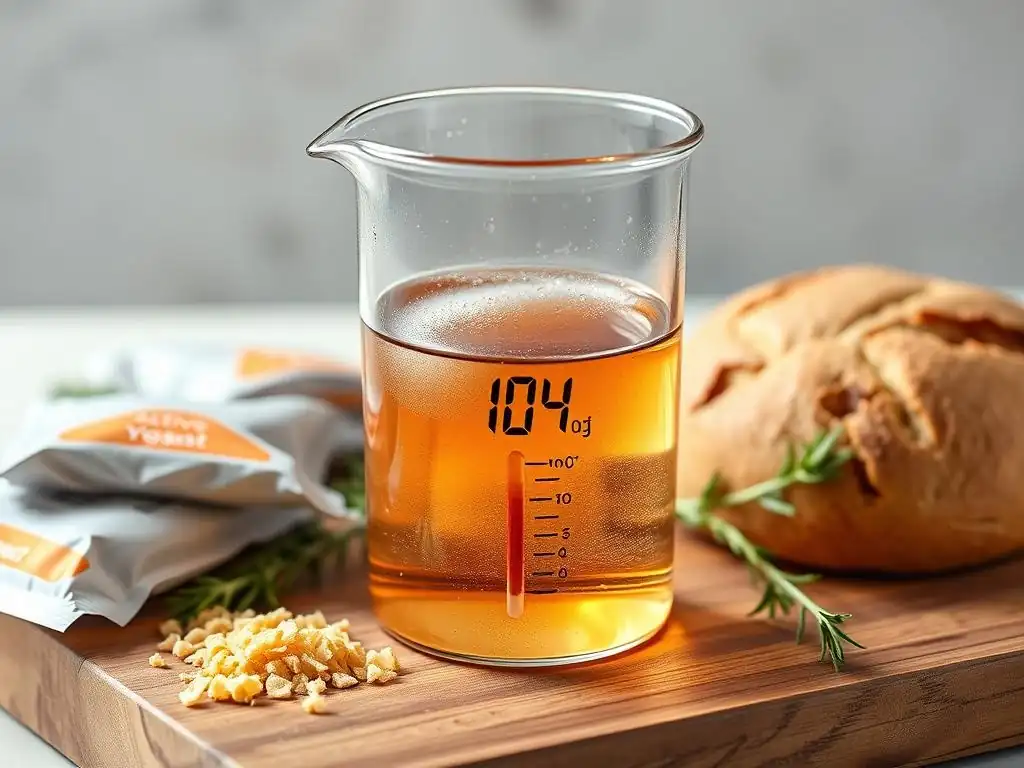
Welcome to BakeWithEase, your trusted guide to baking bliss! Ever wondered if your yeast is truly ready to rise to the occasion? This is a common concern for bakers. In our latest article, we dive deep into a critical, often overlooked aspect of baking success: the precise yeast activation water temperature guide. Discover the secrets to achieving perfect proofing every time and unlock the full potential of your dough. Are you ready to elevate your baking game? Let's get started!
- Getting Water Temperature Right for Yeast Activation: BakeWithEase Guide
- Introduction: Why Water Temperature Matters for Yeast Activation in Croissant Baking
- Yeast Activation Water Temperature Guide: The Ideal Range
- The Science Behind Yeast Activation and Water Temperature
- Step-by-Step: Activating Yeast with the Correct Water Temperature
- Troubleshooting Yeast Activation Problems Related to Water Temperature
- Beyond Water Temperature: Other Factors Influencing Yeast Activation
- Tips and Tricks for Consistent Yeast Activation in Croissant Baking
- The Importance of Correct Yeast Activation for Croissant Dough
- Conclusion: Mastering Yeast Activation for BakeWithEase Croissants
-
Frequently Asked Questions
- What is the ideal water temperature for activating yeast, according to BakeWithEase?
- Why is water temperature so crucial for yeast activation?
- What happens if the water is too hot when activating yeast?
- Can I use tap water straight from the faucet for yeast activation?
- What are the signs that my yeast has been successfully activated?
- Final Reflection: The Subtle Art of Yeast Awakening
- Unlock Your Baking Potential: Perfect Yeast Activation Every Time!
Getting Water Temperature Right for Yeast Activation: BakeWithEase Guide
Introduction: Why Water Temperature Matters for Yeast Activation in Croissant Baking
Baking perfect croissants at home is a rewarding challenge, and one of the most critical steps often overlooked is the temperature of the water used to activate your yeast. Think of yeast as tiny, dormant creatures that need just the right conditions to wake up and get to work. Water temperature is their alarm clock, and setting it incorrectly can mean the difference between a beautifully risen, flaky croissant and a dense, sad pastry. Getting the yeast activation water temperature guide right is fundamental for any aspiring home baker tackling laminated doughs like those used in croissants.
The success of your croissant dough hinges significantly on the initial activity of the yeast. Yeast consumes sugars and produces carbon dioxide gas, which is what makes dough rise and creates that airy, layered structure characteristic of a great croissant. If your yeast isn't properly activated, this process is compromised from the start. Understanding and controlling the water temperature for yeast activation is a key skill in mastering not just croissants, but many other yeasted baked goods. This guide will walk you through the essential steps to ensure your yeast is always ready to perform.
The Crucial Role of Water Temperature in Successful Yeast Activation
Water temperature is arguably the single most important factor in successfully activating yeast. Too hot, and you can kill the delicate yeast organisms; too cold, and they remain dormant or activate too slowly. Neither scenario is ideal for achieving the vigorous activity needed for a good dough rise, especially in a complex dough like croissant dough which undergoes multiple proofing stages. The correct temperature provides the optimal environment for yeast cells to rehydrate and begin their metabolic processes.
For instance, if you're using active dry yeast, which typically requires 'proofing' (activating in liquid before mixing into the dough), using water that's too cool – say, below 70°F (21°C) – will result in sluggish or no activation. Conversely, water exceeding 140°F (60°C) can instantly kill the yeast. Finding that sweet spot within the yeast activation water temperature guide ensures your yeast is healthy, active, and ready to produce the necessary gas for leavening your dough effectively.
Understanding Yeast Activation for Perfect Croissants at Home
Yeast activation is the process where dry yeast cells, which are in a dormant state, are rehydrated and brought back to life. When dry yeast comes into contact with warm liquid and a food source (like a pinch of sugar often added to the water), it starts to absorb the liquid and begins to metabolize sugars, producing carbon dioxide and alcohol. This initial burst of activity is crucial because it confirms the yeast is alive and viable before you commit it to your entire batch of dough.
For croissants, where the dough requires significant rising time and strength to support the layers of butter, ensuring your yeast is fully active is paramount. An inactive or weak batch of yeast will lead to a dough that doesn't rise properly, resulting in flat, dense, and heavy croissants. Following a precise yeast activation water temperature guide is your first line of defense against this common baking pitfall, setting the stage for light, airy, and perfectly layered pastries.
Yeast Activation Water Temperature Guide: The Ideal Range
Finding the perfect temperature for your yeast is like finding the perfect temperature for a comfortable bath – too hot is painful, too cold is unpleasant, but just right is perfect. For yeast, this "just right" temperature range is relatively narrow and depends slightly on the type of yeast you are using. Adhering to the recommended yeast activation water temperature guide is non-negotiable for reliable results.
Generally, the ideal water temperature for activating most types of yeast falls within a range that feels warm to the touch but not hot. Precision is key here, as even a few degrees can make a difference. Using a thermometer is highly recommended to avoid guesswork and ensure you are within the optimal window for vigorous yeast activity.
Defining the Optimal Water Temperature Range for Yeast Activation
For active dry yeast, which needs to be proofed, the generally recommended water temperature range is between 105°F and 115°F (40°C to 46°C). This temperature range is warm enough to quickly rehydrate the yeast cells and kickstart their metabolism, but not so hot that it damages or kills them. Within a few minutes at this temperature with a pinch of sugar, you should see visible signs of activation, such as foaming or bubbling on the surface of the water.
Using water cooler than 105°F (40°C) will slow down the activation process significantly, potentially leading to a longer waiting time or incomplete activation. Conversely, exceeding 115°F (46°C) starts to increase the risk of thermal shock and killing the yeast cells. Sticking within this 105-115°F window, as outlined in this yeast activation water temperature guide, provides the best chance for successful and rapid activation of active dry yeast.
Active Dry Yeast vs. Instant Yeast: Temperature Differences Explained
The primary difference in water temperature requirements lies between active dry yeast and instant yeast. As mentioned, active dry yeast requires water between 105°F and 115°F (40°C to 46°C) for proofing. Instant yeast, on the other hand, is milled more finely and contains enzymes that allow it to be added directly to the dry ingredients without prior activation. It doesn't strictly need warm water to activate, though lukewarm water can speed up its initial activity.
If you choose to proof instant yeast (though it's not necessary), slightly cooler water around 95°F to 100°F (35°C to 38°C) is sufficient and less likely to cause issues than the hotter range required for active dry yeast. However, most recipes using instant yeast instruct you to simply mix it with the flour and other dry ingredients, using water or milk that is lukewarm (around 80°F to 90°F or 27°C to 32°C) in the dough mixture.
This lower temperature is because the yeast activates gradually within the dough itself. Always consult the yeast package instructions or your recipe's specific yeast activation water temperature guide, as manufacturers' recommendations can vary slightly.
The Science Behind Yeast Activation and Water Temperature
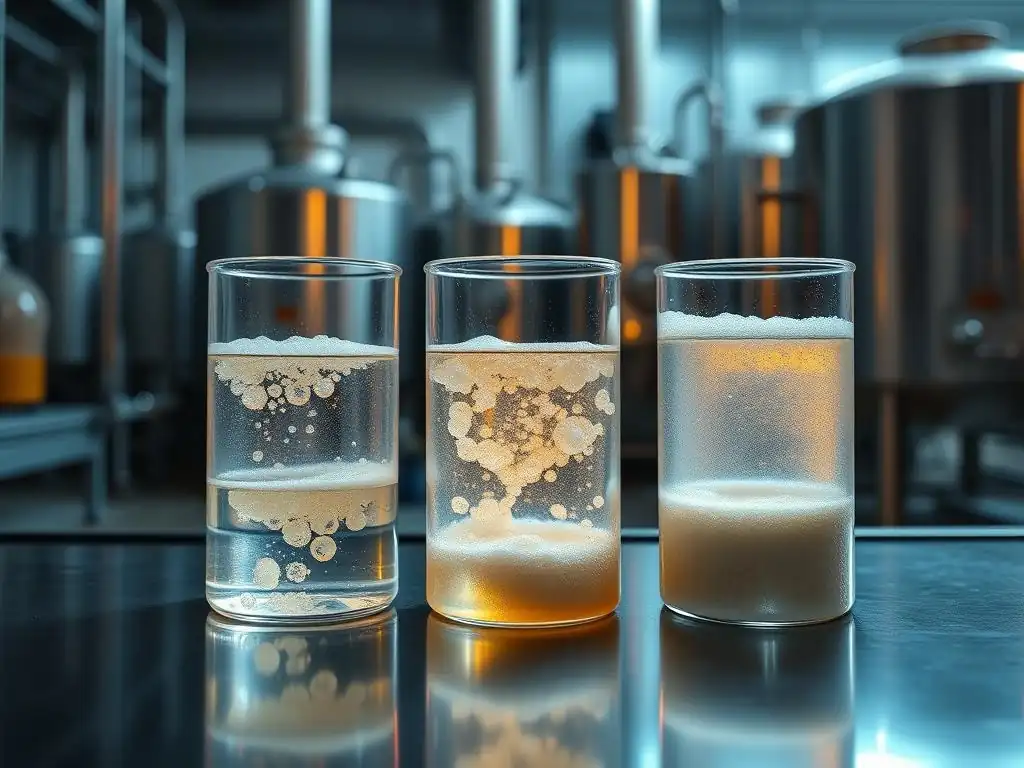
Understanding why water temperature is so critical involves a bit of basic biology. Yeast (Saccharomyces cerevisiae) are single-celled fungi. In their dry form, they are dormant, like tiny hibernating creatures. When introduced to moisture and warmth, they wake up and become active. The temperature of the water directly impacts the rate at which these cells rehydrate and begin their metabolic processes.
This metabolic activity involves converting simple sugars into carbon dioxide gas and ethanol through fermentation. The carbon dioxide is trapped by the gluten network in the dough, causing it to expand and rise. The rate of this fermentation is highly dependent on temperature. Too cold, and the yeast is sluggish; too hot, and the enzymes within the yeast cells are denatured, rendering them inactive or dead.
How Water Temperature Affects Yeast Cell Activity
Water temperature affects yeast activity in several ways. Primarily, it influences the rate of rehydration. Dry yeast cells need to absorb water to become metabolically active. Warmer water facilitates this process more quickly than cold water. Once rehydrated, the temperature of their environment dictates the speed of their enzymatic reactions – specifically, the enzymes that break down sugars for energy and produce CO2.
Within the optimal range (105-115°F for active dry yeast), the yeast cells rehydrate efficiently, and their enzymes work at a high, but sustainable, rate. This leads to rapid and visible activation, confirming the yeast's viability. Below this range, enzyme activity slows down, resulting in slow or incomplete activation. Above this range, the increasing heat damages the cell membranes and denatures the enzymes, leading to cell death and no activity. This biological process underpins the importance of following a precise yeast activation water temperature guide.
What Happens When Water is Too Hot or Too Cold?
Using water that is too hot is one of the most common mistakes leading to failed yeast activation. Water temperatures above 120°F (49°C) can start to kill active dry yeast, and temperatures above 140°F (60°C) are lethal to most strains. When yeast is killed by heat, it simply won't produce any gas, and your dough will not rise. It's like trying to wake someone up with boiling water – it's not going to go well.
On the other hand, using water that is too cold (below 70°F or 21°C) means the yeast will rehydrate very slowly, and their metabolic activity will be minimal. While cold water won't kill the yeast, it can result in a very slow or seemingly non-existent activation. This might lead you to believe the yeast is dead, when in reality, it's just very sluggish. For recipes requiring a quick rise or proofing active dry yeast, cold water is detrimental to achieving the desired dough development. This is why a reliable yeast activation water temperature guide is essential for predictable results.
Step-by-Step: Activating Yeast with the Correct Water Temperature
Activating yeast, particularly active dry yeast, is a straightforward process once you understand the role of temperature. It's a simple step that provides crucial feedback on the viability of your yeast before you commit to mixing your full dough. Follow these steps to ensure your yeast is perfectly primed for baking delicious croissants.
This process is often called "proofing" the yeast, and it's a vital check. If your yeast doesn't activate after following these steps, it's likely dead or expired, and you'll save yourself wasted ingredients and effort by starting over with fresh yeast. Mastering this step is a cornerstone of the yeast activation water temperature guide for consistent baking success.
Preparing Your Water and Yeast
First, measure the amount of water specified in your recipe. It's crucial to use the correct volume of water, as the hydration level of your dough is important. Heat the water to the appropriate temperature based on the type of yeast you are using – aiming for 105°F to 115°F (40°C to 46°C) for active dry yeast. A microwave or stovetop can be used, but be careful not to overheat.
Pour the measured warm water into a small bowl or measuring cup. Sprinkle the yeast over the surface of the water. If your recipe calls for sugar in the yeast activation step (often just a pinch or a teaspoon), add it to the water before or after the yeast. The sugar provides a readily available food source to help kickstart the yeast's activity. Do not stir immediately; let the yeast sit on the surface for about 30-60 seconds to begin absorbing the water.
Measuring Water Temperature Accurately: Tools and Techniques
Accurate temperature measurement is non-negotiable for reliable yeast activation. Guessing the temperature by touch ("lukewarm") is notoriously unreliable and a common source of failed yeast. A good quality kitchen thermometer is an essential tool for any baker.
- Digital Thermometer: These are fast and accurate. Simply dip the probe into the water and wait a few seconds for the reading. Look for one with a narrow tip for easy cleaning. A range of 0°F to 220°F (-18°C to 104°C) is sufficient.
- Instant-Read Thermometer: Similar to digital, but provides a reading almost instantly.
- Candy/Deep Fry Thermometer: Can also be used, though they might be slower to register the temperature. Ensure the temperature scale is appropriate.
Always stir the water gently before taking a reading to ensure the temperature is uniform throughout. Take the reading just before adding the yeast to confirm it's within the recommended range from your yeast activation water temperature guide.
The Activation Process: Observing and Understanding Yeast Activity
After sprinkling the yeast over the warm water (and sugar, if used) and letting it sit briefly, gently stir to combine the yeast fully with the water. Now, the waiting game begins. Place the bowl in a warm, draft-free spot. Within 5 to 10 minutes, you should observe visible signs of activity.
Healthy, active yeast will begin to form a foamy layer on the surface of the water. It might look like a cloudy, bubbly raft. This foam indicates that the yeast cells are alive, rehydrated, and actively producing carbon dioxide gas. If, after 10-15 minutes, there is little to no foam, or the mixture looks like murky water with yeast sediment at the bottom, your yeast is likely dead or inactive. Do not proceed with this yeast; discard the mixture and start again with fresh yeast and verify your yeast activation water temperature guide adherence.
Even with careful attention, sometimes yeast doesn't activate as expected. Often, the culprit is related to the water temperature used. Don't get discouraged; troubleshooting is part of the baking process. Identifying the issue quickly means you can correct it and get back to baking those beautiful croissants.
Understanding the common mistakes related to the yeast activation water temperature guide can help you diagnose the problem. Is the water too hot, too cold, or is there another factor at play? Let's look at the most frequent issues and how to address them.
My Yeast Didn't Activate: Common Water Temperature Mistakes
The most common reason for inactive yeast after proofing is incorrect water temperature. If you used water that felt "very warm" or "hot" to the touch without a thermometer, you likely killed the yeast. Yeast cells are sensitive to heat, and temperatures above 120°F (49°C) can be fatal, especially if the yeast is exposed for more than a few seconds. A quick test: if you can comfortably hold your finger in the water for more than a few seconds, it's likely below 120°F, but this is still just a rough gauge.
Conversely, if you used water that felt "lukewarm" or cool, the yeast might not have activated because the temperature was too low. Active dry yeast needs that 105-115°F (40-46°C) range to quickly rehydrate and become active. Water below 90°F (32°C) will result in extremely slow or no visible activation within a reasonable timeframe. Always use a thermometer and aim for the sweet spot recommended by your yeast activation water temperature guide.
Troubleshooting Slow or Incomplete Yeast Activation
If your yeast shows some signs of activity (a few bubbles) but doesn't form a thick, foamy layer after 10-15 minutes, it could be due to water temperature that is slightly below the ideal range (e.g., 95-100°F or 35-38°C). The yeast is alive but sluggish. It might eventually activate more fully, but it indicates the yeast is not as vigorous as it should be, or the conditions aren't optimal.
Other factors can also contribute to slow activation even if the temperature is correct, such as old or expired yeast, or inhibitors in the water (like high levels of chlorine). If you suspect the temperature was correct but activation is slow, try moving the bowl to a warmer spot in your kitchen. If it still doesn't improve significantly, the yeast itself might be the issue. Always check the expiration date on your yeast package. A reliable yeast activation water temperature guide paired with fresh yeast is your best bet for consistent results.
Beyond Water Temperature: Other Factors Influencing Yeast Activation
While water temperature is paramount for successful yeast activation, it's not the only factor at play. Several other elements in your baking environment and ingredients can influence how well your yeast performs. Understanding these can further improve your consistency and troubleshooting skills when things don't go exactly as planned.
Considering these additional variables alongside the yeast activation water temperature guide provides a more holistic view of successful yeast handling. Pay attention to the quality of your ingredients and how you incorporate them.
The Impact of Sugar and Salt on Yeast Activity
Sugar is typically added to the water when proofing active dry yeast because it provides a readily available food source, helping to speed up the initial activation process. Yeast feeds on simple sugars, converting them into carbon dioxide and alcohol. A small amount of sugar (like a teaspoon) gives the yeast a quick energy boost. However, too much sugar can have the opposite effect; high concentrations of sugar can actually draw water out of the yeast cells, inhibiting their activity through osmosis.
Salt, conversely, inhibits yeast activity. While a necessary ingredient for flavor and controlling fermentation rate in the dough, salt should never be added to the water when proofing active dry yeast. Adding salt at the activation stage can significantly slow down or even prevent the yeast from becoming active. Salt should always be added later, mixed with the flour or other dry ingredients, away from the yeast during the initial activation phase. This is a critical point often highlighted in a comprehensive yeast activation water temperature guide.
Water Quality and Its Effect on Yeast Activation
The quality of your water can also subtly affect yeast performance. Highly chlorinated water, for example, can sometimes inhibit yeast activity. Chlorine is a disinfectant and can harm living organisms, including yeast cells. If your tap water has a strong chlorine smell, it might be worth using filtered or bottled water for yeast activation, especially if you consistently experience issues despite using the correct temperature and fresh yeast.
Very hard water (high in minerals) can also sometimes slightly impact yeast, though this is less common as a primary cause of failure than temperature or expired yeast. Soft water (low in minerals) is generally considered ideal for yeast activity. If you suspect your water quality might be an issue, switching to filtered or bottled water for the yeast activation step is a simple test. While not always included in a basic yeast activation water temperature guide, considering water quality can be helpful for troubleshooting persistent problems.
Tips and Tricks for Consistent Yeast Activation in Croissant Baking
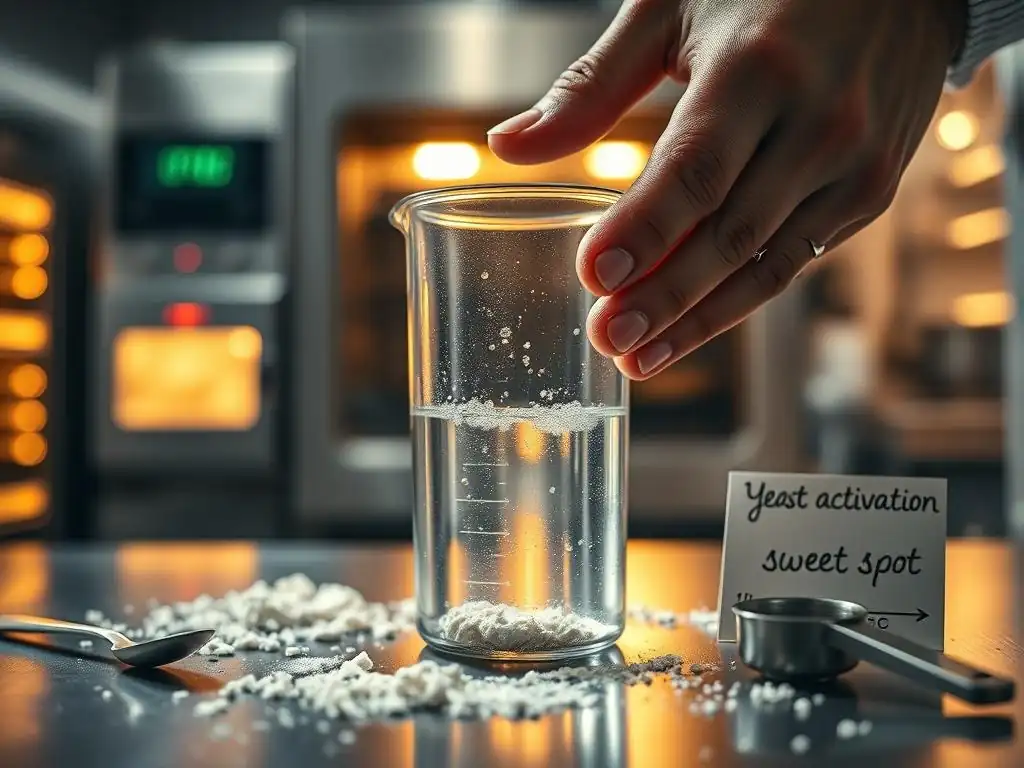
Achieving consistent results in baking, especially with something as technical as croissants, relies on mastering fundamental steps like yeast activation. Beyond knowing the correct yeast activation water temperature guide, incorporating some best practices can significantly improve your success rate. These simple tips can help ensure your yeast is always ready to perform optimally.
Making these practices a routine part of your baking process will minimize the chances of yeast-related failures and contribute to more predictable and delicious outcomes, particularly when working with delicate doughs like those for croissants.
Pre-Heating Water to the Ideal Temperature
Instead of heating water directly to the target temperature, sometimes it's easier and more precise to slightly overheat the water and then let it cool down to the desired range (105-115°F or 40-46°C for active dry yeast). This gives you a bit more control. Heat a slightly larger amount of water than you need, then measure the required amount into your proofing container. Use your thermometer and wait until the temperature drops into the target range before adding the yeast.
Alternatively, using a temperature-controlled electric kettle can be incredibly convenient, allowing you to set the water to a specific temperature. While not essential, this tool can make adhering to the yeast activation water temperature guide effortless.
Keeping Water Temperature Stable During Activation
Once you've added the yeast to the warm water, placing the container in a warm, draft-free location can help maintain the water temperature during the activation period. Avoid placing it near open windows, vents, or cold surfaces.
Some bakers place the bowl on top of a warm oven (not in a hot oven!) or even in a microwave (turned off) as a draft-free spot. The goal is to prevent the water from cooling down too rapidly before the yeast has a chance to fully rehydrate and become active. This helps ensure the yeast activation water temperature guide is followed throughout the critical initial phase.
Measuring Water Temperature Accurately
As emphasized before, using a reliable thermometer is the single most important tip for consistent yeast activation. Do not skip this step or rely on guesswork. Digital instant-read thermometers are relatively inexpensive and provide quick, accurate readings.
Make it a habit to always measure the water temperature just before adding the yeast. This simple step, central to any effective yeast activation water temperature guide, eliminates the most common variable causing yeast failure and gives you confidence that you've provided the yeast with the correct starting conditions.
The Importance of Correct Yeast Activation for Croissant Dough
For laminated doughs like croissants, yeast plays a multifaceted role. It's not just about making the dough rise; its activity significantly impacts the dough's structure, texture, and flavor development throughout the long and complex process of mixing, kneading, proofing, folding, and final proofing. Correct yeast activation is the foundational step that supports all subsequent stages.
An improperly activated batch of yeast can derail your croissant project from the very beginning, leading to a multitude of problems down the line. This is why mastering the yeast activation water temperature guide is so vital for achieving those coveted flaky layers and airy interiors.
How Yeast Activation Affects Dough Rise and Texture
The primary job of yeast is leavening – producing carbon dioxide gas that expands the dough. In croissant dough, this initial gas production helps develop the gluten structure during mixing and kneading, and then provides the lift during the bulk fermentation and final proofing stages. If the yeast isn't properly activated initially, it won't produce enough gas, or it will produce it too slowly.
Insufficient gas production leads to a dough that doesn't rise adequately. For croissants, this means less expansion during baking, resulting in a denser, heavier crumb structure instead of the desired open, airy layers. The texture will be compromised, lacking the lightness and flakiness that defines a great croissant. Proper adherence to the yeast activation water temperature guide ensures the yeast is vigorous and ready to provide the necessary lift.
The Impact of Inactive Yeast on Croissant Quality
Using inactive or dead yeast is perhaps the most frustrating baking failure because the dough simply won't rise. You'll mix your dough, follow all the steps, and hours later, it will look exactly the same. For croissants, which involve significant time investment in lamination and proofing, this is particularly disheartening. An inactive batch of yeast means a flat, hard, and inedible result.
Even partially active or sluggish yeast can negatively impact quality. While the dough might rise a little, it won't reach its full potential volume, leading to dense areas. The fermentation process, which also contributes to the characteristic flavor of croissants, will be impaired. This can result in a flatter shape, reduced flakiness, and a less complex flavor profile. This highlights why verifying yeast activity using the correct yeast activation water temperature guide is a non-negotiable first step.
Conclusion: Mastering Yeast Activation for BakeWithEase Croissants
Successfully baking beautiful, flaky croissants at home is a journey that involves mastering several key techniques. Among the most fundamental is ensuring your yeast is properly activated. The temperature of the water used for this initial step is not a minor detail; it is a critical factor that dictates the success of your entire dough. By following a reliable yeast activation water temperature guide, you set the stage for optimal yeast performance.
Remember that for active dry yeast, the sweet spot is typically between 105°F and 115°F (40°C to 46°C). Using a thermometer eliminates guesswork and is the single best practice for consistent results. Combine this with fresh yeast, a pinch of sugar (if proofing active dry), and avoiding salt at the activation stage, and you're well on your way to happy, active yeast.
Achieving Consistent Results with the Right Water Temperature
Consistency in baking comes from controlling variables. Water temperature for yeast activation is one of the easiest variables to control with the right tools and knowledge. By diligently measuring the water temperature every time you activate yeast and aiming for the optimal range specified in this yeast activation water temperature guide, you dramatically increase the likelihood of your dough rising properly.
This consistent approach builds confidence in your baking process. When your yeast reliably foams up, you know you've successfully completed the first, crucial step, allowing you to proceed with the rest of your croissant recipe knowing your leavening agent is working as it should.
Your Key to Perfect Croissant Baking: Yeast Activation Mastery
Mastering yeast activation is more than just following a temperature guide; it's understanding the science behind it and recognizing the signs of healthy yeast activity. This knowledge empowers you to troubleshoot when necessary and ensures you don't waste time and ingredients on dough that is destined to fail due to inactive yeast.
For aspiring croissant bakers, dedicating attention to this initial step is an investment that pays off in the final product. A perfectly activated batch of yeast is your key to achieving the airy, layered texture and delicious flavor that makes homemade croissants so rewarding. Make the yeast activation water temperature guide your trusted companion on your journey to baking perfection with BakeWithEase.
Frequently Asked Questions
What is the ideal water temperature for activating yeast, according to BakeWithEase?
The ideal water temperature for yeast activation, according to BakeWithEase, is typically between 105-115°F (40-46°C). This range allows the yeast to thrive without being killed by excessive heat.
Why is water temperature so crucial for yeast activation?
Water temperature is critical because it directly affects yeast activity. Too cold, and the yeast remains dormant; too hot, and the yeast dies, preventing proper leavening.
What happens if the water is too hot when activating yeast?
If the water is too hot, it will kill the yeast, rendering it unable to produce the carbon dioxide necessary for the dough to rise. This results in a dense and flat baked good.
Can I use tap water straight from the faucet for yeast activation?
While you can use tap water, it's best to use a thermometer to ensure it's within the recommended temperature range. Water straight from the faucet is often too hot or too cold.
What are the signs that my yeast has been successfully activated?
Successful yeast activation is indicated by a foamy or bubbly mixture after about 5-10 minutes. This shows that the yeast is alive and actively fermenting, ready to be added to your recipe.
Final Reflection: The Subtle Art of Yeast Awakening
The perfect temperature for yeast activation isn't just a detail; it's the cornerstone of successful baking. A seemingly small degree difference can mean the triumph of a perfectly risen loaf or the disappointment of a dense, lifeless one. Mastering this seemingly simple aspect unlocks a deeper understanding of the entire baking process.
The quest for the ideal yeast activation temperature has been a journey of discovery, not just for me, but for bakers throughout history. The subtle nuances of yeast behavior, its sensitivity to temperature fluctuations, and the impact on the final product are fascinating. The baker's skill is in the details, and the details often lie in the unseen.
This quote, while not directly about yeast, perfectly captures the essence of this exploration. Understanding the science behind yeast activation elevates baking from a simple act to a precise art form, demanding respect for the living organism at its heart.
Now, it's your turn. Consider the next time you embark on a baking project. Remember the importance of that initial step – the careful temperature control that awakens the yeast and sets the stage for a delicious outcome. Don't just follow a recipe blindly; understand why a specific temperature is crucial. Experiment, observe, and refine your technique. The journey of mastering yeast activation is a rewarding one, promising consistently delicious results and a deeper appreciation for the magic of baking.
Unlock Your Baking Potential: Perfect Yeast Activation Every Time!
Thanks for diving into the world of perfect yeast activation with us! We hope you now feel confident in getting that crucial first step right for consistently amazing bread. Ready to put your new knowledge into practice?
- Bake a test loaf: Use your newfound knowledge to bake your favorite bread recipe – and pay close attention to the rise! This is the ultimate test of your yeast activation skills.
- Share your baking journey: Let's connect! Tell us about your experience and share photos of your perfectly risen loaves on our social media channels.
- Explore advanced techniques: Consider experimenting with different yeast strains and hydration levels to discover your ideal baking method.
Ready to unleash your inner baker? What's your next baking project going to be?