
Tips for Baking Laminated Dough in Hot Weather

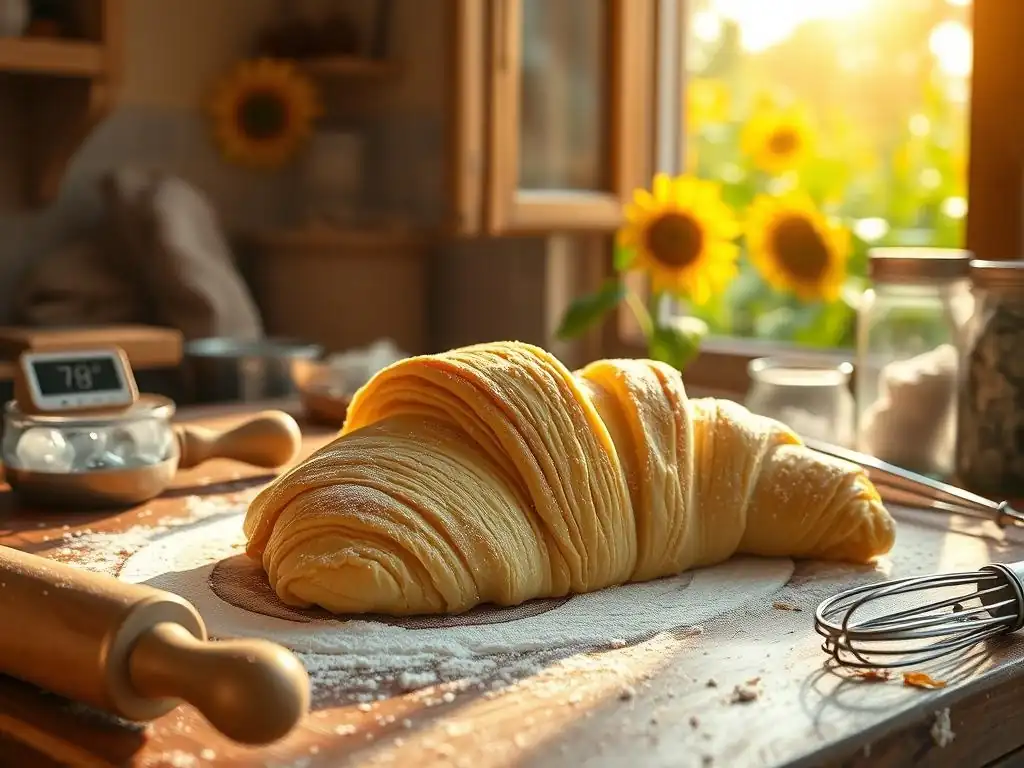
Welcome to BakeWithEase, your trusted guide to baking brilliance! Ever dream of perfectly flaky croissants or melt-in-your-mouth puff pastry, but the summer heat has you intimidated? This week, we’re diving deep into the surprisingly simple secrets for mastering the art of baking laminated dough in hot weather. Discover how to tame that temperamental butter and achieve bakery-worthy results, even when the temperatures soar. Curious how to prevent a buttery meltdown? Read on!
- Tips for Baking Laminated Dough in Hot Weather: BakeWithEase Guide
- Introduction: Mastering Laminated Dough in Summer Heat
- Understanding the Challenges of Baking Laminated Dough in Hot Weather
- Essential Tips for Successful Lamination in Warm Climates
- Equipment Considerations for Baking Laminated Dough in Summer
- Troubleshooting Common Issues with Laminated Dough in Hot Weather
- Recipe Adaptations: Baking Croissants in Hot Weather
- Equipment Considerations for Baking Laminated Dough in Summer
- Troubleshooting Common Issues with Laminated Dough in Hot Weather
- Conclusion: Enjoying Delicious Laminated Pastries Year-Round
-
Frequently Asked Questions
- What is laminated dough and why is hot weather a problem?
- What's the most important tip for baking laminated dough in hot weather?
- Can I still make laminated dough if I don't have air conditioning?
- How does over-proofing affect laminated dough baked in hot weather?
- What are some signs that my laminated dough is getting too warm while I'm working with it?
- Final Reflection: Mastering the Flaky Heart of Summer Baking
- Conquer the Heat: Master Laminated Dough This Summer!
Tips for Baking Laminated Dough in Hot Weather: BakeWithEase Guide
Introduction: Mastering Laminated Dough in Summer Heat
Baking laminated dough, like that used for croissants, puff pastry, or danishes, is a delicate art that relies heavily on temperature control. The magic happens when layers of butter are meticulously folded into dough, creating distinct layers that puff up in the oven, resulting in a light, flaky texture. However, when temperatures rise, this process becomes significantly more challenging. Hot weather is the nemesis of perfect lamination, turning firm butter into a soft, greasy mess and making dough sticky and hard to handle.
This guide from BakeWithEase is designed to help you conquer the heat and achieve beautiful, flaky laminated pastries even on the warmest days. We'll explore the specific challenges posed by high temperatures and provide practical, actionable tips and techniques to ensure your baking laminated dough hot weather efforts are successful. Forget the frustration of sticky dough and melted butter; with the right approach, you can enjoy delicious homemade croissants and pastries year-round.
Understanding the Challenges of Baking Laminated Dough in Hot Weather
Why Hot Weather Impacts Laminated Dough
The fundamental principle behind laminated dough is the creation of distinct layers of butter and dough. During baking, the water in the butter turns to steam, forcing the dough layers apart and creating that characteristic puff and flakiness. This process relies on the butter remaining solid and separate from the dough until it hits the hot oven.
Hot weather directly interferes with this critical state. As ambient temperatures rise, the butter softens too quickly during the lamination process, making it difficult to create defined layers. Instead of distinct sheets, the butter can melt into the dough, resulting in a greasy texture rather than flaky layers.
Furthermore, warm temperatures accelerate yeast activity in enriched doughs like croissant dough. While proofing is necessary, over-proofing or uncontrolled rapid proofing caused by heat can compromise the dough structure. The gluten network, which provides strength and elasticity, can weaken, making the dough fragile and prone to tearing during rolling and folding. This combination of soft butter and compromised dough structure is the primary reason why baking laminated dough hot weather requires extra care and specific adjustments.
Common Problems: Soft Butter, Sticky Dough, and Proofing Issues
Bakers attempting laminated dough in warm conditions frequently encounter a trio of frustrating problems. First and foremost is the issue of soft or melting butter. The ideal temperature for butter used in lamination is typically between 40°F and 50°F (4°C to 10°C) – firm but pliable. In warm kitchens, butter can quickly exceed this range, becoming greasy and impossible to fold cleanly within the dough layers. A tell-tale sign is butter squeezing out the sides during rolling.
Secondly, high ambient temperatures often lead to sticky dough. Warm dough is stickier dough, making it adhere to surfaces, rolling pins, and hands. This stickiness makes the precise rolling and folding required for lamination incredibly difficult and messy. It also necessitates using more flour, which can toughen the dough.
Finally, proofing becomes a race against time. Yeast thrives in warmth, and in hot weather, dough can proof much faster than intended. Over-proofed dough lacks the necessary structure to rise properly in the oven, often resulting in flat, dense pastries instead of light, airy ones. Successfully baking laminated dough hot weather means actively mitigating these specific issues.
Essential Tips for Successful Lamination in Warm Climates
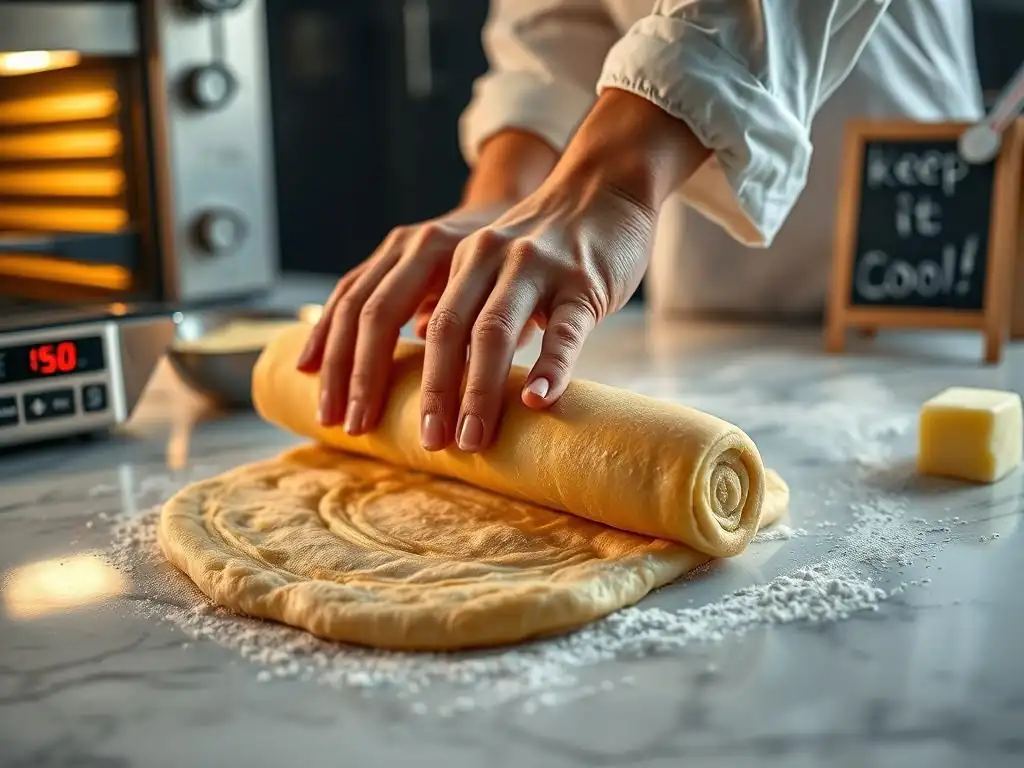
1. Keeping Ingredients Cold: The Foundation of Laminated Dough Success
Chill Your Butter: The Key to Perfect Layers
The temperature of your butter is paramount when baking laminated dough hot weather. It needs to be cold enough to remain distinct from the dough but pliable enough to roll without breaking. Aim for a butter temperature between 40°F and 50°F (4°C to 10°C).
Before starting, cut your butter into the required shape (often a block or square) and ensure it is well-chilled in the refrigerator for at least a few hours. If your kitchen is particularly warm, consider chilling the butter block in the freezer for 10-15 minutes before each turn, allowing it to firm up slightly without freezing solid.
Using high-quality butter with a higher fat content (often 82% or more) can also help, as it tends to be firmer at slightly higher temperatures than lower-fat varieties. Some bakers even experiment with European-style butters specifically for their higher fat content and pliability range. Remember, maintaining the butter's temperature is a continuous effort throughout the lamination process.
Icing the Water: Essential for Dough Temperature Control
The temperature of your dough is just as critical as the butter's. A warm dough absorbs the butter more readily and becomes stickier. To combat this, use ice-cold water when mixing your dough. Replace a portion of the recipe's water with ice cubes, or simply chill the water thoroughly in the refrigerator before use. When mixing, ensure the final dough temperature is relatively low, ideally around 60-65°F (15-18°C).
Using cold liquids helps slow down initial yeast activity and keeps the dough temperature down during mixing, providing a better starting point before the first chill. This initial low temperature is vital because the dough will inevitably warm up slightly during subsequent rolling and folding steps, especially in a warm environment. Starting cold gives you a buffer zone.
Flour Storage: Prevent Overheating
Even your flour can contribute to unwanted warmth in your dough. Flour stored in a warm pantry or kitchen can be surprisingly warm, adding degrees to your dough temperature right from the start. To minimize this, store your flour in a cool spot. If your kitchen is consistently warm, consider storing the portion of flour you'll need for baking laminated dough hot weather in the refrigerator for a few hours before you plan to mix.
While chilling flour might seem excessive, it's a simple step that can make a noticeable difference in managing dough temperature, particularly when working with sensitive doughs like those for croissants or puff pastry in challenging climates. Every degree counts when you're trying to keep butter and dough in their optimal states for lamination.
2. Controlling Dough Temperature: Achieving the Ideal Texture
Monitor Dough Temperature with a Thermometer
Precision is key when baking laminated dough hot weather. Guessing the temperature of your dough can lead to disaster. Invest in a reliable instant-read thermometer. Use it to check the temperature of your water before mixing and the temperature of your dough immediately after mixing. During the lamination process, check the dough temperature before each rolling and folding step. Ideally, you want the dough to be firm and cool, around 60-65°F (15-18°C).
If the dough feels warm or sticky, or if the butter seems too soft, stop and chill the dough immediately. Relying on feel alone in hot weather is risky; a thermometer provides objective data that helps you make informed decisions about chilling times and when the dough is ready for the next step. Consistent temperature monitoring is a non-negotiable step for successful lamination in heat.
The Importance of Resting the Dough
Resting and chilling are your best friends when baking laminated dough hot weather. After mixing, the dough needs a substantial rest in the refrigerator to firm up and allow the gluten to relax. Typically, this first chill should be several hours, often 4-8 hours, or even overnight. This makes the dough easier to handle and roll.
More critically, the dough must be chilled between each turn (each time you roll and fold the dough/butter layers). The friction from rolling generates heat, warming both the dough and the butter. A minimum of 30-60 minutes of chilling between turns is usually necessary, and in hot weather, you may need to extend this time to 60-90 minutes or even longer. Skipping or shortening these chilling periods is a common mistake that leads to melted butter and ruined layers.
Adjust Resting Times Based on Ambient Temperature
The duration of your chilling periods between turns should be directly influenced by the temperature of your kitchen. On a cool day, 30-45 minutes might suffice. However, when baking laminated dough hot weather, you'll almost certainly need longer chilling times. If your kitchen is above 75°F (24°C), plan for at least 60-90 minutes of chilling between each fold.
Observe the dough and butter: if the dough feels soft or the butter seems too pliable after the standard rest time, put it back in the refrigerator until it's firm enough to work with again. It's better to spend extra time chilling than to try to force the lamination process with warm ingredients, which will inevitably lead to a poor result. Patience and adequate chilling are paramount.
3. Working Quickly and Efficiently: Minimize Butter Softening
Prepare Your Workspace: Organize for Speed
When the clock is ticking against melting butter, efficiency is crucial. Before you even take the dough out of the refrigerator for a turn, ensure your workspace is completely prepared. Have your rolling pin, bench scraper, ruler (if you use one for measurements), and extra flour ready and within easy reach. Clear your counter space so you have ample room to roll the dough without obstructions.
Think through the steps of the turn you are about to perform. Knowing exactly what you need to do will help you move swiftly and confidently. Minimize distractions and focus solely on the task at hand. The less time the dough and butter are out at room temperature, the lower the risk of the butter softening prematurely.
Streamline Your Lamination Process: Reduce Handling Time
The goal during lamination in hot weather is to get the dough rolled and folded and back into the refrigerator as quickly as possible. Practice your rolling and folding techniques to become more efficient. Avoid excessive handling of the dough with warm hands. Use a bench scraper to lift and move the dough rather than your hands when possible.
Consider breaking down the lamination process into smaller segments if necessary. Instead of attempting multiple turns in one go, perform one turn, chill the dough thoroughly, and then come back later for the next turn. This stop-and-start approach, while potentially extending the overall time, is far more effective for maintaining the integrity of the butter layers when baking laminated dough hot weather.
4. Adjusting Your Recipe: Fine-Tuning for Hot Weather
Reducing Yeast: Prevent Over-Proofing
In warm environments, yeast activity accelerates significantly. To prevent your laminated dough from over-proofing too quickly, especially during the final proofing stage, consider slightly reducing the amount of yeast called for in your recipe. A reduction of 10-20% from the standard amount can help slow down the fermentation process.
For example, if a recipe calls for 10 grams of fresh yeast or 3.5 grams of active dry/instant yeast, try using 8-9 grams of fresh yeast or 3-3.2 grams of active dry/instant yeast when baking laminated dough hot weather. This adjustment provides a longer, more controlled proofing window, giving you more flexibility and reducing the risk of the dough collapsing or developing a poor structure due to excessive fermentation before baking.
Adding Vinegar: Strengthen Gluten and Improve Dough Structure
Adding a small amount of acid, such as white vinegar or lemon juice, can help strengthen the gluten network in your dough. A stronger gluten structure makes the dough more resilient and less prone to tearing during the rigorous rolling and folding process, which is particularly beneficial when the dough might be slightly warmer or stickier than desired due to the heat.
Typically, adding about 1-2 teaspoons of white vinegar or lemon juice per batch of dough is sufficient. This small amount won't significantly affect the flavor of the finished pastry but can provide noticeable improvements in dough handling and structure, helping you achieve cleaner layers and a better rise when baking laminated dough hot weather.
5. Proofing Strategies for Warm Environments
Cooler Proofing Options: Refrigerator vs. Proofer
Proofing laminated dough in hot weather can be tricky. A warm kitchen can cause the dough to proof too quickly, leading to over-proofing. Instead of proofing at warm room temperature, consider cooler proofing options. A slow, cold proof in the refrigerator (often overnight or for 8-12 hours) is an excellent method. The cold temperature significantly slows yeast activity, allowing flavor to develop while maintaining dough structure.
If you need to proof faster, find the coolest spot in your house. Avoid sunny windows or areas near warm appliances. If you have a temperature-controlled proofer or oven with a proofing setting, set it to a lower temperature than you might on a cold day, perhaps around 70-75°F (21-24°C) instead of 80-85°F (27-29°C). Some bakers even use a cooler with a bowl of ice (ensuring the dough isn't in direct contact) to create a controlled, cool microclimate for proofing.
Monitoring Proofing Time: Avoiding Over-Proofing
Regardless of your chosen proofing method, diligent monitoring is essential when baking laminated dough hot weather. Dough proofs much faster in warmth, and the window between perfectly proofed and over-proofed can be narrow. Check your dough frequently, perhaps every 15-20 minutes if proofing at a warmer temperature, or after several hours if cold proofing.
The dough is ready when it is visibly increased in size (often doubled or nearly doubled for croissants, depending on the recipe) and feels light and airy, but still holds its shape when gently prodded. An over-proofed dough will look very puffy and may deflate slightly when touched. Keep track of the time, but rely more on visual cues and feel. If in doubt, it's often better to slightly under-proof than to severely over-proof, especially when dealing with the challenges of heat.
Equipment Considerations for Baking Laminated Dough in Summer
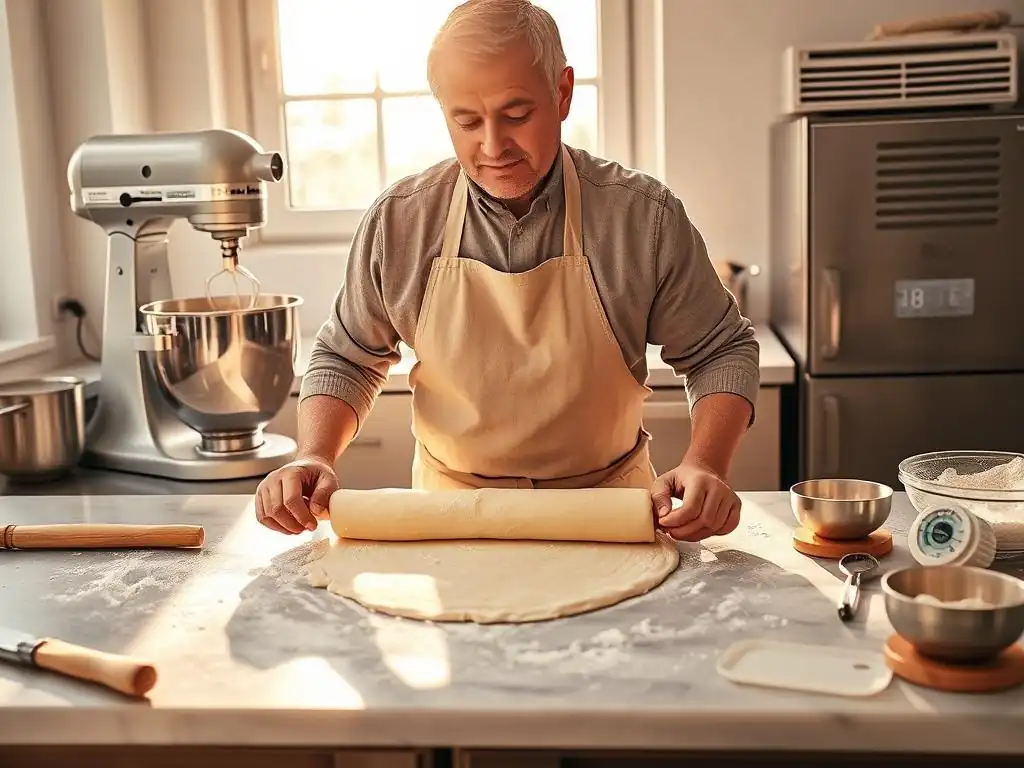
Marble Pastry Board: A Baker's Best Friend
When baking laminated dough hot weather, any tool that helps keep ingredients cool is invaluable. A marble pastry board is an excellent investment. Marble stays naturally cooler than wood or laminate countertops. Placing your dough and butter on a marble surface while rolling helps draw heat away, keeping the butter firmer for longer and making the dough less sticky.
While a large marble slab might be a significant investment, even a smaller marble board can be beneficial for preparing your butter block or for the final shaping stage. If a marble board isn't feasible, chilling your regular countertop surface by wiping it down with ice water (and drying thoroughly) before rolling can offer a temporary cooling effect.
Stand Mixer vs. Hand Lamination: Choosing the Right Method for Heat
Mixing laminated dough can be done by hand or with a stand mixer. In hot weather, a stand mixer can be advantageous for the initial dough mixing phase. It works the dough quickly and efficiently, minimizing the amount of time your warm hands are in contact with the dough, which can transfer heat.
However, the lamination process itself (rolling and folding) is often best done by hand, even in hot weather. Stand mixer attachments exist for lamination, but they can be cumbersome and may not offer the precise feel and control needed to work gently and quickly, which is paramount for preventing butter leakage and maintaining layers when baking laminated dough hot weather. Hand lamination allows you to constantly monitor the dough and butter temperature by touch and adjust your speed and technique accordingly.
Temperature-Controlled Proofer: Maintaining Optimal Conditions
For serious laminated dough enthusiasts, especially those frequently baking laminated dough hot weather, a temperature-controlled proofer can be a game-changer. These units allow you to set a precise temperature and humidity level, providing a consistent environment for the dough to proof.
This eliminates the guesswork and variability of relying on ambient room temperature, which can fluctuate wildly in summer. A proofer allows for a controlled, slower rise at a slightly cooler temperature than a hot kitchen, ensuring the dough develops properly without over-proofing too quickly. While not essential, it's a piece of equipment that significantly reduces the stress of proofing in challenging weather.
Troubleshooting Common Issues with Laminated Dough in Hot Weather
Sticky Dough: Causes and Solutions
Sticky dough is a frequent complaint when baking laminated dough hot weather. The primary cause is the dough temperature being too high, often exacerbated by warm hands and warm ambient conditions. Solution: Immediately stop working the dough and return it to the refrigerator for a thorough chill. Ensure your initial dough temperature was low enough by using ice water.
- If the dough is sticky during lamination:
- Chill it for at least 60-90 minutes.
- Use minimal flour on your work surface – just enough to prevent sticking. Excess flour can toughen the dough.
- Work faster once the dough is chilled.
- Consider adding a touch more flour during the initial dough mixing if your kitchen is consistently very humid and warm, but be cautious not to add too much.
// Troubleshooting Sticky Dough Checklist
- [ ] Was ice water used in the dough?
- [ ] Was the dough chilled sufficiently after mixing (4+ hours)?
- [ ] Was the dough chilled for 60+ minutes between turns?
- [ ] Is the work surface cool? (e.g., marble, chilled counter)
- [ ] Am I working quickly once the dough is out of the fridge?
Butter Leaking: Prevention and Remedies
Butter leaking out the sides during rolling is a classic sign that your butter is too soft or too warm, or that you are rolling too forcefully. This is highly likely when baking laminated dough hot weather if precautions aren't taken. Prevention: Ensure your butter block is at the correct temperature (firm but pliable, 40-50°F or 4-10°C). Chill the dough and the butter thoroughly between every turn. Roll gently and evenly, applying gradual pressure rather than forcing the dough.
- If butter starts to leak:
- Immediately stop rolling.
- Use a bench scraper to carefully push the escaping butter back towards the center or edges.
- Generously flour the area where butter is leaking to help absorb excess grease and prevent sticking.
- Return the dough to the refrigerator for a minimum of 60-90 minutes to firm up the butter completely before attempting to roll again. Sometimes, a longer chill is necessary.
- Consider sealing the edges slightly by pressing them together if the leak is minor.
The key to preventing butter leaks in hot weather is relentless chilling. If in doubt, chill it out!
Uneven Layers: Techniques for Consistent Results
Uneven layers can result from inconsistent rolling, uneven butter distribution, or dough that is too warm or sticky. When baking laminated dough hot weather, the risk of unevenness increases because the dough is harder to handle smoothly. Prevention: Ensure your initial butter block is evenly thick and spread evenly within the dough before the first fold. Roll the dough to a consistent thickness across the entire sheet before each fold.
- Techniques for consistent layers:
- Use a ruler to help guide your rolling and ensure the dough is rectangular and a consistent thickness (e.g., 1/4 inch or about 6mm) before folding.
- Apply even pressure with your rolling pin across the entire surface. Avoid pressing down harder in some spots than others.
- Keep the dough and butter cold! Cold, firm dough and butter roll more evenly.
- Ensure your folds are neat and precise, lining up the edges as much as possible.
- If the dough resists rolling or springs back excessively, it needs more rest in the refrigerator to allow the gluten to relax.
Recipe Adaptations: Baking Croissants in Hot Weather
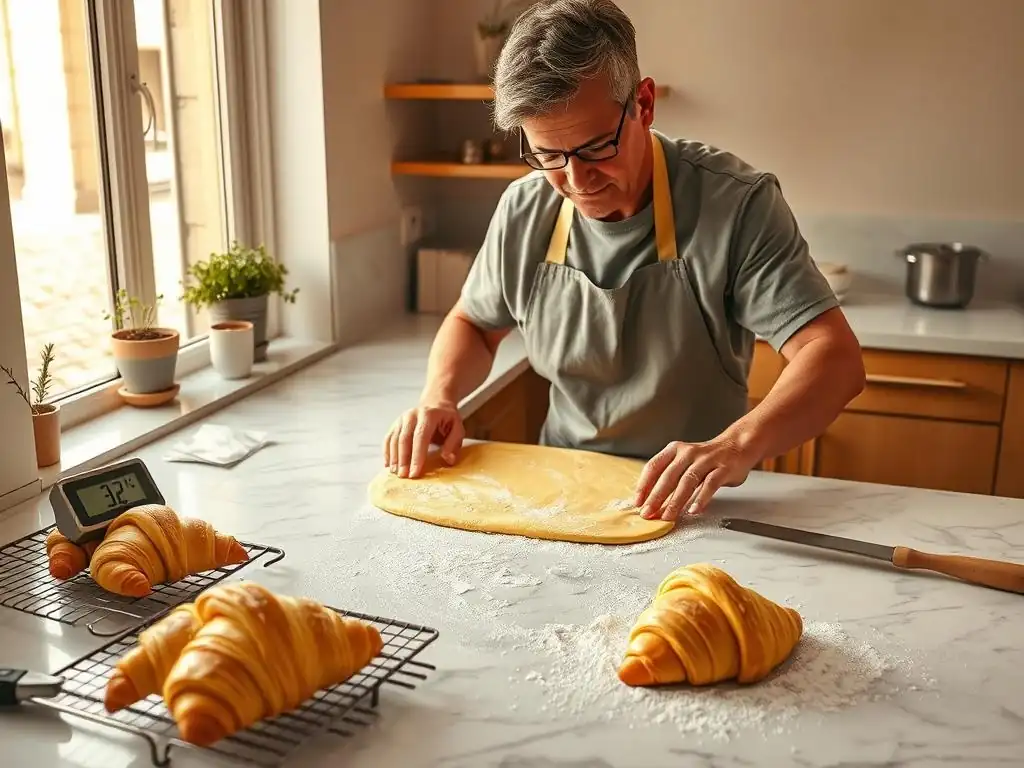
Croissant Dough Recipe Adjustments for Summer
Adapting your standard croissant recipe for hot weather involves several considerations focused on managing temperature and yeast activity. As mentioned, a slight reduction in yeast (10-20%) is often beneficial. Some bakers also slightly increase the flour-to-liquid ratio (add maybe 1-2 tablespoons more flour per standard recipe) to create a slightly firmer dough that is less prone to stickiness in warmth, though this should be done cautiously to avoid a dry dough.
Another adaptation is using colder milk or liquid than usual, perhaps even partially frozen. The total time for the bulk fermentation (the first rise before lamination) might also need to be reduced or performed entirely in the refrigerator to prevent over-fermentation before the butter is even incorporated. Pay close attention to the dough's activity rather than strictly following timing cues from recipes designed for cooler conditions.
Step-by-Step Guide: Baking Croissants in Warm Weather
Baking croissants in warm weather requires modifying the standard process to prioritize temperature control. Here's an adapted flow:
- Mix Dough: Use ice-cold liquids. Mix until just combined and relatively smooth. Aim for a final dough temperature of 60-65°F (15-18°C). Consider slightly reducing yeast.
- Initial Chill: Immediately wrap the dough tightly and chill in the refrigerator for a minimum of 6-8 hours, or preferably overnight.
- Prepare Butter Block: Shape your cold butter into a rectangle (e.g., 6x8 inches) and chill it thoroughly until firm but pliable (40-50°F / 4-10°C).
- Encase Butter: Roll the dough into a rectangle large enough to enclose the butter. Place the butter on the dough and fold the dough over to completely seal the butter inside. Ensure edges are sealed well.
- First Turn: Gently roll the dough package into a long rectangle (e.g., 8x24 inches). Perform your first fold (e.g., a simple letter fold or a book fold).
- Chill Between Turns: Wrap the dough and place it back in the refrigerator for a minimum of 60-90 minutes. This is crucial when baking laminated dough hot weather.
- Subsequent Turns: Repeat rolling and folding (Steps 5 & 6) for the required number of turns (usually 3-4 total). Always chill thoroughly between each turn. If the butter softens or leaks at any point, stop and chill longer.
- Final Chill: After the last turn, chill the dough again for at least 1-2 hours before shaping. This makes the dough firm enough to cut cleanly.
- Shape Croissants: Work quickly on a cool surface. Cut and shape the croissants.
- Proofing: Proof in a cooler environment (refrigerator overnight is ideal, or a controlled cool spot around 70-75°F / 21-24°C). Monitor closely! They should be puffy but not fragile.
- Bake: Bake in a preheated oven as per your recipe. The strong heat helps the layers puff before the butter melts completely.
Equipment Considerations for Baking Laminated Dough in Summer
- Marble pastry board
- Reliable instant-read thermometer
- Bench scraper
- Rolling pin (metal or marble stays cooler)
- Optional: Temperature-controlled proofer
Troubleshooting Common Issues with Laminated Dough in Hot Weather
- Sticky Dough: Chill dough longer, use minimal flour, work faster.
- Butter Leaking: Ensure butter is cold (40-50°F), roll gently, chill immediately and thoroughly if leaking starts.
- Uneven Layers: Roll evenly, use a ruler, ensure dough and butter are cold and rested.
Conclusion: Enjoying Delicious Laminated Pastries Year-Round
Baking laminated dough hot weather presents unique hurdles, but they are far from insurmountable. By understanding the science behind lamination and actively managing temperature at every stage – from chilling ingredients to controlling proofing – you can overcome the challenges posed by warm environments. Keeping your ingredients cold, working quickly and efficiently, adjusting your recipe slightly, and implementing smart proofing strategies are the cornerstones of success.
Don't let the summer heat deter you from the rewarding process of creating flaky, buttery pastries. With careful planning, diligent temperature control, and a little patience, you can confidently tackle baking laminated dough hot weather and enjoy perfect croissants, puff pastry, and danishes straight from your own oven, no matter the season. Happy baking!
Frequently Asked Questions
What is laminated dough and why is hot weather a problem?
Laminated dough is a dough that contains many thin layers of butter and dough, creating a flaky texture. Hot weather can cause the butter to melt, making the dough sticky and difficult to work with.
What's the most important tip for baking laminated dough in hot weather?
Keeping everything extremely cold is paramount! Chill your ingredients (especially butter), work surface, and even your tools. This prevents the butter from softening too quickly.
Can I still make laminated dough if I don't have air conditioning?
Yes, but it requires more planning and effort. Work in the coolest part of the day (early morning or late evening) and consider using ice packs or a marble slab to keep your work surface cold.
How does over-proofing affect laminated dough baked in hot weather?
Over-proofing can lead to a collapsed structure and a gummy texture. The heat accelerates fermentation, so monitor your dough closely and shorten proofing times accordingly.
What are some signs that my laminated dough is getting too warm while I'm working with it?
Signs include butter oozing out, a sticky dough, and difficulty maintaining distinct layers. If this happens, immediately wrap the dough and chill it in the refrigerator before continuing.
Final Reflection: Mastering the Flaky Heart of Summer Baking
The pursuit of perfectly flaky pastries, even under the oppressive heat of summer, remains a testament to our enduring love for culinary artistry. It's a challenge that demands patience, precision, and a willingness to adapt, as we've explored throughout this article. The techniques discussed—from chilling ingredients meticulously to utilizing strategic refrigeration—aren't merely suggestions; they are the keys to unlocking success in the face of rising temperatures.
The delicate dance between butter and flour, the transformative power of a well-executed fold, these are the elements that elevate baking from a task to an art form. The struggle to maintain a cool dough in a hot kitchen is a shared experience, a testament to the enduring power of tradition in the face of modern challenges. The best things in life are worth fighting for,
and a perfectly flaky croissant on a sweltering summer day is certainly one of them. This pursuit connects us to generations of bakers who have faced similar hurdles, refining techniques and passing down their wisdom.
Now, consider your own baking journey. What adjustments will you make to your process, armed with the knowledge gained here? Will you experiment with different chilling methods? Perhaps you'll embrace the challenge of a new pastry recipe, confident in your ability to conquer the heat. Remember, the journey of a baker is a continuous learning process, filled with both triumphs and setbacks. Embrace the heat, embrace the challenge, and embrace the delicious rewards that await.
Conquer the Heat: Master Laminated Dough This Summer!
Thanks for taking the time to explore the secrets of baking laminated dough even on the hottest days! You've now got the knowledge to create flawlessly layered pastries, no matter the temperature. Ready to put your new skills to the test?
- Bake your masterpiece today! Choose your favorite laminated dough recipe (or try one of the ones we mentioned!) and get baking. Don't let the heat win!
- Share your success (and any baking mishaps!) with our community on social media using #BakeWithEaseSummer. We'd love to see your creations!
- Consider experimenting with different chilling techniques – what works best for you in hot weather?
What innovative cooling methods will you employ to conquer summer baking?