
Simple GlutenFree Seeded Bread Recipe

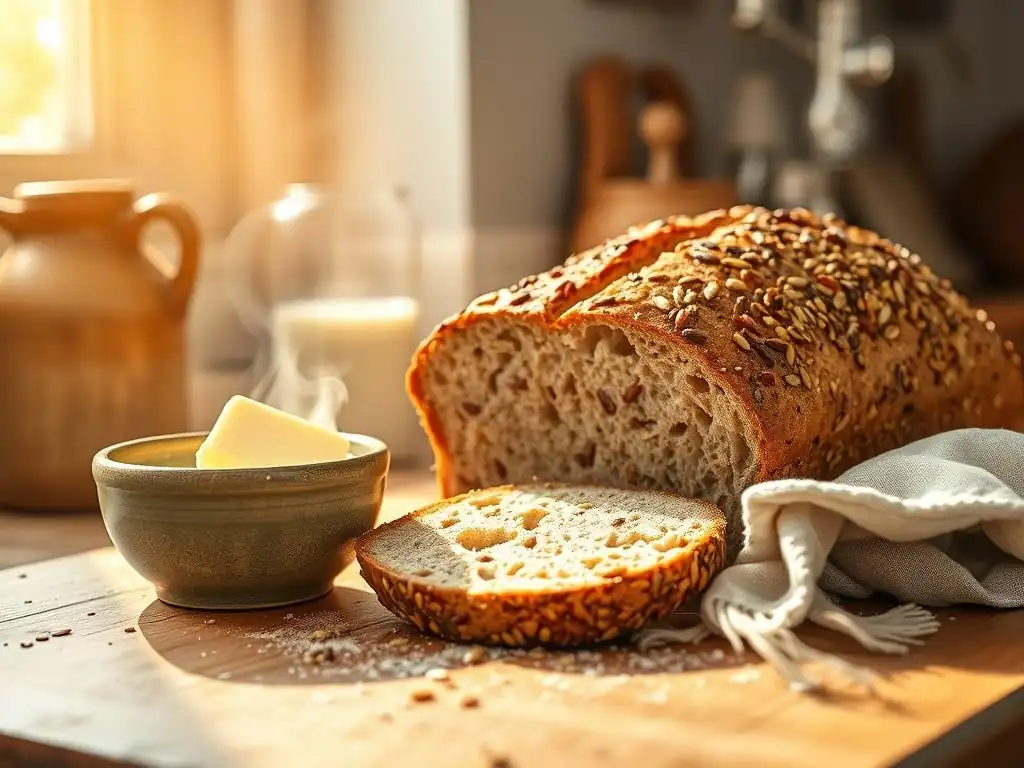
Welcome to BakeWithEase, your trusted companion on your baking journey! Ever dreamt of a perfectly textured, flavorful loaf that everyone can enjoy? Then you're in the right place. This week, we're diving into the world of gluten-free baking with a simple glutenfree seeded bread recipe that will redefine your expectations. Get ready to discover the secrets to a delicious, nutritious loaf – and find out why it's surprisingly easy to achieve! Intrigued? Let's get baking!
- Hearty Gluten-Free Seeded Bread Recipe
- Introduction to Gluten-Free Seeded Bread Baking
- The Ultimate Gluten-Free Seeded Bread Recipe
- Step-by-Step Gluten-Free Seeded Bread Baking Guide
- Tips and Tricks for Gluten-Free Seeded Bread Success
- Storing Your Gluten-Free Seeded Bread
- Gluten-Free Seeded Bread Recipe Variations
- Enjoying Your Homemade Gluten-Free Seeded Bread
- Conclusion: Mastering Gluten-Free Seeded Bread Baking
-
Frequently Asked Questions
- What makes this gluten-free seeded bread recipe "simple"?
- What types of seeds are best to use in this gluten-free seeded bread?
- What kind of gluten-free flour blend is recommended for this recipe?
- Can I substitute any ingredients in this gluten-free seeded bread recipe?
- How do I store this gluten-free seeded bread to keep it fresh?
- Final Reflection: The Humble Loaf and the Power of Choice
- Unleash Your Inner Baker: Craft Your Perfect Gluten-Free Loaf!
Hearty Gluten-Free Seeded Bread Recipe
Introduction to Gluten-Free Seeded Bread Baking
Why Bake Gluten-Free Seeded Bread?
Baking your own gluten-free seeded bread offers a multitude of benefits, extending beyond just accommodating dietary needs. For individuals with Celiac disease or gluten sensitivity, it's a fundamental way to enjoy delicious, hearty bread without discomfort. Commercially produced gluten-free breads can often be expensive and may contain additives or less-than-ideal ingredients. Baking at home gives you complete control over the quality and freshness of every ingredient, ensuring a truly wholesome loaf.
Furthermore, baking provides a deeply satisfying experience. There's a unique pleasure in transforming simple ingredients into a fragrant, golden-brown loaf. For those new to gluten-free baking, tackling a gluten-free seeded bread recipe can seem daunting, but it's surprisingly accessible and rewarding. The dense texture and nutty flavor provided by the seeds make this type of loaf particularly appealing, offering a substantial bite that many gluten-free options lack. It's also an excellent way to boost fiber and nutrient intake compared to plain gluten-free loaves.
Your Guide to Easy Gluten-Free Bread
Embarking on your gluten-free bread baking journey doesn't have to be complicated. This guide is designed to simplify the process, breaking down each step of making a delicious gluten-free seeded bread recipe. We'll cover everything from selecting the right gluten-free flour blend to achieving that perfect crust and crumb texture that can sometimes be elusive in gluten-free baking. Our aim is to empower you with the knowledge and techniques needed to consistently bake successful loaves right in your own kitchen.
We understand that traditional bread-making techniques don't always translate directly to gluten-free doughs. Gluten provides structure and elasticity, which need to be compensated for with alternative binders and methods. This guide will highlight these differences and provide specific instructions tailored for gluten-free ingredients. Whether you're a complete novice or have some baking experience, this comprehensive guide will help you master this specific gluten-free seeded bread recipe and build confidence in your gluten-free baking skills.
The Ultimate Gluten-Free Seeded Bread Recipe
Recipe Overview: What You'll Need
This gluten-free seeded bread recipe focuses on simplicity and reliable results. You'll need a mix of dry and wet ingredients, primarily gluten-free flours, various seeds, a binding agent, yeast, a sweetener, and liquid. The total preparation time, including proofing, is approximately 2.5 to 3 hours, with an active baking time of about 45-55 minutes. This recipe yields one standard loaf, perfect for a small family or for enjoying throughout the week.
The key to success with this gluten-free seeded bread recipe lies in precise measurements and understanding the unique properties of gluten-free dough. Unlike wheat dough, gluten-free dough tends to be more like a thick batter than a traditional elastic dough. Don't expect to knead it vigorously like you would a regular bread dough. The structure is built differently, relying on binders like psyllium husk or xanthan gum to hold everything together and create a cohesive loaf.
Essential Ingredients for Gluten-Free Seeded Bread
Gluten-Free Flour Blend: Choosing the Right Mix
Selecting the right gluten-free flour blend is crucial for a successful gluten-free seeded bread recipe. Many commercial blends are available, often containing a mix of rice flour, sorghum flour, tapioca starch, and potato starch. A good all-purpose gluten-free blend that contains some protein-rich flours like sorghum or millet tends to work well, providing better structure than blends relying solely on rice and starches. Look for a blend specifically designed for bread baking if possible, although a good all-purpose blend can often be adapted.
Alternatively, you can create your own blend. A common and effective homemade mix might include approximately 40% brown rice flour, 30% sorghum flour, 20% tapioca starch, and 10% potato starch. This balance helps achieve a good crumb texture and prevents the bread from being too dense or gummy. Ensure your chosen blend is certified gluten-free to avoid any cross-contamination, especially if baking for someone with Celiac disease.
Seeds for Flavor and Texture: Chia, Flax, and Sunflower Seeds
The seeds are not just for decoration in this gluten-free seeded bread recipe; they contribute significantly to the flavor, texture, and nutritional profile. Chia seeds and ground flaxseed (or flax meal) are particularly important as they absorb liquid and help create a gel-like consistency that aids in binding the gluten-free dough. Using about 2 tablespoons of whole chia seeds and 2 tablespoons of ground flaxseed is a good starting point. They also add valuable omega-3 fatty acids and fiber.
Sunflower seeds add a delightful crunch and nutty flavor. Approximately 1/4 cup of hulled sunflower seeds (or pepitas, which are pumpkin seeds) can be mixed into the dough. Other seeds like pumpkin seeds, poppy seeds, or sesame seeds can also be used, totaling about 1/2 to 3/4 cup of mixed seeds in the dough, plus extra for topping. Toasting the seeds lightly before adding them can enhance their flavor profile significantly.
Binding Agents: Xanthan Gum and Psyllium Husk
Since gluten-free flours lack gluten, which provides structure and elasticity, binding agents are essential in a gluten-free seeded bread recipe. Xanthan gum is a commonly used binder in gluten-free baking. It helps to mimic the elasticity of gluten, preventing the bread from crumbling. A typical amount is about 1 teaspoon per cup of gluten-free flour blend used in the recipe.
Psyllium husk, particularly whole psyllium husks or psyllium husk powder, is another highly effective binder that works differently than xanthan gum. It absorbs a large amount of water, forming a gel that provides structure and moisture to the loaf. For this gluten-free seeded bread recipe, using about 2-3 tablespoons of whole psyllium husks (or 1.5-2 tablespoons of psyllium husk powder) is recommended alongside or instead of xanthan gum. Using psyllium husk often results in a bread with a texture closer to traditional wheat bread, with a chewier crust and softer interior.
Equipment Needed for Baking Gluten-Free Seeded Bread
To successfully bake this gluten-free seeded bread recipe, you won't need highly specialized equipment, but a few standard kitchen tools are necessary. A large mixing bowl is essential for combining the dry and wet ingredients. You'll also need measuring cups and spoons for accurate ingredient proportions, which are particularly important in gluten-free baking where ingredient ratios are critical.
A sturdy loaf pan, typically a 9x5 inch metal pan, is required for shaping and baking the bread. Greasing and flouring the pan well (using gluten-free flour or a gluten-free baking spray) is crucial to prevent sticking. An oven thermometer can be helpful to ensure your oven is preheating to the correct temperature, as oven temperatures can vary. Finally, a cooling rack is necessary for allowing the bread to cool completely after baking, which is vital for the texture.
Step-by-Step Gluten-Free Seeded Bread Baking Guide
Step 1: Preparing the Dough
Combining Dry Ingredients for Gluten-Free Bread
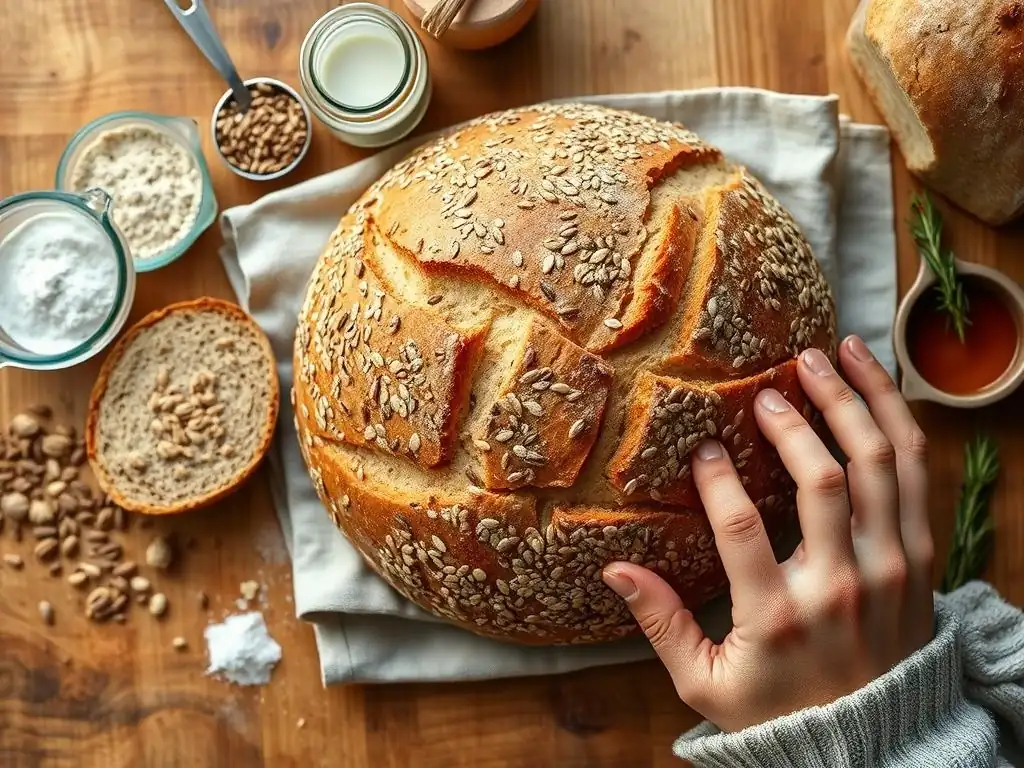
Begin by accurately measuring all your dry ingredients into a large mixing bowl. This includes your chosen gluten-free flour blend (approximately 3 cups for a standard loaf), the binding agent (1 teaspoon xanthan gum and/or 2-3 tablespoons whole psyllium husk), yeast (about 2.25 teaspoons, typically one packet), a sweetener like sugar or maple syrup (1-2 tablespoons to feed the yeast), and salt (about 1 teaspoon). Whisk these ingredients together thoroughly.
Ensure that the yeast is fresh. You can test yeast freshness by proofing it first: combine the yeast and sweetener with about 1/4 cup of warm water (around 105-115°F or 40-46°C) and let it sit for 5-10 minutes until foamy. If it doesn't foam, your yeast is likely inactive. Add your chosen seeds (chia, flax, sunflower, etc., roughly 1/2 to 3/4 cup total) to the dry mix and stir to distribute them evenly throughout the flour blend before adding any liquid.
Adding Wet Ingredients: Achieving the Right Consistency
Once your dry ingredients are well combined, it's time to add the wet components for your gluten-free seeded bread recipe dough. This typically includes warm water (around 1.5 to 2 cups, depending on your flour blend and binder) and a fat source like olive oil or melted butter (about 2-3 tablespoons). If you proofed your yeast separately, incorporate that mixture here.
Gradually add the warm water to the dry ingredients while mixing with a sturdy spoon or a stand mixer with a paddle attachment. Mix until all the flour is incorporated and a thick, sticky dough forms. The consistency should resemble thick cake batter or cookie dough – it will not be a firm, elastic dough like traditional bread. Add the oil or butter and continue mixing until everything is evenly combined. Avoid overmixing, but ensure all ingredients are fully incorporated.
Step 2: Kneading and Proofing Gluten-Free Dough
Unique Kneading Techniques for Gluten-Free Bread
Unlike wheat bread, gluten-free dough doesn't require traditional kneading to develop gluten structure. In fact, overworking gluten-free dough can sometimes lead to a tough or crumbly texture. The "kneading" process for this gluten-free seeded bread recipe is more about mixing thoroughly to activate the binders and distribute ingredients evenly.
Using a stand mixer with a paddle attachment for 3-5 minutes on medium speed is often sufficient. If mixing by hand, stir vigorously with a strong spoon or spatula for several minutes until the dough is smooth and uniform. The goal is to ensure the psyllium husk and/or xanthan gum are fully hydrated and integrated into the dough, providing the necessary structure. The dough will remain sticky; this is normal and expected for gluten-free dough.
Proofing Your Gluten-Free Seeded Bread Dough
Proofing, or allowing the dough to rise, is still an important step in a gluten-free seeded bread recipe, although the rise may not be as dramatic as with wheat bread. The yeast needs time in a warm environment to produce carbon dioxide gas, which creates air pockets and lightens the dough. Place the dough in a well-greased loaf pan immediately after mixing.
Cover the loaf pan loosely with plastic wrap or a clean kitchen towel. Place the pan in a warm, draft-free place to rise. An oven with the light on (but the oven off) or a warm spot on the counter works well. The dough should rise by about 50-75% in volume, which typically takes 45-75 minutes, depending on the temperature. The dough might look slightly puffy rather than significantly expanded like traditional bread dough.
Step 3: Shaping and Seeding the Bread
Shaping Techniques for a Perfect Loaf
Since gluten-free dough is often more like a batter, it's usually shaped directly in the loaf pan rather than on a floured surface. Once the dough has finished its first rise in the pan, gently smooth the top with a wet spatula or the back of a wet spoon. This helps create a nice, even surface for the loaf.
Avoid pressing down too hard, as you don't want to deflate the air pockets created during proofing. The goal is simply to create a relatively flat or slightly domed top before the final rise and baking. If you want a rustic look, you can create a few shallow slashes on the surface using a sharp, wet knife or razor blade, but this is optional for this simple gluten-free seeded bread recipe.
Adding Seeds for Enhanced Flavor and Visual Appeal
Adding seeds to the outside of your gluten-free seeded bread loaf enhances both its visual appeal and adds an extra layer of texture and flavor. After smoothing the top of the dough in the pan, you can lightly mist or brush the surface with water or a little milk.
Then, sprinkle a generous amount of your chosen seeds (such as sunflower, sesame, poppy, or a mix) evenly over the top. Gently press the seeds into the surface of the dough with your hand or the back of a spoon to help them adhere during baking. This step is best done just before placing the loaf in the oven or during the last 15-20 minutes of baking, depending on your preference for toasted seeds.
Step 4: Baking Your Gluten-Free Seeded Bread
Optimal Baking Temperature and Time
Preheat your oven to the correct temperature before baking your gluten-free seeded bread. A common temperature for gluten-free bread is around 375°F to 400°F (190°C to 200°C). Using an oven thermometer can help ensure accuracy, as many home ovens can be off by 25°F or more.
Place the loaf pan in the center of the preheated oven. The baking time for a standard loaf typically ranges from 45 to 55 minutes. The exact time will vary depending on your oven and the specific gluten-free flour blend used. You'll know the bread is done when the crust is golden brown and a thermometer inserted into the center of the loaf registers an internal temperature of 200°F to 210°F (93°C to 99°C).
Achieving a Golden-Brown Crust
Achieving a beautiful golden-brown crust on gluten-free bread can sometimes be challenging. One method is to bake the loaf in a preheated oven for the first 20-25 minutes, then loosely tent it with aluminum foil for the remainder of the baking time if the crust is browning too quickly.
Another technique is to place a pan of hot water on the bottom rack of the oven during the first part of the bake. The steam created helps the crust stay pliable initially, allowing for better expansion, and can contribute to a better final crust texture. Ensure the bread is fully baked internally; an underbaked gluten-free loaf can be gummy in the center.
Step 5: Cooling and Slicing Your Homemade Gluten-Free Seeded Bread
Allowing the Bread to Cool Properly
This is arguably the most critical step for a good gluten-free seeded bread recipe! Gluten-free bread continues to cook and set as it cools. Cutting into a warm gluten-free loaf almost guarantees a gummy, dense texture inside. It's essential to allow the bread to cool completely on a wire rack before slicing.
Immediately after removing the loaf from the oven, carefully remove it from the loaf pan and transfer it to a wire cooling rack. This allows air to circulate around all sides, preventing condensation and ensuring an even cool-down. The loaf should cool for at least 2-3 hours, or ideally until it reaches room temperature. Patience is key here for the best texture.
Slicing and Serving Tips
Once your gluten-free seeded bread is completely cool, it's ready to be sliced and enjoyed. Use a sharp serrated knife for the cleanest cuts, as it will glide through the crust and interior without squishing the loaf. Slice to your desired thickness, whether for toast, sandwiches, or enjoying plain.
This gluten-free seeded bread recipe yields a hearty loaf that pairs well with many toppings. Serve slices with butter, jam, avocado, or use them as the base for your favorite open-faced sandwiches. The dense, seedy texture makes it particularly satisfying.
Tips and Tricks for Gluten-Free Seeded Bread Success
Troubleshooting Common Gluten-Free Baking Problems
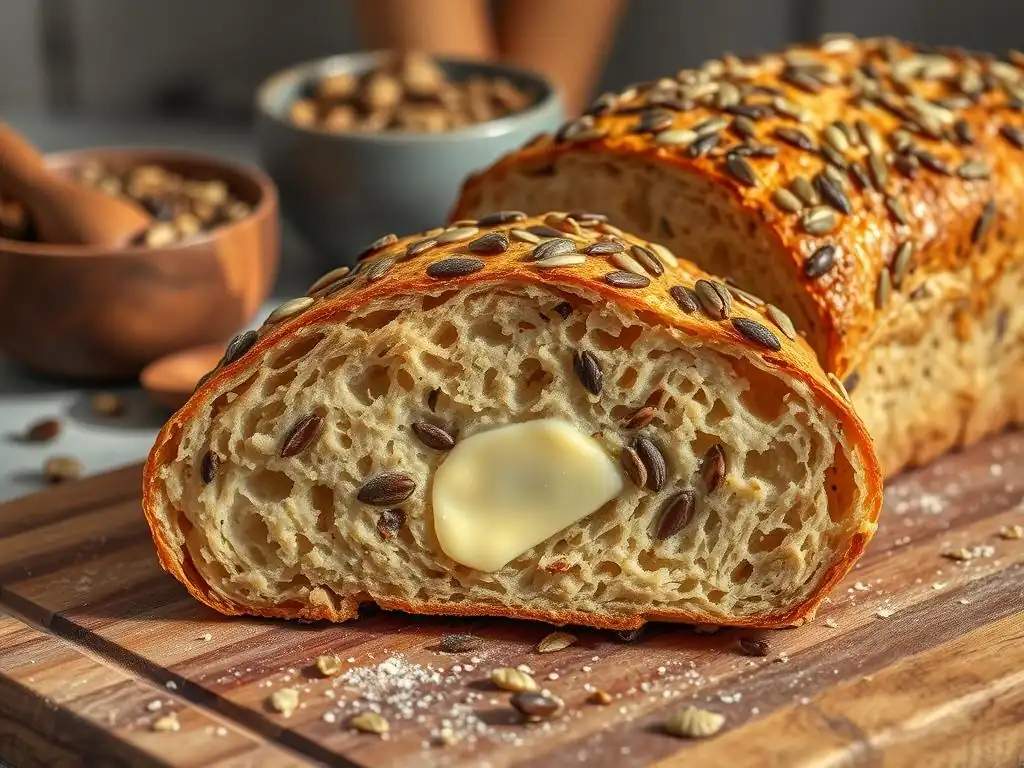
One common issue with gluten-free bread is a gummy texture. This is often caused by underbaking or slicing the bread before it's completely cool. Ensure your oven temperature is accurate and always check the internal temperature (200-210°F) before removing the loaf. Patience during the cooling phase is non-negotiable for this gluten-free seeded bread recipe.
Another challenge can be a crumbly loaf. This might indicate too little binder (xanthan gum or psyllium husk), insufficient hydration, or using a flour blend that's too low in protein or too high in starches. Ensure your measurements are precise, especially for the binders and liquid. Sometimes adding a tablespoon or two more liquid than specified can help, as different flour blends absorb moisture differently.
Achieving the Perfect Texture in Gluten-Free Bread
Achieving the desired texture in gluten-free seeded bread involves several factors. Using the right combination of flours and binders is fundamental. As mentioned, psyllium husk often contributes to a chewier, more "wheaty" texture compared to using only xanthan gum. Experimenting with different binders or combinations can help you find your preferred result.
The hydration level of the dough is also key. Gluten-free dough should be quite wet, more like a thick batter than traditional dough. Don't be tempted to add more flour if it seems too sticky; this stickiness is necessary for moisture and structure. Proper proofing allows the yeast to create air pockets, contributing to a lighter texture, and thorough cooling locks in that structure.
Seed Variations for Unique Flavor Profiles
While this gluten-free seeded bread recipe specifically calls for chia, flax, and sunflower seeds, feel free to experiment with other seed combinations to create unique flavor profiles. Pumpkin seeds (pepitas) add a lovely green color and distinct nutty taste. Sesame seeds contribute a classic bread flavor, especially when toasted.
Poppy seeds offer a subtle crunch and earthy note. For an even richer flavor, consider adding hemp seeds or even finely chopped nuts like walnuts or pecans (though this would technically make it a seeded and nut* bread). A mix of 1/4 cup sunflower seeds, 1/4 cup pumpkin seeds, 2 tablespoons sesame seeds, and 1 tablespoon poppy seeds is a popular variation that works wonderfully in this gluten-free seeded bread recipe.
Storing Your Gluten-Free Seeded Bread
Best Practices for Keeping Your Bread Fresh
Proper storage is essential to keep your homemade gluten-free seeded bread fresh and prevent it from drying out or becoming stale quickly. Once the loaf is completely cooled, store it at room temperature in an airtight container or a bread bag. A fabric bread bag allows some air circulation, which can help the crust stay a little crispier, while a plastic bag or container will keep the interior softer.
Avoid storing gluten-free bread in the refrigerator, as this can actually cause it to stale faster. Stored correctly at room temperature, this gluten-free seeded bread recipe loaf should stay fresh for 3-4 days. For longer storage, freezing is the best option.
Freezing Gluten-Free Seeded Bread for Later
Freezing is an excellent way to preserve your gluten-free seeded bread and have slices ready whenever you need them. Once the loaf is completely cool, slice it before freezing. Slicing allows you to easily take out only the amount you need without thawing the entire loaf.
Stack the slices with parchment paper in between them to prevent sticking. Wrap the stack tightly in plastic wrap, then place it in a freezer-safe bag or container. Properly wrapped, the bread can be stored in the freezer for up to 3 months. To enjoy, simply take out the desired number of slices and toast them directly from frozen.
Gluten-Free Seeded Bread Recipe Variations
Gluten-Free Seeded Bread with Dried Cranberries and Orange Zest
Adding dried cranberries and orange zest transforms this simple gluten-free seeded bread recipe into a slightly sweeter, more aromatic loaf. Incorporate about 1/2 cup of dried cranberries and the zest of one orange (finely grated) into the dry ingredients along with the seeds.
The cranberries will add bursts of sweetness and chewiness, while the orange zest provides a bright, fragrant counterpoint. This variation is particularly lovely toasted and served with cream cheese or alongside a cheese board. The baking method and times remain the same as the basic gluten-free seeded bread recipe.
Gluten-Free Seeded Bread with Rosemary and Sea Salt
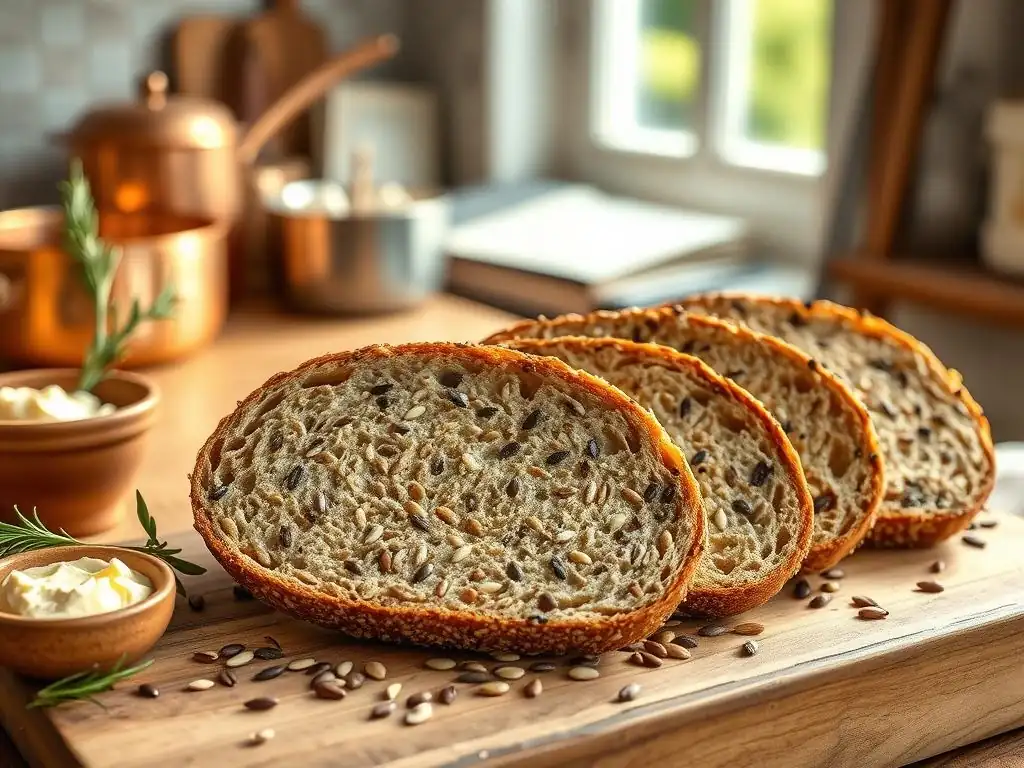
For a savory twist on the gluten-free seeded bread recipe, add fresh rosemary and flaky sea salt. Finely chop about 1-2 tablespoons of fresh rosemary and mix it into the dry ingredients along with the seeds.
Just before baking, after smoothing the dough in the pan, sprinkle the top generously with flaky sea salt. The rosemary infuses the bread with an herbal aroma, and the sea salt on the crust provides delightful pops of flavor. This savory seeded loaf is fantastic served with soup, salad, or alongside roasted vegetables.
Enjoying Your Homemade Gluten-Free Seeded Bread
Serving Suggestions and Pairing Ideas
Your homemade gluten-free seeded bread is incredibly versatile and can be enjoyed in numerous ways. For a simple breakfast or snack, toast a slice and top it with butter, jam, honey, or nut butter. The hearty texture stands up well to spreads.
It also makes an excellent accompaniment to savory dishes. Serve slices alongside a hearty soup, a fresh salad, or use it to mop up sauces from stews or curries. The nutty flavor of the seeds complements a wide range of meals. Consider serving it with a cheese and charcuterie board for a gluten-free option.
Gluten-Free Seeded Bread for Sandwiches and Toast
This gluten-free seeded bread recipe is particularly well-suited for making sandwiches. Unlike some lighter gluten-free breads that can crumble, this loaf has enough structure to hold up to fillings. Toasting the slices slightly before building your sandwich can add extra stability and a pleasant crunch.
Whether you're making a classic turkey and cheese, a veggie-packed creation, or a simple avocado toast, the dense crumb and seedy texture of this bread provide a satisfying base. It's also perfect for French toast; the sturdiness prevents it from falling apart when soaked in custard. Enjoy the versatility of your delicious homemade gluten-free seeded bread!
Conclusion: Mastering Gluten-Free Seeded Bread Baking
Frequently Asked Questions
What makes this gluten-free seeded bread recipe "simple"?
This recipe focuses on easy-to-find ingredients and straightforward steps, eliminating complex techniques often found in gluten-free baking. It's designed to be approachable for bakers of all skill levels, especially beginners.
What types of seeds are best to use in this gluten-free seeded bread?
A mix of seeds provides the best flavor and texture. Popular choices include sunflower seeds, pumpkin seeds (pepitas), flax seeds, and sesame seeds. Feel free to experiment with your favorites!
What kind of gluten-free flour blend is recommended for this recipe?
We recommend using a high-quality, all-purpose gluten-free flour blend that contains xanthan gum. This helps provide structure and prevents the bread from being too crumbly.
Can I substitute any ingredients in this gluten-free seeded bread recipe?
While some substitutions are possible, be mindful of how they affect the outcome. For example, different sweeteners or oils might alter the flavor and texture. Always check the compatibility of the replacement ingredients.
How do I store this gluten-free seeded bread to keep it fresh?
Store the cooled bread in an airtight container at room temperature for up to 3 days. You can also slice and freeze it for longer storage, thawing slices as needed.
Final Reflection: The Humble Loaf and the Power of Choice
The simple act of baking a gluten-free seeded bread speaks volumes about our ability to adapt, innovate, and nourish ourselves, even with dietary restrictions. This seemingly small recipe holds within it a powerful message of empowerment and self-care, a message that resonates deeply in our increasingly health-conscious world. The demand for gluten-free options is not a fleeting trend; it's a reflection of a growing awareness of individual needs and the importance of mindful eating.
This recipe, and the journey of creating it, has highlighted for me the profound connection between food, well-being, and community. The sharing of recipes, the adaptation of traditional methods, and the joy of creating something delicious and healthy from seemingly simple ingredients – these are all powerful forces that shape our cultural landscape. Food is symbolic of love when words are inadequate.
– Alan D. Wolfelt. This quote perfectly captures the emotional resonance of baking, especially when sharing the results with loved ones. The act of providing nourishing, delicious food is a powerful act of love and care.
Now, I invite you to take this recipe, this journey of mindful baking, and apply it to your own life. Experiment with different seeds, explore variations on the recipe, and most importantly, savor the process. Don't be afraid to get your hands dirty, to embrace the imperfections, and to celebrate the simple pleasure of creating something delicious and healthy for yourself and those you care about. The power to nourish your body and soul lies within your hands – start baking!
Unleash Your Inner Baker: Craft Your Perfect Gluten-Free Loaf!
Thanks for taking the time to explore this simple gluten-free seeded bread recipe! We hope you found it both informative and inspiring. Now it's time to get baking!
- Bake this bread today! Follow the recipe and experience the delightful taste and texture of a homemade gluten-free loaf. This is your chance to ditch store-bought and embrace the rewarding process of baking your own bread.
- Share your baking journey! Post a picture of your finished loaf on social media and tag us – we’d love to see your creation!
- Explore more gluten-free recipes on BakeWithEase.com to expand your baking horizons.
Ready to transform your kitchen into a gluten-free baking haven? What unique seed combination will you try in your next loaf?