
Simple StepbyStep Guide to Making Authentic French Macarons

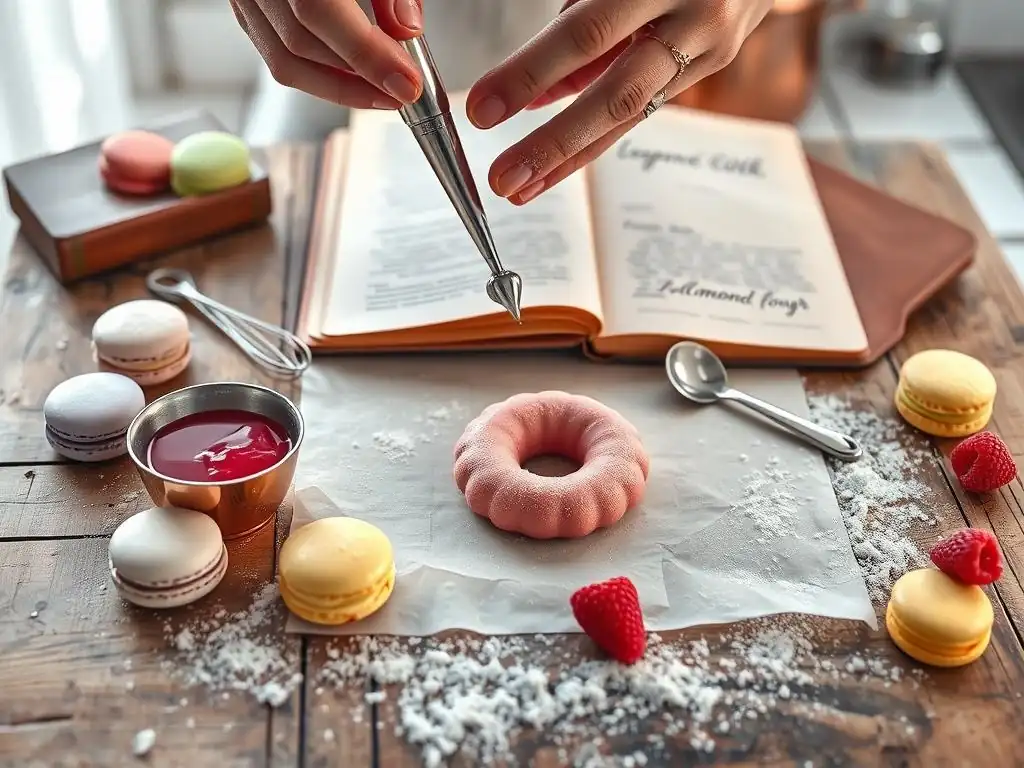
Welcome to BakeWithEase, where mastering the art of baking becomes a delightful journey! Ever dreamt of creating those delicate, melt-in-your-mouth treats that define Parisian patisseries? Prepare to be amazed, because we're diving deep into a simple, yet incredibly rewarding French macarons recipe beginner guide. Discover the secrets to achieving perfectly smooth shells and irresistibly flavorful fillings. Are you ready to unlock the secrets of this iconic confection and impress everyone with your baking prowess? Let's get started!
- Introduction to French Macarons: A Beginner's Guide to Baking Success
-
Gathering Your Ingredients: Essential Components for Perfect Macarons
- Almond Flour: The Foundation of Your Macarons (Selecting the Right Type)
- Icing Sugar (Powdered Sugar): Ensuring Smooth Macaron Shells
- Egg Whites: Achieving the Perfect Meringue Consistency
- Granulated Sugar: Sweetening Your Macaron Journey
- Food Coloring (Gel or Powder): Adding Vibrant Hues to Your Macarons
-
Equipment Checklist: Tools You'll Need for Macaron Mastery
- Stand Mixer or Hand Mixer: Essential for Meringue Perfection
- Piping Bags and Round Piping Tip: Creating Uniform Macaron Shells
- Silicone Baking Mat or Parchment Paper: Preventing Sticking and Ensuring Even Baking
- Kitchen Scale: Precise Measurements for Consistent Results
- Sifter: Eliminating Lumps from Dry Ingredients
-
Step-by-Step: The French Macaron Recipe for Beginners
- Step 1: Preparing the Almond Flour and Icing Sugar Mixture
- Step 2: Making the French Meringue
- Step 3: Macaronage: The Delicate Art of Folding
- Step 4: Piping the Macarons
- Step 5: Resting the Macarons: Forming a Skin
- Step 6: Baking the Macarons
- Step 7: Making the Filling (Simple Buttercream)
- Step 8: Assembling the Macarons
- Troubleshooting Common Macaron Problems: Tips and Tricks
- Storing Your French Macarons: Keeping Them Fresh
- Conclusion: Mastering the Art of French Macarons with BakeWithEase
-
Frequently Asked Questions
- What makes French macarons so notoriously difficult to bake?
- Can I substitute almond flour in your French macarons recipe?
- What is "macaronage" and why is it so important?
- How long should I let my macarons rest before baking?
- What temperature and oven settings should I use for baking my French macarons?
- Final Reflection: The Enduring Allure of the French Macaron
- Unleash Your Inner Pâtissier: Master the Macaron!
Introduction to French Macarons: A Beginner's Guide to Baking Success
What are French Macarons and Why Bake Them?
French macarons are delicate, meringue-based confections known for their smooth, domed tops, ruffled "feet" at the base, and a soft, slightly chewy interior. They are typically made from almond flour, icing sugar, egg whites, and granulated sugar, then filled with a variety of ganaches, buttercreams, or jams. Originating in Italy but popularized in France, particularly by Parisian pâtisseries in the 20th century, they represent a pinnacle of elegant baking.
Baking French macarons offers a rewarding challenge for any home baker. While they have a reputation for being finicky, following a precise French macarons recipe beginner guide can demystify the process. Mastering macarons builds fundamental baking skills, such as precise measurements, meringue technique, and careful folding, which are transferable to many other pastries. Plus, the ability to create these beautiful, delicious treats in endless color and flavor combinations is incredibly satisfying.
The Allure of Macarons: A BakeWithEase French Baking Adventure
The appeal of French macarons lies not just in their exquisite taste and texture, but also in their stunning visual presentation. Their vibrant colors and perfect symmetry make them look like edible jewels, ideal for special occasions or simply brightening an afternoon. Many bakers find the process itself a meditative practice, requiring focus and attention to detail, which can be a welcome escape.
At BakeWithEase, we believe that even seemingly complex pastries like French macarons are achievable with the right guidance. This French macarons recipe beginner guide breaks down each step into manageable actions, making this classic French baking adventure accessible to everyone. We'll walk you through everything from selecting ingredients to troubleshooting common issues, empowering you to create impressive macarons right in your own kitchen.
Gathering Your Ingredients: Essential Components for Perfect Macarons
Almond Flour: The Foundation of Your Macarons (Selecting the Right Type)
Almond flour is the primary dry ingredient in French macaron shells, providing structure and that signature slightly nutty flavor. It's crucial to use finely ground blanched almond flour. Blanched means the skins have been removed before grinding, resulting in a smoother texture and lighter color necessary for delicate macaron shells. Look for flour labeled "superfine" or "extra fine."
Using coarse almond flour or almond meal (which includes skins) will result in gritty, uneven shells that are prone to cracking. While you can grind blanched almonds yourself, sifting is absolutely essential regardless of the source to remove any larger pieces or lumps. Aim for a texture as fine as icing sugar for the best results in your French macarons recipe beginner guide.
Icing Sugar (Powdered Sugar): Ensuring Smooth Macaron Shells
Icing sugar, also known as powdered sugar or confectioners' sugar, is another critical component of the dry mixture. It provides sweetness and contributes to the smooth texture of the macaron shell. It's important to note that commercially produced icing sugar often contains a small amount of cornstarch (typically around 3%) to prevent clumping.
While some purists prefer making their own icing sugar from granulated sugar to avoid cornstarch, the small amount in commercial varieties is generally acceptable and even helpful in providing a bit of stability. Just like almond flour, icing sugar must be sifted thoroughly, often along with the almond flour, to eliminate any lumps that could mar the smooth surface of your macaron shells.
Egg Whites: Achieving the Perfect Meringue Consistency
Egg whites are the leavening agent and structural backbone of French macarons. When whipped, they create the stable meringue that gives the shells their lift and airy texture. It's widely recommended to use aged egg whites for macaron making. This means separating the whites from the yolks a day or two in advance and storing them covered loosely (allowing some air circulation) in the refrigerator.
Aged egg whites tend to whip up more predictably and form a more stable meringue than fresh ones, which can help prevent common issues like hollow shells. Ensure the egg whites are at room temperature before whipping, as this allows them to reach their full volume more easily. For a typical batch using 100g of almond flour, you'll likely need whites from about 2-3 large eggs, weighing approximately 75-85 grams.
Granulated Sugar: Sweetening Your Macaron Journey
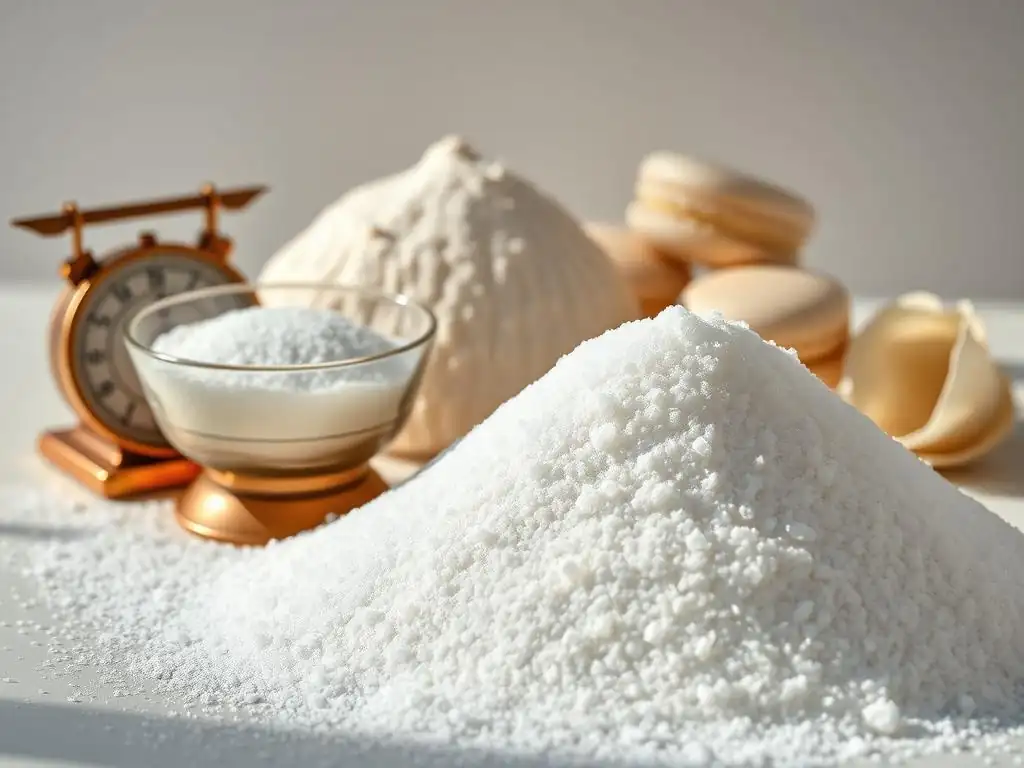
Granulated sugar is essential for creating a stable meringue. As the egg whites are whipped, granulated sugar is gradually added. The sugar dissolves into the egg whites, forming a strong, glossy meringue that holds its shape. This process is crucial for the structure of the macaron shell and contributes to the characteristic "foot."
Using fine or superfine granulated sugar (caster sugar in the UK) is often preferred because it dissolves more quickly into the egg whites, reducing the risk of grainy meringue. However, standard granulated sugar works perfectly well as long as it is added slowly and whipped until fully dissolved and the meringue is glossy and stiff.
Food Coloring (Gel or Powder): Adding Vibrant Hues to Your Macarons
Food coloring is used to give French macarons their signature vibrant colors. It's important to use gel or powdered food coloring rather than liquid. Liquid food coloring adds too much moisture to the batter, which can negatively impact the texture and stability of the shells, leading to problems like cracking or failure to develop a foot.
Gel colors are concentrated and widely available, requiring only a small amount to achieve bright colors. Powdered colors are even more concentrated and ideal for achieving deep hues without adding any moisture. Add the coloring to the meringue after the sugar has been fully incorporated and the meringue has reached stiff peaks, mixing just until the color is evenly distributed.
Equipment Checklist: Tools You'll Need for Macaron Mastery
Stand Mixer or Hand Mixer: Essential for Meringue Perfection
A stand mixer is highly recommended for making French macarons, especially for a beginner, as it allows you to whip the egg whites to the necessary stiff peaks consistently while you prepare other ingredients. The whisk attachment is key for incorporating air efficiently into the egg whites and sugar.
If you don't have a stand mixer, a powerful hand mixer can also work. However, it will require more effort and vigilance to ensure the meringue reaches the correct consistency without over-whipping. Whichever mixer you use, ensure the bowl and whisk attachment are spotlessly clean and completely free of any grease, as even a tiny amount of fat can prevent the egg whites from whipping properly.
Piping Bags and Round Piping Tip: Creating Uniform Macaron Shells
Piping bags are indispensable for forming uniform macaron shells. Using a piping bag allows for controlled dispensing of the batter onto the baking sheet, helping you create consistently sized circles. Disposable or reusable piping bags both work well.
A round piping tip is essential for achieving the smooth, circular shape of the macaron shell. A tip with an opening of about 1/2 inch (around 1A, 2A, or #12 size) is standard. Using a tip ensures clean edges and makes it easier to pipe consistent dollops of batter. Practice piping circles on parchment paper beforehand if you're new to using a piping bag.
Silicone Baking Mat or Parchment Paper: Preventing Sticking and Ensuring Even Baking
To prevent the macaron shells from sticking to the pan and to promote even heat distribution, you'll need either a silicone baking mat or parchment paper. Silicone mats designed specifically for macarons often have pre-printed circles, which are incredibly helpful for piping uniform shells, especially for a French macarons recipe beginner guide.
If using parchment paper, you can draw circles (approximately 1.5 inches or 3.8 cm in diameter) on one side, then flip it over so the ink doesn't transfer to the macarons. Ensure the paper lies flat on your baking sheet. Using quality parchment paper is important, as some cheaper varieties can stick.
Kitchen Scale: Precise Measurements for Consistent Results
Baking, especially pastry like French macarons, relies heavily on precision. Measuring ingredients by weight using a digital kitchen scale is far more accurate than using volume measurements (like cups). The difference of just a few grams of almond flour or sugar can significantly impact the final texture and success of your macaron shells.
Most French macarons recipe beginner guides will provide ingredient quantities in grams for this very reason. A reliable kitchen scale is arguably the most important tool for consistent macaron success. It eliminates variability and ensures you're using the exact ratios required for the chemical reactions to occur correctly.
Sifter: Eliminating Lumps from Dry Ingredients
A fine-mesh sifter is non-negotiable when making French macarons. Both the almond flour and the icing sugar must be sifted to remove any lumps, coarse almond pieces, or debris. This step is crucial for achieving the smooth, unblemished surface that is characteristic of a perfect macaron shell.
For the smoothest results, many recipes recommend sifting the almond flour and icing sugar together multiple times (often two or three) or even pulsing them briefly in a food processor before sifting to break up any stubborn clumps. Don't skip this step in your French macarons recipe beginner guide journey; it makes a significant difference.
Step-by-Step: The French Macaron Recipe for Beginners
Step 1: Preparing the Almond Flour and Icing Sugar Mixture
Sifting the Dry Ingredients: Achieving a Fine Texture
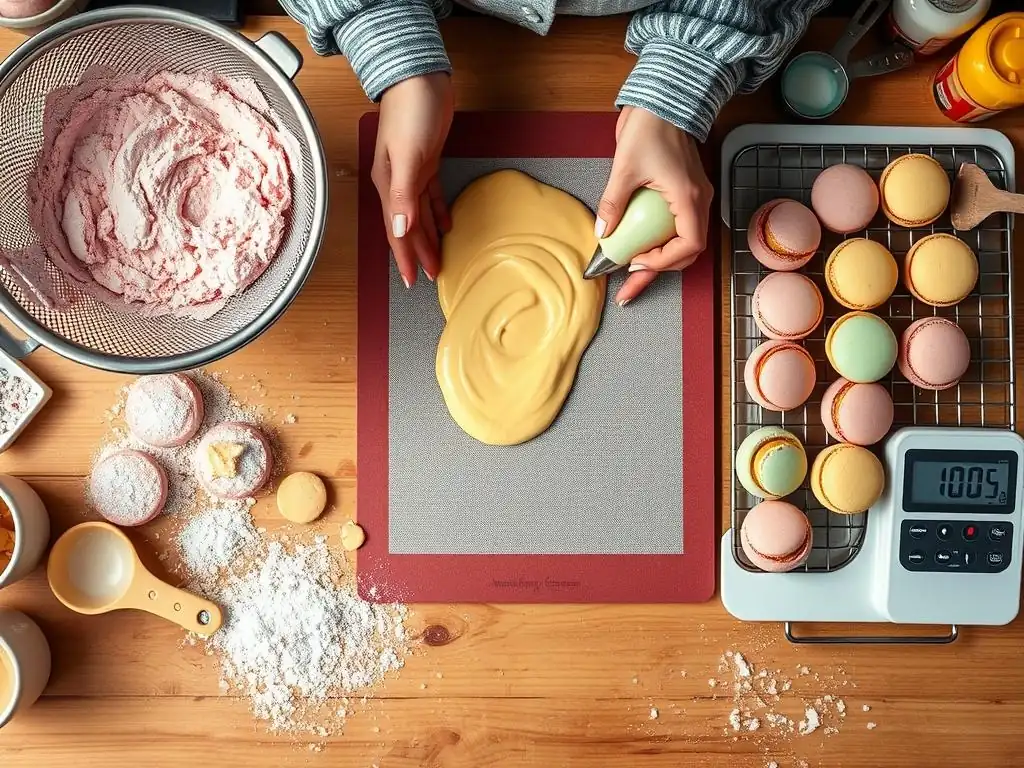
The first crucial step is ensuring your dry ingredients are as fine and lump-free as possible. Measure your blanched almond flour and icing sugar precisely using your kitchen scale. Place a fine-mesh sifter over a medium bowl.
Add the measured almond flour and icing sugar to the sifter. Gently shake or use a spoon to push the mixture through the mesh. Discard any larger pieces of almond that remain in the sifter. For extra insurance against lumps, sift the combined mixture a second time into a clean bowl. This dual sifting process is vital for smooth macaron tops.
Combining the Almond Flour and Icing Sugar: Ensuring Even Distribution
Once sifted, the almond flour and icing sugar should be thoroughly combined. Use a whisk to gently incorporate the two powders, ensuring there are no pockets of just one ingredient. This creates the 'tant pour tant' (equal parts) mixture, which is the foundation of the macaron shell structure.
Some bakers prefer to pulse the almond flour and icing sugar together in a food processor for about 10-15 seconds before sifting. This helps break down any remaining large almond bits and ensures a very fine powder, further contributing to a smooth shell surface. Whichever method you use, the goal is a homogenous, superfine dry mixture.
Step 2: Making the French Meringue
Whipping the Egg Whites: Achieving Stiff Peaks
Begin with your room-temperature, aged egg whites in a spotlessly clean mixer bowl. Start whipping the egg whites on medium-low speed using the whisk attachment until they become frothy and opaque, resembling soap bubbles. Gradually increase the speed to medium-high.
Continue whipping until the egg whites reach the soft peak stage – when you lift the whisk, the tips of the peaks curl over. This usually takes about 3-5 minutes depending on your mixer. At this point, you are ready to begin adding the granulated sugar.
Gradually Adding Granulated Sugar: Stabilizing the Meringue
Once soft peaks are achieved, slowly add the granulated sugar, about one tablespoon at a time, while the mixer is still running on medium-high speed. Allow each addition of sugar to be mostly incorporated before adding the next. This slow addition allows the sugar to dissolve properly into the egg whites.
Continue whipping after all the sugar has been added. The meringue will become glossy, thick, and hold stiff peaks. When you lift the whisk, the peaks should stand straight up without drooping. This process typically takes another 5-8 minutes after adding the sugar. The meringue should feel smooth when rubbed between your fingers, indicating the sugar is dissolved.
Incorporating Food Coloring: Achieving Your Desired Hue
If you are coloring your macarons, add the gel or powdered food coloring after the meringue has reached stiff peaks. Start with a small amount, as these colors are highly concentrated. Add a drop or two of gel or a tiny pinch of powder.
Whip the meringue on low speed just until the color is evenly distributed throughout. Avoid overmixing at this stage. Remember that the color will lighten slightly when the dry ingredients are folded in, and can darken a little during baking.
Step 3: Macaronage: The Delicate Art of Folding
Understanding Macaronage: Achieving the Right Batter Consistency
Macaronage is the uniquely French term for the process of folding the dry ingredients (almond flour and icing sugar) into the meringue. This is arguably the most critical step in making macarons, as the consistency of the batter dictates whether your shells will have feet, be hollow, or spread correctly. The goal is to deflate the meringue just enough to create a lava-like consistency.
Under-mixed batter will be too stiff, resulting in peaked, cracked shells without feet. Over-mixed batter will be too runny, leading to flat, fragile shells that spread too much. Mastering macaronage takes practice, but understanding the desired outcome is the first step for any French macarons recipe beginner guide.
Folding the Meringue into the Dry Ingredients: A Gentle Approach
Add about one-third of the stiff meringue to the bowl with your sifted almond flour and icing sugar mixture. Using a rubber spatula, gently fold the meringue into the dry ingredients. Don't worry about being too delicate with the first addition; this helps loosen the dry mixture.
Add the remaining meringue in two additions. Continue folding, using a motion that scrapes the bottom of the bowl and folds the mixture over itself. You can also press the mixture against the side of the bowl to help deflate the meringue slightly. The key is to fold just until the batter reaches the right consistency.
Testing the Batter: The Ribbon Test Explained
The "ribbon test" is the standard way to check if your macaronage is complete. Lift your spatula from the batter and let the batter fall back into the bowl. It should fall in a thick, continuous ribbon, like slow-moving lava. This ribbon should then slowly reabsorb back into the main batter mass within about 10-15 seconds.
If the batter breaks into chunks or is too stiff to form a ribbon, it's under-mixed. Continue folding a few more times and test again. If the batter flows too quickly, disappears instantly, or is very liquidy, it's over-mixed, and unfortunately, difficult to salvage. Stop folding as soon as the ribbon test is successful.
Step 4: Piping the Macarons
Filling the Piping Bag: Preventing Air Bubbles
Prepare your piping bag by fitting it with the round tip and placing it tip-down in a tall glass or container, folding the top edge over the rim. Spoon the macaron batter into the piping bag, being careful not to overfill it (fill it about two-thirds full).
Once filled, gently twist the top of the bag closed. Before piping, hold the bag upright and tap the tip gently on the counter or press the bag slightly to bring any large air bubbles to the top. Squeeze the bag near the twisted top to force air bubbles out before you start piping.
Piping Uniform Circles: Achieving Consistent Macaron Shells
Hold the piping bag vertically, about 1/2 inch above the baking sheet (lined with your silicone mat or parchment paper). Apply steady, even pressure to the bag to pipe circles of batter. Aim for circles about 1.5 inches (3.8 cm) in diameter, using pre-drawn guides if you have them.
Stop squeezing just before the circle is the desired size, then quickly flick the bag upwards with a slight twist to create a clean break. Try to pipe each shell with a single squeeze. Leave about 1-2 inches of space between each macaron to allow for spreading and air circulation.
Tapping the Baking Sheet: Releasing Air Bubbles
This is a crucial step after piping. Firmly tap the bottom of each baking sheet on the counter several times (4-6 taps usually suffices). You can tap the sheet directly or place a towel underneath for less noise.
Tapping helps the macaron shells flatten out, eliminating any small peaks left from piping. More importantly, it forces any trapped air bubbles within the batter to rise to the surface and pop. Popping these bubbles prevents hollow shells and promotes a smooth top. You can use a toothpick to gently pop any visible bubbles that rise after tapping.
Step 5: Resting the Macarons: Forming a Skin
The Importance of Resting: Developing the Macaron "Foot"
After piping and tapping, the macaron shells must rest at room temperature. This resting period allows a thin, dry skin to form on the surface of the shells. This skin is absolutely essential for successful macaron baking.
The skin acts as a barrier during baking. When the macarons are heated, the steam generated inside is forced downwards, lifting the base and creating the characteristic ruffled "foot." Without a proper skin, the steam would simply break through the top of the shell, resulting in cracked or flat macarons without feet.
Checking for a Skin: Ensuring Proper Baking
The resting time varies depending on the humidity of your environment. It can take anywhere from 30 minutes to 2 hours or even longer on a very humid day. To check if the macarons are ready to bake, gently touch the surface of a shell with your fingertip.
If a skin has formed, the surface should feel dry and smooth to the touch, and the batter should not stick to your finger. If it feels wet or sticky, continue resting and check again in 15-minute intervals. Do not bake the macarons until this dry skin has formed. This step is a cornerstone of a successful French macarons recipe beginner guide.
Step 6: Baking the Macarons
Oven Temperature and Baking Time: Finding the Sweet Spot
Precise oven temperature is critical for baking macarons. Most recipes call for a low temperature, typically between 285°F (140°C) and 320°F (160°C). Lower temperatures promote even baking and help develop the foot without browning the shells too quickly. It is highly recommended to use an oven thermometer, as oven thermostats are often inaccurate, sometimes by as much as 25-50°F (15-30°C).
Baking time usually ranges from 12 to 18 minutes, depending on your oven and the size of your macarons. The macarons are done when they look matte and are firm to the touch. You should be able to gently nudge a shell, and it shouldn't wobble or shift on its foot.
Monitoring the Macarons: Looking for the "Foot"
During baking, keep a close eye on your macarons, especially around the 6-8 minute mark. This is typically when the "foot" starts to appear and puff up around the base of the shells. The foot should rise evenly around the circumference.
If the feet are rising unevenly or not at all, it might indicate issues with macaronage, resting time, or oven temperature fluctuations. Rotate the baking sheet halfway through baking for more even results, especially if your oven has hot spots.
Cooling the Macarons: Preventing Sticking
Once baked, remove the baking sheet from the oven and place it on a wire rack to cool completely. Do not attempt to remove the macaron shells from the mat or paper while they are warm.
Allow the macarons to cool fully, which can take 15-30 minutes. As they cool, they will contract slightly and release from the non-stick surface. If they are still stuck after cooling, they may need another minute or two in a very low oven (around 200°F/90°C) to loosen the bottoms, but be careful not to overbake.
Step 7: Making the Filling (Simple Buttercream)
Ingredients for Buttercream Filling: A Basic Recipe
A simple buttercream is a great starting point for filling your first batch of French macarons. A basic recipe typically involves unsalted butter, icing sugar, a liquid (like milk or cream), and vanilla extract for flavor. For a batch yielding about 30-40 shells (15-20 assembled macarons), you might use approximately 1/2 cup (115g) unsalted butter, 2 cups (240g) icing sugar, 2-3 tablespoons milk or cream, and 1 teaspoon vanilla extract.
Ensure your butter is softened but not melted, ideally at cool room temperature. This allows it to cream properly with the icing sugar.
Whipping the Butter: Achieving a Light and Fluffy Texture
In a clean bowl (using your stand mixer or hand mixer), whip the softened butter on medium speed until it is pale and fluffy. This incorporates air, making the buttercream light and easy to spread or pipe. Scrape down the sides of the bowl as needed.
This step usually takes about 2-3 minutes. The butter should be smooth and significantly lighter in color than when you started.
Adding Icing Sugar and Flavorings: Customizing Your Filling
Gradually add the sifted icing sugar to the whipped butter, one cup at a time, mixing on low speed to avoid a cloud of sugar. Once all the sugar is added, the mixture will be crumbly. Add the milk or cream and vanilla extract.
Increase the mixer speed to medium-high and beat for 3-5 minutes until the buttercream is smooth, light, and spreadable. You can adjust the consistency by adding a little more liquid if too stiff, or a little more sifted icing sugar if too thin. This simple buttercream filling complements your French macarons recipe beginner guide perfectly.
Step 8: Assembling the Macarons
Pairing the Macaron Shells: Finding Matching Sizes
Once the macaron shells are completely cooled and removed from the baking surface, arrange them in pairs of roughly equal size. Since it's challenging to pipe every shell identically, pairing helps create neat, uniform assembled macarons.
Flip one shell from each pair over so the flat bottom is facing up. These will be the bottom shells that receive the filling. The other shell will be placed on top.
Piping the Filling: Creating a Generous Layer
Transfer your prepared buttercream (or other filling like ganache or jam) to a piping bag. You can use the same round tip or a slightly smaller one. Pipe a dollop of filling onto the center of the flat side of one macaron shell from each pair.
Pipe enough filling to create a slight mound, but not so much that it will squeeze out excessively when the shells are sandwiched. A dollop about the size of a small cherry is often appropriate.
Sandwiching the Macarons: A Gentle Press
Take the matching top shell and gently place it on top of the filling, flat side down. Lightly press the top shell down until the filling spreads almost to the edge of the shells. Be careful not to press too hard, which could crack the delicate shells.
Your assembled French macarons are now ready! While you can eat them immediately, they are traditionally best after maturing.
Troubleshooting Common Macaron Problems: Tips and Tricks
Cracked Macaron Shells: Identifying the Cause and Prevention
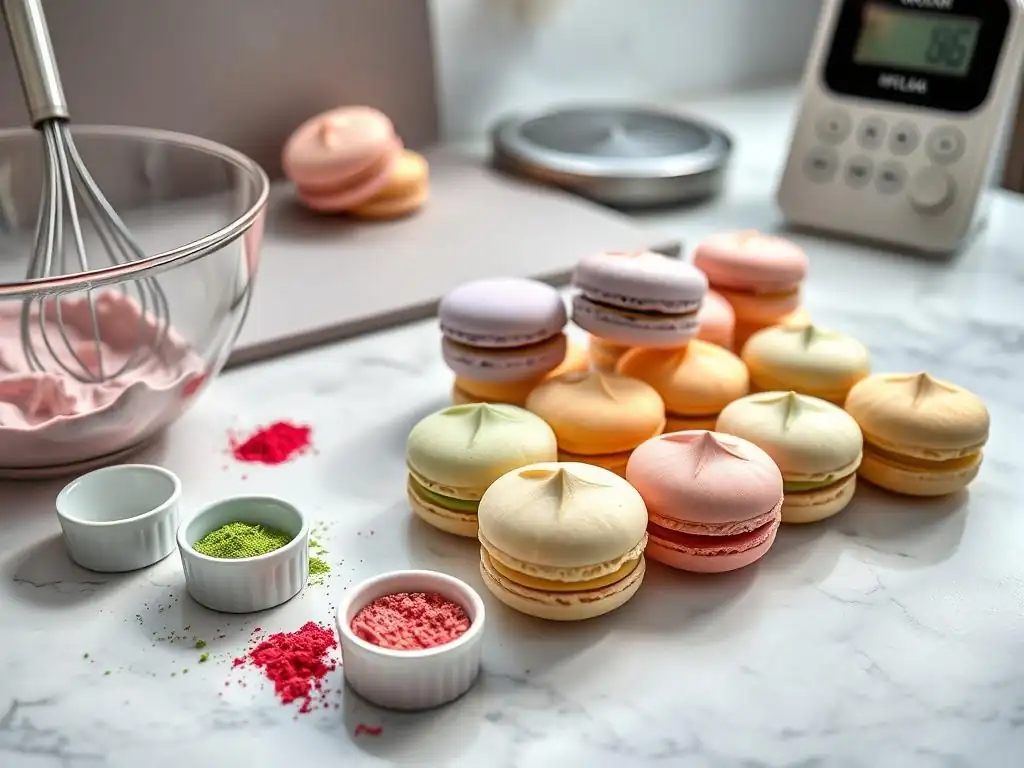
Cracked macaron shells are a frustrating but common problem for beginners. The most frequent causes are insufficient resting time or an oven that is too hot. If the shells haven't formed a proper skin, the internal steam has nowhere to go but up, cracking the surface. An oven that's too hot can cause the surface to set too quickly before the foot can develop properly, again leading to cracks.
To prevent cracks, ensure you rest the shells until a dry skin forms (the touch test is key!). Verify your oven temperature with a reliable thermometer and consider lowering it slightly if cracks persist. Other potential causes include overmixing the batter (making it too thin and fragile) or air bubbles trapped inside the shells (ensure thorough tapping after piping).
Hollow Macarons: Addressing Air Pockets
Hollow shells mean the interior of the macaron didn't fill out completely during baking, leaving an empty space just beneath the top crust. This is often related to issues with the meringue or macaronage. Over-whipping the meringue can incorporate too much unstable air, while under-macaronaging (not folding enough) leaves too much air in the batter.
To address hollows, ensure your meringue is whipped to stiff but not dry peaks. Practice your macaronage to achieve the correct lava-like consistency – the batter should flow slowly and reabsorb. Also, make sure you tap the baking sheets firmly after piping to release air bubbles. Aging egg whites can also contribute to a more stable meringue and potentially fewer hollows.
Lack of a "Foot": Ensuring Proper Resting and Baking
The lack of a distinct "foot" is usually a sign that the crucial resting step was insufficient or the oven temperature was incorrect. As mentioned, the dry skin formed during resting is what forces the expanding air and steam downwards to create the foot. If the skin isn't fully formed, the foot won't develop properly.
Ensure your shells rest until they are completely dry to the touch. Also, check your oven temperature with an external thermometer; if it's too low, the foot may not lift. Conversely, if it's too high, the shell might set before the foot has a chance to rise. Humidity plays a big role in resting time, so be patient on damp days.
Uneven Macaron Shells: Optimizing Piping Technique
Unevenly sized or shaped macaron shells are primarily a result of inconsistent piping technique. Applying uneven pressure to the piping bag, holding the bag at an angle instead of vertically, or failing to release pressure cleanly when finishing the circle can lead to irregular shapes.
Practice piping on parchment paper without batter first to get a feel for applying steady pressure and creating consistent circles. Using a silicone mat with pre-printed circles is also incredibly helpful for maintaining uniform size. After piping, tapping the tray helps the batter spread and flatten slightly, correcting minor imperfections. For a polished French macarons recipe beginner guide result, consistency is key.
Storing Your French Macarons: Keeping Them Fresh
Refrigerating Macarons: Maintaining Moisture and Flavor
French macarons are best stored in an airtight container in the refrigerator. Storing them chilled allows the filling's moisture to migrate slightly into the shells, softening them and marrying the flavors – a process called "maturing" or "aging." This maturation period significantly improves the texture and taste of the macaron.
For optimal flavor and texture, assemble your macarons and refrigerate them for at least 24 hours before serving. They can be stored in the refrigerator for 3-5 days, depending on the filling. Always bring them back to room temperature for about 15-20 minutes before serving for the best eating experience.
Freezing Macarons: Extending Their Shelf Life
Macarons freeze exceptionally well, making them a great make-ahead treat. You can freeze unfilled shells or fully assembled macarons. For unfilled shells, store them in an airtight container, separated by parchment paper layers, for up to 3 months. Thaw in the refrigerator overnight before filling.
For assembled macarons, place them in a single layer in an airtight container, again using parchment paper between layers if stacking. Freeze for up to 1-2 months. Thaw assembled macarons in the refrigerator overnight, then bring them to room temperature before serving. Freezing is an excellent way to preserve your delicious results from this French macarons recipe beginner guide.
Conclusion: Mastering the Art of French Macarons with BakeWithEase
Celebrate Your Baking Success: Sharing Your Macaron Creations
Congratulations on embarking on this French macarons recipe beginner guide journey! While they require precision and patience, the result is a truly exquisite pastry that impresses everyone. Don't be discouraged if your first batch isn't perfect; macarons are known for their learning curve. Each attempt teaches you something new about the process, your ingredients, and your oven.
Celebrate your achievement by sharing your beautiful, homemade French macarons with friends and family. The joy of baking is often amplified by sharing the delicious results. As you gain confidence, you can experiment with different colors, flavors, and fillings, making this French macarons recipe beginner guide just the first step in your macaron mastery. Happy baking!
Frequently Asked Questions
What makes French macarons so notoriously difficult to bake?
French macarons are challenging due to the precise ratio of ingredients and the need for specific techniques like macaronage and proper resting time. These steps are crucial for achieving the signature "foot" and smooth shell.
Can I substitute almond flour in your French macarons recipe?
While other nut flours might work, we strongly recommend using almond flour for the best results. Other flours may alter the texture and outcome of your macarons.
What is "macaronage" and why is it so important?
Macaronage is the process of folding the almond flour and meringue together. It's vital for releasing air and creating the correct batter consistency, ensuring the macarons have a smooth surface and a delicate "foot".
How long should I let my macarons rest before baking?
Resting allows a skin to form on the macarons. This usually takes 30-60 minutes, and it's essential for creating the characteristic "foot" during baking.
What temperature and oven settings should I use for baking my French macarons?
Our French macarons recipe recommends baking at a low temperature, typically around 300°F (150°C), with no convection. This gentle heat helps the macarons bake evenly and develop their unique texture.
Final Reflection: The Enduring Allure of the French Macaron
The seemingly simple act of crafting a perfect French macaron is, in reality, a journey of precision and patience, a testament to the enduring power of culinary artistry. This guide aimed to demystify the process, offering a step-by-step approach accessible to even the most novice baker. But beyond the technical aspects, the creation of these delicate confections speaks to something deeper – a pursuit of perfection and the joy found in mastering a challenging skill.
The influence of French pastries, and the macaron in particular, on our cultural landscape is undeniable. They represent a level of sophistication and artistry that transcends mere sustenance, becoming symbols of celebration, indulgence, and even love. A macaron is a little kiss of happiness.
While I don't know the origin of this quote, it perfectly encapsulates the feeling many experience when creating and sharing these delightful treats. The process itself, from the meticulous measuring to the delicate piping, allows for a meditative focus, a welcome escape from the everyday rush.
Now, I invite you to take what you've learned and embark on your own macaron adventure. Don't be discouraged by initial setbacks; remember the journey is as important as the destination. Each batch, each attempt, brings you closer to mastering this delightful art. So, gather your ingredients, embrace the process, and experience the profound satisfaction of creating something beautiful and delicious – your own perfect French macarons. The world awaits your culinary masterpiece.
Unleash Your Inner Pâtissier: Master the Macaron!
Thanks for joining us on this delicious journey into the world of French macarons! We hope you’ve gained the confidence to tackle this seemingly challenging treat. Now it's time to put your newfound knowledge into action.
- Bake your own masterpiece! Use this guide as your blueprint and create a batch of these delicate delights. Don't be afraid to experiment with different flavors – let your creativity shine!
- Share your success (or even your struggles!) with us on social media! Use #BakeWithEaseMacarons and tag us – we love seeing your creations.
- Explore other BakeWithEase recipes! We have a whole library of delicious treats just waiting to be discovered. Find your next baking adventure on our website.
Ready to transform your kitchen into a Parisian patisserie? What flavor combination will you try first?