
Why Does My Cake Have a Dome? And How to Level It

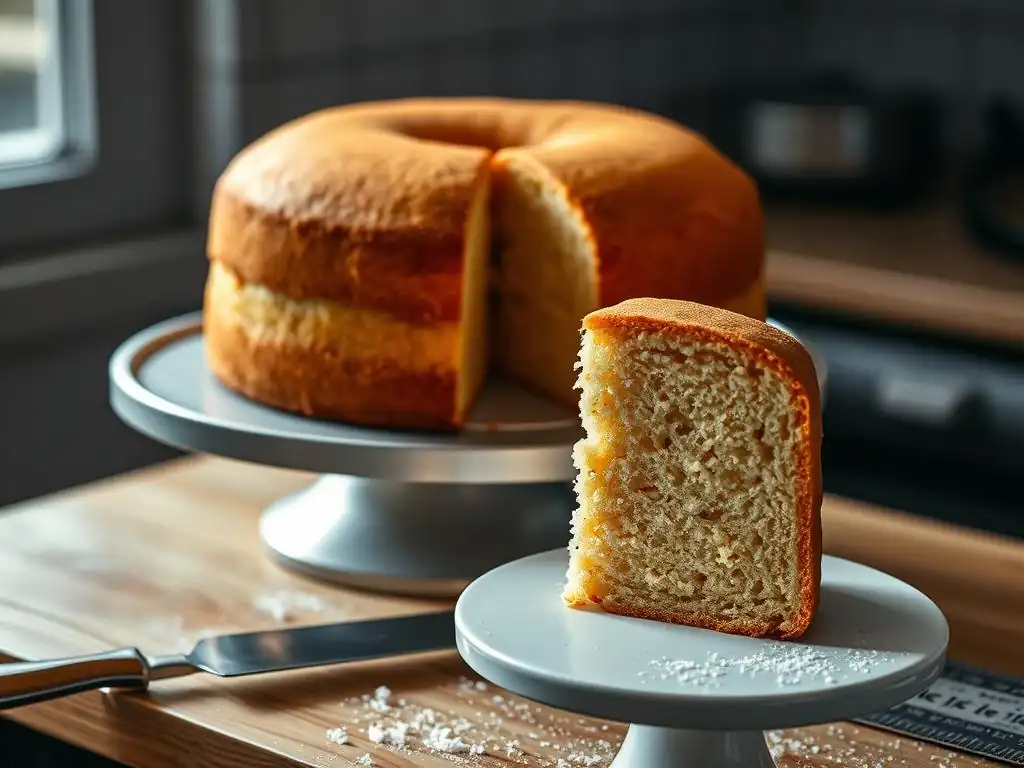
Welcome to BakeWithEase, your ultimate baking companion! Ever wondered why your cake has a dome and how to achieve that perfectly flat top you see in magazines? This article dives deep into the science and simple solutions, offering practical tips and tricks from our expert bakers. Get ready to say goodbye to uneven layers and hello to flawlessly leveled cakes. Intrigued? Let's explore How to Level Cake Dome together and unlock the secrets to baking perfection!
- Achieving Flat Cake Layers: A Comprehensive Guide
- Understanding Cake Rise: The Science Behind Even Baking
- Troubleshooting Uneven Cake Rise: Identifying the Root Cause
- Preventing Uneven Cake Rise: Proactive Baking Techniques
- Leveling a Cake: Step-by-Step Guide for Professional Results
- Creative Uses for Cake Trimmings: Minimize Waste!
- Achieving Perfectly Flat Cake Layers: Advanced Baking Tips
- Cake Rise FAQs: Addressing Common Questions
- Frequently Asked Questions
- Final Reflection: The Humble Dome and the Pursuit of Perfect Pastry
- Level Up Your Baking Game!
Achieving Flat Cake Layers: A Comprehensive Guide
Achieving perfectly flat cake layers is a goal for many bakers, especially when planning tiered or elaborately decorated cakes. Often, cakes emerge from the oven with a noticeable dome or peak in the center. Understanding why this happens and knowing how to address it is key to professional-looking results. This guide will walk you through the science behind cake rise, how to troubleshoot uneven baking, proactive steps to prevent doming, and, importantly, how to effectively level a cake dome for beautiful, even layers. Learning how to level cake dome is a fundamental skill in cake decorating.
Understanding Cake Rise: The Science Behind Even Baking
The transformation of liquid batter into a solid, airy cake is a fascinating process driven by heat and chemical reactions. As a cake bakes, several things happen simultaneously: leavening agents produce gas, proteins coagulate, starches gelatinize, and moisture evaporates. This complex interplay results in the cake's structure and rise.
Why Cakes Rise During Baking
Cakes rise primarily due to the expansion of gases within the batter when heated. These gases come from two main sources: leavening agents and air incorporated during mixing. Chemical leaveners like baking soda and baking powder produce carbon dioxide when they react with moisture and heat. For example, baking soda reacts with an acid to release CO2, while double-acting baking powder releases some gas upon contact with liquid and more when heated.
Mechanically, air is incorporated when ingredients like butter and sugar are creamed together, trapping tiny air bubbles that expand in the oven's heat. Steam, generated from the liquid ingredients, also contributes to lift as it tries to escape the batter. This combined expansion causes the batter to rise, creating the cake's crumb structure.
As the cake bakes, the outer edges and bottom, being in direct contact with the hot pan and oven air, heat up and set faster than the center. The proteins and starches in the outer regions coagulate relatively quickly, forming a stable structure. The center, however, remains liquid longer, allowing the leavening gases to continue expanding and pushing upwards. This differential heating and setting rate is a primary reason why cakes often develop a dome shape – the center rises more than the edges before the structure is set.
The Role of Gluten Development in Cake Structure
Gluten, a protein network formed when glutenin and gliadin in flour are hydrated and mixed, plays a significant role in providing structure to baked goods. In bread making, extensive gluten development is desired for a chewy texture. However, in cakes, excessive gluten development can lead to a tough or dense crumb. Cake recipes typically use lower-protein flours (like cake flour, which usually contains about 6-8% protein compared to all-purpose flour's 10-12%) and often incorporate fats and sugars that interfere with gluten formation.
While minimal gluten is desired, some level is necessary to provide enough structure to hold the expanding gases. If there is insufficient structure due to under-mixing or using a flour with too little protein for the recipe, the cake may not rise adequately or could collapse. Conversely, over-mixing the batter can develop too much gluten, resulting in a tough cake and potentially contributing to an uneven rise if the batter becomes too elastic and resists even expansion. Properly balancing the ingredients and mixing technique is crucial for achieving the desired tender crumb and even rise.
Common Causes of Uneven Cake Rise: A Baker's Checklist
Several factors can contribute to a cake developing a dome or rising unevenly. Identifying the specific cause is the first step in troubleshooting.
- Oven Temperature: Is your oven calibrated correctly? Hot spots or inaccurate temperatures are frequent culprits.
- Mixing: Was the batter mixed evenly? Over or under-mixing can affect structure and gas distribution.
- Pan Issues: Is the pan dark or light-colored? Is it too small or too large for the batter volume?
- Overfilling: Did you put too much batter in the pan? Pans should typically be filled about 2/3 to 3/4 full.
- Leavening Agents: Are your leavening agents fresh? Is the ratio of baking soda/powder to other ingredients correct?
- Ingredient Temperature: Were ingredients like butter and eggs at the correct temperature (usually room temperature)?
- Ingredient Measurement: Were ingredients measured accurately, especially flour and leaveners?
These points represent a starting checklist for any baker wondering, "Why does my cake have a dome?" Each element plays a role in how the cake batter behaves under heat. Addressing these potential issues proactively is the best way to prevent uneven rise and minimize the need to understand how to level cake dome after baking.
Troubleshooting Uneven Cake Rise: Identifying the Root Cause
When a cake comes out of the oven with a significant dome, it's often the result of heat distribution issues or imbalances in the batter. Pinpointing the exact cause requires looking closely at your baking process.
Oven Temperature Fluctuations and Their Impact
Oven temperature is perhaps the most common reason for a dramatic cake dome. Ovens often have hot spots or the thermostat may be inaccurate, sometimes by as much as 25-50°F (about 15-30°C). If the top or edges of the cake pan are significantly hotter than the center, the outer parts of the cake will set rapidly while the center continues to rise, creating the dome. A sudden blast of high heat can cause the outside to set too quickly before the leavening has fully worked throughout the batter.
Using an oven thermometer is essential for verifying your oven's actual temperature. If the oven runs hot, the outside of the cake sets prematurely, forcing all the remaining rise into the still-liquid center. This differential setting is a major contributor to a pronounced dome. Even rotating the cake halfway through baking might not fully counteract severe temperature inconsistencies or an oven that's simply too hot for the recipe.
Inconsistent Mixing Techniques and Their Effect
How you mix your cake batter significantly impacts its structure and rise. Over-mixing can develop too much gluten, leading to a tough cake and sometimes an uneven rise because the batter becomes too elastic. Under-mixing, on the other hand, can leave pockets of unmixed ingredients or fail to properly aerate the batter, resulting in a dense cake with poor rise or irregular texture.
The goal is to mix until ingredients are just combined and the batter is smooth, without overworking the gluten. For instance, when adding dry ingredients to wet, mixing just until no dry streaks remain is usually sufficient. If the leavening agents or other key components aren't evenly distributed throughout the batter due to poor mixing, some areas might rise more than others, contributing to an uneven top.
Pan Material and its Impact on Heat Distribution
The material and color of your cake pan influence how heat is transferred to the batter. Dark metal pans absorb and radiate heat more quickly and intensely than light-colored metal or glass pans. This faster heat transfer can cause the edges of the cake to set very rapidly, again leading to a pronounced dome in the center, which is the last part to heat up and set.
Light-colored, heavy-gauge aluminum pans are often recommended for even cake baking because they distribute heat more gently and uniformly. Glass pans also conduct heat differently and can sometimes lead to faster browning on the bottom and sides. Using the pan specified in the recipe or understanding how your pan material affects baking time and temperature is crucial for achieving flat layers.
Overfilling the Cake Pan: A Recipe for Overflowing
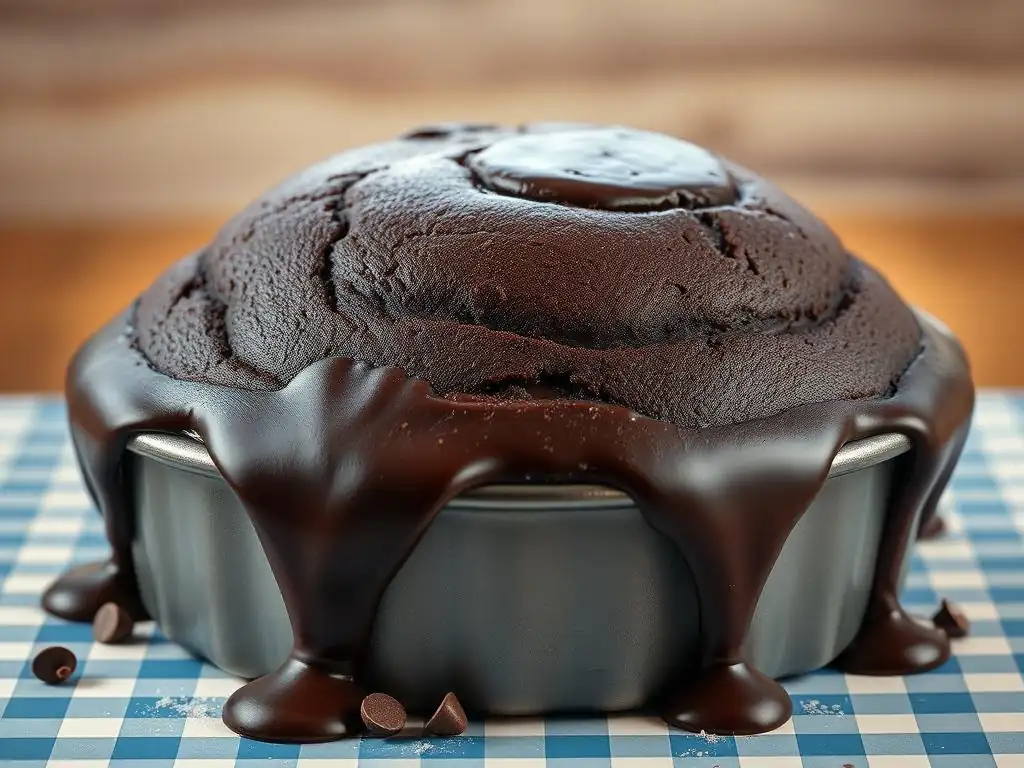
Filling a cake pan too full is a common mistake that almost guarantees a dome, and potentially an overflow. Cake batter typically doubles in volume or more during baking due to the expansion of gases. If the pan is filled more than two-thirds to three-quarters full, the rising batter has nowhere to spread outwards once it reaches the pan's rim.
With no horizontal space left, the batter is forced to push upwards, concentrating all the remaining rise in the center. This results in a tall, often peaked dome. Checking the recipe's recommended pan size and filling level is important. If you have too much batter for your pan, it's better to bake it in two smaller pans or use a portion for cupcakes rather than overfilling a single pan.
Leavening Agents: Balance is Key
Leavening agents, primarily baking soda and baking powder, are responsible for creating the airy texture in cakes. Using too much leavener can cause the cake to rise too quickly and dramatically before the structure has set, leading to a large dome that might even collapse slightly after cooling. Conversely, too little leavener will result in a dense cake with minimal rise.
The freshness of your leavening agents is also critical. Baking powder loses potency over time (typically within 6-12 months once opened). If your baking powder is old, it won't produce enough gas, leading to a flat, dense cake or inconsistent rise. Ensuring your leaveners are fresh and accurately measured according to the recipe is vital for consistent, even results.
Preventing Uneven Cake Rise: Proactive Baking Techniques
Preventing a significant cake dome is often easier than fixing one. Implementing a few key techniques before you even put the batter in the oven can drastically improve your chances of getting flat, even layers.
Calibrating Your Oven for Accurate Temperature
As mentioned earlier, oven temperature is a major factor. Regularly checking and calibrating your oven is one of the best steps you can take for consistent baking results.
- Place an oven thermometer in the center of your oven.
- Set the oven to a standard baking temperature (e.g., 350°F or 175°C).
- Allow the oven to preheat fully, then check the thermometer reading. Wait another 15-20 minutes and check again, as temperatures can fluctuate.
- Compare the thermometer reading to the oven's setting. Note the difference.
- Adjust your oven's temperature setting accordingly for recipes (e.g., if your oven reads 375°F when set to 350°F, set it to 325°F for recipes calling for 350°F).
- Consider professional calibration if the discrepancy is significant or if temperatures fluctuate wildly.
Knowing your oven's true temperature allows you to bake at the temperature the recipe intends, promoting more even heat distribution and reducing the likelihood of the edges setting too fast.
The Importance of Precise Ingredient Measurement
Baking is often described as a science, and accurate measurement is fundamental to successful results. Small variations in key ingredients, especially flour and leavening agents, can significantly impact the cake's structure and rise.
Measuring flour by volume (using cups) can be highly inaccurate depending on how packed the flour is. A cup of sifted flour weighs less than a cup of scoop-and-leveled flour. Using a scale to weigh ingredients, particularly flour (1 cup all-purpose flour is typically about 120-130 grams) and sugar, provides far more consistent results.
For leavening agents like baking powder, using the proper measuring spoon and leveling it carefully is crucial, as even a slight excess can cause over-rising and doming. Precise measurements ensure the correct balance of structural ingredients (flour, eggs) and leaveners, leading to a more predictable and even rise.
Mastering Mixing Techniques for Uniform Batter
Proper mixing ensures that ingredients are evenly distributed and that the correct amount of air is incorporated without overdeveloping gluten.
Creaming Butter and Sugar for Aeration
The creaming method, often used for butter-based cakes, is vital for incorporating air. Room temperature butter (soft enough to indent slightly when pressed, about 65-70°F or 18-21°C) is beaten with sugar until light and fluffy, typically taking 3-5 minutes with an electric mixer. This process creates tiny air pockets that expand during baking, contributing significantly to the cake's rise and tender texture. Insufficient creaming means less air is incorporated, potentially leading to a denser cake or one that relies too heavily on chemical leaveners, which can sometimes contribute to doming if the rise is too rapid in the center.
Incorporating Eggs Evenly
Eggs provide structure and contribute to aeration when beaten. In most cake recipes using the creaming method, eggs are added one at a time after the butter and sugar are creamed. Beat each egg just until it is fully incorporated before adding the next. This ensures the eggs are evenly distributed throughout the batter, contributing uniformly to the cake's structure and preventing dense spots that could affect even rising. Using room temperature eggs also helps them emulsify better with the butter mixture, creating a smoother, more uniform batter.
Selecting the Right Cake Pan for Your Recipe
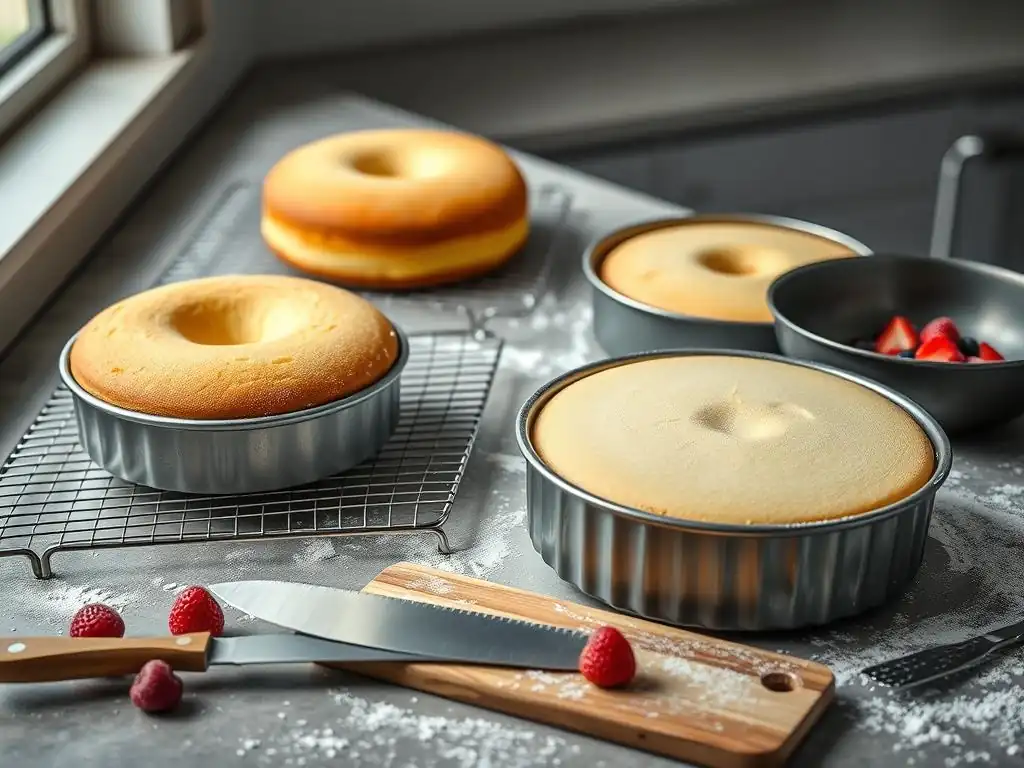
Using the pan size and type specified in the recipe is important. If a recipe calls for an 8-inch pan and you use a 9-inch, the batter will be spread thinner, potentially baking too quickly and drying out. If you use a 7-inch pan, it might be overfilled, leading to excessive doming and potential overflow.
As discussed, light-colored metal pans are generally preferred for even heat distribution in cakes compared to dark metal or glass. If you frequently bake in dark pans and notice consistent doming, consider switching to light-colored ones or slightly reducing your oven temperature and increasing baking time.
Utilizing Baking Strips for Even Heat Distribution
Baking strips, often made of insulated fabric that you soak in water and wrap around the outside of the cake pan, are an effective tool for preventing domes.
- Soak the baking strip thoroughly in cold water.
- Squeeze out excess water so it's damp but not dripping.
- Wrap the strip snugly around the outside of the cake pan.
- Secure with a pin if needed (some have loops).
- Place the prepared pan in the oven.
These strips work by insulating the sides of the pan, keeping them cooler than the center. This causes the edges of the cake to bake and set more slowly, allowing the center to catch up. The entire cake bakes more evenly from edge to center, resulting in a much flatter top. This is a popular technique for bakers who frequently encounter doming and want to reduce the amount of cake trimming needed when learning how to level cake dome.
Weighing Ingredients for Consistent Results
Weighing ingredients, especially flour, sugar, and fats, provides the highest level of accuracy in baking. Unlike volume measurements (cups), weight is consistent regardless of how packed an ingredient is.
Consider this:
- 1 cup all-purpose flour scooped and leveled might be ~130 grams.
- 1 cup all-purpose flour spooned into the cup and leveled might be ~120 grams.
- 1 cup all-purpose flour packed might be ~150 grams.
This variation (up to 30 grams, or ~25%) can significantly alter the dry-to-wet ingredient ratio in a recipe, affecting batter consistency, structure, and rise. Using a digital kitchen scale ensures you are using the exact amount of each ingredient every time, leading to more predictable baking outcomes and flatter cake layers. Many professional recipes provide ingredient weights for this reason.
Leveling a Cake: Step-by-Step Guide for Professional Results
Despite your best efforts, some cakes may still have a slight dome, especially richer or denser varieties. Learning how to level cake dome is a valuable skill for creating stacked cakes or simply achieving a clean, flat surface for frosting.
Tools You'll Need for Cake Leveling
Before you begin, gather the right tools. Having the proper equipment makes the process much easier and yields cleaner results.
Serrated Knife (Long and Sharp)
A long, sharp serrated knife is essential for cutting through the cake cleanly without tearing. Choose a knife that is at least as long as the diameter of your cake. The serrations help grip the cake surface and saw through it smoothly. A bread knife works well for this task. Ensure it is sharp; a dull knife will make the job difficult and messy.
Turntable (Recommended)
A cake turntable is highly recommended, though not strictly necessary for leveling. It allows you to easily rotate the cake as you cut, helping you maintain a steady, even cut all the way around. This significantly increases accuracy and reduces the chance of cutting at an angle. If you don't have a turntable, you can level the cake directly on a counter or cutting board, but you'll need to manually turn the cake as you slice.
Step 1: Cooling the Cake Completely Before Leveling
This is a non-negotiable step. Attempting to level a warm cake will result in crumbling, tearing, and a generally messy outcome. The cake needs to be completely cool and firm to hold its shape while you cut it.
After removing the cake from the oven, let it cool in the pan on a wire rack for the time specified in the recipe (usually 10-20 minutes). Then, invert it onto the wire rack to cool completely. This can take anywhere from 1 to 3 hours, depending on the size and density of the cake. Patience here is key to a successful leveling process when learning how to level cake dome.
Step 2: Determining the High Point of the Cake
Once the cake is cool, place it on your turntable or work surface. Visually assess the cake to determine the highest point of the dome. You want to cut horizontally across the cake, removing this dome so the top surface is perfectly flat.
You can use a ruler or a cake leveler (a specialized tool with an adjustable wire) to help visualize a straight line across the cake. Place the ruler or leveler next to the cake, parallel to the work surface, at the desired height just below the peak of the dome. This gives you a visual guide for your knife.
Step 3: Trimming the Cake with a Serrated Knife
Now it's time to carefully slice off the dome.
Technique for Evenly Cutting the Cake
Hold the serrated knife parallel to your work surface. Using your visual guide (ruler or cake leveler), begin sawing gently into the side of the cake, keeping the knife level. Don't press down; let the serrations do the work.
- Position the knife parallel to the counter/turntable.
- Align the knife with your visual guide (ruler/leveler).
- Begin sawing gently into the cake edge.
- Keep the knife level throughout the cut.
- Rotate the cake as you cut.
Make shallow cuts around the perimeter of the cake, gradually working your way towards the center. Keep your eye on the level of the knife relative to your guide as you cut.
Rotating the Cake for a Smooth Cut
If using a turntable, slowly rotate the cake with one hand while continuously sawing with the other. This allows you to make a smooth, continuous cut around the cake, ensuring an even thickness is removed. If not using a turntable, stop after each short sawing motion, manually turn the cake a few degrees, and continue sawing. The goal is to remove the entire dome in one clean, horizontal slice, leaving a perfectly flat surface ready for frosting or stacking. Mastering how to level cake dome involves this precise slicing technique.
Creative Uses for Cake Trimmings: Minimize Waste!
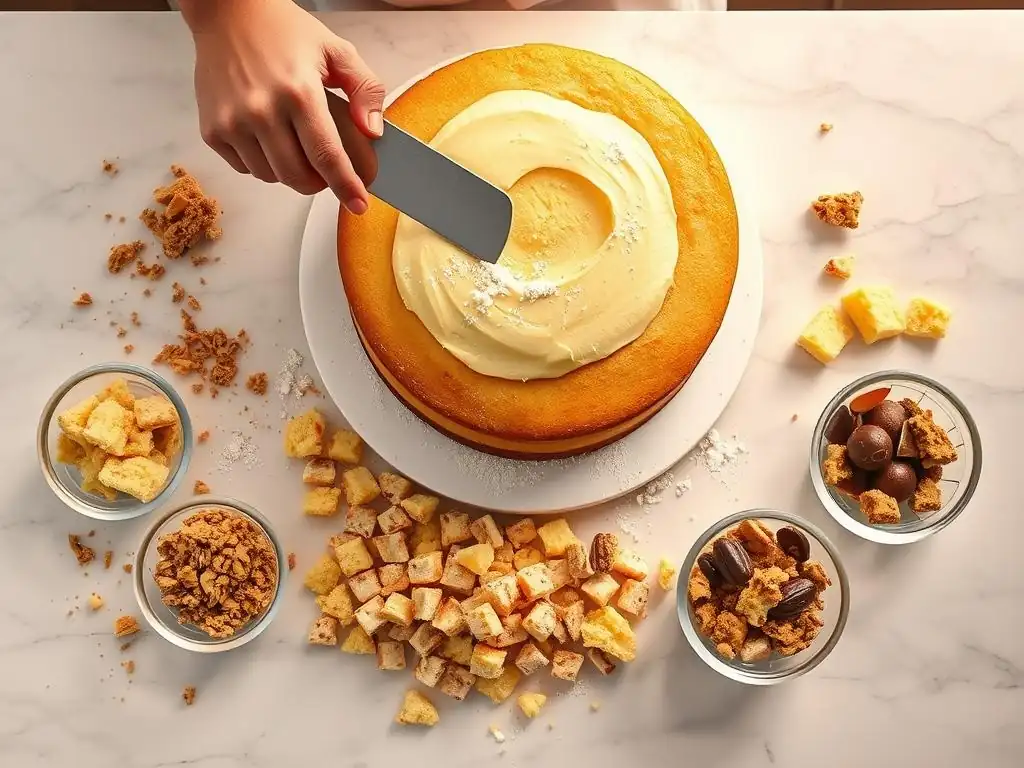
Don't let those cake trimmings go to waste! The dome you've removed is perfectly good cake and can be repurposed in many delicious ways.
Making Cake Crumbs for Decoration
One of the simplest uses is turning the trimmings into cake crumbs. Break up the cake pieces and process them in a food processor until fine crumbs form.
- Break up cake trimmings into smaller pieces.
- Place pieces in a food processor.
- Pulse until fine crumbs are achieved.
- Store in an airtight container or use immediately.
These crumbs can be toasted lightly in a pan for added texture and flavor, or used as is. They are fantastic for decorating the sides of a frosted cake, sprinkling on top of cupcakes, or using as a base for other desserts.
Layering in Parfaits or Dessert Cups
Cake trimmings are perfect for layering in individual parfaits or dessert cups. Simply crumble the cake pieces and layer them with components like whipped cream, pudding, fruit compotes, mousse, or frosting.
Example:
- Layer 1: Cake crumbs
- Layer 2: Fruit compote (e.g., berries)
- Layer 3: Whipped cream or pastry cream
- Repeat layers.
- Top with fresh fruit or chocolate shavings.
This is a quick and easy way to create attractive and delicious single-serving desserts using your leftover cake.
Incorporating into Ice Cream
For a truly decadent treat, fold cake trimmings into homemade or store-bought ice cream. Gently stir crumbled cake pieces into softened ice cream, along with any other desired mix-ins like chocolate chips or nuts.
Refreeze the ice cream until firm. The cake pieces add wonderful texture and flavor throughout the ice cream, creating a custom flavor profile. This is an excellent way to use up trimmings from richer cakes like pound cake or chocolate cake.
Achieving Perfectly Flat Cake Layers: Advanced Baking Tips
While basic techniques cover most situations, a few more advanced tips can help ensure consistently flat layers, minimizing the need to know how to level cake dome in the first place.
Utilizing a Heating Core for Even Baking
For very large or deep cakes (like those baked in a 10-inch or larger pan, or pans deeper than 2 inches), a heating core can be beneficial. A heating core is a metal cone or cylinder placed in the center of the pan that conducts heat into the middle of the cake, helping it bake at a similar rate to the edges.
- Grease and flour the heating core.
- Place the core in the center of the empty cake pan.
- Pour batter around the core.
- Place a small amount of batter *inside* the core (optional, helps prevent it from shifting).
- Bake as directed.
- Carefully remove the core after baking (it will be hot).
- Fill the resulting hole with frosting or a piece of cake trimming.
This ensures that the center of the cake cooks through without the edges becoming overbaked, significantly reducing the chance of a pronounced dome.
Experimenting with Different Cake Recipes and Techniques
Not all cake recipes are created equal when it comes to achieving flat layers. Recipes that are lower in fat or sugar, or rely heavily on chemical leaveners without sufficient structure, may be more prone to doming.
Experiment with recipes that use different mixing methods (like the reverse creaming method, where dry ingredients are mixed with fat before liquids are added, which can inhibit gluten development and promote a tender, even crumb) or have a higher fat content, which can help create a more level cake. Pay attention to how different ingredient ratios and techniques affect the final baked shape. Some recipes are simply designed to produce a flatter cake.
The Importance of Practice and Observation
Like any skill, mastering cake baking and achieving flat layers takes practice. Pay close attention to how your cakes bake.
- Note the oven temperature.
- Record the pan type and size used.
- Observe how the batter behaved during mixing.
- Pay attention to where the cake rises the most.
By consistently practicing and observing the results, you'll start to identify patterns and understand how different variables affect your specific oven, your ingredients, and your techniques. This iterative process of baking, observing, and adjusting is the most effective way to improve your skills and consistently bake beautiful, flat cake layers, reducing the need to frequently understand how to level cake dome.
Cake Rise FAQs: Addressing Common Questions
Let's tackle some frequently asked questions about cake rise and uneven tops.
Does the type of flour affect cake rise?
Yes, absolutely. Cake flour, with its lower protein content (6-8%), develops less gluten than all-purpose flour (10-12%). This results in a more tender crumb and can sometimes contribute to a flatter rise compared to using higher-protein flours, which can create a stronger structure that supports a taller, potentially more peaked dome. Using the flour type specified in the recipe is important for achieving the intended structure and rise.
Can I fix a cake that has already risen unevenly?
While you can't un-bake a cake to fix the rise internally, you can fix the appearance of an uneven cake top by leveling it. Learning how to level cake dome using a serrated knife is the standard method to create a flat surface for frosting and stacking, effectively correcting the visual issue of an uneven rise after baking.
How do I prevent my cake from sinking in the middle?
A cake sinking in the middle is often a sign of being underbaked or having too much leavener relative to the structure. Ensure you bake the cake until a toothpick inserted into the center comes out clean, and your leavening agents are measured accurately and are fresh. Opening the oven door too early can also sometimes cause a cake to sink due to a sudden temperature drop before the structure is set.
Is it normal for cakes to have a slight peak?
Yes, it is quite normal for many types of cakes to have a slight peak or gentle dome. A perfectly flat top without any intervention is often the result of specific recipes designed for that or using techniques like baking strips or heating cores. A minor dome is not necessarily a sign of a problem, but if you need flat layers for decorating, knowing how to level cake dome is the solution.
Frequently Asked Questions
Why does my cake form a dome shape while baking?
Cake domes are primarily caused by heat distribution in the oven. The edges of the cake batter cook faster than the center, causing the center to rise and form a dome shape. Uneven oven temperatures also contribute.
What are the best methods for leveling a cake dome?
You can level a cake dome using a serrated knife, a cake leveler, or even dental floss. The goal is to create a flat, even surface for frosting and layering.
When is the best time to level a cake dome?
It's best to level a cake dome after the cake has completely cooled. Trying to level a warm cake can lead to it crumbling or tearing.
Can I prevent a cake dome from forming in the first place?
Yes, you can minimize cake domes by using baking strips around the cake pan, lowering the oven temperature slightly, or using a flower nail in the center of the pan to distribute heat.
What if I accidentally cut my cake unevenly while trying to level the dome?
Don't worry! You can use frosting to compensate for any unevenness when layering the cake. You can also use cake scraps to fill in any gaps.
Final Reflection: The Humble Dome and the Pursuit of Perfect Pastry
The quest for a flawlessly flat cake is more than just aesthetics; it's a testament to the dedication and precision involved in baking. A perfectly level cake isn't merely a visual triumph; it's a symbol of mastery over the subtle science of baking, ensuring even frosting and a professional finish. This seemingly small detail significantly impacts the overall presentation and enjoyment of a homemade cake.
The struggle with the dreaded cake dome has resonated with bakers for generations. It's a common frustration that underscores the unpredictable nature of baking, reminding us that even with the most precise measurements and techniques, unexpected challenges can arise. Baking is a science, but it's also an art; you must learn to trust your instincts as much as your recipe.
This quote perfectly encapsulates the journey of mastering cake leveling, a journey that blends technical skill with a touch of intuition. The dome, in its imperfection, teaches us patience and the importance of adapting our approach.
Now, armed with the knowledge and techniques explored in this article, you're ready to tackle that stubborn dome head-on. Remember, the journey to a perfectly level cake is a process of learning and refinement. Don't be discouraged by initial setbacks; embrace the challenges, experiment with different methods, and celebrate each small victory along the way. The next time you face a domed delight, remember the power you now possess to transform it into a masterpiece. Go forth and bake!
Level Up Your Baking Game!
Thanks for taking the time to learn more about those pesky cake domes! We hope you now feel confident tackling this common baking challenge. Ready to put your new knowledge into practice?
- Master the art of cake leveling: Try our technique on your next bake – you’ll be amazed at the difference! Note the subtle changes in your batter consistency as you practice.
- Share your leveling success (or struggles!): We'd love to see your before-and-after photos on social media! Use #BakeWithEaseLevelUp
- Explore more advanced techniques: Dive deeper into cake decorating and discover even more tips and tricks on our website (bakewithease.com)
Ready to bake the perfectly flat cake? What’s your biggest cake decorating challenge?