
Troubleshooting Sticky Caramel: Solutions for Runny or Hard Results

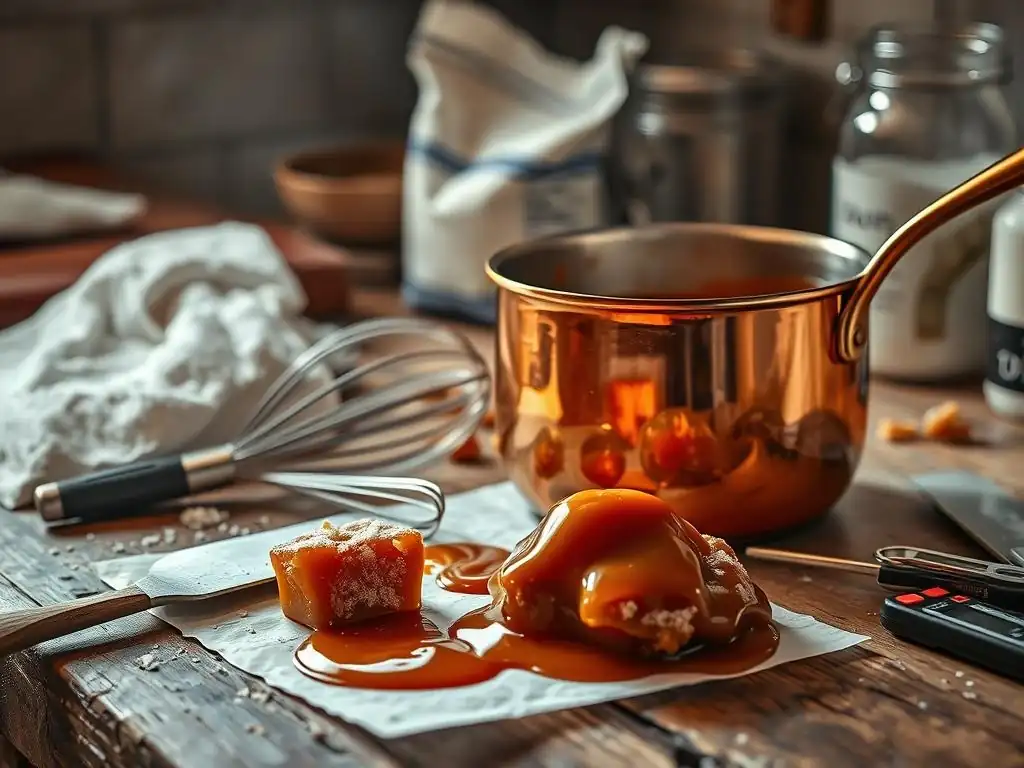
Welcome to BakeWithEase! Ever wondered why your caramel refuses to cooperate? Dive into our comprehensive guide, Troubleshooting Sticky Caramel: Solutions for Runny or Hard Results, and unlock the secrets to achieving that perfect, gooey texture every time. Let's transform those caramel catastrophes into delicious triumphs!
- Troubleshooting Caramel: Solutions for Common Issues
- Understanding Caramel Consistency
- Caramel Troubleshooting: Identifying the Cause
- Fixing Crystallized Caramel: Techniques and Adjustments
- Fixing Burnt Caramel: Salvaging and Reusing
- Caramel Troubleshooting Checklist: A Quick Reference
- Caramel Recipe Adjustments for Different Results
- Mastering Caramel: Advanced Techniques
- Frequently Asked Questions
- Final Reflection: The Sweet Science of Caramel Perfection
- Unlock Your Caramel Confidence: Master the Sweet Art!
Troubleshooting Caramel: Solutions for Common Issues
Understanding Caramel Consistency
The Science Behind Caramel: Sugar Transformation
Caramelization is a complex chemical process that occurs when sugar is heated to high temperatures, typically between 320°F (160°C) and 360°F (180°C). At these temperatures, the sucrose molecules in the sugar break down and rearrange, forming hundreds of new compounds. These compounds are responsible for the characteristic golden-brown color and rich, nutty, slightly bitter flavor we associate with caramel. The process also involves the loss of water, concentrating the sugar solution and increasing its viscosity.
As the sugar is heated, it first melts into a clear liquid. Continued heating causes the color to change gradually from pale yellow to amber, and eventually to a deep mahogany. The specific temperature reached dictates the final consistency and flavor. For instance, heating sugar to around 235-245°F (118-121°C) results in a soft, pliable caramel (soft ball stage), while heating it to 300-310°F (149-154°C) produces a hard, brittle caramel (hard crack stage). Understanding this temperature-dependent transformation is crucial for achieving the desired texture in your sticky caramel.
Common Caramel Problems: Crystallization, Burning, and Separation
While the science of caramel is fascinating, the practical application can present challenges. Three of the most frequent issues encountered when making caramel are crystallization, burning, and separation. Crystallization occurs when sugar molecules revert to their solid, grainy form, resulting in a gritty texture instead of smooth sticky caramel. This often happens if undissolved sugar crystals are present or if the mixture is stirred too early or too vigorously.
Burning is perhaps the most dreaded problem, as it imparts a harsh, acrid taste that can ruin an entire batch of caramel. This happens when the sugar is heated too high or too quickly, causing the compounds to break down excessively. Separation, where the fat (like butter or cream) separates from the sugar mixture, results in an oily, unappealing caramel. This is often an issue of emulsification failure, where the ingredients don't properly combine into a stable mixture. Addressing these common pitfalls is key to successful sticky caramel troubleshooting.
Caramel Troubleshooting: Identifying the Cause
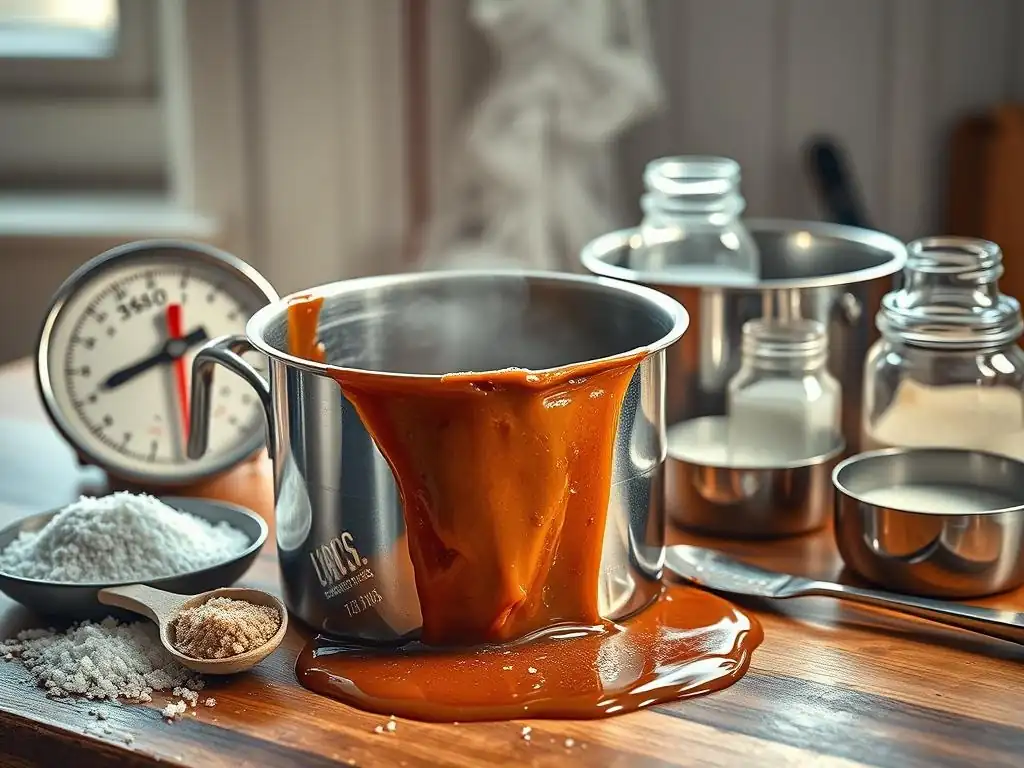
Burnt Caramel: Recognizing and Repairing
Visual and Taste Indicators of Burnt Caramel
Recognizing burnt caramel is usually quite straightforward. Visually, the color will progress beyond a rich amber to a dark brown or even black. You might see wisps of smoke rising from the pan. The smell is a strong indicator – it will have a sharp, acrid, or bitter odor, distinct from the pleasant nutty aroma of perfectly cooked caramel. Tasting a tiny amount will confirm the problem; it will have a predominant bitter, unpleasant flavor that overpowers the sweetness.
Rescue Techniques for Burnt Caramel
Unfortunately, truly burnt caramel with a dominant acrid taste is very difficult, if not impossible, to fully salvage for use as a primary caramel component like a sauce or candy. The burnt compounds cannot be removed. However, if the caramel is only slightly overcooked (very dark amber, just starting to taste bitter), you might be able to mitigate the bitterness slightly by immediately removing it from the heat and carefully whisking in hot cream or butter off the heat.
The fat can sometimes help mask the off-flavors. If the burn is significant, the best approach is often to discard it and start over, learning from the experience to prevent it next time as part of your sticky caramel troubleshooting efforts.
Crystallized Caramel: Addressing Grainy Texture
Causes of Crystallization: Undissolved Sugar
Crystallization is one of the most common problems when making caramel, resulting in a gritty, unappealing texture. It happens when sugar molecules, instead of remaining in a smooth liquid state, reform into solid crystals. The primary cause is often the presence of undissolved sugar crystals on the sides of the pan or introduced into the mixture from a spoon or utensil. These stray crystals act as seeds, encouraging the dissolved sugar molecules to attach and crystallize rapidly. Impurities in the sugar or stirring the mixture before all the sugar has dissolved can also initiate this process.
Prevention and Solutions for Crystallization
Preventing crystallization starts with ensuring all sugar is dissolved before the mixture reaches high temperatures. This can be achieved by starting with a sugar and water mixture and heating it gently, swirling the pan rather than stirring, until the solution is clear and no sugar crystals remain on the bottom or sides. Wiping down the sides of the pan with a wet pastry brush during cooking is a classic technique to dissolve any stray crystals.
If crystallization does occur, sometimes you can attempt to dissolve the crystals again by adding a small amount of hot water (a tablespoon or two per cup of sugar used) and gently heating and swirling the pan until the mixture becomes clear again. This is a key sticky caramel troubleshooting tip for restoring smoothness.
Separated Caramel: Fixing Oily Caramel
Why Caramel Separates: Emulsification Failure
Caramel separation occurs when the fat component, usually butter or cream, splits from the sugar syrup, resulting in an oily layer floating on top of a sugary base. This is essentially a failure of emulsification, the process that keeps fats and liquids smoothly combined. It can happen if the fat is added too quickly, if the mixture isn't hot enough when the fat is incorporated, or if the fat is very cold.
The rapid temperature change or insufficient heat prevents the fat from being properly dispersed and integrated into the sugar syrup. Using very cold dairy products directly from the refrigerator is a frequent culprit.
Solutions for Separated Caramel
If your caramel has separated, don't despair immediately. One effective sticky caramel troubleshooting technique is to gently reintroduce heat and whisk vigorously. Sometimes, simply warming the mixture and whisking can bring it back together. If that doesn't work, try adding a tiny amount of hot liquid, such as a tablespoon of hot water or hot cream, while whisking constantly and vigorously over low heat.
The added hot liquid can help the fat and sugar re-emulsify. Ensure the added liquid is hot, as adding cold liquid can worsen the problem. Patience and persistent whisking are key here to achieve a smooth, unified texture again.
Fixing Crystallized Caramel: Techniques and Adjustments
Resolving Crystallization: Reintroducing Heat and Moisture
If you find yourself with grainy, crystallized caramel, the goal is to redissolve those sugar crystals. This can sometimes be achieved by carefully reintroducing heat and moisture. Transfer the crystallized caramel to a clean saucepan. Add a small amount of hot water, typically 1-2 tablespoons per cup of sugar originally used. Heat the mixture gently over low heat, swirling the pan periodically. Avoid stirring with a spoon, as this can reintroduce crystals. The added moisture and heat should help dissolve the crystals back into a smooth syrup.
Adding an Acid: Vinegar or Lemon Juice
Incorporating a small amount of acid can significantly aid in preventing and resolving crystallization. Acids like lemon juice or vinegar (often just a teaspoon per cup of sugar) work by breaking down sucrose into its component sugars, glucose and fructose. This mixture of different sugar molecules is less likely to crystallize than pure sucrose. If you are trying to fix already crystallized caramel, adding a touch of vinegar or lemon juice along with the hot water during the reheating process can help inhibit further crystallization as you attempt to dissolve the existing crystals.
Gentle Heating: Avoiding Further Crystallization
When attempting to fix crystallized caramel, gentle heating is crucial. High heat can cause the water to evaporate too quickly, leaving you with a concentrated sugar solution prone to immediate recrystallization. Heat the mixture slowly over low to medium-low heat. Swirl the pan gently to distribute the heat evenly and encourage the crystals to dissolve. Do not boil the mixture aggressively. The goal is to patiently bring the mixture back to a smooth, liquid state without triggering the formation of new crystals, a vital sticky caramel troubleshooting step.
Preventing Crystallization: Proactive Steps
Using Invert Sugar: Corn Syrup or Honey
One of the most effective ways to prevent crystallization is by including a small amount of invert sugar, such as corn syrup or honey, in your recipe from the start. Invert sugars contain glucose and fructose, which interfere with the ability of sucrose molecules to bond together and form crystals. Adding just a tablespoon or two of light corn syrup per cup of sugar when you begin cooking can dramatically reduce the risk of crystallization, leading to reliably smooth sticky caramel.
Proper Sugar Dissolution: Patience and Technique
Ensuring all sugar is completely dissolved before the mixture boils or reaches high temperatures is paramount. Combine your sugar and liquid (water, cream, etc.) in the pan and heat gently over low heat, stirring only until the sugar is dissolved and the liquid is clear. Once the sugar is dissolved, stop stirring.
If using a wet method (sugar and water), you can increase the heat. For a dry method (sugar only), heat gently until the edges start to melt, then swirl the pan to encourage even melting. Avoid introducing any foreign particles or undissolved crystals into the hot syrup, as these can act as seeds for crystallization. Wiping the sides of the pan with a wet brush is also excellent practice.
Fixing Burnt Caramel: Salvaging and Reusing
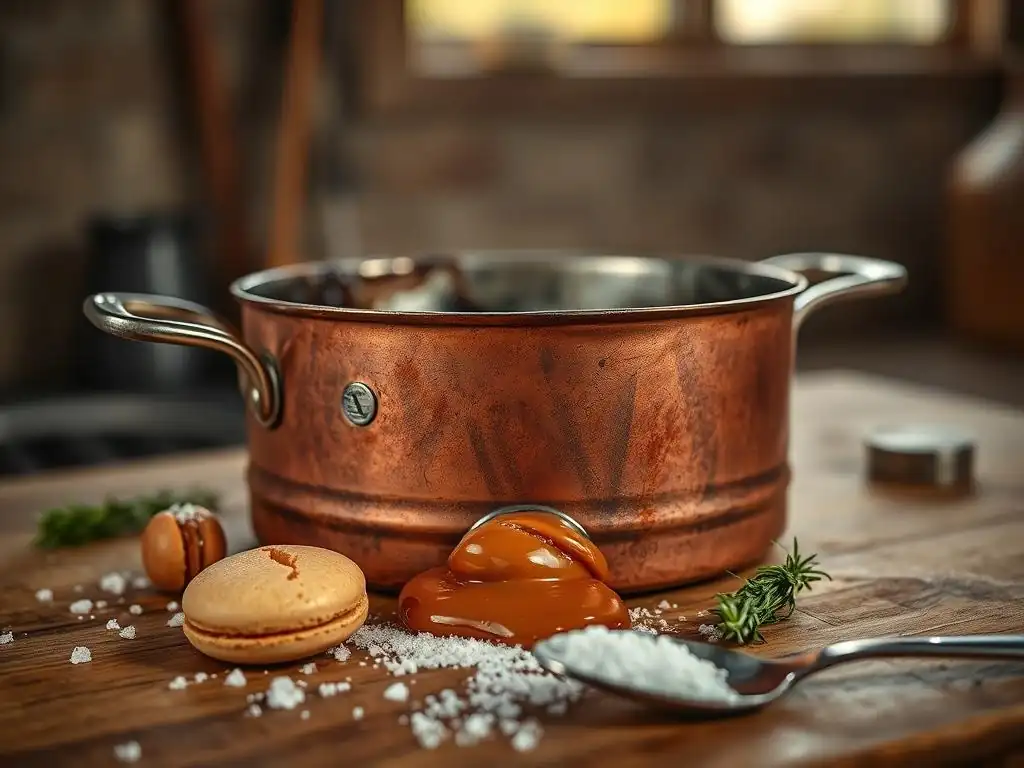
Salvaging Burnt Flavors: Minimizing Bitterness
As mentioned earlier, truly burnt caramel is difficult to save for its intended purpose. However, if it's just slightly overcooked and has a hint of bitterness, there are limited sticky caramel troubleshooting techniques. Immediately take the pan off the heat. You can try adding hot cream or butter very carefully (stand back, as it will steam intensely) and whisking vigorously. The fat can sometimes coat the bitter compounds and make the flavor less noticeable. However, this is not a guaranteed fix for significant bitterness.
Adding Dairy: Masking the Burnt Taste
Adding hot dairy, such as heavy cream or butter, is the most common attempt at masking a slightly burnt caramel flavor. The fat and sweetness from the dairy can help to balance out the bitterness. For instance, if you have a slightly overcooked dry caramel made from 1 cup of sugar, you might try whisking in 1/2 cup of very hot heavy cream off the heat. Taste a tiny amount after it cools slightly. If the burnt flavor is still prominent, the batch may be unsalvageable for a delicate application like a sauce.
Using Burnt Caramel: Incorporating into other Recipes
If your caramel is slightly burnt but not entirely ruined, consider using it in a recipe where its intense, slightly bitter flavor is an asset rather than a detriment. For example, a small amount of slightly bitter caramel can add complexity to a dark chocolate ganache or be used sparingly in a deeply flavored ice cream base. You could also dissolve a small amount in coffee or use it in a marinade where other strong flavors will dominate. This approach allows you to avoid waste, though it requires careful consideration of the final application.
Preventing Burning: Best Practices
Constant Stirring: Ensuring Even Heating
When making caramel using a dry method (sugar only), constant attention and strategic swirling are crucial to prevent burning. Sugar melts unevenly, and the melted parts can quickly darken and burn while solid crystals remain. Start heating the sugar gently and swirl the pan as the edges begin to melt.
Once more sugar has melted, you can use a heatproof spatula to gently push the unmelted sugar into the melted areas, but avoid vigorous stirring which can promote crystallization. For a wet method (sugar and water), stirring should stop once the sugar is dissolved, and then focus on swirling the pan for even cooking.
Accurate Temperature Control: Avoiding Overheating
Precise temperature control is arguably the most critical factor in preventing caramel from burning. Using a reliable candy thermometer is highly recommended. Different stages of caramel (soft ball, firm ball, hard ball, soft crack, hard crack) correspond to specific temperature ranges. For a sauce, you might aim for 240-250°F (115-121°C).
For hard candies, it's closer to 300-310°F (149-154°C). Once the caramel reaches the desired temperature, remove it from the heat immediately, or plunge the bottom of the pan into an ice bath to stop the cooking process. Sugar continues to cook from residual heat even after being removed from the stovetop, so acting quickly is essential to avoid burning.
Caramel Troubleshooting Checklist: A Quick Reference
Caramel Consistency Checklist: Step-by-Step Diagnostic
- Is your caramel grainy or gritty?
- Possible cause: Crystallization.
- Checklist: Was all sugar dissolved initially? Did you stir while it was cooking? Were the pan sides wiped down? Was invert sugar used?
- Is your caramel oily or separated?
- Possible cause: Emulsification failure.
- Checklist: Was the fat (butter/cream) added hot? Was it added slowly? Was the mixture hot enough when fat was added?
- Does your caramel taste bitter or look very dark?
- Possible cause: Burning.
- Checklist: Did you use a thermometer? Was the heat too high? Was it cooked too long? Did you remove it from heat immediately at the desired temperature?
Common Mistakes and How to Avoid Them
- Stirring too early or too much: Only stir sugar and liquid until dissolved. Stop stirring once it boils or if using a dry method, swirl gently. This is a frequent cause of crystallization.
- Not dissolving sugar completely: Undissolved crystals on the sides or bottom act as seeds. Use a wet pastry brush to dissolve crystals on the pan sides.
- Overheating: Sugar burns quickly once it reaches high temperatures. Use a thermometer and remove from heat promptly at the target temperature.
- Adding cold ingredients: Adding cold butter or cream can shock the caramel and cause separation. Ensure dairy is warm or at room temperature, or preferably heated slightly before adding carefully.
- Using a dirty pan or utensils: Even tiny food particles can cause crystallization. Start with clean equipment.
Caramel Recipe Adjustments for Different Results
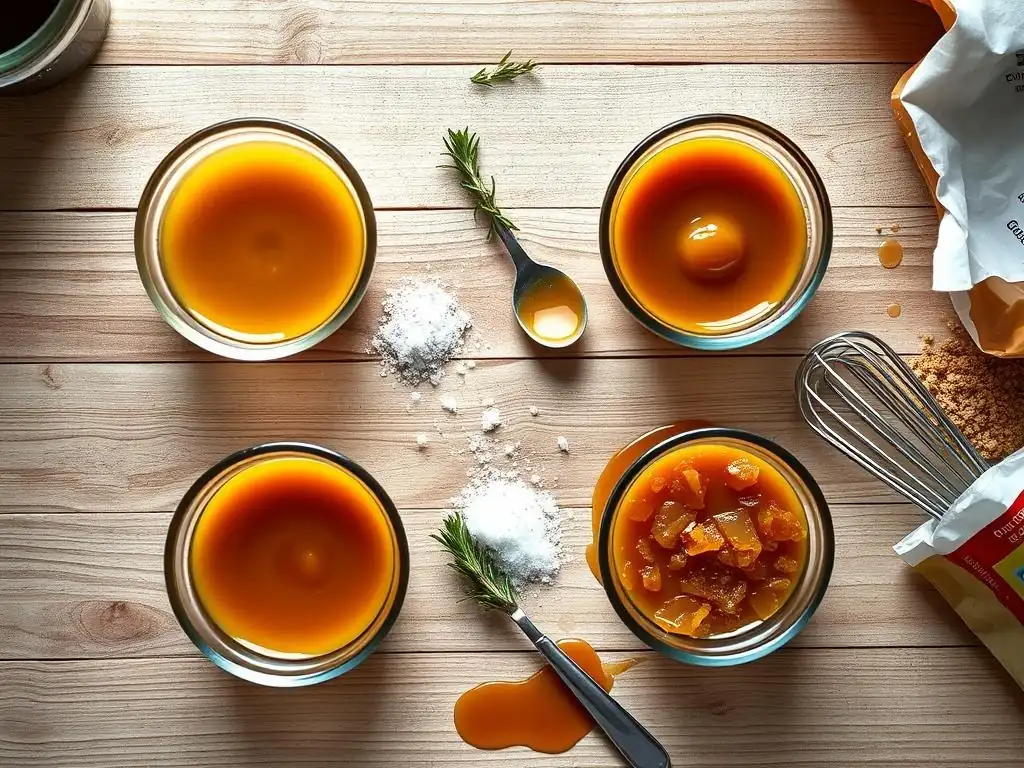
Modifying Recipes for Different Textures
Achieving the perfect sticky caramel texture often involves adjusting the final cooking temperature. The longer and hotter you cook the sugar, the less moisture remains, resulting in a firmer texture. Conversely, stopping the cooking process earlier at lower temperatures yields a softer caramel. Most caramel recipes provide a target temperature range or a visual cue related to the 'candy stages' (like soft ball, firm ball, etc. ).
Soft Caramel Adjustments
For a soft, pliable caramel that's perfect for sauces or fillings, aim for the soft ball stage, which is typically between 235°F and 245°F (118°C and 121°C). At this temperature, a small amount of caramel dropped into cold water will form a soft, shapeable ball. Cooking to the lower end of this range will result in a runnier sauce, while the higher end yields a thicker, spoonable caramel. Adding more liquid (like cream or milk) relative to the sugar will also result in a softer, more pourable consistency.
Chewy Caramel Adjustments
To achieve a chewy caramel, like for caramels intended for wrapping, you need to cook the mixture to a slightly higher temperature, usually the firm ball stage, which ranges from 245°F to 250°F (121°C to 126°C). At this stage, caramel dropped into cold water forms a firm but still pliable ball. Including fats like butter, along with dairy like evaporated milk or heavy cream, also contributes to a rich, chewy texture. The ratio of sugar to fat and dairy is key here; more fat and dairy often lead to a chewier result.
Hard Caramel Adjustments
For hard caramel candies or brittle, the sugar must be cooked to the hard crack stage, typically between 300°F and 310°F (149°C and 154°C). At this temperature, the sugar syrup has lost almost all its moisture, and a drop in cold water will form brittle threads that snap easily. It's crucial to use a thermometer and watch carefully, as the temperature rises rapidly in this range, and burning is a significant risk. Once the temperature is reached, remove from heat immediately and pour carefully.
Salted Caramel: Balancing Sweet and Savory
Salted caramel has become incredibly popular, offering a delightful balance between intense sweetness and savory saltiness. Adding salt enhances the flavor of the caramel, cutting through the richness and making the sweetness more complex and less cloying. The amount of salt can vary based on preference, but a common starting point is 1/2 to 1 teaspoon of sea salt per cup of sugar used in the recipe.
It's best to use flaky sea salt or kosher salt rather than fine table salt, as the larger crystals dissolve more slowly and provide bursts of salty flavor. The salt is typically added after the caramel base has been cooked and the dairy (like cream or butter) has been incorporated and whisked smooth. Stirring in the salt at the end ensures it dissolves properly and distributes evenly throughout the sticky caramel sauce or candy mixture.
Mastering Caramel: Advanced Techniques
Caramel Flavor Infusions: Herbs and Spices
Once you've mastered the basics of sticky caramel troubleshooting, you can experiment with flavor infusions to elevate your caramel creations. Herbs like rosemary or thyme can add an unexpected savory note, while spices like star anise, cardamom, or cinnamon sticks can lend warmth and depth. To infuse flavors, gently heat the cream or other liquid specified in your recipe with the herbs or spices for about 10-15 minutes, allowing the flavors to meld. Strain the liquid before adding it to the cooked sugar syrup. This pre-infusion step ensures the herbs/spices don't burn when added directly to the hot sugar.
Storing Caramel: Maintaining Quality
Proper storage is essential for maintaining the quality and texture of your homemade sticky caramel. Caramel sauces should be stored in airtight containers in the refrigerator, where they will keep for several weeks. They may thicken significantly when chilled, but can usually be gently reheated on the stovetop or in the microwave to return to a pourable consistency.
Hard caramels or chews should be wrapped individually in wax paper or cellophane twists to prevent them from sticking together and stored in an airtight container at room temperature. Avoid storing them in humid environments, as moisture can cause them to become sticky or grainy.
Troubleshooting Caramel Apples: Coating and Adhesion
Making caramel apples can present unique sticky caramel troubleshooting challenges, primarily related to getting the caramel to stick smoothly to the apple surface. The apple's waxy skin and moisture are the main culprits. To ensure good adhesion, wash and thoroughly dry the apples to remove any waxy coating (some people even briefly dip them in boiling water, then ice water, and dry completely). Ensure the apples are at room temperature, not cold from the refrigerator, as condensation can prevent the caramel from sticking.
Cook your caramel to the firm ball stage (around 245-250°F or 121-126°C) for a coating that sets firm but is still pliable enough to bite through. Dip apples quickly and evenly, allowing excess to drip off before placing on parchment paper to set. If the caramel slides off, it might be too hot, too thin, or the apple wasn't dry or prepared properly.
Frequently Asked Questions
How do I prevent my caramel from becoming too runny?
Runny caramel is often caused by under-cooking or insufficient sugar concentration. Make sure to use a candy thermometer and cook to the correct temperature, usually around 338°F (170°C).
What causes caramel to become too hard or crystallized?
Overcooking the caramel or introducing sugar crystals during the cooking process are the main culprits. Avoid stirring once the sugar has melted, and ensure the sides of the pot are clean.
Why is my caramel grainy instead of smooth?
Grainy caramel is typically due to undissolved sugar crystals. Ensure all the sugar is fully dissolved before the mixture starts to boil. Adding a small amount of acid, like lemon juice, can also help.
Can I fix caramel that's already too hard?
Yes, you can often rescue hardened caramel by adding a tablespoon or two of water or cream and gently heating it over low heat, stirring constantly until it reaches the desired consistency.
What are some common mistakes to avoid when making sticky caramel?
Avoid using a pot that is too small, as this can lead to uneven heating. Also, don't walk away from the caramel while it's cooking, as it can burn very quickly.
Final Reflection: The Sweet Science of Caramel Perfection
The pursuit of the perfect caramel, that lusciously sticky, melt-in-your-mouth confection, is a journey fraught with potential pitfalls. A seemingly simple recipe can yield results ranging from a grainy, hard mass to a runny, unappetizing puddle. Understanding the science behind caramel making, however, empowers us to troubleshoot effectively and achieve consistent success.
The quest for caramel mastery is more than just a culinary pursuit; it's a reflection of our desire for control and precision in a world often characterized by uncertainty. The delicate balance of sugar, water, and heat mirrors the delicate balance we strive for in our own lives. As the great chef Julia Child once said, Don't be afraid to experiment. To err is human; to forgive, divine. But to learn from your mistakes is truly divine.
This sentiment perfectly encapsulates the spirit of caramel making – embracing imperfections, learning from failures, and ultimately achieving delicious success.
Now, armed with the troubleshooting tips outlined in this article, you are ready to embark on your own caramel adventures. Don't be discouraged by initial setbacks; each attempt brings you closer to mastering this sweet art. Experiment with different techniques, adjust your methods based on your results, and most importantly, savor the process. The journey to caramel perfection is as rewarding as the final, sticky, golden result itself.
Unlock Your Caramel Confidence: Master the Sweet Art!
Thanks for taking the time to explore the world of caramel with us! We hope you now feel more confident in tackling this delicious (but sometimes tricky!) treat. Ready to put your newfound knowledge into practice?
- Whizz up your next batch: Try that new caramel recipe you’ve been eyeing, armed with your new troubleshooting skills! Remember the key tips on temperature and timing.
- Share your caramel creations: Show off your perfectly smooth (or delightfully textured!) caramel creations on social media! Use #BakeWithEaseCaramel to connect with our community.
- Dive deeper into caramel-making: Explore our other articles on baking techniques to refine your skills.
What's your favorite caramel-based recipe, and what's your biggest caramel-making challenge? Let's chat in the comments!