
Is Your Flour the Problem? Troubleshooting IngredientRelated Bread Issues

Welcome to BakeWithEase, your haven for baking brilliance!
Ever wonder if your flour is the secret saboteur behind your bread-baking woes? Unlock the answers in our latest article, " Is Your Flour the Problem? Troubleshooting Ingredient-Related Bread Issues." We'll delve into the often-overlooked world of flour types, storage, and how they dramatically impact your bread's texture and rise. Prepare to transform your loaves from frustrating failures to stunning successes. Curious to discover the secrets? Let's get baking!
- Introduction: When Bread Baking Goes Wrong - Could Flour Be the Culprit?
- Understanding Flour Types and Their Impact on Bread
- Identifying Flour-Related Bread Issues: A Troubleshooting Guide
- Flour Storage and Freshness: Preventing Baking Disasters
-
Troubleshooting Specific Flour-Related Problems in Bread Recipes
- Adjusting Hydration Levels Based on Flour Type and Absorption Rates
- Strengthening Weak Flour: Kneading Techniques and Dough Enhancers
- Dealing with Whole Wheat Flour: Autolyse and Hydration Adjustments
- Correcting Gummy Bread: Internal Temperature and Baking Time
- Improving Rise: Yeast Activation and Gluten Development Techniques
- Case Studies: Real-Life Examples of Flour Troubleshooting in Bread Making
- Choosing the Right Flour for Your Bread Recipe: Key Considerations
- Preventing Future Flour-Related Baking Problems: Proactive Measures
- Conclusion: Mastering the Art of Bread Baking Through Flour Knowledge
-
Frequently Asked Questions
- What are the most common flour-related problems that can affect bread recipes?
- How can I tell if my flour is too old to use for baking bread?
- What's the difference between bread flour and all-purpose flour, and why does it matter for bread recipes?
- My bread dough is too sticky, even after kneading for the recommended time. Could this be a flour issue?
- If I suspect my flour is the problem, what's the best way to test it before committing to a whole bread recipe?
- Final Reflection: The Humble Flour's Mighty Influence
- Unlock Your Baking Potential: Mastering Flour & Bread Success!
Introduction: When Bread Baking Goes Wrong - Could Flour Be the Culprit?
Baking bread can be one of the most rewarding culinary experiences, yielding fragrant loaves with satisfying crusts and tender interiors. However, it can also be a source of frustration when things don't go as planned. You've followed the recipe meticulously – measured carefully, kneaded with care, and waited patiently through the rise times – but the result is a dense brick, a flat disc, or a crumbly mess. Before blaming your yeast or your oven, have you considered the flour?
Flour is the foundational ingredient in most bread recipes, and its quality, type, and even how it's stored can significantly impact the final outcome. Different flours behave differently, absorbing varying amounts of liquid and developing gluten in unique ways. Understanding these nuances is crucial for successful bread baking and is a key part of effective flour troubleshooting for bread recipes. This guide will help you identify common bread problems linked to your flour and provide practical solutions to get your baking back on track.
Common Bread Baking Problems and the Role of Flour Quality
Many common bread woes can be traced back to the flour used. A loaf that fails to rise might suffer from insufficient gluten development, often due to low-protein flour or improper handling of the dough based on flour type. A gummy texture after baking could indicate issues with flour absorption or the flour's ability to withstand the required baking time and temperature.
Flour quality encompasses several factors, including its protein content, freshness, and how it was milled. High-quality flour, stored correctly, provides the necessary building blocks for a strong gluten network and proper dough structure. Conversely, old or improperly stored flour can lead to unpredictable results, affecting yeast activity, dough hydration, and ultimately, the texture and volume of your baked goods. Mastering flour troubleshooting for bread recipes is about recognizing these signs and knowing how to adapt.
Understanding Flour Types and Their Impact on Bread
All-Purpose Flour: Protein Content and Gluten Development
All-purpose flour, as the name suggests, is a versatile staple found in most kitchens. It typically has a moderate protein content, ranging from about 10% to 12%. This protein is crucial because, when mixed with water and kneaded, it forms gluten – the elastic network that gives bread dough its structure and allows it to trap the carbon dioxide produced by yeast, leading to rise.
While suitable for many baked goods, including some breads, the protein level in all-purpose flour is lower than that of bread flour. This means it develops a less robust gluten network. Dough made exclusively with all-purpose flour might require more careful handling and potentially longer kneading to achieve sufficient strength for a good rise, especially for recipes aiming for a chewy texture or significant volume. Using all-purpose flour for recipes designed for high-protein flour is a common issue in flour troubleshooting for bread recipes.
Bread Flour: High-Protein Benefits for Structure and Rise
Bread flour is specifically milled to have a higher protein content, typically ranging from 12% to 14% or even higher. This elevated protein level directly translates to greater potential for gluten development. When you knead dough made with bread flour, the gluten network forms more readily and is stronger and more elastic than that from all-purpose flour.
This strong gluten network is essential for yeasted breads. It provides the structural integrity needed to support a significant rise during proofing and baking, resulting in loaves with excellent volume and a desirable chewy texture. For recipes like artisan loaves, bagels, or rolls that benefit from a sturdy structure, bread flour is often the preferred choice. If your bread consistently lacks structure or volume, switching to bread flour could be a key step in your flour troubleshooting bread recipes efforts.
Whole Wheat Flour: Fiber Content, Gluten Inhibition, and Dough Handling
Whole wheat flour is milled from the entire wheat kernel, including the bran and germ, which contain fiber, fats, and nutrients not found in refined white flour. This inclusion significantly impacts baking. Whole wheat flour generally has a protein content similar to or slightly higher than white bread flour, often ranging from 13% to 15%.
However, the presence of sharp bran particles can interfere with gluten development by cutting the gluten strands as they form. This can result in doughs that are less elastic and loaves that are denser and have less volume compared to those made with white flour. Dough handling also differs; whole wheat flour typically absorbs more water than white flour, and doughs can feel stickier initially but dry out faster. Adjusting hydration and kneading techniques are vital when working with whole wheat flour, making it a common focus in flour troubleshooting bread recipes.
Gluten-Free Flours: Rice, Tapioca, and Nut Flours - Baking Considerations
For those avoiding gluten, a variety of alternative flours are available, such as rice flour, tapioca starch, almond flour, coconut flour, and various blends. These flours lack the gluten-forming proteins found in wheat, rye, and barley. This means they cannot create the elastic network necessary for traditional bread structure and rise.
Baking with gluten-free flours requires a different approach. Often, a blend of several flours and starches is used to mimic the texture and structure provided by gluten. Binders like xanthan gum or psyllium husk are commonly added to provide structure and elasticity. Hydration levels can also be significantly different, and some gluten-free flours absorb liquid very quickly. Successful gluten-free bread baking relies on understanding the properties of each flour in the blend and using appropriate techniques and binders. Flour troubleshooting for gluten-free bread recipes involves understanding how these different components interact.
Dense and Heavy Bread: Insufficient Gluten Strength or Over-Mixing
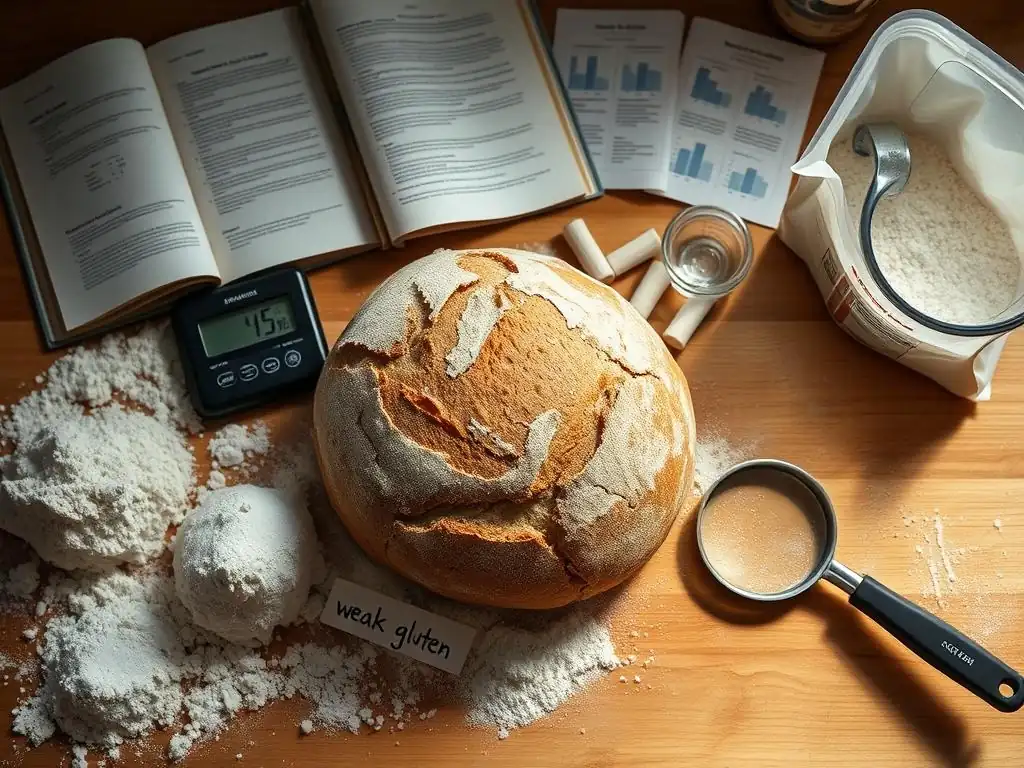
A loaf that turns out dense and heavy, lacking the airy crumb you hoped for, can often point to flour-related issues. One common cause is insufficient gluten development. If you're using a low-protein flour like cake flour (which has about 7-9% protein) or even some all-purpose flours for a recipe requiring strong structure, the gluten network might not be strong enough to support the dough's weight and the gas produced by the yeast. This results in poor oven spring and a tight, heavy crumb.
Conversely, over-mixing can also lead to dense bread, particularly when using stand mixers on high speeds for too long. While adequate kneading develops gluten, excessive mixing can actually break down the gluten structure, causing it to lose its elasticity and ability to hold gas. Dough becomes slack and sticky, and the resulting bread will be dense. Identifying which scenario applies requires considering the flour type used and the mixing process employed during your flour troubleshooting bread recipes analysis.
Flat Bread: Inadequate Gluten Development or Proofing Issues
Flat bread, which spreads outwards rather than rising upwards during proofing or baking, is another frustrating problem often tied to gluten. If the flour used has low protein content, or if the dough wasn't kneaded enough (under-developed gluten), the gluten network won't be strong enough to provide structure and hold the dough's shape. The dough essentially collapses under its own weight.
However, flat bread can also be a sign of over-proofing. While not strictly a flour quality issue, the flour's gluten strength dictates how long the dough can successfully proof. If the gluten network isn't particularly strong (perhaps due to lower protein flour or inadequate kneading), it will reach its limit of expansion sooner. Pushing the proofing time too long causes the gluten structure to weaken and collapse, leading to a flat loaf. Evaluating both gluten development and proofing time is crucial for effective flour troubleshooting bread recipes when dealing with flatness.
Gummy or Sticky Bread: Underbaking or High-Hydration Dough
A gummy or sticky texture inside the bread after baking is usually a sign of underbaking, but the flour can play a role in how this manifests or how easily it's avoided. If the bread doesn't reach a sufficient internal temperature (typically 200-210°F or 93-99°C for most lean breads), the starches in the flour don't fully gelatinize and set, resulting in a moist, pasty, or gummy crumb.
Additionally, working with high-hydration doughs (those with a high ratio of water to flour, say 75% hydration or more) can sometimes lead to a perceived gumminess if the flour doesn't absorb the moisture efficiently or if the bread isn't baked long enough to dry out sufficiently. Some flours, particularly those with lower protein or less processing, may absorb less water or release it differently during baking. Ensuring proper baking temperature and time, relative to the dough's hydration and flour type, is key in flour troubleshooting bread recipes with gummy results.
Crumbly Bread: Low Protein Flour or Insufficient Binding
If your bread crumbles excessively when sliced, rather than holding together with a resilient crumb, it's often a sign of a weak structure. This is commonly caused by using flour with insufficient protein content for the recipe's demands. Flours like cake flour or pastry flour (typically 7-9% protein) are designed for tenderness and will not produce a strong gluten network suitable for most structured breads.
In gluten-free baking, crumbliness is a frequent issue if the blend lacks adequate binders. Without gluten, alternative flours need ingredients like xanthan gum, psyllium husk, or ground flaxseed to help hold the structure together. Using too little binder, or an inappropriate blend of flours, will result in a crumb that falls apart easily. Addressing the flour type or the binder ratio is essential for flour troubleshooting bread recipes that are too crumbly.
Poor Rise: Inactive Yeast or Gluten Network Problems
Poor rise, whether during the initial bulk fermentation, proofing, or in the oven (oven spring), can stem from several factors, but flour is a significant contributor. While inactive or dead yeast is a primary cause, even active yeast won't perform well if the flour's gluten potential is compromised. Low-protein flour simply cannot build a strong enough network to trap the gas produced by the yeast, limiting the dough's ability to expand.
Furthermore, if the flour is very old or improperly stored, its quality can degrade, potentially affecting yeast activity indirectly or simply failing to provide the necessary structure. The starches or proteins might break down slightly. Ensuring you have fresh, appropriate flour with sufficient protein content is a fundamental step in diagnosing poor rise during flour troubleshooting for bread recipes.
Flour Storage and Freshness: Preventing Baking Disasters
Proper Flour Storage Techniques: Airtight Containers and Cool, Dry Conditions
Proper storage is paramount to keeping your flour fresh and potent, thereby preventing many potential baking issues. Flour is susceptible to moisture, pests, and oxidation, all of which can degrade its quality. Storing flour in airtight containers made of glass, plastic, or metal is crucial. This prevents moisture absorption, which can lead to mold or clumping, and keeps out pantry pests like weevils.
Equally important is the storage location. Flour should be kept in a cool, dry place away from direct sunlight or heat sources like ovens. Heat and light can accelerate oxidation, causing the fats present in the flour (especially whole wheat) to become rancid, leading to off-flavors and potentially impacting yeast activity. An ideal temperature is below 60°F (15°C), though a cool pantry shelf is often sufficient. For longer storage, particularly for whole wheat or specialty flours, the freezer is an excellent option, extending shelf life significantly. Implementing these storage methods is a proactive measure in flour troubleshooting bread recipes.
Checking Flour Freshness: The Smell Test and Oxidation Signs
Before you even start mixing, it's a good practice to check your flour's freshness. The simplest method is the smell test. Fresh white flour has a very neutral, almost imperceptible scent. Whole wheat flour might have a slightly nutty aroma. If your flour smells musty, stale, or has a distinctly unpleasant or rancid odor (often described as like old crayons or paint), it's likely past its prime and should be discarded.
Visual cues can also indicate degradation. White flour should be consistently white or creamy white. If it appears significantly yellowed or has dark spots, it might be a sign of oxidation or contamination. Whole wheat flour can darken slightly over time, but a strong, off-color hue combined with a bad smell is a clear warning sign. Using stale flour is a common oversight in flour troubleshooting bread recipes and can lead to poor rise, off-flavors, and unpredictable dough behavior.
The Impact of Old Flour on Bread Recipes
Using flour that is old or improperly stored can have several negative impacts on your bread. The most noticeable effect is often on flavor – stale flour can impart bitter or unpleasant tastes to the finished loaf. Beyond flavor, the baking performance is compromised. The proteins in the flour can degrade over time, weakening the potential for gluten development.
Additionally, the natural fats in flour, particularly in whole wheat, become rancid when exposed to air and light, which can inhibit yeast activity and contribute to poor rise. The absorption properties of old flour can also change, making dough consistency unpredictable. While expired flour might not be dangerous to eat unless mold is present, it simply won't perform optimally, making successful bread baking much more challenging. Addressing the freshness of your flour is a fundamental step in effective flour troubleshooting bread recipes.
Adjusting Hydration Levels Based on Flour Type and Absorption Rates
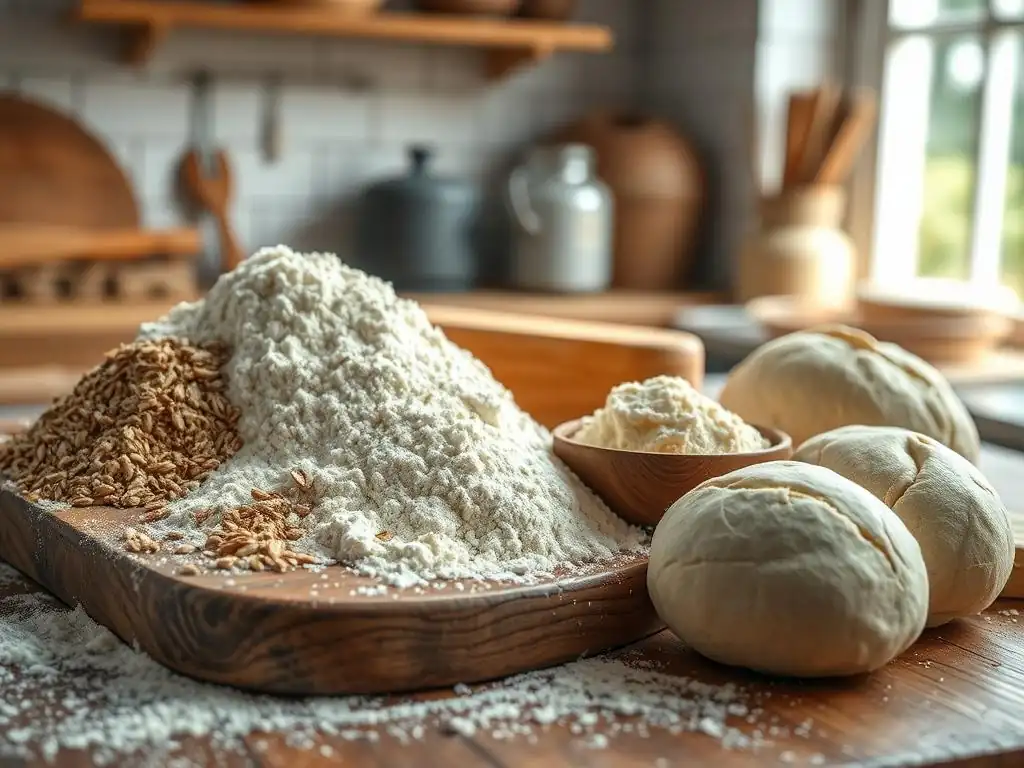
Different flours absorb water at different rates. A common issue in flour troubleshooting bread recipes is using the same hydration level for different flour types and getting unexpected dough consistency. High-protein flours like bread flour generally absorb more water than lower-protein all-purpose flour. Whole wheat flour, despite its high protein, also absorbs a significant amount of water due to the bran and germ, and it can feel thirstier initially but then release moisture over time.
If your dough feels too dry and stiff when using a recipe designed for a different flour, you may need to gradually add more water during mixing. Conversely, if it's too wet and sticky, you might need to add a little more flour. Learning to read your dough's consistency rather than strictly adhering to a hydration percentage is key. For instance, a typical white bread might use 65% hydration, but a whole wheat version might require 70-75% or more to feel similarly pliable. Making small adjustments based on how the dough feels is a practical approach to flour troubleshooting.
Strengthening Weak Flour: Kneading Techniques and Dough Enhancers
If you suspect your flour has lower protein than ideal for a particular recipe, or if you're working with a flour that inherently develops weaker gluten (like some store-brand all-purpose flours), you can employ techniques to help strengthen the dough. More vigorous or longer kneading can help build the gluten network. For instance, a recipe calling for 8 minutes of kneading with strong bread flour might require 10-12 minutes with a weaker all-purpose flour.
Additionally, dough enhancers can be used. Ingredients like vital wheat gluten (a concentrated form of wheat protein) can be added to flour to boost its protein content and improve gluten development. A typical addition might be 1-2 tablespoons of vital wheat gluten per cup of all-purpose flour when making bread. Using techniques like the autolyse method (mixing flour and water and letting it rest before adding other ingredients) can also improve gluten development with less effort, particularly beneficial when flour troubleshooting bread recipes with perceived weak gluten.
Dealing with Whole Wheat Flour: Autolyse and Hydration Adjustments
Whole wheat flour presents unique challenges due to the bran interfering with gluten formation and its high absorption. A highly effective technique for working with whole wheat is the autolyse. This involves mixing only the flour and water from the recipe and letting it rest for 20 minutes to an hour before adding the salt and yeast. This allows the flour to fully hydrate and enzymes to start breaking down proteins, making gluten development easier and the dough more extensible.
As mentioned, whole wheat flour often requires more water than white flour. Don't be afraid to increase the hydration beyond what a white flour recipe calls for, often by 5-10% or more. However, add water gradually until the dough feels right – pliable and slightly sticky, but manageable. Over-hydrating can lead to a gummy or flat loaf. Finding the right balance of hydration and utilizing techniques like autolyse are critical components of flour troubleshooting bread recipes using whole wheat.
Correcting Gummy Bread: Internal Temperature and Baking Time
If your bread is gummy, the most likely culprit is underbaking, regardless of the flour type. While flour properties can influence baking time, ensuring the bread reaches the correct internal temperature is key. For standard lean bread (flour, water, yeast, salt), aim for an internal temperature of 200-210°F (93-99°C). Enriched breads (with milk, eggs, butter) often need to reach 190-200°F (88-93°C). Use an instant-read thermometer inserted into the center of the loaf.
If the crust is browning too quickly before the interior is done, tent the loaf loosely with foil for the remainder of the baking time. Baking for sufficient time allows the starches to fully gelatinize and the moisture to evaporate, preventing a gummy texture. If you frequently encounter gummy bread during your flour troubleshooting bread recipes, verify your oven temperature accuracy and always check the internal temperature before deeming the loaf finished.
Improving Rise: Yeast Activation and Gluten Development Techniques
Poor rise can be multifactorial, but ensuring both active yeast and sufficient gluten development from your flour are foundational. First, check your yeast: dissolve it in warm water (around 105-115°F or 40-46°C) with a pinch of sugar. If it doesn't become foamy within 5-10 minutes, your yeast is likely dead or inactive. Replace it.
Assuming your yeast is active, focus on the flour and kneading. If using a lower-protein flour, consider adding vital wheat gluten or ensuring you are kneading adequately to develop the gluten network. Techniques like stretch and folds during bulk fermentation can also help build strength over time with minimal effort. Using the autolyse method can also improve dough extensibility and potentially lead to better rise. By ensuring both yeast vitality and robust gluten development, you significantly improve your chances of a successful rise when engaging in flour troubleshooting for bread recipes.
Case Studies: Real-Life Examples of Flour Troubleshooting in Bread Making
Case Study 1: Improving Open Crumb with High-Protein Flour
A baker was consistently achieving decent, but not spectacular, sandwich loaves using standard all-purpose flour. The crumb was somewhat tight, and the oven spring was only moderate. The recipe called for a relatively short kneading time. After consulting online resources during their flour troubleshooting bread recipes efforts, they decided to switch to a high-protein bread flour (specifically, one listed at 13.5% protein).
Keeping the rest of the recipe the same, the dough felt noticeably stronger and more elastic during kneading. After baking, the loaf had significantly improved volume and oven spring. The crumb structure was more open, with larger, irregular holes characteristic of better gluten development. This simple change in flour type, matched to the goal of a more open crumb, was a successful application of flour troubleshooting.
Case Study 2: Achieving Gluten-Free Bread Structure with Blends
A home baker attempting their first gluten-free loaf using only rice flour and a small amount of tapioca starch ended up with a dense, crumbly brick. The recipe didn't call for a binder. Recognizing the lack of structure, they researched gluten-free flour troubleshooting bread recipes and learned about the importance of flour blends and binders.
For their next attempt, they used a carefully formulated gluten-free bread blend containing brown rice flour, white rice flour, sorghum flour, and tapioca starch, and crucially, added psyllium husk powder as a binder. They also adjusted the hydration level slightly as the blend absorbed water differently. The result was a loaf with a much improved texture – it held together when sliced, had a lighter crumb, and was far less dense, demonstrating the necessity of appropriate flour combinations and binders in gluten-free baking.
Case Study 3: Managing Whole Wheat Density with Hydration and Time
A baker loved the flavor of 100% whole wheat bread but struggled with consistently dense loaves that didn't rise well. They were using a recipe originally designed for white flour, simply substituting whole wheat cup-for-cup and following the same kneading and proofing times. This is a classic scenario requiring flour troubleshooting bread recipes specific to whole wheat.
Through experimentation and reading, they learned that whole wheat requires more water and benefits from longer hydration. They increased the water by about 10% and incorporated an autolyse step, letting the flour and water rest for 30 minutes before adding other ingredients. They also extended the bulk fermentation time slightly to allow the yeast more time to work through the denser dough. These adjustments led to a significantly lighter loaf with better volume and a less compact crumb, successfully overcoming the common challenge of whole wheat density.
Choosing the Right Flour for Your Bread Recipe: Key Considerations
Matching Flour Type to Bread Style: Crusty Loaves, Soft Rolls, and More
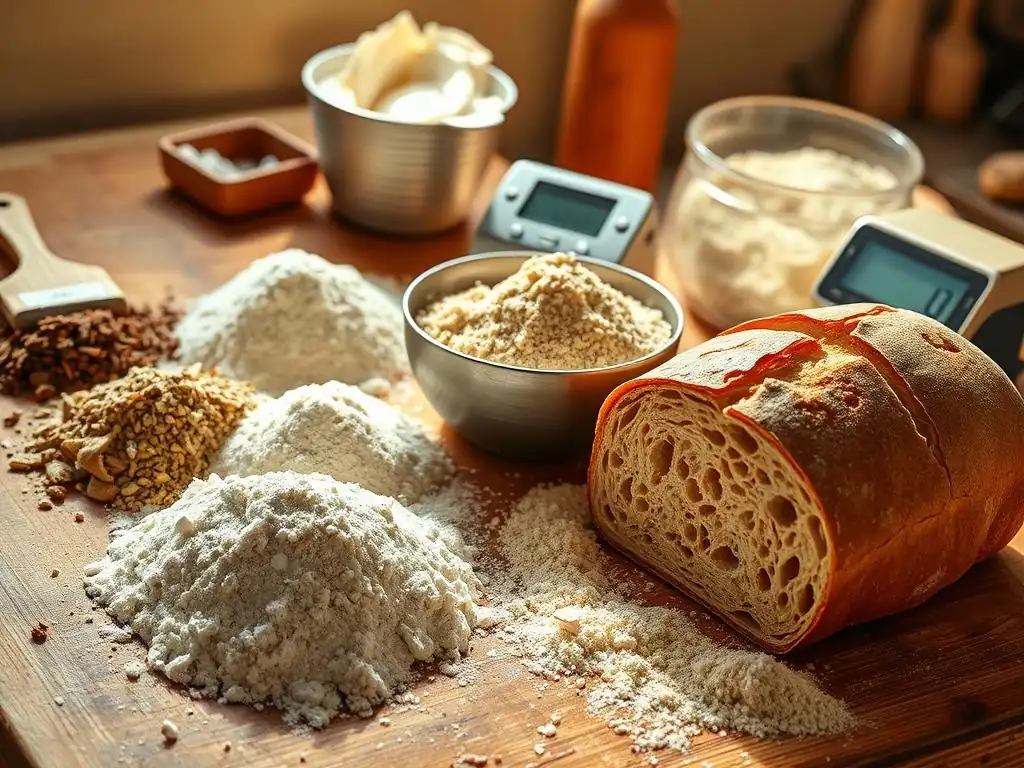
Selecting the appropriate flour is the first step in preventing many bread baking problems. The ideal flour type depends heavily on the style of bread you aim to create. For example, a rustic, crusty artisan loaf with a chewy interior often benefits from high-protein bread flour, which allows for a strong gluten structure capable of trapping large air pockets.
Conversely, softer breads like sandwich loaves, dinner rolls, or challah might perform well with a mix of bread flour and all-purpose flour, or even just all-purpose flour, depending on the desired tenderness. Pastry flour (lower protein, 7-9%) is unsuitable for most yeasted breads as it won't provide enough structure. Understanding the characteristics of different flours and how they contribute to texture is fundamental to choosing wisely and avoiding future flour troubleshooting bread recipes.
Understanding Flour Protein Content and Its Significance
As discussed, protein content is perhaps the most critical factor when choosing flour for bread. It directly correlates with the flour's ability to form gluten. A higher protein percentage (above 12%) indicates flour better suited for breads requiring significant structure, chewiness, and high rise.
Lower protein flours (10-12% for AP, lower for pastry/cake flour) are better for more tender baked goods. While protein content is often listed on packaging, it can sometimes vary slightly by brand. For serious bread bakers, knowing the protein percentage of their go-to flour is essential for consistent results and effective flour troubleshooting bread recipes. If the percentage isn't listed, looking up the brand online can often provide this information.
Exploring Local and Organic Flour Options: Flavor Profiles and Sustainability
Beyond protein content and type, considering local or organic flour options can enhance your baking experience. Local mills often stone-grind flour, which can retain more of the wheat kernel's flavor and nutrients compared to roller-milled flour. This can impart richer, more complex flavors to your bread. Organic flours ensure the wheat was grown without synthetic pesticides or fertilizers, appealing to those concerned about health and environmental impact.
Keep in mind that flour from different sources, even of the same "type" (e.g., all-purpose), can vary in protein content and absorption rates due to differences in the wheat variety and milling process. Experimenting with flours from local mills or different brands might require slight adjustments to hydration or kneading time, becoming part of your ongoing flour troubleshooting bread recipes journey, but can lead to exciting flavor discoveries.
Maintaining a Stock of Fresh, High-Quality Flour
One of the simplest yet most effective ways to prevent flour-related bread problems is to always bake with fresh, high-quality flour. Purchase flour from a reputable source that has good turnover. Avoid buying in excessively large quantities unless you bake very frequently or have proper long-term storage (like a freezer).
Store your flour correctly in airtight containers in a cool, dark, and dry place. Rotate your stock, using older flour first ("first in, first out"). While white flour can last 6-12 months if stored well, whole wheat flour has a shorter shelf life, typically 3-6 months, due to the oils in the germ becoming rancid. By prioritizing freshness and proper storage, you significantly reduce the likelihood of flour becoming the culprit in your flour troubleshooting bread recipes.
Testing New Flour Batches Before Baking
Even when buying the same type and brand of flour, slight variations between batches can occur. If you're embarking on an important bake or using a new bag of flour for the first time, consider a small test. A simple way is to make a small amount of dough using a basic ratio of flour and water, perhaps 100g flour and 60-70g water.
Observe how the dough comes together, how it feels during a short knead, and its consistency. Does it seem unusually dry or wet? Does it develop gluten easily or feel slack? This mini-test can give you clues about the flour's absorption rate and gluten potential, allowing you to anticipate and adjust the hydration in your full recipe before committing all your ingredients. This proactive step is invaluable in flour troubleshooting bread recipes with unfamiliar flour.
Documenting Flour Performance for Future Reference
Becoming a proficient bread baker involves learning from each loaf. Keeping a simple baking journal can be incredibly helpful, especially when trying to pinpoint issues. Note the type and brand of flour used, the hydration level, kneading time, proofing times, and the final outcome (volume, crumb texture, flavor).
If you encounter a problem, like a dense crumb or poor rise, and later identify the flour as the likely cause after applying flour troubleshooting techniques, make a note of it. For instance, "Batch of Brand X AP flour seemed weak, needed extra kneading," or "This bag of Whole Wheat from Mill Y absorbed more water, increased hydration by 5%." This documentation builds a personal knowledge base, making it easier to predict how certain flours will behave and proactively adjust your recipes in the future.
Conclusion: Mastering the Art of Bread Baking Through Flour Knowledge
Successful bread baking is a journey, and understanding your ingredients is a cornerstone of that journey. While yeast, technique, and oven temperature all play vital roles, the flour you choose and how you handle it are fundamental. Many common frustrations in the kitchen, from flat loaves to gummy interiors, can be resolved by focusing on the flour.
By learning about different flour types, recognizing the signs of poor quality or staleness, and applying specific techniques to address flour-related issues, you empower yourself to bake better bread. Don't be discouraged by setbacks; view them as opportunities for flour troubleshooting bread recipes and deepen your knowledge. With attention to detail regarding your flour – its type, quality, freshness, and how it interacts with water and yeast – you'll be well on your way to consistently baking beautiful, delicious loaves.
Frequently Asked Questions
The most common issues are using the wrong type of flour (e.g., cake flour instead of bread flour), expired flour which affects gluten development, and incorrect measuring leading to a dry or overly wet dough.
How can I tell if my flour is too old to use for baking bread?
Check for a rancid smell or taste. Also, if your dough isn't rising properly even with good yeast, the flour's gluten development may be compromised due to its age.
What's the difference between bread flour and all-purpose flour, and why does it matter for bread recipes?
Bread flour has a higher protein content than all-purpose flour. This higher protein creates more gluten, resulting in a chewier and more structured bread. Using all-purpose may result in a flatter loaf.
My bread dough is too sticky, even after kneading for the recommended time. Could this be a flour issue?
Yes, it could be. It might be due to incorrect flour measurement, the type of flour used (lower protein content), or the flour may not have been stored correctly, affecting its absorption.
If I suspect my flour is the problem, what's the best way to test it before committing to a whole bread recipe?
Try a simple gluten development test. Mix a small amount of flour with water, let it rest, and then try to stretch it. If it tears easily, the flour's gluten isn't strong.
Final Reflection: The Humble Flour's Mighty Influence
The perfect loaf isn't just about the recipe; it's about understanding the very foundation—the flour. A seemingly simple ingredient, flour holds the key to unlocking bread's potential, or conversely, its downfall. Ignoring its nuances can lead to a frustrating baking experience, highlighting the crucial role of ingredient awareness in achieving culinary success.
The journey of understanding flour's impact on bread baking has been a fascinating one, revealing the intricate relationship between protein content, hydration levels, and the final texture. It's a journey that continues to unfold, with each bake offering a new lesson. The most important thing is to have a good time while you're doing it,
a wise baker once said, and that sentiment perfectly encapsulates the spirit of experimentation and learning inherent in this process. The subtle variations in flour types, from the strength of bread flour to the delicate nature of pastry flour, profoundly shape our baking outcomes, reminding us that even the most basic ingredients possess a complex character.
Now, consider your own baking experiences. Have you encountered a frustratingly dense loaf or a crumbly, disappointing result? Take a moment to reflect on the flour you used.
I encourage you to explore the world of flours, to experiment with different types and brands, and to meticulously note your observations. By understanding the subtle differences, you'll not only improve your bread-making skills but also deepen your appreciation for the artistry and science behind this ancient craft. The journey to the perfect loaf is a continuous one, and each step forward, each successful bake, is a testament to your dedication and understanding.
Unlock Your Baking Potential: Mastering Flour & Bread Success!
Thanks for diving into the world of flour and bread baking with us! We hope you gained valuable insights into troubleshooting those pesky ingredient-related issues. Ready to take your baking to the next level?
- Try a new flour variety today: Experiment with a different type of flour – maybe a whole wheat, rye, or even a specialty flour – and see how it impacts your bread's texture and flavor. This is the perfect opportunity to put your new knowledge into practice!
- Share your baking triumphs (and challenges!): Tell us about your experience experimenting with different flours in the comments section below – we'd love to hear your feedback and share tips with other bakers.
- Dive deeper into our baking resources: Explore more helpful articles on BakeWithEase.com to expand your baking skills and confidence.
What unique flour will you bake with next, and what delicious results do you anticipate?