
Avoid Cake Tunnels: The Gentle Mixing Guide

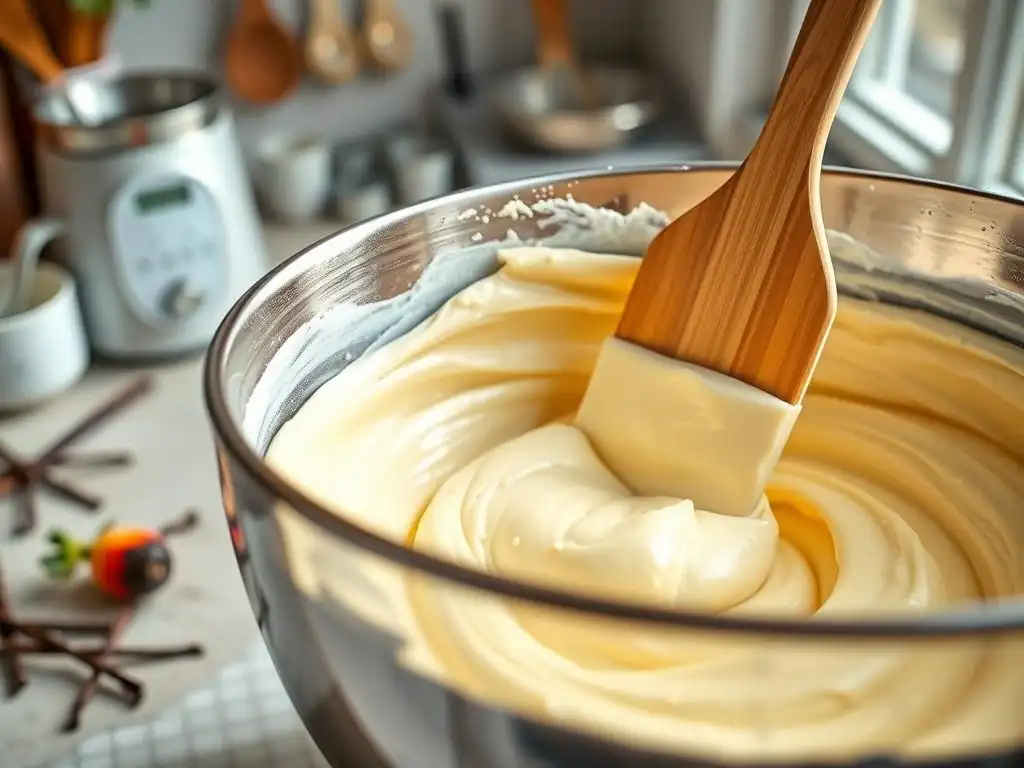
Welcome to BakeWithEase, where we believe everyone can create delicious baked goods! Are you tired of those unsightly cake tunnels ruining your perfect creations? Discover the secret to achieving flawlessly even cakes with our gentle mixing guide. We'll show you how avoiding aggressive techniques can be the key to a smooth, tender crumb. Intrigued? Read on to unlock the secrets!
- Avoiding Dense Cakes: The Gentle Mixing Guide
- Introduction: Understanding Dense Cakes and Gentle Mixing
- The Science Behind Dense Cakes: Overmixing and Gluten Development
-
Gentle Mixing Techniques for Perfect Cakes: A Step-by-Step Guide
- Step 1: Preparing Your Ingredients (Room Temperature Matters)
- Step 2: Creaming Butter and Sugar (Achieving the Right Consistency)
- Step 3: Adding Eggs Gradually (Preventing Curdling)
- Step 4: Combining Dry and Wet Ingredients (The Gentle Fold)
- Step 5: Filling the Cake Pan (Even Distribution for Even Baking)
- Identifying Overmixed Batter: Signs to Watch For
- Troubleshooting Dense Cakes: Addressing Existing Issues
- Essential Tools for Gentle Cake Mixing
- Cake Recipes That Benefit Most from Gentle Mixing
- Advanced Gentle Mixing Techniques for Professional Results
- Conclusion: Mastering the Art of Gentle Mixing for Tender Cakes
-
Frequently Asked Questions
- What exactly are cake tunnels, and why are they undesirable?
- How does gentle mixing prevent cake tunnels from forming?
- What are some specific techniques for gentle mixing?
- Besides mixing, are there other factors that contribute to cake tunnels?
- What if I accidentally over-mix my cake batter? Is there any way to salvage it?
- Final Reflection: The Sweet Science of Gentle Mixing
- Unlock Your Baking Potential: Fluffy Cakes Await!
Avoiding Dense Cakes: The Gentle Mixing Guide
Introduction: Understanding Dense Cakes and Gentle Mixing
What are Dense Cakes and Why are They a Problem?
Dense cakes are a common frustration for bakers, characterized by a heavy, sometimes gummy texture rather than a light, airy crumb. Instead of rising beautifully, they can sink or bake unevenly, often resulting in unpleasant "tunnels" or large holes within the cake structure. This dense texture happens when the delicate balance of ingredients and mixing technique is disrupted, leading to a less-than-ideal rise and a finished product that feels more like a brick than a fluffy dessert.
Beyond just texture, dense cakes often lack the appealing visual volume of a well-baked cake. They can be harder to slice cleanly and may not absorb frosting or glazes as effectively. For anyone aiming for that perfect slice of cake – moist, tender, and evenly textured – avoiding this dense outcome is paramount. It's about achieving that delightful melt-in-your-mouth quality that makes homemade cakes so rewarding.
Why Gentle Mixing is Crucial for Tender Cakes
The secret to a tender, light cake often lies in how you combine your ingredients. Aggressive or prolonged mixing can quickly turn a promising batter into one destined for density. This is where gentle mixing prevents cake tunnels and ensures a delicate crumb. By carefully incorporating ingredients only until just combined, you minimize the development of gluten and avoid deflating the air pockets you've worked hard to create during earlier steps like creaming butter and sugar.
Adopting gentle mixing techniques is not just about following a recipe; it's about understanding the science behind baking. It's the difference between a tough, chewy cake and one that is soft, moist, and perfectly risen. Mastering this skill is fundamental for bakers aiming to consistently produce high-quality cakes without the common pitfalls of dense texture or those frustrating cake tunnels.
The Science Behind Dense Cakes: Overmixing and Gluten Development
Overmixing: The Root Cause of Dense Cakes
Overmixing is arguably the most significant culprit behind dense, tough cakes. When you mix cake batter excessively after the dry ingredients, particularly flour, have been added, you activate and develop gluten. Flour contains proteins called glutenin and gliadin, which, when hydrated and agitated through mixing, form a network known as gluten. While essential for the structure of bread, too much gluten development in a cake batter creates a tough, elastic structure that prevents the cake from achieving a light, tender crumb.
Think of it like this: cake batter needs just enough structure to hold its shape and trap leavening gases (from baking powder, soda, eggs, etc.) as it bakes, allowing it to rise. Overmixing builds a strong, rigid gluten network that fights against this rise, resulting in a dense texture. It also tends to knock out the tiny air bubbles incorporated earlier, further contributing to a heavy cake. This is precisely why gentle mixing prevents cake tunnels and density.
Gluten Development: How it Affects Cake Texture
Gluten is a protein network that provides elasticity and structure. In bread baking, we knead dough extensively to build a strong gluten network, resulting in chewy bread. However, in cake baking, our goal is the opposite: a tender, soft texture. Cake flour, for instance, is often preferred because it has a lower protein content (typically around 7-8%) compared to all-purpose flour (around 10-12%), meaning less potential for gluten development.
When cake batter is overmixed, the gluten strands become long and strong, making the batter elastic. As the cake bakes, this elastic structure resists the expansion caused by leavening agents. Instead of a uniform, airy rise, the batter can become tough, and trapped gases may create irregular holes or "tunnels" as they force their way through the dense structure. Understanding this process highlights why gentle mixing prevents cake tunnels and is key to a delicate texture.
The Role of Flour Type in Cake Density
The type of flour used significantly impacts the potential for gluten development and, consequently, cake density. As mentioned, cake flour has a lower protein content, making it ideal for tender cakes as it minimizes gluten formation even with standard mixing. All-purpose flour has a moderate protein level; while versatile, it requires more careful, gentle mixing to avoid toughness. Bread flour, with its high protein content (around 12-14%), is generally unsuitable for cakes because its high gluten potential almost guarantees a dense, chewy result unless specifically called for in a recipe designed to manage it.
Using the correct flour type specified in a recipe is crucial. However, even with low-protein cake flour, overmixing can still lead to some gluten development and a less-than-ideal texture. This reinforces the importance of mastering gentle mixing techniques, regardless of the flour used, to ensure your cakes are consistently light and airy, proving that gentle mixing prevents cake tunnels and ensures a delightful crumb.
Gentle Mixing Techniques for Perfect Cakes: A Step-by-Step Guide
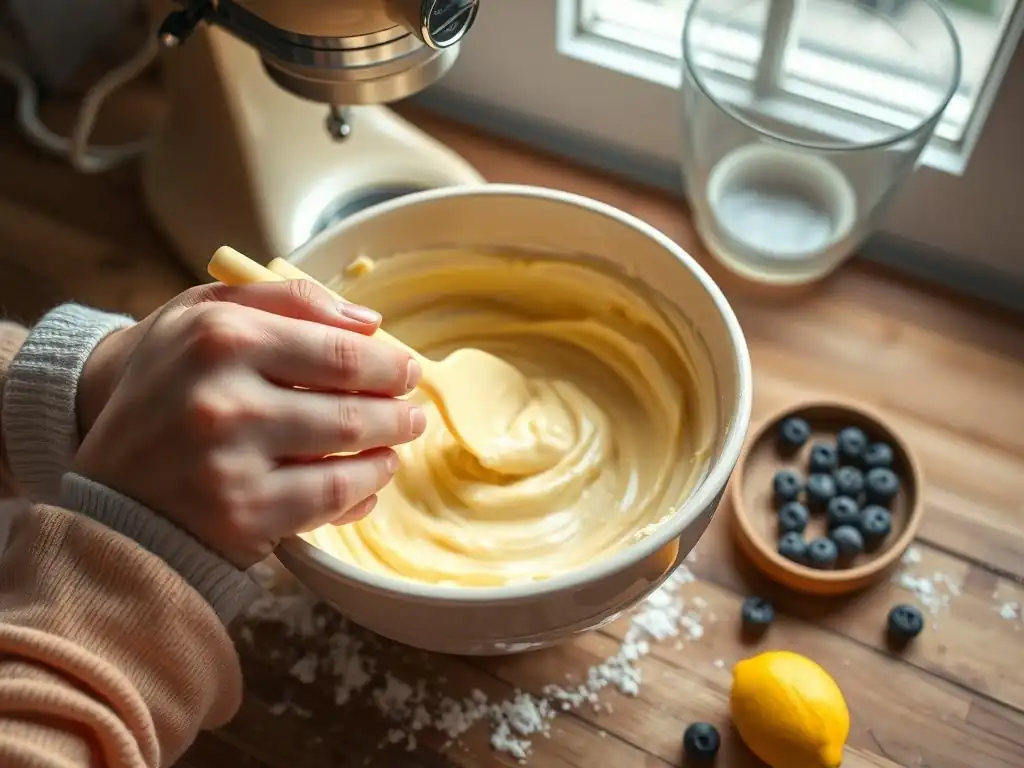
Step 1: Preparing Your Ingredients (Room Temperature Matters)
Ensuring your ingredients, particularly butter and eggs, are at room temperature is a foundational step for successful gentle mixing and a well-structured cake. Room temperature butter (around 65-70°F or 18-21°C) creams much more effectively with sugar, incorporating tiny air bubbles crucial for lift. Cold butter doesn't cream properly, leading to a dense base. Similarly, cold eggs don't emulsify as well into the butter mixture and can cause the batter to curdle, affecting the final texture.
Allowing ingredients to come to room temperature naturally takes time – typically 30-60 minutes for eggs and 1-2 hours for butter, depending on your kitchen temperature. If you're short on time, you can gently warm eggs in a bowl of warm water for a few minutes or slice cold butter into small pieces to speed up the process. Proper ingredient temperature sets the stage for smooth mixing and helps gentle mixing prevent cake tunnels by ensuring a stable batter from the start.
Step 2: Creaming Butter and Sugar (Achieving the Right Consistency)
Creaming butter and sugar is a vital step where air is incorporated into the fat. This process should result in a mixture that is light, fluffy, and pale yellow. Using room temperature butter is essential here. Beat the butter and sugar together, ideally using a stand mixer with the paddle attachment or a hand mixer, on medium speed for several minutes. Scrape down the sides of the bowl frequently to ensure even creaming.
You'll know the mixture is properly creamed when its volume has increased noticeably, and the texture is airy rather than grainy. This aeration is critical because these trapped air bubbles expand in the oven, contributing significantly to the cake's rise and tender texture. Over-creaming isn't usually a major issue at this stage, but under-creaming means you haven't incorporated enough air, which can lead to a denser cake regardless of how gently you mix later.
Step 3: Adding Eggs Gradually (Preventing Curdling)
Adding eggs correctly is crucial for maintaining a smooth emulsion in the batter. Always add eggs one at a time, mixing until each egg is fully incorporated before adding the next. This is best done on a medium-low speed with a mixer. Adding eggs too quickly, especially if they are cold, can cause the mixture to curdle, separating into greasy butter solids and watery liquid.
Curdled batter can be challenging to bring back together and often results in a cake with a less smooth texture and potentially a denser crumb. If your batter does curdle slightly, try adding a tablespoon of the dry ingredients (flour mixture) to help bring it back together before continuing. Properly emulsified batter provides stability and moisture, supporting the delicate structure needed for a tender cake where gentle mixing prevents cake tunnels.
Step 4: Combining Dry and Wet Ingredients (The Gentle Fold)
This is the most critical stage for applying gentle mixing techniques to avoid developing gluten and creating dense cakes or tunnels. Once the wet ingredients (like milk, buttermilk, or sour cream) and dry ingredients (flour, baking powder, salt, etc.) are ready, they are typically added to the creamed butter, sugar, and egg mixture in alternating additions, often starting and ending with the dry ingredients. The key is to mix just until the ingredients are combined.
Stop mixing as soon as you no longer see streaks of flour. A few small lumps are acceptable and often preferable to an overmixed, smooth batter. Using a low speed on a mixer or, better yet, finishing the mixing by hand with a spatula or whisk ensures you don't overwork the batter. This gentle touch is paramount; it's the moment where gentle mixing prevents cake tunnels by limiting gluten formation.
The Importance of Folding Technique
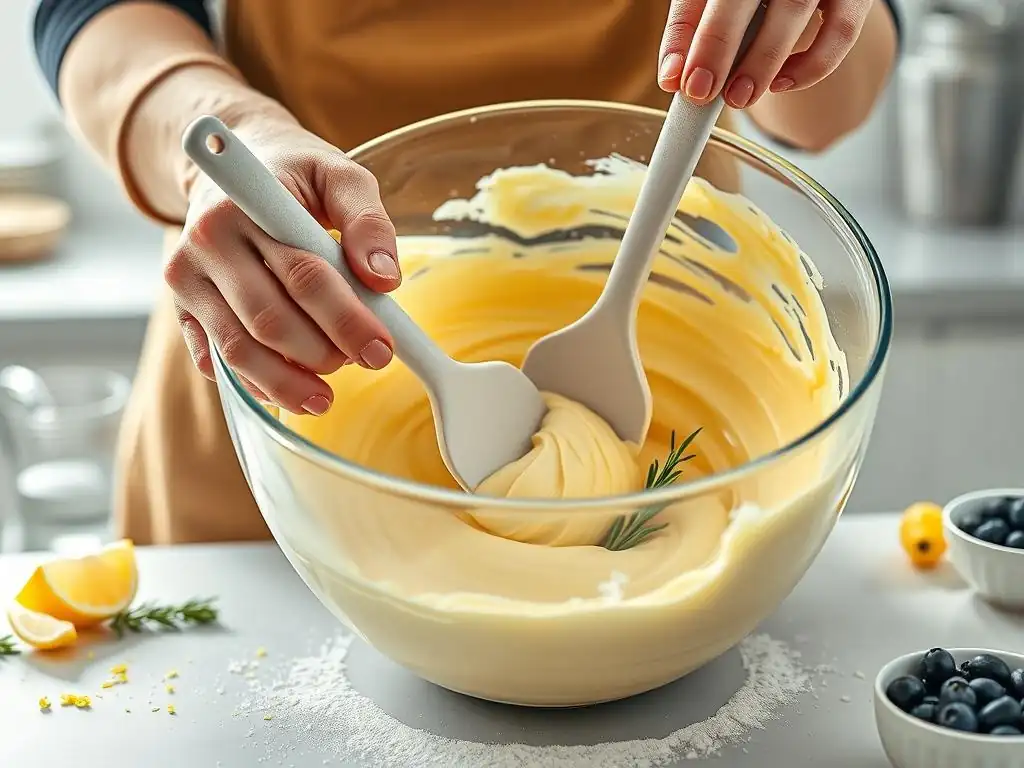
When combining the final additions of dry and wet ingredients, especially the last bit of flour, the folding technique is superior to vigorous stirring or beating. Folding involves cutting down through the center of the batter with a spatula, scraping the bottom, and lifting the mixture up and over. Rotate the bowl slightly and repeat. This motion gently incorporates the ingredients without developing gluten.
Folding is particularly important for delicate batters like sponge cakes or those where you've incorporated whipped egg whites, as it helps preserve the airy structure. By carefully folding until just combined, you minimize the agitation of the flour, directly contributing to a tender crumb. This technique embodies the principle that gentle mixing prevents cake tunnels.
Avoiding Overmixing During Combination
The moment the flour hits the wet ingredients, gluten development begins. The longer and more vigorously you mix, the more gluten forms. Therefore, the goal during this final step is minimal mixing. Use the lowest speed setting on your mixer, or switch to hand mixing with a spatula. Mix only until the dry ingredients are incorporated and no streaks of flour remain – this usually takes just 30-60 seconds.
Resist the urge to keep mixing until the batter is perfectly smooth and uniform, as this is a clear sign of overmixing. A slightly lumpy batter is far better than an overmixed one if you want a tender cake. Being mindful and stopping mixing at the right point is the most effective way to ensure gentle mixing prevents cake tunnels and results in a light, airy cake.
Step 5: Filling the Cake Pan (Even Distribution for Even Baking)
Once your batter is mixed gently to perfection, the next step is to transfer it to your prepared cake pan(s). Pour or spoon the batter evenly into the pan(s). For even layers and consistent baking, it's helpful to use a scale to ensure the same amount of batter goes into each pan if baking multiple layers.
After filling, gently smooth the top of the batter with an offset spatula. For extra assurance against doming and to help prevent larger tunnels, you can gently tap the filled pan(s) on the counter a couple of times. This helps to release any large air bubbles trapped near the surface. Proper pan preparation and even distribution support the structure achieved through gentle mixing and contribute to an evenly baked cake without tunnels.
Identifying Overmixed Batter: Signs to Watch For
Recognizing the Visual Cues of Overmixing
You can often tell if cake batter has been overmixed by its appearance. Properly mixed batter, especially after adding the dry ingredients, should look relatively thick but not overly smooth or elastic. If the batter appears very smooth, shiny, and stretchy, almost like bread dough, it's likely been overmixed. You might also notice that the batter wraps itself around the mixer paddle or whisk rather than falling off in clumps.
Another visual cue is if the batter seems to deflate slightly and lose some of the airy volume achieved during creaming. While some decrease in volume is natural after adding dry ingredients, a significant reduction suggests the air bubbles have been knocked out due to excessive mixing. Recognizing these signs quickly allows you to stop mixing immediately and mitigate some of the potential damage, reinforcing the concept that careful, gentle mixing prevents cake tunnels.
Texture Changes in Overmixed Batter
Beyond visual signs, the texture of overmixed batter will feel different. It will become more elastic and resistant to stirring. If you try to pick up a spoonful, it might stretch or pull rather than breaking cleanly. This elasticity is a direct result of the developed gluten network.
In contrast, properly mixed cake batter, especially one handled with gentle mixing, will feel softer and less resistant. It will be thicker than pancake batter but won't have that stretchy quality. Feeling the texture can be a reliable indicator, particularly for experienced bakers, helping them determine if they've achieved the right consistency for a tender crumb where gentle mixing prevents cake tunnels.
Troubleshooting Dense Cakes: Addressing Existing Issues
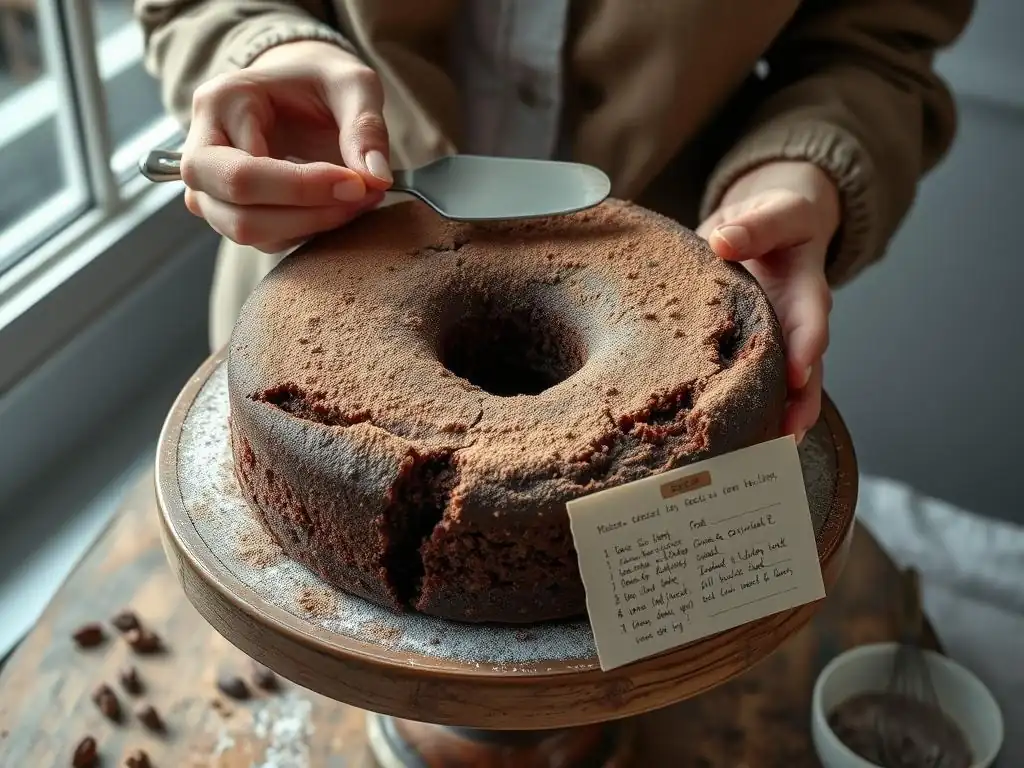
Adjusting Your Mixing Technique
If you consistently end up with dense cakes, the first area to scrutinize is your mixing technique, particularly the final stage of combining wet and dry ingredients. Are you using a mixer on too high a speed? Are you mixing for too long after adding the flour? Commit to using the lowest speed setting on your mixer or switching to hand mixing with a spatula for the final incorporation.
Focus on mixing only until the flour streaks disappear, even if the batter isn't perfectly smooth. Practice the folding technique described earlier. By consciously reducing the intensity and duration of mixing at this critical stage, you significantly decrease gluten development, proving that adjusting to gentle mixing prevents cake tunnels and improves texture.
Modifying Your Recipe for Better Results
Sometimes, the issue might be partly with the recipe itself. Recipes with a very high ratio of liquid to flour, or those using high-protein flour without specific instructions for minimizing gluten development, can be prone to density. Consider trying recipes specifically formulated for tender cakes, often using cake flour or techniques like the reverse creaming method.
You can also experiment with minor modifications, like reducing the amount of liquid slightly or using a lower-protein flour if the recipe calls for all-purpose and you suspect it's contributing to toughness. Ensuring you are using the correct leavening agents (baking powder/soda) in the right amounts is also crucial for a good rise. Sometimes, a recipe tweak combined with gentle mixing prevents cake tunnels more effectively.
Adjusting Baking Time and Temperature for Optimal Rise
While mixing is a primary factor, baking conditions also play a role in cake texture. Baking at the correct temperature is essential. An oven that is too cool can cause the cake to rise slowly, potentially resulting in a coarser or slightly denser crumb. An oven that is too hot can cause the cake to set too quickly on the outside before the inside has properly risen, leading to dense spots or tunnels.
Ensure your oven temperature is accurate by using an oven thermometer. Bake for the minimum time specified in the recipe and check for doneness using a toothpick inserted into the center – it should come out with a few moist crumbs, not wet batter. Overbaking can dry out the cake, making it seem dense. Proper baking supports the structure built by gentle mixing, ensuring the cake rises fully and sets correctly.
Essential Tools for Gentle Cake Mixing
Whisks: Choosing the Right Size and Shape
For gentle mixing, especially when incorporating dry ingredients by hand or folding in delicate additions like whipped egg whites, a balloon whisk is a versatile tool. Its many wires incorporate air effectively during tasks like whipping cream or eggs, but when used gently for folding, it can delicately combine ingredients without overworking the batter.
A smaller whisk can be useful for incorporating eggs into the creamed butter mixture one at a time, allowing for controlled mixing. The key is to use the whisk with a light touch and stop as soon as ingredients are combined. While stand mixers are powerful, sometimes finishing the mixing with a whisk by hand is the ultimate act of gentle mixing to prevent cake tunnels.
Spatulas: The Importance of Flexibility
A good quality, flexible rubber or silicone spatula is indispensable for gentle mixing, particularly for the final stages of incorporating dry ingredients or folding in delicate components. A flexible spatula allows you to scrape the sides and bottom of the bowl effectively, ensuring all ingredients are incorporated without vigorous stirring.
The folding technique relies heavily on a spatula. Its edge allows you to "cut" through the batter and gently lift and fold. Using a spatula by hand gives you more control over the mixing process than a mixer, making it easier to stop the moment the batter is just combined. This hands-on approach is a cornerstone of gentle mixing prevents cake tunnels.
Mixers: Using Stand Mixers Effectively for Gentle Mixing
While stand mixers are powerful tools that simplify creaming butter and sugar and adding eggs, they can easily lead to overmixing when incorporating dry ingredients. To use a stand mixer gently, always switch to the lowest speed setting the moment you begin adding the dry ingredients.
Add the dry ingredients in stages as the recipe directs, and mix only until you no longer see visible streaks of flour. Many experienced bakers even recommend stopping the mixer when there are still a few streaks of flour visible and finishing the mixing by hand with a spatula. This prevents the powerful motor from developing too much gluten, demonstrating how even with a mixer, the principle of gentle mixing prevents cake tunnels.
Cake Recipes That Benefit Most from Gentle Mixing
Angel Food Cake
Angel food cake is a prime example of a cake that absolutely requires gentle mixing. Its structure relies entirely on whipped egg whites, with no butter or chemical leaveners. The cake flour is carefully folded into the stiffly beaten egg whites. Any aggressive mixing at this stage will deflate the delicate air bubbles in the egg whites, resulting in a dense, rubbery cake instead of its characteristic cloud-like texture.
Recipes for angel food cake will emphasize sifting the dry ingredients multiple times and folding them in meticulously by hand. This highlights how crucial gentle mixing is; the entire success of the cake hinges on preserving the airy structure created by whipping the egg whites. It's a perfect case study in how careful handling prevents a dense outcome.
Genoise Sponge Cake
Similar to angel food cake, Genoise sponge cake relies heavily on whipped whole eggs (or sometimes yolks and whites separately) for its structure and lift, with little to no chemical leavening. Melted butter is often folded in at the end. The key to a light Genoise is whipping the eggs and sugar until very light and airy (the ruban stage) and then gently folding in the flour and melted butter.
Overmixing when adding the flour or butter will quickly deflate the airy egg mixture, leading to a flat, dense cake rather than a light sponge suitable for soaking with syrups or layering. The recipe's success is a direct testament to the power of gentle mixing prevents cake tunnels by preserving the delicate foam structure.
Red Velvet Cake
While Red Velvet cake often uses chemical leavening and butter like a standard butter cake, its texture is traditionally meant to be very fine and tender. The inclusion of buttermilk and sometimes vinegar interacts with baking soda to aid in leavening and tenderizing. However, the cocoa powder and flour still contain proteins that can develop gluten if overmixed.
To achieve the signature tender crumb of a classic Red Velvet, it's crucial to apply gentle mixing techniques, especially when incorporating the dry ingredients and the buttermilk mixture. Stopping mixing as soon as the ingredients are just combined prevents the development of a tough texture or tunnels, showing how gentle mixing prevents cake tunnels even in richer cake batters.
Advanced Gentle Mixing Techniques for Professional Results
The Reverse Creaming Method: An Alternative Approach
The reverse creaming method is an excellent technique for ensuring a tender cake and is inherently designed for gentle mixing. Instead of creaming butter and sugar first, the dry ingredients (flour, sugar, leavening) are mixed together initially. Then, softened butter is added and mixed until the mixture resembles coarse crumbs, coating the flour particles with fat. This coating inhibits gluten development from the start.
Finally, the wet ingredients (eggs, milk, extracts) are added in stages and mixed on low speed just until a smooth batter forms. Because the flour was coated in fat, the potential for gluten development is significantly reduced, even with some mixer action. This method is highly effective at producing cakes with a fine, even crumb and is a testament to how gentle mixing prevents cake tunnels by altering the order and method of ingredient incorporation.
Using a Sifter: Ensuring Even Distribution of Dry Ingredients
Sifting dry ingredients – flour, baking powder, baking soda, salt, cocoa powder – before adding them to the wet mixture is a simple yet effective step that supports gentle mixing. Sifting removes lumps and aerates the dry ingredients, making them lighter and easier to incorporate evenly into the batter with minimal mixing.
When unsifted dry ingredients are added, it takes more stirring or beating to distribute them throughout the batter and break up any clumps. This extra agitation increases the risk of overmixing and gluten development. Sifting allows you to achieve a uniform distribution using fewer strokes, directly aiding the goal that gentle mixing prevents cake tunnels by reducing the need for excessive mixing.
Achieving Uniform Batter Consistency
While the goal is to stop mixing as soon as ingredients are combined to avoid overmixing, achieving a reasonably uniform batter consistency is still important for even baking. The key is to use gentle methods to get there. This means scraping down the sides and bottom of the bowl frequently during mixing, especially when using a stand mixer on low speed.
For the final incorporation of dry ingredients, hand-folding with a spatula is the best way to ensure everything is combined without overworking the batter. Focus on scraping the bottom of the bowl where unmixed flour can hide. A batter that is uniformly mixed, even if slightly lumpy, will bake more evenly than one with pockets of dry flour or overly mixed sections. This careful attention to uniformity through gentle mixing prevents cake tunnels and ensures a consistent texture throughout the cake.
Conclusion: Mastering the Art of Gentle Mixing for Tender Cakes
Recap of Gentle Mixing Techniques
Mastering the art of gentle mixing is a fundamental skill for any baker aspiring to create tender, light, and airy cakes free from frustrating density and tunnels. It involves understanding the science of gluten development and consciously minimizing agitation once flour is added to the batter. Key techniques include ensuring ingredients are at room temperature, properly creaming butter and sugar for initial aeration, adding eggs gradually, and most importantly, combining wet and dry ingredients with minimal, gentle strokes or folding until just combined.
Recognizing the signs of overmixed batter—its smooth, elastic, and sometimes deflated appearance—is also crucial. By adopting these practices, using appropriate tools like spatulas for folding, and considering techniques like the reverse creaming method, you actively work to ensure that gentle mixing prevents cake tunnels and results in a consistently delightful cake crumb. It's a subtle but powerful shift in approach that yields significant improvements in your baking results.
Further Baking Resources
To deepen your understanding and continue improving your cake-baking skills, explore recipes specifically designed for tender cakes, such as those using the reverse creaming method or relying heavily on whipped eggs. Look for detailed guides on ingredient temperatures and the science of leavening. Practice makes perfect, so don't be discouraged by imperfect results initially.
Each baking attempt is a learning opportunity to refine your gentle touch. By focusing on careful ingredient preparation, mindful mixing, and gentle handling of your batter, you are well on your way to consistently baking beautiful, tender cakes where the phrase gentle mixing prevents cake tunnels becomes a delicious reality in your kitchen.
Frequently Asked Questions
What exactly are cake tunnels, and why are they undesirable?
Cake tunnels are large, irregular air pockets within a cake's crumb. They are undesirable because they can affect the cake's texture and appearance, making it less appealing and potentially drier.
How does gentle mixing prevent cake tunnels from forming?
Gentle mixing prevents cake tunnels by avoiding over-development of gluten in the batter. Over-mixing incorporates too much air and creates a tougher structure, leading to tunnels.
What are some specific techniques for gentle mixing?
Use the folding method to incorporate dry ingredients into wet ingredients. Avoid using a high-speed mixer for extended periods, especially after adding the flour.
Besides mixing, are there other factors that contribute to cake tunnels?
Yes, oven temperature and ingredients can play a role. High oven temperatures can cause rapid expansion and tunnel formation. Also, too much leavening agent (baking powder/soda) can contribute.
What if I accidentally over-mix my cake batter? Is there any way to salvage it?
Unfortunately, there's not much you can do to completely reverse over-mixing. However, try baking at a slightly lower temperature and avoiding opening the oven door frequently.
Final Reflection: The Sweet Science of Gentle Mixing
The quest for a perfectly textured cake, free from unsightly tunnels, is more than just a baking pursuit; it's a testament to the power of understanding fundamental principles. Ignoring the delicate dance between ingredients can lead to disappointing results, but mastering gentle mixing unlocks a world of fluffy, evenly risen delights. This isn't just about avoiding holes; it's about achieving baking mastery.
The impact of proper mixing techniques extends far beyond the individual cake. It speaks to a broader appreciation for the precision and care required in any creative endeavor. The subtle nuances of ingredient interaction, the patience needed to avoid overmixing, these are lessons that resonate beyond the kitchen. As the culinary sage Julia Child once said, Find something you're passionate about and keep tremendously interested in it.
This passion, this attention to detail, is what transforms a simple cake into a masterpiece, and that same dedication can enrich other aspects of our lives.
Now, consider your own baking journey. Perhaps you've experienced the frustration of a collapsed cake, the disappointment of uneven texture. But remember the lessons learned here. Embrace the gentle approach, the mindful incorporation of ingredients, and watch as your baking transforms. The next time you face a challenge, whether in the kitchen or beyond, remember the power of patience, precision, and the surprisingly profound satisfaction of mastering a seemingly simple task. Let the gentle mixing of your cake batter be a metaphor for the gentle approach you can take in all areas of your life.
Unlock Your Baking Potential: Fluffy Cakes Await!
Thanks for joining us on this journey to perfectly fluffy cakes! We hope you learned valuable techniques to avoid those dreaded cake tunnels. Now, let's put your new knowledge into practice.
- Master the Gentle Fold: Practice your gentle mixing techniques with your next cake recipe. Notice the difference!
- Share your baking triumphs (or challenges!): Tag us on social media with your creations – we love seeing your results!
- Explore our other baking guides for more tips and tricks to elevate your baking game.
Ready to bake a cake that's light, airy, and utterly delicious? What's your favorite cake recipe to try this new technique on?