
Crumb Coating Explained: Why You Can't Skip This Step

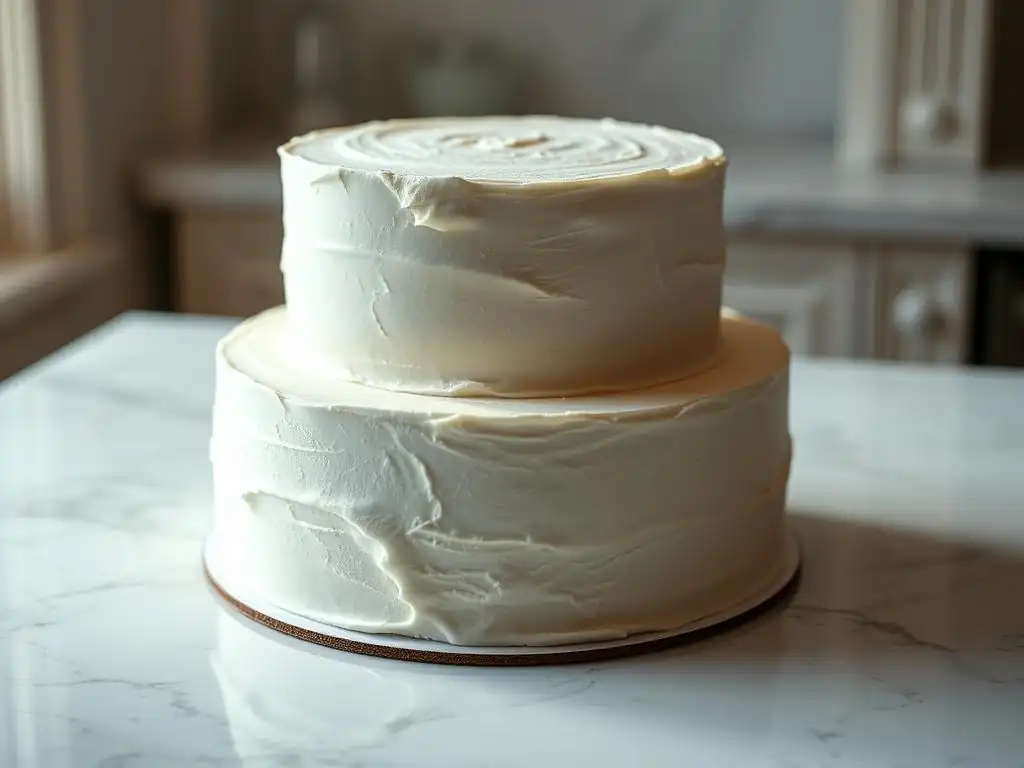
Welcome to BakeWithEase, your guide to baking bliss! Ever wondered why your perfectly frosted cake still shows pesky crumbs? This article dives deep into the crucial (and often overlooked) technique of how to crumb coat cake. Discover why this step is essential for a flawless finish and unlock the secrets to a bakery-worthy cake, every time. Intrigued? Let's get started!
- Introduction to Crumb Coating: The Foundation of a Beautiful Cake
- Why You Absolutely Need to Crumb Coat Your Cake: Avoiding Common Baking Disasters
- How to Crumb Coat a Cake: A Step-by-Step Guide for Perfect Results
- Troubleshooting Common Crumb Coating Issues
- Alternative Crumb Coating Methods & Techniques
- Level Up Your Cake Decorating Skills: The Importance of Mastering the Crumb Coat
- Conclusion: The Crumb Coat - Your Secret Weapon for Stunning Cakes
-
Frequently Asked Questions
- How important is crumb coating a cake, really?
- What type of frosting is best for a crumb coat?
- Can I use a different flavor frosting for the crumb coat than the final frosting?
- How long should I chill the cake after applying the crumb coat?
- What if I still see crumbs in my final frosting layer even after crumb coating?
- Final Reflection: The Unsung Hero of Cake Decoration
- Unleash Your Inner Baker: Master the Crumb Coat!
Introduction to Crumb Coating: The Foundation of a Beautiful Cake
What is a Crumb Coat and Why is it Essential?
A crumb coat is essentially a very thin layer of frosting or ganache applied to a cake before the final, decorative frosting layer. Think of it as the primer coat before you paint a wall – its main job is to seal in any loose crumbs that might otherwise escape and mix into your beautiful final frosting. It's the crucial first step after assembling your cake layers, creating a stable and clean surface for decoration.
Skipping this simple step is one of the most common reasons why homemade cakes don't look as polished as bakery-bought ones. Mastering how to crumb coat cake is fundamental for anyone serious about cake decorating.
This initial layer is typically applied thinly and evenly across the top and sides of the cake. It doesn't need to be perfectly smooth or opaque; its primary function is functional, not decorative. Once applied, the cake is usually chilled to allow the crumb coat to firm up, effectively trapping all those pesky crumbs. This chilling process is vital as it sets the stage for a much cleaner and easier application of the final frosting layer. It’s a non-negotiable step for achieving sharp edges, smooth sides, and preventing a frustrating frosting experience.
Understanding the Purpose of a Crumb Coat in Cake Decorating
The purpose of a crumb coat extends beyond just crumb management. It serves as a stabilizing layer, holding the cake layers firmly in place, especially if your cake is tall or filled. This stability is particularly helpful when working with softer cakes or fillings that might otherwise shift during the final frosting process. A well-applied crumb coat acts like a scaffold, providing structural integrity to the cake structure before the weight and manipulation of the final frosting are added.
Furthermore, the crumb coat helps to fill in any small gaps or imperfections on the cake's surface, creating a smoother canvas for your final design. Whether you're aiming for perfectly smooth buttercream, sharp fondant edges, or intricate piping, a solid, chilled crumb coat makes all the difference. It allows you to apply the final frosting more generously and smoothly without dragging crumbs along, resulting in a flawless finish. Learning how to crumb coat cake properly is the secret weapon for transitioning from rustic homemade cakes to those with a professional, polished look.
Why You Absolutely Need to Crumb Coat Your Cake: Avoiding Common Baking Disasters
Preventing Crumbs in Your Final Frosting Layer
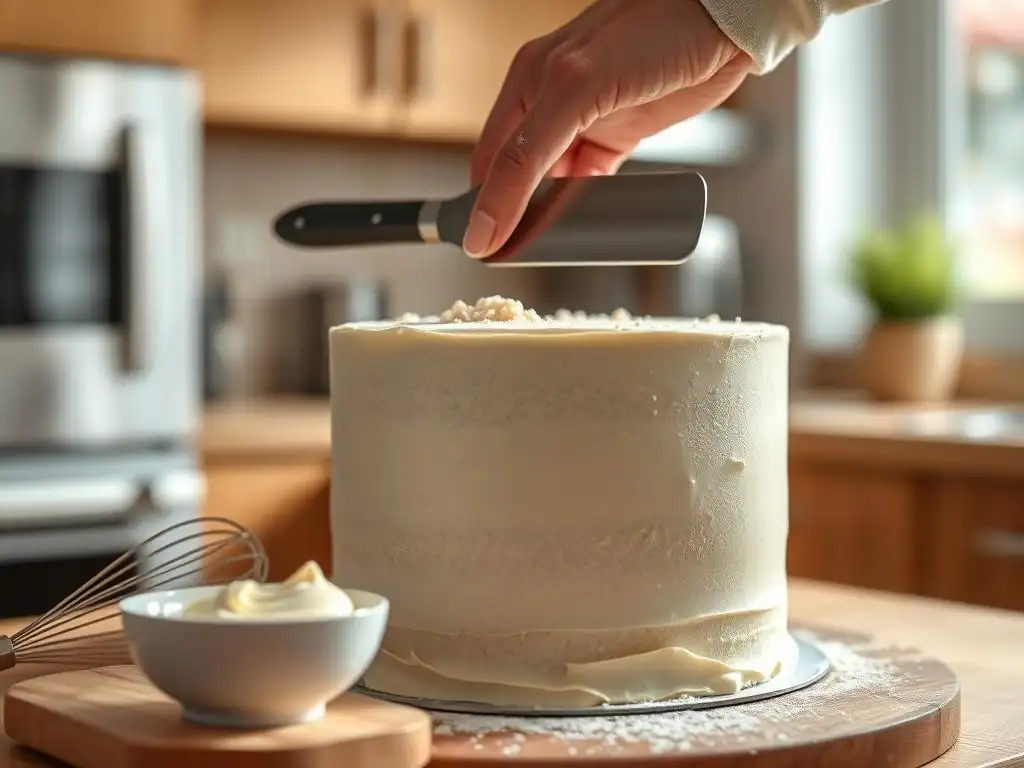
This is perhaps the most obvious, yet critical, reason to crumb coat. Cakes, especially those with tender crumbs like chocolate or red velvet, naturally shed small particles when handled or frosted. If you apply your final frosting directly onto an un-crumb-coated cake, these loose crumbs will inevitably get picked up by your spatula and mixed into your pristine frosting. Imagine spending time making a vibrant blue or smooth white buttercream, only to have it speckled with cake crumbs! It's a frustrating and messy problem that instantly detracts from the cake's appearance.
By applying a thin crumb coat first, you effectively trap all those loose bits against the cake's surface. Once this layer is chilled and firm, it creates a barrier. When you then apply your final frosting, your spatula glides over the smooth, firm crumb coat instead of picking up crumbs from the cake itself. This ensures your final frosting remains clean, smooth, and free of unsightly speckles. It's the difference between a cake that looks amateur and one that looks like it came from a professional patisserie.
Creating a Smooth Surface for Professional-Looking Cakes
Beyond just trapping crumbs, the crumb coat significantly contributes to the overall smoothness and aesthetic appeal of your finished cake. Cakes often have slight imperfections – uneven spots, small tears, or visible seams between layers. The thin layer of frosting applied during the crumb coat process helps to fill in these minor flaws. When you smooth the crumb coat, you are essentially creating a more uniform base.
Once the crumb coat is chilled and firm, it provides a rigid and smooth surface to work on. This makes applying the final layer of frosting much easier and allows for achieving sharper edges and smoother sides. Whether you're using a bench scraper to smooth buttercream or covering the cake in fondant, a smooth and level base is paramount for a professional finish. Attempting to achieve a perfectly smooth final layer on a cake without a crumb coat is significantly more challenging and often results in a less polished outcome.
Locking in Moisture: The Crumb Coat as a Cake Preserver
While its primary roles are crumb management and surface smoothing, the crumb coat also plays a part in keeping your cake moist. A thin layer of frosting acts as a seal, helping to lock moisture into the cake layers. This is particularly beneficial if you need to decorate the cake over several hours or if the cake will be sitting out for a short period before being fully frosted and refrigerated.
By sealing the surface, the crumb coat helps prevent the cake from drying out, ensuring that the finished product is delicious and moist when served. This is especially important for cakes that might be prone to dryness or those that require extensive decoration time. While not its main function, this moisture-locking benefit is another compelling reason why the crumb coat is a valuable step in the cake decorating process, contributing to both the appearance and the quality of the final dessert.
How to Crumb Coat a Cake: A Step-by-Step Guide for Perfect Results
Step 1: Preparing Your Cake for Crumb Coating
Before you even think about applying frosting, your cake needs a little prep work. This ensures you start with the best possible foundation. A well-prepared cake makes the entire crumb coating process much smoother and more successful. Don't rush this initial phase; patience here pays off in the long run.
Leveling Your Cake Layers for Even Frosting
Most cake layers bake with a slight dome on top. For a stable and level cake, you need to remove this dome. Use a serrated knife or a cake leveler to carefully slice off the dome, making the top of each layer flat. Aim for layers of approximately equal thickness. This simple step ensures that when you stack your layers, they sit evenly, preventing leaning or instability. Uneven layers make it difficult to apply frosting smoothly and can lead to bulges or thin spots in your final coat.
Additionally, trimming the edges slightly can help remove any tough crust and expose a softer crumb, which can sometimes help the crumb coat adhere better. While not always necessary, it's a technique some bakers use for extra precision. Ensure your knife is sharp for a clean cut. If you plan to use a filling, make sure your leveled layers are ready to accommodate it evenly across the surface.
Chilling Your Cake for Easier Handling
Working with a chilled cake is significantly easier than working with one at room temperature. After your cake layers have cooled completely from the oven, wrap them tightly in plastic wrap and refrigerate them for at least 30 minutes, or ideally, freeze them for 15-20 minutes. Chilling helps the cake firm up, making it less fragile and less likely to crumble excessively when you start spreading the frosting.
A firm, chilled cake is less likely to tear or compress under the pressure of frosting application. This is especially true for delicate cakes like sponge or chiffon. Chilling also helps set the layers and any filling you might have added during stacking. A slightly firm surface means fewer crumbs will detach in the first place, making your job of applying the crumb coat much simpler. This step is crucial for minimizing frustration and achieving a cleaner result when you learn how to crumb coat cake effectively.
Step 2: Applying the Crumb Coat: The Technique
Now that your cake is prepped and chilled, it's time for the main event: applying the crumb coat. This step requires a light touch and patience. Remember, it doesn't need to be perfect, just effective.
Choosing the Right Frosting for Your Crumb Coat
Almost any type of frosting can be used for a crumb coat, but some work better than others. A standard American buttercream, Swiss meringue buttercream, or even a thin layer of ganache are common choices. The key is that the frosting should be spreadable but not too soft or runny. If your frosting is too stiff, it can tear the cake; if it's too soft, it won't effectively trap crumbs or provide a stable base.
For a crumb coat, you typically need a relatively small amount of frosting compared to the final layer. Ensure the frosting is at a good consistency – smooth and pliable. If it's too cold or stiff, let it warm up slightly or beat it for a moment to loosen it. If it's too soft, chill it briefly. The frosting you use for the crumb coat can be the same as your final frosting, or it can be a different type or color, as it won't be visible in the end.
Applying a Thin, Even Layer of Frosting
Using an offset spatula, start by applying a small amount of frosting to the top of the cake, spreading it outwards to the edges. Then, apply frosting to the sides of the cake. The goal is to cover the entire surface of the cake – top and sides – with a very thin layer, perhaps 1-2 millimeters thick. Don't try to make it perfectly smooth or opaque at this stage. Your primary focus is simply getting a layer of frosting onto every part of the cake surface.
Use gentle pressure and keep your spatula at a slight angle to the cake. As you work, you will inevitably pick up some crumbs. This is expected! Resist the urge to try and smooth out the crumbs into the frosting layer. Instead, scrape off the crumb-filled frosting onto a separate plate or bowl (do not put it back into your main frosting supply!) and pick up fresh frosting to continue.
Dealing with Crumbs: The Key to a Successful Crumb Coat
Successfully dealing with crumbs is the core skill when learning how to crumb coat cake. As mentioned, crumbs will get into your frosting on the spatula. The crucial technique is to scrape off the crumb-laden frosting frequently onto a discard bowl. Do not re-use this frosting for either the crumb coat or the final layer, unless you're okay with visible crumbs. Always dip your spatula into your clean main frosting bowl for fresh frosting.
Work quickly and efficiently, applying enough frosting to cover the surface without overworking it. The more you spread and smooth, the more crumbs you'll generate. The goal is just coverage. Once the entire cake is covered with the thin layer, you can do a quick pass with your spatula or a bench scraper to remove excess frosting and smooth it slightly, but don't strive for perfection. Focus on creating a sealed surface.
Step 3: Chilling the Crumb-Coated Cake
Once your cake is fully covered with the thin crumb coat, the next critical step is chilling. This phase sets the crumb coat and prepares the cake for the final layer of frosting.
Why Chilling is Crucial After Crumb Coating
Chilling the crumb-coated cake allows the thin layer of frosting to firm up completely. As the fat in the frosting cools, it hardens, effectively gluing all those trapped crumbs to the cake's surface. This creates a solid, stable shell around the cake. When you apply your final layer of frosting, your spatula will glide smoothly over this firm shell, with no risk of picking up loose crumbs from the cake beneath.
Chilling also helps to further stabilize the cake structure, especially if you've used a soft filling. A firm crumb coat provides excellent support. This step is non-negotiable for achieving a clean, sharp, and professional finish. It makes the final frosting application infinitely easier and more successful.
How Long to Chill Your Crumb-Coated Cake
The chilling time depends on the temperature of your refrigerator and the type of frosting used. Generally, chilling for about 20-30 minutes in the refrigerator is sufficient for the crumb coat to firm up. You'll know it's ready when the surface feels firm and dry to the touch, and you can gently run your finger over it without leaving a mark or feeling stickiness.
If you're in a hurry, you can place the cake in the freezer for 10-15 minutes. Just be careful not to freeze the cake completely, as this can cause condensation issues later. The key is that the crumb coat is firm enough to act as a solid barrier. Once chilled, you can proceed directly to applying your final layer of frosting.
Troubleshooting Common Crumb Coating Issues
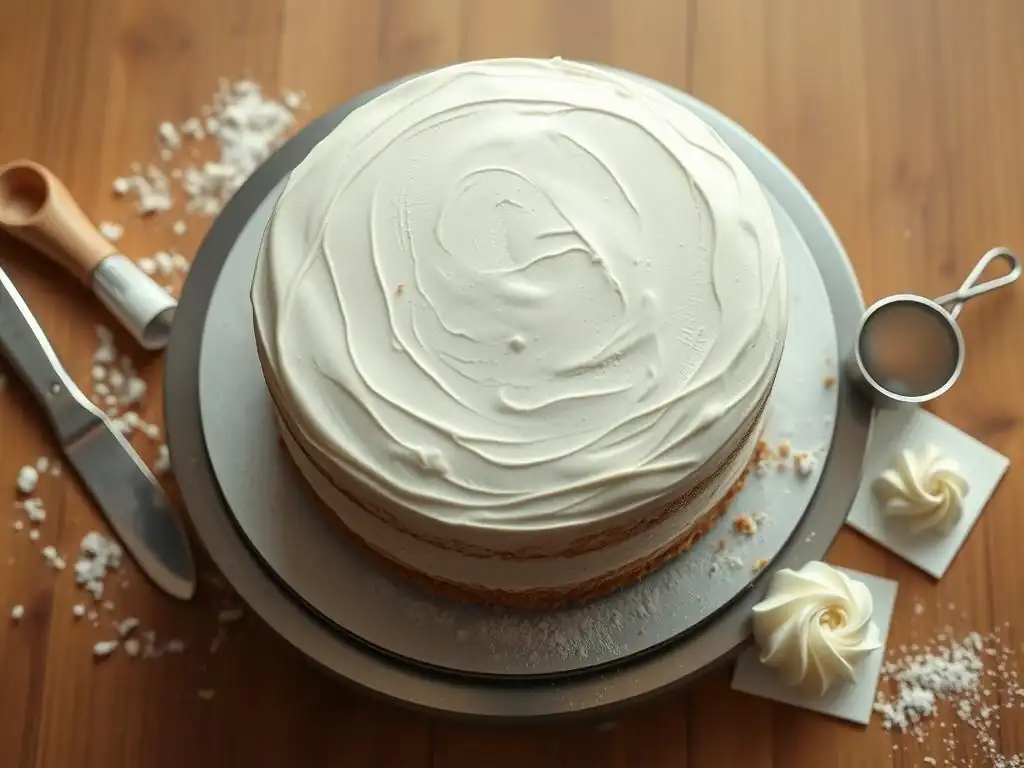
Even when you know how to crumb coat cake, you might encounter a few bumps along the way. Here are solutions to some common problems:
My Crumb Coat is Too Thick/Thin: Adjusting Frosting Consistency
If your frosting is too thick, it will be difficult to spread thinly without tearing the cake, leading to excessive crumbs. If it's too thin or runny, it won't effectively trap crumbs or create a stable base.
- Too Thick: Add a tiny amount of liquid (like milk, cream, or even water) or a tablespoon of softened butter to your frosting and whip it slightly until it reaches a more spreadable consistency. Alternatively, let the frosting warm up slightly at room temperature.
- Too Thin: Add a tablespoon or two of powdered sugar (for buttercream) or chill the frosting briefly in the refrigerator, stirring occasionally, until it firms up. Ensure you use the correct ratio of ingredients when making your frosting initially.
Dealing with Sticky Frosting: Tips and Tricks
Sticky frosting makes crumb coating a challenge, as the spatula drags and picks up more crumbs. This can happen if your frosting is too warm or has a high proportion of liquid or sugar syrup that hasn't set properly.
- Ensure your cake is well-chilled before starting. A cold cake surface helps the frosting set slightly on contact.
- Use a clean, dry spatula. Moisture can make frosting stickier.
- Chill your frosting briefly if it feels too soft or sticky.
- Work quickly and with a light hand. The less you manipulate the frosting on the cake, the less sticky it will become. Scrape off crumb-laden frosting frequently onto your discard bowl.
Preventing the Cake from Sliding: Ensuring Stability
A sliding cake can make the entire process frustrating and potentially lead to disaster. This usually happens if the base is unstable or the cake layers aren't level.
- Place a small dab of frosting on your cake board or serving plate before placing the first cake layer down. This acts like glue, securing the cake base.
- Ensure your cake layers are leveled properly so they stack squarely.
- Use a cake dowel or support system for multi-tiered cakes, even during the crumb coating phase, if the layers are very tall or heavy.
- Chill your cake thoroughly after stacking the layers and adding any filling, before applying the crumb coat. This helps everything settle and firm up.
Alternative Crumb Coating Methods & Techniques
While buttercream or standard frosting is the most common choice, there are other options for applying a crumb coat depending on your desired finish and the type of cake.
Using Ganache as a Crumb Coat: A Luxurious Option
Chocolate ganache, made from chocolate and cream, can also be used as an effective crumb coat, especially if you plan to cover the cake in ganache or chocolate-based frosting for the final layer. Ganache sets firmer than many buttercreams when chilled, creating a very solid base.
Apply the ganache thinly while it's still pourable but slightly thickened (often described as the consistency of thick paint or peanut butter). Pour it over the chilled cake and spread quickly with an offset spatula, allowing excess to drip off. Once applied, chill the cake until the ganache is firm, typically 30-60 minutes depending on the ratio of chocolate to cream. Using ganache can provide a very smooth and stable foundation, particularly good for sharp edges or covering with fondant.
The "Naked Cake" Crumb Coat: A Minimalist Approach
For the popular "naked cake" style, where the cake layers and some frosting are visible, the "crumb coat" is often the only layer of frosting applied to the sides. In this case, the technique focuses on applying a very thin, translucent layer that allows the cake layers to show through, while still sealing in loose crumbs.
This method requires even more careful handling to avoid visible streaks of crumbs. Apply a very sparse amount of frosting and spread it thinly across the sides using an offset spatula or bench scraper held almost parallel to the cake. The goal is just to skim the surface and trap the most prominent crumbs. The top is usually frosted more traditionally, but the sides are left with a minimalist, "scraped" look. Mastering this style still benefits greatly from a chilled cake to minimize crumb detachment.
Level Up Your Cake Decorating Skills: The Importance of Mastering the Crumb Coat
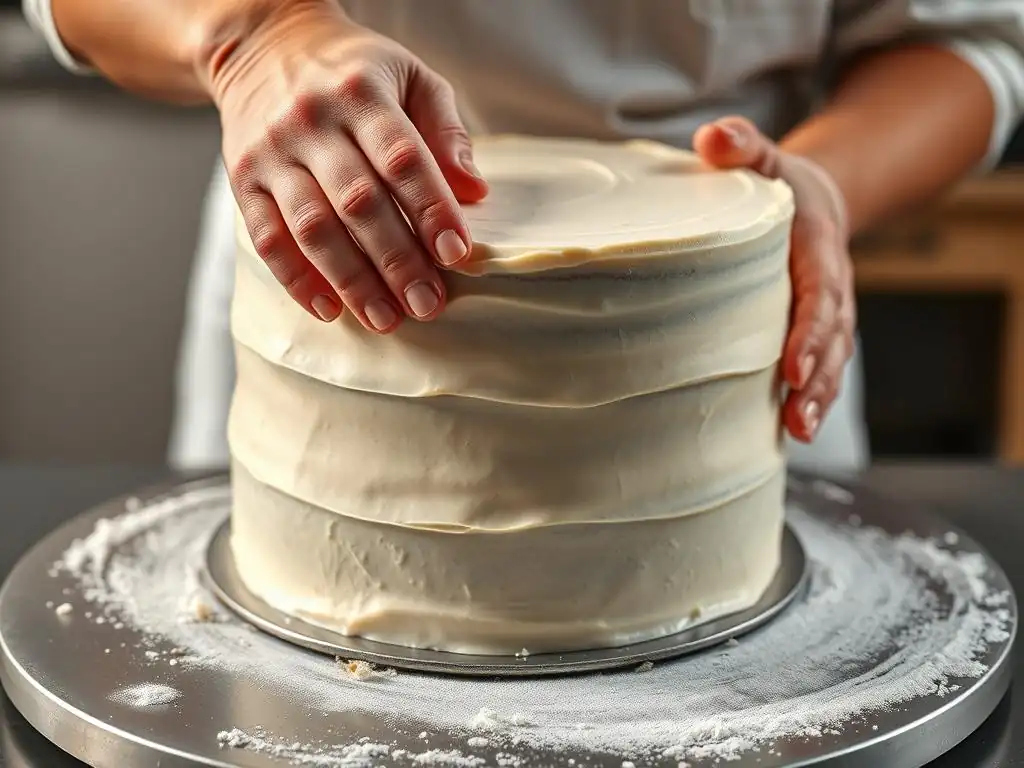
Understanding how to crumb coat cake isn't just about avoiding a messy final layer; it's a fundamental skill that significantly impacts the quality and appearance of your decorated cakes. It's a stepping stone towards more advanced techniques.
Achieving a Professional Finish with Practice and Patience
The difference between a cake that looks homemade and one that looks professional often comes down to the finish. A smooth, sharp, and flawless final frosting layer is the hallmark of skilled cake decorating, and this is almost impossible to achieve without a proper crumb coat. Practice is key. Your first few crumb coats might not be perfect, but with each cake you make, you'll get better at applying the thin layer, managing crumbs, and achieving a smooth base.
Don't get discouraged by initial imperfections. Focus on the function – sealing in crumbs and creating a stable surface. As you gain confidence and control with your spatula and bench scraper, your crumb coats will become smoother, and your final cakes will look increasingly polished. Think of the crumb coat as the essential preparatory step that allows your decorative skills to truly shine.
Tips for Speeding Up the Crumb Coating Process
While patience is important, there are ways to make the crumb coating process more efficient once you're comfortable with the basic technique.
- Use a turntable: A rotating cake stand is invaluable for applying frosting evenly and quickly to the sides of the cake.
- Prepare your frosting: Ensure your frosting is at the ideal consistency before you start – not too stiff, not too soft.
- Work in a cool environment: Frosting is easier to work with and sets faster in a cooler kitchen.
- Use the right tools: An offset spatula and a bench scraper are your best friends for crumb coating.
- Chill efficiently: Use the freezer for a shorter, faster chill if time is of the essence, but monitor closely.
By incorporating these tips and practicing regularly, you'll find that crumb coating becomes a quick and seamless part of your cake decorating routine, saving you time and frustration on the final frosting layer.
Conclusion: The Crumb Coat - Your Secret Weapon for Stunning Cakes
In the world of cake decorating, the crumb coat is often overlooked by beginners, but it is truly a foundational technique that makes all the difference. It's the essential step that prevents rogue crumbs from ruining your final frosting, creates a smooth and stable canvas for decoration, and even helps keep your cake moist. Learning how to crumb coat cake properly is not just about aesthetics; it's about building a solid structure that supports your decorative vision.
Whether you're aiming for a perfectly smooth buttercream finish, sharp fondant edges, or simply a clean look, taking the extra 15-20 minutes to apply and chill a crumb coat is an investment that pays off dramatically in the final result. So, the next time you bake a cake, remember this crucial step. Embrace the crumb coat – it's your secret weapon for achieving bakery-worthy cakes right in your own kitchen.
Frequently Asked Questions
How important is crumb coating a cake, really?
A crumb coat is absolutely essential for a polished final product. It seals in crumbs, preventing them from ruining the final frosting layer, and creates a smooth canvas for decoration.
What type of frosting is best for a crumb coat?
Generally, a thinner consistency of your final frosting is ideal for a crumb coat. This makes it easier to spread a thin, even layer and trap crumbs. You can achieve this by adding a bit of milk or cream.
Can I use a different flavor frosting for the crumb coat than the final frosting?
While possible, it is generally not recommended to use a dramatically different flavor. Subtle differences can work, but a clash in flavors can negatively impact the overall taste of the cake.
How long should I chill the cake after applying the crumb coat?
Chilling the cake is crucial after crumb coating. At least 30 minutes in the refrigerator, or 15 minutes in the freezer, allows the frosting to firm up, preventing it from mixing with the final layer.
What if I still see crumbs in my final frosting layer even after crumb coating?
This usually indicates the crumb coat was either too thin or the cake was not chilled for long enough. Apply a second, thinner crumb coat and ensure adequate chilling before frosting again.
Final Reflection: The Unsung Hero of Cake Decoration
The seemingly insignificant crumb coat is, in reality, the bedrock of any flawlessly frosted cake. Without this crucial step, even the most expertly crafted buttercream can't hide the imperfections lurking beneath. This isn't just about aesthetics; a proper crumb coat ensures a smooth, professional finish that elevates your baking from hobby to artistry.
The impact of the crumb coat extends beyond the individual cake itself. It represents a dedication to detail, a commitment to excellence that resonates throughout the baking process. It's a testament to the idea that the seemingly small steps often hold the greatest significance. The details are not the details. They make the design.
– Charles Eames. This quote perfectly encapsulates the importance of the crumb coat in achieving a truly stunning final product. It's a reminder that true mastery lies not just in the grand gestures, but in the meticulous attention to every single element.
Now, consider your own projects, both big and small. Are you overlooking the "crumb coats" in your life – those seemingly insignificant steps that, when neglected, can undermine the overall success? I encourage you to reflect on this. Identify those crucial, often overlooked details in your own endeavors, and commit to giving them the attention they deserve. The result, much like a perfectly frosted cake, will be a testament to your dedication and a source of immense pride.
Unleash Your Inner Baker: Master the Crumb Coat!
Thanks for taking the time to learn about the magic of the crumb coat! We hope you now understand how crucial this step is to creating perfectly smooth and delicious cakes. Ready to put your new knowledge into practice?
- Bake your dream cake: Use what you've learned to create your next masterpiece, focusing on that perfect crumb coat for a flawless finish. Don't be afraid to experiment with different fillings and frostings!
- Share your creations: Show us your crumb-coated cakes! Tag us on social media with #BakeWithEaseCrumbCoat to inspire others.
- Try a new recipe: Challenge yourself with a more intricate cake design, confident in your crumb coating skills.
Ready to conquer cake decorating? What’s your next cake project?