
Bake Classic Pain au Chocolat: Your Easy Guide to Chocolate Croissants

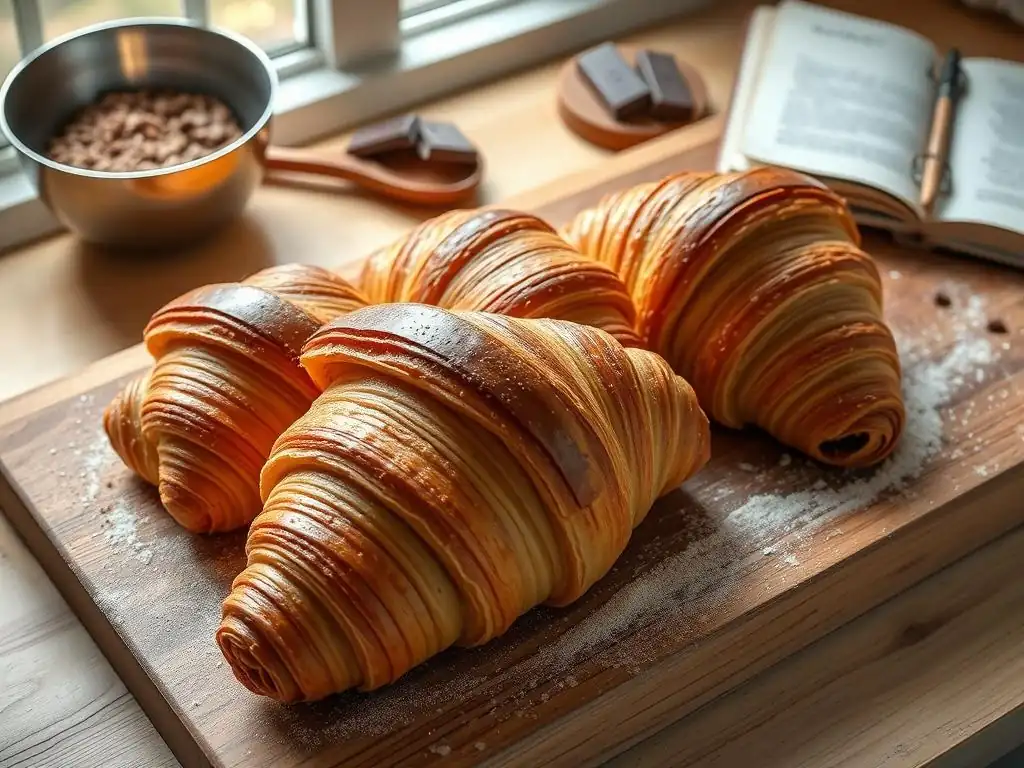
Welcome to BakeWithEase, where the joy of baking meets achievable simplicity! Ever dreamed of creating those flaky, buttery delights you find in Parisian patisseries? Well, dream no more! Dive into our easy chocolate croissant recipe guide and discover how to bake classic pain au chocolat right in your own kitchen. Get ready to unlock the secrets to perfectly layered dough and a rich, chocolatey filling – what are you waiting for? Your delicious adventure starts now...
- Mastering Pain au Chocolat: An Easy Chocolate Croissant Recipe Guide
- Understanding the Fundamentals of Chocolate Croissant Dough
- Step-by-Step: Your Foolproof Pain au Chocolat Recipe
- Tips and Tricks for Baking Perfect Chocolate Croissants Every Time
- Storing and Serving Your Homemade Pain au Chocolat
- Taking Your Croissant Baking Skills to the Next Level
- Frequently Asked Questions
- Final Reflection: The Enduring Allure of the Pain au Chocolat
- Unleash Your Inner Boulanger: Craft the Perfect Pain au Chocolat!
Mastering Pain au Chocolat: An Easy Chocolate Croissant Recipe Guide
Welcome to Pain au Chocolat Baking at Home with BakeWithEase
Welcome to BakeWithEase, your trusted partner in the kitchen! Today, we're embarking on a delightful journey to create one of the most beloved French pastries: the classic pain au chocolat. Often seen as a challenge, mastering this buttery, flaky delight filled with rich chocolate is entirely achievable right in your own home.
Our goal is to provide you with an easy chocolate croissant recipe guide that breaks down the process into manageable steps, making the dream of warm, homemade pain au chocolat a delicious reality. Whether you're new to laminated doughs or looking to refine your technique, this guide is crafted for you.
Baking pain au chocolat at home offers an unparalleled reward – the incredible aroma filling your kitchen and the exquisite taste of a pastry made with care. While it requires patience and attention to detail, the process is deeply satisfying. We'll walk you through everything from selecting the right ingredients to achieving that signature flaky texture and golden-brown finish. Think of this as your comprehensive, easy chocolate croissant recipe guide, designed to build your confidence and deliver spectacular results that rival your favorite patisserie. Let's get ready to bake something truly special!
Understanding the Fundamentals of Chocolate Croissant Dough
The Key Ingredients for Authentic Pain au Chocolat
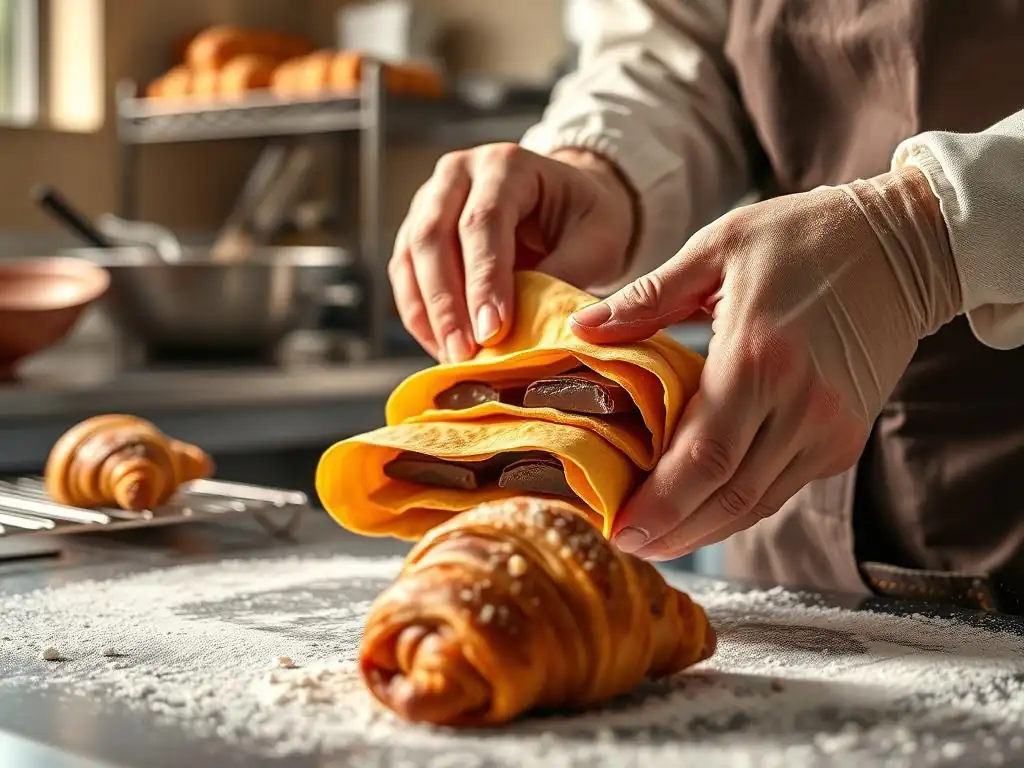
Crafting authentic pain au chocolat begins with understanding the role of each key ingredient. High-quality bread flour, typically with a protein content around 12-13%, provides the necessary structure to withstand the rigorous rolling and folding process known as lamination. This strength is crucial for developing the delicate layers.
For a batch yielding roughly 12-15 pain au chocolat, you might start with 500 grams of strong bread flour. Alongside flour, yeast is essential for leavening; instant dry yeast is often preferred for its convenience, requiring no proofing beforehand and typically used at about 1-1.5% of the flour weight, so around 5-7.5 grams for our 500g flour base.
The other fundamental components include water or milk (or a combination) for hydration, sugar to feed the yeast and aid in browning, and salt to enhance flavor and control fermentation. A standard recipe might use approximately 300-330ml of liquid, 50-60 grams of sugar, and about 10-12 grams of salt. Crucially, butter is the heart of laminated doughs.
For a successful pain au chocolat, you need a high-quality, high-fat butter (at least 82% fat) that is specifically designed for lamination or is very firm. You'll need a significant amount, often around 250-300 grams for the lamination process itself, in addition to a small amount (perhaps 20-30 grams) mixed into the dough. The quality and temperature of this butter are paramount for achieving flaky layers.
Achieving the Perfect Lamination: The Secret to Flaky Chocolate Croissants
Lamination is the cornerstone of creating the signature flaky texture in pain au chocolat. It involves repeatedly folding a block of butter into the dough and rolling it out, creating alternating thin layers of dough and butter. As the pastry bakes, the water in the butter turns to steam, puffing up the dough layers and separating them, resulting in hundreds of delicate flakes.
The process typically involves several "turns" – rolling, folding, and chilling. A common approach is the "triple turn," where the dough is folded into thirds, then rolled out again. This is often repeated 2-3 times with chilling periods in between.
The success of lamination hinges on keeping the butter and dough at the correct temperature. The dough should be pliable but cool, and the butter should be firm but flexible – not hard and brittle, which would break into pieces, and not too soft, which would melt into the dough. The ideal butter temperature is often cited around 10-15°C (50-59°F).
Chilling the dough between turns, typically for 30-60 minutes, is vital to relax the gluten, firm up the butter, and prevent the layers from sticking together. This careful process, while requiring time and patience, is what transforms simple dough and butter into the light, airy structure characteristic of a perfect pain au chocolat, making this an effective easy chocolate croissant recipe guide for achieving patisserie quality.
Step-by-Step: Your Foolproof Pain au Chocolat Recipe
Step 1: Preparing the Dough for Chocolate Croissants
The first step in this easy chocolate croissant recipe guide is to prepare the base dough. In a large bowl, combine your dry ingredients: the strong bread flour, sugar, salt, and instant dry yeast. Whisk them together to ensure even distribution. In a separate bowl, combine the lukewarm water or milk with a small amount of melted butter (if using).
Gradually add the wet ingredients to the dry ingredients, mixing until a shaggy dough forms. Turn the dough out onto a lightly floured surface and knead for about 8-10 minutes, or until it is smooth and elastic. Avoid adding too much extra flour during kneading; the dough should be slightly tacky.
Once kneaded, the dough needs a brief rest. Shape it into a ball, place it back in the bowl, cover, and let it rest at room temperature for about 30-45 minutes. This allows the gluten to relax, making it easier to roll out later. After the rest, punch down the dough gently and shape it into a rectangle. Wrap the rectangle tightly in plastic wrap and refrigerate for at least 4 hours, or preferably overnight. This cold conditioning is crucial for the dough's structure and temperature control during the subsequent lamination process.
Step 2: Incorporating the Butter: Lamination Techniques Explained
Lamination begins with preparing your butter block. Take your firm, high-fat butter (e.g., 250g) and place it between two sheets of parchment paper. Roll it out into a rectangle approximately half the size of your chilled dough rectangle. The butter should be pliable but not soft.
Remove the chilled dough from the refrigerator and roll it out on a lightly floured surface into a rectangle roughly twice the size of your butter block. Place the butter block on one half of the dough rectangle, leaving a small border. Fold the other half of the dough over the butter block, sealing the edges tightly to fully enclose the butter.
Now, you begin the "turns." Gently roll the dough package into a long rectangle, about 60-70 cm (around 24-28 inches) in length. Perform the first fold: fold one-third of the dough rectangle up onto the center, then fold the other third down over the first fold, like a letter. This completes the first turn.
Mark the dough (you can lightly press with your finger or use a dough scraper) to indicate it's had one turn. Wrap the dough tightly and refrigerate for at least 30-60 minutes. Repeat the rolling and folding process two more times (for a total of three turns), chilling the dough for 30-60 minutes between each turn. This patient process builds the essential layers that result in flaky pain au chocolat.
Step 3: Shaping and Filling Your Pain au Chocolat
After the final turn and chilling period (at least 1-2 hours), your laminated dough is ready for shaping. Lightly flour your work surface and gently roll the dough into a large rectangle, approximately 30-40 cm (about 12-16 inches) wide and 60-70 cm (about 24-28 inches) long, aiming for a thickness of about 3-4 mm (around 1/8 inch). Use a sharp knife or pastry wheel to trim the edges, creating clean lines.
Cut the large rectangle into smaller rectangles, each measuring roughly 8-10 cm (about 3-4 inches) wide by 20-25 cm (about 8-10 inches) long. The exact size can vary slightly based on preference, but this dimension works well for standard pain au chocolat.
Place one or two chocolate batons (sticks) at one end of each dough rectangle. Roll the dough tightly around the chocolate, starting from the end with the batons. Continue rolling until you reach the opposite end, ensuring the seam is on the bottom. Gently press the seam to seal. You should have neat, rectangular pastries with the chocolate enclosed inside. This shaping method is straightforward, contributing to the ease of this easy chocolate croissant recipe guide. Handle the dough gently to avoid compressing the layers you've worked hard to create.
Choosing the Right Chocolate Batons for Pain au Chocolat
The quality of the chocolate batons significantly impacts the final taste of your pain au chocolat. Traditional pain au chocolat uses dark chocolate batons (also known as bâtons de chocolat or chocolatines). Look for chocolate specifically designed for baking, often labeled as "baking sticks" or having a cocoa content around 50-60%. These chocolates are formulated to melt smoothly during baking without becoming overly liquid and running out of the pastry. Using chocolate chips or chunks designed for cookies might not yield the same desirable molten center.
Specialty baking suppliers and even many large supermarkets now carry pain au chocolat specific chocolate batons. These batons are typically about 8-10 cm (3-4 inches) long and rectangular in shape, perfect for fitting inside the rolled dough. Using two batons per pastry ensures a generous amount of chocolate in every bite. While dark chocolate is classic, you could experiment with milk chocolate or even white chocolate batons if you prefer a sweeter profile, though the traditional flavor comes from the slightly bitter contrast of dark chocolate against the buttery pastry.
Step 4: Proofing Your Homemade Chocolate Croissants
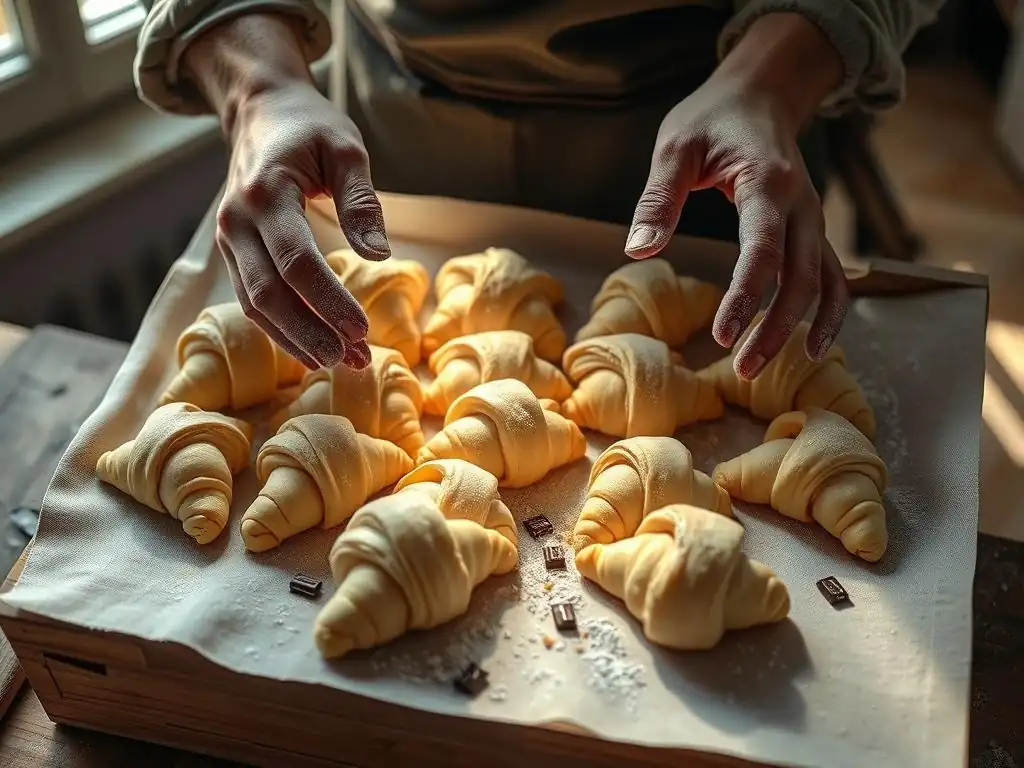
Proofing is a critical step where the shaped pain au chocolat rise, developing their final volume and airy texture before baking. Place the shaped pastries on baking sheets lined with parchment paper, leaving ample space between them (at least 5-7 cm or 2-3 inches) as they will expand significantly. The ideal proofing environment is warm and humid, around 24-26°C (75-79°F) with about 70-80% humidity. Avoid proofing in too hot an environment, as this can melt the butter and ruin the layers.
A common method for home proofing is to place the baking sheets in a slightly warm oven (turned off) with a pan of hot water on the rack below. This creates a warm, steamy environment. Proofing time can vary depending on the temperature and humidity, but it typically takes 2-3 hours. The pain au chocolat are ready when they have nearly doubled in size, appear puffy, and the layers are visible and slightly separated. They should jiggle slightly when gently nudged. Do not over-proof, as this can lead to a poor structure and lack of oven spring.
Step 5: Baking to Golden Perfection: Temperature and Timing
Baking is the final stage where your patiently crafted dough transforms into glorious pain au chocolat. Preheat your oven to a relatively high temperature, typically around 200-220°C (390-430°F). A hot oven helps the butter melt rapidly and produce steam, creating those wonderful flaky layers before the fat has a chance to seep out. Just before baking, you can brush the tops of the pastries with an egg wash (a beaten egg mixed with a little water or milk) for a beautiful golden-brown sheen.
Carefully place the baking sheets in the preheated oven. After about 10-15 minutes, you may need to reduce the oven temperature slightly to around 180-190°C (350-375°F) to prevent the outsides from browning too quickly while the inside bakes through. The total baking time is usually between 15 and 25 minutes, depending on your oven and the size of your pain au chocolat.
They are done when they are deeply golden brown all over, including the sides and bottom. If they look pale, they likely need more time to develop flavor and texture. Remove from the oven and let them cool slightly on the baking sheet before transferring to a wire rack.
Tips and Tricks for Baking Perfect Chocolate Croissants Every Time
Troubleshooting Common Pain au Chocolat Baking Problems
Even with an easy chocolate croissant recipe guide, you might encounter challenges. One common issue is butter leaking out during baking. This often happens if the dough wasn't kept cold enough during lamination or proofing, causing the butter layers to soften and melt prematurely. Ensuring your butter is the correct consistency (firm but pliable) and strictly adhering to chilling times between turns and during proofing is key. Overworking the dough or rolling it too thin can also lead to butter leakage.
Another frequent problem is the pain au chocolat not rising properly or lacking flakiness. This can be due to several factors: inactive yeast, insufficient kneading, not enough proofing time, or the butter melting into the dough during lamination or proofing, preventing layer separation. Using a high-fat butter and maintaining cold temperatures throughout the process are crucial. Also, ensure your oven is properly preheated to the correct temperature; a low oven won't provide the necessary burst of steam for maximum lift.
My Croissants Aren't Flaky Enough: Solutions
If your pain au chocolat lack that characteristic flakiness, revisit your lamination technique. The butter must remain distinct layers within the dough. Ensure your butter block is the correct consistency – firm but not brittle. If it's too hard, it will break; too soft, it will smear into the dough. The temperature of both the dough and butter during rolling and folding is critical; they must be kept cold. Use consistent, firm pressure when rolling, but avoid tearing the dough.
Insufficient chilling time between turns is a major culprit for poor flakiness. The dough and butter need time to firm up and relax the gluten before the next roll. Aim for at least 30-60 minutes of chilling after each turn. Over-proofing can also lead to less flaky results, as the structure can collapse slightly. Finally, ensure your oven is hot enough initially (around 200-220°C or 390-430°F) to create that essential steam burst that separates the layers.
The Chocolate is Melting Out: Prevention Tips
Preventing chocolate from melting out of your pain au chocolat requires attention during shaping and baking. First, ensure you are using baking chocolate batons designed to hold their shape better than standard chocolate chips. When rolling the dough around the batons, make sure the seam is tightly sealed and positioned on the bottom of the pastry when placed on the baking sheet. This helps contain the melting chocolate.
Over-proofing in too warm an environment can also contribute to chocolate leakage, as the pastry structure weakens before baking. Ensure your proofing area is warm but not hot. During baking, if you notice excessive leakage early on, your oven might be too hot or the butter is melting too quickly. While a hot oven is needed initially, ensure you reduce the temperature if necessary to allow the pastry to bake through without the chocolate becoming overly liquid for too long. Properly chilled dough going into a hot oven is the best defense against chocolate loss.
Enhancing the Flavor of Your Chocolate Croissants
While classic pain au chocolat features dark chocolate, experimenting with different types can add exciting twists to your easy chocolate croissant recipe guide. Using a high-quality milk chocolate baton can result in a sweeter, creamier filling that appeals to those who find dark chocolate too intense. Look for milk chocolate with a cocoa content of 30-40% for a good balance. You could even try white chocolate batons for a very sweet, vanilla-infused flavor profile, though ensure it's high-quality white chocolate made with cocoa butter, not just vegetable fat.
For a more complex flavor, consider using chocolate with varying cocoa percentages. A 70% or even 80% cocoa dark chocolate will provide a deeper, more intense bitterness that contrasts beautifully with the rich, buttery pastry. You could also combine chocolate types, perhaps using one dark and one milk chocolate baton in each pain au chocolat for a layered flavor experience. Just ensure the chocolate is specifically for baking to prevent excessive melting.
Adding Extracts and Zests for Unique Flavors
Infusing your pain au chocolat dough or egg wash with extracts and zests can elevate the flavor beyond the traditional. Adding a teaspoon of pure vanilla extract to the dough mixture along with the wet ingredients can subtly enhance the overall sweetness and aroma. Almond extract, used sparingly (perhaps 1/4 to 1/2 teaspoon), can introduce a delicate marzipan-like note that pairs wonderfully with both chocolate and butter.
Citrus zests offer a brighter contrast. Finely grated orange or lemon zest (from about half a fruit) can be added to the dough. The oils in the zest provide a fragrant, slightly tangy counterpoint to the richness of the pastry and chocolate. You could also add a pinch of cinnamon or a tiny amount of espresso powder to the dough for a warmer, more complex flavor. For a final touch, a little zest can be added to the egg wash before brushing, giving the baked pain au chocolat a lovely citrus aroma on the surface.
Storing and Serving Your Homemade Pain au Chocolat
Keeping Your Chocolate Croissants Fresh
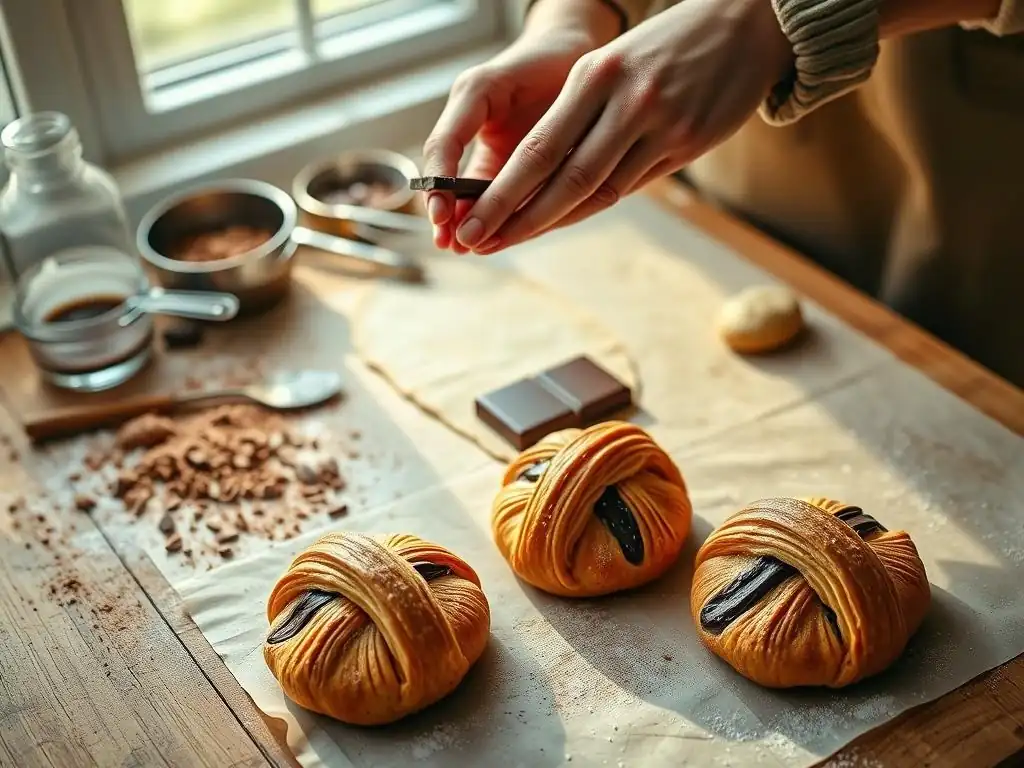
Homemade pain au chocolat are best enjoyed fresh from the oven when they are at their flakiest and the chocolate is perfectly molten. However, they can be stored to extend their enjoyment. Once completely cooled, store pain au chocolat in an airtight container at room temperature for up to 1-2 days. The pastry will lose some of its crispness over time, but the flavor will remain good. Avoid refrigerating baked pain au chocolat, as the cold air can quickly make them dry and stale.
If you need to store them for longer, freezing is an option. Once baked and fully cooled, wrap each pain au chocolat individually in plastic wrap, then place them in a freezer-safe bag or container. They can be frozen for up to 1-2 months. Freezing unbaked, proofed pain au chocolat is also possible; place them on a baking sheet in the freezer until solid, then transfer to a freezer bag. Bake directly from frozen, adding a few minutes to the baking time.
Reheating Pain au Chocolat for Optimal Enjoyment
To revive the flaky texture and molten chocolate of pain au chocolat that have been stored at room temperature or frozen (after baking), reheating is recommended. The best way to reheat is in an oven or toaster oven. Preheat the oven to around 170-180°C (340-350°F). Place the pain au chocolat directly on the oven rack or on a baking sheet.
For pain au chocolat stored at room temperature, reheat for about 5-10 minutes, or until warmed through and the pastry feels crisp again. For frozen, baked pain au chocolat, reheat for 10-15 minutes, or until heated through and flaky. The goal is to warm the interior and re-crisp the exterior without drying them out. Avoid microwaving pain au chocolat, as this will make them soft and chewy rather than flaky. Serve immediately after reheating for the best experience.
Taking Your Croissant Baking Skills to the Next Level
Variations on the Classic Pain au Chocolat Recipe
Once you've mastered the classic easy chocolate croissant recipe guide, you can explore exciting variations. One popular twist is the almond pain au chocolat. This typically involves slicing the baked pain au chocolat horizontally, filling it with frangipane (almond cream), dipping the top in syrup, and dusting with sliced almonds before baking again until golden. This double-baked method results in a richer, denser pastry with a delightful nutty flavor.
Another creative avenue is exploring savory pain au chocolat. Instead of chocolate batons, you could fill the pastries with ingredients like cheese (such as Gruyère or cheddar), herbs, or even finely chopped cooked ham or spinach. These savory variations make for excellent brunch items or light snacks. The key is to ensure the filling isn't too wet, which could make the dough soggy. Experimenting with fillings allows you to put your own unique spin on this classic pastry.
Almond Pain au Chocolat: A Delicious Twist
Almond pain au chocolat elevates the original with layers of texture and flavor. After baking your standard pain au chocolat following the easy chocolate croissant recipe guide, let them cool completely. Prepare a simple syrup (equal parts sugar and water, heated until sugar dissolves) and a batch of frangipane (made from butter, sugar, almond flour, eggs, and a touch of flour). Slice each pain au chocolat horizontally. Brush the cut surfaces with the simple syrup. Spread a generous layer of frangipane on the bottom half, then replace the top half.
Dip or brush the top of the assembled pastry with more simple syrup. Press sliced almonds onto the top and sides. Place the almond pain au chocolat on a baking sheet and bake again in a preheated oven (around 170-180°C or 340-350°F) for about 15-20 minutes, or until the frangipane is set and the almonds are golden brown. This process creates a wonderfully moist interior from the frangipane and syrup, contrasting with the crispy exterior and nutty almonds.
Savory Pain au Chocolat: Exploring New Flavors
Venturing into savory territory with your pain au chocolat dough opens up a world of possibilities. Instead of sweet chocolate batons, you can fill the rolled dough rectangles with various savory ingredients. A simple but effective filling is grated cheese; Gruyère, sharp cheddar, or Parmesan work beautifully. You might use about 20-30 grams (around 1 ounce) of grated cheese per pastry.
For a more substantial savory filling, consider adding finely chopped cooked ham, sautéed spinach (ensure all excess moisture is squeezed out), or even caramelized onions along with the cheese. Roll and shape the pastries as you would for the sweet version. You might brush them with an egg wash mixed with a pinch of salt or pepper before baking. Bake at the same temperature and time as classic pain au chocolat until golden brown. These savory pastries are perfect for breakfast, a light lunch, or served with soup or salad.
Mastering Advanced Lamination Techniques for Even Flakier Croissants
For those looking to achieve even more dramatic flakiness beyond the standard three turns in this easy chocolate croissant recipe guide, exploring advanced lamination techniques is the next step. One method is the "single turn" or "book fold," where the dough is folded in half, then in half again, like closing a book. This creates more layers per turn but requires very precise handling and chilling.
Another technique is increasing the number of turns, perhaps performing four or even five turns instead of three. Each additional turn increases the number of layers exponentially (e.g., three triple turns result in 3^3 = 243 layers, while four triple turns result in 3^4 = 729 layers). However, with more turns comes the increased risk of the butter breaking or melting into the dough.
Mastering these techniques requires careful control of dough and butter temperature, gentle and even rolling, and sufficient chilling time between each turn. It's a journey of practice and patience, but the results can be breathtakingly flaky pastries.
Frequently Asked Questions
What makes this chocolate croissant recipe "easy"?
This recipe focuses on simplified techniques and readily available ingredients, making the process less intimidating for beginner bakers. We prioritize clear, concise instructions to avoid common pitfalls.
Can I use store-bought puff pastry for this recipe?
Yes, using store-bought puff pastry is a great way to save time. Ensure it's a high-quality all-butter variety for the best flavor and texture.
What kind of chocolate is best for pain au chocolat?
Traditionally, bâtons de chocolat (chocolate sticks) are used. However, you can substitute with dark chocolate bars cut into batons, ensuring a rich, dark chocolate flavor.
How do I prevent the chocolate from melting out during baking?
Chilling the croissants before baking helps solidify the chocolate. Also, ensure the seams are tightly sealed to prevent leakage.
What's the best way to store leftover chocolate croissants?
Store leftover croissants in an airtight container at room temperature for up to two days. Reheating briefly in the oven will restore their crispness.
Final Reflection: The Enduring Allure of the Pain au Chocolat
The seemingly simple act of baking a pain au choclat transcends mere culinary creation; it's a journey into the heart of French pastry tradition, a testament to the power of accessible elegance. In a world increasingly dominated by fast food and convenience, the dedication required to craft these delicate, chocolate-filled croissants offers a powerful counterpoint – a reminder of the satisfaction found in slowing down and savoring the process. This easy guide aimed to demystify the process, making this beloved treat attainable for everyone.
The enduring appeal of the pain au chocolat lies not just in its exquisite taste, but in its ability to evoke feelings of warmth, comfort, and shared experience. From Parisian cafes to home kitchens worldwide, the simple pleasure of biting into a flaky, buttery croissant filled with rich dark chocolate unites people across cultures and generations. The best things in life are simple,
a sentiment perfectly embodied by this classic pastry. Its enduring popularity speaks volumes about our collective desire for simple pleasures and the comforting ritual of baking.
Now, I invite you to consider your own relationship with food and the process of creation. Will you embrace the challenge of crafting your own pain au chocolat? Perhaps this guide has inspired you to explore other classic recipes, to slow down, and to appreciate the artistry involved in transforming simple ingredients into something truly special. The journey of baking is as rewarding as the final product, so don't hesitate to embark on this delicious adventure. The aroma alone is worth the effort!
Unleash Your Inner Boulanger: Craft the Perfect Pain au Chocolat!
Thanks for joining us on this delicious journey into the world of pain au chocolat! We hope you now feel confident in tackling this classic French pastry. Ready to take your baking skills to the next level?
- Master the art of lamination: Practice your croissant dough techniques and surprise yourself with how much you've learned! Try another recipe from our site for even more practice.
- Share your baking triumphs (and even your "oops" moments!): Post photos of your pain au chocolat on social media using #BakeWithEasePainAuChocolat – let's build a community of passionate bakers!
- Explore other delicious BakeWithEase recipes: Dive into our extensive library and discover new challenges and rewarding bakes.
What other French pastry will you conquer next? Let us know in the comments below!