
How to Use a Coupler with Piping Bags

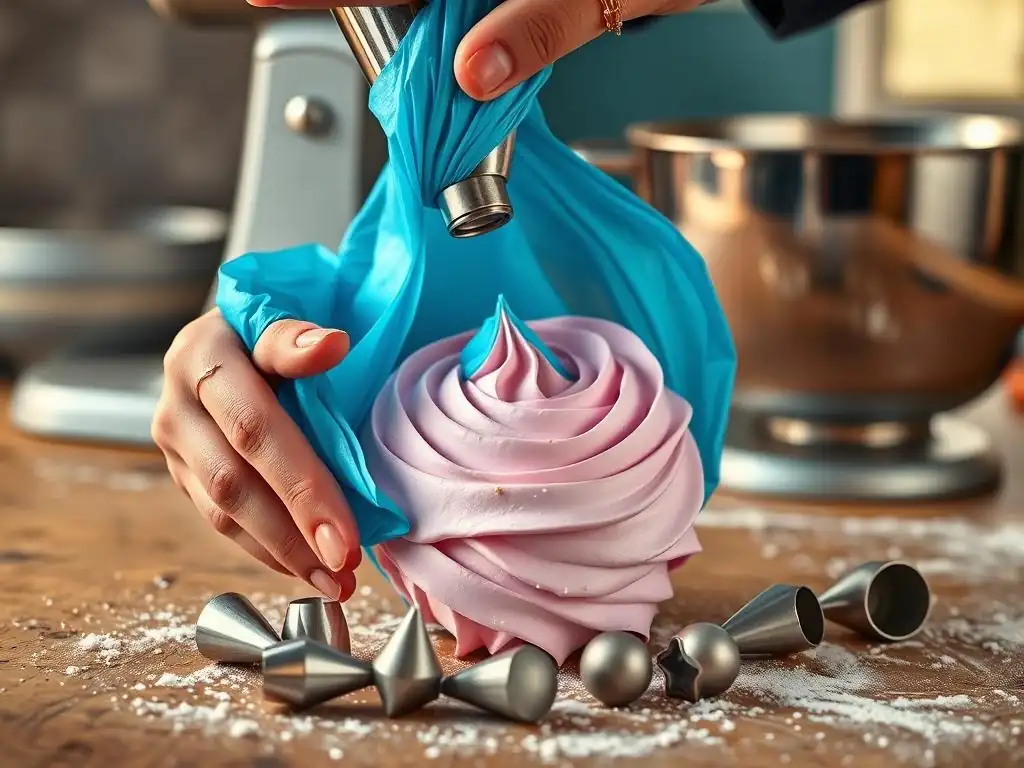
Welcome to BakeWithEase, your partner in creating delicious baked goods! Ever wonder how to achieve those perfectly piped swirls and intricate designs? Mastering the art of filling a piping bag is a crucial step. This guide unveils the secrets to using a coupler with your piping bags, opening up a world of decorating possibilities and taking your baking skills to the next level. Dive in and discover how to make your next creation truly unforgettable!
- How to Use a Coupler with Piping Bags: A BakeWithEase Guide
- Introduction to Piping Bags and Couplers for Cake Decorating
- What You'll Need: Piping Bag Coupler Essentials
- Step-by-Step Guide: Assembling Your Piping Bag with a Coupler
- Filling Your Piping Bag with Icing or Cream
- Switching Piping Tips Easily with a Coupler
- Cleaning and Storing Your Piping Bag and Coupler
- Troubleshooting Common Piping Bag and Coupler Issues
- Advanced Piping Techniques Using Couplers
- Conclusion: Mastering the Piping Bag with a Coupler
- Frequently Asked Questions
- Final Reflection: Mastering the Art of the Perfectly Filled Piping Bag
- Unleash Your Inner Pastry Chef!
How to Use a Coupler with Piping Bags: A BakeWithEase Guide
Introduction to Piping Bags and Couplers for Cake Decorating
Welcome to the wonderful world of cake decorating! While it might seem intimidating at first, mastering a few basic tools can open up a universe of creative possibilities. One of the most versatile and indispensable tools for any baker looking to add finesse to their creations is the piping bag, especially when paired with a coupler. Piping bags allow you to precisely control the flow and shape of icings, creams, and even batters.
A coupler is a simple, two-part plastic device that fits inside a piping bag, allowing you to easily swap out different piping tips without changing the bag or emptying its contents. This is incredibly useful when you need to perform multiple decorating techniques on a single project, such as piping borders, writing text, and adding details, all using the same color of buttercream or royal icing. Understanding how to properly assemble and use a piping bag with a coupler is a fundamental skill that simplifies decorating and saves time and effort.
What You'll Need: Piping Bag Coupler Essentials
Before you begin assembling your piping bag and coupler, gather all the necessary supplies. Having everything ready ensures a smooth and efficient decorating process. You'll typically find these items at baking supply stores, craft stores, or online retailers.
Here's a checklist of what you'll need:
- Piping Bags: These can be disposable plastic bags, reusable silicone bags, or even canvas bags. Disposable bags are convenient for cleanup, while reusable options are more environmentally friendly. Choose a size appropriate for your project – a 12-inch or 16-inch bag is standard for most cake and cupcake decorating.
- Piping Bag Coupler: Make sure you have a standard-sized plastic coupler. Couplers come in different sizes (small, medium, large), so ensure your piping tips are compatible with your coupler size. A standard coupler fits most medium to large tips.
- Piping Tips: Select the tips you plan to use for your decorating. This might include star tips (
#1M,#21), round tips (#3,#12), petal tips (#104), or specialty tips. The beauty of the coupler is that you don't need to decide on all your tips upfront; you can swap them later. - Scissors: Sharp scissors are needed to snip the end off the piping bag.
- Icing, Buttercream, or Cream: Have your prepared decorating medium ready. Ensure it's the correct consistency for piping – not too stiff that it's hard to squeeze, and not too soft that it loses its shape. A good buttercream for piping holds a peak when lifted with a spatula.
Step-by-Step Guide: Assembling Your Piping Bag with a Coupler
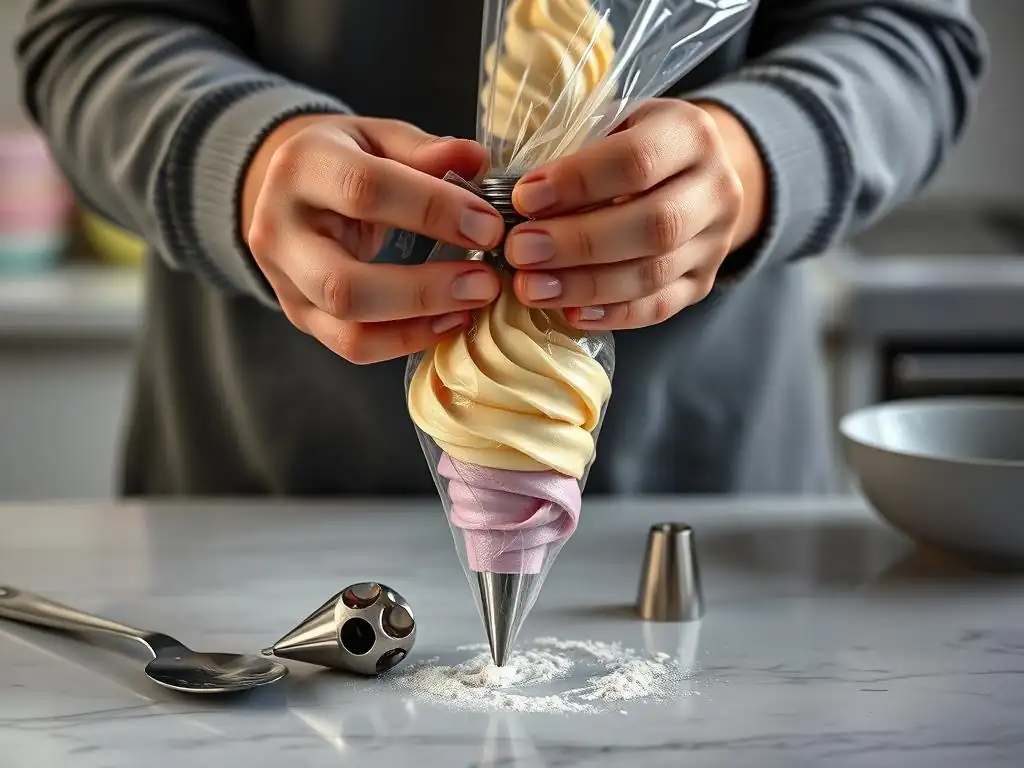
Putting together your piping bag with a coupler is a straightforward process. Following these steps ensures a secure fit that prevents leaks and allows for easy tip changes.
Step 1: Preparing the Piping Bag for the Coupler
The first step is to prepare the piping bag itself. If you're using a disposable bag or a reusable bag without a pre-cut hole, you'll need to make an opening at the narrow end. Take the two-part coupler and insert the base (the larger piece with the screw threads) into the bag, pushing it down towards the pointed end.
Hold the coupler base snugly inside the bag, right at the tip. You should be able to see the threads of the coupler base through the plastic or fabric of the bag. Use your scissors to carefully snip off the very end of the bag, just enough so that the threads of the coupler base are exposed, but not so much that the entire coupler base can slip through the hole. A common mistake here is cutting too much, which can lead to leaks. Aim to cut just below the bottom ridge of the coupler threads.
Step 2: Inserting the Coupler Base into the Piping Bag
Once the tip of the bag is snipped, insert the coupler base fully into the bag from the inside. Push it down firmly so that the threaded portion protrudes from the hole you just cut. The wider part of the coupler base should be resting snugly against the inside of the bag material at the opening.
Ensure the bag material is smooth around the threads of the coupler base on the outside. There shouldn't be any wrinkles or folds of plastic caught in the threads, as this can make it difficult to screw on the ring and can also cause icing to leak around the coupler during use. Check from the outside to make sure the coupler base is centered and flush with the bag opening.
Step 3: Attaching the Piping Tip to the Coupler Ring
Now that the coupler base is securely in the bag, select the piping tip you want to use first. Place the chosen piping tip over the threaded end of the coupler base that is sticking out of the bag. The narrow end of the tip should point away from the bag.
Take the second part of the coupler – the coupler ring (which looks like a large nut with internal threads). Slip the coupler ring over the piping tip and screw it onto the threads of the coupler base. Tighten the ring just until it's snug. Overtightening can crack plastic couplers or damage the bag material, while leaving it too loose will cause leaks. The tip should feel secure and not wiggle when the ring is tightened correctly.
Step 4: Testing the Assembled Piping Bag and Coupler
Before you move on to learning how to fill piping bags efficiently, it's a good idea to test the assembly. While you don't need to fill it completely for this test, adding a small amount of water or even a tiny bit of your intended icing can help you check for potential issues.
Hold the assembled bag with the tip pointing downwards. Gently squeeze the bag. Observe where the water or icing comes out. It should only come out of the tip opening.
If you see any seeping or dripping around where the coupler ring meets the bag or where the tip meets the coupler, it indicates the coupler ring isn't tight enough, the bag wasn't cut correctly, or the bag material is caught in the threads. Adjust the ring or re-evaluate the bag's opening if necessary. This quick check saves you frustration later when you're working with a full bag of precious buttercream.
Filling Your Piping Bag with Icing or Cream
Knowing how to fill piping bags correctly is just as important as assembling them. An improperly filled bag is difficult to handle, can cause messes, and makes piping techniques much harder. The general rule of thumb is to fill your piping bag no more than half to two-thirds full. Overfilling makes the bag bulky and hard to control, causing icing to squish out the wrong end.
To fill the bag, hold it with one hand and fold the top edges down over your hand, creating a cuff. This cuff protects the outside of the bag from getting messy and gives you a wider opening. Use a spatula to scoop your icing or cream into the bag.
Push the icing down towards the coupler and tip gently with the spatula or by squeezing the bag from the top. Once filled, unfold the cuff and twist the top of the bag tightly closed. This twist serves as your control point; you'll use your dominant hand to squeeze from here, pushing the icing down towards the tip.
Switching Piping Tips Easily with a Coupler
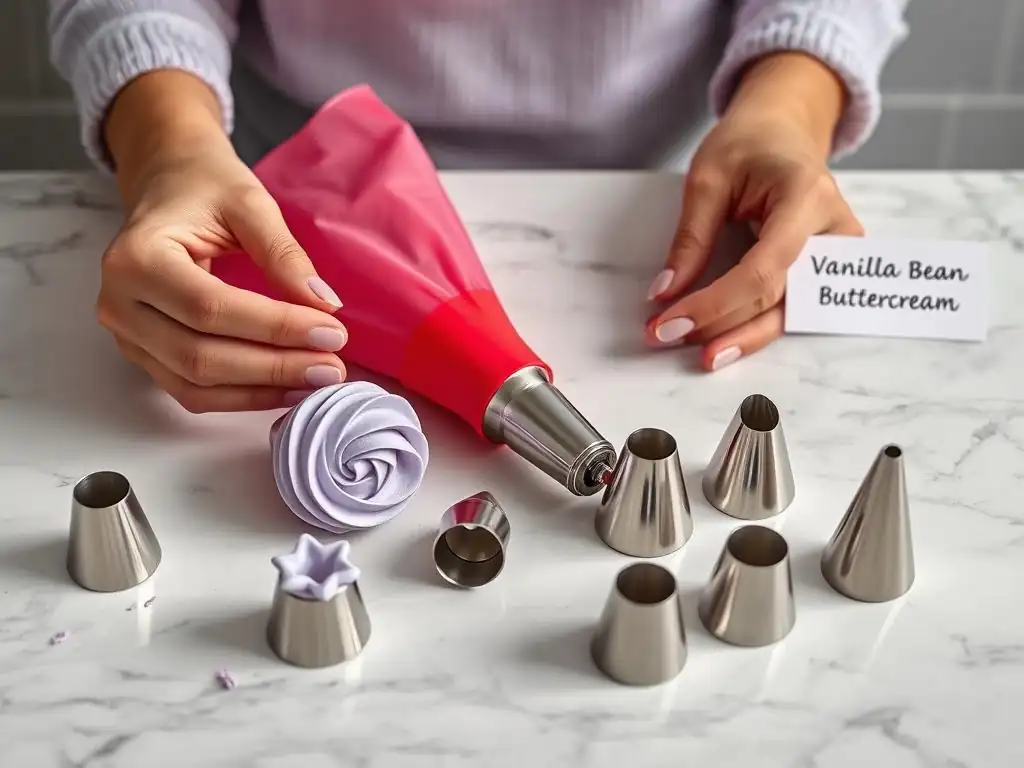
The primary advantage of using a coupler is the ease of switching tips. If you've assembled your bag correctly as outlined above, changing tips is a breeze. Simply untwist the coupler ring, remove the current piping tip, place the new tip over the coupler base, and screw the ring back on until snug.
This process takes mere seconds and allows you to use multiple tip sizes and styles with the same color of icing from the same bag. For example, you could pipe a smooth base layer on cupcakes using a large round tip ( #1A), then switch to a star tip ( #1M) to pipe a swirl on top, and finally swap to a small round tip ( #3) for writing a message, all without having to prepare multiple bags or waste any icing.
Cleaning and Storing Your Piping Bag and Coupler
Proper cleaning and storage prolong the life of your piping bags, couplers, and tips. As soon as you're finished decorating, empty any remaining icing from the bag (it can often be scraped out and saved if clean).
For disposable bags, simply discard them. For reusable bags, tips, and couplers, rinse them immediately with warm water to remove as much residue as possible before it hardens. Then, wash them thoroughly in warm, soapy water. Use a small brush, like a bottle brush or even a clean toothbrush, to get inside the tips and coupler threads where icing can hide.
Rinse again and allow everything to air dry completely on a rack or towel before storing. Storing items while still damp can lead to mold or unpleasant odors. Store tips and couplers together, perhaps in a small container or zip-top bag, so they are easy to find for your next baking adventure.
Troubleshooting Common Piping Bag and Coupler Issues
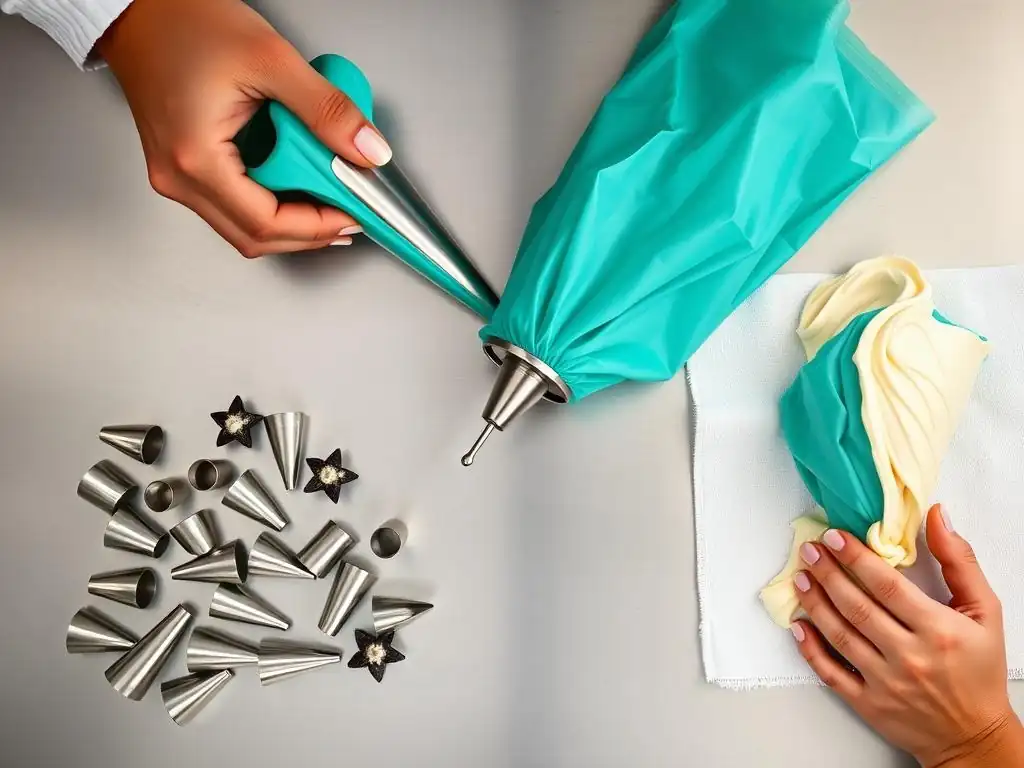
Even with careful assembly, you might encounter a few common issues when using a piping bag with a coupler. Knowing how to quickly address these problems can save your decorating project from disaster.
Addressing Leaks Around the Coupler
One of the most frequent problems is icing leaking around the coupler ring instead of coming solely through the piping tip. This is not only messy but also reduces the pressure needed for clean piping, leading to uneven results. The main culprits are usually related to the assembly steps we discussed earlier.
First, check if the coupler ring is screwed on tightly enough. It should be snug, but not so tight it risks cracking. If it's loose, gently tighten it a bit more. Second, examine the opening you cut in the bag.
If it's too large, the bag material won't form a tight seal around the coupler base. In this case, you might need to transfer the icing to a new, properly cut bag. Third, ensure no wrinkles or folds of the bag material are caught between the coupler base and the ring – smooth the bag material around the coupler threads before screwing on the ring. Sometimes, using a slightly thicker icing consistency can also help minimize minor leaks, as thinner icings find it easier to seep through small gaps.
Advanced Piping Techniques Using Couplers
Once you're comfortable using a piping bag with a coupler for basic tasks, you can explore more advanced techniques. The ability to quickly switch tips allows for complex designs and patterns. Consider using the coupler to:
- Create multi-layered borders by piping one style, then switching tips to pipe another directly on top.
- Execute intricate basketweave patterns, which require switching between a flat tip and a round tip for different parts of the weave.
- Decorate cookies with various details – outline with a small round tip, flood with thinned icing (using a different bag or method), then add fine details or textures with different small tips.
- Fill delicate pastries like cream puffs or eclairs using a bismarck tip, then switch to a star tip to add a decorative flourish on top.
The coupler truly shines when a single color of icing is used for multiple distinct elements on a cake or dessert, drastically reducing the number of bags you need to prepare and manage.
Conclusion: Mastering the Piping Bag with a Coupler
Using a piping bag with a coupler is a foundational skill in cake decorating that offers immense flexibility and convenience. From preparing the bag and inserting the coupler base to attaching tips, filling piping bags efficiently, and switching tips effortlessly, each step contributes to a smoother decorating experience. By practicing these techniques and understanding how to troubleshoot common issues like leaks, you'll gain confidence in your ability to create beautiful, professional-looking baked goods. Embrace the versatility of the coupler, and watch your decorating skills flourish!
Frequently Asked Questions
How does a coupler help with piping bags?
A coupler allows you to easily switch piping tips without having to change the entire bag. This is especially helpful when working with multiple colors or designs that require different tips.
What are the different parts of a coupler?
A coupler typically consists of two parts: a base ring that sits inside the bag and a ring that screws on the outside to hold the tip in place. These parts work together to secure the tip.
Can I reuse a coupler?
Yes, couplers are designed to be reusable. After using your piping bag, simply wash and dry the coupler thoroughly before storing it for future use.
What size coupler should I use with my piping bags?
Coupler sizes vary. Choose a coupler that is compatible with the size of your piping bags and the types of piping tips you plan to use.
What is the best way to ensure a tight seal with a coupler and piping bag?
Make sure to cut the piping bag at the correct height for the coupler base. This ensures the base is securely fitted within the bag without being too loose or too tight.
Final Reflection: Mastering the Art of the Perfectly Filled Piping Bag
The ability to efficiently and effectively fill a piping bag is not merely a technical skill; it's the cornerstone of beautiful and professional-looking baked goods. From intricate floral designs to perfectly swirled frosting, the foundation of every stunning creation lies in the mastery of this seemingly simple task. This seemingly small detail can significantly impact the overall quality and presentation of your work.
The impact of properly filled piping bags extends far beyond the individual baker. It's a skill that connects generations of bakers, passed down through families and shared amongst passionate enthusiasts. Baking is at once child's play and adult joy. And love, of course.
This quote perfectly encapsulates the joy and precision that goes into creating something beautiful, and a perfectly filled piping bag is a crucial element in that process. The ease and efficiency gained from mastering this technique allows for greater creativity and exploration in the kitchen, fostering a sense of accomplishment and pride.
Now, consider your own baking journey. Take a moment to reflect on your current piping bag filling technique. Are you ready to elevate your skills? Try implementing the coupler method outlined in this article – you might be surprised at the difference it makes in your workflow and the final product. Embrace the challenge, experiment with different techniques, and discover the joy of creating truly stunning baked goods. The journey of mastering this skill is as rewarding as the delicious results it produces.
Unleash Your Inner Pastry Chef!
Thanks for taking the time to learn about using couplers with piping bags! We hope you now feel confident tackling any decorating challenge. Ready to put your new skills to the test?
- Master the art of piping: Practice different piping techniques with various tips and nozzles to discover your unique style. Try creating a rosette pattern today—it’s easier than you think!
- Share your creations: Show off your beautiful piping work on social media and tag us #BakeWithEase — we'd love to see what you bake!
- Explore advanced piping techniques: Dive deeper into the world of piping by searching for tutorials on advanced frosting designs and cake decorating methods.
What stunning dessert masterpiece will you create first?