
From Proof to Plate: Timed Temperature Steps for Foolproof Sourdough

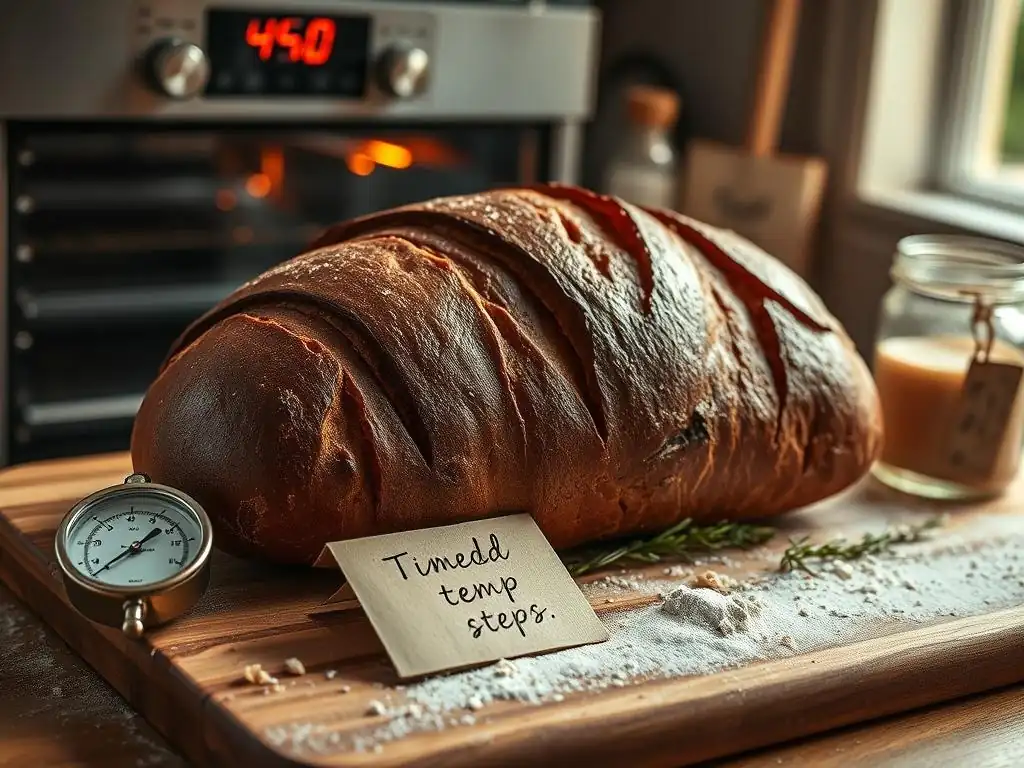
Welcome to BakeWithEase, where we believe everyone can create delicious baked goods! Ever wonder if you're truly nailing that perfect sourdough loaf? This article dives deep into the crucial element of sourdough bread baking temperature, unlocking the secrets to achieving that coveted crust and airy crumb. Get ready to transform your baking with our timed temperature guide, designed to take the guesswork out of every bake and turn you into a sourdough pro. Let's get baking!
- Mastering Sourdough: The Importance of Baking Temperature
- Sourdough Bread Baking Temperature Guide: A Step-by-Step Approach
- Troubleshooting Sourdough Baking Issues Related to Temperature
- Sourdough Baking Temperature Chart: Quick Reference Guide
- Achieving Sourdough Perfection: Advanced Temperature Techniques
- Tips for Maintaining Consistent Oven Temperature for Sourdough
-
Frequently Asked Questions
- What is the ideal initial baking temperature for sourdough bread?
- Why is steam important in sourdough baking?
- How long should I bake sourdough bread at the initial high temperature?
- What temperature should I reduce the oven to after the initial high-heat phase?
- How do I know when my sourdough bread is fully baked?
- Final Reflection: The Transformative Power of Precise Temperature in Sourdough Baking
- Unlock Your Sourdough Mastery: Bake the Perfect Loaf Today!
Mastering Sourdough: The Importance of Baking Temperature
Achieving that perfect loaf of sourdough bread – with its crackling crust, airy crumb, and signature tangy flavor – is a rewarding experience. While many factors contribute to sourdough success, from the health of your starter to the fermentation process, the sourdough bread baking temperature is arguably one of the most critical elements. It's not just about setting your oven to one temperature and walking away; understanding the nuances of heat application throughout the bake is key to unlocking the full potential of your dough.
The correct temperature ensures proper oven spring, develops a beautiful, caramelized crust, and allows the interior crumb to set perfectly. Too low a temperature can result in a flat, pale loaf with a dense, gummy texture, while too high or inconsistent heat can lead to a burnt exterior before the interior is fully cooked. Mastering the oven temperature for sourdough baking is a skill that transforms good loaves into truly great ones, making it a fundamental part of the journey from proofing to plate.
Understanding Sourdough Baking Temperatures for Optimal Results
Optimizing your sourdough bread baking temperature is essential for predictable and delicious outcomes. Different stages of the bake require different levels of heat to achieve specific results, impacting everything from the loaf's structure to its flavor profile. A common approach involves starting at a high temperature to maximize oven spring and crust development, then reducing the heat to ensure the interior cooks through without the crust burning.
For instance, starting your bake around 450°F - 500°F (230°C - 260°C) helps the dough rapidly expand as gases within it are superheated, leading to a significant rise. This initial high heat also kickstarts the Maillard reaction and caramelization on the crust, giving it color and flavor. Following this phase, dropping the temperature to approximately 400°F - 425°F (200°C - 220°C) allows the internal temperature of the loaf to reach the necessary 200°F - 210°F (93°C - 99°C) for a fully cooked crumb without over-darkening or hardening the crust prematurely. This two-stage temperature method is a cornerstone technique for achieving superior sourdough loaves.
Why Timed Temperature Adjustments Matter in Sourdough Baking
Timed temperature adjustments are not merely suggestions but crucial steps in controlling the complex chemical and physical transformations that occur during sourdough baking. The initial high heat phase, typically lasting 15-25 minutes, is primarily focused on maximizing expansion and setting the structure of the crust. This rapid heat exposure creates steam from the dough's moisture, which helps keep the crust pliable temporarily, allowing for better oven spring.
After this initial period, usually when the loaf has achieved most of its rise and the crust has started to color, reducing the temperature becomes vital. This lower temperature, maintained for the remaining 20-40 minutes of the bake, allows the interior crumb to finish cooking and dry out slightly, transitioning from a wet dough to a stable, airy structure. Without this adjustment, the exterior would likely burn long before the inside is fully baked, resulting in a dense, undercooked center surrounded by a rock-hard or bitter crust. Precise timing for these temperature changes ensures a harmonious balance between crust development and crumb perfection.
Sourdough Bread Baking Temperature Guide: A Step-by-Step Approach
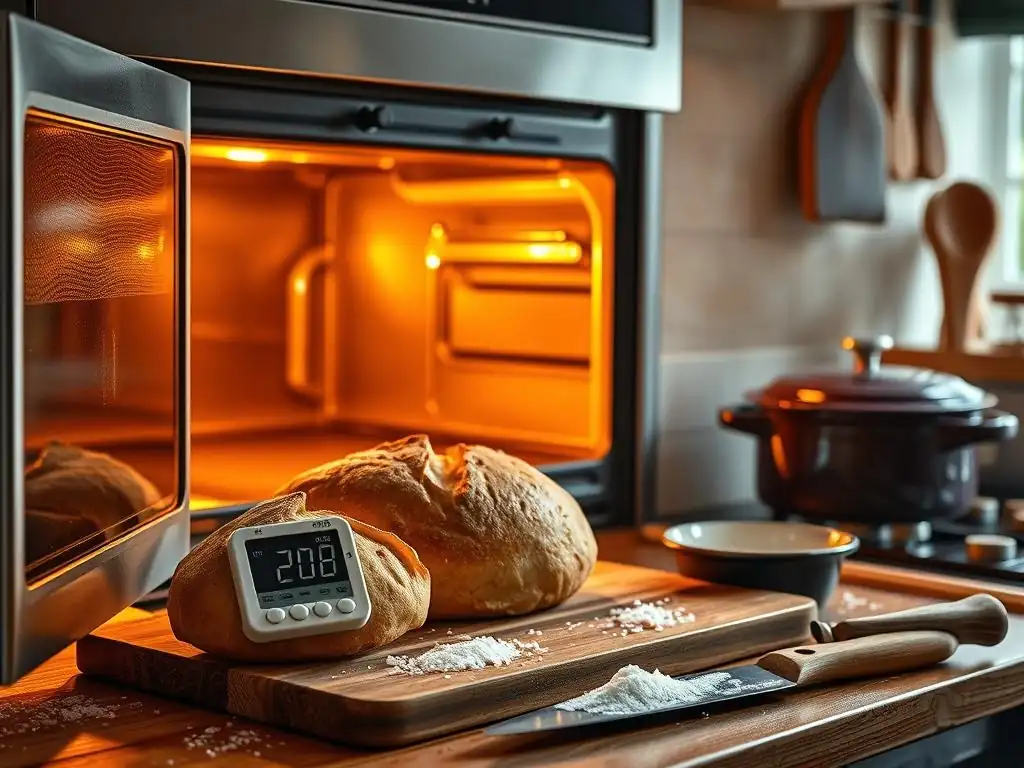
Navigating the ideal sourdough bread baking temperature involves following a general sequence that can be adapted based on your specific recipe, oven, and desired outcome. While variations exist, a widely successful method employs two distinct temperature phases. This phased approach leverages the power of high heat initially for structure and spring, then utilizes moderate heat to ensure the interior is thoroughly cooked without compromising the crust.
Think of it as a carefully choreographed dance between heat and dough. The steps are designed to guide the loaf through its final transformation in the oven, ensuring consistent results. Paying close attention to the recommended temperatures and the suggested timing for adjustments is key to mastering the art of baking sourdough with a reliable, perfect finish every time.
Phase 1: Initial High-Heat Baking (Setting the Crust)
The first phase of baking sourdough is all about heat and steam. Placing the dough in a very hot environment right away provides the necessary thermal shock to encourage maximum oven spring. This sudden exposure to high temperatures causes the water within the dough to flash into steam, rapidly expanding the air pockets created during fermentation. Simultaneously, the surface of the dough begins to dry and set, forming the initial structure of the crust.
This high-heat phase is also where techniques like baking in a Dutch oven or using steam pans are most impactful. Containing the steam around the loaf during these critical first minutes keeps the surface moist and pliable, allowing the dough to expand fully before the crust hardens. Without sufficient initial heat and potentially steam, the loaf's rise will be limited, resulting in a denser final product.
Recommended Initial Oven Temperature for Sourdough
The commonly recommended initial oven temperature for sourdough bread baking ranges from 450°F to 500°F (230°C to 260°C). The exact temperature within this range can depend on the recipe and your oven's characteristics. Many bakers find success starting around 475°F (245°C). It's crucial to ensure your oven is fully preheated to this temperature, often for at least 30 minutes to an hour, especially if using a baking stone or Dutch oven, as these need ample time to absorb and radiate heat effectively.
This intense heat provides the energy required for rapid expansion. The dough's internal temperature quickly rises, activating residual yeast and causing gases to expand dramatically. This is the period where you'll see the most significant 'oven spring' – the final burst of rising in the oven. Aim for this high temperature for the first 15 to 25 minutes of the bake, depending on the size of your loaf and how quickly the crust is coloring.
The Role of Steam in Creating a Perfect Sourdough Crust
Steam is an unsung hero in the initial phase of sourdough baking and plays a pivotal role in developing that signature thin, crispy crust. When the dough is first placed in a hot oven, the moisture on its surface and just below it turns into steam. If this steam is trapped around the loaf (as in a Dutch oven or with added steam), it keeps the crust moist and elastic for a longer period.
This elasticity allows the dough to expand freely during oven spring without the crust setting too early and restricting the rise. Once the steam dissipates (either by removing the lid of a Dutch oven or venting the oven), the moist surface can then dry out and undergo the Maillard reaction and caramelization, resulting in a beautifully browned, crisp crust with lovely blisters. Baking sourdough temperature combined with effective steam management is the secret to a gorgeous exterior.
Phase 2: Reducing Temperature for Internal Baking
After the initial burst of high heat has done its job of maximizing oven spring and setting the basic crust structure, it's time to transition to the second phase of baking. This involves reducing the oven temperature significantly. This step is critical for allowing the interior of the loaf to finish cooking thoroughly without the exterior becoming too dark, hard, or burnt. It's a delicate balance that ensures the crumb is fully set and airy, not dense or gummy.
This phase typically accounts for the majority of the remaining baking time. The goal is to continue cooking the loaf at a more moderate pace, allowing moisture to evaporate from the crumb and the starches to set, while the crust continues to develop color and crispness at a slower rate.
Why Lowering the Temperature is Crucial for Sourdough
Lowering the sourdough bread baking temperature after the initial high-heat phase is crucial for several reasons. Firstly, it prevents the crust from burning. The sugars on the surface of the dough caramelize rapidly at high temperatures; maintaining that heat would lead to excessive darkening and potentially a bitter flavor before the interior is cooked. Secondly, it allows the heat to penetrate more gently into the center of the loaf, ensuring even cooking throughout the crumb.
If the temperature remains too high, the outside will cook much faster than the inside, potentially leaving you with a loaf that looks done but has a wet or undercooked center. Dropping the temperature, typically to somewhere between 400°F and 425°F (200°C and 220°C), allows the internal temperature to slowly rise to its target range ( 200°F - 210°F) while the crust finishes browning to a perfect golden-brown or deep amber color.
Preventing a Burnt Crust: Temperature Control Techniques
Preventing a burnt crust while ensuring the interior is fully baked is a primary goal of temperature control. The most common technique is the two-phase baking method: starting hot, then reducing the heat. If you notice your crust is browning too quickly even after reducing the temperature, you can loosely tent the loaf with aluminum foil for the remaining baking time. This reflects radiant heat away from the top crust, slowing down the browning process.
Another technique, especially when baking on a stone or steel, involves placing a baking sheet on the rack below the loaf during the second phase. This helps shield the bottom crust from direct radiant heat, preventing it from becoming too dark or hard. Monitoring your specific oven's hot spots and adjusting loaf placement or using these shielding methods can significantly help achieve a perfectly colored crust without charring.
Even with careful planning, temperature-related issues can arise when baking sourdough. An underbaked loaf is disappointing, yielding a gummy, unpleasant texture, while an overbaked one can be dry and hard. Recognizing the signs of these problems and understanding how they relate to your sourdough bread baking temperature can help you adjust your technique for future bakes.
Troubleshooting often involves assessing both the oven's actual temperature and the duration of each baking phase. It's also crucial to consider how factors like loaf size, dough hydration, and baking vessel (like a Dutch oven vs. a baking stone) interact with temperature to influence the final result.
Underbaked Sourdough: Identifying and Correcting Temperature Problems
An underbaked sourdough loaf is typically characterized by a dense, wet, or gummy crumb, especially in the center. The crust might look pale or lack the deep color and crispness you expect. This usually indicates that the loaf did not spend enough time at the correct internal cooking temperature ( 200°F - 210°F). This can happen if the overall baking time was too short, or if the oven temperature during the second phase was too low.
To correct this, first, verify your oven's temperature accuracy using a separate oven thermometer – ovens can be off by as much as 50°F (28°C). If your oven runs cool, you may need to set it higher than the recipe recommends. Second, ensure you are baking the loaf for a sufficient duration in the second, lower-temperature phase. If the crust is browning too fast, use the tenting method with foil, but extend the baking time until the internal temperature reaches the target range.
Overbaked Sourdough: Avoiding Dryness and Burnt Crusts
An overbaked sourdough loaf often presents with a crust that is excessively dark, potentially black in spots, and very hard or brittle. The interior crumb might be dry or crumbly rather than moist and airy. This typically results from baking at too high a temperature for too long, particularly during the second phase, or from inconsistent heat distribution in the oven.
To avoid overbaking, ensure your oven temperature is accurate during the second phase. If your oven runs hot, set it slightly lower. Pay close attention to the color of the crust; if it's reaching your desired shade before the recommended baking time is up, consider tenting it with foil. Monitoring the internal temperature with a thermometer is the most reliable way to know when the loaf is done, preventing you from baking longer than necessary based solely on external appearance.
Monitoring Internal Temperature for Perfectly Baked Sourdough
Relying solely on visual cues like crust color can be misleading when determining sourdough doneness. The most reliable way to know if your sourdough is perfectly baked through is by checking its internal temperature. A fully baked sourdough loaf should register between 200°F and 210°F (93°C and 99°C) in the center.
Using a digital instant-read thermometer is the most accurate method. Insert the probe into the deepest part of the loaf, avoiding any large air pockets. This ensures you are measuring the true temperature of the crumb. Consistent monitoring of the internal temperature helps eliminate guesswork and ensures your sourdough is cooked to perfection every time, regardless of minor variations in dough size or oven performance.
Using a Thermometer for Accurate Sourdough Doneness
Using an instant-read thermometer is a game-changer for consistent sourdough baking. Towards the end of the estimated baking time (e.g., after 30-40 minutes total bake time), carefully remove the loaf from the oven or Dutch oven. Insert the thermometer probe into the bottom center of the loaf. Avoid inserting it through the top crust, as this can damage its structure and appearance.
If the thermometer reads below 200°F (93°C), return the loaf to the oven for additional baking time, checking every 5-10 minutes. Once it reaches 200°F - 210°F, the starches have gelled and set, and the loaf is done. This method removes the uncertainty of visual checks and is the professional standard for ensuring a fully cooked, never-gummy crumb.
Sourdough Baking Temperature Chart: Quick Reference Guide
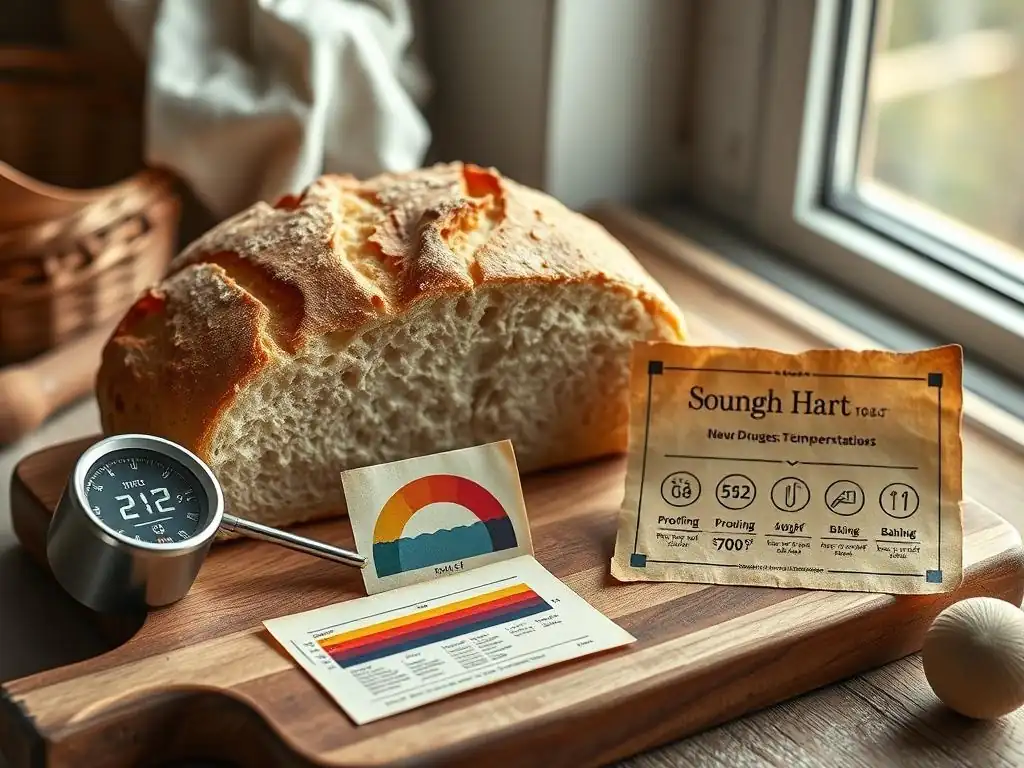
Having a quick reference for sourdough bread baking temperature can be incredibly helpful as you refine your technique. While exact times and temperatures can vary based on loaf size, hydration level, and oven quirks, a general guideline provides a solid starting point. This chart outlines a common and successful two-phase approach used by many bakers.
| Phase                 | Purpose                    | Typical Temperature Range | Typical Duration | Notes                                       |
| :-------------------- | :------------------------- | :------------------------ | :--------------- | :------------------------------------------ |
| **Phase 1** (Initial) | Oven Spring & Crust Set    | `450°F - 500°F (230°C - 260°C)` | `15 - 25 minutes` | Often with steam (Dutch oven lid on, etc.) |
| **Phase 2** (Internal) | Crumb Cooking & Crust Color | `400°F - 425°F (200°C - 220°C)` | `20 - 40 minutes` | Often without steam (Dutch oven lid off)    |
Remember, these are guidelines. Your specific oven and recipe might require slight adjustments. Always monitor your loaf's appearance and, ideally, its internal temperature to confirm doneness.
Different Sourdough Recipes and Their Ideal Baking Temperatures
While the two-phase temperature strategy is common, specific sourdough recipes might suggest slight variations based on their unique characteristics. For example, a very high-hydration dough (over 80%) might benefit from a slightly longer initial steam phase at high heat to help manage the wet dough. Recipes incorporating inclusions like cheese or olives might recommend a slightly lower overall temperature to prevent the additions from burning before the bread is cooked.
Lean doughs (just flour, water, salt, starter) are the most common type baked with the high-to-low temperature method described. However, enriched sourdoughs (containing milk, eggs, butter, or sugar) often require lower baking temperatures overall, perhaps starting around 400°F (200°C) and finishing around 375°F (190°C), to prevent the fats and sugars from burning prematurely. Always consult your specific recipe's guidance, but understand why those temperatures are recommended in the context of crust and crumb development.
Adjusting Baking Times Based on Oven Performance
Oven performance varies significantly between models and even within the same oven over time. Factors like hot spots, inaccurate thermostats, and poor insulation can all impact how long your sourdough needs to bake at a given temperature. The times provided in recipes and guides are estimates; your oven might require more or less time in each phase.
If you notice your loaves consistently bake faster or slower than recipes suggest, or if one side is always darker than the other, you'll need to adjust. Using an oven thermometer to verify the set temperature is the first step. If your oven is accurate but consistently bakes fast, reduce the time in each phase slightly. If it's slow, increase it. Rotating the loaf halfway through the second baking phase can help compensate for hot spots and ensure even browning. The key is observation and willingness to adapt based on how your oven behaves.
Achieving Sourdough Perfection: Advanced Temperature Techniques
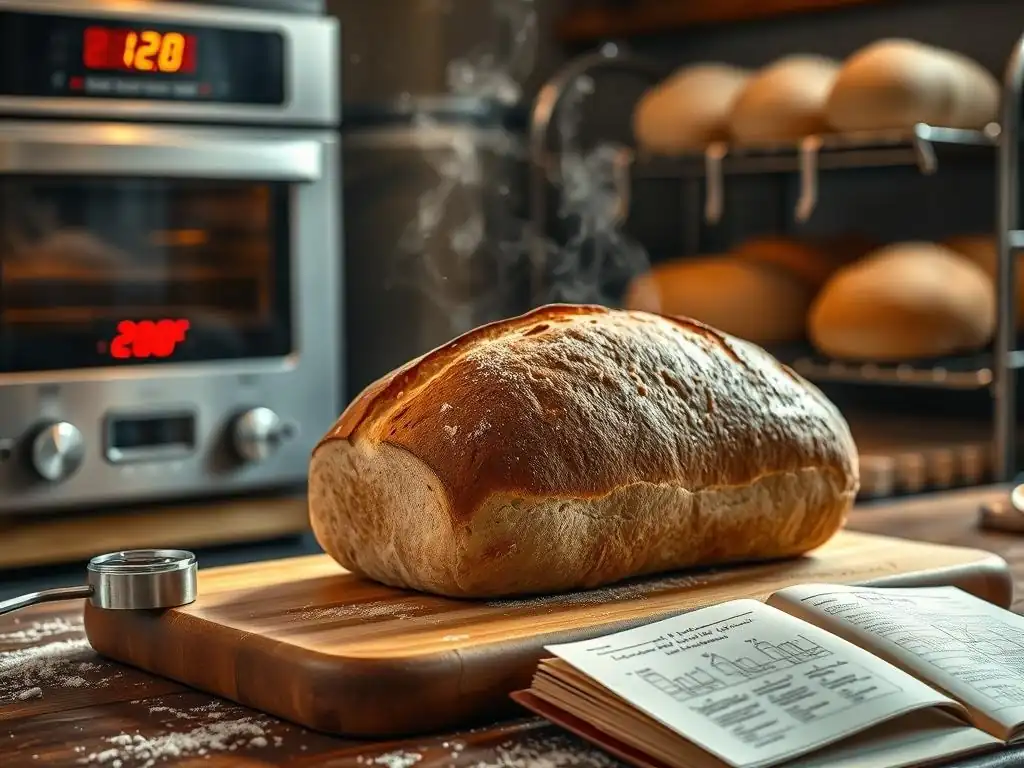
Beyond the standard two-phase approach, bakers often employ specific techniques and equipment that require nuanced adjustments to the sourdough bread baking temperature. Using a Dutch oven or a baking stone/steel fundamentally changes how heat is transferred to the loaf, necessitating tailored temperature strategies to achieve optimal results. These methods often provide better heat distribution and steam control compared to baking on a standard baking sheet.
Understanding how these tools interact with oven temperature allows you to refine your process and consistently produce loaves with superior crust development and oven spring. It's about leveraging the properties of different baking surfaces and vessels to create the ideal environment for your dough's transformation.
Baking Sourdough in a Dutch Oven: Temperature Considerations
Baking sourdough in a preheated Dutch oven is a highly popular method because it effectively mimics a professional deck oven by trapping steam around the loaf during the initial bake. For this technique, you typically preheat the Dutch oven inside your oven at the high initial temperature, often 475°F - 500°F (245°C - 260°C), for 30-60 minutes. This ensures the cast iron is radiating intense heat from all sides.
Once the dough is carefully placed in the hot Dutch oven and the lid is on, the temperature is usually maintained at this high level for the first 20-25 minutes. The lid traps the steam. After this time, the lid is removed, and the oven temperature is typically reduced to 425°F - 450°F (220°C - 230°C) for the remaining 20-30 minutes. The slightly higher temperature in the second phase compared to open-baking helps compensate for the heat loss when the lid is removed and ensures the crust continues to brown nicely outside the steamy environment.
Baking Sourdough on a Baking Stone: Temperature Adjustments
Baking sourdough on a preheated baking stone (or steel) is another excellent method, providing intense heat transfer from the bottom, which contributes to a good oven spring and a well-cooked bottom crust. Similar to the Dutch oven, the stone needs to be thoroughly preheated at a high temperature, usually 450°F - 500°F (230°C - 260°C), for at least 30-60 minutes.
When baking on a stone, you need to create steam manually, typically by placing a tray of hot water or ice cubes in the bottom of the oven simultaneously with the dough. The high temperature is maintained for the initial 15-20 minutes while the steam is present. After this, the steam source is removed, and the oven temperature is typically reduced to 400°F - 425°F (200°C - 220°C) for the remaining 25-35 minutes of the bake. Because the stone provides strong bottom heat, you might need to monitor the bottom crust closely and potentially use a baking sheet on a lower rack to prevent it from getting too dark.
Tips for Maintaining Consistent Oven Temperature for Sourdough
Consistency is key in sourdough baking, and maintaining a stable oven temperature throughout the bake is paramount. Fluctuations in temperature can lead to uneven cooking, poor oven spring, or a compromised crust. Ovens, especially older models, can struggle to hold a precise temperature, and even opening the oven door briefly can cause a significant heat drop.
Implementing a few simple practices can help minimize temperature variations and improve the reliability of your sourdough bread baking temperature. These tips focus on understanding your oven's actual performance and mitigating common issues that lead to temperature swings.
Calibrating Your Oven for Accurate Sourdough Baking
Many home ovens are not perfectly calibrated, meaning the temperature displayed on the dial or digital screen may not be the actual temperature inside the oven. This discrepancy can significantly impact your sourdough bake. If your oven consistently runs hot or cold, loaves might bake too fast/slow or burn/underbake unexpectedly.
The best way to address this is by calibrating your oven using a reliable, independent oven thermometer. Place the thermometer in the center of your oven and set the oven to a specific temperature (e.g., 400°F). Let the oven preheat fully and stabilize (wait at least 30 minutes after the preheat indicator turns off). Compare the reading on the oven thermometer to the oven's display. Note the difference. If your oven is off by more than 10-15°F (5-8°C), you'll know to adjust your set temperature accordingly for sourdough baking (e.g., if it reads 380°F when set to 400°F, set it to 420°F for future bakes).
Using Oven Thermometers for Precise Temperature Control
Even after calibration, using an oven thermometer every time you bake sourdough is highly recommended. Ovens can have temperature swings during their heating cycles, and the thermometer provides a real-time view of the actual temperature your loaf is experiencing. This is particularly important during the crucial preheating phase and the initial high-heat bake.
Place a simple, inexpensive oven thermometer on the middle rack where your loaf will bake. Allow plenty of time for the oven (and any baking stone or Dutch oven) to preheat and for the thermometer reading to stabilize at your target sourdough bread baking temperature before putting your dough in. During the bake, you can quickly glance at the thermometer (minimize door opening!) to ensure the temperature remains within the desired range for each phase, making minor adjustments to your oven dial if necessary to maintain consistency. This simple tool is invaluable for achieving predictable and excellent sourdough results.
Frequently Asked Questions
What is the ideal initial baking temperature for sourdough bread?
The initial baking temperature is crucial for oven spring. We recommend starting at a high temperature, typically around 450-500°F (232-260°C) to create steam and rapid expansion.
Why is steam important in sourdough baking?
Steam is essential because it keeps the crust moist during the early stages of baking, allowing the dough to expand fully (oven spring) before the crust sets. This results in a lighter, airier loaf.
How long should I bake sourdough bread at the initial high temperature?
The duration at the initial high temperature usually ranges from 20-25 minutes, depending on the size of your loaf and your oven. This allows for sufficient steam generation and initial expansion.
What temperature should I reduce the oven to after the initial high-heat phase?
After the initial high-heat phase, reduce the oven temperature to around 425-450°F (220-232°C) to finish baking the interior of the loaf without burning the crust.
How do I know when my sourdough bread is fully baked?
Use a thermometer to check the internal temperature; it should reach 205-210°F (96-99°C). A hollow sound when tapping the bottom of the loaf also indicates doneness.
Final Reflection: The Transformative Power of Precise Temperature in Sourdough Baking
Mastering sourdough bread baking isn't just about following a recipe; it's about understanding the intricate dance between time and temperature. The precise temperature control detailed throughout this article isn't merely a technicality; it's the key that unlocks consistent, delicious results, transforming the often-frustrating process into a predictable and rewarding experience. This knowledge is more relevant than ever in a world increasingly focused on artisanal food and the satisfaction of creating something beautiful from simple ingredients.
The journey of sourdough baking, from initial frustration to the satisfying crust of a perfectly risen loaf, is a deeply personal one. It's a testament to patience, precision, and the transformative power of understanding the natural processes at play. This journey mirrors the larger cultural shift towards mindful consumption and appreciation for handcrafted goods. As Michael Pollan eloquently stated, Good food is good for you, good for the planet, and good for the soul.
Sourdough, baked with intention and precision, embodies this sentiment perfectly.
Now, consider your own baking journey. What temperature adjustments have you made that yielded surprising results? What small changes can you implement to elevate your sourdough game? Don't be afraid to experiment, to tweak the timings and temperatures presented here, and to find your own perfect rhythm. Embrace the process, celebrate the small victories, and remember that the most delicious sourdough is the one you bake with passion and a deep understanding of the science behind the art. The journey to perfect sourdough is ongoing, and your next loaf awaits.
Unlock Your Sourdough Mastery: Bake the Perfect Loaf Today!
Thanks for taking the time to explore the world of timed temperature sourdough baking! We hope you now feel confident in tackling this rewarding process. Ready to put your new knowledge into practice?
- Bake your dream loaf today! Use the precise temperature guidelines from the article to create a perfectly risen, beautifully textured sourdough. Time each step carefully, and witness the magic unfold.
- Share your baking journey! Snap a picture of your masterpiece and share it on social media using #BakeWithEaseSourdough – let’s inspire each other!
- Explore more sourdough secrets! Dive into our recipe archive for even more tips and techniques to elevate your baking game.
What unique twist will you add to your next sourdough creation? Let’s discuss in the comments below!