
Why Your Whole Wheat Bread is Dense and Heavy

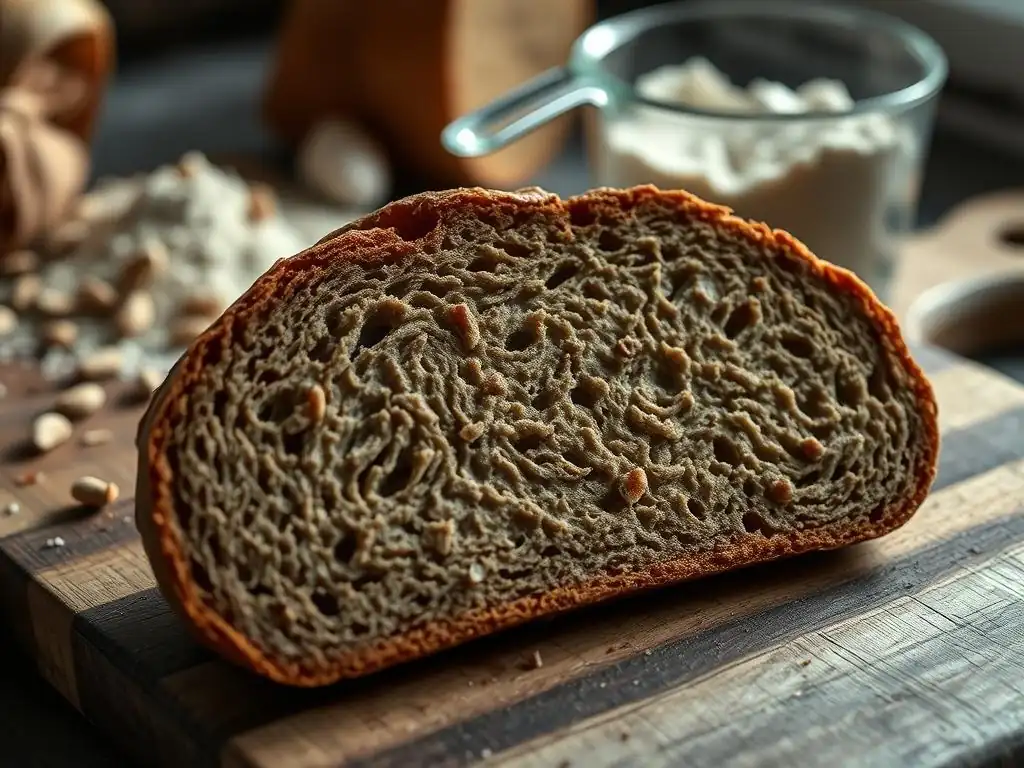
Welcome to BakeWithEase, where baking dreams become delicious realities! Ever wondered why your whole wheat bread ends up more like a brick than a fluffy loaf? We're diving deep into the common culprits behind dense whole wheat bread problems. Get ready to unlock the secrets to achieving that perfect rise and tender crumb, and say goodbye to heavy, disappointing bread forever. Intrigued? Let's get baking!
- Why Your Whole Wheat Bread is Dense and Heavy: Troubleshooting Tips for Perfect Loaves
- Understanding Dense Whole Wheat Bread: Common Problems and Solutions
- Key Ingredients and Their Impact on Whole Wheat Bread Texture
- Baking Techniques That Affect Whole Wheat Bread Density
- Troubleshooting Dense Whole Wheat Bread: Specific Scenarios and Fixes
- Tips for Baking Lighter and Fluffier Whole Wheat Bread
- Achieving Baking Success with Whole Wheat: Final Thoughts
-
Frequently Asked Questions
- Why is my whole wheat bread so dense even when I proof it for a long time?
- What role does the type of flour play in dense whole wheat bread?
- How does the amount of water affect the density of my whole wheat bread?
- Can over-kneading contribute to a dense whole wheat bread?
- Are there any specific ingredients that can help improve the texture of whole wheat bread?
- Final Reflection: Unlocking the Secrets of Fluffy Whole Wheat
- Unlock the Secrets to Light & Fluffy Whole Wheat Bread!
Why Your Whole Wheat Bread is Dense and Heavy: Troubleshooting Tips for Perfect Loaves
Understanding Dense Whole Wheat Bread: Common Problems and Solutions
The Challenge of Baking Light and Airy Whole Wheat Bread
Baking with whole wheat flour presents a unique set of challenges compared to using all-purpose or bread flour. The bran and germ components of the whole wheat kernel, while incredibly nutritious, interfere with gluten development. Gluten is the protein network that traps gases produced by yeast, allowing bread to rise and develop an open, airy structure. Without sufficient gluten development and careful handling, whole wheat dough can struggle to achieve the same loft and lightness as white bread.
This inherent difficulty often leads bakers to encounter dense whole wheat bread problems. The loaves turn out heavy, sometimes gummy, and lacking the desired crumb structure. Understanding the fundamental differences in how whole wheat flour behaves is the first step towards overcoming these issues and consistently baking delicious, light, and flavorful whole wheat loaves. It requires attention to detail at every stage, from ingredient selection to baking temperature.
Dense Whole Wheat Bread Problems: Is it a Common Issue?
Absolutely, encountering dense whole wheat bread problems is a very common experience for both novice and sometimes even experienced bakers. Unlike refined white flour, which has most of the bran and germ removed, whole wheat flour contains these components which are sharp and can cut the developing gluten strands. This makes it harder to build a strong, elastic network capable of holding gas and creating a light crumb.
Many bakers struggle to achieve the same volume and airy texture they might get with white flour recipes. Common complaints include loaves that are squat, heavy, gummy inside, or crumbly. Recognizing that these are typical issues when working with whole wheat is important; it's not necessarily a sign of poor baking skills but rather a need to adapt techniques specifically for this type of flour to mitigate the common dense whole wheat bread problems.
Key Ingredients and Their Impact on Whole Wheat Bread Texture
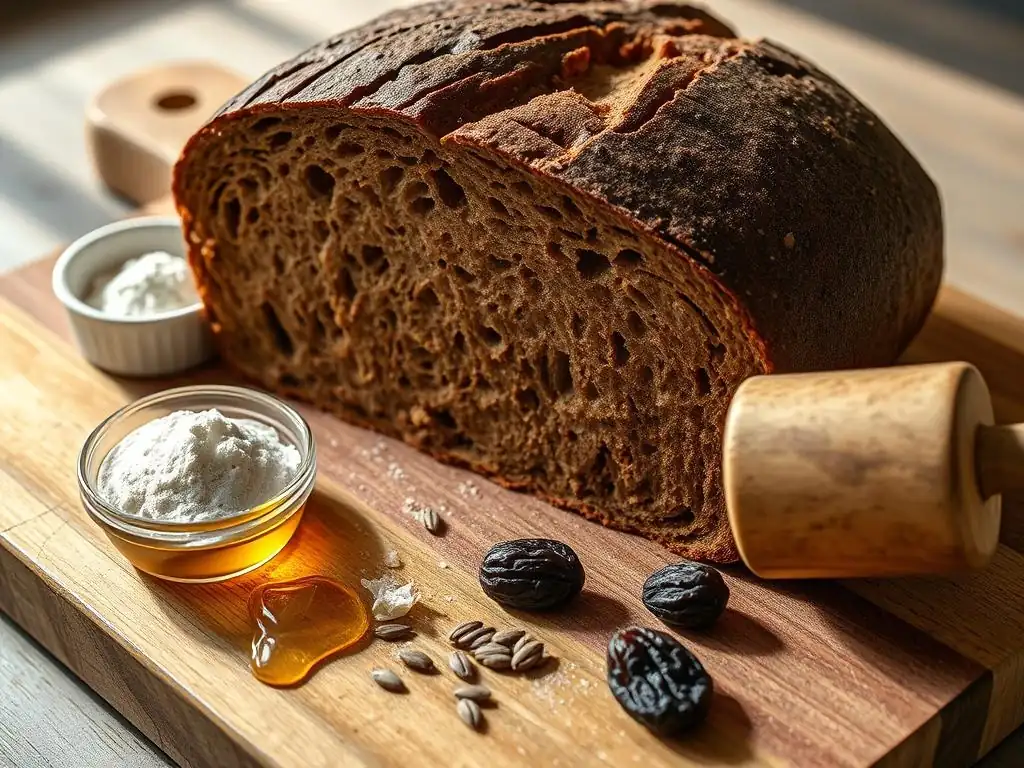
Whole Wheat Flour: The Foundation of Flavor and (Potential) Density
Whole wheat flour is the star of the show in whole wheat bread, providing its distinctive nutty flavor and nutritional benefits. However, it's also the primary contributor to potential dense whole wheat bread problems. The presence of the bran and germ means there's less protein available to form gluten compared to white flour by weight, and the sharp edges of these particles physically impede the gluten network from developing fully and smoothly.
The quality and type of whole wheat flour used can significantly impact the final texture. Some flours are milled more finely, which can help reduce the interference from bran. Using fresh flour is also crucial, as rancid flour can negatively affect yeast activity and flavor. Understanding that the flour itself brings unique challenges is key to adjusting your approach to prevent a heavy whole wheat loaf.
Understanding Different Types of Whole Wheat Flour for Baking
Not all whole wheat flours are created equal. Hard red winter or spring wheat typically has a higher protein content, making it better suited for bread baking due to its potential for gluten development. White whole wheat flour, milled from a different variety of wheat, is lighter in color and flavor and often has slightly less protein, but the bran particles can be less disruptive to gluten development for some recipes.
Finely ground whole wheat flour (sometimes labeled "whole wheat pastry flour," though less common for bread) will result in a less dense loaf than coarsely ground flour because the smaller bran particles cause less damage to the gluten structure. Experimenting with flours from different mills or varieties can help you find one that yields a texture you prefer and helps minimize dense whole wheat bread problems.
The Importance of Gluten Development in Whole Wheat Flour
Gluten development is absolutely critical for achieving a light and airy texture in any bread, but it's particularly challenging and important with whole wheat flour. The gluten network, formed by kneading the dough, provides the structure that allows the bread to rise and hold its shape. Without sufficient gluten development, the dough won't be elastic enough to trap the carbon dioxide produced by the yeast.
Because the bran and germ in whole wheat flour hinder gluten formation, extra attention must be paid to the kneading process. Some recipes benefit from a longer kneading time or techniques like autolyse (resting the dough after mixing flour and water) to give the gluten time to hydrate and begin forming before adding yeast and salt. Proper gluten development is a primary defense against dense whole wheat bread problems.
Yeast and Leavening: Ensuring Proper Rise in Whole Wheat Dough
Yeast is the engine that drives the rise in bread dough, consuming sugars and producing carbon dioxide gas that expands the dough. If your yeast isn't active or isn't used in the correct quantity, your whole wheat bread won't rise properly, leading directly to a dense and heavy loaf. Ensuring your yeast is viable and properly activated is a non-negotiable step.
Whole wheat dough, being heavier than white dough, sometimes requires a slightly higher quantity of yeast or a longer proofing time to achieve adequate rise. Using the right type of yeast and handling it correctly is vital for overcoming the inherent challenges presented by the whole wheat flour and preventing common dense whole wheat bread problems related to insufficient leavening.
Choosing the Right Type of Yeast for Whole Wheat Bread
There are several types of yeast commonly used in baking, and while many will work, some are better suited for the demands of whole wheat dough. Active dry yeast needs to be proofed in warm water before being added to the flour, allowing you to verify its activity. Instant yeast, on the other hand, can usually be mixed directly with the dry ingredients and is often more vigorous, which can be beneficial for lifting heavier whole wheat doughs.
Sourdough starter is another excellent leavening agent for whole wheat bread, providing a complex flavor and often producing a good rise, though it requires different handling and proofing times. For consistent results and to avoid dense whole wheat bread problems linked to leavening, ensure you are using fresh yeast suitable for bread making and follow the recipe's instructions regarding yeast type and quantity.
Activating Your Yeast Correctly for Optimal Leavening
If using active dry yeast, proper activation is key. Dissolve the yeast in lukewarm water (typically between 105-115°F or 40-46°C) with a pinch of sugar. Within 5-10 minutes, the mixture should become foamy and bubbly, indicating that the yeast is alive and active. If it doesn't foam, your yeast is likely dead or inactive, and using it will result in a flat, dense loaf.
Instant yeast doesn't always require proofing, but checking its viability occasionally by dissolving a small amount in warm water is a good practice, especially if you suspect your yeast might be old. Ensuring your yeast is active and providing it with the right conditions to thrive (warmth and food) is fundamental to preventing dense whole wheat bread problems caused by poor rise.
Hydration Levels: Finding the Right Balance for Moist Whole Wheat Bread
Hydration refers to the ratio of water to flour in a dough, usually expressed as a percentage of the flour weight. Whole wheat flour typically requires significantly more water than white flour because the bran and germ absorb a large amount of liquid. Insufficient hydration is a major contributor to dense whole wheat bread problems, resulting in a dry, stiff dough that is difficult to knead and won't expand properly.
However, too much hydration can make the dough overly sticky and difficult to handle, potentially leading to a loaf that spreads rather than rises vertically or has a gummy interior if not baked correctly. Finding the sweet spot for hydration, which can vary depending on the specific flour and environmental conditions, is crucial for achieving a moist, open crumb structure in whole wheat bread.
The Role of Water in Achieving a Light Texture
Water plays several vital roles in bread making. It hydrates the flour proteins, allowing gluten to form. It dissolves the salt and sugar and helps activate the yeast. In whole wheat dough, adequate hydration is particularly important because the bran and germ are thirsty. Sufficient water allows the gluten network to develop more easily and makes the dough more extensible, enabling it to stretch and capture the gases produced during fermentation.
A well-hydrated dough is generally more extensible and results in a loaf with a more open crumb structure. Whole wheat doughs often benefit from hydration levels between 70% and 80% or even higher, depending on the flour's absorption capacity. Don't be afraid of a slightly wetter dough than you might be used to with white flour; this is often necessary to combat dense whole wheat bread problems.
Recognizing Signs of Over- or Under-Hydrated Dough
An under-hydrated whole wheat dough will feel stiff, dry, and hard to knead. It won't stretch easily and may tear. When baked, it will likely result in a dense, heavy, and possibly crumbly loaf. If your dough feels too dry during mixing, gradually add a little more water, a tablespoon at a time, until it feels pliable but not excessively sticky.
An over-hydrated dough will be very sticky and slack, potentially difficult to form into a cohesive ball during kneading. While high hydration can lead to a very open crumb, excessively wet dough can spread sideways rather than rising upwards during baking, leading to a flatter, potentially gummy loaf. If your dough seems too wet, you can add a small amount of flour during kneading, but be cautious not to add too much, which would defeat the purpose of high hydration. Learning to feel the dough is key to addressing potential dense whole wheat bread problems related to hydration.
Baking Techniques That Affect Whole Wheat Bread Density
Kneading: Developing Gluten for Structure and Volume
Kneading is the process of working the dough to develop the gluten network. This is physically manipulating the dough by stretching and folding it causes the proteins (glutenin and gliadin) to link together, forming an elastic mesh. This network is what provides the dough with strength and elasticity, allowing it to trap the carbon dioxide gas produced by the yeast and expand during proofing and baking.
For whole wheat dough, sufficient kneading is paramount because the bran interferes with gluten development. Under-kneading is a common cause of dense whole wheat bread problems. The dough simply doesn't develop enough strength to support a good rise, resulting in a heavy, tight crumb. However, over-kneading can also damage the developing gluten structure, so finding the right balance is essential.
Proper Kneading Techniques for Whole Wheat Dough
Whole wheat dough often benefits from a longer kneading time compared to white dough, perhaps 8-12 minutes by hand or 6-10 minutes in a stand mixer, depending on the recipe and speed. The dough should become smooth, elastic, and pass the "windowpane test" – you should be able to stretch a small piece thin enough to see light through it without it tearing easily.
Alternatively, using no-knead or minimal-knead techniques with longer fermentation periods (like 12-18 hours in the refrigerator) can also effectively develop gluten through time and hydration rather than mechanical action. This method often works well for whole wheat, allowing the bran to soften and the gluten to develop gently, potentially reducing dense whole wheat bread problems caused by aggressive kneading.
Avoiding Over-Kneading and Its Negative Effects
While under-kneading is more common with whole wheat, over-kneading can also occur, especially with a stand mixer. Over-kneaded dough will feel tight and may start to tear easily when stretched. The gluten network becomes too tight and can break down, leading to a dough that doesn't rise well and results in a dense, tough loaf.
Pay attention to the dough's texture and feel. When it reaches the point where it is smooth, elastic, and passes the windowpane test, stop kneading. Trusting your senses and the dough's behavior is crucial to avoiding both under- and over-kneading, helping you sidestep significant dense whole wheat bread problems related to dough structure.
Proofing: Allowing the Dough to Rise Properly
Proofing, also known as fermentation, is the stage where the shaped dough rests in a warm environment, allowing the yeast to produce gas and the dough to expand. This rise is critical for creating a light texture. Whole wheat dough, being heavier and potentially having less robust gluten development, can sometimes require a longer proofing time than white dough to achieve sufficient volume.
Under-proofing is a frequent cause of dense whole wheat bread problems. If the dough hasn't expanded enough before baking, it won't achieve good oven spring and will result in a compact loaf. Conversely, over-proofing can cause the gluten structure to collapse, leading to a loaf that rises initially but then falls during or after baking, also resulting in a dense texture.
The Importance of a Warm and Humid Environment for Proofing
Yeast is most active in warm conditions, typically between 75-85°F (24-29°C). Proofing dough in a warm, draft-free place helps the yeast work efficiently and ensures a steady rise. A humid environment prevents the surface of the dough from drying out, which can restrict its expansion.
You can create a warm, humid proofing environment by placing the dough in a lightly oiled bowl covered with plastic wrap or a damp towel, then putting it in a slightly warm oven (turned off, perhaps warmed briefly to 80°F or so) or a microwave (turned off) with a cup of hot water. Providing the right conditions for proofing is vital for overcoming potential dense whole wheat bread problems related to insufficient rise.
Recognizing When Your Dough is Properly Proofed
Determining when your whole wheat dough is perfectly proofed can be tricky. A common test is the "poke test." Gently press a floured finger about half an inch into the dough. If the indentation springs back immediately, the dough is under-proofed. If it springs back slowly and partially, it's likely ready. If the indentation remains completely, the dough is likely over-proofed.
Whole wheat dough may not double in size like white dough; it might only increase by about 50-75%. Look for signs of expansion, a slightly domed surface, and a dough that feels airy and somewhat fragile. Learning to recognize the signs of a properly proofed whole wheat dough is crucial for avoiding dense whole wheat bread problems caused by incorrect fermentation timing.
Baking Temperature and Time: Ensuring a Fully Baked Loaf
The final stage, baking, is where the dough undergoes its final expansion (oven spring) and the structure sets. Baking at the correct temperature and for the appropriate time is essential to ensure the loaf is cooked through, develops a firm crust, and achieves the right internal structure. Underbaking is a significant contributor to dense whole wheat bread problems, often resulting in a heavy, gummy interior.
Whole wheat bread often benefits from being baked at a relatively high temperature initially (e.g., 425-450°F or 220-230°C) to encourage oven spring, which can then be slightly reduced for the remainder of the baking time to ensure the interior cooks thoroughly without the crust burning. The total baking time will depend on the size and shape of the loaf.
Achieving the Right Internal Temperature for Whole Wheat Bread
The most reliable way to know if your whole wheat bread is fully baked is to check its internal temperature using an instant-read thermometer. For most lean bread (bread made without significant amounts of fat or sugar), including whole wheat, the internal temperature should reach between 200-210°F (93-99°C).
Baking until this temperature is reached ensures that the starches are fully cooked and set, preventing a gummy texture. Relying solely on visual cues or crust color can be misleading, as the crust might brown before the interior is fully baked, leading to dense whole wheat bread problems.
Adjusting Baking Time to Prevent a Gummy Interior
If you consistently end up with a gummy interior, even with a nicely browned crust, your loaf is likely underbaked. Try increasing the baking time by 5-10 minutes. If the crust is browning too quickly, you can loosely tent the loaf with aluminum foil for the last part of the baking time.
Monitoring the internal temperature is the best way to ensure the bread is baked through. A dense, gummy interior is a classic symptom of underbaking, a major player in dense whole wheat bread problems, so using a thermometer is a simple but effective solution.
Troubleshooting Dense Whole Wheat Bread: Specific Scenarios and Fixes
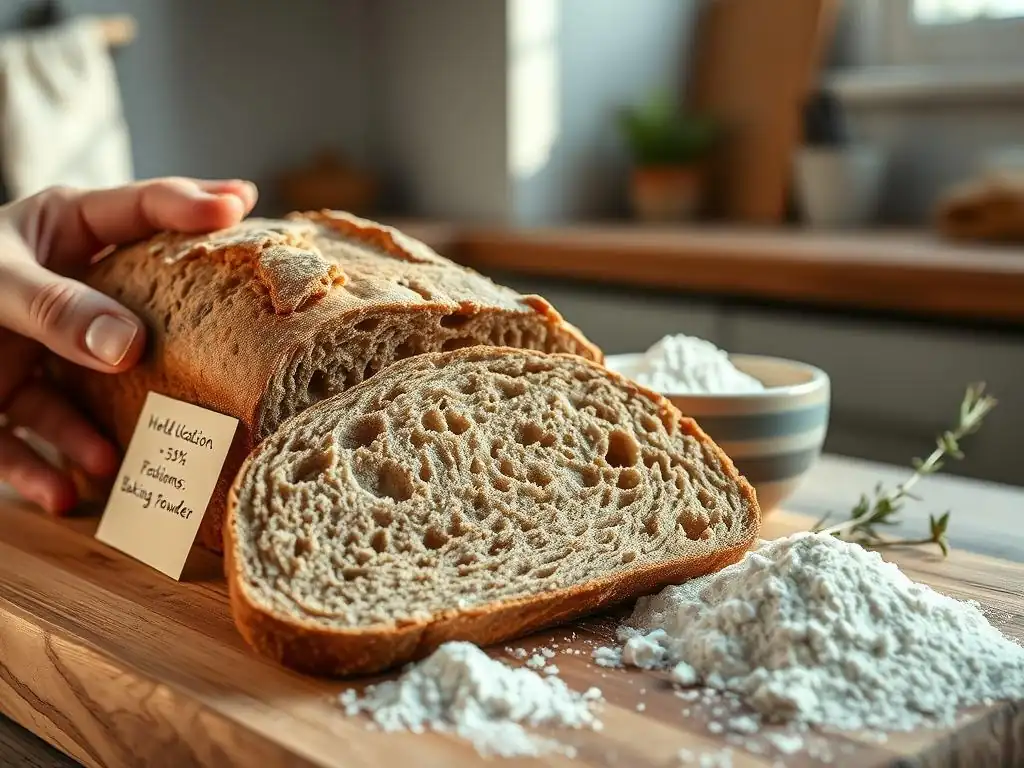
Problem: Bread is Dense and Crumbly
If your whole wheat bread is dense and falls apart easily when sliced, it points towards a lack of structural integrity, often due to insufficient gluten development. The crumb is tight but doesn't hold together, unlike the elastic network you want. This is a common manifestation of dense whole wheat bread problems.
This issue suggests that the gluten strands either didn't form properly during mixing and kneading or were damaged. It means the dough couldn't hold the gas produced by the yeast effectively, resulting in a loaf that didn't rise well and has a fragile structure.
Possible Cause: Insufficient Gluten Development
The most likely culprit for dense and crumbly whole wheat bread is that the gluten network was not adequately developed. This could be due to under-kneading, using flour with too low protein content, or the bran particles severely disrupting the gluten formation. Without a strong gluten structure, the dough lacks the elasticity and strength required for a good rise and cohesive crumb.
This can happen if kneading time was too short, if the dough was too dry (low hydration), or if the whole wheat flour used was particularly coarse or low in protein. The gluten simply wasn't given the opportunity or conditions needed to form a robust network capable of supporting the loaf's structure.
Possible Solution: Increase kneading time by 2-3 minutes. Consider adding 1-2 teaspoons of vital wheat gluten to the dough.
To combat insufficient gluten development, try kneading the dough for an additional 2-3 minutes than you normally would, or until it passes the windowpane test. Ensure adequate hydration, as water is essential for gluten formation.
Adding vital wheat gluten (a concentrated form of wheat protein) to your whole wheat flour can significantly boost the dough's strength and elasticity. A common ratio is 1-2 teaspoons per cup of whole wheat flour. This supplement provides extra protein specifically for gluten development, helping to create a more robust structure that can trap gases and prevent the dense, crumbly texture associated with these specific dense whole wheat bread problems.
Problem: Bread is Heavy and Gummy
A heavy, gummy texture, often with a slightly wet or sticky interior, is a hallmark of underbaking. The exterior might look done, but the inside hasn't reached the temperature needed for the starches to fully set and the moisture to properly distribute or evaporate. This is one of the most frustrating dense whole wheat bread problems to encounter after putting in all the effort.
This indicates that while the dough may have risen well, the baking process was cut short. The heat didn't penetrate the loaf sufficiently to cook the interior fully, leaving it dense, moist, and unpleasantly chewy or gummy. It's a clear sign that the loaf needed more time in the oven.
Possible Cause: Underbaking
Underbaking is the primary reason whole wheat bread turns out heavy and gummy. The internal structure hasn't finished cooking and setting, leaving it dense and somewhat raw-feeling. This can happen if the oven temperature is inaccurate, if the baking time is too short for the size of the loaf, or if the loaf is removed from the oven before it reaches the correct internal temperature.
Whole wheat loaves, being denser than white loaves, often require a slightly longer baking time. Simply following a recipe's time recommendation without verifying doneness can easily lead to this common dense whole wheat bread problem.
Possible Solution: Increase baking time by 5-10 minutes. Use a thermometer to ensure the internal temperature reaches 200-210°F (93-99°C).
To fix underbaking, bake the loaf for an additional 5-10 minutes, or until the crust is deep golden brown and firm. The most reliable method is to use an instant-read thermometer inserted into the center of the loaf (not touching the bottom crust).
The bread is fully baked when the internal temperature registers between 200-210°F (93-99°C). Trust the thermometer over the clock or appearance alone to prevent a gummy interior and solve this particular dense whole wheat bread problem. If the crust is browning too much, cover the loaf loosely with foil.
Problem: Bread Doesn't Rise Properly
If your whole wheat dough barely rises during proofing or in the oven (poor oven spring), the resulting loaf will inevitably be dense and squat. A lack of adequate leavening means there isn't enough gas production to expand the dough and create an open crumb structure. This is a fundamental issue leading to dense whole wheat bread problems.
This problem points directly to the yeast or leavening agent not performing its job effectively. Either the yeast is inactive, the conditions for fermentation weren't right, or there wasn't enough yeast for the quantity of flour.
Possible Cause: Inactive Yeast
The most common cause of dough not rising is using inactive or dead yeast. Yeast is a living organism, and if it's old, improperly stored, or exposed to too much heat or cold, it loses its ability to produce carbon dioxide gas. Using dead yeast is a guaranteed way to encounter dense whole wheat bread problems related to zero or minimal rise.
Other factors contributing to poor rise can include using water that is too hot (which kills the yeast) or too cold (which inhibits activity), adding salt directly on top of the yeast (salt can inhibit yeast in high concentrations), or proofing the dough in a cold environment.
Possible Solution: Check the expiration date of your yeast. Proof the yeast in warm water with a pinch of sugar to ensure it's active before adding it to the dough.
Always check the expiration date on your yeast package. If it's past the date, it's best to buy new yeast. To confirm yeast activity, especially with active dry yeast, proof it first. Dissolve the required amount of yeast in lukewarm water (around 105-115°F or 40-46°C) with a pinch of sugar.
If the mixture becomes foamy within 5-10 minutes, the yeast is active and ready to use. If there's little to no activity, your yeast is dead, and you'll need fresh yeast to avoid dense whole wheat bread problems caused by a lack of rise. Ensure your water temperature is correct and avoid letting salt sit directly on the yeast for extended periods.
Tips for Baking Lighter and Fluffier Whole Wheat Bread
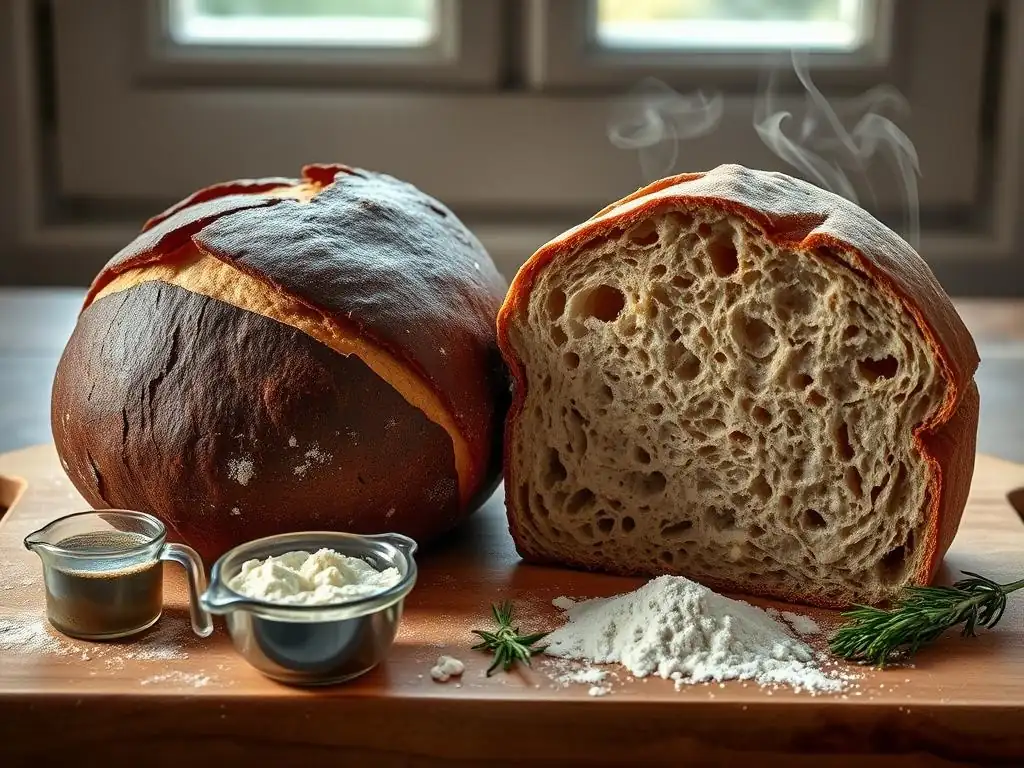
Using Vital Wheat Gluten to Improve Dough Strength
As mentioned earlier, vital wheat gluten is a powerful tool for combating dense whole wheat bread problems. It's essentially concentrated wheat protein extracted from wheat flour. Adding it to your whole wheat dough significantly increases the protein content available for gluten development, helping to build a stronger, more elastic network.
Adding just 1-2 teaspoons (about 5-10 grams) of vital wheat gluten per cup (120-140 grams) of whole wheat flour can dramatically improve the dough's elasticity and ability to rise, resulting in a lighter, less dense loaf with better volume and a more open crumb structure. It directly addresses the challenge posed by the bran interfering with gluten formation.
Incorporating a Tangzhong or Yudane for Enhanced Moisture
Tangzhong (from Chinese baking) and Yudane (from Japanese baking) are techniques involving cooking a small portion of the flour with liquid (milk or water) to form a thick paste before adding it to the main dough. This paste gelatinizes the starches, allowing the flour to absorb and retain significantly more moisture.
Adding a tangzhong or yudane to your whole wheat bread recipe results in a dough that is incredibly soft, moist, and extensible. This extra moisture helps keep the bread soft and fresh for longer and contributes to a lighter, less dense crumb structure, effectively mitigating common dense whole wheat bread problems related to dryness and density.
Adding Honey or Molasses for Improved Texture and Flavor
Beyond adding sweetness and color, ingredients like honey and molasses can positively impact the texture of whole wheat bread. Sugars, in moderation, provide food for the yeast, contributing to a good rise. More significantly, they are hygroscopic, meaning they attract and retain moisture.
Incorporating a tablespoon or two of honey or molasses into your whole wheat dough can help keep the crumb moist and tender, counteracting the tendency for whole wheat bread to be dry or dense. These liquid sweeteners also help tenderize the crumb, contributing to a softer texture and helping to avoid dense whole wheat bread problems.
Experimenting with Different Whole Wheat Bread Recipes
Not all whole wheat bread recipes are created equal. Some are specifically designed to maximize the lightness and minimize the density often associated with whole wheat. Look for recipes that use techniques like autolyse, long fermentation periods (including cold fermentation in the refrigerator), or high hydration levels.
Trying different recipes allows you to explore variations in ingredient ratios, kneading methods, and proofing schedules. You might find that a recipe using a sourdough starter, a small amount of added vital wheat gluten, or a tangzhong method yields the best results for you, helping you consistently bake delicious, non-dense whole wheat bread.
Achieving Baking Success with Whole Wheat: Final Thoughts
Embrace the Challenge and Enjoy the Process
Baking whole wheat bread can sometimes feel more challenging than baking with white flour, and encountering dense whole wheat bread problems is a normal part of the learning curve. Don't get discouraged if your first few loaves aren't perfectly light and airy. Each bake is an opportunity to learn more about how whole wheat flour behaves and how your specific kitchen environment affects the process.
Embrace the challenge, pay close attention to the dough's feel and behavior at each stage, and don't be afraid to experiment with different techniques or small adjustments. The reward of a delicious, homemade whole wheat loaf that is light, flavorful, and nutritious is well worth the effort.
Resources for Further Learning on Whole Wheat Baking
To deepen your understanding and continue improving your whole wheat baking skills, seek out reliable resources. Cookbooks specializing in whole grain baking, reputable baking websites (like BakeWithEase.com! ), and online baking communities can offer a wealth of information, techniques, and recipes specifically tailored to whole wheat.
Learning about the science behind baking, understanding how ingredients interact, and seeing demonstrations of techniques like kneading and shaping can provide valuable insights. Continuous learning and practice are key to mastering whole wheat bread and consistently avoiding dense whole wheat bread problems, leading to satisfying baking successes.
Frequently Asked Questions
Why is my whole wheat bread so dense even when I proof it for a long time?
The density is often due to insufficient gluten development. Whole wheat flour contains bran that interferes with gluten formation. You may need to knead it longer or add vital wheat gluten.
What role does the type of flour play in dense whole wheat bread?
Using 100% whole wheat flour can lead to a denser loaf. Consider using a blend of whole wheat and bread flour to improve the texture, as bread flour has a higher protein content.
How does the amount of water affect the density of my whole wheat bread?
Insufficient hydration can cause a dense and dry bread. Whole wheat flour absorbs more water than white flour, so increase the water content slightly in your recipe.
Can over-kneading contribute to a dense whole wheat bread?
While under-kneading is more common, over-kneading can also be a problem. Over-kneading can damage the gluten structure, resulting in a tough and dense loaf.
Are there any specific ingredients that can help improve the texture of whole wheat bread?
Yes, adding ingredients like honey, molasses, or even a small amount of oil can help to soften the crumb and improve the overall texture of your whole wheat bread.
Final Reflection: Unlocking the Secrets of Fluffy Whole Wheat
The quest for perfectly textured whole wheat bread is far from over, but understanding the science behind its density is a crucial first step. The information presented in this article—from the impact of hydration levels to the role of gluten development—highlights a common frustration shared by home bakers and professional bread makers alike. This isn't just about achieving a pleasing texture; it's about unlocking the full potential of a nutritious and delicious grain.
The journey to mastering whole wheat bread is a testament to the enduring power of culinary exploration. It's a process that demands patience, attention to detail, and a willingness to experiment. The best bread is made with love and a little bit of science.
This quote, while not directly about whole wheat, perfectly captures the essence of this baking challenge. The ongoing struggle to perfect whole wheat bread reflects a broader cultural shift towards healthier eating and a deeper appreciation for the craft of baking, moving beyond simple convenience to a more mindful approach to food production.
Now, it's your turn. Don't let dense, heavy whole wheat bread discourage you. Take the knowledge gained from this article, experiment with different techniques, and embrace the learning process. Each loaf, whether a triumph or a learning experience, brings you closer to mastering the art of baking perfect whole wheat bread. The reward? Not just a delicious loaf, but a deeper understanding of the ingredients and the process that transforms simple flour into something truly special.
Unlock the Secrets to Light & Fluffy Whole Wheat Bread!
Thanks for taking the time to learn about the mysteries of whole wheat bread! You've now got the knowledge to avoid those dense loaves and achieve baking bliss. Ready to put your newfound expertise into practice?
- Bake your best whole wheat loaf yet! Use the tips from this article to experiment with different techniques and flours. This is your chance to perfect your recipe!
- Share your baking triumphs (and challenges!) with our community in the comments below. Let's learn from each other!
- Consider trying a new whole wheat recipe – maybe one you've always avoided. You might be surprised at the results!
What exciting whole wheat bread creation will you tackle next?