
How to Prep Your Cake for Decorating Success

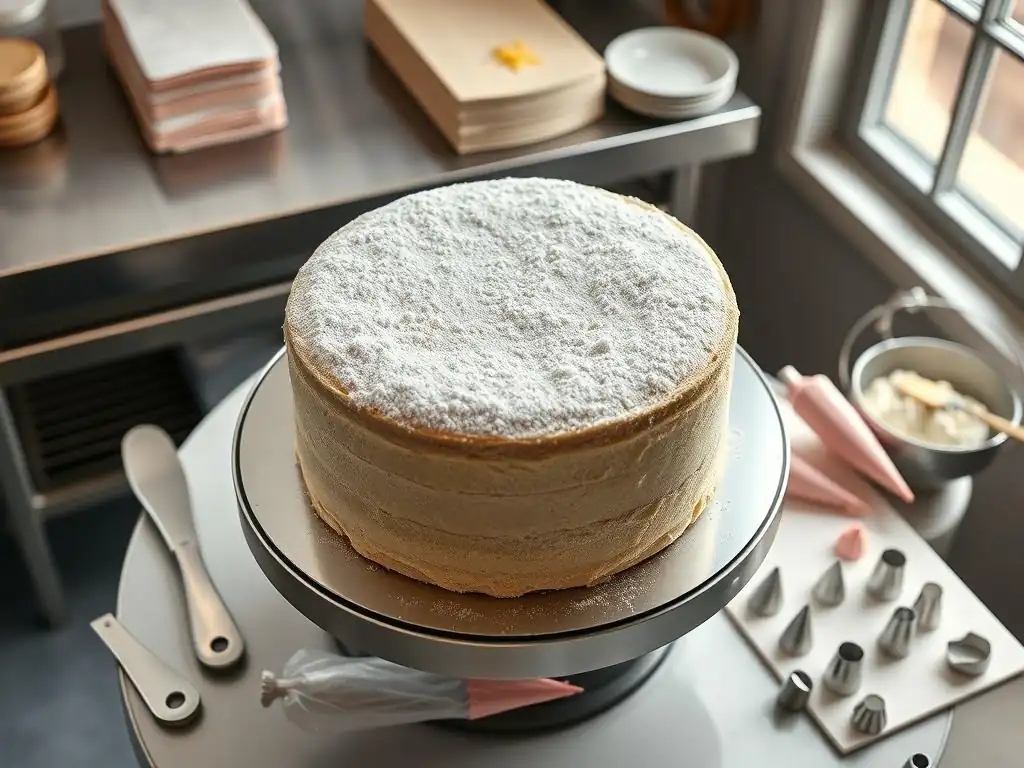
Welcome to BakeWithEase, your trusted guide to baking bliss! Are you ready to transform an ordinary cake into a stunning masterpiece? Before you even think about frosting swirls or intricate designs, mastering the art of cake decorating preparation is absolutely crucial. Discover our essential tips for achieving that flawless canvas, and unlock the secrets to a truly professional finish. Intrigued? Let's get baking!
- How to Prep Your Cake for Decorating Success: A Baker's Guide
- Introduction: Achieving Cake Decorating Perfection Starts with Preparation
- Baking the Perfect Cake for Decoration: Foundation for Success
- Leveling Your Cake: Creating a Smooth Canvas
- Wrapping and Freezing Your Cake: Preserving Freshness and Moisture
- Making and Applying a Crumb Coat: Sealing in Crumbs for a Flawless Finish
- Final Frosting Techniques: Achieving a Smooth and Professional Finish
- Common Cake Decorating Preparation Mistakes to Avoid
- Troubleshooting Cake Decorating Preparation Issues
- Conclusion: Mastering Cake Decorating Preparation for Stunning Results
- Frequently Asked Questions
- Final Reflection: The Sweet Science of Cake Decorating Prep
- Unleash Your Inner Cake Artist!
How to Prep Your Cake for Decorating Success: A Baker's Guide
Introduction: Achieving Cake Decorating Perfection Starts with Preparation
Welcome, fellow bakers! You've successfully baked a delicious cake, and now comes the exciting part: decorating. But before you reach for your piping bags and sprinkles, there's a crucial step often overlooked: proper cake preparation. Think of it as building a solid foundation before constructing a beautiful house. Without the right prep work, even the most intricate decorations can't hide imperfections like uneven layers or migrating crumbs. Mastering these initial steps is key to achieving stunning, professional-looking results every time.
Getting your cake ready for decorating is a skill that, once honed, dramatically improves the final outcome. It involves several key stages, from ensuring your cake is perfectly baked and cooled, to techniques like leveling, freezing, and applying a crumb coat. These cake decorating preparation tips aren't just for advanced bakers; they are fundamental techniques that will elevate your baking and decorating skills, making the entire process smoother and more enjoyable. Let's dive into the essential steps to prepare your cake for decorating success.
Baking the Perfect Cake for Decoration: Foundation for Success
The quality of your decorated cake is directly linked to the quality of the cake underneath. A stable, well-baked cake provides the ideal canvas for frosting and other embellishments. This starts with selecting the right recipe and employing good baking practices to ensure your layers are even and ready for the next steps.
Choosing the Right Cake Recipe for Decorating
Not all cake recipes are created equal when it comes to decorating. For layered cakes that will be stacked and covered with frosting, you generally want a recipe that is relatively dense and sturdy, yet still moist and tender. Recipes like pound cake, butter cake, or even a well-structured sponge cake work wonderfully because they can support the weight of frosting and additional layers without collapsing. Lighter, more delicate cakes like angel food or chiffon are delicious but often too fragile for intricate stacking and heavy frosting.
Consider the final decoration plan when selecting your recipe. If you plan on carving the cake into a specific shape, a denser cake type will hold its form better. If you're going for a simple frosted finish, a slightly lighter butter cake might be perfect. Always choose a recipe you are familiar with or one that has good reviews for its structure and moisture content. A reliable recipe is the first crucial step in effective cake decorating preparation.
Baking Even Cake Layers: Using Baking Strips and Leveling
Uneven cake layers are one of the most common challenges when preparing cakes for decoration. Often, cakes dome in the center while the edges bake faster. This creates a sloped surface that makes stacking and frosting difficult. To combat this, many bakers use baking strips. These fabric strips, dampened and wrapped around the cake pan, insulate the edges of the pan, causing the cake to bake more evenly from the outside in and significantly reducing or eliminating the dome.
Another essential technique for baking even layers is ensuring your oven temperature is accurate. Use an oven thermometer to verify that your oven isn't running too hot, which can cause the edges to set too quickly and force the center to rise excessively. Filling your cake pans about two-thirds full and tapping them gently on the counter to remove air bubbles also contributes to more even baking and a finer crumb structure, which is beneficial for smooth frosting application. These simple cake decorating preparation tips for baking make a big difference.
Cooling Your Cake Completely Before Decorating
Patience is a virtue in baking, especially when it comes to cooling your cake. Attempting to level or frost a warm cake is a recipe for disaster. Warm cakes are fragile, prone to crumbling, and the heat will melt your frosting instantly, leading to a messy, unstable result. After removing your cakes from the oven, let them cool in their pans on a wire rack for about 10-15 minutes. This allows the cake to firm up slightly before you attempt to remove it.
Once out of the pans, the cakes must cool completely on a wire rack. Depending on the size and density of the cake, this can take anywhere from 2 to 4 hours at room temperature. A wire rack allows air to circulate around the entire cake, ensuring even cooling and preventing condensation buildup on the bottom, which can make the cake sticky. Do not rush this step. A properly cooled cake is firm, easy to handle, and provides a stable base for all subsequent cake decorating preparation steps.
Leveling Your Cake: Creating a Smooth Canvas
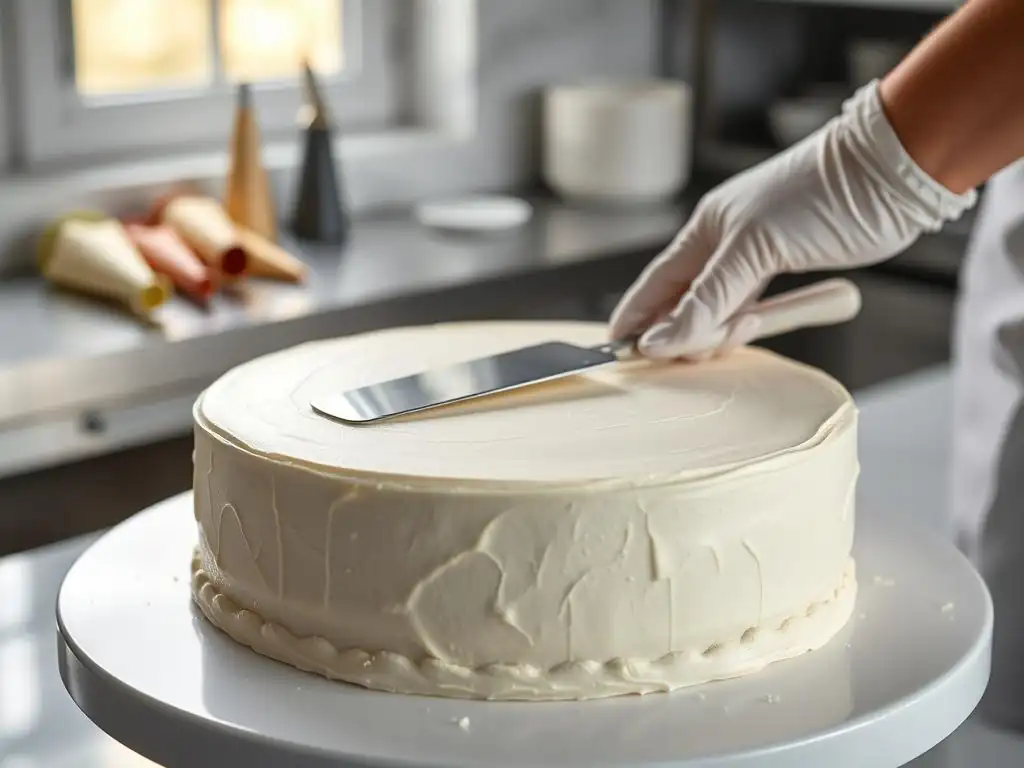
Once your cake is perfectly cooled, the next step in getting your cake ready for decorating is leveling. This involves removing any dome or uneven surface from the top of the cake layer, creating a flat, consistent height across all layers.
Why Leveling is Crucial for Professional-Looking Cakes
Leveling is arguably one of the most important cake decorating preparation tips for layered cakes. Without level layers, your stacked cake will inevitably tilt, lean, or even collapse under the weight of frosting and subsequent tiers. An uneven surface also makes it impossible to apply a smooth, even layer of frosting on top of each cake layer and around the sides.
Imagine trying to frost a cake with a significant dome – you'd end up with a much thicker layer of frosting on the edges than in the center, or you'd have to carve away excess frosting to try and compensate. Leveling ensures that each layer sits perfectly flat on the one below it, resulting in a stable, straight cake with clean lines, which is essential for a professional finish. It creates a truly flat canvas for your decorating artistry.
Tools for Leveling Cakes: Serrated Knives and Cake Levelers
You have a couple of options when it comes to tools for leveling cakes. The simplest method is using a long, sharp serrated knife. A bread knife works well, as its length allows you to cut across the entire diameter of the cake in one smooth motion. The serrations help to saw through the cake gently without tearing or dragging crumbs.
For even more precision and ease, a cake leveler is an excellent investment. These tools typically consist of a wire or serrated blade stretched between two adjustable feet. You can set the desired height, and the leveler ensures you cut perfectly parallel to the work surface, resulting in a consistently level cut every time. While a knife requires a steady hand and practice, a cake leveler simplifies the process, making it easier to achieve uniform layers, a key part of effective cake decorating preparation.
Step-by-Step Guide to Leveling Your Cake Accurately
Leveling your cake requires careful execution. First, ensure your cake is completely cool. Place the cake on a flat surface or a cake turntable. If using a serrated knife, place your non-dominant hand gently but firmly on top of the cake to keep it steady. Position the knife parallel to your work surface, just above the highest point of the dome. Using a gentle sawing motion, slowly work the knife through the cake, keeping it as level as possible. Rotate the cake as you cut if using a turntable.
If using a cake leveler, adjust the wire or blade to the desired height. Place the feet of the leveler flat on your work surface and gently saw back and forth, pushing the leveler through the cake. The leveler rests on the surface, guaranteeing a level cut. Once the top is removed, you're left with a perfectly flat surface. The removed cake tops can be used for cake pops, trifles, or simply enjoyed as a baker's snack! This process is fundamental to proper cake decorating preparation.
Wrapping and Freezing Your Cake: Preserving Freshness and Moisture
Freezing cake layers before decorating is a technique used by many professional bakers. It offers several advantages, including preserving freshness and making the cakes easier to handle for leveling and frosting.
The Benefits of Freezing Cakes Before Decorating
Freezing cake layers locks in moisture, preventing them from drying out, especially if you aren't decorating them immediately. A frozen or semi-frozen cake is also much firmer than a fully thawed one. This firmness makes the cake significantly easier to handle – it's less likely to crumble or tear when you're leveling it, moving it, or applying the first layer of frosting (the crumb coat).
Working with slightly firm, chilled cake layers results in cleaner cuts when leveling and allows for a much smoother application of frosting with fewer crumbs mixing into your buttercream. Freezing also allows you to bake your cake layers in advance, saving time on your decorating day and making the entire process feel less rushed. This is a top cake decorating preparation tip for efficiency and better results.
Proper Wrapping Techniques for Cake Freezing: Double Wrapping and Airtight Containers
Proper wrapping is crucial to prevent freezer burn and maintain the cake's moisture and flavor. Once your cake layers are completely cool (you can even chill them in the fridge for 30-60 minutes to firm them up slightly before wrapping), wrap each layer individually. Start with a layer of plastic wrap, ensuring it is tightly sealed around the entire cake, pressing out as much air as possible.
Follow the plastic wrap with a layer of aluminum foil, again wrapping tightly. This double layer provides extra protection against freezer burn and odors. For even better protection, especially if freezing for more than a few weeks, place the double-wrapped cake layers into an airtight freezer bag or a rigid airtight container. Label the package with the cake type and date. Cakes can typically be frozen this way for up to 2-3 months.
Thawing Your Cake for Optimal Decorating Results
Thawing your frozen cake layers correctly is just as important as freezing them properly. Remove the wrapped cake from the freezer and place it in the refrigerator to thaw slowly. Depending on the size of the cake, this can take anywhere from 4 to 8 hours, or even overnight for larger cakes. Thawing in the refrigerator prevents condensation from forming excessively on the cake's surface.
Once thawed in the fridge, you can unwrap the cake. For easier handling during leveling and crumb coating, it's often beneficial to let the cake sit at room temperature for just 15-30 minutes after thawing, or even work with it while it's still slightly chilled. Avoid thawing cakes completely at room temperature from frozen, as this can lead to a mushy texture and excessive condensation. A slightly firm, chilled cake is ideal for the next stages of cake decorating preparation.
Making and Applying a Crumb Coat: Sealing in Crumbs for a Flawless Finish
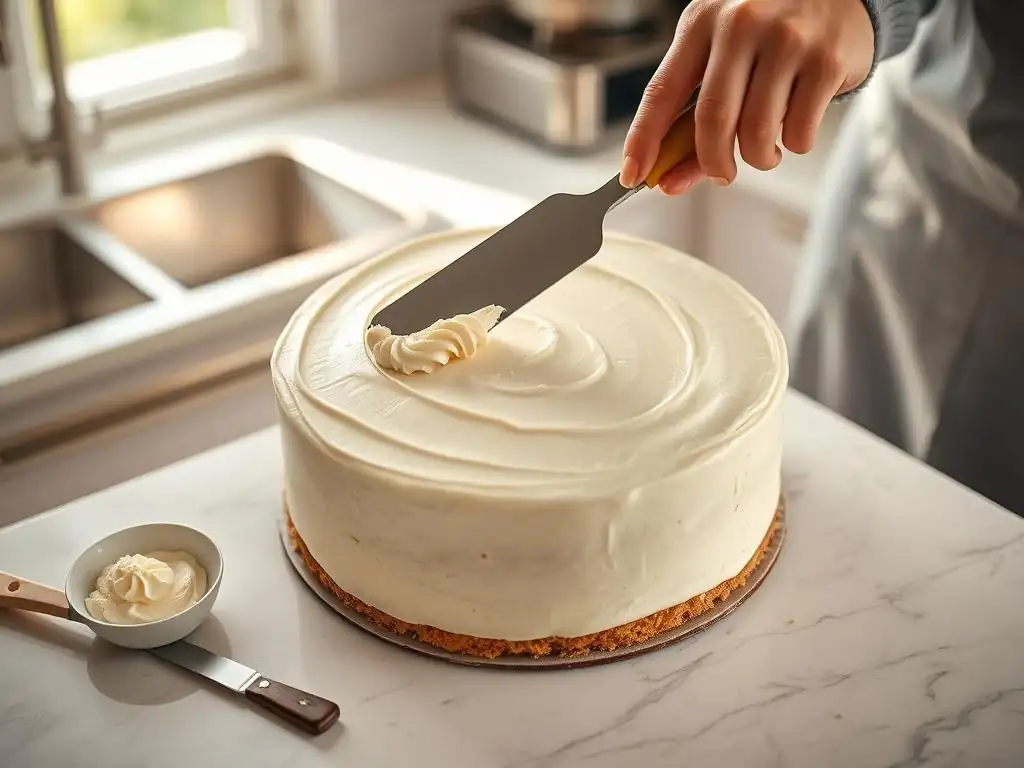
The crumb coat is an essential, non-negotiable step in cake decorating preparation, especially when working with frosted cakes. It's a thin layer of frosting applied directly to the cake layers before the final decorative layer.
Understanding the Importance of a Crumb Coat
The primary purpose of a crumb coat is right in its name: to trap and seal any loose crumbs that may detach from the cake. Cake, by its nature, is crumbly, and if you apply your final frosting directly, those crumbs will inevitably mix into your beautiful outer layer, resulting in a messy, unprofessional finish. The crumb coat acts as a barrier, creating a smooth, stable surface for the final frosting application.
Beyond trapping crumbs, a crumb coat helps to fill in any small gaps or imperfections on the cake's surface, creating a more even base. It also helps to "glue" the layers together and stabilize the cake structure before the heavier final layer of frosting is applied. Skipping this step is one of the most common cake decorating preparation mistakes that beginners make.
Choosing the Right Frosting for Your Crumb Coat: American Buttercream vs. Swiss Meringue
Almost any frosting can be used for a crumb coat, but some work better than others. The most common choice is the same frosting you plan to use for your final layer, whether it's American buttercream, Swiss meringue buttercream, or another type. Using the same frosting ensures consistency and doesn't introduce conflicting flavors or textures.
American buttercream is a popular choice for crumb coating because it's easy to make and sets up relatively firmly when chilled. Swiss meringue buttercream, while perhaps silkier for a final coat, also works well and provides a very smooth base. The key is that the frosting should be spreadable but not too thin or runny. If your frosting is too stiff, you might pull more crumbs off the cake; if it's too soft, it won't effectively trap crumbs or firm up properly when chilled.
Applying a Thin and Even Crumb Coat: Step-by-Step Instructions
Applying the crumb coat is straightforward but requires a gentle touch. You'll need an offset spatula and a cake turntable is highly recommended.
- Step 1: Place your first cake layer on your cake board or serving plate. Apply a small dollop of frosting to the center and spread it thinly across the top.
- Step 2: Carefully place the next cake layer on top, ensuring it is centered and level. Repeat the frosting and stacking process for all layers.
- Step 3: Take a small amount of frosting (about 1/2 cup for an 8-inch cake) and place it on top of the stacked cake. Using your offset spatula, spread this frosting thinly across the top surface, working it slightly over the edges.
- Step 4: Take small amounts of frosting on your spatula and apply it to the sides of the cake. Use the offset spatula to spread the frosting in a thin, even layer, rotating the turntable as you go. The goal is simply to cover the cake and trap crumbs, not to apply a thick layer. You should still be able to see the cake through the frosting in some spots.
- Step 5: Use a bench scraper or the edge of your offset spatula held perpendicular to the cake to scrape away any excess frosting, leaving behind a very thin, smooth layer. This process effectively smooths the sides and removes streaks while pressing the crumbs into the frosting.
Chilling the Crumb Coat: Setting the Stage for the Final Frosting Layer
Once the crumb coat is applied, the most important step is chilling the cake. Place the crumb-coated cake in the refrigerator for at least 30-60 minutes, or until the frosting is firm to the touch. The chilling process is vital because it allows the thin layer of frosting to set and harden, effectively sealing all those loose crumbs in place and stabilizing the cake structure.
When you apply your final layer of frosting to a chilled, firm crumb coat, you can spread and smooth the frosting without disturbing the cake surface or picking up crumbs. This results in a much cleaner, smoother final finish. You can even chill the cake for longer, up to 24 hours, covered loosely once the crumb coat is firm. This waiting period is a key part of effective cake decorating preparation.
Final Frosting Techniques: Achieving a Smooth and Professional Finish
With the crumb coat chilled and firm, you are ready to apply the final, thicker layer of frosting. This is where you create the smooth, polished surface that will be the backdrop for your decorations.
Selecting Your Final Frosting: American Buttercream
American buttercream is a very popular choice for final frosting layers due to its ease of preparation, stability, and ability to hold shape for piping. Made from butter, powdered sugar, milk or cream, and flavoring, it creates a relatively firm frosting that sets up well, making it excellent for covering cakes and creating sharp edges.
While American buttercream is known for being sweet, its texture is ideal for achieving a smooth finish, especially when paired with the right techniques. It's also versatile for coloring and flavoring. Ensure your buttercream is smooth and free of lumps before application; sifting powdered sugar can help achieve this. The consistency should be spreadable but not too soft – if it's too soft, it won't hold its shape or smooth out cleanly.
Achieving a Smooth Frosting Finish: The Hot Knife Method and Smoothing Tools
Getting a perfectly smooth frosting finish is a skill that improves with practice, but several techniques and tools can help. One popular method is the "hot knife" technique. After applying the final layer of frosting, dip a metal offset spatula or bench scraper in hot water, wipe it completely dry, and then use the warm tool to gently smooth the surface of the frosting. The heat from the tool slightly melts the surface of the buttercream, allowing you to glide over it and create a glass-smooth finish. Reheat and wipe the tool as needed.
Alternatively, you can achieve a smooth finish using room temperature tools and a steady hand. Apply a generous final layer of frosting, ensuring complete coverage. Then, using a bench scraper held perpendicular to the cake and parallel to the turntable (if using one), gently smooth the sides by applying even pressure and rotating the cake. For the top, use a large offset spatula, pulling it across the surface from the edge towards the center, cleaning the spatula after each pull.
Using Tools for a Perfect Frosting Application: Offset Spatulas, Bench Scrapers, and Turntables
Having the right tools makes the final frosting application significantly easier and improves the quality of the finish.
- Offset Spatulas: These come in various sizes and are essential for applying and spreading frosting on both the top and sides of the cake. The offset handle keeps your hand clear of the cake surface.
- Bench Scrapers: A tall, flat metal or plastic bench scraper is invaluable for smoothing the sides of the cake and creating sharp edges. Holding it against the side of the cake while rotating a turntable allows you to scrape away excess frosting and create a perfectly smooth, straight side.
- Turntables: A cake turntable is a game-changer for frosting and decorating. It allows you to easily rotate the cake as you work on the sides, ensuring even application and smoothing. A good quality, smoothly rotating turntable is one of the best investments for serious cake decorating preparation.
Using these tools in conjunction with the techniques described above will help you achieve a professional, smooth finish on your cake, making it ready for detailed decorating.
Common Cake Decorating Preparation Mistakes to Avoid
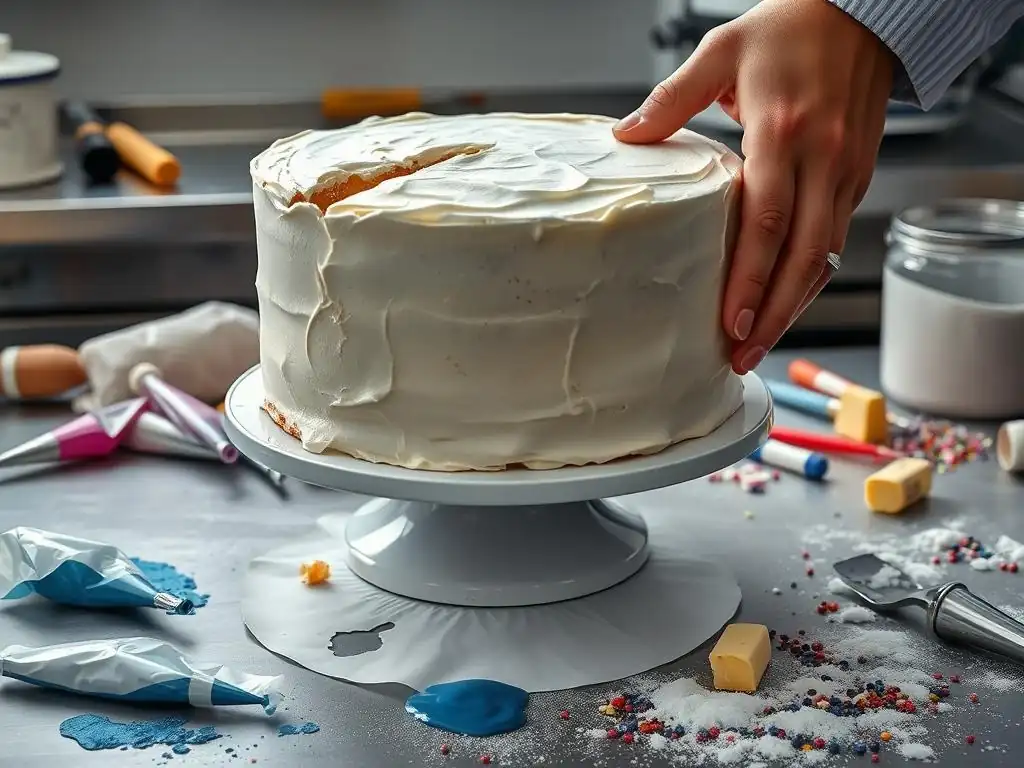
Even with the best intentions, mistakes can happen during the cake decorating preparation process. Being aware of common pitfalls can help you avoid them and ensure your cake is perfectly ready for its final touches.
Overbaking and Dry Cakes
One of the most detrimental mistakes is overbaking your cake layers. An overbaked cake is dry, crumbly, and difficult to work with. Dry cakes are prone to breaking when handled, and crumbs will be a constant battle during frosting. They also simply don't taste as good!
To avoid this, always test your cake for doneness using a toothpick inserted into the center – it should come out with just a few moist crumbs attached, not wet batter, and not completely clean and dry. Rely on baking time as a guideline, but check for doneness a few minutes before the recipe suggests. An accurate oven thermometer is also crucial to prevent baking at too high a temperature.
Uneven Cake Layers and Tilting
As discussed earlier, uneven layers lead to a leaning or unstable cake. This often results from uneven baking (doming) or inaccurate leveling. Make sure you are using techniques like baking strips or an accurate oven, and take the time to level your cakes properly using a serrated knife or cake leveler.
- Task List: Ensuring Level Layers
- [ ] Use baking strips when baking.
- [ ] Verify oven temperature with a thermometer.
- [ ] Cool cakes completely before leveling.
- [ ] Use a long serrated knife or cake leveler.
- [ ] Level each layer carefully and accurately.
Even a slight tilt in one layer can compound as you stack, leading to a noticeable lean in the final cake. Proper leveling is a fundamental cake decorating preparation tip.
Insufficient Crumb Coat Coverage
Skipping the crumb coat entirely, or applying a crumb coat that is too thin or patchy, is a common mistake. If the crumb coat doesn't fully encapsulate the cake and seal in all the crumbs, you'll still end up with crumbs in your final frosting layer.
Ensure you apply a thin, even layer of frosting over the entire surface of the cake – top and sides. The goal isn't thickness, but complete coverage. Use your bench scraper or offset spatula to smooth it and press those crumbs into the frosting. Don't be afraid to add a little more frosting to patchy areas before scraping smooth.
Not Chilling the Cake Properly
Failing to chill the cake adequately after the crumb coat is applied is another frequent error. If the crumb coat isn't firm, it won't effectively hold the crumbs or provide a stable surface for the final frosting. You'll simply push the crumb coat around, mixing crumbs into your final layer.
Allow at least 30-60 minutes in the refrigerator for the crumb coat to firm up. In humid conditions, it might take a little longer. You should be able to gently touch the crumb coat without it feeling sticky or soft. Patience during this chilling phase is a key element of successful cake decorating preparation.
Troubleshooting Cake Decorating Preparation Issues
Sometimes, despite your best efforts, you encounter challenges during the preparation phase. Here are a few common issues and how to address them.
Dealing with Sticky Cakes
Sticky cake layers can be frustrating and difficult to handle without tearing. This is often caused by not cooling the cake completely, thawing improperly from frozen, or high humidity. If your cake is sticky, try placing it in the refrigerator or even the freezer for 15-30 minutes to firm it up before handling or leveling. Working with a slightly chilled cake makes it much firmer and less sticky. Ensure your cooling racks allow for good air circulation, and avoid covering warm cakes, which traps steam and creates stickiness.
Fixing Crumbly Cakes
Excessive crumbling usually indicates an overbaked or dry cake. While you can't add moisture back into an overbaked cake, you can minimize crumbling during handling and frosting. Work slowly and gently with crumbly layers.
- Use a cake leveler instead of a knife, as it can be gentler.
- Handle layers carefully with cake lifters or by supporting the entire underside.
- Apply a slightly thicker-than-usual crumb coat, pressing the frosting gently into the crumbly surface to bind it together. Chill thoroughly.
- Consider brushing layers with a simple syrup or milk before crumb coating if they are very dry (do this before chilling or freezing).
Addressing Uneven Frosting Surfaces
If your final frosting layer isn't as smooth as you'd like, it could be due to an uneven crumb coat, inconsistent frosting consistency, or not using smoothing tools effectively.
- Ensure your crumb coat was smooth and firm before applying the final layer.
- Check your frosting consistency – if it's too stiff, it's hard to spread smoothly; if too soft, it won't hold shape. Adjust by adding a tiny bit of liquid or powdered sugar.
- Re-chill the cake for 15-20 minutes, then use a warm, dry offset spatula or bench scraper to smooth the surface again. The slight chill helps the existing frosting layer firm up, making it easier to smooth without creating dips or pulling frosting away.
- Practice makes perfect! The more you practice applying and smoothing frosting, the better you'll become.
Conclusion: Mastering Cake Decorating Preparation for Stunning Results
Successfully decorating a cake is a rewarding experience, and its foundation lies in meticulous preparation. By focusing on these essential cake decorating preparation tips – from choosing the right recipe and baking even layers, to cooling, leveling, freezing, and applying a thorough crumb coat – you set yourself up for success.
These steps might seem like extra work, but they save time and prevent frustration in the long run by providing a stable, smooth canvas free of distracting crumbs or leaning layers. Whether you're a beginner or looking to refine your skills, incorporating these preparation techniques into your routine will dramatically improve the look and stability of your decorated cakes. So, take the time to prep your cake properly, and get ready to create edible works of art with confidence!
Frequently Asked Questions
What is the most important step in cake decorating preparation?
The most crucial step is ensuring your cake is completely cool and level. This provides a stable base for even frosting and decorating.
Why is a crumb coat so essential before decorating a cake?
A crumb coat is vital to trap loose crumbs and prevent them from mixing into your final frosting layer, resulting in a smooth finish.
How long should I chill my cake after applying the crumb coat?
Chilling the cake after the crumb coat, typically for at least 30 minutes, allows the frosting to firm up, making it easier to apply the final layer.
What tools are recommended for leveling a cake?
A serrated knife or a cake leveler are the best tools for precisely trimming and leveling the top of your cake layers for even stacking.
What type of frosting is best for a beginner cake decorator?
A simple buttercream frosting is often recommended for beginners due to its ease of use, smooth texture, and forgiving nature for decorating mistakes.
Final Reflection: The Sweet Science of Cake Decorating Prep
Mastering cake decorating isn't just about the frosting swirls; it's about the meticulous preparation that sets the stage for a truly stunning creation. A perfectly prepped cake is the foundation of any successful decorating project, ensuring a smooth, even surface that showcases your artistry to its fullest potential. Ignoring this crucial step is like trying to paint a masterpiece on a cracked canvas – the result will always be compromised.
The impact of proper cake preparation extends far beyond the individual baker. It's a testament to the power of patience and attention to detail, qualities that translate to countless other aspects of life. The satisfaction of transforming a simple baked good into a work of art is deeply rewarding, a feeling echoed in the words of renowned pastry chef, Pierre Hermé: Pastry is a science, but it's also an art. It's about precision, but it's also about passion.
This sentiment perfectly encapsulates the journey from a well-prepared cake to a beautifully decorated masterpiece.
Now, it's your turn. Consider how the principles of careful preparation, as applied to cake decorating, might enhance other areas of your life. Whether it's planning a project at work, tackling a home improvement task, or simply approaching a challenging personal goal, remember the power of laying a solid foundation. Embrace the process, take the time to prepare thoroughly, and watch as your efforts blossom into something truly remarkable. The sweet taste of success awaits.
Unleash Your Inner Cake Artist!
Thanks for joining us on this cake decorating adventure! We hope you've gained valuable tips and tricks to transform your baking from good to amazing. Now it's time to put your newfound knowledge into practice.
- Master your first masterpiece: Grab your favorite recipe and those decorating tools, and let's create something spectacular! Don't forget to take progress pictures – we'd love to see them.
- Share the sweetness: Tag BakeWithEase on social media and show off your cake creation using #BakeWithEaseMasterpiece. Let's inspire others!
- Explore new techniques: Dive deeper into our other cake decorating guides on BakeWithEase.com to discover even more exciting possibilities.
What unique cake design are you dreaming up next?