
Hand Mixer Hacks: Speed Up Doughs and Batters Effortlessly

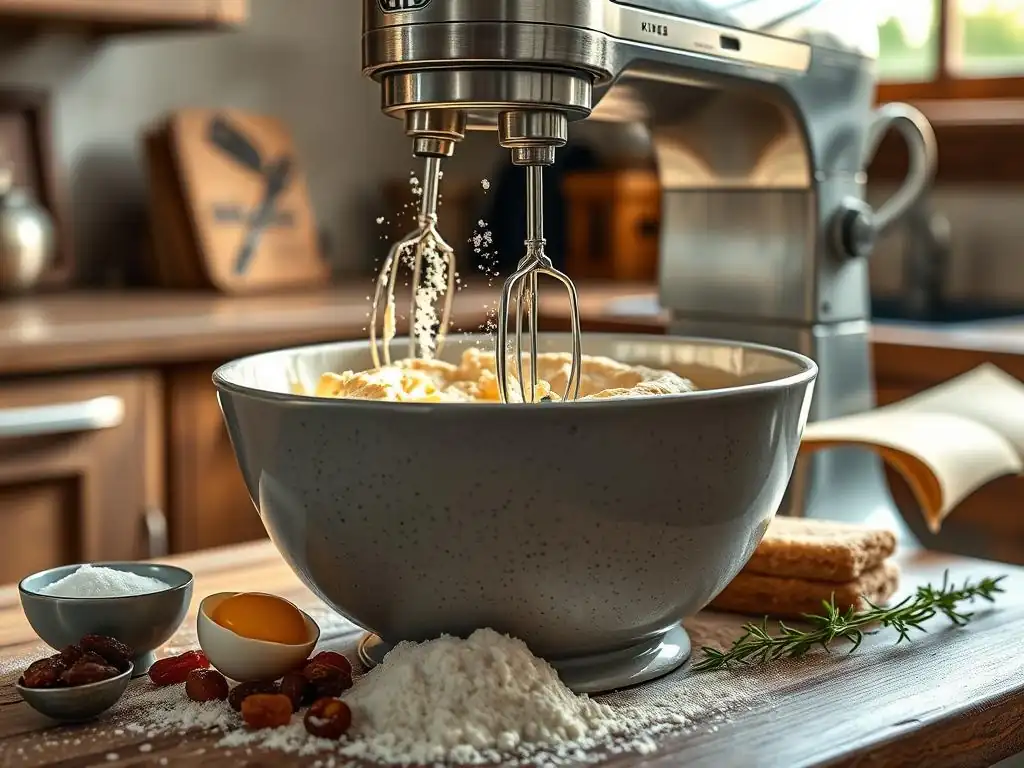
Welcome to BakeWithEase.com, your secret ingredient to baking success! Ever wondered if your trusty hand mixer could unlock even faster and easier dough preparation? Discover our top "Easy hand mixer dough tips" and transform your baking. We'll guide you through simple hacks that will have you whipping up delicious creations in no time. Get ready to elevate your baking game – let's get started!
- BakeWithEase' Guide to Easy Hand Mixer Dough Tips & Tricks
-
Easy Hand Mixer Dough Tips for Faster Baking
- Tip 1: Choosing the Right Hand Mixer for Doughs - Power & Speed Settings
- Tip 2: The Dough Hook Advantage: Hand Mixer Dough Hook Techniques
- Tip 3: Proper Hand Mixer Speed for Different Dough Types: Achieving the Perfect Consistency
- Tip 4: Preventing Overmixing: A Common Hand Mixer Dough Mistake
- Tip 5: Optimizing Ingredient Temperature for Smooth Doughs
- Tip 6: The "Resting" Hack: Enhancing Dough Texture with Minimal Effort
- Hand Mixer Hacks for Specific Baking Needs
- Cleaning and Maintenance: Keeping Your Hand Mixer Ready for the Next Bake
- Conclusion: Elevate Your Baking with These Easy Hand Mixer Dough Tips
-
Frequently Asked Questions
- How can a hand mixer help me with dough making if I'm a beginner?
- What are some essential hand mixer settings for different types of dough?
- What kind of doughs can I realistically make with a hand mixer, and what are its limitations?
- How do I prevent my hand mixer from overheating when making dough?
- What are some "easy hand mixer dough tips" for achieving a smooth and consistent dough?
- Final Reflection: The Unexpected Joy of Effortless Baking
- Unleash Your Inner Baking Whiz!
BakeWithEase' Guide to Easy Hand Mixer Dough Tips & Tricks
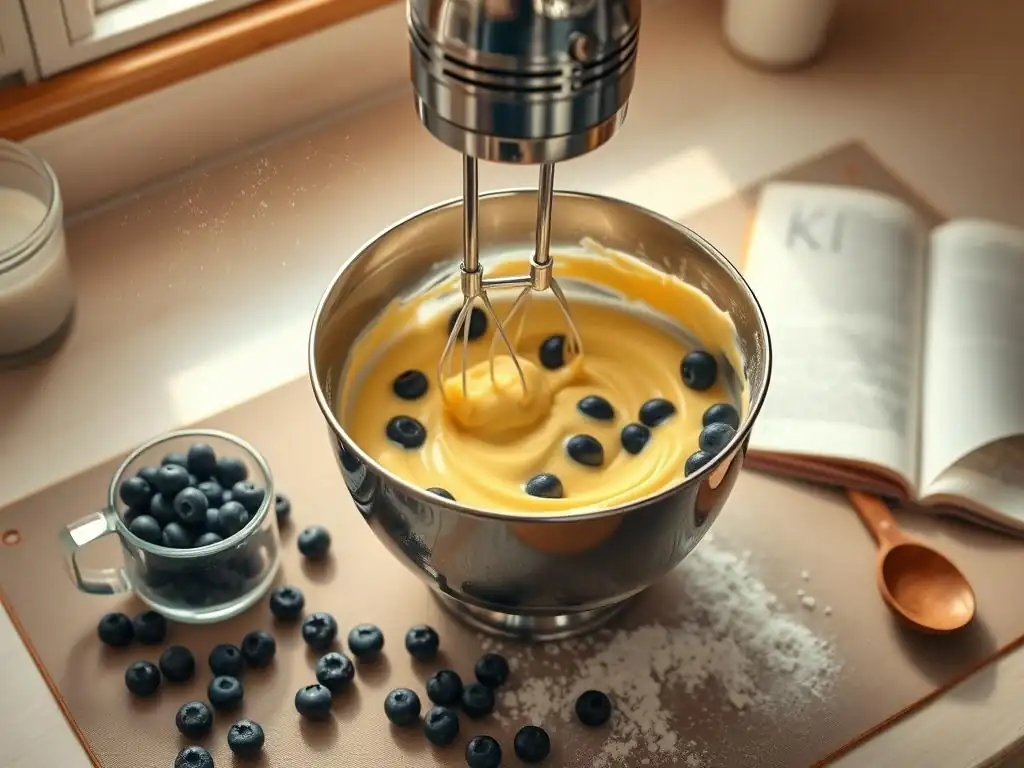
Gone are the days when achieving perfectly mixed doughs and batters required Herculean arm strength or an expensive stand mixer. Your trusty hand mixer, often relegated to whipping cream or beating eggs, is a versatile powerhouse capable of handling a surprising range of tasks, including mixing various doughs and batters with ease. Understanding its capabilities and applying a few simple techniques can dramatically speed up your baking process and improve results.
This guide dives into practical, easy hand mixer dough tips and general batter techniques that will transform how you use this essential kitchen gadget. We'll explore how to select the right mixer, utilize its attachments effectively, control speed for optimal texture, and avoid common pitfalls. Whether you're whipping up a batch of quick bread, a delicate cake batter, or even attempting a simple cookie dough, these hacks will help you achieve consistent, delicious outcomes effortlessly.
Beyond Blending: Exploring Versatile Hand Mixer Uses
While hand mixers are famous for tasks like whipping egg whites to stiff peaks or creaming butter and sugar until light and fluffy, their utility extends far beyond these basic functions. With the right approach and often a specific attachment, they can tackle thicker mixtures that might seem intimidating at first glance. This opens up possibilities for speeding up the initial stages of many doughs and batters.
Think about starting a scone dough, mixing a simple biscuit dough, or even combining the wet and dry ingredients for a quick loaf bread. A hand mixer, properly used on a lower speed setting with the standard beaters or specialized dough hooks, can quickly bring these mixtures together, reducing the time and effort compared to mixing by hand. This isn't just about convenience; consistent mixing helps develop the structure needed for a good bake, making these easy hand mixer dough tips valuable for bakers of all levels.
Easy Hand Mixer Dough Tips for Faster Baking
Tip 1: Choosing the Right Hand Mixer for Doughs - Power & Speed Settings
Selecting a hand mixer capable of handling doughs requires paying attention to its power (wattage) and the number of speed settings. For tackling thicker mixtures like doughs, a hand mixer with a wattage of at least 200-250 watts is generally recommended for home use. Mixers in this range have enough power to move through stiffer doughs without straining the motor excessively, which is crucial for longevity.
Equally important are the speed settings. A mixer with multiple speeds, ideally five or more, provides greater control. The lowest speed is essential for initially combining dry and wet ingredients without creating a flour dust storm, while slightly higher speeds can be used for short periods to bring doughs together. A 'start' or 'slow start' feature that prevents splashing is also a great benefit when working with batters and the initial stages of dough mixing. Look for models that feel sturdy and have comfortable grips, as you'll be holding it while it works through the mixture.
Tip 2: The Dough Hook Advantage: Hand Mixer Dough Hook Techniques
Many hand mixers come equipped with specialized dough hooks, which are distinct from the standard beaters. These hooks are designed to mimic the kneading action of a stand mixer's dough hook, pulling, stretching, and folding the dough to develop gluten. While a hand mixer's dough hooks won't handle heavy, large-batch bread doughs like a powerful stand mixer, they are surprisingly effective for smaller batches of enriched doughs, quick breads, or even some lighter yeast doughs.
When using dough hooks with your hand mixer, work with smaller quantities than you would in a stand mixer to avoid overloading the motor. Insert the hooks according to your mixer's instructions. Start on the lowest speed to bring the dough together into a shaggy mass, then increase to a slightly higher speed (often speed 2 or 3 on a multi-speed mixer) to knead for a few minutes.
Keep the mixer moving around the bowl to ensure all the dough is engaged with the hooks. For a typical enriched dough (like cinnamon rolls), kneading with a hand mixer's dough hooks for 3-5 minutes might be sufficient to develop some elasticity, a key part of these easy hand mixer dough tips. Always check the dough's texture as a guide, rather than relying solely on time.
Tip 3: Proper Hand Mixer Speed for Different Dough Types: Achieving the Perfect Consistency
Understanding which speed to use is fundamental to successful hand mixer baking. Using the wrong speed can lead to overworked batters or poorly mixed doughs. The general rule is to start slow and increase speed only as needed, paying close attention to the mixture's texture and how the ingredients are incorporating.
For delicate tasks or incorporating dry ingredients without making a mess, the lowest speed is your best friend. As the mixture comes together or thickens, you can gradually move up to medium speeds for more thorough mixing. High speeds are typically reserved for aerating mixtures, like whipping cream or egg whites, or creaming butter and sugar extensively, not for mixing most doughs. Mastering speed control is vital among effective easy hand mixer dough tips.
Low Speed: Gentle Mixing for Delicate Batters
The lowest speed setting on your hand mixer is perfect for initiating the mixing process. It's ideal for gently combining wet and dry ingredients, such as when you're making muffins, pancakes, or starting a quick bread batter. Using low speed minimizes splashing flour and ensures that ingredients are just combined without overworking the gluten in flour-based recipes.
This speed is also crucial when adding ingredients gradually, like drizzling in oil for a mayonnaise or adding powdered sugar to a glaze. It provides enough power to mix but is slow enough to allow for controlled incorporation, preventing separation or lumps. For delicate cake batters or meringue, starting on low helps to gently break up egg whites or combine initial ingredients before increasing speed.
Medium Speed: Incorporating Ingredients for Quick Breads
Medium speeds (typically speeds 2-4 on a multi-speed mixer) are your workhorses for incorporating ingredients more thoroughly once the initial dust has settled. These speeds are excellent for mixing quick bread batters until just combined, blending cookie doughs until the flour streaks disappear, or mixing cake batters after creaming.
Using a medium speed provides enough power to bring thicker batters and lighter doughs together efficiently. For example, when making a standard chocolate chip cookie dough, after creaming butter and sugar, adding eggs and vanilla, you'd typically add dry ingredients. Mixing on a low to medium speed just until the flour is incorporated prevents the development of tough gluten, which is a common pitfall in cookie making. This speed range is fundamental for many easy hand mixer dough tips.
High Speed: Whipping & Creaming for Cakes
High speeds are where your hand mixer shines for aeration. These settings are primarily used for whipping air into mixtures, which is crucial for light and fluffy results in many desserts. Tasks like whipping heavy cream into whipped cream, beating egg whites for meringue or soufflés, or creaming butter and sugar together until pale and fluffy are best done on high speed.
While not typically used for mixing doughs themselves (except perhaps for very light batters that resemble dough), the high-speed creaming step is vital for many cake and cookie recipes before other ingredients, including flour, are added. Achieving that airy, creamed base on high speed sets the stage for a tender crumb in your finished bake.
Tip 4: Preventing Overmixing: A Common Hand Mixer Dough Mistake
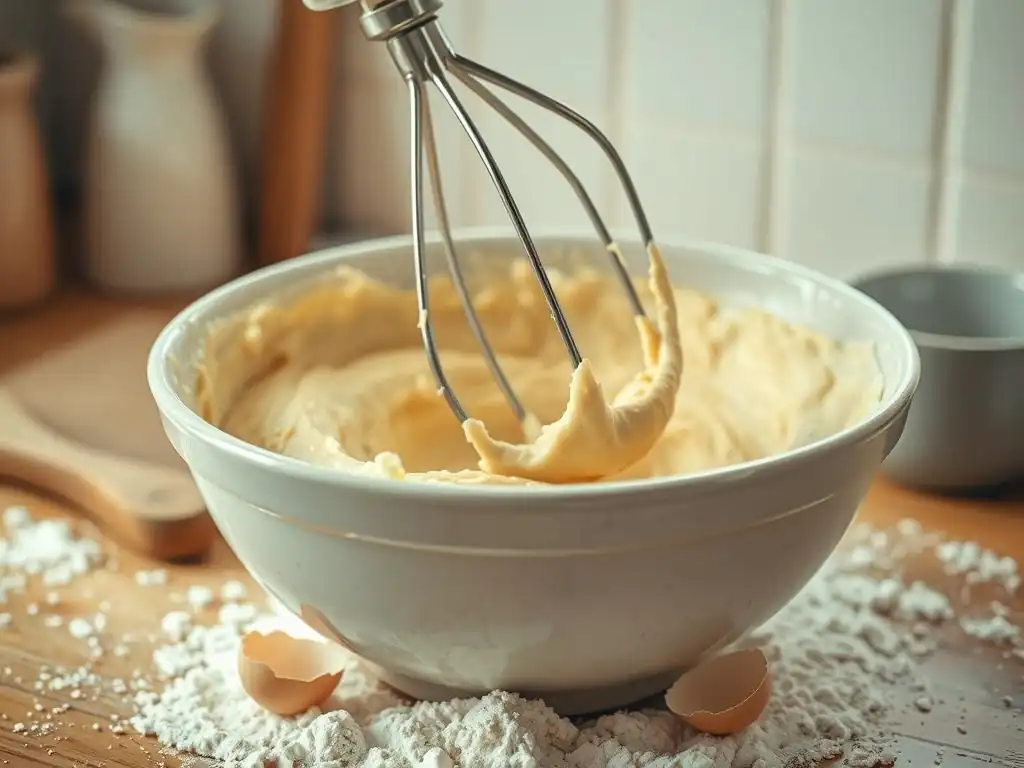
Overmixing is a frequent error, especially when using mechanical mixers, and it can quickly ruin the texture of baked goods. For most doughs and batters, particularly those made with wheat flour, overmixing develops too much gluten, resulting in tough, dense cakes, dry muffins, or hard cookies. The goal is often to mix just until the ingredients are combined.
With a hand mixer, it's easy to get carried away. Pay close attention to the mixture's appearance. As soon as dry ingredients are fully incorporated and no streaks of flour remain, stop mixing. For doughs mixed with hooks, stop when the dough just starts to come together and look cohesive, before it becomes overly elastic or starts climbing the hooks excessively. Learning to recognize the visual cues for when to stop is one of the most important easy hand mixer dough tips.
Tip 5: Optimizing Ingredient Temperature for Smooth Doughs
Ingredient temperature significantly impacts the texture of your doughs and batters and how easily your hand mixer can process them. For recipes requiring creaming butter and sugar (like many cookies and cakes), using softened, room-temperature butter is crucial. Cold butter won't cream properly, and hot butter will melt, resulting in a greasy texture.
Conversely, for pastry doughs or biscuits where you want flaky layers, using very cold butter cut into small pieces is essential. Your hand mixer, using standard beaters or a paddle attachment if available, can help cut the cold butter into the flour on a low speed, but you need to stop as soon as the butter is reduced to pea-sized or smaller pieces. Overmixing here will melt the butter and prevent flakiness. Using ingredients at the specified temperature range makes the mixer's job easier and improves the final outcome, contributing to effective easy hand mixer dough tips.
Tip 6: The "Resting" Hack: Enhancing Dough Texture with Minimal Effort
Allowing doughs and batters to "rest" after mixing, even for a short period, is a simple hack that can significantly improve texture. For quick bread batters or muffin mixes, letting the batter rest for 10-15 minutes allows the liquid to hydrate the flour fully, resulting in a more tender crumb. This rest period also gives the gluten a chance to relax, which is particularly helpful if you've used a hand mixer to mix the batter.
For cookie doughs or even some lighter yeast doughs mixed with hand mixer dough hooks, a rest in the refrigerator (from 30 minutes to overnight) can deepen flavors and improve texture. The cold firms up the fat (butter), which contributes to better structure and spread in cookies. This "resting" hack is a low-effort way to enhance your baked goods after applying your easy hand mixer dough tips.
Hand Mixer Hacks for Specific Baking Needs
Quick Bread Doughs: Effortless Mixing with a Hand Mixer
Quick breads, like muffins, scones, and loaf cakes that use baking powder or soda as leavening, are excellent candidates for hand mixer assistance. The goal with quick breads is usually minimal mixing to avoid developing tough gluten. A hand mixer on a low speed is perfect for this.
After combining wet ingredients, add the dry ingredients and mix on the lowest speed just until no dry streaks remain. This typically takes only 30-60 seconds. Avoid the temptation to mix longer. For scone or biscuit dough, you might use the mixer on low speed to cut in cold butter before adding wet ingredients, then switch back to low speed to bring the dough together until it's shaggy. This method ensures minimal handling, leading to tender results and highlights the efficiency of easy hand mixer dough tips.
Cake Batters: Achieving Light and Airy Textures with Hand Mixer Techniques
Hand mixers are indispensable for many cake batters, particularly those using the creaming method. Starting with room-temperature butter and sugar, use a medium to high speed to cream them together until the mixture is visibly lighter in color and fluffy, which can take 3-5 minutes depending on your mixer's power. This step incorporates crucial air for lift.
After adding eggs one at a time on medium speed, reduce the speed to low before adding dry ingredients alternately with wet ingredients (like milk or buttermilk). Mix on the lowest speed only until combined after each addition. Stop as soon as the last of the dry ingredients is incorporated. Overmixing cake batter on medium or high speed after flour is added will develop gluten and result in a tough cake.
Most drop cookie doughs (like chocolate chip or oatmeal) can be easily managed with a hand mixer. Begin by creaming softened butter and sugars on medium to high speed for 2-3 minutes until light and fluffy. Add eggs and vanilla, mixing until just combined.
Then, add the dry ingredients. Switch to the lowest speed and mix only until the flour disappears. For chunkier add-ins like chocolate chips or nuts, it's often best to stir them in by hand with a spatula to avoid overmixing the dough and potentially damaging the beaters. Using the hand mixer for the initial stages simplifies the process and allows you to leverage easy hand mixer dough tips for consistent cookie textures.
Pizza Dough: Can a Hand Mixer Really Help? (Tips and Limitations)
While a hand mixer with dough hooks can tackle some lighter, smaller batches of yeast dough, its capabilities for traditional, chewy pizza dough are limited compared to a stand mixer. Pizza dough requires significant kneading to develop strong gluten for that characteristic chew and structure, a task that can strain a hand mixer's motor.
However, you can use a hand mixer on low speed with dough hooks to bring the initial shaggy dough together after combining wet and dry ingredients. Mix for just 1-2 minutes until the dough forms a rough ball. After this point, it's highly recommended to switch to kneading by hand for the remaining 5-8 minutes required to develop the gluten properly.
Attempting to fully knead stiff pizza dough with a hand mixer can lead to motor burnout. So, while it can start the process, it's not a full substitute for hand kneading or a stand mixer for this specific application.
Cleaning and Maintenance: Keeping Your Hand Mixer Ready for the Next Bake
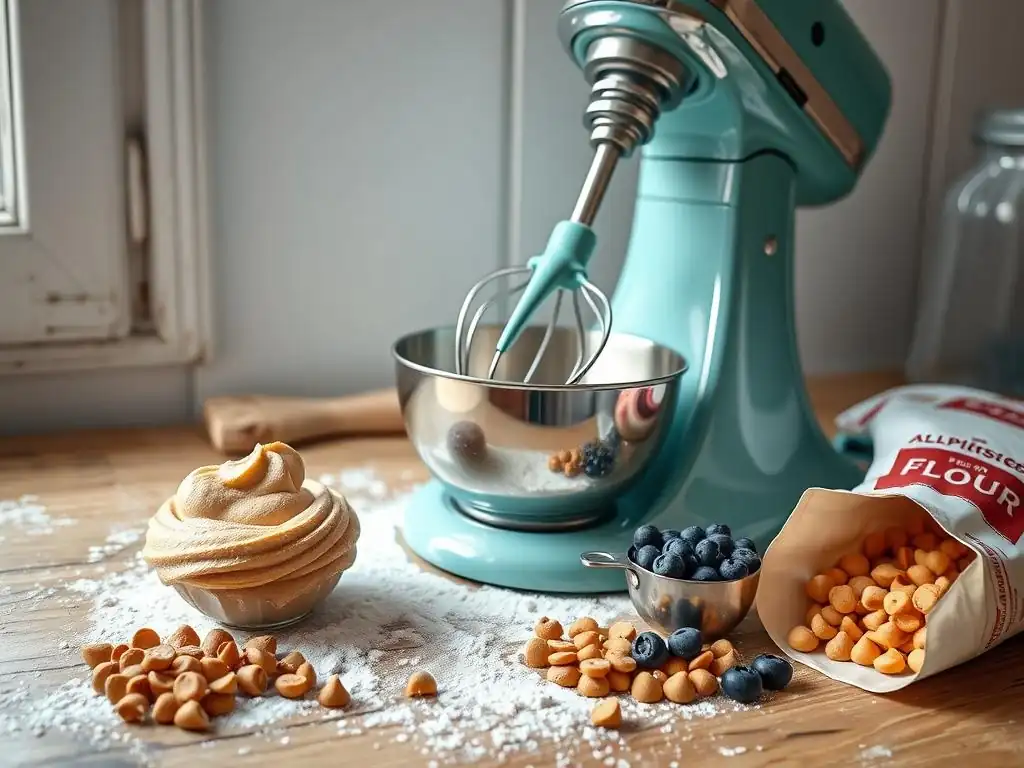
Proper cleaning and maintenance are key to ensuring your hand mixer lasts and is always ready for your next baking adventure, whether you're using it for batters or applying your easy hand mixer dough tips. A well-maintained mixer performs better and is safer to use.
Easy Cleaning Tips for Your Hand Mixer Attachments
The best way to clean hand mixer attachments, whether they are standard beaters or dough hooks, is to wash them immediately after use. Most attachments are dishwasher- safe, but checking your manual is always a good idea. If washing by hand, use warm, soapy water and a brush to remove any stubborn bits of dough or batter stuck in the crevices.
For the mixer unit itself, never immerse it in water. Always ensure it is unplugged before cleaning. Use a damp cloth or sponge (not soaking wet) to wipe down the exterior housing. Pay special attention to the vents, ensuring they are free of debris to prevent the motor from overheating. A small, dry brush (like a pastry brush) can help remove flour or sugar dust from hard-to-reach areas.
Proper Storage for Longevity: Protecting Your Hand Mixer
Storing your hand mixer correctly protects it from damage and keeps it organized. Ensure the unit and all attachments are completely dry before storing them. Moisture can lead to corrosion or damage to the electrical components.
Many hand mixers come with a storage case or a clip-on storage system for attachments. Using these keeps the beaters and hooks together with the main unit, preventing them from getting lost or damaged in a drawer. Store the mixer in a cool, dry place, away from excessive heat or moisture, such as a cupboard or pantry shelf. Avoid storing heavy items on top of the mixer, which could crack the plastic housing. Following these simple cleaning and storage tips ensures your hand mixer remains a reliable tool for all your easy hand mixer dough tips and baking projects.
Conclusion: Elevate Your Baking with These Easy Hand Mixer Dough Tips
Your hand mixer is a powerful and versatile tool that can significantly simplify and speed up many baking tasks, from whipping airy meringues to mixing various doughs and batters. By choosing a mixer with adequate power and multiple speeds, utilizing the correct attachments (like dough hooks), controlling speed appropriately for different mixtures, and being mindful of common pitfalls like overmixing, you can achieve excellent results. Incorporating easy hand mixer dough tips like optimizing ingredient temperature and allowing doughs to rest further enhances your baking.
While a hand mixer may not replace a heavy-duty stand mixer for large or very stiff doughs, it is more than capable of handling quick breads, most cookie doughs, cake batters, and even starting lighter yeast doughs. By applying the techniques discussed here and keeping your equipment clean and well-maintained, you can confidently tackle a wider range of recipes, making your time in the kitchen more efficient and enjoyable. Experiment with these easy hand mixer dough tips and discover how much easier baking can be!
Frequently Asked Questions
How can a hand mixer help me with dough making if I'm a beginner?
A hand mixer offers a more controlled and consistent mixing process compared to hand mixing, making it easier for beginners to achieve the right dough consistency without overworking it. It's also less physically demanding.
What are some essential hand mixer settings for different types of dough?
Generally, a low speed is recommended for initially combining ingredients and preventing flour from flying everywhere. Medium speed is suitable for mixing most doughs, while high speed can be used for whipping ingredients like egg whites or heavy cream.
What kind of doughs can I realistically make with a hand mixer, and what are its limitations?
Hand mixers are great for lighter doughs like cake batters, cookie doughs, and some quick breads. They are not suitable for very stiff doughs like sourdough or heavy bread doughs, which require a stand mixer or kneading by hand.
How do I prevent my hand mixer from overheating when making dough?
Avoid overworking the mixer by following the recipe's instructions closely and taking breaks if the motor starts to feel hot. Make sure to use the correct attachments and avoid mixing overly stiff doughs.
What are some "easy hand mixer dough tips" for achieving a smooth and consistent dough?
Gradually add ingredients, especially liquids, to prevent splattering and ensure even distribution. Scrape down the sides of the bowl frequently. Don't overmix the dough; mix until just combined to avoid developing too much gluten and resulting in a tough final product.
Final Reflection: The Unexpected Joy of Effortless Baking
Mastering the humble hand mixer isn't just about faster dough; it's about reclaiming the joy of baking. The tips and tricks explored in this article—from the perfect bowl size to the strategic addition of ingredients—are more than just techniques; they're keys to unlocking a more efficient and enjoyable baking experience. This isn't about sacrificing quality for speed; it's about finding the sweet spot between effortless preparation and delicious results.
The impact of simple kitchen tools like the hand mixer extends far beyond the immediate task of mixing. It's about fostering a connection with the process of baking itself, allowing us to appreciate the smaller moments and the sensory experience of creating something delicious. The ease and efficiency gained through these techniques free up mental space and energy, allowing for greater creativity and experimentation in the kitchen. Baking is at once child's play and adult joy. And cooking is all that and a whole lot more.
- Alma Flor Ada
So, consider this your invitation to experiment. Try out those techniques, adapt them to your own style, and discover the unexpected joy that comes from effortlessly whipping up your favorite doughs and batters. Don't let the fear of a lumpy mixture or a tedious process hold you back from the satisfaction of creating something delicious with your own hands. Embrace the simplicity, embrace the efficiency, and embrace the joy of baking.
Unleash Your Inner Baking Whiz!
Thanks for diving into our hand mixer hacks! You're now equipped to conquer even the stickiest doughs and thickest batters with ease. Ready to take your baking game to the next level?
- Master the art of effortless mixing: Practice the techniques we shared today – you’ll be amazed at how much faster and smoother your mixing becomes!
- Share your baking triumphs: Post a picture of your latest creation on social media using #BakeWithEase and tag us! Let’s inspire each other.
- Explore new recipes: Challenge yourself with a recipe you've always wanted to try, using your newfound hand mixer skills.
What's the first delicious recipe you're tackling with your perfectly mixed batter or dough? Let us know in the comments below!