
Hydration Levels in Basic Sourdough: A Simple Explanation

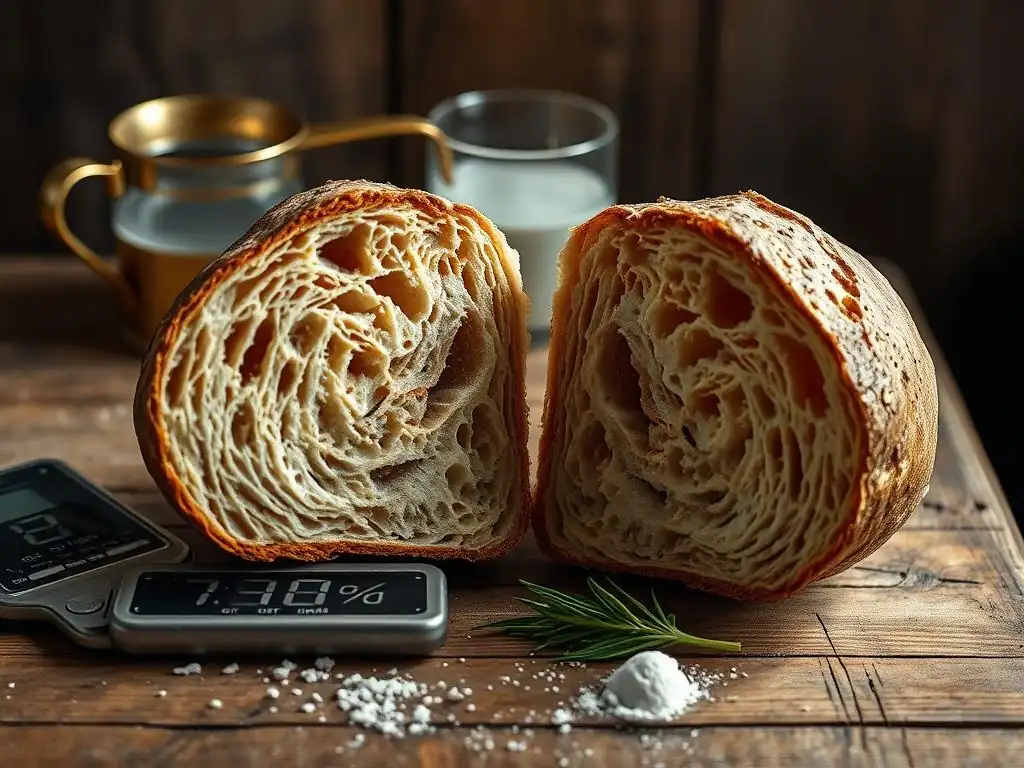
Welcome to BakeWithEase, your trusted companion on your baking journey! Ever wondered if you're getting your sourdough hydration just right? You're in the right place. Unlock the secrets to a perfect sourdough loaf as we delve into the critical role of hydration levels, revealing a simple explanation that will elevate your baking from good to exceptional. Curious to know how much water really goes into that perfect crust? Read on!
- Understanding Sourdough Hydration: A Guide for Bakers
- What is Sourdough Hydration and Why Does It Matter?
- Exploring Different Sourdough Hydration Levels
- Factors Affecting Optimal Sourdough Hydration
- Determining the Right Hydration for Your Sourdough Recipe
- Working with Different Sourdough Hydration Doughs
- Troubleshooting Sourdough Hydration Issues
- Sourdough Hydration Chart: A Quick Reference Guide
- Mastering Sourdough Hydration: Tips and Tricks
-
Frequently Asked Questions
- What does hydration mean in the context of sourdough baking?
- Why is understanding sourdough hydration levels so important?
- What are the general hydration level classifications for sourdough?
- How does the hydration level affect the fermentation process of sourdough?
- What hydration level is recommended for a beginner sourdough baker?
- Final Reflection: The Unsung Hero of Sourdough: Hydration
- Unlock Your Sourdough's Potential: Master Hydration!
Understanding Sourdough Hydration: A Guide for Bakers
Sourdough baking is a journey of discovery, and one of the most fundamental concepts to grasp is hydration. It's a factor that profoundly influences the texture, handling, and final outcome of your loaf. Getting a handle on sourdough hydration levels explained simply can transform your baking results from dense and gummy to light and airy. This guide will walk you through what hydration means in the context of sourdough and how it affects every step of the process.
Mastering sourdough hydration is key to unlocking the full potential of your starter and flour. It's not just about adding water; it's about understanding the relationship between the water and the dry ingredients, primarily flour. Different hydration levels present unique challenges and rewards, offering a spectrum of possibilities for your sourdough creations, from rustic boules to delicate focaccia.
What is Sourdough Hydration and Why Does It Matter?
Understanding the science behind your ingredients is crucial in baking, and hydration is a prime example. It's a simple concept with complex implications for your final loaf. Grasping sourdough hydration levels explained clearly will empower you to troubleshoot issues and adapt recipes.
The hydration level of your dough directly impacts its extensibility (how much it can stretch) and elasticity (how well it springs back). These properties are vital for developing the gluten network, which traps the gases produced by your starter, giving the bread its rise and open crumb structure. Without proper hydration, the gluten won't develop effectively, leading to a dense loaf.
Defining Sourdough Hydration: The Water-to-Flour Ratio
Sourdough hydration is expressed as a percentage, representing the weight of water relative to the weight of flour in a recipe. The formula is straightforward: (Weight of Water / Weight of Flour) * 100%. Note that this calculation typically includes the water and flour contributed by your sourdough starter. For example, if a recipe uses 500 grams of flour, 350 grams of water, and 100 grams of a 100% hydration starter (which contains 50g water and 50g flour), the total flour is 500g + 50g = 550g, and the total water is 350g + 50g = 400g. The hydration would be (400g / 550g) * 100% ≈ 72.7%.
This percentage gives you a quantifiable measure of how wet or dry your dough will be. A higher percentage means more water relative to flour, resulting in a wetter, stickier dough. A lower percentage means less water, leading to a stiffer, more manageable dough. Being able to calculate and interpret this ratio is fundamental to understanding sourdough hydration levels explained in any recipe.
Why Hydration Percentage Impacts Your Sourdough Loaf
The hydration percentage fundamentally changes the dough's characteristics and the final bread. High hydration doughs, for instance, typically lead to a more open crumb structure with larger, irregular holes, a lighter texture, and a crispier crust due to increased moisture content during baking. However, they are also much stickier and harder to handle, requiring different techniques during mixing, shaping, and proofing.
Conversely, lower hydration doughs are easier to mix and shape. They result in a denser crumb, a chewier texture, and a thicker crust. While they might not achieve the dramatic open crumb of high hydration loaves, they are more forgiving for beginners and excellent for shaping into specific forms like baguettes or braided loaves. The hydration level dictates the feel of the dough, how it behaves during fermentation, and ultimately, the structure and texture of the baked bread.
Exploring Different Sourdough Hydration Levels
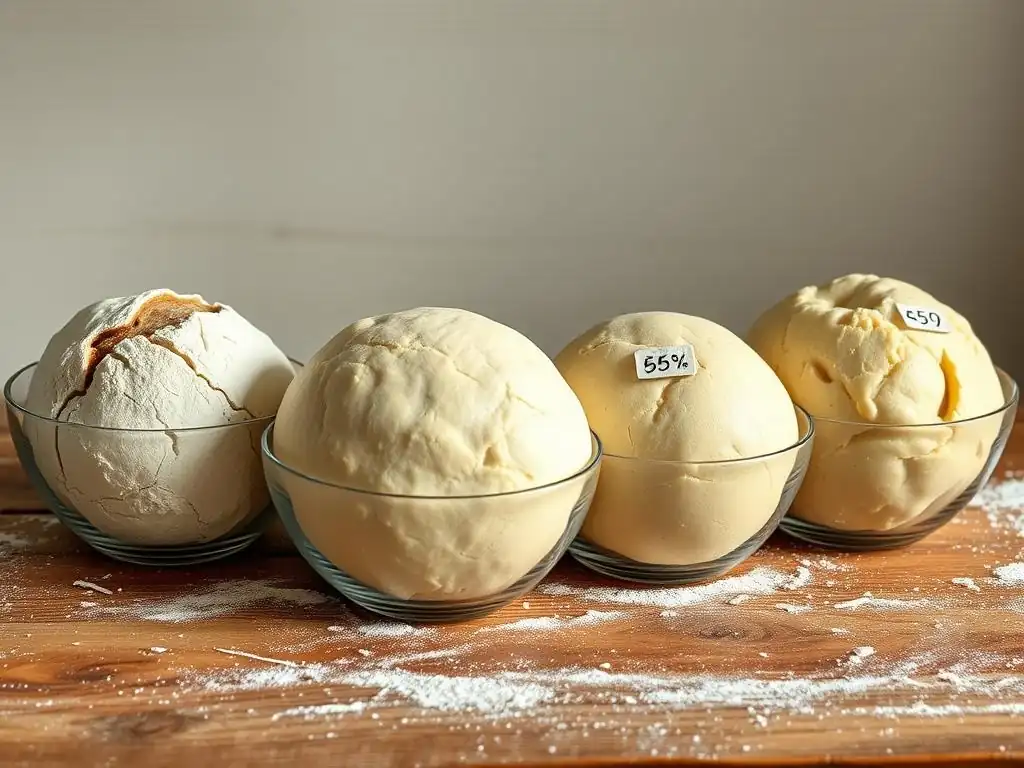
Sourdough recipes span a wide range of hydration levels, each offering distinct advantages and challenges. Understanding these ranges helps you choose the right recipe for your skill level and desired outcome. Here, we explore common categories of sourdough hydration levels explained by their typical characteristics.
From stiff, easy-to-handle doughs to incredibly wet, challenging mixtures, there's a hydration level for every baker and every type of bread. Experimenting within these ranges, perhaps starting lower and gradually increasing, is a great way to build confidence and skill in managing different dough consistencies.
Low Hydration Sourdough (50-65%): Characteristics and Uses
Low hydration sourdough doughs, typically ranging from 50% to 65% hydration, are noticeably stiffer and less sticky than their higher hydration counterparts. They require more effort during the initial mixing phase to incorporate all the flour and water, often benefiting from a stand mixer or vigorous hand kneading. Once mixed, the dough is relatively firm, holds its shape well, and is easy to handle, making it ideal for beginners or those new to sourdough.
These lower hydration levels are excellent for breads where maintaining a specific shape is important, such as bagels (often around 50-55% hydration), pretzels, or some traditional European loaves. The resulting bread usually has a tighter, more uniform crumb structure and a chewier texture. While they may not achieve the dramatic oven spring of wetter doughs, they are reliable and forgiving, offering a consistent result that is less prone to spreading during proofing and baking.
Medium Hydration Sourdough (65-75%): The Most Common Range
The medium hydration range, generally between 65% and 75%, is perhaps the most widely used for basic sourdough bread recipes. Doughs at this level strike a balance between manageability and potential for an open crumb. They are still relatively easy to handle compared to high hydration doughs but are wet enough to encourage good gluten development and gas retention. This range is often recommended for standard sourdough boules and batards.
A typical sourdough boule recipe might fall around 70% hydration, offering a good starting point for many bakers. Doughs in this range are less sticky than higher hydration doughs, making techniques like stretching and folding or coil folding more accessible. The resulting bread usually has a pleasant texture, a moderately open crumb, and a good crust. It's a versatile range that allows bakers to practice fundamental sourdough techniques effectively.
High Hydration Sourdough (75-85%): Achieving Open Crumb and Airy Texture
Moving into the high hydration range (75% to 85%) is where you start to see the potential for those signature, large, irregular holes in the crumb structure often associated with artisanal sourdough. Doughs at this hydration are significantly wetter and stickier, requiring a different approach to handling. Techniques like slap and fold or coil folding are often employed to develop gluten without incorporating too much extra flour. Working with these doughs demands patience and practice.
Breads baked at this hydration level tend to have a lighter, airier texture and a thinner, crispier crust. They also often achieve impressive oven spring. While challenging to handle initially, mastering high hydration doughs opens up possibilities for breads like ciabatta or very open-crumb country loaves. The key to success lies in proper gluten development, gentle handling, and using techniques that minimize sticking, such as wetting your hands or using a bench scraper.
Extreme Hydration Sourdough (85%+): Challenges and Advanced Techniques
Dough hydration levels exceeding 85% enter the realm of extreme hydration. These doughs are incredibly wet, almost batter-like, and are the most challenging to handle. They require advanced techniques, significant practice, and often specific tools like dough scrapers or wet hands to manage without making a sticky mess. Traditional kneading is impossible; gluten development relies entirely on gentle folding and time (autolyse, bulk fermentation).
Extreme hydration is typically used for very specific types of bread, such as certain types of focaccia or very rustic, freeform loaves baked in a Dutch oven or on a baking steel with minimal shaping. The payoff is an exceptionally open, delicate crumb and a very thin, shatteringly crisp crust. This level is not for the faint of heart and represents an advanced stage in the sourdough baker's journey, pushing the boundaries of dough handling and structure.
Factors Affecting Optimal Sourdough Hydration
While recipes provide a starting point, the ideal sourdough hydration for your bake can vary based on several factors. Understanding these influences allows you to make informed adjustments. These are crucial elements to consider when evaluating sourdough hydration levels explained in any context.
Environmental conditions and ingredient properties play a significant role in how dough behaves. What works perfectly in one kitchen might need slight tweaks in another. Paying attention to these variables will make you a more adaptable and successful sourdough baker.
Flour Type and Water Absorption
The type of flour used is perhaps the most significant factor influencing how much water your dough can absorb and how it behaves at a given hydration percentage. Different flours have varying protein contents, and protein (specifically gluten-forming proteins) is what absorbs water and creates the dough's structure. High-protein flours, like bread flour (typically 12-14% protein), can absorb more water than lower-protein flours like all-purpose flour (around 10-12% protein) or pastry flour (even lower).
Using a strong bread flour might mean you can comfortably work with a 75% hydration dough, while the same percentage with all-purpose flour could result in a much stickier, harder-to-manage dough. Whole wheat flour and other whole grain flours (like rye or spelt) also absorb significantly more water than white flour due to the presence of bran and germ. A 70% hydration dough made with 100% whole wheat flour will feel much stiffer than a 70% hydration dough made with white bread flour. Always consider the flour's characteristics when deciding on or adjusting hydration.
Ambient Temperature and Humidity
Environmental conditions in your kitchen also impact how your dough feels and ferments. Temperature affects the rate of fermentation; warmer temperatures speed it up, while cooler temperatures slow it down. This, in turn, influences how quickly the gluten develops and how the dough stiffens or relaxes over time. A dough might feel perfectly manageable at 70% hydration in a cool kitchen but seem excessively slack and sticky in a warm, humid environment.
Humidity levels can also slightly affect the dough, though perhaps less dramatically than temperature or flour type. In a very humid environment, the flour might absorb a little moisture from the air, potentially making the dough feel slightly wetter than calculated. Conversely, in a very dry environment, the dough's surface might dry out faster, requiring more attention to keep it covered. Experienced bakers often make small adjustments to hydration based on the season and their kitchen's climate.
Starter Activity and Fermentation Time
The health and activity level of your sourdough starter play a role in how your dough behaves, indirectly affecting how you perceive and manage its hydration. A very active, bubbly starter contributes fermentation acids and enzymes that can influence gluten development and dough extensibility. A strong starter will help build structure in the dough during fermentation, which can make a higher hydration dough feel more manageable over time compared to using a weak starter.
The fermentation time itself also changes the dough's characteristics. During bulk fermentation, the dough hydrates more fully, and the gluten network strengthens. Over-fermented dough can become very slack and difficult to handle, regardless of its initial hydration, making it feel wetter than it is due to degraded gluten. Under-fermented dough might feel stiff and tight. Understanding these interactions helps you assess if dough handling issues are truly a hydration problem or perhaps related to fermentation timing or starter health.
Determining the Right Hydration for Your Sourdough Recipe
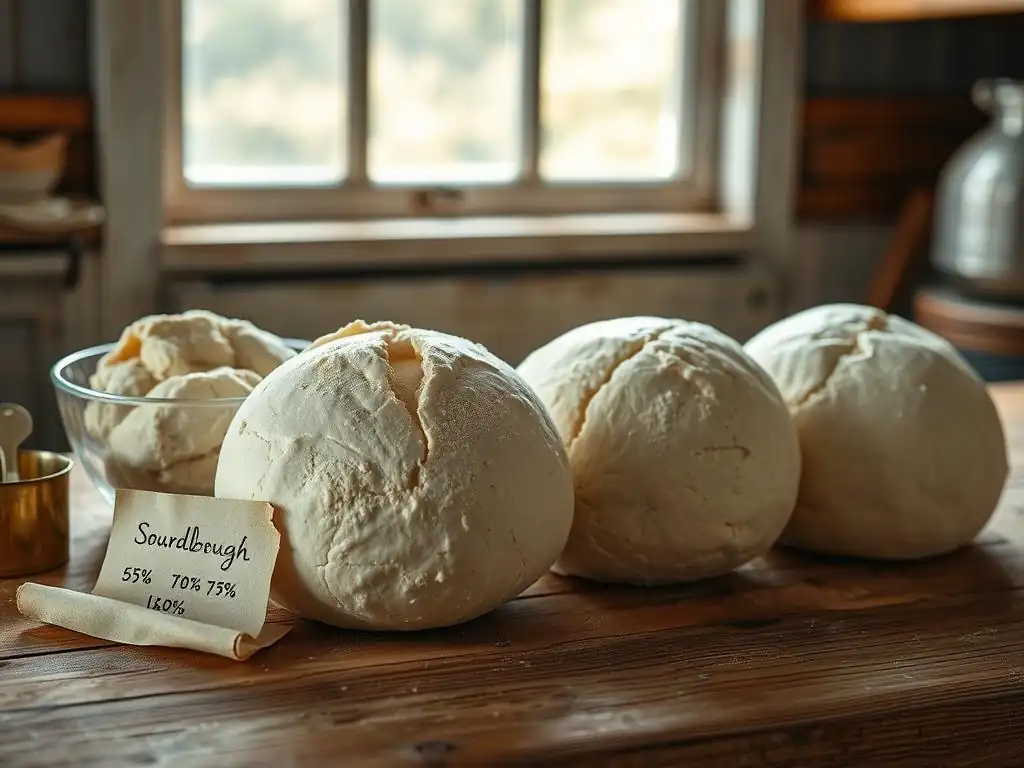
Choosing the perfect hydration level isn't just about picking a number; it's about aligning the hydration with your goals, ingredients, and skill level. This section helps you navigate selecting the right sourdough hydration levels explained within the context of your baking practice.
Recipes provide a starting point, but learning to read between the lines and make intelligent adjustments is a hallmark of an experienced sourdough baker. Don't be afraid to experiment and find what works best for you and your environment.
Reading and Interpreting Sourdough Recipes: Hydration as a Key Indicator
When looking at a sourdough recipe, the hydration percentage is one of the most important pieces of information, often more telling than just the ingredient list. It immediately gives you an idea of the dough's expected consistency and the techniques you'll likely need to employ. A recipe for a beginner's loaf might be around 65-70% hydration, signaling a relatively easy-to-handle dough. A recipe promising a very open crumb might be 80% or higher, indicating it will be sticky and require different methods.
Pay attention to how the recipe instructs you to handle the dough – does it suggest kneading, stretching and folding, or coil folding? These instructions are often tailored to the hydration level. A recipe for a 60% hydration dough might call for traditional kneading, while an 80% hydration recipe will likely rely on folds. Use the stated hydration as a guide to anticipate the dough's behavior and ensure you have the necessary skills and patience.
Adjusting Hydration Levels Based on Flour and Environmental Conditions
Once you understand the basic hydration principles, you can start making minor adjustments to recipes based on your specific flour and kitchen environment. If a recipe calls for 70% hydration using bread flour and you're using an all-purpose flour that you know absorbs less water, you might start at 68% hydration and add a little more water later if the dough feels too dry. Conversely, if baking in a very dry climate, you might start at 72% to compensate for potential surface drying.
It's often easier to add water than to take it away. When in doubt, start slightly lower than the recipe's stated hydration (perhaps 1-2% less) and gradually add more water during the mixing or initial folding stages if the dough feels too stiff. You can add water by wetting your hands during folds or incorporating a small amount (a tablespoon or two) during the autolyse or mixing phase. Learning to read the dough's feel is key to making these adjustments effectively.
Working with Different Sourdough Hydration Doughs
Handling dough at various hydration levels requires adapting your technique. What works for a stiff dough will fail with a very wet one. Becoming comfortable with the different consistencies is part of mastering sourdough hydration levels explained through practice.
Each hydration range presents its own tactile experience and set of challenges. Developing a feel for the dough is one of the most rewarding aspects of sourdough baking.
Handling Low Hydration Dough: Stiff and Manageable
Working with low hydration dough (50-65%) is generally the easiest from a handling perspective. The dough is firm, not very sticky, and holds its shape well. It's forgiving during shaping and less likely to stick to your hands or the counter. Traditional kneading techniques, either by hand or machine, are very effective for developing gluten in these doughs.
While easy to handle, low hydration doughs can sometimes feel tough or resistant, especially early in the mix. Ensure you knead sufficiently to develop the gluten network; the dough should become smooth and elastic. You'll find these doughs are excellent for practicing basic shaping techniques like creating tension on the surface for a good boule or rolling out for flatbreads. They are less prone to spreading during proofing, making them suitable for proofing in baskets or directly on baking sheets.
Managing Medium Hydration Dough: Balanced and Versatile
Medium hydration doughs (65-75%) offer a good balance. They are somewhat sticky but manageable with practice. They are extensible enough for stretching and folding techniques, which are highly effective for developing gluten gently and building structure. The dough will be soft and pliable but should still hold its shape reasonably well during bulk fermentation.
Techniques like stretch and folds or coil folds performed at intervals during bulk fermentation are ideal for this hydration range. You'll notice the dough gradually becoming smoother, stronger, and less sticky with each set of folds as the gluten develops. Shaping requires a bit more care than with low hydration dough to prevent sticking, but it's still quite achievable. This hydration level is versatile and suitable for a wide variety of loaf shapes and baking methods.
Taming High Hydration Dough: Sticky and Requires Patience
High hydration doughs (75-85%+) are a different beast entirely. They are very wet and sticky, making traditional kneading difficult or impossible. Attempting to handle them like lower hydration doughs will likely result in a frustrating, sticky mess. Success with high hydration relies on building strength through time (autolyse) and gentle folding techniques like coil folds or using a wet hand to gather and fold the dough.
Patience is paramount when working with high hydration. Don't be tempted to add excessive flour during mixing or handling; this will lower the hydration and change the intended outcome. Work on a lightly wet surface or with wet hands. Use a bench scraper liberally to help move and shape the dough. Proofing often benefits from well-floured baskets or proofing cloths to prevent sticking. The reward for mastering these techniques is a beautifully open-crumbed, light loaf.
Troubleshooting Sourdough Hydration Issues
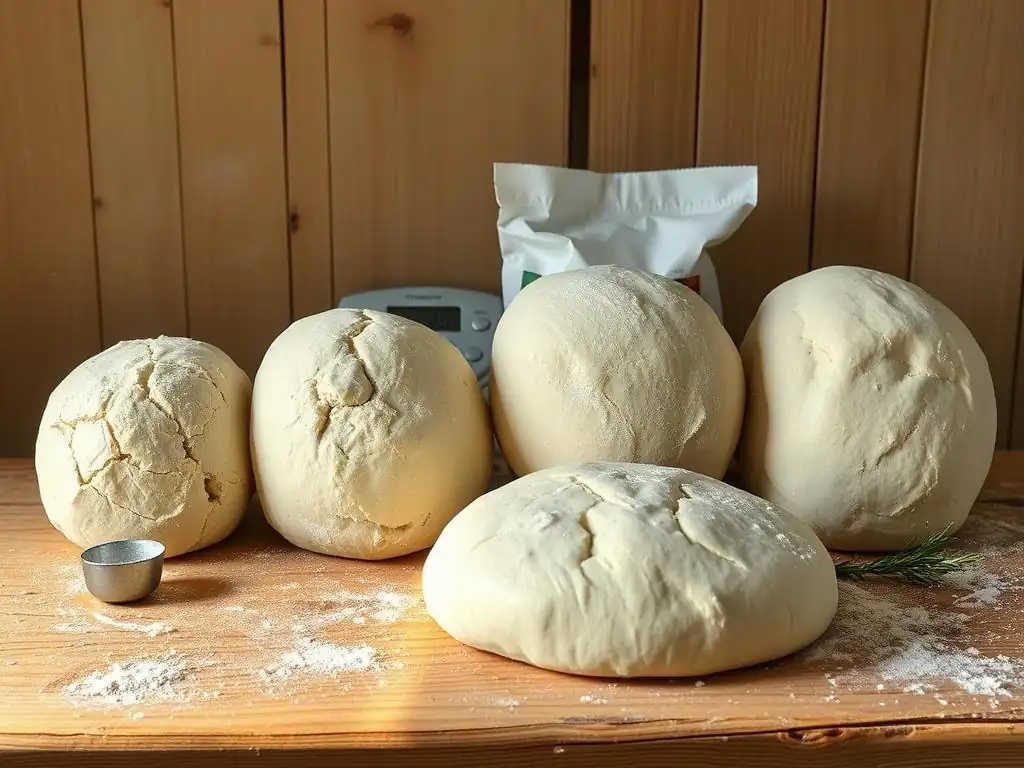
Even with careful measurement, sometimes your dough just doesn't feel right. It might be too dry or too sticky. Knowing how to troubleshoot these common sourdough hydration issues explained simply can save a bake.
Recognizing the signs of incorrect hydration early allows you to make corrections before it's too late. Learning to trust your instincts and the feel of the dough is invaluable.
Dough Too Dry: How to Add Water Correctly
If your dough feels too stiff or dry during the initial mixing, it's possible to add more water. It's best to do this early in the process, ideally during the autolyse or initial mixing phase. Add water gradually, perhaps a tablespoon (around 15g) at a time, and work it into the dough until the desired consistency is reached. Kneading or folding will help incorporate the extra moisture.
If you realize the dough is too dry after bulk fermentation has started, adding water becomes trickier but not impossible. You can try wetting your hands thoroughly before performing stretch and folds or coil folds; the dough will absorb some of the water from your hands. Alternatively, gently work in a small amount of water (a teaspoon or two) by repeatedly wetting your hands and folding the dough over itself until the water is absorbed. Be patient, as incorporating water into developed dough takes time and gentle handling.
Dough Too Sticky: Techniques for Strengthening the Dough
A dough that is excessively sticky and slack might be over-hydrated for the flour used or for your handling capabilities. While you can't easily remove water, you can improve the dough's structure to make it more manageable. The primary method is through additional folding. Performing extra sets of stretch and folds or coil folds during bulk fermentation helps to build the gluten network, which gives the dough strength and makes it less sticky.
Ensure you are developing sufficient tension during shaping. A well-shaped loaf with a taut surface will hold its structure better, even if the dough is wet. Using a liberal amount of flour on your bench and hands (though be mindful not to incorporate too much into the dough) can help with shaping sticky dough. Proofing in a well-floured banneton is also crucial to prevent it from sticking. Sometimes, simply giving the dough more time between folds allows it to relax and become slightly easier to handle.
Achieving the Desired Crumb Structure: Hydration's Role
Hydration plays a central role in the final crumb structure. Lower hydration typically results in a tighter, more uniform crumb because there is less water to facilitate the expansion of air pockets during baking. Higher hydration, conversely, promotes a more open, irregular crumb with larger holes. This is because the increased water content allows the dough to be more extensible, enabling trapped gases to expand more dramatically during oven spring.
However, hydration is only one piece of the puzzle for achieving a great crumb. Proper gluten development (through mixing and folding), sufficient fermentation, and adequate oven spring (often achieved with steam) are equally critical. A high hydration dough won't yield an open crumb if the gluten isn't strong enough to support the expansion, or if fermentation is off. Understanding sourdough hydration levels explained alongside these other factors is key to consistent results.
Sourdough Hydration Chart: A Quick Reference Guide
This chart provides a simplified overview of how different hydration levels typically manifest in sourdough dough and the resulting bread. Remember that flour type and technique will cause variations.
| Hydration Level | Dough Feel | Resulting Crumb | Best Uses |
|---|---|---|---|
| 50-65% | Stiff, easy to handle, holds shape well | Tight, uniform, dense, chewy | Bagels, pretzels, some rustic loaves |
| 65-75% | Manageable, slightly sticky, good elasticity | Moderately open, balanced texture | Standard boules, batards, versatile |
| 75-85% | Wet, sticky, slack, requires gentle handling | Open, irregular, light, airy | Artisanal loaves, ciabatta |
| 85%+ | Very wet, batter-like, challenging | Very open, delicate, light | Focaccia, very rustic freeform loaves |
Mastering Sourdough Hydration: Tips and Tricks
Becoming comfortable with different sourdough hydration levels explained through practice is the ultimate goal. Here are some tips to help you on your journey.
Consistency and observation are your best tools when exploring the world of sourdough hydration. Don't be discouraged by initial failures; learn from them.
Start with Lower Hydration and Gradually Increase
If you're new to sourdough or specifically new to managing hydration, begin with a lower percentage recipe, perhaps 65% or 70%. This will give you experience handling a more manageable dough. Once you feel confident with that consistency, gradually increase the hydration in subsequent bakes, maybe by 2-3% each time. This allows you to incrementally build your skills in handling wetter doughs without getting overwhelmed.
[ ] Bake a loaf at 65% hydration.
[ ] Bake a loaf at 68% hydration.
[ ] Bake a loaf at 70% hydration.
[ ] Observe and note the differences in dough feel and crumb structure at each step.
Use a Digital Scale for Accurate Measurements
Accurate measurements are paramount when dealing with hydration percentages. Even a small error in water or flour weight can significantly change the dough's feel, especially at higher hydrations. Always use a digital scale to weigh your ingredients. Volume measurements (cups, spoons) are notoriously inaccurate for baking, particularly for flour, which can pack down differently each time.
Example:
500g Flour
350g Water
This is exactly 70% hydration ((350/500)*100).
Measuring 500g of flour by weight is consistent; measuring 500g by cups is not.
Observe Your Dough Closely During Fermentation
Learn to read your dough. Its look and feel will tell you more about its hydration and development than any clock or recipe can alone. Is it spreading too rapidly? It might be too wet or under-developed. Is it feeling tight and resisting folds? It might be too dry or need more rest. Pay attention to how it changes after each fold – does it gain strength? Does it become smoother?
Block Quote:
The dough will tell you what it needs if you pay attention. Don't just follow the recipe blindly; observe its texture, elasticity, and how it responds to your touch.
Practice and Experiment to Find Your Perfect Hydration
Ultimately, the "right" hydration level is subjective and depends on what you want to achieve and what you are comfortable handling. Don't be afraid to experiment. Try the same recipe at different hydration levels to see how it changes the outcome. Keep a baking journal to note your hydration levels, observations, and results. This is the best way to truly master sourdough hydration levels explained by your own experience.
Happy Baking!
Frequently Asked Questions
What does hydration mean in the context of sourdough baking?
Hydration refers to the ratio of water to flour in your sourdough recipe. Higher hydration results in a wetter dough, while lower hydration creates a stiffer dough. This ratio significantly affects the final texture.
Why is understanding sourdough hydration levels so important?
Understanding hydration is crucial because it directly impacts the texture and crumb of your sourdough bread. It also affects the ease of handling the dough during shaping and baking, and the fermentation time.
What are the general hydration level classifications for sourdough?
Generally, sourdough hydration is classified as low (50-65%), medium (65-75%), and high (75-85%+). Higher hydration levels often lead to more open and airy crumbs, but are trickier to handle.
How does the hydration level affect the fermentation process of sourdough?
Higher hydration doughs tend to ferment faster due to the increased water activity, which encourages microbial activity. This can lead to a tangier flavor and a more pronounced rise, but requires careful monitoring.
What hydration level is recommended for a beginner sourdough baker?
For beginners, a medium hydration level (65-75%) is often recommended. This range provides a good balance between ease of handling and achieving a desirable crumb structure. It's more forgiving than higher hydration doughs.
Final Reflection: The Unsung Hero of Sourdough: Hydration
Understanding sourdough hydration levels isn't just about achieving the perfect loaf; it's the key to unlocking the full potential of this ancient craft. The seemingly simple act of adjusting water ratios profoundly impacts the texture, flavor, and overall success of your sourdough baking journey. Mastering this fundamental aspect transforms sourdough from a challenging endeavor into a rewarding and deeply satisfying experience.
The impact of hydration on sourdough extends far beyond the kitchen. It's a tangible representation of the delicate balance required in any creative process. The subtle shifts in dough consistency, from a shaggy, wet mass to a firm, pliable one, mirror the nuanced adjustments we make in life to achieve our goals. As the renowned baker, Chad Robertson, once said, Bread baking is a metaphor for life. You put in the work, you nurture it, and sometimes it surprises you.
This sentiment perfectly encapsulates the journey of understanding and mastering sourdough hydration.
Now, consider your own baking. What adjustments have you made to your hydration levels? What discoveries have you made through experimentation? I encourage you to continue exploring the fascinating world of sourdough hydration, to embrace the imperfections, and to celebrate the unique character of each loaf you create. The journey of mastering sourdough is a lifelong pursuit, and the rewards – both in the kitchen and in the lessons learned – are immeasurable.
Unlock Your Sourdough's Potential: Master Hydration!
Thanks for diving into the world of sourdough hydration with us! We hope you now feel more confident understanding this crucial baking element. Ready to put your new knowledge into practice?
- Experiment with your hydration levels: Try adjusting your hydration by 2-5% in your next loaf and carefully observe the results. Note the differences in texture and rise! This hands-on experience will be invaluable.
- Share your sourdough journey: Tell us about your hydration experiments on our social media – we’d love to see your results and learn from your experiences!
- Consider a hydration journal: Keep track of your flour type, hydration percentage, and the final outcome of your loaves. This will create a personalized guide to perfect sourdough for you!
So, what unique hydration technique are you most excited to try in your next bake?