
Easy Ethiopian Injera: Bake This Unique Teff Flatbread At Home

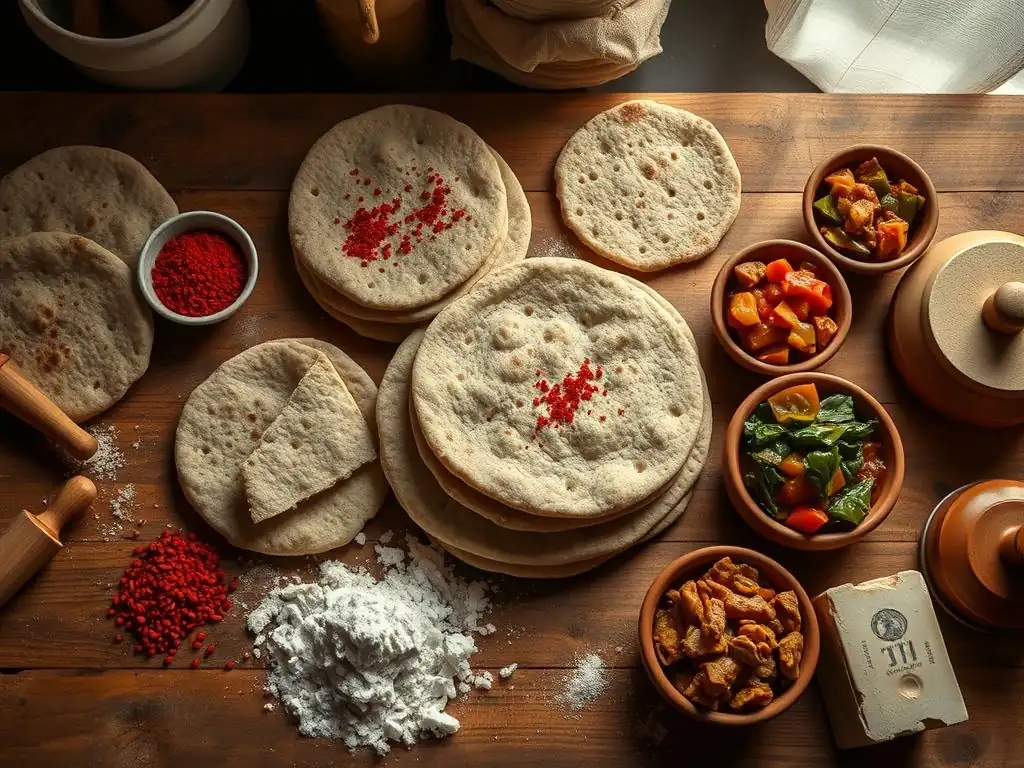
Welcome to BakeWithEase, your kitchen companion for all things baking! Ever been curious about crafting that subtly tangy, spongy flatbread you've seen gracing Ethiopian tables? Prepare to be amazed because we're demystifying the process with our Easy Ethiopian Injera Recipe. Unlock the secrets to baking this unique teff flatbread at home, and discover a new world of flavor. Ready to embark on this delicious adventure? Let's get baking!
- Easy Ethiopian Injera Recipe: Bake Authentic Teff Flatbread at Home
- What is Injera? Exploring Ethiopian Flatbread
- Mastering the Easy Ethiopian Injera Recipe: Ingredients and Preparation
- Cooking Injera: The Baking Process Explained
- Serving and Enjoying Your Homemade Injera
- Troubleshooting Your Injera: Common Problems and Solutions
- Variations and Adaptations: Exploring Different Injera Recipes
- Why This Easy Ethiopian Injera Recipe is Perfect for Home Bakers
- Frequently Asked Questions
- Final Reflection: The Humble Injera, A Window to a Rich Culture
- Unlock the Secrets of Injera: Bake Your Own Today!
Easy Ethiopian Injera Recipe: Bake Authentic Teff Flatbread at Home
A Guide to Homemade Injera
Welcome to the world of Ethiopian baking! Injera, the cornerstone of Ethiopian cuisine, is a unique, spongy, slightly sour flatbread traditionally made from teff flour. While the authentic process involves a long fermentation using a natural starter ( geso), this easy Ethiopian injera recipe focuses on a more accessible method for home bakers, allowing you to recreate this distinctive bread without years of practice. This guide will walk you through understanding what injera is, mastering the simple ingredients, preparing the batter, cooking it on a standard non-stick skillet, and enjoying your delicious homemade result.
Mastering the art of baking injera can seem daunting, but with this simplified approach, even beginners can achieve a successful outcome. We'll cover everything from selecting the right teff flour to troubleshooting common issues like sticking or improper fermentation. Get ready to explore a new dimension of bread baking and bring the vibrant flavors of Ethiopia into your kitchen with this easy Ethiopian injera recipe.
What is Injera? Exploring Ethiopian Flatbread
The Significance of Injera in Ethiopian Cuisine
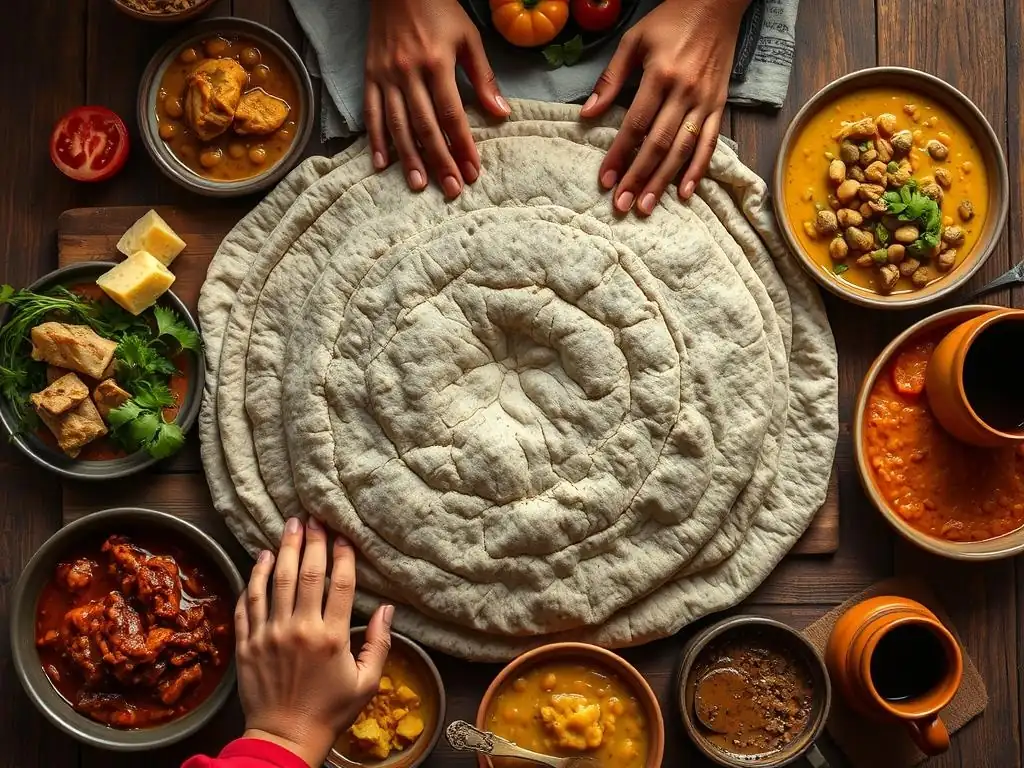
Injera is far more than just bread; it is the plate, the utensil, and the foundation of almost every Ethiopian meal. Traditionally, a large, round piece of injera is laid out on a communal platter, and various stews, curries ( wats), and vegetable dishes are arranged on top. Diners tear off pieces of the injera and use them to scoop up the food. This communal dining experience fosters connection and is deeply ingrained in Ethiopian culture.
Beyond its practical function, injera's presence signifies hospitality and sharing. It's a staple food eaten daily across Ethiopia and Eritrea, providing essential carbohydrates and nutrients. The preparation of injera is a skill passed down through generations, and the quality of one's injera is often a point of pride. This easy Ethiopian injera recipe aims to make this cultural staple accessible to anyone wanting to experience this unique culinary tradition at home.
Understanding the Unique Texture and Taste of Injera
What sets injera apart is its distinctive texture and flavor. It's soft, pliable, and slightly spongy with a surface covered in tiny pores, known as "eyes" ( enjera eyes or huluq). These eyes are crucial as they help the injera absorb the flavorful sauces and stews served on top. The texture is achieved through the fermentation process, which creates air pockets within the batter.
The flavor is equally unique – it has a mild, tangy, slightly sour taste. This characteristic tang comes from the fermentation of the teff batter. Traditional methods rely on wild yeasts and bacteria present in the geso starter and the environment, leading to a complex sourness. Our easy Ethiopian injera recipe using commercial yeast will still develop a pleasant tang, though perhaps less intense than the traditional method. The subtle, earthy flavor of teff flour also contributes significantly to injera's overall profile.
Mastering the Easy Ethiopian Injera Recipe: Ingredients and Preparation
Key Ingredients for Authentic Injera
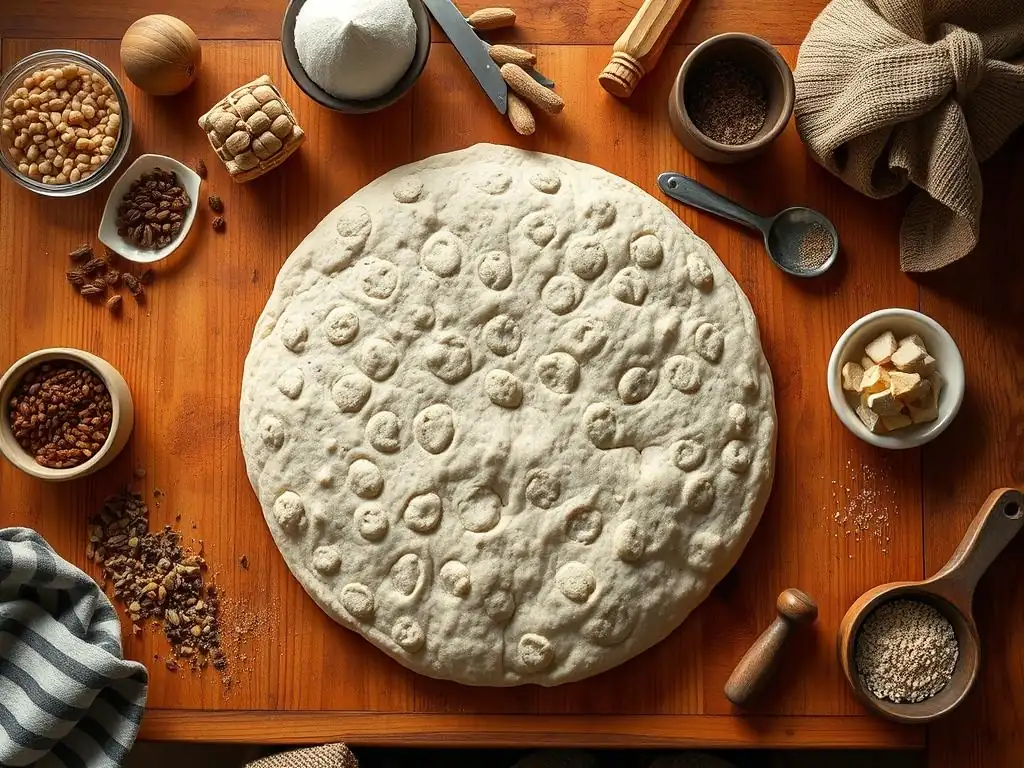
Making injera requires just a few core ingredients, but their quality and handling are crucial. The most important ingredient is teff flour, which is native to Ethiopia and essential for the authentic texture and flavor. You'll also need water and a leavening agent, typically yeast for an easy Ethiopian injera recipe, or a traditional starter for a more complex flavor.
A typical easy injera recipe might use approximately 3 cups of teff flour, 4 cups of water, and about 1 teaspoon of active dry yeast (or half a packet). Some recipes might include a pinch of salt, although traditional methods often omit it. Ensuring your teff flour is fresh and of good quality is the first step to successful injera.
The Role of Teff Flour in Injera Making
Teff flour is the heart and soul of injera. This ancient grain is gluten-free and incredibly nutritious, packed with iron, calcium, fiber, and protein. It comes in various colors, from ivory to brown, with brown teff being more widely available and often used for injera, giving it a slightly darker hue and earthier flavor than injera made from white teff.
Unlike wheat flour, teff flour is very fine and lacks gluten, which is why injera has a unique, soft structure rather than the chewy elasticity of wheat bread. The starches in teff ferment readily, producing the characteristic sour flavor and the bubbles that form the 'eyes' during cooking. Using 100% teff flour is key to an authentic injera texture, although some variations might incorporate a small amount of other flours.
Water and Yeast: The Foundation of Injera
Water is essential for creating the thin batter required for injera. The ratio of water to flour is critical; too little water results in a thick, pancake-like texture, while too much can make the batter difficult to cook and prone to tearing. A ratio of roughly 1:1.3 flour to water (by volume) is a common starting point for an easy Ethiopian injera recipe. The water temperature should be lukewarm (around 100-110°F or 38-43°C) if using active dry yeast to help activate it properly.
Yeast is the leavening agent in this easy injera recipe, providing the carbon dioxide bubbles needed for the 'eyes' and contributing to the fermentation that develops the sour flavor. Active dry yeast or instant yeast can be used. While traditional injera relies on a sourdough-like starter ( geso) built over days or weeks from teff and water, using commercial yeast significantly speeds up the process, making it much more accessible for home bakers seeking an easy Ethiopian injera recipe.
Step-by-Step Injera Preparation: A Simple Guide
Preparing the injera batter is relatively simple, primarily involving mixing ingredients and allowing time for fermentation. The process begins by combining the teff flour, yeast, and water in a large bowl. It's important to mix thoroughly to avoid any dry clumps of flour, achieving a smooth, thin batter similar in consistency to crepe batter.
Once mixed, the batter needs to be covered and left to ferment. This is the most time-consuming part of the preparation but requires minimal effort. The fermentation process is crucial for developing the flavor and the characteristic texture.
Preparing the Teff Batter: Mixing and Fermenting
To start your easy Ethiopian injera recipe, take a large mixing bowl. Add 3 cups of teff flour and 1 teaspoon of active dry yeast. Gradually whisk in about 4 cups of lukewarm water, mixing until you have a smooth batter with no lumps. The consistency should be thinner than pancake batter but thicker than water – it should pour easily but not run like milk. You might need slightly more or less water depending on the specific teff flour used, so adjust gradually until the right consistency is achieved.
Cover the bowl tightly with plastic wrap or a lid. Place the bowl in a warm, draft-free place to ferment. An oven with the light on (but not heated) or a warm spot in your kitchen works well. Avoid cold locations, as they will significantly slow down or stop fermentation.
Fermentation: The Secret to Injera's Tangy Flavor
Fermentation is where the magic happens, transforming a simple teff and water mixture into the tangy, bubbly batter needed for injera. During fermentation, the yeast consumes the sugars in the teff flour, producing carbon dioxide gas and various organic acids, including lactic acid. The gas creates the bubbles that form the 'eyes' during cooking, while the acids contribute the signature sour taste.
Over time, the batter will become bubbly and frothy on the surface, and you'll likely notice a distinct sour aroma. The longer it ferments, the tangier the injera will be. This process is similar in principle to sourdough fermentation, but with teff flour providing a unique substrate for the microbes.
How Long to Ferment Injera Batter?
The fermentation time for an easy Ethiopian injera recipe using commercial yeast is typically much shorter than the traditional method. Using active dry yeast, fermentation can take anywhere from 24 to 72 hours at room temperature (around 70-75°F or 21-24°C). In warmer environments, it might ferment faster, potentially in just 12-24 hours. In cooler conditions, it could take longer, sometimes up to 3-4 days.
- Checklist for Fermentation:
- [ ] Surface is bubbly and frothy.
- [ ] Batter has a distinct sour smell.
- [ ] Batter has increased slightly in volume.
After the initial fermentation, some traditional recipes call for discarding some liquid that collects on top and adding a small amount of cooked teff paste ( absit) to thicken the batter slightly before a final, shorter fermentation. For this easy version, you can often skip the absit step; simply stir the batter gently after fermentation to reincorporate any separated liquid before cooking. The batter is ready when it is bubbly, smells sour, and pours easily.
Cooking Injera: The Baking Process Explained
Baking Injera on a Non-Stick Skillet: A Convenient Alternative
Traditionally, injera is cooked on a large, round, flat griddle called a mitad, often made of clay or cast iron, heated over a fire or electric element. For the home kitchen, especially when making an easy Ethiopian injera recipe, a large, high-quality non-stick skillet or a well-seasoned cast-iron griddle is an excellent and convenient alternative. A skillet with a diameter of 10-12 inches (25-30 cm) works well.
The key is to heat the skillet evenly over medium heat. You want it hot enough to cook the injera relatively quickly and create the eyes, but not so hot that the bottom burns before the top sets. A non-stick surface minimizes the risk of the delicate injera sticking and tearing when you try to remove it.
Achieving the Perfect Injera Texture: Tips for Success
The signature spongy texture and porous surface are achieved during the cooking process. Once the skillet is heated, you pour a thin layer of batter onto the surface, starting from the outside edge and spiraling inwards to fill the pan. The heat causes the trapped carbon dioxide bubbles from fermentation to expand and rise to the surface, creating the characteristic 'eyes'.
- Tips for Texture:
- Use a thin, pourable batter consistency.
- Heat the skillet to the correct temperature (medium heat).
- Pour the batter evenly and quickly.
- Cover the skillet immediately after pouring the batter.
The injera cooks from the bottom up. As the bottom sets and the eyes form on the top surface, steam trapped by the lid cooks the top, leaving it soft and spongy without needing to flip it. This results in injera that is cooked through but remains pliable.
Preventing Sticking: Ensuring Easy Removal
Sticking is a common challenge when baking injera, but it's manageable with the right technique and equipment. Using a good quality non-stick skillet is the primary defense. Ensure the skillet is clean and free from any residue before heating.
- Solutions for Non-Stick Baking:
- Use a reliable non-stick skillet or a very well-seasoned cast-iron griddle.
- Heat the skillet properly – not too low (causes sticking) and not too high (burns).
- Do not oil the non-stick surface unless specifically instructed by the pan manufacturer (some traditional mitads are lightly oiled, but non-stick usually is not).
- Wait until the injera is fully cooked on top and the edges start to lift slightly before attempting to remove it.
If using a cast-iron griddle, ensure it is impeccably seasoned. Some home bakers lightly wipe a seasoned cast iron surface with a paper towel dipped in oil before each injera, but this can sometimes make the surface less porous. Test on a low-stakes injera first!
Injera Cooking Time: Visual Cues for Perfect Results
Each injera cooks relatively quickly, typically taking only 2 to 4 minutes. The cooking time depends on the heat of your skillet and the thickness of your batter. You'll know the injera is ready when the surface is covered in well-formed 'eyes' and the top appears dry and set, with no wet batter visible. The edges may also start to curl up slightly from the pan.
- Visual Cues for Doneness:
- Surface is fully covered in 'eyes'.
- Top surface is dry and spongy, not wet.
- Edges may begin to lift from the pan.
- No need to flip – the top cooks from trapped steam.
Once these cues are present, carefully slide a thin spatula or your fingers (if the edges are cool enough) under the injera to lift it off the skillet. Transfer the cooked injera to a plate or a clean cloth to cool. Stack them gently as they cool; their pliable nature prevents them from sticking together once cooled slightly.
Serving and Enjoying Your Homemade Injera
Traditional Ethiopian Dishes to Serve with Injera
Injera is always served with a variety of flavorful stews and dishes. The spongy texture and slightly sour taste provide a perfect contrast and vehicle for rich, spicy, and savory foods. Common pairings include wat (stew) dishes made with chicken ( doro wat), beef ( sega wat), lamb, or various legumes.
Vegetarian options are abundant and equally delicious, such as misir wat (red lentil stew), kik alicha (split pea stew), gomen (collard greens), and various vegetable sautés. A typical Ethiopian meal platter features a large injera base covered with scoops of several different wats and vegetable dishes, creating a vibrant and aromatic spread. Using your homemade injera with these traditional dishes offers an authentic taste of Ethiopia.
Injera as a Versatile Wrap or Bread Alternative
While traditionally served with Ethiopian stews, injera's unique properties make it a versatile bread alternative for other cuisines too. Its soft, pliable texture makes it an excellent wrap for sandwiches, salads, or grilled meats. The subtle tang can add an interesting dimension to various fillings.
Consider using injera as a gluten-free alternative to tortillas or crepes. You can fill it with anything from scrambled eggs and vegetables for breakfast to savory curries or even sweet fillings, although the sourness pairs best with savory dishes. Experimenting with your easy Ethiopian injera recipe opens up many culinary possibilities beyond traditional Ethiopian fare.
Storing Injera Properly to Maintain Freshness
Proper storage is key to keeping your homemade injera fresh and pliable. Once cooked and cooled, injera can dry out quickly, becoming brittle. The best way to store it is stacked neatly and wrapped tightly.
- Storage Method:
- Allow injera to cool completely.
- Stack the injera in a clean container or wrap them in plastic wrap or aluminum foil.
- Place the wrapped stack in the refrigerator.
Stored this way, injera can last for about 3-5 days in the refrigerator. To reheat, you can gently warm it in a dry skillet for a few seconds per side or steam it briefly. Avoid microwaving, as it can make the injera tough. For longer storage, injera can also be frozen, wrapped tightly to prevent freezer burn. Thaw at room temperature or in the refrigerator before gently reheating.
Troubleshooting Your Injera: Common Problems and Solutions
Making injera, even with an easy Ethiopian injera recipe, can sometimes present challenges. Understanding common issues and how to fix them will help you achieve consistent results. Patience and practice are key!
Here are some frequent problems encountered by home bakers:
Injera Too Thick or Too Thin? Adjusting the Batter Consistency
The consistency of the batter is paramount to getting the right injera texture.
- Problem: Injera is too thick, resembling a pancake.
- Cause: Batter was too thick, or not enough liquid was used.
- Solution: After fermentation, whisk in a small amount of warm water, a tablespoon at a time, until the batter is thin enough to pour easily and spread thinly on the pan.
- Problem: Injera is too thin, tearing easily, or not forming eyes well.
- Cause: Batter was too thin, or too much liquid was used.
- Solution: If the batter is too thin before fermentation, you can whisk in a little more teff flour. If it's too thin after fermentation, carefully stir in a small amount of plain teff flour or, ideally, a thick paste made from cooking a little teff flour with water ( absit), then let it rest for 30 minutes before cooking.
Aim for a consistency that pours like thin crepe batter.
Injera Not Fermenting? Tips for a Successful Fermentation
If your batter isn't bubbling and developing a sour smell, fermentation may not be occurring.
- Cause:
- Yeast is inactive or dead (water too hot or too cold, expired yeast).
- Environment is too cold.
- Not enough time has passed.
- Solutions for Successful Fermentation:
- Ensure your water is lukewarm (100-110°F or 38-43°C) when activating yeast.
- Check the expiry date on your yeast.
- Place the batter in a warm spot (70-75°F or 21-24°C is ideal). An oven with just the light on can provide sufficient warmth.
- Give it enough time – while this is an easy injera recipe, fermentation still takes at least 12-24 hours, and often longer for better flavor.
If after 24-48 hours in a warm spot, there's no activity, your yeast might be the issue. You may need to start over with fresh yeast.
Injera Sticking to the Pan? Solutions for Non-Stick Baking
Sticking is frustrating but fixable!
- Cause:
- Skillet is not truly non-stick or is damaged.
- Skillet was not heated properly (too low or too high).
- Batter consistency is off.
- Trying to remove the injera before it's fully set on top.
- Solutions for Non-Stick Baking:
- Use a high-quality non-stick pan or a very well-seasoned cast-iron griddle.
- Ensure the pan is heated to medium heat. Test with a drop of water – it should sizzle and evaporate quickly, but not violently.
- Verify your batter consistency is correct (thin enough to pour easily).
- Wait until the entire surface of the injera is covered in eyes and the top is dry before attempting to lift it. The edges should start to release naturally.
- Use a thin, flexible spatula to carefully slide under the edges and then the rest of the injera.
Sometimes, the first injera or two might stick slightly as you get the pan temperature right. Don't despair! Adjust the heat and try again.
Variations and Adaptations: Exploring Different Injera Recipes
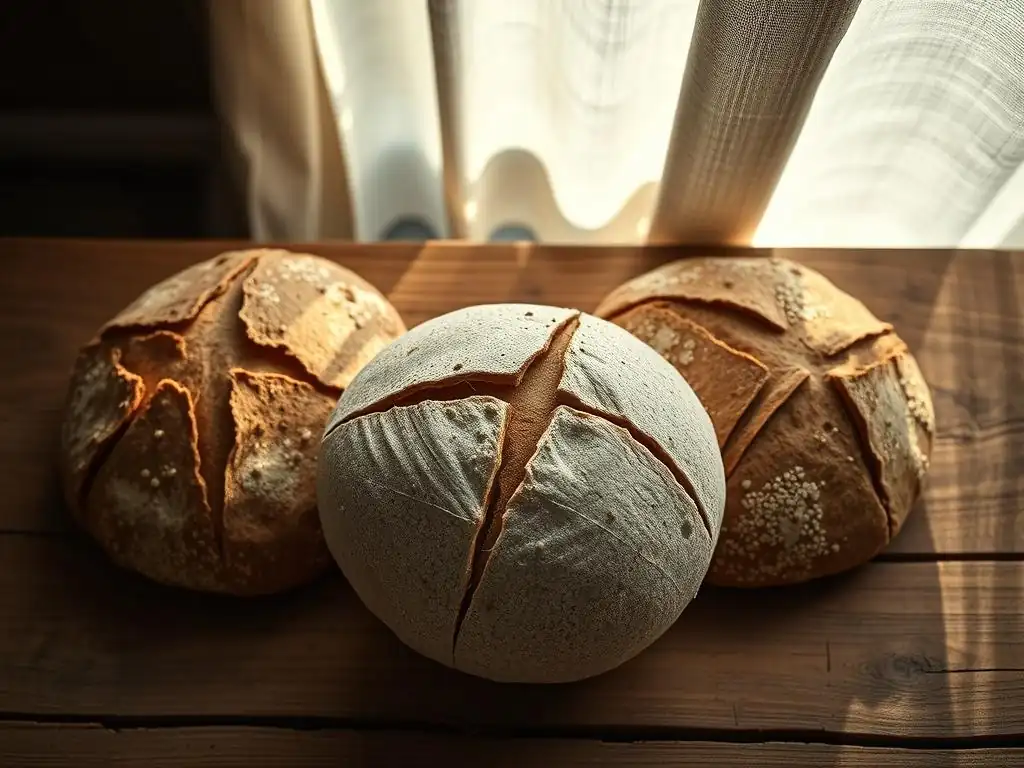
While the easy Ethiopian injera recipe focusing on 100% teff flour and commercial yeast is a great starting point, there are traditional and modern variations you can explore.
Gluten-Free Injera Options: Using Alternative Flours
Traditionally, injera is made solely from teff, which is naturally gluten-free. So, the classic recipe is already a gluten-free option! However, some modern or regional variations might incorporate other flours.
- Traditional: 100% Teff (naturally gluten-free).
- Modern/Adaptations: Some recipes might suggest adding a small percentage (e.g., 10-20%) of rice flour or sorghum flour to the teff. While this can sometimes make the batter easier to handle or alter the texture slightly, it deviates from the authentic teff-only injera. If you need strictly gluten-free injera, ensure any added flours are also certified gluten-free.
Sticking to 100% teff flour, as in this easy injera recipe, is the most reliable way to achieve the authentic taste and texture while remaining gluten-free.
Adding Flavor to Injera: Spices and Herbs
Traditional injera is typically made with just teff, water, and a starter (yeast or geso), relying on the fermentation process for its signature tangy flavor. However, for a unique twist, you could experiment with adding subtle flavors.
- Possible Additions (Use sparingly):
- A pinch of salt (not traditional, but enhances overall flavor).
- A tiny amount of turmeric for color (not traditional).
- A very small amount of a mild, earthy spice like fenugreek powder, sometimes used in Ethiopian cooking, could potentially be added to the batter, though this is not standard for plain injera.
Adding significant amounts of spices or herbs would fundamentally change the nature of the bread and how it pairs with traditional Ethiopian stews. For an authentic experience using this easy Ethiopian injera recipe, it's best to stick to the basic ingredients and let the teff flavor and fermentation tang shine. The complexity comes from the dishes served with the injera.
Why This Easy Ethiopian Injera Recipe is Perfect for Home Bakers
Simple Ingredients and Straightforward Instructions
This easy Ethiopian injera recipe is designed with the home baker in mind. It uses readily available ingredients – teff flour (increasingly found in health food stores and online), water, and commercial yeast. Unlike the traditional method that requires cultivating and maintaining a geso starter over time, using yeast simplifies the process significantly.
The steps are straightforward: mix, ferment, and cook. While fermentation requires time, the active preparation is minimal. This makes tackling a unique bread like injera much less intimidating than complex sourdoughs or enriched doughs, proving that international baking can be accessible and rewarding for anyone wanting to expand their skills with an easy injera recipe.
Recreating Authentic Ethiopian Flavors in Your Kitchen
Following this easy Ethiopian injera recipe allows you to bring the authentic taste and texture of Ethiopian cuisine into your own home. While the flavor profile might be slightly less complex than injera made with a long-fermented geso starter, it still captures the essential characteristics: the unique teff flavor, the pleasant tang from fermentation, and the crucial spongy, porous texture.
Successfully baking your own injera is incredibly rewarding and opens the door to exploring the rich and diverse world of Ethiopian and Eritrean cooking. You can then enjoy your homemade injera with traditional stews, sharing a unique cultural and culinary experience with family and friends. This easy injera recipe is your first step into mastering this incredible flatbread.
Frequently Asked Questions
What is Injera, and why is it unique?
Injera is a spongy, fermented flatbread that is a staple food in Ethiopia and Eritrea. Its unique sour taste and texture come from the fermentation of teff flour.
What is teff, and can I substitute it?
Teff is a tiny, gluten-free grain that is essential for authentic Injera. While some recipes suggest blending teff with other flours, a pure teff flour recipe yields the best results.
Is Injera difficult to make at home?
While it requires patience for fermentation, this Easy Ethiopian Injera recipe from BakeWithEase simplifies the process with clear instructions and readily available ingredients.
How long does Injera take to ferment?
The fermentation process typically takes 1-3 days, depending on the ambient temperature. A longer fermentation results in a more distinctly sour flavor.
How do I know when my Injera batter is ready to cook?
The batter is ready when it has developed small bubbles on the surface and has a slightly sour smell. This indicates the fermentation process is complete.
Final Reflection: The Humble Injera, A Window to a Rich Culture
The ease of making injera at home unlocks not just a delicious meal, but a deeper connection to Ethiopian culture and culinary heritage. This simple flatbread, made from teff flour, is far more than just a staple food; it's a symbol of community, tradition, and the vibrant tapestry of Ethiopian life. Its accessibility, as demonstrated in this recipe, allows us to share in that richness.
Learning to make injera has been a profoundly rewarding experience for me. It's a process that demands patience and attention, mirroring the dedication and care that goes into so many aspects of Ethiopian culture. Food is symbolic of love when words are inadequate.
– Alan D. Wolfelt. This quote perfectly encapsulates the feeling of sharing injera, a food that transcends simple sustenance and becomes a vehicle for connection and shared experience. The subtle, nutty flavor and spongy texture are a testament to the unique qualities of teff, a grain that has sustained generations.
Now, I invite you to embark on your own injera journey. Don't be intimidated by the seemingly unfamiliar process; embrace the challenge, savor the aromas, and relish the satisfaction of creating something both delicious and deeply meaningful. The next time you sit down to a meal of injera and wat, remember the history, the culture, and the simple joy of connecting with a world beyond your own kitchen. Let the humble injera be your guide to a richer, more flavorful life.
Unlock the Secrets of Injera: Bake Your Own Today!
Thanks for joining us on this flavorful journey into the world of Injera! We hope you've gained a newfound appreciation for this incredible Ethiopian flatbread. Ready to take your baking skills to the next level?
- Bake your own Injera: Use our recipe as a starting point, experimenting with different teff flour types to discover your perfect texture. This is your chance to create authentic Ethiopian flavors at home!
- Share your Injera creations: Tag us on social media and show off your baking prowess! Let's build a community of Injera enthusiasts.
- Explore Ethiopian cuisine: Discover other traditional Ethiopian dishes that pair perfectly with your homemade Injera. What exciting flavor combinations will you create?
What unique twist will you add to your next Injera baking adventure?