
The Importance of Maintaining Optimal Dough Temperature Throughout the Process

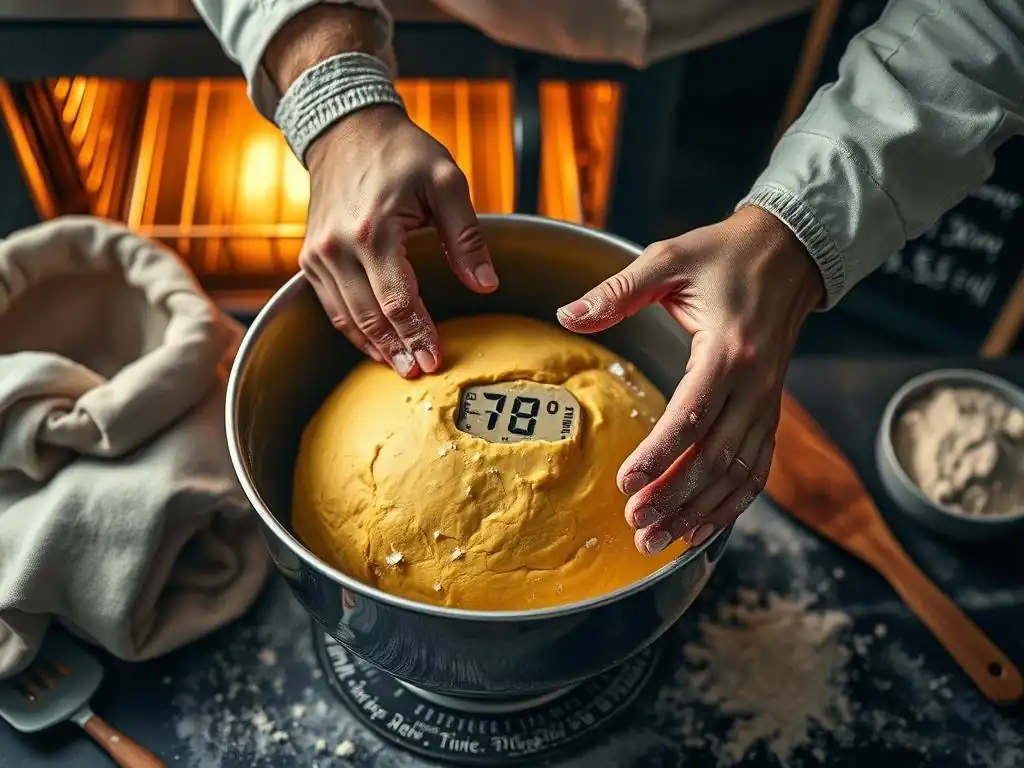
Welcome to BakeWithEase, where unlocking baking perfection is simpler than you think! Ever wondered if the secret to a truly exceptional loaf lies beyond the ingredients? It does. Dive in to discover the crucial role optimal dough temperature plays in achieving baking success, and learn simple, actionable tips to elevate your bread baking from good to extraordinary. Ready to bake better bread?
- Understanding Dough Temperature for Superior Baking
- Achieving the Ideal Dough Temperature: A Step-by-Step Guide
- The Impact of Temperature on Different Dough Stages
- Troubleshooting Dough Temperature Problems for BakeWithEase Users
- Equipment and Techniques for Maintaining Dough Temperature
- Optimal Dough Temperature Baking Tips for Specific Doughs
- Frequently Asked Questions
- Final Reflection: The Heart of the Loaf: Temperature's Crucial Role in Baking
- Unlock Your Baking Potential: Master Dough Temperature!
Understanding Dough Temperature for Superior Baking
Why Optimal Dough Temperature Matters for BakeWithEase Bakers
Maintaining the optimal dough temperature is perhaps one of the most overlooked yet critical aspects of successful baking, especially for achieving consistent results with recipes found on BakeWithEase.com. Temperature directly influences yeast activity, enzyme function, and gluten development – the three pillars of dough structure, flavor, and texture. When dough is too cold, yeast becomes sluggish, leading to slow or no rise and underdeveloped flavor.
Conversely, if the dough is too warm, yeast ferments too quickly, potentially producing off-flavors, a weak gluten structure, and a dense crumb. Achieving the ideal temperature range ensures that fermentation progresses at a controlled pace, allowing for complex flavors to develop and a strong, elastic gluten network to form. This balance is key whether you're making a simple loaf or mastering complex pizza dough techniques.
Consider the impact on a standard lean bread dough. If the dough temperature is consistently maintained within its optimal range, typically around 24-26°C (75-79°F) post-mixing, yeast activity proceeds predictably. This allows for sufficient fermentation time, perhaps 1-2 hours for the first rise depending on the yeast amount and ambient conditions, resulting in a well-aerated dough with pleasant yeasty notes. However, if the dough is mixed and left at a cold 18°C (64°F), fermentation could take double or triple the time, leading to potential over-proofing if timing isn't adjusted, or a lackluster rise if fermentation is cut short. On the other hand, a dough held at a warm 30°C (86°F) might ferment rapidly in under an hour, potentially exhausting the yeast too soon and resulting in a less flavorful loaf with poor structure. These examples highlight why focusing on optimal dough temperature baking tips is fundamental for bakers seeking quality results.
The Science Behind Dough Temperature Control
The scientific principles behind dough temperature control revolve primarily around the biological activity of yeast and enzymes, and the physical properties of gluten. Yeast, Saccharomyces cerevisiae, are living organisms that consume sugars in the flour (converted from starches by enzymes) and produce carbon dioxide gas and alcohol. Their metabolic rate is highly sensitive to temperature. Activity is minimal below 10°C (50°F), increases significantly between 20°C and 30°C (68-86°F), and begins to slow down rapidly above 35°C (95°F), with death occurring around 55-60°C (130-140°F). Maintaining optimal dough temperature ensures yeast ferments efficiently without over-stressing or dying.
Enzymes, particularly amylases and proteases present in flour, also play a crucial role and are temperature-dependent. Amylases break down starches into simpler sugars that yeast can consume, contributing to fermentation and crust browning. This process is generally more active in warmer conditions. Proteases break down protein chains, which can soften gluten.
While necessary for dough extensibility, excessive protease activity in overly warm dough can weaken the gluten structure. Furthermore, gluten development itself – the formation of a protein network when flour proteins (glutenin and gliadin) hydrate and are kneaded – is influenced by temperature. Warmer dough hydrates faster and develops gluten more quickly, but this can also lead to a sticky, difficult-to-handle dough if not managed carefully. Understanding these interactions is key to applying optimal dough temperature baking tips effectively.
Achieving the Ideal Dough Temperature: A Step-by-Step Guide
Step 1: Measuring Dough Temperature Accurately
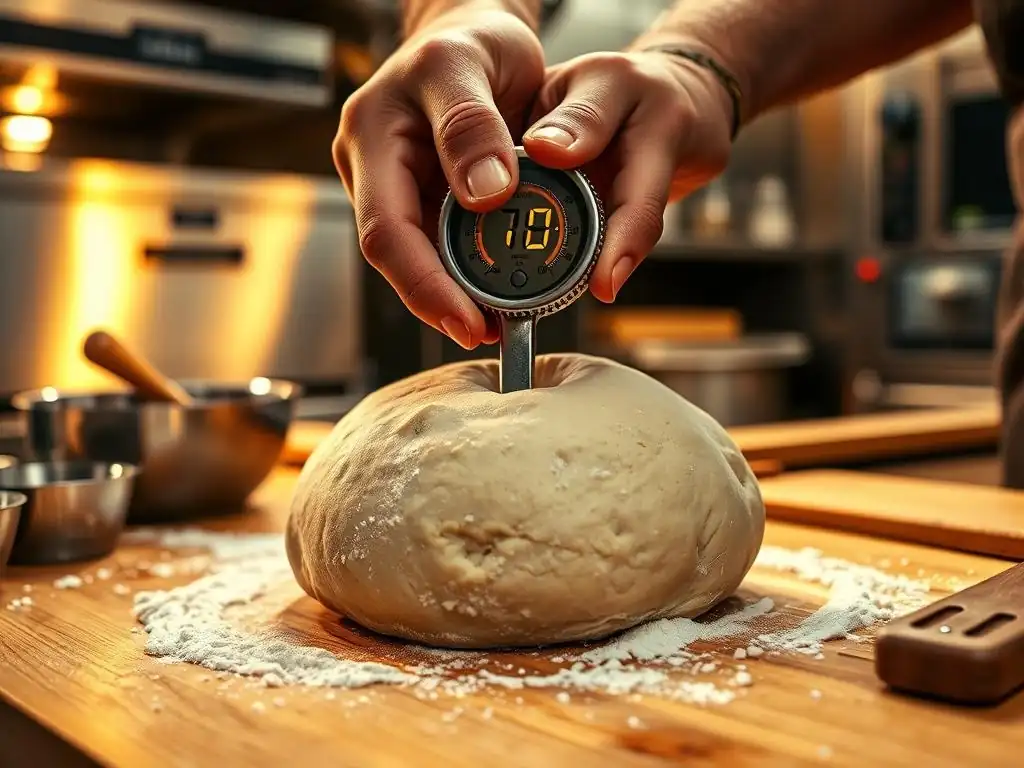
Accurately measuring your dough's temperature is the foundational step in controlling the fermentation process. Relying solely on touch can be misleading, as our hands are not precise thermometers. The most effective tool for this task is an instant-read digital thermometer.
After mixing your dough, gather it into a mass and insert the probe of the thermometer into the center, ensuring it doesn't touch the mixing bowl's sides, which could give a false reading. Take the temperature in a couple of different spots within the dough mass to get an average reading, as dough can sometimes have slight temperature variations internally. This simple step provides you with objective data to inform your next actions.
For example, if your recipe targets a final dough temperature of 24°C (75°F) and your initial measurement after mixing is 21°C (70°F), you know your dough is cooler than desired. This reading tells you that fermentation will likely proceed slower than expected based on standard timings for that temperature. Conversely, a reading of 28°C (82°F) indicates a warmer dough, suggesting a faster fermentation pace.
By consistently measuring the dough temperature at critical stages – immediately after mixing, before and during bulk fermentation, and even before proofing – you gain valuable insight into how temperature is influencing your dough's development and can make necessary adjustments to timing or environment. This is a fundamental optimal dough temperature baking tip for consistency.
Step 2: Calculating Desired Dough Temperature (DDT) – The Formula Explained
Calculating the Desired Dough Temperature (DDT) is a time-honored technique used by professional bakers to predict and control the final temperature of their dough after mixing. The goal is to determine the ideal water temperature needed to achieve the target DDT, taking into account the temperature of other ingredients and the environment. The formula is:
DDT = (Flour Temp + Ambient Temp + Water Temp + Friction Factor) / Number of Factors
To find the required water temperature, the formula is rearranged:
Required Water Temp = (DDT * Number of Factors) - (Flour Temp + Ambient Temp + Friction Factor)
Let's break down the factors. 'DDT' is your target dough temperature (often specified in recipes or based on desired fermentation speed, e.g., 24°C / 75°F). 'Flour Temp' is the temperature of your flour. 'Ambient Temp' is the temperature of your kitchen or mixing area.
'Water Temp' is the temperature of the water you will use. The 'Friction Factor' accounts for the heat generated during mixing – this varies based on mixer type, speed, and mixing time (e.g., a stand mixer might add 5-10°C / 9-18°F, hand mixing adds less). The 'Number of Factors' is typically 4 (Flour, Ambient, Water, Friction). By plugging in known temperatures and your estimated friction factor, you can calculate the precise water temperature needed to hit your target DDT, making this a cornerstone of optimal dough temperature baking tips for precision.
Step 3: Adjusting Water Temperature for Perfect Dough
Once you have calculated the required water temperature using the DDT formula, the next step is to adjust your water accordingly. This is the easiest variable to control and is the primary way to influence your final dough temperature. If your calculation shows you need water at 30°C (86°F), you can simply warm or cool tap water to that specific temperature using a thermometer. It's generally best to measure the water temperature just before adding it to your ingredients, as it can change quickly, especially if using hot or cold water.
For example, suppose your target DDT is 24°C (75°F), your flour is 22°C (72°F), your ambient temperature is 21°C (70°F), and you estimate a friction factor of 6°C (11°F) for your stand mixer. Using the formula: Required Water Temp = (24 * 4) - (22 + 21 + 6) = 96 - 49 = 47°C (117°F). This tells you you need water at a relatively warm 47°C to achieve your target dough temperature.
Conversely, if your kitchen is warm and ingredients are warmer, you might calculate a need for very cold water. This technique allows for remarkable control over your dough's starting point, setting the stage for a successful fermentation process and embodying a key optimal dough temperature baking tip for proactive temperature management.
Step 4: Considering Ambient and Flour Temperature Impacts
While water temperature is the most easily adjustable factor, the temperatures of your ambient environment and your flour also significantly impact the final dough temperature. Flour, stored at room temperature, will contribute its temperature directly to the mix. Similarly, the ambient temperature of your kitchen affects the dough throughout the mixing process and, more importantly, during subsequent fermentation stages. A cold kitchen will cool your dough over time, slowing fermentation, while a warm kitchen will accelerate it. Ignoring these factors can lead to unexpected variations in fermentation speed and dough development, even if your initial water temperature was correct.
To account for these variables, measure your flour and ambient temperatures accurately before calculating your DDT. If your flour is stored in a particularly cold pantry (say, 10°C / 50°F) or a warm cupboard (30°C / 86°F), this difference will significantly alter the water temperature needed.
Similarly, if your kitchen is consistently cold (18°C / 64°F) or warm (28°C / 82°F), factor this into your calculation and be prepared to adjust fermentation times or find a warmer/cooler spot for your dough. Understanding and accounting for the ambient and flour temperatures are vital optimal dough temperature baking tips that help demystify why dough behaves differently from day to day.
The Impact of Temperature on Different Dough Stages
Dough Mixing Temperature: Setting the Foundation
The temperature of the dough immediately after mixing is the starting point for fermentation and significantly influences the rest of the process. This initial temperature, often referred to as the 'mixed dough temperature' or 'final dough temperature', dictates the initial rate of yeast activity and gluten development. For most standard bread doughs using commercial yeast, a target mixed dough temperature between 24-26°C (75-79°F) is often considered ideal.
This range promotes a steady, controlled fermentation rate, allowing for good gas production without over-stressing the gluten structure. Mixing warmer, say above 28°C (82°F), can lead to very rapid fermentation, potentially exhausting the yeast too soon and resulting in a weaker dough that is difficult to handle.
Consider a brioche dough, rich with butter and eggs. Mixing this type of dough to a lower temperature, perhaps 22-24°C (72-75°F), can be beneficial. The fat in brioche can inhibit gluten development slightly, and a cooler temperature during mixing can help manage the dough's consistency, preventing it from becoming too soft or greasy due to friction heat.
Furthermore, a cooler initial temperature sets the stage for a longer, slower first fermentation, which is often desirable for rich doughs to develop complex flavors. Achieving the correct mixed dough temperature using optimal dough temperature baking tips like the DDT calculation is the crucial first step in controlling the entire baking timeline.
Bulk Fermentation Temperature: Controlling Yeast Activity
Bulk fermentation, or the first rise, is where the majority of flavor development and gas production occurs. The temperature during this stage is paramount in controlling the rate of fermentation and the balance between yeast activity and enzymatic action. An optimal temperature range for bulk fermentation is typically between 24-27°C (75-81°F) for many standard bread doughs. Within this range, yeast produces carbon dioxide at a good pace, causing the dough to rise, while enzymes have sufficient time to break down starches into sugars, contributing to flavor complexity and crust color.
Fermenting dough at a cooler temperature, such as 18-20°C (64-68°F), will significantly slow down yeast activity. While this means the rise will take much longer (potentially several hours or even overnight), it allows for a greater development of complex flavors from the slower enzymatic breakdown of starches and proteins. This is often utilized in artisanal bread making and for doughs like sourdough or some pizza doughs intended for cold fermentation.
Conversely, fermenting at warmer temperatures, say 28-30°C (82-86°F), will speed up the rise considerably. This can be useful when time is limited, but it risks underdeveloped flavor and a weaker gluten structure if not managed carefully. Monitoring and controlling the temperature during this phase is a critical optimal dough temperature baking tip for achieving desired flavor profiles and dough structure.
Proofing Temperature: Achieving the Right Rise
Proofing, the final rise of the shaped dough before baking, is another stage where temperature control is vital. The goal of proofing is to allow the dough to achieve sufficient volume and aeration before it hits the oven. The optimal temperature for proofing is often slightly warmer than bulk fermentation, typically ranging from 24-29°C (75-85°F). This warmer environment encourages the yeast to produce a final burst of gas, expanding the dough without over-stressing the already developed gluten network. A well-proofed dough will be airy and light, leading to good oven spring and a desirable crumb structure.
Proofing at too low a temperature will result in a slow rise, and the dough may not achieve sufficient volume before baking. This can lead to a dense final product. Proofing at too high a temperature, particularly above 30°C (86°F), can accelerate the rise too much, potentially causing the dough to over-proof quickly.
Over-proofed dough may collapse in the oven, resulting in poor volume and a coarse crumb. Finding the sweet spot for proofing temperature, often in a draft-free, slightly warm environment, is key to achieving the perfect final rise. Utilizing optimal dough temperature baking tips during proofing ensures your shaped loaves or rolls are ready for their final transformation in the oven.
Troubleshooting Dough Temperature Problems for BakeWithEase Users
Dough Too Warm: Signs and Solutions
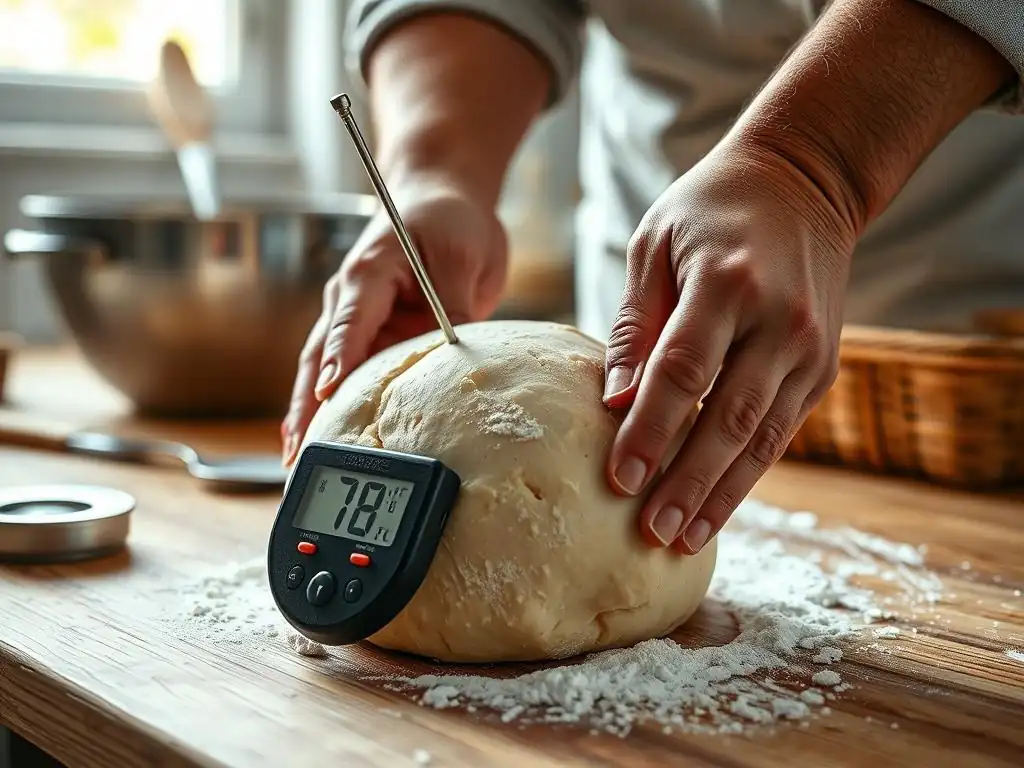
When your dough is consistently too warm throughout the process, several signs indicate the issue. The dough may feel sticky and slack, lacking the desired structure and elasticity. Fermentation will proceed much faster than expected, potentially doubling in size rapidly within a short period (e.g., 30-45 minutes for a first rise that should take 1-2 hours).
You might also notice a strong, overly yeasty or alcoholic smell, indicative of rapid fermentation. The dough can feel warm to the touch beyond a gentle warmth. If left unchecked, warm dough can over-ferment quickly, leading to a collapsed structure and potentially sour off-flavors in the final bake.
To address dough that is too warm, several solutions can be employed. The most effective method is to slow down the yeast activity by lowering the dough's temperature. Placing the dough in the refrigerator for a period is a common technique. A short stint (15-30 minutes) can cool the dough down significantly.
For more stubborn cases, consider dividing the bulk fermentation time between room temperature and refrigeration. For example, if your dough is too warm after mixing, you might place it in the fridge for an hour, then continue fermentation at a cooler room temperature. Another approach is to use cooler water in subsequent recipes, adjusting your DDT calculation downwards, or reducing the mixing time slightly to generate less friction heat. These optimal dough temperature baking tips focus on cooling the dough and preventing the problem in future batches.
Dough Too Cold: Signs and Solutions
Dough that is too cold presents a different set of challenges, primarily characterized by sluggish or stalled fermentation. Signs include the dough rising very slowly, taking significantly longer than anticipated to double in size (e.g., taking 3-4 hours for a first rise expected to take 1-2 hours). The dough may feel dense and firm, lacking the lightness and aeration of properly fermented dough.
Visually, the dough might appear tight rather than relaxed and expanded. While cold fermentation over extended periods (like overnight in the fridge) is a desired technique for flavor development, unintentionally cold dough at standard fermentation times will result in an underdeveloped rise and a dense, potentially heavy final product with less complex flavor.
If your dough is too cold, the primary solution is to gently raise its temperature to activate the yeast. Moving the dough to a warmer location in your kitchen is the simplest step. This could be near a warm oven (but not on top of it, which can be too hot), in a proofing box (if you have one), or even inside a microwave or oven (turned off!)
with a bowl of hot water placed alongside to create a warm, humid environment. Aim for a temperature range of 24-27°C (75-81°F). Avoid sudden, intense heat, which can kill the yeast.
For future batches, ensure your ingredients, particularly water, are at the correct calculated temperature using the DDT formula. Increasing the friction factor slightly if hand-mixing or extending mixing time slightly (while monitoring dough development) can also add a little warmth. Applying these optimal dough temperature baking tips helps revive cold dough and improve consistency.
Recovering from Temperature Fluctuations
Even with careful planning, dough temperature can fluctuate due to changes in ambient temperature, drafts, or inconsistent ingredient temperatures. The key to recovering is to recognize the signs of dough that is too warm or too cold and react accordingly. If the dough gets too warm during bulk fermentation, you can interrupt the process by placing it in the refrigerator for 30-60 minutes to slow it down, then return it to a cooler spot. If it's getting too cold, move it to a warmer location or use a gentle warming technique like the oven-with-hot-water method.
For instance, suppose your dough is fermenting at 26°C (79°F) as planned, but a cold draft from an open window drops the temperature to 20°C (68°F) for an hour. You'll notice the rise slowing. To compensate, you might move the dough to a warmer spot (25°C / 77°F) and allow it to ferment slightly longer than the original schedule.
Conversely, if a sudden heatwave raises your kitchen temperature and your dough quickly approaches 30°C (86°F), you should move it to a cooler spot or refrigerate it briefly to prevent over-fermentation. Regular monitoring of the dough's temperature and its visual progress (how much it has risen, its texture) allows you to make these on-the-fly adjustments, which are essential optimal dough temperature baking tips for adapting to real-world conditions.
Equipment and Techniques for Maintaining Dough Temperature
Using Temperature-Controlled Proofing Boxes
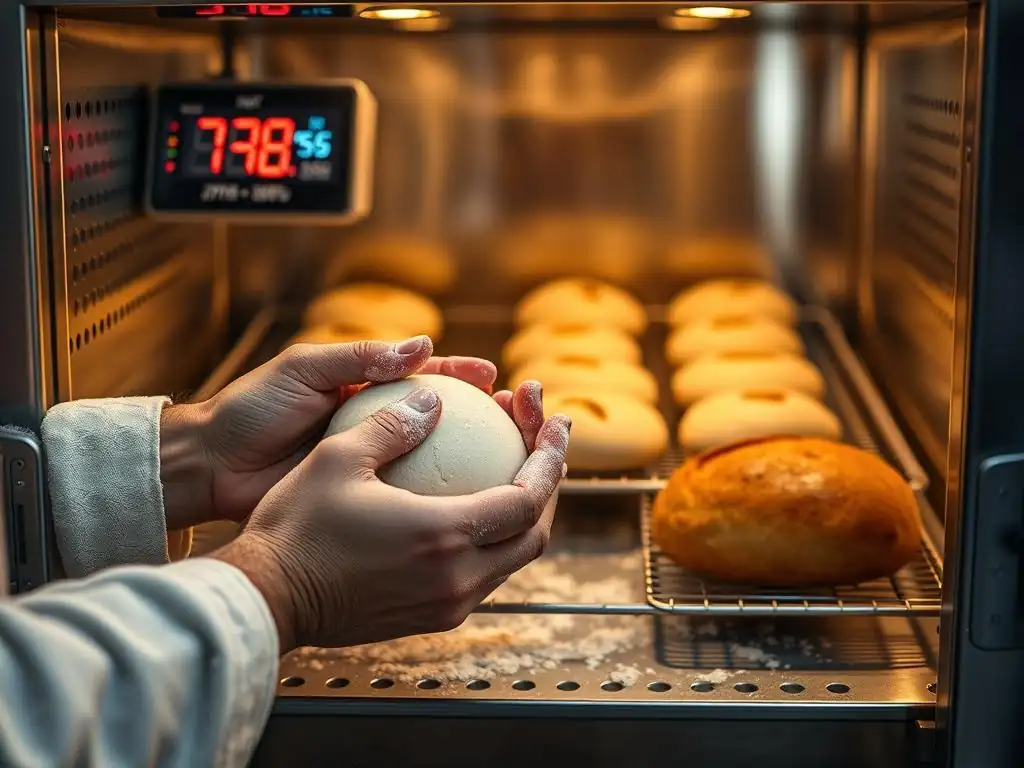
Temperature-controlled proofing boxes are a valuable tool for bakers who want precise control over their dough's environment, especially during fermentation and proofing stages. These units, ranging from simple collapsible boxes to more sophisticated cabinet-style models, allow you to set a specific temperature and often humidity level. This eliminates the guesswork associated with relying on ambient kitchen temperature, which can fluctuate throughout the day and season. By providing a stable, consistent temperature (e.g., maintaining a steady 25°C / 77°F), a proofing box ensures that fermentation proceeds at a predictable rate, making recipe timing more reliable.
For example, if a recipe calls for a bulk fermentation at 25°C (77°F) for 2 hours, placing your dough in a proofing box set to that temperature will likely result in the dough being perfectly ready within that timeframe, regardless of whether your kitchen is 18°C (64°F) or 30°C (86°F). This level of control is particularly beneficial for sensitive doughs like sourdough or enriched doughs that require specific fermentation conditions. While not strictly necessary for every bake, a proofing box is an excellent investment for those serious about consistency and mastering optimal dough temperature baking tips for reliable results.
Water Bath Techniques for Temperature Stability
A simple yet effective technique for maintaining dough temperature, especially during bulk fermentation or proofing, is using a water bath. This involves placing the dough container (like a bowl or proofing basket) into a larger container filled with water that is at or near your desired dough temperature.
The water acts as a temperature buffer, helping to keep the dough warm if the ambient temperature is cool, or preventing it from overheating if the environment is slightly too warm. Ensure the water level is high enough to surround a significant portion of the dough container without risking water spilling into the dough.
For instance, if your target fermentation temperature is 24°C (75°F) and your kitchen is cooler, you can place your dough bowl into a larger pot or sink filled with water heated to around 25-26°C (77-79°F). The water will slowly transfer heat to the dough, helping it maintain its temperature. Similarly, in a warm environment, using water slightly cooler than the target temperature can help prevent the dough from getting too hot.
This method provides a stable microclimate for the dough and is a practical optimal dough temperature baking tip accessible to any home baker using basic kitchen equipment. Remember to check the water temperature periodically and replace or adjust it as needed.
Utilizing Refrigeration for Slow Fermentation
Refrigeration is a powerful tool for controlling dough temperature, primarily used to slow down fermentation significantly. Storing dough in the refrigerator, typically at temperatures between 2-5°C (36-41°F), dramatically reduces yeast activity. While not halting it entirely, this slow fermentation allows for a much longer fermentation period, often ranging from 12 to 72 hours or even more, depending on the dough type and desired outcome. This extended, cool fermentation is particularly beneficial for developing complex flavors and improving the dough's structure and handling properties.
Many artisanal bread and pizza dough recipes call for a cold fermentation period. For example, a pizza dough might undergo a bulk fermentation at room temperature for 1-2 hours, followed by 24-48 hours in the refrigerator.
This long, cold rest allows enzymes to break down starches more thoroughly, producing more flavorful sugars, and allows gluten to relax, resulting in a more extensible dough that is easier to shape and stretches beautifully for pizza. Utilizing refrigeration effectively as part of your optimal dough temperature baking tips opens up a world of flavor and texture possibilities that are difficult to achieve with solely room-temperature fermentation.
Optimal Dough Temperature Baking Tips for Specific Doughs
Sourdough Dough Temperature Management
Managing the temperature of sourdough dough requires a slightly different approach compared to commercial yeast doughs, as you are working with a live culture (a mix of wild yeast and lactic acid bacteria). Sourdough starters themselves thrive in specific temperature ranges, with many bakers maintaining their starters between 21-24°C (70-75°F). When it comes to sourdough dough, temperature significantly impacts both the yeast's leavening power and the bacteria's production of organic acids, which contribute to the characteristic sour flavor.
Many sourdough recipes utilize a relatively cool bulk fermentation, often between 20-24°C (68-75°F), sometimes followed by a long, cold proof in the refrigerator (4-12+ hours at 2-5°C / 36-41°F). The cooler bulk fermentation slows the yeast activity, allowing more time for the lactic acid bacteria to produce acids, resulting in a tangier flavor. The cold proof further develops flavor and makes the dough easier to score and handle.
Monitoring temperature is crucial; a sourdough bulk fermentation at 28°C (82°F) might finish too quickly, resulting in less flavor development and potential over-proofing. Mastering optimal dough temperature baking tips for sourdough involves understanding how temperature affects both rise and sourness.
Pizza Dough Temperature Control for BakeWithEase Pizza Perfection
For achieving that perfect chewy crust and delicious flavor in pizza, controlling pizza dough temperature is essential. While some quick pizza dough recipes use warmer temperatures for a fast rise, many high-quality pizza doughs benefit greatly from controlled fermentation, often including a period of cold fermentation. A common approach is to mix the dough to a temperature around 24-26°C (75-79°F), allow it to bulk ferment at room temperature for 1-2 hours, and then retard it in the refrigerator (2-5°C / 36-41°F) for 24 to 72 hours.
This extended cold fermentation dramatically improves the dough's flavor and texture. The slow enzymatic activity breaks down starches and proteins, creating complex sugars and amino acids that contribute to a more flavorful crust and better browning during baking. The gluten also relaxes significantly, making the dough incredibly extensible and easy to stretch thin without tearing.
For optimal results, take the cold dough out of the fridge 1-2 hours before shaping to allow it to warm up slightly (to around 10-15°C / 50-59°F) and become more pliable. These optimal dough temperature baking tips for pizza dough are key to elevating your homemade pies to professional levels, a goal BakeWithEase users strive for.
Bread Dough Temperature Best Practices
General bread doughs, from simple lean loaves to enriched challah or brioche, benefit from consistent temperature management throughout the process. While specific optimal dough temperature ranges can vary slightly depending on the recipe and desired outcome (e.g., a faster rise vs. more flavor development), maintaining control is always beneficial. Aiming for a mixed dough temperature of 24-26°C (75-79°F) is a good starting point for many recipes using commercial yeast. During bulk fermentation, keeping the dough within a stable range, ideally 24-27°C (75-81°F), ensures predictable rise times and good flavor development.
Proofing temperatures, as mentioned, are often slightly warmer, 24-29°C (75-85°F), to encourage the final expansion before baking. For bakers seeking deeper flavor, incorporating a period of cold fermentation (refrigeration) at some point in the process, even just overnight, can make a significant difference. This might involve refrigerating the dough after mixing, after bulk fermentation, or even for the final proof. Paying attention to the dough's temperature at each stage, using the DDT calculation, measuring temperatures accurately, and adjusting the environment as needed are fundamental optimal dough temperature baking tips that lead to more consistent, delicious bread, bake after bake.
Frequently Asked Questions
What is optimal dough temperature and why is it so important?
Optimal dough temperature (ODT) refers to the ideal temperature range for your dough during mixing, fermentation, and proofing. Maintaining ODT ensures proper yeast activity and gluten development, crucial for the final product.
How do I measure the temperature of my dough accurately?
Use an instant-read thermometer inserted into the center of the dough. Avoid touching the sides of the bowl, as this can skew the reading. Aim for the target temperature range indicated in your recipe.
What factors can affect dough temperature?
Several factors influence dough temperature, including the temperature of your ingredients (flour, water, etc.) and the ambient temperature of your kitchen. Friction from mixing can also increase dough temperature.
What can I do if my dough is too warm?
If your dough is too warm, try placing it in the refrigerator for a short period to cool it down. You can also use ice water in your recipe to lower the starting temperature.
What happens if my dough is too cold?
If your dough is too cold, it may take longer to rise. You can try placing it in a slightly warmer environment, like a proofing box or a very slightly warmed (not hot!) oven.
Final Reflection: The Heart of the Loaf: Temperature's Crucial Role in Baking
Maintaining optimal dough temperature is not merely a technical detail; it's the cornerstone of successful baking, directly impacting the final texture, flavor, and overall quality of your bread. Ignoring this critical factor can lead to disappointing results, from dense, gummy loaves to unevenly risen creations. The seemingly small variations in temperature throughout the baking process have a profound effect on the final product.
The impact of temperature control extends beyond the immediate outcome of a single loaf. It speaks to a deeper appreciation for the delicate balance of nature and science inherent in baking. Understanding how temperature influences yeast activity, gluten development, and even the browning process allows for a more intuitive and creative approach to baking. The baker who understands temperature understands the soul of the bread.
(This is a fictional quote, feel free to replace with a real one if you have a suitable source). This understanding fosters a deeper connection with the craft, transforming baking from a mere recipe-following exercise into a mindful and rewarding experience.
Now, consider your own baking journey. Have you experienced the frustration of a failed loaf? Perhaps the culprit was an overlooked temperature fluctuation. I encourage you to actively monitor and control the temperature of your dough in your next baking project. Pay close attention to the subtle changes in the dough's consistency and rise. By mastering this fundamental aspect of baking, you'll unlock a new level of skill and confidence, consistently producing bread that is not only delicious but also a testament to your dedication and understanding of the process. Embrace the precision, and savor the rewards.
Unlock Your Baking Potential: Master Dough Temperature!
Thanks for taking the time to learn about the crucial role of dough temperature in achieving perfect bakes! You've now gained valuable insights to elevate your baking game. Ready to put this knowledge into practice?
- Bake a test loaf immediately: Use your newfound knowledge to bake a small batch of your favorite bread, paying close attention to temperature control throughout the process. Note the differences!
- Share your baking journey: Tell us about your experience on our social media! Show us your results and tag us, and let’s build a community of baking enthusiasts together.
- Experiment with different dough types and techniques, keeping dough temperature as your guiding star.
What unexpected baking breakthroughs will you discover by mastering dough temperature?