
How to Fix Cookie Spreading Caused by OverSoftened Butter

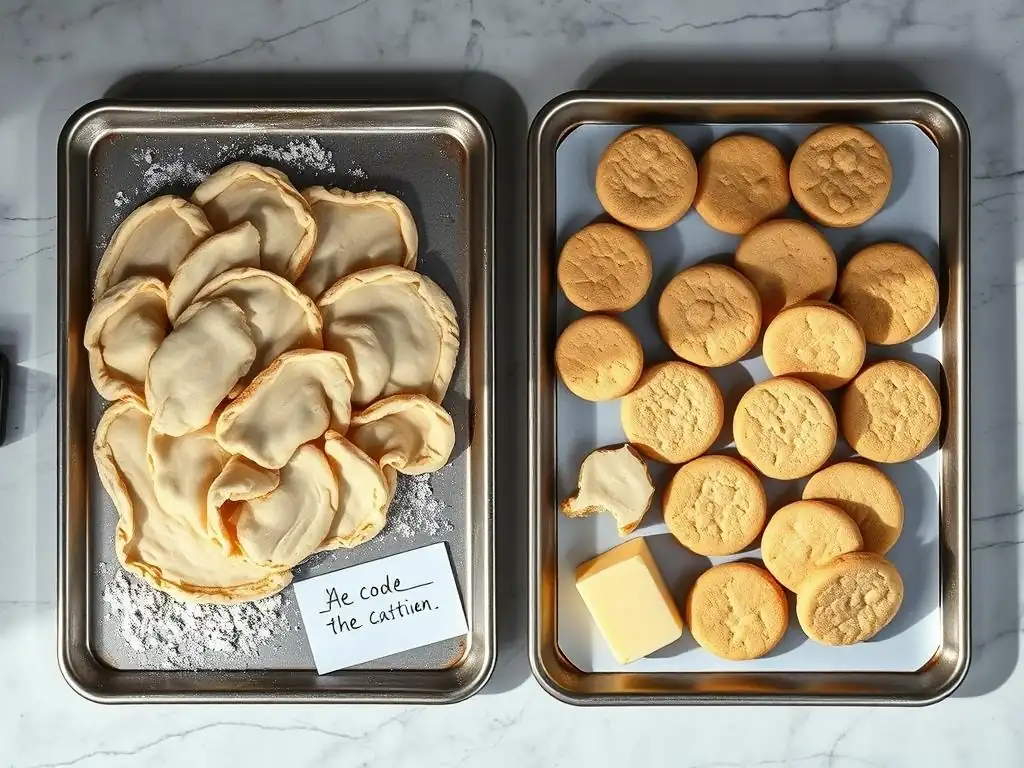
Welcome to BakeWithEase, your haven for conquering the sweet science of baking! Ever found yourself staring at a tray of cookie dough that's far too flat? You're not alone! Many bakers struggle with spreading, and often, the culprit is… oversoftened butter. But don't despair! Discover how to rescue your batch and bake perfectly shaped delights with our guide on fixing cookie spreading, especially when you're facing an oversoftened butter cookie recipe challenge. Curious to know the secret? Let's get baking!
- How to Fix Cookie Spreading Caused by Oversoftened Butter: BakeWithEase Guide
- Understanding Oversoftened Butter and Cookie Spreading
- Troubleshooting Cookie Dough Made with Melted Butter
- Rescue Techniques for Oversoftened Butter Cookie Recipe
- Preventing Oversoftened Butter in Your Next Cookie Batch
- Baking Oversoftened Butter Cookies: Adjusting Baking Times and Temperatures
- Best Practices for Cookie Baking with Butter
- Alternative Baking Methods to Avoid Butter Issues
-
Frequently Asked Questions
- How does oversoftened butter cause cookie spreading?
- Can I still use oversoftened butter in a cookie recipe?
- What are some visual cues that my butter is too soft for cookies?
- Besides chilling the dough, are there other techniques to fix spreading caused by oversoftened butter?
- Does the type of cookie recipe influence how sensitive it is to oversoftened butter?
- Final Reflection: The Perfect Cookie, One Degree at a Time
- Conquer Cookie Spread: Bake Perfect Treats Today!
One of the most common frustrations in cookie baking is excessive spreading. You envision perfectly plump, slightly chewy cookies, but instead, you end up with flat, crispy discs that look more like wafers. Often, the culprit behind this widespread issue is butter that wasn't at the correct consistency when mixed into the dough. Understanding how butter behaves during the baking process is the first step to preventing and fixing this problem in your oversoftened butter cookie recipe.
Butter plays a critical role in determining the texture, flavor, and structure of cookies. When it's properly creamed at the right temperature, it incorporates air, which helps leaven the cookies and contributes to a tender crumb. However, if the butter is too soft or even melted, this delicate balance is disrupted, leading to predictable and often undesirable results in your finished baked goods.
When butter is oversoftened, it means it's warmer than the ideal "room temperature" range, often approaching or reaching a liquid state. At this temperature, the butter cannot properly hold air pockets when creamed with sugar. The creaming process relies on the sugar crystals cutting into the semi-solid fat, creating tiny air bubbles. These bubbles expand in the oven, contributing to lift.
If your butter is too soft, it collapses around the sugar crystals instead of trapping air. This lack of aeration means the dough has less internal structure before it even hits the oven. As the cookies bake, the oversoftened butter melts much faster and more completely than butter at the correct temperature, causing the dough to spread rapidly and excessively before the other ingredients have a chance to set. The result is a thin, flat cookie, a classic sign of an oversoftened butter cookie recipe gone slightly awry.
Identifying Oversoftened Butter: A Baker's Guide
Knowing what properly softened butter looks and feels like is key to avoiding overspreading. Ideal "room temperature" butter for creaming should be pliable enough to leave an indentation when gently pressed with your finger, but it should not be greasy, shiny, or melted around the edges. It should hold its shape. The temperature sweet spot is typically between 65°F and 67°F (18°C to 19°C).
In contrast, oversoftened butter will feel very soft, almost squishy, and pressing it will leave a deep indentation with little resistance. It might look slightly separated or oily, especially if it's been sitting out in a warm kitchen or microwave-softened too aggressively. Using butter in this state for your oversoftened butter cookie recipe will almost guarantee excessive spread, as it lacks the necessary structure to support the dough during baking.
Cookie spread is influenced by several factors, including the ratio of ingredients, leavening agents, oven temperature, and critically, the state of the fat (butter). As cookies bake, the butter melts. The rate at which it melts directly impacts how much the dough spreads before the structure is set by the coagulation of proteins (from eggs or flour) and the gelatinization of starches.
When butter is properly creamed and at the right temperature, it melts more gradually in the oven. This slower melting gives the leavening agents time to work and the structure-building ingredients time to firm up, resulting in a cookie that spreads just the right amount. With oversoftened butter, the rapid melting means the dough structure collapses prematurely, leading to that undesirable wide, flat shape characteristic of an oversoftened butter cookie recipe baked without intervention.
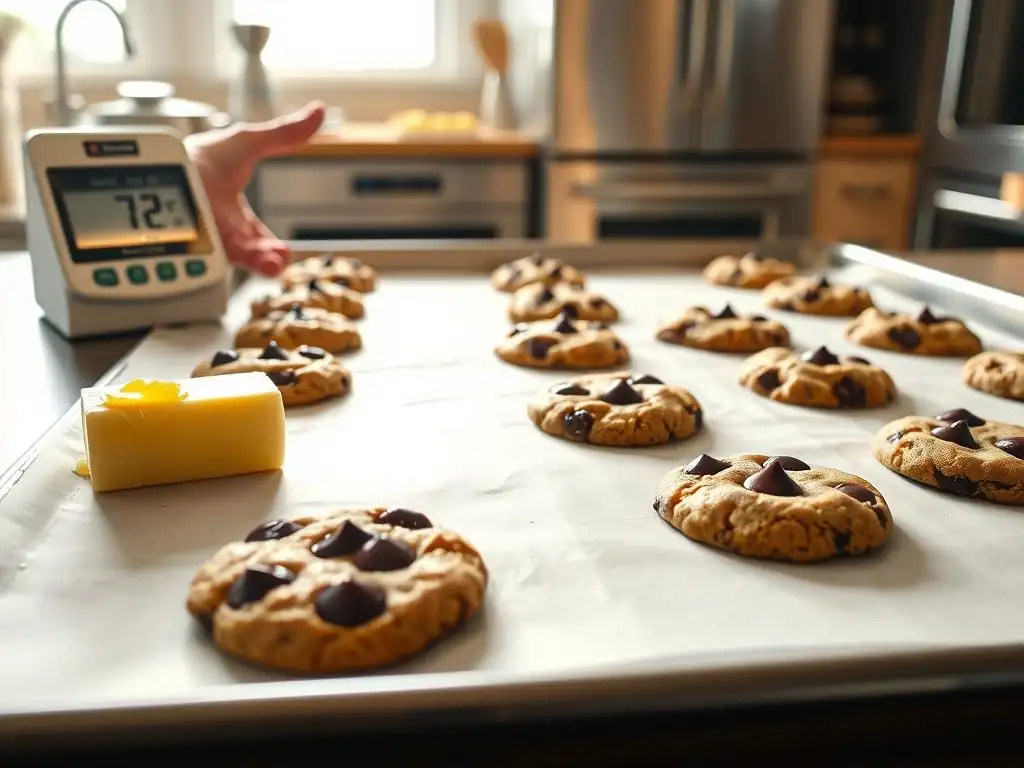
Discovering your cookie dough was made with butter that was too soft or even melted can be disheartening, but don't throw it out just yet! There are several strategies you can employ to rescue an oversoftened butter cookie recipe and bring it back from the brink of excessive spread. The key is to stabilize the dough and give it back some of the structure it lost due to the butter's state.
The specific rescue technique you choose might depend on how oversoftened the butter was and the overall consistency of your dough. Sometimes a simple chill is enough, while other times you might need to adjust the ingredient ratios slightly. Assess the dough's texture and proceed accordingly to salvage your potential batch of oversoftened butter cookies.
Before attempting a rescue, take a moment to evaluate the dough. Does it feel excessively sticky or greasy? Is it loose and unable to hold any shape when you try to scoop or roll it? If the dough is practically liquid or completely unmanageable, it might be beyond simple repair without significantly altering the intended texture. However, if it's merely softer and stickier than a typical cookie dough, it's likely a good candidate for troubleshooting.
A common sign is dough that feels slack and doesn't resist much when pressed. If you used truly melted butter, the dough might resemble a thick batter more than a scoopable dough. In most cases, unless the dough has separated into a greasy mess with dry pockets, an oversoftened butter cookie recipe can be adjusted and still yield delicious results, though perhaps with a slightly different texture than originally planned.
The most immediate and often effective action you can take is to chill the dough. Cold temperatures firm up the butter, restoring some of the structure needed to prevent excessive spread during baking. Gently gather the dough into a ball or disc, wrap it tightly in plastic wrap, and place it in the refrigerator.
Avoid the temptation to add large amounts of flour immediately, as this can lead to dry, tough cookies. Chilling is the primary defense against the rapid melting of oversoftened butter. Give the dough ample time to firm up – typically at least 30 to 60 minutes, or even longer for a very large batch or if the butter was significantly oversoftened. This crucial step allows the butter to re-solidify within the dough matrix.
The Fridge Fix: Chilling Dough to Reduce Spreading
Chilling cookie dough made with oversoftened butter is not just a suggestion; it's often a necessity. As the dough cools, the oversoftened butter firms up, returning to a more solid state. This solidification provides internal structure to the dough balls or shapes before they enter the hot oven. When the chilled dough is baked, the now-firmer butter melts more slowly than it would have if the dough were at room temperature or warmer.
This slower melting rate gives the other ingredients, like flour and eggs, time to set and create a stable structure before the cookie spreads too much. Chilling for at least 30 minutes is a good starting point, but letting the dough chill for several hours or even overnight can yield better results, leading to thicker, less spread-out cookies from your oversoftened butter cookie recipe. Ensure the dough is well-wrapped to prevent drying out in the refrigerator.
Beyond simply chilling, there are a few other methods you can employ to rescue an oversoftened butter cookie recipe. These techniques involve slightly altering the dough's composition to compensate for the structural weakness caused by the soft butter. Remember to make adjustments gradually and test the dough's consistency as you go.
These methods can be used individually or sometimes in combination, depending on the severity of the issue. The goal is to add ingredients that help absorb excess moisture or provide additional binding and structure, counteracting the effects of the rapidly melting oversoftened butter.
Method 1: Adding Flour to Thicken the Dough
One common approach to rescue an oversoftened butter cookie recipe is to carefully add a small amount of extra flour. Flour provides structure through its proteins (gluten) and starches, which absorb moisture and help bind the dough together. Adding flour can help firm up dough that feels too loose or sticky due to oversoftened butter.
However, this method must be used judiciously. Adding too much flour is a common mistake that results in dry, crumbly, or tough cookies. The goal is to add just enough to bring the dough to a workable consistency that resembles typical cookie dough, not to make it stiff or dry.
How Much Flour to Add? A Guide for Correcting Consistency
When adding flour to correct an oversoftened butter cookie recipe, start with a very small amount, such as 1 to 2 tablespoons for a standard batch of dough (one using about 1 cup or 2 sticks of butter). Gently mix it in until just combined. Assess the dough's consistency. Does it still feel too soft or sticky? If so, add another tablespoon.
Continue adding flour one tablespoon at a time, mixing minimally after each addition, until the dough reaches a texture that is pliable but no longer excessively sticky and can hold a scoop or shape without collapsing immediately. This gradual approach prevents over-flouring and helps maintain the intended cookie texture as much as possible.
The Importance of Gradual Incorporation
Gradual incorporation is crucial when adding flour to fix an oversoftened butter cookie recipe. Dumping in a large amount at once makes it difficult to gauge when you've added enough and increases the risk of overmixing. Overmixing after adding flour can develop gluten excessively, leading to tough cookies.
By adding just a tablespoon or two at a time and mixing gently until just incorporated, you can carefully adjust the dough's consistency without compromising the final texture. Stop adding flour the moment the dough feels firm enough to handle and hold its shape. It's better to err on the side of slightly soft dough that requires more chilling than to have tough, dry cookies from too much flour.
Adding an extra egg yolk is another technique that can help rescue an oversoftened butter cookie recipe. Egg yolks are rich in fat and emulsifiers, but they also contain proteins that contribute to structure and richness in baked goods. Adding an extra yolk can help bind the dough and provide additional structure that compensates for the lack of stability from the oversoftened butter.
This method is particularly useful if your dough feels not just soft, but also a bit greasy or loose. The extra yolk adds richness and chewiness while helping to emulsify the fats and liquids, resulting in a more cohesive dough that is less prone to excessive spreading during baking.
Adding Extra Egg Yolk: Balancing Moisture and Structure
Adding one extra egg yolk to a standard batch of dough (one using 1-2 eggs initially) can significantly improve the structure of an oversoftened butter cookie recipe. Gently whisk the extra yolk before adding it to the dough and mixing until just combined. The yolk's proteins will help set the cookie structure more effectively in the oven.
Be mindful that adding an extra yolk also adds moisture and richness, which can slightly alter the final texture, often making the cookies a bit chewier. This is generally a desirable outcome when fixing spread, as it helps create a thicker cookie. The key is to add only one extra yolk initially and see how the dough responds after chilling.
When to Use the Egg Yolk Method
The egg yolk method is best used when your oversoftened butter cookie dough feels particularly loose, greasy, or lacking in binding. If the dough seems to be bordering on separating or isn't holding together well, the emulsifying properties and protein structure of an extra yolk can provide the necessary boost.
It can also be used in conjunction with chilling. After adding the extra yolk and mixing it in, it's still highly recommended to chill the dough thoroughly. The combination of increased structure from the yolk and the firming effect of chilling is often the most effective way to combat severe spreading issues caused by oversoftened butter.
Method 3: Combining Chilled Dough with Fresh Dough
If you catch the oversoftened butter mistake early and haven't added all the dry ingredients yet, or if you're making a very large batch, you might consider making a small amount of correctly prepared dough and combining it with the oversoftened batch. This essentially dilutes the problem dough with dough that has proper structure.
This method requires you to prepare a small portion of the recipe again, ensuring the butter is at the perfect temperature this time. Once the small batch of correctly made dough is ready, gently fold or knead it into the oversoftened batch until uniformly combined. This adds stable, well-aerated dough to the compromised mixture, improving the overall structure.
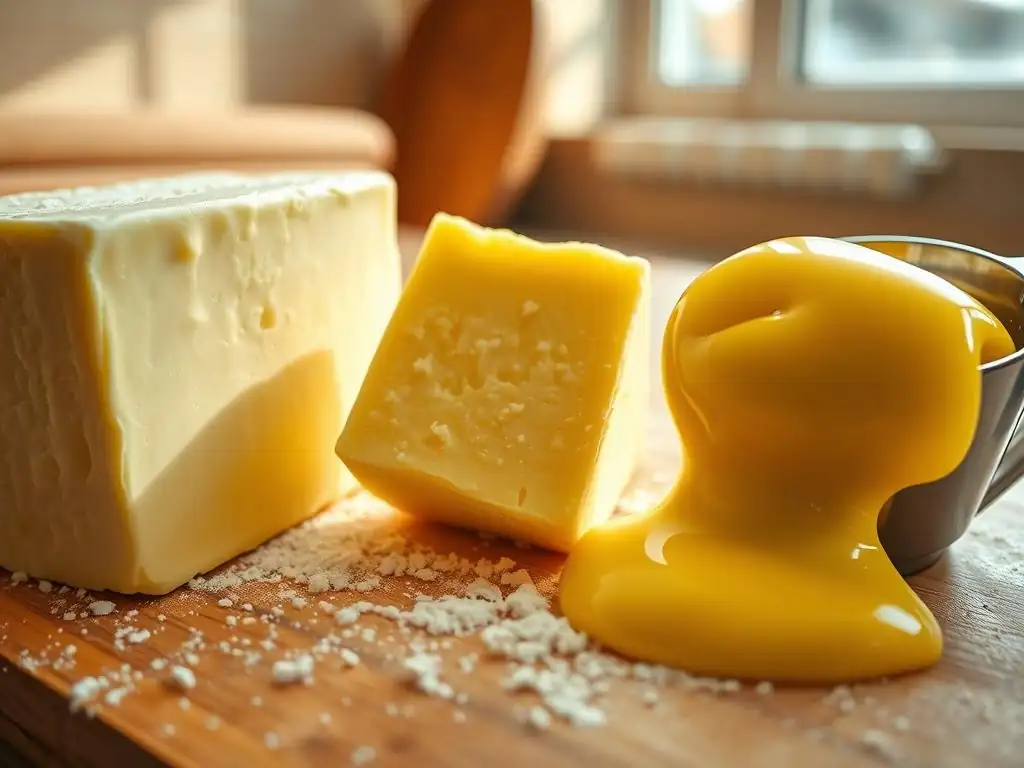
While rescue techniques are helpful, prevention is always better. The best way to avoid issues with overspreading in your oversoftened butter cookie recipe is to ensure your butter is at the ideal consistency before you start mixing. This requires a little planning but pays off with consistently great cookie results.
Properly preparing your butter is one of the most fundamental steps in baking. It impacts everything from the creaming process and air incorporation to the dough's texture and how it behaves in the oven. Mastering this simple step can elevate your cookie baking significantly.
Tips for Achieving Perfectly Creamed Butter
Achieving perfectly creamed butter is about temperature and technique. Start with butter that is within the ideal temperature range (65-67°F or 18-19°C). Cut the butter into cubes to help it soften evenly. Use an electric mixer (stand or hand) and beat the butter alone for a minute or two until it's smooth and pliable.
Then, add the sugar and cream together on medium speed until the mixture is lightened in color (usually pale yellow) and fluffy in texture. This process takes several minutes, typically 3-5 minutes, sometimes longer depending on the mixer. Scrape down the sides of the bowl frequently to ensure everything is evenly mixed and aerated. This is where those crucial air pockets are created, providing lift for your cookies.
"Room temperature" butter is the standard call in most cookie recipes for a reason. It's the state where the butter is soft enough to cream effectively with sugar, incorporating air, but still firm enough to hold its structure. It should bend without breaking and leave a slight indentation when pressed, without your finger going straight through it.
Butter that is too cold won't cream properly, leaving hard lumps and resulting in dense cookies. Butter that is too warm (oversoftened or melted) won't hold air and will cause excessive spreading, as discussed regarding the oversoftened butter cookie recipe issues. Aim for that sweet spot where it's pliable but still holds its shape.
Measuring Butter Temperature: A Baker's Best Practice
For consistent results, especially if your kitchen temperature fluctuates, consider using a thermometer to check your butter's temperature. An instant-read thermometer inserted into the center of a stick of butter should register between 65°F and 67°F (18°C to 19°C). This might feel slightly cooler than what many people assume "room temperature" is, particularly in warm environments.
If your butter is too cold, cut it into smaller pieces to help it warm up faster, or gently warm it in a microwave on a very low power setting for just a few seconds at a time, rotating and checking frequently. If it's too warm, pop it in the refrigerator for 10-15 minutes until it reaches the correct temperature. Taking this extra step ensures your butter is perfect for your oversoftened butter cookie recipe before you even start mixing.
Even after rescuing an oversoftened butter cookie recipe, you might need to make slight adjustments during the baking process to help control spread and achieve the best possible texture. Modifying the oven temperature and keeping a close eye on the cookies as they bake can make a significant difference in the final outcome.
These adjustments work in conjunction with the dough modifications you've made (like chilling or adding flour) to further mitigate the effects of the initial oversoftened butter. They provide a final layer of control over the cookie's shape and doneness.
Lowering Oven Temperature to Control Spread
If you've had trouble with excessive spreading from an oversoftened butter cookie recipe, try lowering your oven temperature slightly. For example, if the recipe calls for 375°F (190°C), try baking at 350°F (175°C) instead. A slightly lower temperature means the butter melts more slowly, giving the dough more time to set before it spreads too much.
While lowering the temperature, you will likely need to increase the baking time. This slower, longer bake allows the cookies to set properly and develop structure without spreading into thin puddles. Monitor the cookies closely, as the exact time will vary depending on your oven and the thickness of your dough.
When baking cookies from an oversoftened butter cookie recipe that you've rescued, pay close attention to visual cues rather than strictly adhering to the recipe's time. Look for the edges of the cookies to be lightly golden brown and the centers to appear set, not wet or overly shiny. The center might still look slightly soft, but it should not look raw.
Cookies continue to bake slightly on the hot baking sheet after being removed from the oven. If you're unsure, gently tap the edge of a cookie; it should feel relatively firm. If the center looks jiggly or wet, give them another minute or two. Over-baking can lead to dry cookies, so watch carefully and remove them when they are just done.
Using Parchment Paper or Silicone Mats for Even Baking
Using parchment paper or silicone baking mats is always a good practice for cookie baking, but it can be particularly helpful when dealing with an oversoftened butter cookie recipe. These surfaces provide a non-stick barrier that promotes even heat distribution to the bottom of the cookies and prevents sticking.
They also help in controlling spread to some extent by providing a consistent surface for the dough to bake on. While they won't miraculously fix severely overspread cookies, they contribute to a more stable baking environment compared to a greased baking sheet, where butter might melt and cause uneven spreading.
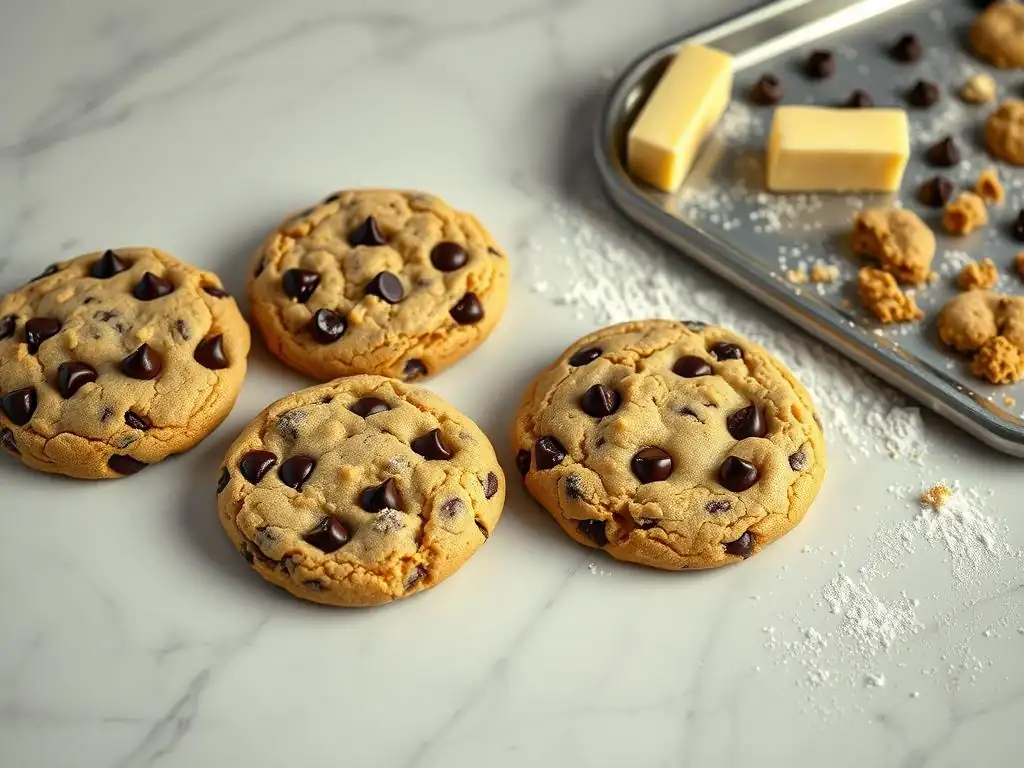
Beyond fixing issues, adopting best practices ensures better cookies from the start. Understanding the different types of butter, how butterfat content affects your cookies, and proper storage are all crucial elements for consistent, delicious results and preventing future oversoftened butter cookie recipe mishaps.
Attention to detail with your ingredients, particularly butter, is a hallmark of successful baking. Small differences in butter type or handling can have a noticeable impact on the final texture and flavor of your cookies.
Most cookie recipes are developed using unsalted butter. This allows you to control the amount of salt in your recipe. Different brands and types of butter have varying butterfat and water content. European-style butters typically have a higher butterfat percentage (around 82-84%) compared to American-style butter (around 80%).
Higher butterfat content can result in cookies that are more tender and spread slightly more, as there is less water to create steam for lift and less protein to build structure. For most standard recipes, American-style unsalted butter is perfectly suitable. If you use a high-fat butter, be aware it might influence spread and texture.
The percentage of butterfat in your butter directly influences the texture of your cookies. Butterfat contributes richness and tenderness. Higher butterfat butter means less water and milk solids. The water in butter turns to steam during baking, which can create small pockets and contribute to a lighter texture. Milk solids brown and contribute to flavor.
Cookies made with high-fat butter tend to be richer, more tender, and can sometimes spread a bit more due to the lower water content. Cookies made with lower-fat butter might be slightly less tender but can sometimes hold their shape better. For a typical chewy or slightly crisp cookie, standard unsalted butter with around 80% butterfat works well and is assumed in most oversoftened butter cookie recipe guidelines.
Storing Butter Properly to Maintain Quality
Proper butter storage is essential for maintaining its quality and ensuring it's ready for baking at the correct temperature. Butter should be stored in the refrigerator in its original packaging or an airtight container to prevent it from absorbing odors from other foods.
If you need butter to soften, take it out of the refrigerator ahead of time. The amount of time needed depends on your room temperature, but it can take anywhere from 30 minutes to several hours. Avoid leaving butter out on the counter for extended periods, especially in warm kitchens, as it can quickly become oversoftened or even spoil. For longer storage, butter can be frozen for several months; just be sure to thaw it in the refrigerator before bringing it to room temperature.
Alternative Baking Methods to Avoid Butter Issues
If you consistently struggle with getting butter to the right consistency or prefer not to use butter, there are many delicious cookie recipes that use alternative fats or no fat at all. Exploring these options can provide a reliable way to bake cookies without encountering common butter-related problems like excessive spreading in an oversoftened butter cookie recipe.
These alternative recipes offer different textures and flavors, providing a broader range of baking possibilities beyond traditional butter-based cookies. They can be great additions to your baking repertoire.
Exploring Recipes that Use Oil Instead of Butter
Many cookie recipes use oil as the primary fat source instead of butter. Vegetable oil, canola oil, or even olive oil (depending on the desired flavor profile) can be used. Since oil is liquid at room temperature, there's no creaming process involved, simplifying the mixing process.
Recipes using oil are often quicker to prepare as you don't need to wait for butter to soften. The fat is simply whisked with the sugar and wet ingredients before adding the dry ingredients. This eliminates the risk of using oversoftened or melted butter altogether.
Cookies made with oil tend to have a different texture than those made with butter. Butter contributes to structure and tenderness through the creaming process and its solid state at room temperature. It also contains milk solids which contribute to browning and flavor.
Oil-based cookies are often chewier and more moist, as the oil coats the flour particles differently and doesn't contribute to aeration in the same way that creamed butter does. They also tend to spread more easily due to the liquid nature of the oil. While they lack the distinct flavor that butter provides, they offer a pleasant chewiness and are less prone to becoming dry.
There are also various cookie recipes that use alternative fats or are naturally lower in fat and don't rely on butter for structure. Examples include:
- Meringue Cookies: These are made primarily from whipped egg whites and sugar, baked at a very low temperature. They are light, airy, and crisp, containing no butter.
- Fat-Free Cookies: Some recipes use ingredients like applesauce, mashed bananas, or pumpkin puree as a fat substitute. These often result in softer, cake-like cookies.
- Certain Biscotti: While some biscotti recipes use butter, many rely on eggs and flour for structure, resulting in a hard, dry cookie designed for dipping.
Exploring these types of recipes provides excellent alternatives if you want to avoid the potential pitfalls associated with using butter, such as troubleshooting an oversoftened butter cookie recipe.
Frequently Asked Questions
Oversoftened butter loses its ability to hold its shape during baking. This causes the cookie dough to melt and flatten before the structure sets. Essentially, it's too warm to create the desired air pockets.
Yes, but you'll need to chill the dough significantly before baking. This allows the butter to solidify and prevent excessive spreading during baking. Consider chilling for at least 30 minutes.
If your butter is shiny, greasy, or completely melted, it's likely too soft. Ideally, it should be soft enough to easily press a finger into, but still hold its shape.
Besides chilling the dough, are there other techniques to fix spreading caused by oversoftened butter?
You can try adding a tablespoon or two of extra flour to the dough to absorb some of the excess moisture. Also, make sure your oven is at the correct temperature.
Yes, some recipes are more forgiving than others. Recipes with a higher fat content or those that require creaming butter and sugar are particularly susceptible to spreading when the butter is too soft.
The seemingly simple act of baking a cookie is, in reality, a delicate dance of ingredients and temperatures. A single degree too warm in your butter can lead to disastrously flat, spread-out cookies, ruining a perfectly planned baking project. This article has explored the science behind oversoftened butter and provided practical solutions to reclaim those perfectly round, chewy delights.
The impact of a perfectly baked cookie extends far beyond the plate. It's a symbol of comfort, a shared experience, a moment of joy. The frustration of a failed batch, however, is equally potent. Baking is love made visible.
This quote perfectly encapsulates the emotional connection we have with the process, and the disappointment when things go wrong. Mastering the art of preventing oversoftened butter from ruining our cookies is not just about technique; it's about reclaiming control and achieving that satisfying result we crave.
Now, consider your own baking experiences. Have you ever wrestled with oversoftened butter? Remember that feeling of disappointment when your cookies spread too thin? Take what you've learned here – the chilling techniques, the butter-softening strategies, the importance of precise measurements – and apply it to your next baking adventure. Don't let oversoftened butter dictate your cookie destiny. Instead, take charge, experiment, and discover the joy of perfectly formed, delicious cookies, baked to perfection, every single time.
Thanks for taking the time to learn how to conquer the frustrating problem of cookie spread! You're now equipped with the knowledge to bake consistently delicious, perfectly shaped cookies. Ready to put your newfound expertise to the test?
- Bake a batch of your favorite cookies today, using the tips and tricks we've shared. Pay close attention to your butter's temperature!
- Share your baking triumphs (and even your flops!) with us in the comments below. Let's build a supportive baking community!
- Challenge yourself: Try a new cookie recipe this week, armed with your new butter-handling skills.
What's your go-to cookie recipe, and what's your biggest baking challenge? Let's chat!