
Decoding the Problem of Sticky Bread Dough

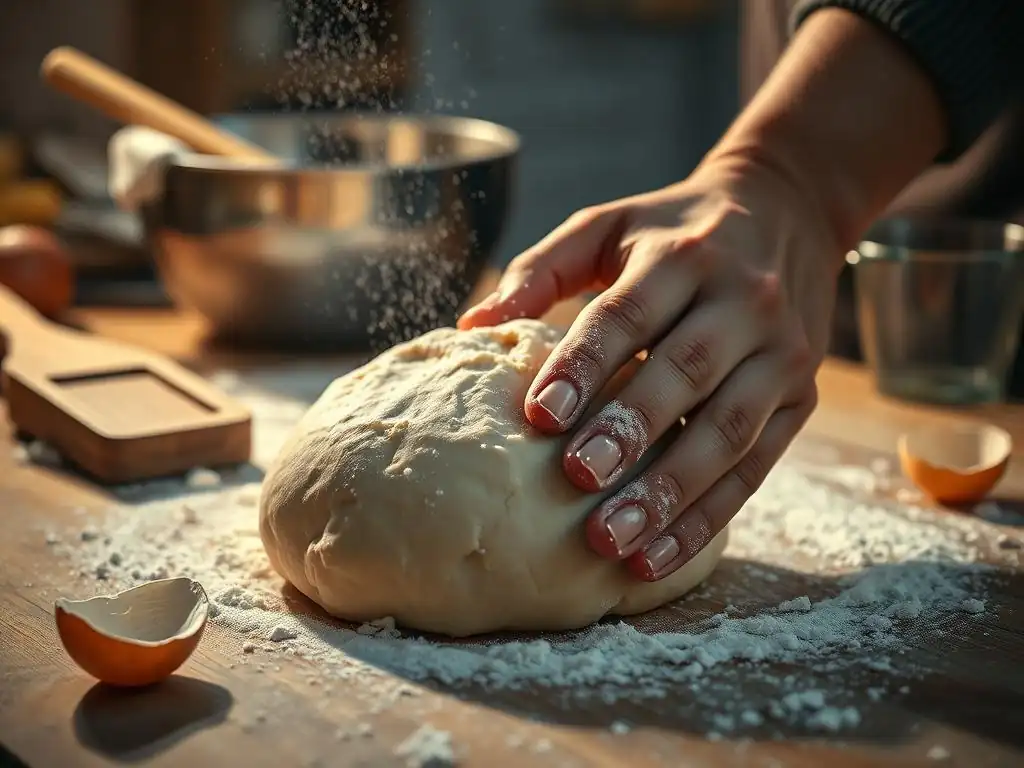
Welcome to BakeWithEase, your companion on the delicious journey of baking! Ever battled with frustratingly sticky bread dough? Decoding the Problem of Sticky Bread Dough is your essential guide to mastering this common challenge. Dive in to discover the secrets behind achieving the perfect dough consistency and unlocking foolproof baking results. What's causing your sticky situation, and how can you fix it? Let's find out!
- Decoding the Problem of Sticky Bread Dough: Troubleshooting Tips for Perfect Baking
- Understanding Sticky Bread Dough: A Common Baking Challenge
-
Sticky Bread Dough Troubleshooting Tips: A Baker's Guide
- 1. Hydration Levels: Achieving the Right Dough Moisture Balance
- 2. Flour Power: Choosing the Right Flour for Your Bread
- 3. Kneading Techniques: Developing Gluten Effectively
- 4. Ambient Conditions: Temperature and Humidity's Influence on Dough
- 5. Sticky Dough Due to Add-Ins: Fruits, Nuts, and Seeds Considerations
- Quick Fixes for Sticky Dough: Rescue Techniques for Baking Success
- Preventing Sticky Dough: Proactive Measures for Future Baking
- Mastering Bread Baking: Achieving the Perfect Dough Consistency
- Frequently Asked Questions
- Final Reflection: The Unexpected Joys of a Sticky Situation
- Unlock Your Baking Potential: Mastering Dough That Doesn't Stick!
Decoding the Problem of Sticky Bread Dough: Troubleshooting Tips for Perfect Baking
Understanding Sticky Bread Dough: A Common Baking Challenge
Dealing with sticky bread dough is one of the most frequent hurdles faced by home bakers, whether you're just starting out or have a few loaves under your belt. It can turn a promising dough into a frustrating, unmanageable mess that clings to your hands, your counter, and your tools. This stickiness isn't just inconvenient; it's often a sign that something isn't quite right with your ingredients, measurements, or technique. Understanding why dough becomes overly sticky is the first step towards mastering your baking and achieving beautifully textured bread.
The good news is that sticky dough is rarely a disaster that can't be salvaged. By learning the common causes and applying simple troubleshooting tips, you can often bring your dough back to a manageable consistency. This knowledge empowers you to not only fix problems as they arise but also to prevent them in the future, leading to more consistent and enjoyable baking experiences. Let's dive into the reasons behind sticky dough and how to tackle this common baking challenge head-on.
Why is My Bread Dough So Sticky? Identifying the Root Causes
The primary culprit behind excessively sticky bread dough is often an imbalance in the ratio of wet to dry ingredients, particularly too much water or other liquid relative to the flour. Different flours absorb liquid differently, and even ambient humidity can play a significant role.
For example, a recipe designed for a drier climate might result in a very sticky dough in a humid environment if not adjusted. Using too little flour or inaccurate measurement techniques, such as scooping flour directly with a measuring cup instead of spooning and leveling, can also lead to having less flour than intended, thus creating a wetter, stickier dough.
Another common cause is insufficient gluten development. Gluten, formed when flour protein (gliadin and glutenin) combines with water and is worked through kneading, provides the structure and elasticity that allows dough to be handled without excessive stickiness. If the dough hasn't been kneaded enough, the gluten network isn't strong enough to hold its shape and manage the hydration, resulting in a slack, sticky texture.
Conversely, sometimes dough can become sticky if over-kneaded, breaking down the gluten structure, though this is less common for simple stickiness issues compared to under-kneading or hydration problems. Understanding these root causes is crucial for effective sticky bread dough troubleshooting tips.
The Impact of Sticky Dough on Your Final Bread Loaf
Excessively sticky dough can significantly impact the final outcome of your bread. Firstly, it makes handling incredibly difficult, affecting everything from kneading and shaping to transferring the loaf into the oven. This difficulty in handling can lead to poorly shaped loaves or even structural issues. Trying to compensate by adding excessive amounts of flour during kneading or shaping can also negatively affect the texture, potentially resulting in a dense or dry crumb rather than the light, airy structure you desire.
Beyond handling, the stickiness itself can be a symptom of hydration levels that are simply too high for the type of bread being made or the baker's skill level. While high-hydration doughs can produce incredibly open and moist crumbs, they require precise handling and technique.
If the stickiness is due to under-kneading, the resulting bread will likely have poor volume and a tight, uneven crumb because the gluten network wasn't developed sufficiently to trap gases produced during proofing. Effectively applying sticky bread dough troubleshooting tips helps ensure you achieve the intended texture, volume, and overall quality of your baked goods.
Sticky Bread Dough Troubleshooting Tips: A Baker's Guide
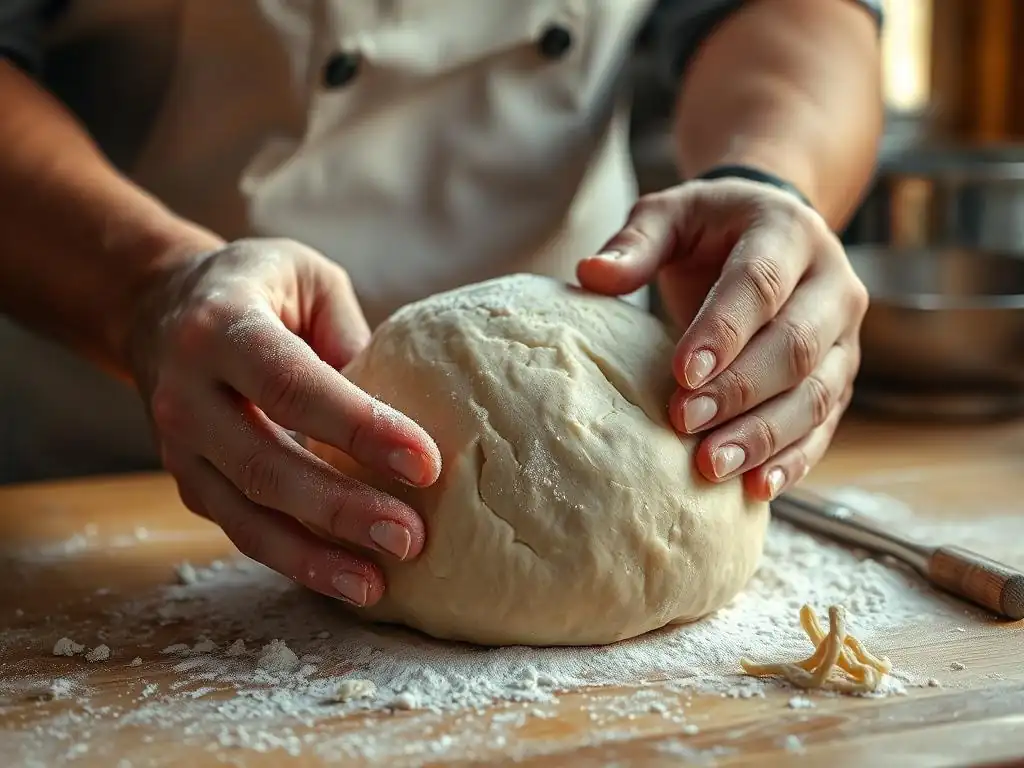
Navigating the challenges of sticky dough is part of the journey to becoming a confident bread baker. Fortunately, there are many effective sticky bread dough troubleshooting tips you can employ. These strategies address the common issues we've discussed, helping you achieve a dough that is pliable, elastic, and easy to work with, setting the stage for a successful bake.
1. Hydration Levels: Achieving the Right Dough Moisture Balance
Hydration refers to the ratio of liquid (usually water) to flour in a bread recipe, typically expressed as a percentage of the flour weight. A hydration level of 60% means for every 100g of flour, there are 60g of water. Different types of bread require different hydration levels; for instance, a standard sandwich loaf might be around 60-65% hydration, while a rustic sourdough or ciabatta could be 75% or even higher.
Doughs with higher hydration are inherently stickier and require more practice to handle. If your dough is unexpectedly sticky, it might simply be that the hydration is too high for your comfort level or for the specific flour you are using.
Achieving the correct hydration is fundamental to successful bread making. Recipes provide a starting point, but factors like the flour's absorption rate (which varies by type and brand), ambient humidity, and even the precision of your measurements can necessitate adjustments. Learning to read your dough's consistency is key.
A properly hydrated dough, even if slightly sticky, should eventually pull away from the sides of the bowl during mixing and become more manageable as gluten develops during kneading. If it remains excessively wet and slack after initial mixing, a hydration adjustment might be needed. Implementing sticky bread dough troubleshooting tips often starts here.
Measuring Flour Accurately: The Key to Consistent Hydration
Inaccurate flour measurement is perhaps the most common reason for off-kilter hydration. Many home bakers measure flour by volume using measuring cups, but the amount of flour that fits into a cup can vary dramatically depending on how packed it is. Scooping flour directly from the bag can compact it significantly, leading to up to 20-30% more flour by weight than if it were lightly spooned into the cup. This means your dough will be drier than the recipe intended, potentially masking an underlying hydration issue or leading to other problems.
For truly consistent results and accurate sticky bread dough troubleshooting tips, measuring ingredients by weight using a digital kitchen scale is highly recommended, especially for flour and water. This ensures you're using the exact ratio specified in the recipe, regardless of how dense the flour is. For example, a standard cup of all-purpose flour is often estimated to weigh around 120-125 grams when spooned and leveled, but can weigh 150 grams or more when scooped. Switching to weight measurements removes this variability and provides a reliable foundation for your baking.
Adjusting Liquid Ratios: When to Reduce Water in Your Bread Recipe
If you consistently find your dough too sticky even when measuring accurately by weight, it might indicate that the recipe's recommended hydration is too high for your environment, your flour, or your preferred dough consistency. This is particularly true in humid climates where the flour may have already absorbed some moisture from the air. In such cases, don't be afraid to slightly reduce the amount of water called for in the recipe.
Start by holding back a small amount of the liquid, perhaps 5-10% of the total water volume, when initially mixing your dough. Add the remaining liquid gradually as you mix, observing the dough's consistency. Stop adding liquid once the dough comes together and feels right – it should be moist but not excessively sticky, pulling away from the bowl. This allows you to dial in the hydration level specific to your conditions and ingredients, making sticky bread dough troubleshooting tips less necessary in the future.
2. Flour Power: Choosing the Right Flour for Your Bread
The type of flour you use fundamentally impacts your dough's behavior, including its stickiness. Different flours have varying protein contents, and this protein is what forms gluten when combined with water and worked. A strong bread flour, typically with 12-14% protein, develops a robust gluten network capable of absorbing more water and providing significant structure. This strength helps manage higher hydration levels and results in less overall stickiness once the gluten is developed.
All-purpose flour, with a lower protein content (around 10-12%), will absorb less water and develop a weaker gluten structure compared to bread flour. Using all-purpose flour in a recipe designed for bread flour without adjusting the hydration can result in a stickier, slacker dough that is harder to handle. Understanding the properties of different flours is a key part of effective sticky bread dough troubleshooting tips.
Protein Content and Gluten Development: Understanding Flour Types
The percentage of protein in flour is a critical factor in bread baking. Proteins like gliadin and glutenin bond together when hydrated and kneaded to form gluten. A higher protein content means the potential for a stronger, more elastic gluten network. This network is essential for trapping the carbon dioxide gas produced by yeast, allowing the bread to rise and develop its internal structure.
Flours with higher protein (like bread flour) can absorb more water and tolerate more kneading without breaking down, resulting in a dough that is less prone to excessive stickiness once developed. Flours with lower protein (like cake flour, around 7-9% protein) absorb less water and form weaker gluten, making them unsuitable for most yeasted bread recipes and very prone to stickiness if over-hydrated or over-handled. Knowing the typical protein ranges for different flours helps you anticipate how your dough will behave and apply appropriate sticky bread dough troubleshooting tips.
Substituting Flours: Considerations for Adapting Recipes
If you need to substitute one type of flour for another, especially substituting a lower-protein flour for a higher-protein one (like using all-purpose instead of bread flour), you will likely need to adjust the liquid in the recipe. Since all-purpose flour absorbs less water than bread flour, you should start by reducing the amount of liquid by 5-10%.
Similarly, if substituting a higher-protein flour (like bread flour) for a lower-protein one (like all-purpose), you might find the dough feels a bit dry and may need to add a little extra liquid, a tablespoon at a time, until the desired consistency is reached. Always make substitutions with awareness of how the flour type affects hydration and gluten development; this foresight is a valuable sticky bread dough troubleshooting tip.
Whole wheat flours also absorb significantly more water than white flours due to the presence of the bran and germ, requiring higher hydration levels but also potentially resulting in a different kind of stickiness if not properly hydrated or kneaded.
3. Kneading Techniques: Developing Gluten Effectively
Kneading is the process of working the dough to develop the gluten network. It aligns the gluten strands, creating elasticity and strength. Proper kneading transforms a shaggy, potentially sticky mass into a smooth, pliable, and less sticky dough that springs back when gently poked. Insufficient kneading is a very common reason for dough remaining overly sticky and difficult to handle, as the gluten hasn't been given enough time or manipulation to form properly.
The length of time and intensity of kneading required depends on the flour used, the hydration level, and the method (hand vs. mixer). A simple way to check for sufficient gluten development is the "windowpane test," where you gently stretch a small piece of dough. If it stretches thin enough to see light through it without tearing, the gluten is well-developed. If it tears easily, it needs more kneading. Mastering kneading is a fundamental sticky bread dough troubleshooting tip.
The Importance of Proper Kneading Time: Avoiding Under- or Over-Kneading
Under-kneading is a primary cause of persistent stickiness. A dough that hasn't been kneaded enough will feel slack, sticky, and won't hold its shape well. It needs more work to build that strong gluten structure. For hand kneading, this might mean 10-15 minutes of consistent work. For a stand mixer, it could be 6-10 minutes on medium speed, depending on the mixer and dough size. Resist the urge to add excessive flour during kneading; a little flour for dusting is fine, but adding cups of flour will alter the hydration too much.
While less common as a cause of simple stickiness compared to under-kneading, over-kneading can also occur, especially with a stand mixer. Over-kneaded dough can become sticky and lose its elasticity, feeling "wet" or "soupy" because the gluten structure has been broken down. However, this usually happens after a very long kneading time (e.g., 20+ minutes in a mixer for a standard dough). If your dough was fine and then suddenly became sticky and weak after extended kneading, over-kneading might be the culprit.
Hand Kneading vs. Stand Mixer: Best Practices for Each Method
Both hand kneading and stand mixer kneading can result in beautifully developed dough, but the approach differs. When hand kneading sticky dough, it's helpful to use a bench scraper to manage the dough and keep your workspace clean. A light dusting of flour on the surface and your hands is acceptable, but avoid incorporating large amounts.
Use techniques like the "stretch and fold" method, where you stretch the dough out and fold it back on itself repeatedly, or the traditional push-and-pull method. Your hands will get sticky initially, but as gluten develops, the dough will become less adhesive and more cohesive.
For stand mixer kneading, use the dough hook attachment. Start on a low speed to incorporate ingredients, then increase to a medium speed (often speed 2 or 3 on a KitchenAid). Let the mixer do the work. The dough should eventually pull away from the sides of the bowl, though it might still stick slightly to the bottom.
Kneading times are typically shorter than hand kneading. Monitor the dough; it should look smoother and more elastic over time. If it slaps against the sides of the bowl persistently and doesn't seem to be developing structure, it might be too wet and need a small addition of flour (a tablespoon at a time). These are essential sticky bread dough troubleshooting tips for different methods.
4. Ambient Conditions: Temperature and Humidity's Influence on Dough
The environment you bake in plays a significant, often underestimated, role in dough consistency. Temperature affects yeast activity and fermentation speed, while humidity directly impacts how flour absorbs moisture and how the surface of your dough behaves. High humidity is a common culprit for unexpectedly sticky bread dough, even when you've followed the recipe precisely.
In a humid environment, flour can absorb moisture from the air, effectively increasing the hydration of your dough beyond what you intended. This can make the dough feel wetter and stickier than it would in a dry climate. Conversely, very dry conditions can cause the surface of the dough to dry out and form a skin, which can also be problematic but typically doesn't result in overall stickiness. Recognizing the impact of your environment is key to applying effective sticky bread dough troubleshooting tips.
High Humidity and Sticky Dough: Strategies for Counteracting Moisture
When baking in a humid climate, you may need to make adjustments to counteract the extra moisture in the air and your flour. A simple strategy, as mentioned earlier, is to slightly reduce the amount of liquid in your recipe from the start. You can also add a tablespoon or two of extra flour if the dough feels too wet after initial mixing and kneading, incorporating it gradually until the desired consistency is reached.
Another tactic is to work on a lightly floured surface or use a bench scraper frequently to manage the sticky dough without adding excessive flour. Keep your hands lightly floured or wet (as discussed later) to prevent sticking. Be mindful that dough might proof slightly faster in warm, humid conditions, so keep an eye on it. Adjusting for humidity is a crucial sticky bread dough troubleshooting tip for consistent results year-round.
Adjusting Proofing Time: Adapting to Warmer or Colder Environments
While not a direct cause of initial stickiness, ambient temperature during proofing affects how quickly your dough rises and changes its texture. In warmer environments (above 75°F or 24°C), dough will proof faster. This means you need to monitor it closely to avoid over-proofing, which can lead to a slack, potentially harder-to-handle dough later, although it typically doesn't cause significant stickiness itself.
In colder environments (below 70°F or 21°C), proofing will be slower. You'll need to allow more time for the dough to double in size. The dough might feel slightly firmer initially in a cold environment, but this doesn't usually cause stickiness. The main adjustment needed is simply patience and allowing adequate time for fermentation. Understanding how temperature affects proofing helps you manage the overall process, complementing your sticky bread dough troubleshooting tips.
5. Sticky Dough Due to Add-Ins: Fruits, Nuts, and Seeds Considerations
Adding ingredients like dried fruits, nuts, seeds, or chocolate chips can introduce extra moisture or disruptions to the gluten network, sometimes leading to a dough that feels stickier than a plain loaf. Dried fruits, in particular, can absorb moisture from the dough over time, but their initial stickiness or the syrup they contain can transfer to the dough during mixing. Nuts and seeds can interfere with gluten development if added too early or in excessive quantities.
Incorporating wet or sticky add-ins requires care. If you're adding something like cooked grains or purees (like pumpkin or potato), these add significant moisture and the recipe's base hydration may need adjustment. Even seemingly dry add-ins can alter the dough's behavior. Being aware of how add-ins interact with your dough is an important part of comprehensive sticky bread dough troubleshooting tips.
Incorporating Add-Ins Correctly: Preventing Dough Stickiness
To minimize stickiness caused by add-ins, incorporate them towards the end of the kneading process, after the gluten network has already begun to develop. This prevents them from interfering with the initial formation of gluten. If adding dried fruit, consider soaking it briefly and draining well beforehand; this plumps the fruit and prevents it from stealing moisture from your dough, while also making the fruit itself less sticky.
For nuts and seeds, ensure they are evenly distributed but avoid overworking the dough once they are added, as sharp edges can sometimes cut the gluten strands. If the add-ins themselves are sticky (like dates or certain dried berries), you can toss them in a small amount of flour before adding them to the dough to help coat them and reduce their stickiness.
Adjusting Hydration for Add-Ins: Maintaining Dough Consistency
When a recipe includes add-ins that contribute significant moisture (like cooked grains, mashed vegetables, or high-hydration fruits), the overall hydration of the dough needs to account for this. If adapting a plain bread recipe to include such additions, you might need to slightly reduce the amount of water initially added to the dough.
Conversely, if adding very dry ingredients like large amounts of whole seeds or coarse grains, they will absorb moisture from the dough. In these cases, the recipe might call for a slightly higher initial hydration, or you might need to add a little extra water during mixing if the dough feels too stiff. Paying attention to how different add-ins affect dough consistency is a nuanced but important aspect of applying effective sticky bread dough troubleshooting tips.
Quick Fixes for Sticky Dough: Rescue Techniques for Baking Success
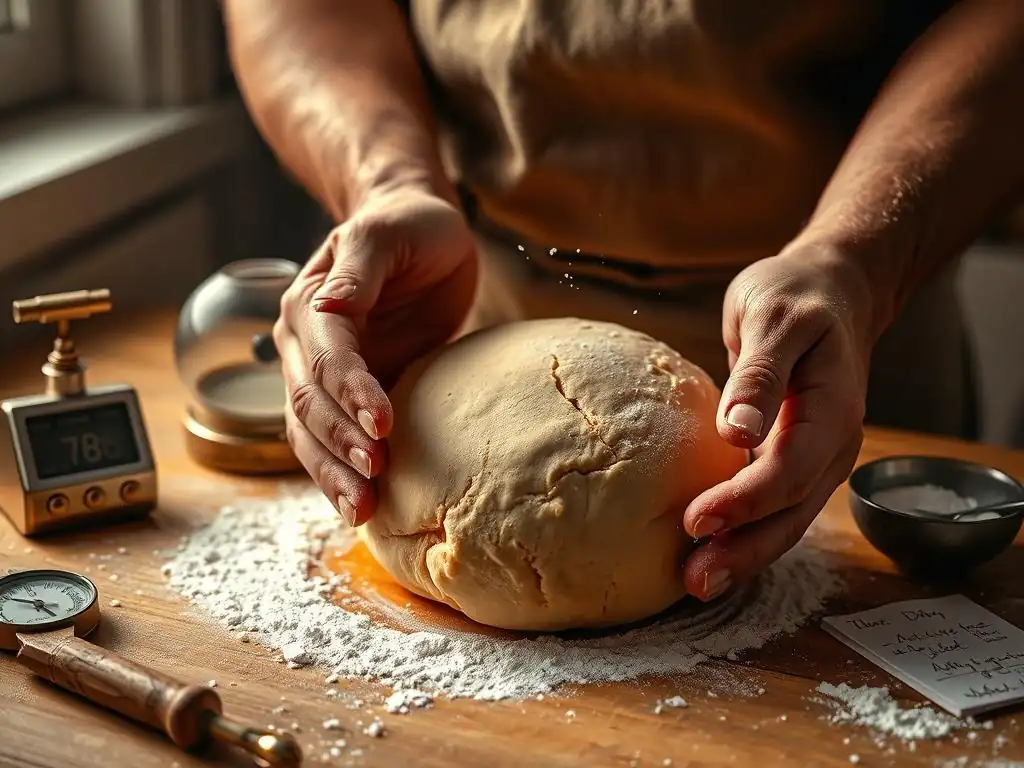
Sometimes, despite your best efforts, you end up with dough that is just too sticky to handle. Don't panic! There are several sticky bread dough troubleshooting tips you can use as quick fixes to make the dough workable without compromising the final result too much. These are temporary solutions to help you manage the dough in the moment.
Adding Flour Incrementally: A Controlled Approach to Reducing Stickiness
If your dough is excessively sticky after the initial mix and a few minutes of kneading, the most straightforward fix is to add a small amount of flour. However, it's crucial to do this incrementally and with caution. Adding too much flour at once can quickly make your dough dry and tough.
Add flour one tablespoon at a time. Sprinkle it over the dough and continue kneading. Allow the flour a moment to be absorbed and integrated before deciding if more is needed. Keep adding flour one tablespoon at a time and kneading until the dough reaches a manageable consistency – it should still be slightly tacky, but no longer sticking excessively to your hands or the work surface. This controlled approach is a key sticky bread dough troubleshooting tip for correcting hydration issues on the fly.
Using Oil or Water on Your Hands: Minimizing Dough Adhesion
Instead of relying solely on adding flour, you can minimize dough adhesion to your hands and work surface by using a small amount of oil or water. Lightly coating your hands with a neutral oil (like vegetable or olive oil) or simply wetting them with water can create a barrier that prevents the sticky dough from clinging.
This technique is particularly useful when working with high-hydration doughs that are naturally sticky but don't necessarily need more flour. It allows you to handle and shape the dough more easily. Keep a small bowl of water or oil nearby and dip your hands as needed. This is a simple yet effective sticky bread dough troubleshooting tip for easier handling.
Refrigerating Sticky Dough: Firming Up for Easier Handling
If your dough is very sticky and difficult to manage, especially if it's warm, refrigerating it can work wonders. Cold dough is less sticky and firmer, making it much easier to handle, shape, and score.
Place the sticky dough in a lightly oiled bowl, cover it tightly with plastic wrap, and pop it in the refrigerator for 30-60 minutes. The cold temperature will firm up the fats and slow down yeast activity temporarily. When you take it out, you'll find it significantly less sticky and much more cooperative. This is an excellent sticky bread dough troubleshooting tip for slack or overly warm doughs.
Preventing Sticky Dough: Proactive Measures for Future Baking
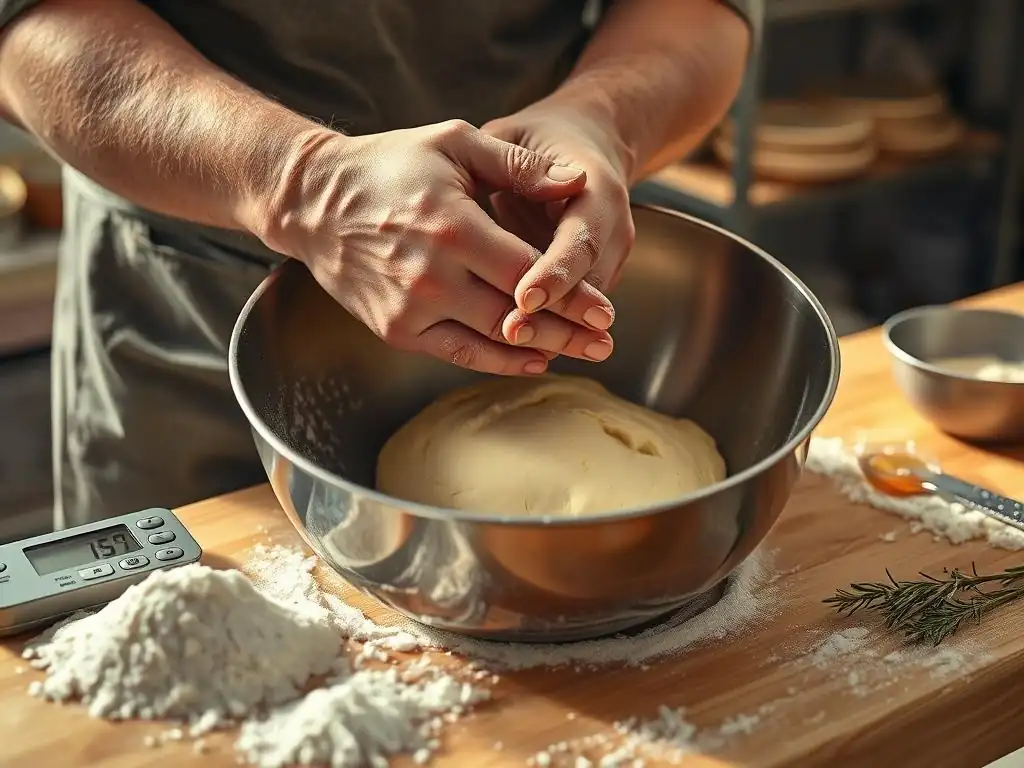
While sticky bread dough troubleshooting tips are invaluable for fixing problems, prevention is always better than cure. By adopting careful habits and understanding the fundamentals, you can minimize the likelihood of encountering overly sticky dough in the first place.
Accurate Recipe Following: Ensuring Consistent Results
The most fundamental step in preventing sticky dough is to follow your recipe accurately, especially regarding measurements. As discussed, using a kitchen scale to weigh your flour and liquids is the best way to ensure you are using the correct hydration ratio intended by the recipe developer.
Pay attention to the details in the recipe, such as the type of flour specified and the recommended kneading time or method. Don't rush the process; allow adequate time for mixing and kneading to develop gluten properly. Consistent measurement and adherence to recipe instructions lay the groundwork for preventing sticky dough issues and are the first line of defense before needing sticky bread dough troubleshooting tips.
Understanding Your Ingredients: Mastering the Science of Baking
Becoming familiar with your ingredients is key to anticipating how your dough will behave. Understand that different brands of flour, even of the same type, can have slightly different protein contents and absorption rates. Recognize that whole wheat flour behaves differently than white flour.
Pay attention to the feel of the dough as you mix and knead. Learn to recognize what a properly hydrated and developed dough should feel like – it should be elastic, smooth, and only slightly tacky, not excessively sticky. This tactile understanding, combined with knowledge of your ingredients, allows you to make small adjustments on the fly and prevent major stickiness issues from developing.
Documenting Your Baking Process: Identifying and Correcting Errors
Keeping a baking journal or simple notes can be incredibly helpful in identifying what went wrong when sticky dough occurs and what worked when it didn't. Note down details like the exact measurements used, the type and brand of flour, the ambient temperature and humidity, the kneading time, and how the dough felt at different stages.
If you encounter sticky dough, review your notes for that bake. Did you use a different flour? Was the humidity unusually high? Did you measure by volume instead of weight? By tracking these variables, you can pinpoint potential causes and adjust your process for the next bake. This systematic approach is a powerful way to improve your baking consistency and reduce the need for sticky bread dough troubleshooting tips over time.
Mastering Bread Baking: Achieving the Perfect Dough Consistency
Achieving the perfect dough consistency – one that is pliable, elastic, and easy to handle without being overly sticky – is a sign of mastering the fundamentals of bread baking. It comes with practice, understanding your ingredients, and learning to read your dough. While sticky dough can be frustrating, it's a common challenge that offers valuable learning opportunities. By applying the sticky bread dough troubleshooting tips discussed here, you can confidently tackle this issue and move towards more successful bakes.
Beyond Sticky Dough: Addressing Other Common Bread Problems
Sticky dough is just one of many potential issues you might encounter on your bread-baking journey. Other common problems include dough that won't rise (often related to yeast viability or temperature), dense bread (possibly due to under-kneading, under-proofing, or over-proofing), tough crust (sometimes related to baking temperature or steam), or uneven crumb (can be related to shaping or proofing). Each of these challenges also has specific causes and solutions.
Developing your skills involves learning to identify these problems and apply the appropriate fixes. Understanding the science behind fermentation, gluten development, and the baking process will equip you to diagnose and solve a wide range of issues, leading to greater consistency and better bread.
Resources for Perfect Bread Baking: Mastering the Craft
To continue improving your bread baking skills and delve deeper into understanding dough behavior, explore reliable resources. Look for detailed guides on specific techniques like kneading, shaping, and proofing. Many reputable baking websites and books offer in-depth explanations and visual tutorials that can help clarify concepts and demonstrate proper methods. Learning from experienced bakers and understanding the 'why' behind each step in a recipe will empower you to not only follow instructions but also adapt and troubleshoot effectively.
Frequently Asked Questions
What is the most common reason for sticky bread dough?
The most common reason is an imbalance of ingredients, specifically too much liquid relative to the flour. Other factors include using the wrong type of flour or incorrect measurements.
How can I fix sticky bread dough during the kneading process?
Gradually add more flour, one tablespoon at a time, kneading it in completely before adding more. Avoid adding too much, as this can result in a dry, tough loaf.
Does the type of flour used affect the stickiness of bread dough?
Yes, absolutely. Different flours absorb liquids differently. Bread flour, with its higher protein content, will typically absorb more liquid than all-purpose flour.
Is it normal for some bread doughs to be slightly sticky?
Yes, some doughs, like those used for ciabatta or certain sourdoughs, are intentionally made with a higher hydration level, resulting in a slightly stickier texture. This is normal and contributes to the bread's characteristic crumb.
What role does the environment play in dough stickiness?
Humidity can affect the stickiness of dough. High humidity may cause the dough to feel stickier than usual, requiring a slight adjustment in the amount of flour used.
Final Reflection: The Unexpected Joys of a Sticky Situation
The struggle with sticky bread dough is far more than just a baking mishap; it's a universal experience reflecting our relationship with imperfection and the rewarding process of problem-solving. Many bakers, both novice and experienced, have wrestled with this frustrating challenge, often leading to disappointment and discarded loaves. But within that stickiness lies a valuable lesson: patience, adaptability, and the surprising satisfaction of overcoming a seemingly insurmountable obstacle.
The journey from a sticky mess to a perfectly risen loaf mirrors life's own unpredictable path. We often encounter challenges that seem insurmountable, leaving us feeling frustrated and defeated. Yet, just as with sticky dough, the solution often lies in understanding the underlying cause – be it too much hydration, insufficient flour, or a lack of kneading. The greatest glory in living lies not in never falling, but in rising every time we fall.
– Nelson Mandela. This quote perfectly encapsulates the resilience and perseverance required, not just in baking, but in life itself. The sticky dough becomes a metaphor for the challenges we face, reminding us that even from seemingly disastrous beginnings, something beautiful and rewarding can emerge.
Now, consider your own "sticky situations." What challenges have you faced that initially seemed overwhelming? How did you adapt, learn, and ultimately overcome them? Remember the lessons learned from your sticky dough experiences – the importance of precise measurements, the value of patience, and the satisfaction of a job well done. Take this knowledge beyond the kitchen and apply it to the other sticky situations life throws your way. You might be surprised by the delicious results.
Unlock Your Baking Potential: Mastering Dough That Doesn't Stick!
Thanks for diving into the world of perfectly pliable dough! We hope you now feel confident tackling even the stickiest of bread recipes. Ready to put your new knowledge to the test?
- Try our recommended flour blend today: Experiment with different flour combinations to find your perfect mix for effortlessly smooth dough. Note the results and share your favorite blend in the comments!
- Share this article with fellow baking enthusiasts who are struggling with sticky dough. Let's spread the baking love!
- Explore our other bread-making guides for more tips and tricks on achieving the perfect loaf.
What's your biggest bread-baking challenge, and how will you overcome it using your newfound dough-handling skills?