
The Mystery of Bread That Looks Done But Isn't Cooked Through

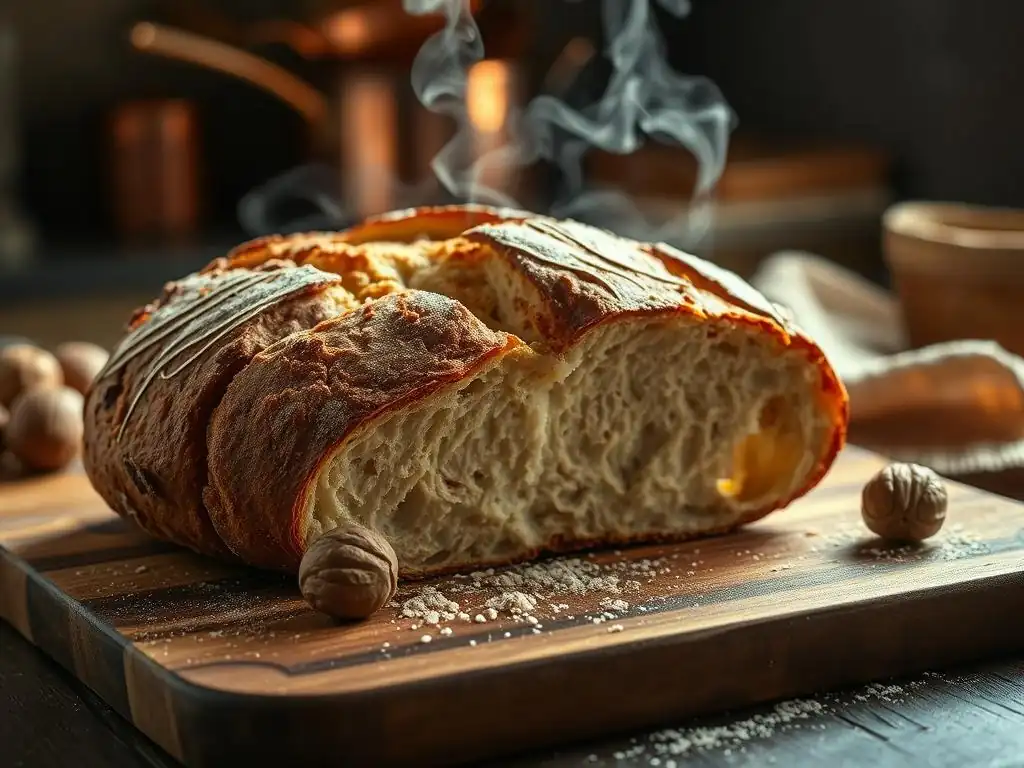
Welcome to BakeWithEase, where we unravel the secrets to baking perfection! Ever faced the frustration of a beautifully browned loaf that still suffers from underbaked bread texture problems? You're not alone. Join us as we delve into the causes and cures, transforming your baking woes into triumphs. Discover the simple solutions to achieve that perfect crumb every time. Ready to bake with confidence? Let's get started!
- The Mystery of Bread That Looks Done But Isn't Cooked Through: Solve Underbaked Bread Texture Problems
- Understanding Underbaked Bread: Why Does It Happen?
- Troubleshooting Underbaked Bread: A Step-by-Step Guide
- Rescue Techniques: What to Do With Underbaked Bread
- Preventing Underbaked Bread: Best Baking Practices
- Advanced Baking Techniques: Avoiding Underbaked Bread
- Diagnosing Specific Underbaked Bread Texture Issues
- Frequently Encountered Baking Mistakes That Lead to Underbaked Bread
- Conclusion: Mastering the Art of Perfectly Baked Bread
-
Frequently Asked Questions
- Why is my bread doughy in the middle even though the crust looks browned?
- What temperature should my bread be to ensure it's properly baked?
- What are some common causes of underbaked bread besides oven temperature?
- Can I fix bread that is already underbaked?
- How can I prevent underbaked bread texture problems in the future?
- Final Reflection: The Unexpected Journey of an Underbaked Loaf
- Unlock Your Baking Brilliance: Perfect Bread Every Time!
The Mystery of Bread That Looks Done But Isn't Cooked Through: Solve Underbaked Bread Texture Problems
Understanding Underbaked Bread: Why Does It Happen?
Identifying the Signs of Underbaked Bread
Recognizing underbaked bread goes beyond just looking at the crust color. While a beautiful golden-brown crust might suggest doneness, the interior tells the real story. One of the most common signs is a gummy texture, especially towards the center or bottom of the loaf. When you slice into it, the crumb might look dense, wet, or sticky rather than light and airy with distinct holes. The aroma might also be slightly yeasty or doughy, lacking the rich, cooked fragrance of a properly baked loaf.
Another tell-tale sign of underbaked bread is its weight. An underbaked loaf often feels heavier than it should for its size because the moisture hasn't fully evaporated. The crust might also feel soft or yield too easily when pressed, rather than having a firm structure. These underbaked bread texture problems are frustrating but identifiable, pointing towards issues that occurred during the baking process.
The Science Behind Bread Baking: How Heat Affects Texture
Baking bread is a complex interplay of heat, moisture, and chemical reactions. As the dough bakes, the heat causes several critical transformations. First, yeast activity increases initially before eventually dying off at around 140°F (60°C). This final burst of activity contributes to oven spring. Second, the starches in the flour gelatinize as they absorb moisture and swell, creating the structure of the crumb. This process typically begins around 140°F (60°C) and is crucial for setting the internal structure.
Crucially, as the internal temperature rises further, water begins to evaporate, and the proteins (gluten) coagulate and set, giving the bread its firm yet tender texture. For a loaf to be fully cooked, its internal temperature needs to reach a specific range to ensure starches are fully gelatinized, gluten is set, and sufficient moisture has evaporated. If the internal temperature doesn't reach this point, the starches remain partially gelatinized, the gluten isn't fully set, and excess moisture remains, resulting in those classic underbaked bread texture problems like gumminess and density.
Common Causes of Underbaked Bread Texture Problems
Several factors can contribute to a loaf looking done on the outside but being underbaked within. One primary culprit is an inaccurate oven temperature; the oven might be running cooler than the setting indicates, leading to a slower bake time than expected and insufficient internal heat penetration. Another common cause is pulling the bread out of the oven too soon, perhaps because the crust looks perfect or the recipe's suggested time has elapsed, without verifying internal doneness.
Other factors include the size and shape of the loaf (larger or thicker loaves require longer baking times), the type of pan used (dark pans absorb more heat, potentially browning the crust faster than the interior cooks), and even the hydration level of the dough (wetter doughs can take longer to bake through). Failing to account for these variables can easily lead to frustrating underbaked bread texture issues, leaving you with a seemingly finished loaf that's raw inside.
Troubleshooting Underbaked Bread: A Step-by-Step Guide
Step 1: Checking Internal Temperature for Bread Doneness
The most reliable way to determine if your bread is fully baked is to check its internal temperature using an instant-read thermometer. This eliminates guesswork based solely on appearance or baking time. Insert the thermometer into the thickest part of the loaf, avoiding any pockets of air or the crust. A properly baked loaf will reach a specific temperature range, indicating that the necessary internal transformations have occurred.
Checking the temperature provides a definitive answer, helping you avoid the disappointment of discovering underbaked bread texture problems after slicing. If the temperature hasn't reached the target range, the bread needs more time in the oven, even if the crust looks ready. This simple step is a game-changer for consistent baking results.
Recommended Internal Temperatures for Different Bread Types
Different types of bread achieve doneness at slightly varying internal temperatures, largely depending on their composition, particularly sugar and fat content. Lean bread, like classic artisan loaves, baguettes, and sourdough, which are made primarily from flour, water, yeast, and salt, are typically done when their internal temperature reaches between 200°F and 210°F (93°C and 99°C). This high temperature ensures the starch is fully gelatinized and the crumb structure is set.
Enriched bread, such as challah, brioche, and sandwich bread, which contain ingredients like milk, eggs, sugar, or butter, finish baking at a slightly lower temperature. For these types, an internal temperature between 190°F and 195°F (88°C and 91°C) is usually sufficient. The added fats and sugars affect the crumb structure and moisture retention, requiring a different target temperature for optimal texture and to prevent underbaked bread texture problems.
Step 2: Oven Calibration: Ensuring Accurate Baking Temperatures
An oven thermostat can drift over time, leading to inaccuracies that significantly impact baking. If your oven consistently runs cooler than the setting, your bread will bake slower than anticipated, greatly increasing the risk of underbaked bread texture problems. Conversely, if it runs too hot, the crust might brown too quickly, fooling you into thinking the bread is done before the interior has caught up.
Using an inexpensive oven thermometer placed inside the oven rack allows you to see the actual temperature your oven is maintaining. You might find it's off by 25°F (approx. 14°C) or even more. Knowing this deviation allows you to adjust your oven setting accordingly (e.g., if your oven is 25°F cool, set it 25°F higher) or simply adjust your baking time, helping you achieve a proper bake and avoid underbaked bread texture.
Step 3: Dough Hydration: The Impact on Baking Time
Dough hydration refers to the ratio of water to flour in a recipe. Higher hydration doughs (those with more water) can be trickier to bake through completely. The increased moisture content requires more time in the oven for that excess water to evaporate and for the internal temperature to rise sufficiently to set the crumb structure. If you bake a high-hydration dough for the same amount of time as a lower-hydration dough, you're likely to end up with underbaked bread texture issues, particularly a wet or gummy interior.
When working with wetter doughs, be prepared for a longer baking time. It's often necessary to extend the bake by 10-20 minutes or even longer, depending on the loaf size and oven, compared to a standard recipe. Monitoring the internal temperature is especially critical with high-hydration loaves to ensure they are truly done and to prevent that dreaded underbaked bread texture.
Step 4: Yeast Activity: Is Your Dough Rising Properly?
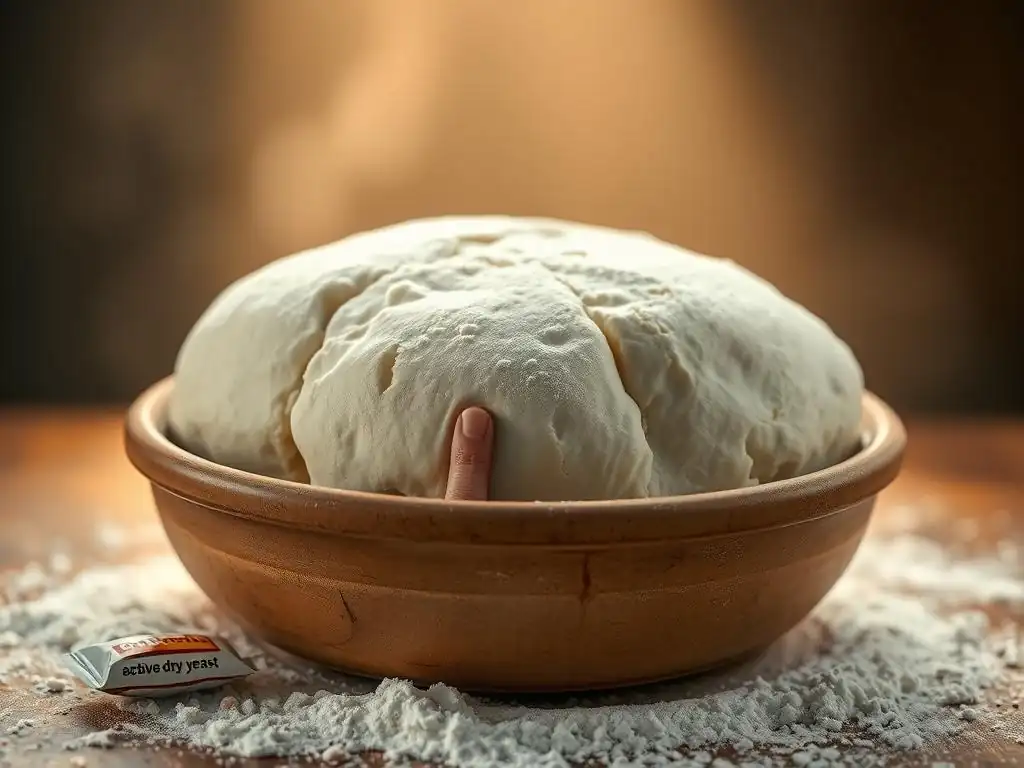
Proper yeast activity is essential for developing the bread's structure and contributing to its bake. Under-proofed dough (dough that hasn't risen enough) results in a dense crumb that takes longer for heat to penetrate, potentially leading to underbaked bread texture problems in the center. Conversely, over-proofed dough (dough that has risen too much and started to collapse) can also result in a poor structure that bakes unevenly, sometimes leading to dense spots or a gummy texture.
Ensure your dough doubles in size during the first rise and passes the "poke test" before shaping (gently poke the dough; if the indentation slowly springs back halfway, it's ready). For the final proof, the dough should look airy and increased in volume but not deflated. Correctly proofed dough allows for even heat distribution during baking, reducing the likelihood of encountering underbaked bread texture issues.
Step 5: Pan Type and Size: Adjusting Baking Time Accordingly
The pan you use significantly influences how heat transfers to the dough and, consequently, the baking time required. Dark-colored metal pans absorb and radiate heat more efficiently than lighter metal pans or glass/ceramic. This can cause the crust, especially the bottom crust, to brown and set faster, sometimes before the interior is fully cooked. Using a dark pan might necessitate reducing the oven temperature slightly or tenting the bread with foil partway through the bake to prevent the crust from burning while the inside finishes baking.
The size and shape of the pan also matter. A deep, narrow loaf pan will require a longer baking time than a wide, shallow pan holding the same amount of dough because heat penetration to the center is slower. Similarly, baking a freeform loaf directly on a baking sheet or stone exposes more surface area to the oven's heat, potentially affecting the required baking time compared to baking in a contained pan. Always consider your pan choice and adjust your baking duration or temperature as needed to avoid underbaked bread texture problems.
Rescue Techniques: What to Do With Underbaked Bread
Re-baking Underbaked Bread: A Second Chance
If you discover your bread is underbaked shortly after taking it out of the oven and it's still warm, you might be able to rescue it by putting it back in. This works best if the bread is only slightly underdone, perhaps with a slightly moist center or a temperature just below the target. Preheat your oven to a moderate temperature, around 300-325°F (150-160°C).
Place the underbaked loaf directly on the oven rack or back into its pan. Bake for an additional 10-20 minutes, checking the internal temperature periodically. Keep a close eye on the crust to prevent it from burning; you can loosely tent it with foil if needed. This re-baking process can often raise the internal temperature enough to finish setting the crumb and fix those frustrating underbaked bread texture issues.
Salvaging Underbaked Bread: Creative Uses
Sometimes, re-baking isn't feasible or doesn't fully fix the underbaked bread texture problems, especially if the bread is significantly underdone or has cooled completely. Don't despair! Underbaked bread can still be salvaged and used in creative ways. The slightly dense or gummy texture, while not ideal for slicing and eating plain, works well when the bread is processed or cooked further.
Consider transforming the underbaked loaf into bread crumbs, croutons, or bread pudding. The moisture and density can actually be advantageous in these applications. You can cube the bread, dry it out further in a low oven, and then process it into crumbs or toast the cubes for croutons. For bread pudding or strata, the slightly dense texture absorbs liquids beautifully. This approach ensures your efforts don't go to waste and offers delicious ways to use bread with underbaked bread texture.
Preventing Underbaked Bread: Best Baking Practices
Achieving a Perfect Bake: Tips for Consistent Results
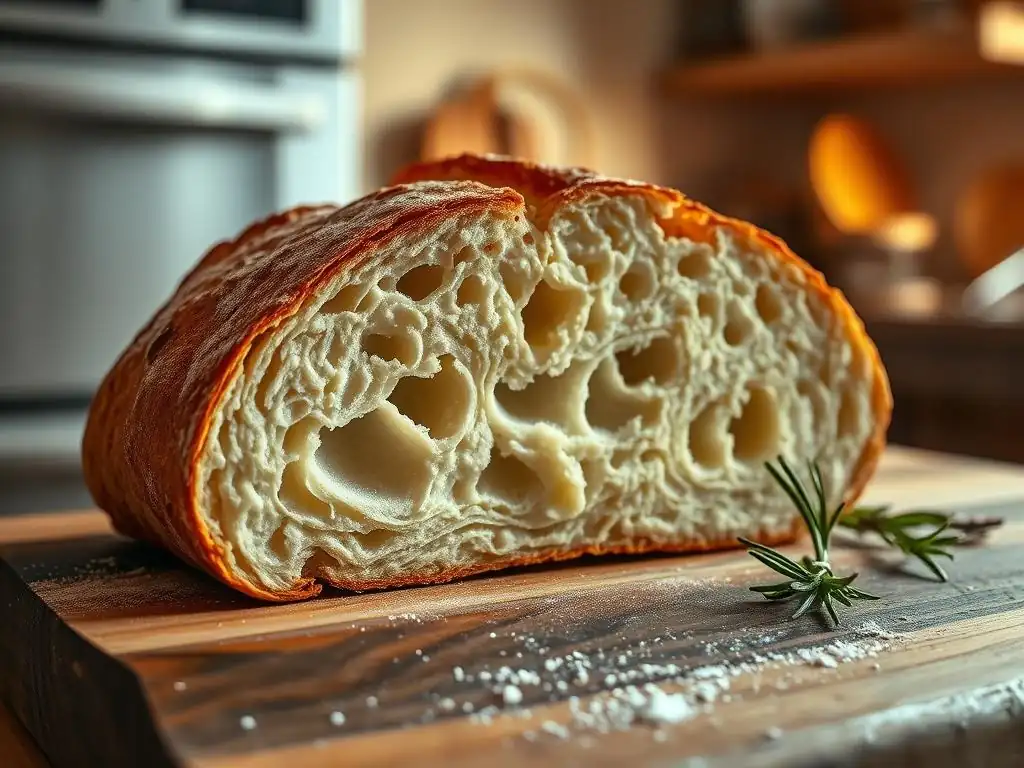
Consistent baking results, free from underbaked bread texture problems, come down to attention to detail and understanding the process. Start with accurate measurements – using a kitchen scale for flour and other dry ingredients is far more precise than volume measurements. Pay close attention to dough consistency; it should feel right for the recipe (not too stiff, not too sticky).
Properly kneading the dough develops gluten, creating a strong structure that bakes evenly. Allow sufficient time for rising and proofing; the dough should look and feel airy. Preheat your oven thoroughly, preferably for 20-30 minutes after it signals it's reached temperature, to ensure the walls and racks are hot. Finally, always verify doneness, ideally with an instant-read thermometer, before removing the bread from the oven.
The Importance of a Reliable Oven Thermometer
As highlighted earlier, oven temperature accuracy is paramount in preventing underbaked bread texture. An oven thermometer is a simple, inexpensive tool that provides crucial insight into your oven's actual performance. It allows you to identify if your oven is running hot or cold compared to its setting.
By knowing the true temperature, you can make informed decisions about adjusting your oven dial or baking time. For example, if your thermometer shows your oven is consistently 30°F (approx. 17°C) cooler than the setting, you know to either set the oven 30°F higher or expect your bread to take significantly longer to bake. This knowledge is invaluable for consistently achieving a perfect bake and avoiding the guesswork that often leads to underbaked bread texture problems.
Mastering the Poke Test: A Baker's Secret
The poke test is a classic technique used to gauge the readiness of dough during the final proofing stage, just before baking. It helps ensure the dough isn't under-proofed (which can lead to dense spots) or over-proofed (which can cause collapse and uneven baking). To perform the test, gently flour your finger and lightly press the surface of the dough about half an inch deep.
If the indentation springs back immediately, the dough is likely under-proofed and needs more time. If the indentation remains completely without springing back, the dough is likely over-proofed. The ideal result for most bread is when the indentation slowly springs back about halfway. Mastering this simple test helps ensure your dough has the optimal structure for even baking and helps prevent frustrating underbaked bread texture.
Advanced Baking Techniques: Avoiding Underbaked Bread
Understanding Dough Development for Optimal Texture
Proper dough development is fundamental to achieving excellent bread texture and preventing underbaked issues. This primarily involves kneading, which aligns the gluten proteins in the flour. When gluten is well-developed, it forms a strong, elastic network capable of trapping the gases produced by yeast. This network provides the structure that allows the dough to rise properly and hold its shape during baking.
Insufficiently developed dough lacks this strong structure. It may not rise fully, leading to a dense crumb that is difficult for heat to penetrate evenly. This often results in the center remaining underbaked while the outside seems done. Techniques like the windowpane test (stretching a small piece of dough thin enough to see light through it without tearing) can help assess gluten development, ensuring your dough is ready for the proofing and baking stages, thus reducing the likelihood of underbaked bread texture problems.
Utilizing a Baking Stone or Dutch Oven for Even Baking
Using a baking stone or a Dutch oven can dramatically improve heat distribution and retention during baking, significantly reducing the chance of underbaked bread texture. A preheated baking stone placed in the oven absorbs and radiates heat evenly from the bottom, providing a strong initial burst of heat to the base of the loaf. This promotes good oven spring and ensures the bottom crust is properly baked through, preventing the dreaded "soggy bottom" which is a form of underbaked bread texture.
Baking in a preheated Dutch oven works similarly but also traps steam released by the dough. The cast iron walls and lid retain and distribute heat exceptionally well, creating a consistent baking environment. The trapped steam keeps the crust pliable initially, allowing for maximum oven spring, before the lid is removed to allow the crust to brown and crisp. Both methods create a more stable and efficient baking environment, leading to a more evenly baked loaf overall and minimizing underbaked bread texture issues.
The Role of Steam in Bread Baking
Steam plays a crucial role in the initial phase of baking, particularly for lean bread. When dough is first placed in a hot oven, the dry heat immediately starts to set the crust. Without steam, the crust hardens too quickly, restricting the dough's ability to expand (oven spring). Steam prevents this premature setting by keeping the surface of the dough moist and pliable.
This allows the loaf to achieve maximum volume before the crust hardens. Once the crust has expanded, the steam dissipates (or the lid is removed from a Dutch oven), allowing the crust to brown and crisp. Proper steam management leads to better oven spring, a thinner, crispier crust, and contributes to a more even bake throughout the loaf, helping to prevent underbaked bread texture by ensuring the interior has enough time to cook while the crust develops beautifully.
Diagnosing Specific Underbaked Bread Texture Issues
Gummy Texture: A Common Sign of Underbaking
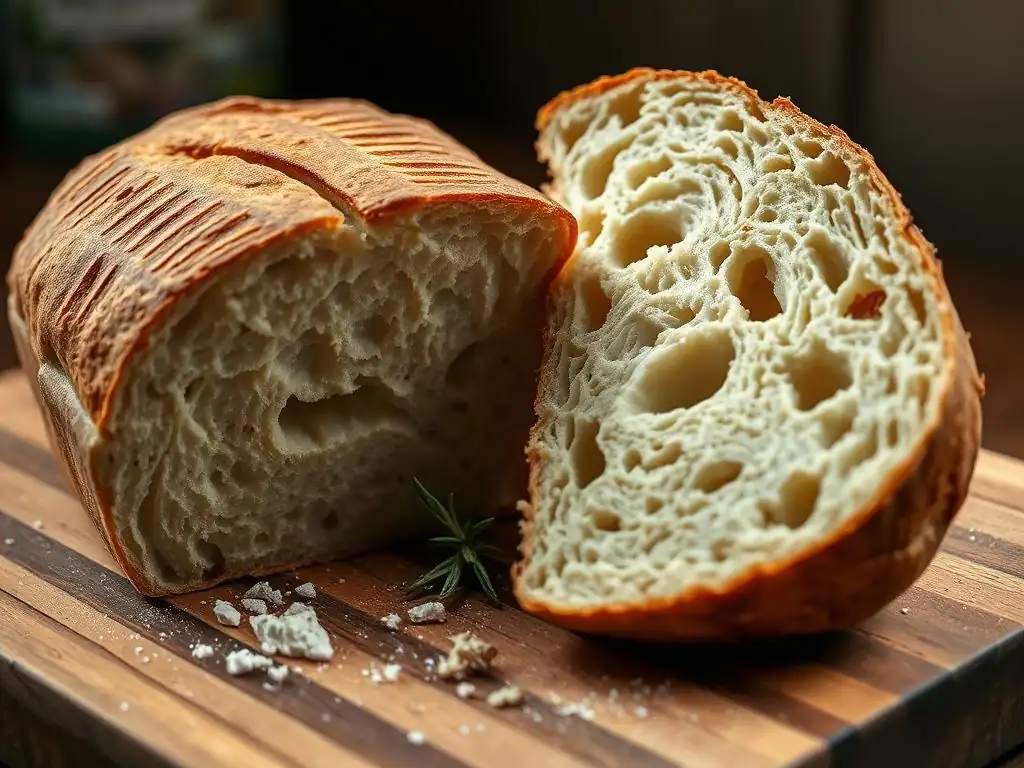
A gummy or sticky texture within the crumb is one of the most unmistakable signs of underbaked bread texture problems. This often occurs when the starches in the flour have not been subjected to sufficient heat for long enough to fully gelatinize and set. The internal temperature simply hasn't reached the necessary point (typically above 200°F / 93°C for lean bread).
This undercooked starch, combined with residual moisture that hasn't evaporated, creates a dense, paste-like consistency rather than an open, airy crumb. It's particularly noticeable towards the center of the loaf. Gummy texture is a direct indicator that the baking time was too short or the oven temperature was too low relative to the size and type of loaf being baked.
Dense and Heavy Texture: Identifying the Cause
While sometimes related to gumminess, a dense and heavy texture can also point to underbaked bread texture issues. This occurs when the internal structure hasn't properly set. It can be caused by insufficient baking time or temperature, similar to gummy texture, but can also be exacerbated by other factors.
Under-proofed dough, which hasn't developed sufficient gas pockets during rising, will bake into a dense loaf regardless of bake time. However, even properly proofed dough will be dense if not baked through, as the gluten structure hasn't fully coagulated to support the crumb. The heavy weight is due to retained moisture. This texture signals that the heat didn't penetrate sufficiently to transform the entire mass of dough into light, airy bread.
Soggy Bottom: Addressing Moisture Imbalance
A soggy bottom is a specific type of underbaked bread texture problem where the base of the loaf remains damp, dense, or even doughy, despite the top and sides appearing perfectly baked. This often indicates that heat wasn't effectively transferred to the bottom of the loaf during baking.
Common causes include baking directly on a cold or insufficient baking sheet, using a pan that doesn't conduct heat well on the bottom, or placing the bread too low in an oven where heat primarily comes from the top element. Using a preheated baking stone or steel, placing the bread on a lower rack (if heat comes from the bottom), or ensuring your baking surface is adequately heated can help address this specific underbaked bread texture issue by promoting better heat transfer to the base of the loaf.
Frequently Encountered Baking Mistakes That Lead to Underbaked Bread
Over-Proofing: How It Affects the Final Product
Over-proofing occurs when dough is allowed to rise for too long or in too warm a place, causing the gluten structure to weaken and potentially collapse. While under-proofing leads to density that hinders heat penetration, over-proofing can also result in underbaked bread texture problems, albeit in a different way. Over-proofed dough has exhausted its ability to rise in the oven (oven spring).
Instead of rising upwards and developing a robust internal structure, it may spread outwards or even deflate slightly. The weakened structure bakes unevenly and can result in a crumb that is dense and gummy, especially towards the bottom, as it lacks the strength to support itself during baking. Recognizing the signs of proper proofing is crucial for avoiding this pitfall and ensuring an even bake.
Insufficient Kneading: The Importance of Gluten Development
Insufficient kneading means the gluten network within the dough has not been adequately developed. Gluten is the protein network that gives bread its structure and elasticity. During kneading, these proteins align and strengthen, creating a framework capable of trapping the carbon dioxide produced by yeast.
If the dough is not kneaded enough, this network is weak and underdeveloped. The dough won't hold its shape well, won't rise properly, and the resulting crumb will be dense, tight, and often heavy. This density makes it harder for heat to penetrate the loaf's interior during baking, significantly increasing the likelihood of underbaked bread texture problems, particularly a raw or gummy center.
Incorrect Mixing Techniques: Ensuring Proper Ingredient Incorporation
Proper mixing ensures that all ingredients are evenly distributed throughout the dough, activating the yeast and developing the gluten uniformly. Incorrect mixing, such as failing to fully incorporate all the flour or not mixing long enough to bring the dough together properly before kneading begins, can lead to inconsistencies in the dough.
Pockets of dry flour or uneven hydration within the dough mass will bake unevenly. Areas with too much dry flour might remain dense, while areas with too much water might become gummy, both contributing to underbaked bread texture issues. Ensuring all ingredients are well combined and the dough reaches a consistent state before moving to the kneading or resting stage is a foundational step for a successful, evenly baked loaf.
Conclusion: Mastering the Art of Perfectly Baked Bread
Key Takeaways for Avoiding Underbaked Bread Texture Problems
Avoiding underbaked bread texture problems boils down to a few critical practices. Firstly, always verify doneness using an instant-read thermometer, aiming for the correct internal temperature for your bread type (200-210°F for lean, 190-195°F for enriched). Secondly, know your oven and consider using an oven thermometer to ensure accurate temperatures. Adjust baking time or temperature if your oven runs hot or cold.
Thirdly, pay close attention to dough development and proofing; properly kneaded and proofed dough bakes more evenly. Fourthly, consider the impact of hydration, pan type, and loaf size on baking time. Finally, don't be afraid to extend baking time if needed, even if the crust looks ready, and tent the loaf with foil if the crust is browning too quickly.
BakeWithEase: Your Partner in Baking Success
Mastering bread baking, including overcoming challenges like underbaked bread texture, is a journey of learning and practice. At BakeWithEase, we are dedicated to providing you with clear guidance, reliable recipes, and practical tips to help you bake with confidence. Our resources cover everything from basic techniques to troubleshooting common issues, empowering bakers of all skill levels.
Whether you're tackling your first loaf or refining advanced methods, understanding the science behind baking and implementing best practices will lead to consistently delicious results, free from those frustrating underbaked bread texture problems. Explore our site for step-by-step guides and join our community of bakers perfecting the art of bread.
Frequently Asked Questions
Why is my bread doughy in the middle even though the crust looks browned?
This is often due to underbaking. The internal temperature didn't reach a high enough level to fully cook the bread's interior.
What temperature should my bread be to ensure it's properly baked?
Generally, most breads should reach an internal temperature of 190-210°F (88-99°C). Use a digital thermometer for accuracy.
What are some common causes of underbaked bread besides oven temperature?
Other factors include incorrect ingredient measurements, using too much liquid, or inadequate proofing of the dough before baking.
Can I fix bread that is already underbaked?
Yes, you can often fix it! Tent the bread with foil to prevent further browning and bake it for another 10-15 minutes at a lower temperature (around 325°F or 160°C).
How can I prevent underbaked bread texture problems in the future?
Always use a reliable recipe, check your oven temperature with an oven thermometer, and monitor the internal temperature of the bread during baking.
Final Reflection: The Unexpected Journey of an Underbaked Loaf
The seemingly simple act of baking bread reveals a complex interplay of science and art, and mastering it requires a keen understanding of texture, temperature, and time. A perfectly baked loaf is a testament to this mastery, while an underbaked one serves as a potent reminder of the subtleties involved. This exploration into the frustrating world of underbaked bread highlights the importance of precision and patience in the baking process.
The persistent challenge of achieving a consistently baked loaf speaks volumes about the enduring human connection to this fundamental food. From ancient civilizations to modern kitchens, bread has held a central place in our cultures, representing nourishment, community, and comfort. Bread is the staff of life,
a simple phrase that belies the profound impact this staple has had on societies throughout history. The frustration of an underbaked loaf, therefore, isn't just about a failed recipe; it's a reminder of the delicate balance required to create something so essential and deeply ingrained in our collective experience.
Consider the next time you bake: Don't be discouraged by an underbaked loaf. Instead, use this experience as an opportunity to refine your technique, to understand the nuances of your oven, and to appreciate the artistry involved in transforming simple ingredients into something so satisfying. Embrace the learning process, for within each imperfectly baked loaf lies the potential for a perfectly golden, perfectly textured masterpiece. The journey, with all its trials and triumphs, is what truly matters.
Unlock Your Baking Brilliance: Perfect Bread Every Time!
Thanks for diving into the fascinating (and sometimes frustrating!) world of bread baking! You've now learned the secrets to identifying underbaked bread and avoiding that disappointing crumb. Ready to put your new knowledge to the test?
- Bake a loaf today! Challenge yourself to create a perfectly baked loaf using the tips you just learned. Pay close attention to those crucial signs of doneness.
- Share your baking journey! Post a picture of your masterpiece (or your learning experience!) on social media and tag #BakeWithEase for a chance to be featured.
- Explore our other bread recipes—we have something for every skill level! Find new challenges and discover your next baking adventure.
What's your favorite bread recipe to bake, and what's your biggest bread-baking challenge? Let's discuss in the comments!