
Secrets to GlutenFree Bread That Rises and Holds Shape

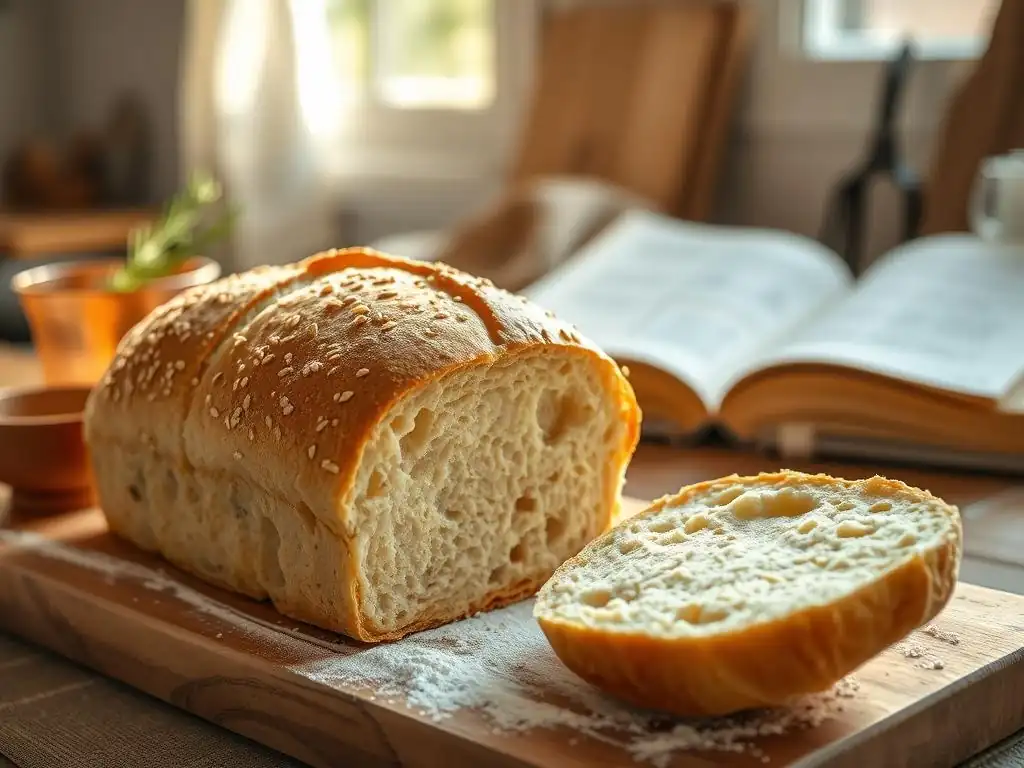
Welcome to BakeWithEase, your trusted companion on your baking journey! Ever struggled to achieve that perfect rise with your gluten-free bread? Unlock the secrets to a delicious and structurally sound loaf with our latest article: " Secrets to GlutenFree Bread That Rises and Holds Shape." Discover the techniques and ingredient combinations that will finally banish flat, crumbly gluten-free bread forever. Ready to bake with confidence? Let's get started!
- Understanding the Challenges of Gluten-Free Bread Rising
- Key Ingredients for Successful Gluten-Free Bread Rising
- Essential Techniques for Gluten-Free Bread Baking
- Troubleshooting Common Gluten-Free Bread Problems
- BakeWithEase's Top Tips for Gluten-Free Bread Success
- A Simple Gluten-Free Bread Recipe for Beginners [Link to BakeWithEase's Gluten-Free Bread Recipe]
-
Frequently Asked Questions
- What are the biggest challenges when baking gluten-free bread?
- What ingredients are crucial for a successful gluten-free bread recipe?
- How can I ensure my gluten-free bread dough rises properly?
- What are some tips for preventing gluten-free bread from being too crumbly?
- How can I get my gluten-free bread to hold its shape during baking?
- Final Reflection: The Joy of a Perfectly Rising Gluten-Free Loaf
- Unlock the Secrets to Perfectly Fluffy Gluten-Free Bread!
Understanding the Challenges of Gluten-Free Bread Rising
The Role of Gluten in Traditional Bread Structure
In traditional wheat-based bread, gluten is the superhero that provides structure and elasticity. Gluten is a protein network formed when gliadin and glutenin, two proteins found in wheat flour, combine with water and are kneaded. This network creates a strong, stretchy matrix that can trap the carbon dioxide gas produced by yeast during fermentation.
This trapped gas is what causes the dough to rise, creating a light and airy texture. Gluten also contributes to the bread's shape retention during baking and gives the crust its chewy texture. Without this robust protein network, achieving a good rise and stable structure in a gluten-free bread recipe is significantly more challenging.
Why Gluten-Free Flours Behave Differently
Gluten-free flours, derived from sources like rice, almond, tapioca, or potato, lack the gliadin and glutenin proteins necessary to form a gluten network. Each gluten-free flour has its unique properties regarding protein content, starch composition, and liquid absorption. For instance, rice flour can be quite dry, while almond flour contains more fat.
This variability means gluten-free flours don't absorb liquid uniformly or create the same kind of cohesive dough as wheat flour. They often result in a crumbly or dense texture on their own. Successfully creating a glutenfree bread recipe rising properly requires understanding these differences and using a combination of flours and binders to mimic gluten's function.
Common Issues with Gluten-Free Bread Recipes: Dense Crumb & Lack of Crust
One of the most frequent frustrations when baking gluten-free bread is ending up with a loaf that is dense, heavy, and lacks the pleasant chewiness of traditional bread. This dense crumb is often a direct result of the dough not rising sufficiently because it lacks the structural support to hold onto the leavening gases. Without gluten, the dough struggles to expand, leading to a tight, compact interior.
Another common problem is achieving a desirable crust. Traditional bread crusts develop through complex reactions involving gluten and starches at high temperatures. Gluten-free doughs often lack the necessary components or structure to form a crisp, golden-brown crust. Instead, they might develop a pale, thin, or overly hard crust, detracting from the overall bread-eating experience and making a truly great glutenfree bread recipe rising challenge.
Key Ingredients for Successful Gluten-Free Bread Rising
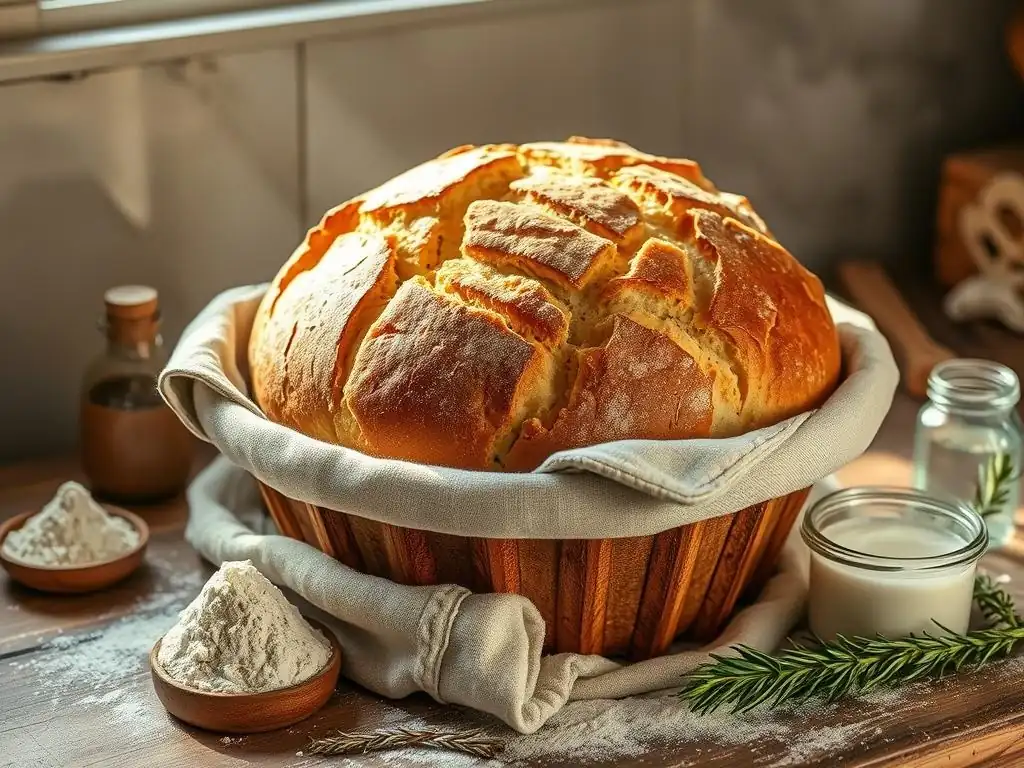
The Importance of Gluten-Free Flour Blends for Bread Baking
Given the individual limitations of single gluten-free flours, successful gluten-free bread relies heavily on using carefully formulated flour blends. These blends combine different flours and starches to balance protein, starch, and fiber content, aiming to create a mixture that behaves more like wheat flour. A good blend provides a foundation for structure, moisture retention, and the ability to absorb liquid effectively.
Commercial gluten-free flour blends often include a mix of rice flour (brown and white), sorghum flour, tapioca starch, and potato starch. Creating your own blend allows for customization based on desired texture and flavor, but starting with a reputable commercial blend designed for bread baking is often recommended for beginners working on their first glutenfree bread recipe rising attempt.
Starches: Adding Structure and Binding
Starches play a crucial role in gluten-free bread by absorbing liquid, providing some structure, and contributing to the overall texture. They work in conjunction with flours and binders to create a cohesive dough that can hold its shape and support a good rise.
-
Tapioca Starch for Elasticity
Tapioca starch, derived from the cassava root, is known for its ability to add chewiness and elasticity to gluten-free baked goods. It helps create a more flexible dough that can expand better during proofing and baking, contributing to a less dense crumb. Including tapioca starch is key for that desired slight chew in a glutenfree bread recipe rising well.
-
Potato Starch for Moisture Retention
Potato starch is excellent at absorbing and retaining moisture. This is particularly important in gluten-free baking, as these flours can sometimes result in dry bread. Potato starch helps keep the crumb moist and tender, preventing it from becoming crumbly or stale too quickly.
-
Cornstarch for a Tender Crumb
Cornstarch is a fine-textured starch that contributes to a tender and soft crumb. While it doesn't add much elasticity, it helps create a smoother texture and prevents the bread from becoming too tough. It's often used in combination with other starches and flours in gluten-free blends.
Binders: Replacing Gluten's Holding Power
Binders are essential ingredients in gluten-free bread making. They act as a substitute for the gluten network, providing the necessary cohesion and structure to hold the dough together, trap gases, and prevent crumbling. Without effective binders, achieving a significant glutenfree bread recipe rising properly is nearly impossible.
-
Xanthan Gum: The Gluten-Free Baker's Best Friend
Xanthan gum is a polysaccharide produced by fermentation. In gluten-free baking, it's the most common binder used to mimic the stickiness and elasticity of gluten. Even a small amount (often just 1-2 teaspoons per cup of flour blend) can significantly improve dough structure and help the bread rise and hold its shape.
-
Psyllium Husk: A Natural Binding Agent and Fiber Booster
Psyllium husk, derived from the seeds of the Plantago ovata plant, is another powerful binder. When mixed with liquid, it forms a gel-like substance that provides excellent structure and elasticity to gluten-free doughs. Psyllium husk also adds beneficial fiber to the bread and can improve moisture retention, resulting in a softer crumb. It often gives a slightly more "wheaty" texture than xanthan gum alone.
-
Chia Seeds: Another Natural Binder for Gluten-Free Bread
Chia seeds, like psyllium husk, form a gel when soaked in liquid. They can be used whole or ground into a meal. While they don't provide the same level of elasticity as xanthan gum or psyllium husk, they offer binding properties, add nutrients, and contribute to moisture retention. They are a good option for those seeking a more natural alternative binder in their glutenfree bread recipe rising.
Leavening Agents: Achieving Optimal Rise in Gluten-Free Bread
Leavening agents are responsible for producing the gas that makes bread dough expand. While binders create the structure to hold the gas, leaveners produce it. In gluten-free bread, both biological (yeast) and chemical (baking powder/soda) leaveners are used, sometimes in combination, to help achieve a good rise.
-
Yeast: Active Dry vs. Instant Yeast
Yeast is a living organism that feeds on sugars in the dough and produces carbon dioxide and alcohol. Active dry yeast needs to be proofed in warm liquid before being added to the dough, while instant yeast can be mixed directly with the dry ingredients. Instant yeast often provides a more consistent and vigorous rise, which can be beneficial in gluten-free doughs that need extra help expanding. Using fresh, viable yeast is critical for any glutenfree bread recipe rising correctly.
-
Baking Powder and Baking Soda: When to Use Them
Baking powder and baking soda are chemical leaveners that produce carbon dioxide quickly when activated by liquid and heat (baking powder) or an acid (baking soda, usually combined with an acid like vinegar or buttermilk). They are often used in gluten-free quick breads (like muffins or scones) but can also be used in yeast bread recipes to give an extra lift, especially if the flour blend is particularly heavy or dense.
Essential Techniques for Gluten-Free Bread Baking
Hydration: Achieving the Right Dough Consistency
Proper hydration is paramount in gluten-free bread baking. Unlike wheat dough, which becomes elastic with kneading, gluten-free dough relies heavily on the right amount of liquid to activate starches and binders and create a cohesive, workable consistency. Too little liquid results in a dry, crumbly dough and a dense, heavy loaf; too much can make the dough impossible to handle and lead to a gummy texture.
-
The Importance of Accurate Measurements
Using accurate measurements, especially for liquids and flour blends, is critical. Measuring flour by volume (cups) can be highly inconsistent due to packing differences. Weighing your ingredients using a digital kitchen scale provides the most reliable results, ensuring you use the precise amount of flour blend and liquid specified in a glutenfree bread recipe rising properly.
-
Adjusting Liquid Based on Flour Blend
Different gluten-free flour blends absorb liquid differently. A recipe developed for one blend might require slightly more or less liquid when using a different blend. It's often helpful to start with the recipe's specified amount of liquid and add a little more, tablespoon by tablespoon, if the dough appears too dry or stiff, aiming for a consistency that is thick and scoopable, more like a very thick batter than a traditional kneaded dough.
Mixing: Developing Structure Without Gluten
Since there's no gluten to develop through kneading, the mixing process for gluten-free bread is different from traditional methods. The goal is to thoroughly combine the ingredients, activate the binders, and distribute the leavening agents evenly. Overmixing can sometimes negatively impact the texture.
-
Gentle Mixing vs. Overmixing Gluten-Free Dough
Gluten-free dough often just needs to be mixed until everything is just combined and the binders have started to work. Unlike wheat dough, where extensive kneading develops gluten, overmixing gluten-free dough can sometimes break down the fragile structure created by the binders, potentially leading to a denser result.
-
Using a Stand Mixer for Gluten-Free Bread
A stand mixer fitted with a paddle attachment is often ideal for mixing gluten-free bread dough. It ensures thorough incorporation of ingredients without the need for manual kneading, which can be difficult with the often sticky or batter-like consistency of gluten-free dough. Mix on medium speed for the time specified in the recipe, usually just a few minutes, to achieve the correct consistency for a glutenfree bread recipe rising well.
Proofing: Creating the Ideal Environment for Rising
Proofing is the stage where the leavening agents produce gas, causing the dough to expand. For yeast-leavened gluten-free bread, creating a warm, humid environment is crucial to encourage yeast activity and achieve a good rise before baking.
-
Warm and Humid Proofing Conditions
Yeast thrives in warmth. An ideal proofing temperature is typically between 75°F and 85°F (24°C and 30°C). A slightly humid environment helps prevent the surface of the dough from drying out, which can inhibit rising. You can create this by placing the dough in a slightly warm oven with the light on, or in a microwave with a cup of hot water.
-
The First Rise: Allowing the Dough to Expand
The first rise allows the yeast to become active and start producing gas, developing flavor and structure in the dough. Gluten-free dough often doesn't double in size like wheat dough; instead, it might increase by about 50% or become noticeably puffy. This rise typically takes 45-90 minutes, depending on the recipe and conditions. This initial expansion is key for a good glutenfree bread recipe rising overall.
-
The Second Rise: Shaping and Final Proofing
After the first rise, the dough is typically shaped (often gently scooped into a loaf pan) and allowed a second, shorter proof. This final proof allows the dough to expand further in its final shape before baking. Again, look for a significant puffiness rather than a doubling in size. Over-proofing at this stage can cause the structure to collapse in the oven.
Baking: Achieving a Golden Crust and Fully Cooked Interior
Baking transforms the proofed dough into a loaf of bread. Correct oven temperature and baking time are essential to ensure the bread rises further in the oven (oven spring), develops a desirable crust, and cooks through completely without drying out or becoming gummy.
-
Oven Temperature and Baking Time
Most gluten-free bread recipes call for a relatively hot oven, often around 375°F to 425°F (190°C to 220°C). The high initial heat helps maximize oven spring. Baking time varies depending on the loaf size and density, typically ranging from 40 to 60 minutes for a standard loaf. Baking for the full recommended time is crucial to avoid an undercooked, gummy interior.
-
Baking Stone or Dutch Oven: Enhancing Crust Formation
Baking gluten-free bread in a preheated Dutch oven or on a baking stone can significantly improve crust formation. The hot surface provides a burst of heat from below, aiding oven spring, while baking covered in a Dutch oven traps steam, creating a moist environment that delays crust formation, allowing the loaf to expand fully before the crust hardens. Removing the lid partway through baking allows the crust to brown. This step is vital for a well-structured glutenfree bread recipe rising and holding its shape.
-
The Internal Temperature Test: Ensuring Doneness
The most reliable way to check if gluten-free bread is fully baked is to measure its internal temperature with an instant-read thermometer. The center of the loaf should reach at least 200°F to 210°F (93°C to 99°C). Baking to this temperature ensures that the starches are fully gelatinized and the structure is set, preventing a gummy interior.
Troubleshooting Common Gluten-Free Bread Problems
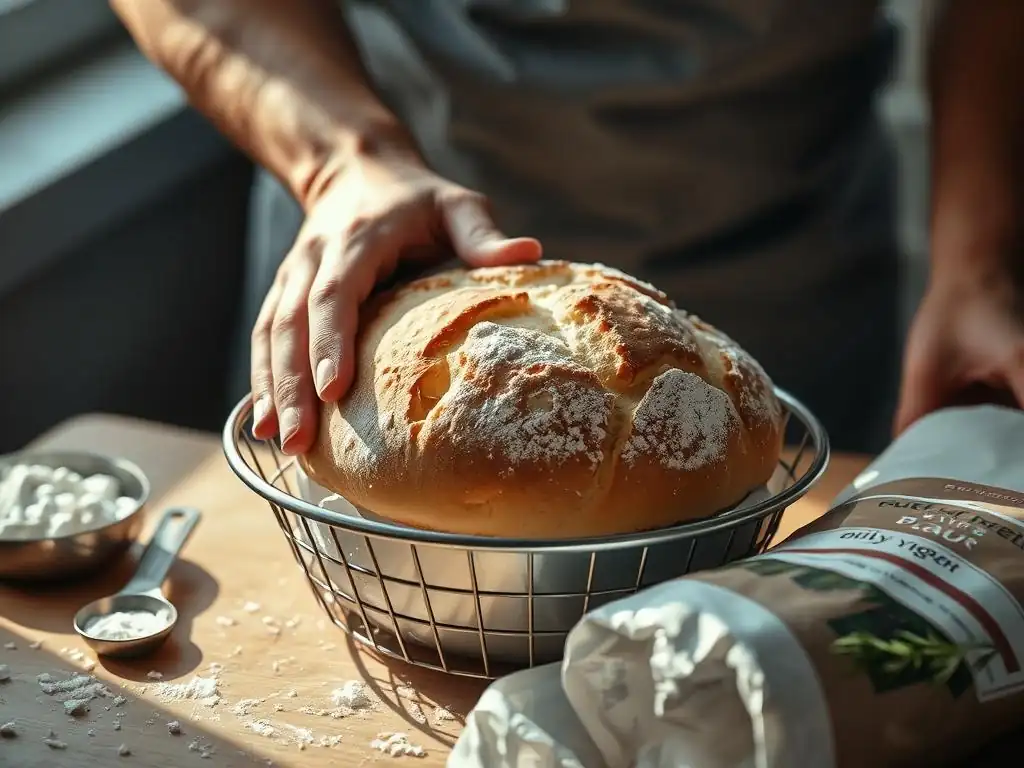
Bread Doesn't Rise: Identifying the Cause
A loaf that stays flat is one of the most disheartening outcomes for a gluten-free baker. Several factors can contribute to a lack of rise. It's often a combination of issues rather than a single culprit.
-
Yeast Issues: Activation and Proofing
The yeast might be old or inactive, or the proofing liquid might have been too hot (killing the yeast) or too cold (inhibiting activity). Insufficient proofing time or a cold proofing environment will also prevent the yeast from producing enough gas for a proper glutenfree bread recipe rising.
-
Incorrect Flour Blend or Binder Ratio
Using a flour blend not suitable for bread or an incorrect amount of binder (like xanthan gum or psyllium husk) means the dough lacks the necessary structure to trap the gases produced by the leavening agent. Without a strong matrix, the gas escapes, and the loaf doesn't expand.
-
Insufficient Proofing Time
Even with active yeast and the right ingredients, rushing the proofing process will result in a poor rise. Gluten-free dough needs adequate time in a warm environment for the yeast to work. If your kitchen is cool, proofing will take longer than specified in the recipe.
Bread Collapses After Baking: Preventing Sagging
When a loaf looks promising in the oven but sinks in the middle as it cools, it's usually a sign that the internal structure wasn't fully set or the dough was over-proofed.
-
Over-Proofing: Recognizing the Signs
If the dough proofs for too long, the yeast can exhaust its food source, and the structure built by the binders can weaken. The dough might look very puffy before baking, but it lacks the strength to hold up once the internal gases expand rapidly in the hot oven and then cool.
-
Incorrect Oven Temperature or Baking Time
Baking at too low a temperature or for too short a time means the interior of the bread doesn't reach the temperature needed for the starches and proteins (even non-gluten ones) to fully set. The structure remains weak, leading to collapse as the bread cools.
-
Insufficient Structure in the Dough
If the initial dough didn't have enough binder or the flour blend wasn't suitable, it might rise initially in the oven due to oven spring but lack the underlying structure to maintain its shape as it cools. A glutenfree bread recipe rising requires a robust internal scaffold.
Bread is Dense and Gummy: Addressing Texture Issues
A dense, heavy, or gummy texture is a common complaint and often stems from issues with hydration or baking.
-
Insufficient Hydration or Overmixing
If the dough was too dry (insufficient hydration), the resulting bread will be dense and heavy. Conversely, while less common than in wheat bread, overmixing can sometimes lead to a tougher or slightly gummy texture by overworking the starches and binders.
-
Using Too Much Binder
While binders are essential, using too much xanthan gum or psyllium husk can result in a gummy, unpleasant texture. It's important to follow the recipe's recommended amounts closely, as even small variations can make a difference.
-
Underbaking the Bread
This is perhaps the most frequent cause of gummy gluten-free bread. If the internal temperature does not reach 200°F-210°F (93°C-99°C), the starches will not have fully gelatinized and set, leaving a moist, heavy, and often gummy interior. Using an instant-read thermometer is key to avoiding this.
BakeWithEase's Top Tips for Gluten-Free Bread Success
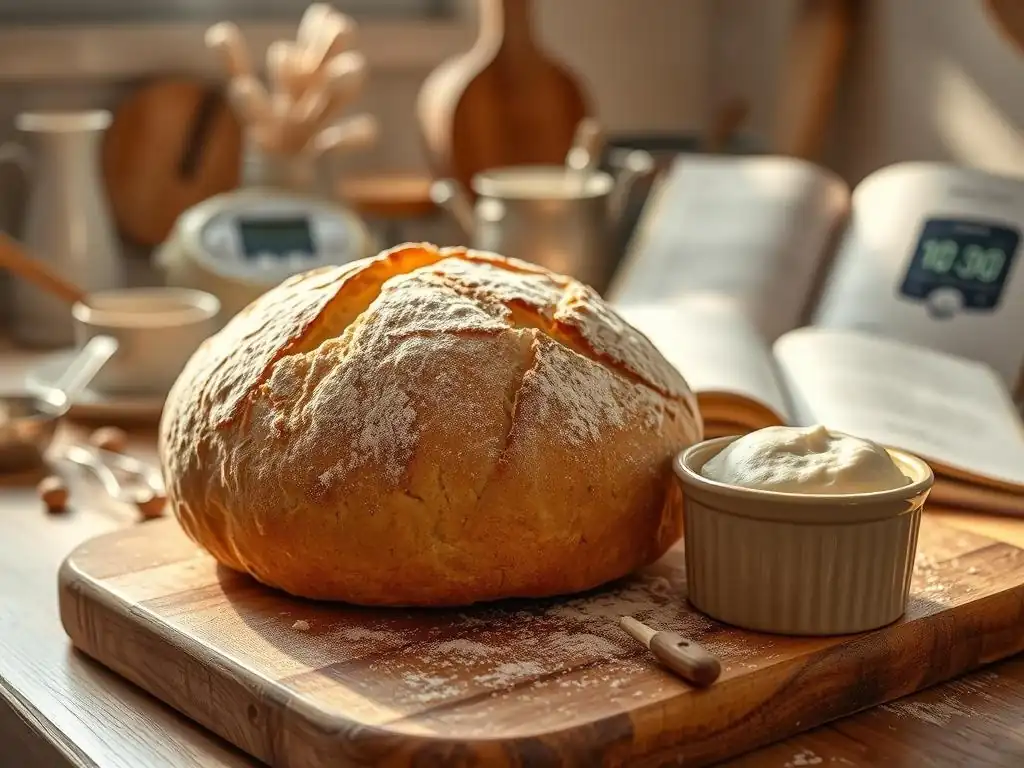
Experimenting with Different Gluten-Free Flour Blends [Bob's Red Mill Gluten Free 1-to-1 Baking Flour]
Finding your favorite gluten-free bread often involves trying out different flour blends. Each blend, like Bob's Red Mill Gluten Free 1-to-1 Baking Flour, has a unique composition of flours and starches, which affects flavor, texture, and how the dough handles. Some are better suited for cakes and cookies, while others are formulated specifically for bread, often including ingredients like sorghum or millet alongside rice flours.
Don't be afraid to try a recipe with a couple of different bread-specific blends to see which one yields the results you prefer in terms of crumb texture, crust, and overall taste. Pay attention to how each blend absorbs liquid and adjust slightly if needed, as this directly impacts achieving a perfectly proofed glutenfree bread recipe rising beautifully.
Mastering the Art of Visual Cues for Proofing
Since gluten-free dough doesn't always double in size like wheat dough, learning to recognize visual cues is crucial for successful proofing. Instead of watching for a doubling, look for the dough to become significantly puffy and expanded, showing noticeable signs of gas production.
A common test is the "poke test." Gently press a floured finger into the dough about half an inch deep. If the indentation springs back slowly or only partially, the dough is likely sufficiently proofed. If it springs back immediately, it needs more time. If the indentation remains completely, it might be slightly over-proofed, though you can often still bake it successfully. Mastering this visual assessment helps ensure your glutenfree bread recipe rising is proofed just right.
Investing in a Reliable Digital Kitchen Scale
Accuracy is your best friend in gluten-free baking, especially when it comes to the delicate balance of flours, starches, and binders required for a good glutenfree bread recipe rising. Using a digital kitchen scale to weigh your ingredients in grams or ounces eliminates the variability that comes with scooping flour into measuring cups.
A scale ensures you use the exact amount specified in the recipe, leading to more consistent and predictable results. This is particularly important for ingredients like binder (xanthan gum, psyllium husk), where even a slight excess can drastically change the texture from delightful to gummy.
Cooling the Bread Completely Before Slicing
It's tempting to slice into a warm loaf of bread right out of the oven, but doing so can ruin the texture of gluten-free bread. The interior of the loaf continues to cook and set as it cools. Slicing too early allows steam to escape rapidly, which can lead to a gummy or dense texture in the center.
Allowing the bread to cool completely on a wire rack ensures that the internal structure finishes setting and the moisture distributes properly throughout the loaf. For a standard-sized loaf, this might take 2-3 hours or even longer. Patience is key to achieving that perfect, non-gummy crumb in your perfectly proofed glutenfree bread recipe rising success.
A Simple Gluten-Free Bread Recipe for Beginners [Link to BakeWithEase's Gluten-Free Bread Recipe]
Frequently Asked Questions
What are the biggest challenges when baking gluten-free bread?
The biggest challenges are achieving proper structure and rise due to the lack of gluten. This often results in dense and crumbly bread if not addressed correctly.
What ingredients are crucial for a successful gluten-free bread recipe?
Key ingredients include a gluten-free flour blend, a binding agent like xanthan gum or psyllium husk, and a leavening agent such as yeast or baking powder.
How can I ensure my gluten-free bread dough rises properly?
Proper rising relies on using warm water or milk to activate the yeast and providing a warm environment for proofing. Also, avoid over-mixing the dough.
What are some tips for preventing gluten-free bread from being too crumbly?
Using the correct amount of binding agents like xanthan gum is crucial. Also, adding moisture through ingredients like applesauce or yogurt can help.
How can I get my gluten-free bread to hold its shape during baking?
Using a bread pan is highly recommended to provide structure. Also, ensure the dough has enough binding agents and isn't too wet before baking.
Final Reflection: The Joy of a Perfectly Rising Gluten-Free Loaf
The quest for a light, airy gluten-free bread that actually holds its shape is far from over, but the journey itself is a testament to the ingenuity and resilience of the gluten-free baking community. This article has explored various techniques and ingredients that contribute to success, highlighting the importance of understanding starch properties and the role of alternative binding agents. The demand for delicious and satisfying gluten-free alternatives continues to grow, demonstrating the ongoing need for accessible and reliable recipes.
The impact of gluten-free baking extends beyond just dietary needs; it represents a powerful movement towards inclusivity and culinary innovation. It's a testament to human creativity that we've managed to adapt and overcome the challenges posed by the absence of gluten. The greatest glory in living lies not in never falling, but in rising every time we fall.
This quote, while not directly about baking, perfectly encapsulates the spirit of perseverance required to master gluten-free bread making. The journey, with its occasional failures and triumphant successes, is a rewarding one.
Now, it's your turn. Don't be discouraged by initial setbacks. Experiment with the techniques and ingredients discussed, adapt them to your own preferences, and embrace the process of discovery. The satisfaction of slicing into a perfectly risen, golden-brown gluten-free loaf, bursting with flavor and texture, is a reward worth striving for. So, gather your ingredients, preheat your oven, and embark on your own gluten-free baking adventure. The perfect loaf awaits!
Unlock the Secrets to Perfectly Fluffy Gluten-Free Bread!
Thanks for taking the time to explore the world of gluten-free baking with us! We hope you now feel empowered to create delicious, light, and airy bread without compromise. Ready to put your newfound knowledge to the test?
- Bake your first gluten-free masterpiece! Try out one of the recipes mentioned in the article, focusing on mastering the techniques we’ve shared.
- Share your baking journey! Post a picture of your creation on social media and tag us—we’d love to see your success!
- Explore our other gluten-free baking resources on BakeWithEase.com for even more inspiration and recipes.
What unexpected ingredient will you experiment with in your next gluten-free bread adventure?