
StepbyStep Guide to Blind Baking Puff Pastry Shells

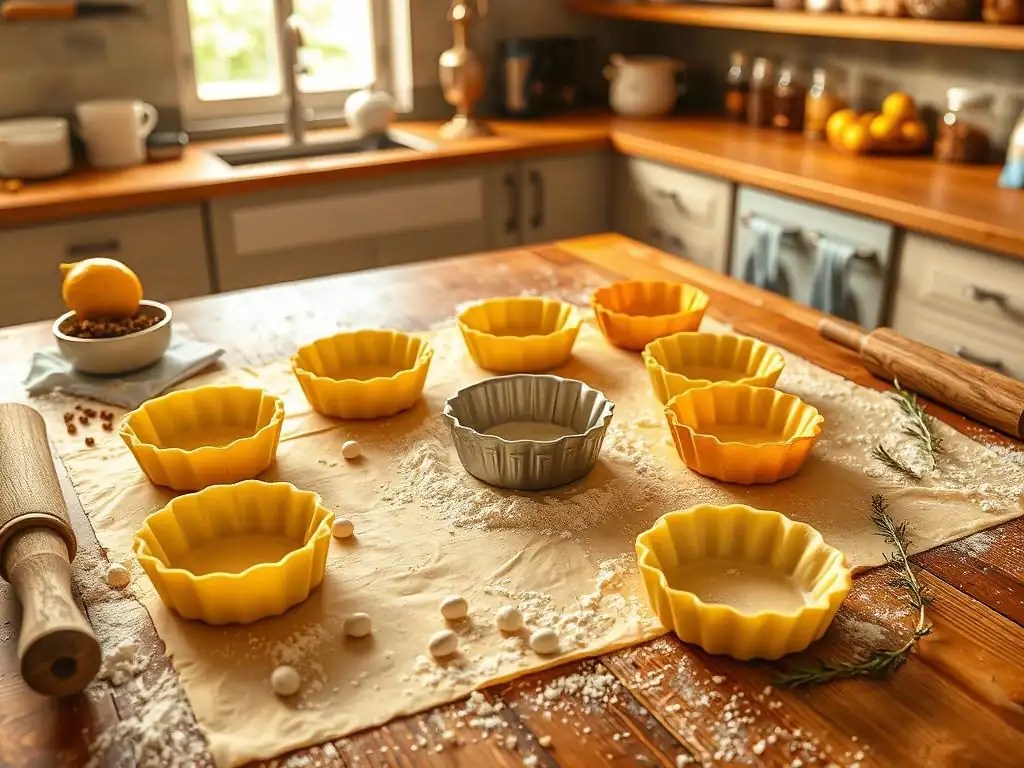
Welcome to BakeWithEase, where baking becomes a joy, not a chore! Ever wondered how to achieve that perfectly crisp and golden puff pastry shell without any soggy bottoms? Our step-by-step guide on blind baking puff pastry shells unlocks the secrets to transforming flaky pastry into delicious edible vessels. Discover the tips and tricks that elevate your baking from good to unforgettable – let's get baking!
- Introduction to Blind Baking Puff Pastry: Achieving Perfectly Baked Shells
-
Preparing Your Puff Pastry for Blind Baking
- Choosing the Right Puff Pastry: Store-Bought vs. Homemade
- Thawing Puff Pastry: A Crucial Step for Optimal Results
- Shaping the Puff Pastry into Shells: Tips and Techniques
- Step 1: Preparing the Baking Dish or Tart Pan
- Step 2: Docking the Puff Pastry: Preventing Excessive Puffing
- Step 3: Applying Parchment Paper and Baking Weights
- Step 4: The Initial Bake: Setting the Puff Pastry Structure
- Step 5: Removing the Baking Weights and Parchment Paper
- Step 6: The Second Bake: Achieving Golden Brown Perfection
- Troubleshooting Common Blind Baking Problems
- Tips and Tricks for Perfect Puff Pastry Shells
- Serving Suggestions and Recipe Ideas for Blind Baked Puff Pastry Shells
- Storing Blind Baked Puff Pastry Shells for Later Use
- Conclusion: Mastering the Art of Blind Baking Puff Pastry Shells
-
Frequently Asked Questions
- What exactly is blind baking, and why is it necessary for puff pastry shells?
- What tools and ingredients are essential for successful blind baking of puff pastry?
- How do I prevent my puff pastry shell from puffing up too much during blind baking?
- How long should I blind bake a puff pastry shell, and how do I know when it's done?
- Can I reuse the baking weights I used for blind baking puff pastry?
- Final Reflection: Mastering the Art of the Blind-Baked Puff Pastry Shell
- Unlock Your Inner Pastry Chef: Master the Art of Blind Baking!
Introduction to Blind Baking Puff Pastry: Achieving Perfectly Baked Shells
What is Blind Baking and Why is it Essential for Puff Pastry?
Blind baking is a fundamental technique in the world of pastry, referring to the process of partially or fully baking a pie or tart crust before adding the filling. For delicate pastries like puff pastry, this step is often not just recommended, but absolutely essential.
When you're planning to fill a puff pastry shell with a wet or moist filling, such as a custard, fruit purée, or a savory mixture, baking the crust first prevents it from becoming soggy. The heat of the oven sets the structure of the pastry's many layers, creating a sturdy, crisp base and sides that can support the filling without turning into a damp, unappetizing mess.
Think of making a classic lemon meringue tart. The lemon curd is a moist filling. If you were to pour this directly into raw puff pastry and bake, the bottom layer of the pastry would steam and soften, losing its signature flakiness.
By blind baking the puff pastry shell first, you create a barrier of crisp, cooked dough. This pre-baking step ensures that when the filling is added, the base remains firm and flaky, providing the perfect contrast in texture to the smooth filling. This technique is crucial for achieving professional-quality results, ensuring your blind baked puff pastry shells are structurally sound and delightfully crisp from edge to center.
Blind Baking Puff Pastry Shells: Ensuring a Crisp and Even Bake
The primary goal of blind baking puff pastry shells is to achieve maximum crispness and an even bake. Puff pastry is famous for its hundreds of thin layers of dough and butter. When heated, the water in the butter turns to steam, separating these layers and causing the pastry to 'puff' dramatically. While this puff is desirable in some applications, for a tart or vol-au-vent shell meant to hold a filling, excessive, uneven puffing in the base can be problematic, creating an unstable surface and thin spots that are prone to becoming soggy.
Blind baking addresses this by using baking weights to hold down the base of the pastry. This pressure limits the rise in the center, encouraging the sides to maintain their height and ensuring the base bakes into a relatively flat, even surface.
The initial high-temperature bake with weights sets the structure, while a second, shorter bake without weights allows the base to fully cook through and brown, developing that desirable golden color and crisp texture that is the hallmark of perfectly blind baked puff pastry shells. This two-stage process guarantees the base is fully baked and ready to handle a variety of delicious fillings.
Preparing Your Puff Pastry for Blind Baking
Choosing the Right Puff Pastry: Store-Bought vs. Homemade
When embarking on blind baking puff pastry shells, one of your first decisions is whether to use store-bought or homemade puff pastry. Store-bought puff pastry offers unparalleled convenience. Brands like Pepperidge Farm or Dufour are widely available and come in ready-to-use sheets, typically around 14 ounces or 1.1 pounds per box.
This is an excellent option for busy bakers or those new to working with puff pastry, as it eliminates the lengthy and technically demanding process of lamination (folding butter into dough). While quality can vary, many brands now offer all-butter versions that provide a flavor profile closer to homemade.
Homemade puff pastry, conversely, is a labor of love. It requires time, patience, and skill to execute the multiple rolling and folding steps (known as tours) that create the hundreds of layers. While it is significantly more work – a batch might take 6-8 hours including chilling times between folds – the result is often considered superior in terms of flavor, flakiness, and overall texture due to the higher butter content and lack of artificial additives.
If you're aiming for the absolute best possible texture and flavor for your blind baked puff pastry shells and have the time and inclination, making it from scratch is a rewarding endeavor. However, for most applications, a good quality store-bought puff pastry yields excellent results.
Thawing Puff Pastry: A Crucial Step for Optimal Results
Properly thawing frozen puff pastry is a critical step before you can begin shaping and blind baking puff pastry shells. The ideal method is to thaw it slowly in the refrigerator. A standard 14-ounce box containing two sheets typically requires at least 4 hours in the fridge, but thawing overnight (8-12 hours) is highly recommended to ensure the pastry is evenly pliable and cold throughout. Attempting to unfold or roll puff pastry that is still partially frozen will inevitably lead to cracks and tears, disrupting the delicate layers and resulting in a less-than-ideal texture after baking.
While impatient bakers might be tempted by faster methods like thawing at room temperature, this comes with risks. Leaving puff pastry out on the counter for more than 30-60 minutes (depending on room temperature) can cause the butter layers to become too soft and melt into the dough. This results in greasy pastry that doesn't puff properly and is difficult to handle.
Never use a microwave to thaw puff pastry, as it will unevenly heat and melt the butter. Planning ahead for proper thawing ensures your puff pastry is in the perfect state – pliable but still cold – for successful shaping and subsequent blind baking.
Shaping the Puff Pastry into Shells: Tips and Techniques
Once thawed, your puff pastry is ready to be shaped into the desired shells for blind baking. The most common shapes are large tart shells (for pies or quiches) or smaller individual tartlets and vol-au-vent cases. When rolling out the pastry, aim for a uniform thickness, typically around 1/8 inch.
Work on a lightly floured surface to prevent sticking, but avoid using excessive flour, which can toughen the dough. If making a large tart shell, roll the pastry into a circle or square slightly larger than your pan (e.g., a 10-inch circle for a 9-inch pan) to allow for some shrinkage.
To line a tart pan, gently ease the rolled pastry into the pan, pressing it carefully into the corners and up the sides. Avoid stretching the dough, as this will cause it to spring back and shrink excessively during baking. If making individual shells using cutters, cut out your shapes and carefully transfer them to a baking sheet lined with parchment paper.
For vol-au-vent cases, you'll typically use two cutters to create a ring placed on top of a base circle. Regardless of the shape, it's highly beneficial to chill the shaped pastry in the refrigerator for at least 20-30 minutes before blind baking. This firms up the butter, helping the pastry hold its shape better in the hot oven.
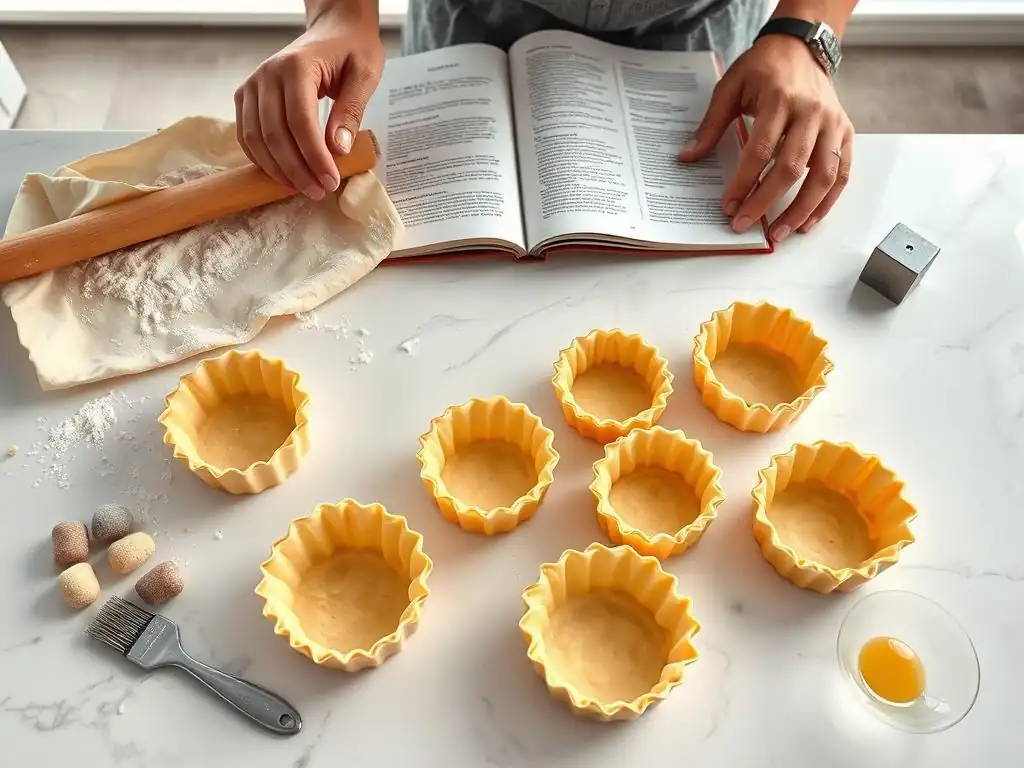
Step 1: Preparing the Baking Dish or Tart Pan
Before you place your shaped puff pastry into the pan for blind baking, a little preparation of the pan itself can be helpful, though often less critical for puff pastry than for other doughs due to its high fat content. For metal tart pans, especially those with a removable bottom, you generally don't need to grease or flour the pan. The butter in the pastry prevents sticking. However, lining the pan with a circle or square of parchment paper cut to fit can make removing the blind baked puff pastry shell much easier and guarantees no sticking whatsoever.
If using ceramic or glass dishes, a light greasing might be beneficial, especially if the pan has intricate details. For individual tartlet molds, non-stick pans work best without extra preparation, but lightly greasing standard metal molds ensures easy release. Ensure your chosen pan is clean and dry before lining it with the shaped puff pastry.
Step 2: Docking the Puff Pastry: Preventing Excessive Puffing
Once the puff pastry is shaped and placed in the pan, the next crucial step for blind baking puff pastry shells is docking. Docking involves pricking small holes across the base of the pastry using a fork. These holes act as vents, allowing steam to escape from beneath the pastry as it bakes.
Without docking, the intense heat of the oven would cause the steam trapped between the layers of the base to create large, uneven bubbles. While you will be using weights (in the next step) to suppress overall puffing, docking provides extra insurance against the base ballooning upwards uncontrollably, ensuring a flatter, more stable surface for your filling. Prick the base generously and evenly, but avoid piercing all the way through the sides of the pastry shell.
Step 3: Applying Parchment Paper and Baking Weights
After docking the pastry, you need to line it with parchment paper or aluminum foil before adding baking weights. This barrier prevents the weights from sticking to the pastry and makes them easy to remove later. Cut a piece of parchment paper or foil that is large enough to generously line the inside of the pastry shell and drape over the edges of the pan. Gently press the paper or foil into the contours of the pastry, ensuring it is snugly against the sides and base.
Now it's time to add your baking weights. These weights are essential for blind baking puff pastry shells as they hold the pastry down and prevent the base from puffing up excessively or the sides from collapsing. Fill the lined shell completely to the top edge with your chosen weights. This ensures even pressure across the entire surface of the pastry, maintaining its shape and promoting an even bake. Make sure the weights are distributed evenly, especially pressing them into the corners and up the sides of the pan.
Choosing the Right Baking Weights: Beans, Rice, or Ceramic Beads?
You have several options when it comes to choosing baking weights for blind baking puff pastry shells, each with its pros and cons. Dried beans (like kidney beans or chickpeas) or uncooked rice are popular, cost-effective choices. They mold well to the shape of the pastry and pan, providing good coverage.
Once used for baking weights, they are typically not suitable for cooking afterwards, as they can become very dry and hard, so it's best to dedicate a batch specifically for this purpose. A standard 9-inch tart shell might require approximately 1.5 to 2 cups of dried beans or rice to fill it adequately to the brim.
Ceramic baking beads or pie weights are purpose-made for this task and are reusable. They are often denser than beans or rice, which means they provide slightly more pressure per volume, and they distribute heat effectively, potentially aiding in an even bake of the base. While a bit more expensive initially, they are a long-term investment. For a 9-inch tart shell, you might need around 1 to 1.5 pounds of ceramic beads. Whichever weight you choose, the key is to use enough to completely fill the shell and provide sufficient pressure to prevent the pastry from distorting during baking.
How to Properly Distribute Baking Weights for Even Baking
Proper distribution of your baking weights is just as important as using enough of them when blind baking puff pastry shells. Simply dumping the weights into the center of the shell isn't sufficient. You need to carefully and evenly spread the weights right to the very edges and up the sides of the pastry-lined pan. Use your hands to gently press the paper or foil with the weights into the corners and against the vertical sides of the pan, ensuring there are no gaps where the pastry could potentially puff up unevenly.
Ensuring the weights fill the shell completely to the top edge is crucial. This provides support for the sides of the pastry, preventing them from slumping down as the pastry softens and the butter melts in the oven's heat. Uneven weight distribution can lead to a base that is flat in one area and slightly raised in another, or sides that have shrunk significantly in unsupported sections. Taking an extra moment to meticulously arrange the weights guarantees even pressure, contributing significantly to a uniformly shaped and evenly baked puff pastry shell.
Step 4: The Initial Bake: Setting the Puff Pastry Structure
With the pastry shaped, docked, weighted, and placed in the pan, it's time for the first stage of blind baking puff pastry shells. This initial bake, performed with the weights in place, is crucial for setting the structure of the pastry. It partially cooks the dough, drying out the base and sides just enough so they can maintain their shape when the weights are removed.
Place the prepared pan on a baking sheet (this makes it easier to handle and catches any potential butter drips, though puff pastry is less prone to this than some other crusts) and transfer it to a preheated oven. The high heat helps the layers start to separate and set quickly.
Oven Temperature and Baking Time for the First Bake
The first bake for blind baking puff pastry shells typically occurs at a relatively high temperature to quickly set the pastry's structure. A common temperature range is between 400°F and 425°F (200°C to 220°C). This initial blast of heat encourages the layers to crisp slightly under the pressure of the weights.
The duration of this first bake varies depending on the size of the shell and your oven, but a good starting point for a standard 9-inch tart shell is 15 to 20 minutes. During this time, the pastry should look dry and opaque, losing its raw, doughy sheen. The edges might just be starting to turn a very pale gold, but the base under the weights will not have browned yet.
For smaller tartlets, this time might be closer to 10-15 minutes. The key is to bake until the pastry is set enough to hold its shape when the weights are removed.
Step 5: Removing the Baking Weights and Parchment Paper
After the initial bake, carefully remove the pan from the oven. The puff pastry shell should look partially baked and hold its shape thanks to the pressure from the weights. Allow it to cool for just a few minutes – enough so you can handle the weights, but not so long that the pastry hardens around them.
Gather the edges of the parchment paper or foil and carefully lift the baking weights out of the shell. The paper/foil bag of weights should come out easily, leaving the partially baked puff pastry shell behind. Dispose of the paper/foil and set the weights aside (if reusable) once they've cooled. The pastry base will likely look pale and perhaps slightly soft in the center at this stage, which is perfectly normal.
Step 6: The Second Bake: Achieving Golden Brown Perfection
With the weights removed, the puff pastry shell is ready for its second bake. This stage is essential for ensuring the base is fully cooked through, dry, and achieves that beautiful, rich golden-brown color that signifies a perfectly blind baked puff pastry shell. Without the weights, the base now has a chance to cook and crisp up directly from the oven's heat.
Return the pan with the unweighted pastry shell to the oven. Keep a close eye on it during this second bake, as it can brown quite quickly. The goal is an even golden color across the entire base and sides.
Adjusting Oven Temperature for the Second Bake
For the second bake of your blind baked puff pastry shells, it's often beneficial to slightly reduce the oven temperature compared to the initial bake. Lowering the temperature, perhaps to 375°F or 400°F (190°C to 200°C), helps prevent the edges from over-browning or burning while allowing the base to cook through evenly and develop color.
The exact temperature adjustment depends on your oven and the initial baking temperature. If you started at 425°F, dropping to 400°F might be sufficient. If you started at 400°F, reducing to 375°F is common. This slightly lower heat ensures that the base cooks thoroughly without the more delicate edges browning too rapidly.
Monitoring the Puff Pastry Shells During the Second Bake
Monitoring your blind baked puff pastry shells closely during the second bake is key to achieving perfect results. The pastry will transition from pale to golden brown. This typically takes anywhere from 5 to 15 minutes, depending on the size of the shell, the oven temperature, and how much color you desire. Look for an even golden hue across the entire base and up the sides.
You can gently lift the edge of the pastry with a spatula to peek underneath and ensure the base is getting golden brown. A properly baked base will look dry and feel firm. If the edges start browning too quickly, you can loosely cover them with thin strips of aluminum foil. Rotate the pan halfway through this second bake if your oven has hot spots to ensure uniform coloring. The final blind baked puff pastry shell should be crisp and evenly golden, ready to be filled once cooled.
Troubleshooting Common Blind Baking Problems
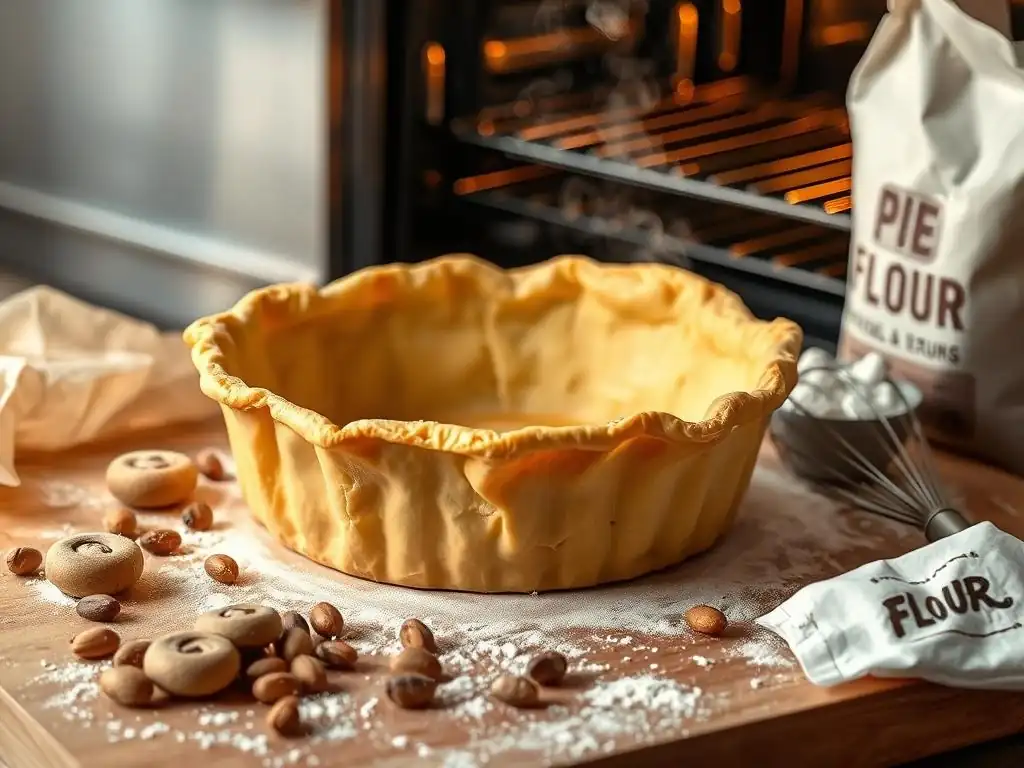
Puff Pastry Shell Shrinking During Baking: Causes and Solutions
One frustrating issue when blind baking puff pastry shells is shrinkage. You shape your pastry perfectly, and it comes out of the oven significantly smaller than the pan, with sides that have slumped. This is typically caused by one or a combination of factors: over-stretching the dough when lining the pan, not chilling the shaped pastry adequately before baking, or not using enough baking weights to provide sufficient support.
To prevent shrinkage, handle the pastry gently when lining the pan; press it into place rather than stretching it. Cut the pastry slightly larger than the pan dimensions (e.g., a 10-inch circle for a 9-inch pan) to allow for natural retraction. Always chill the shaped, unbaked pastry in the refrigerator for at least 20-30 minutes before blind baking – this firms the butter and helps the pastry hold its form. Finally, ensure you are using enough baking weights to completely fill the shell to the brim, providing crucial support for the sides during the initial bake.
Uneven Baking: How to Ensure Consistent Results
Uneven baking, where parts of your blind baked puff pastry shell are perfectly golden while others remain pale or even burnt, is often a result of oven inconsistencies or improper weight distribution. Most home ovens have hot spots, meaning some areas are hotter than others, leading to uneven browning. Additionally, if baking weights weren't evenly distributed or didn't fill the shell completely, parts of the base might puff up or remain undercooked.
To combat uneven baking, first, get to know your oven's hot spots, perhaps by using an oven thermometer to verify the temperature. Rotate the baking pan halfway through both the first bake (with weights) and the second bake (without weights) – for instance, turning it 180 degrees after 10 minutes in each stage. Ensure weights are meticulously spread into all corners and up the sides of the pastry shell. If edges consistently brown too quickly, you can shield them with foil strips during the second bake.
Soggy Bottoms: Preventing Moisture Buildup
A soggy bottom is the nemesis of any tart or pie, and blind baking puff pastry shells is specifically designed to prevent this. If you still end up with a soft or damp base, it's usually because the pastry wasn't baked long enough in the second stage, or a wet filling was added while the shell was still warm, creating condensation.
To ensure a crisp base, the second bake is paramount. Make sure the base of the puff pastry shell is a deep golden brown and feels dry and firm when tapped before you remove it from the oven. It must be fully cooked.
Equally important is allowing the blind-baked shell to cool completely on a wire rack before adding any filling, especially moist ones like custards or fruit. Cooling on a rack allows air circulation and prevents steam from condensing underneath. For extremely wet fillings, some bakers apply a thin layer of melted chocolate or a quick brush of egg white after baking and cooling to create an extra moisture barrier, though usually a properly blind-baked and cooled shell is sufficient.
Over-Browning or Burning: Adjusting Baking Time and Temperature
If your blind baked puff pastry shells are coming out too dark, or even burnt, especially around the edges, it indicates that the baking time or temperature needs adjustment. Puff pastry can go from perfectly golden to burnt quite quickly, particularly in the second bake when the base is exposed.
Check your oven temperature with a separate thermometer to ensure it's accurate; many ovens run hotter than the dial indicates. If the oven is accurate, try reducing the temperature slightly, perhaps by 25°F (about 15°C), especially for the second bake. Shorten the baking time, checking on the pastry frequently (every few minutes) during the second stage. If the edges are browning significantly faster than the base, you can cover the edges loosely with strips of aluminum foil for the last part of the baking time to shield them while the center finishes cooking.
Tips and Tricks for Perfect Puff Pastry Shells
Using Egg Wash for a Golden-Brown Finish
Applying an egg wash is a simple yet effective trick to give your blind baked puff pastry shells a beautiful, even, golden-brown and slightly glossy finish. An egg wash is typically made by whisking one egg with a tablespoon of water or milk. This mixture, when brushed onto the pastry surface, helps promote browning and adds a lovely sheen.
For blind baked shells, the best time to apply the egg wash is usually just before the second bake (after the weights have been removed). Use a pastry brush to apply a thin, even layer to the exposed surfaces of the pastry, focusing on the edges and the top surface of the base.
Avoid letting the wash pool in the corners or edges, as this can create uneven color or a gummy texture. The egg wash helps the pastry achieve a richer color during the final stage of baking, contributing to a more appealing look for your finished blind baked puff pastry shells.
Adding Flavorings to Your Puff Pastry Shells
While plain puff pastry is a versatile canvas, you can easily add subtle flavorings to your blind baked puff pastry shells to complement your planned filling. This is particularly effective for savory applications. If using store-bought pastry, you can sprinkle finely grated cheese (like Parmesan), dried herbs (such as thyme, rosemary, or oregano), black pepper, or a pinch of sea salt onto the rolled-out pastry before cutting your shapes or lining your pan.
For example, adding about two tablespoons of grated Parmesan cheese and a teaspoon of dried Italian herbs to the surface of a sheet of puff pastry before cutting tartlet rounds can create flavorful shells perfect for quiches or savory tarts. If making your own puff pastry, you can incorporate finely chopped fresh herbs or cheese into the dough during the folding process. These additions bake right into the pastry, providing a hint of flavor that elevates the blind baked puff pastry shells beyond just a structural element.
Cooling the Baked Puff Pastry Shells Correctly
Once your blind baked puff pastry shells are removed from the oven, allowing them to cool correctly is just as important as the baking process itself for maintaining their crispness. The most effective way to cool them is on a wire rack.
Immediately after removing the pan from the oven, carefully transfer the blind-baked shell (still in its pan, especially for large tarts) to a wire cooling rack. If using individual molds, you might be able to remove the shells from the molds after a few minutes and place them directly on the rack. Cooling on a wire rack allows air to circulate freely around the entire shell, including the base.
This prevents steam from getting trapped underneath, which would condense and lead to a soggy bottom. Allow the shells to cool completely – typically 30-60 minutes for a large tart shell – before attempting to fill them. Filling a warm shell will almost certainly compromise its crisp texture.
Serving Suggestions and Recipe Ideas for Blind Baked Puff Pastry Shells
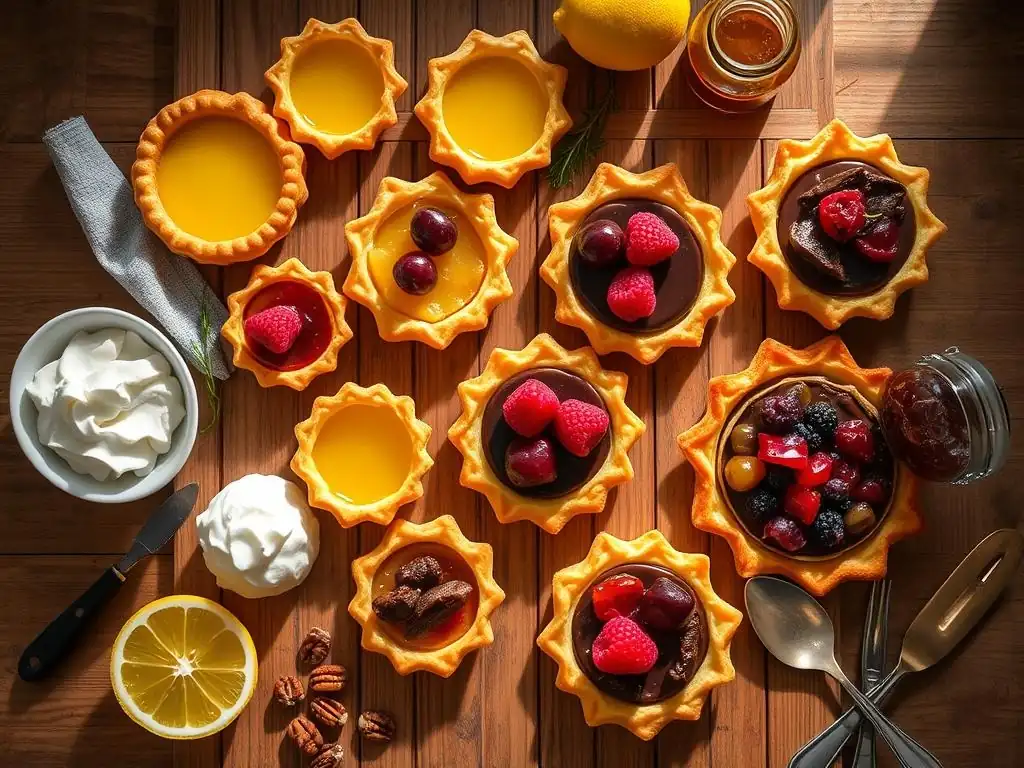
Sweet Fillings for Puff Pastry Shells
Blind baked puff pastry shells are incredibly versatile and serve as a fantastic base for a myriad of sweet fillings. Their crisp, buttery layers provide a delightful textural contrast to smooth creams, soft fruits, and rich chocolate. A classic application is for fruit tarts; the blind baked shell is cooled, then filled with pastry cream (crème pâtissière) and topped with fresh berries, sliced kiwis, peaches, or other seasonal fruits, often glazed with warm apricot jam for shine.
Another popular use is for shells destined for fillings like lemon curd, chocolate ganache, or even simple jams or preserves. Imagine small blind-baked tartlet shells filled with tangy lemon curd and topped with a swirl of toasted meringue for mini lemon meringue tarts, or filled with rich dark chocolate ganache and sprinkled with sea salt. The crispness of the blind baked puff pastry shells holds up beautifully against these decadent fillings, creating elegant and delicious desserts.
Savory Fillings for Puff Pastry Shells
Beyond sweet treats, blind baked puff pastry shells are equally adept at showcasing savory fillings, creating elegant appetizers or main dishes. The most iconic savory use might be for vol-au-vents, small, hollow cases traditionally filled with creamy mixtures like chicken and mushroom, seafood Newburg, or even simple creamed spinach. Blind baking ensures the cases are sturdy and crisp enough to contain the often-rich, moist fillings.
Larger blind baked tart shells are perfect for quiches or savory tarts. A blind-baked shell provides a reliable base for a classic Quiche Lorraine (bacon and cheese custard), a vibrant spinach and feta quiche, or a sophisticated caramelized onion and goat cheese tart. The crisp, buttery base complements the savory fillings wonderfully. You can also fill larger shells with roasted vegetables, ratatouille, or even a hearty meat mixture, making blind baked puff pastry shells a flexible foundation for countless savory creations.
Storing Blind Baked Puff Pastry Shells for Later Use
Proper Storage Techniques to Maintain Crispness
If you've blind baked a batch of puff pastry shells and don't plan to fill and serve them immediately, proper storage is key to preserving their hard-earned crispness. Moisture is the enemy of baked pastry, so the goal is to protect them from humidity.
Once completely cooled on a wire rack, store blind baked puff pastry shells in an airtight container at room temperature. Avoid refrigeration, as the humid environment inside a refrigerator can quickly turn crisp pastry soft and rubbery. A cookie tin or a rigid plastic container with a tight-fitting lid works well. Layer the shells carefully, perhaps with parchment paper in between if stacking, to prevent breakage.
Stored this way, they will typically remain crisp for 1-2 days. For longer storage, you can freeze completely cooled, blind-baked shells wrapped well in plastic wrap and then placed in a freezer bag or container for up to a month. Thaw at room temperature; they may lose a tiny bit of their original crispness but can sometimes be briefly warmed in a low oven (around 300°F / 150°C) to revive some crispness before filling.
Conclusion: Mastering the Art of Blind Baking Puff Pastry Shells
Enjoying Your Perfectly Baked Creations!
Mastering the technique of blind baking puff pastry shells opens up a world of possibilities in both sweet and savory baking. It's a skill that ensures your tarts, quiches, and filled pastries have that essential crisp, flaky base that provides a perfect contrast to moist fillings. By understanding the 'why' behind each step – from proper thawing and shaping to docking, weighting, and the crucial two-stage bake – you can consistently achieve beautifully golden, evenly baked shells.
While it might seem like an extra step, the difference a properly blind-baked shell makes to the final texture and quality of your finished dish is significant. Whether you're filling them with luscious lemon curd, creamy chicken, or fresh berries, the effort put into blind baking your puff pastry shells will be rewarded with delicious results that are sure to impress. So go ahead, practice this technique, and enjoy creating and sharing your perfectly baked, crisp, and delightful puff pastry creations!
Frequently Asked Questions
What exactly is blind baking, and why is it necessary for puff pastry shells?
Blind baking is the process of pre-baking a pastry crust or shell before adding the filling. It's necessary for puff pastry shells to prevent a soggy bottom and ensure the shell is fully cooked when the filling is added.
What tools and ingredients are essential for successful blind baking of puff pastry?
You'll need puff pastry (store-bought or homemade), parchment paper or foil, baking weights (pie weights, dried beans, or rice), and a baking sheet. Accurate oven temperature is also critical.
How do I prevent my puff pastry shell from puffing up too much during blind baking?
The key is using baking weights to weigh down the pastry. This prevents excessive puffing and ensures a flat, even surface for your filling.
How long should I blind bake a puff pastry shell, and how do I know when it's done?
Baking time varies, but typically it takes around 15-20 minutes with weights, then another 5-10 minutes without, until golden brown and cooked through. Watch for the pastry to be dry and crisp.
Can I reuse the baking weights I used for blind baking puff pastry?
Yes, you can definitely reuse baking weights! Just make sure to let them cool completely before storing them. Dried beans and rice can be reused for blind baking indefinitely but are not recommended for consumption.
Final Reflection: Mastering the Art of the Blind-Baked Puff Pastry Shell
The perfectly blind-baked puff pastry shell—crisp, golden, and ready to be filled—is more than just a culinary technique; it's the foundation for countless delectable desserts. From elegant tarts to creamy quiches, the success of these dishes hinges on a flawlessly executed base. This guide aimed to demystify the process, providing a step-by-step approach accessible to even the most novice bakers. The ability to confidently create this crucial element empowers you to elevate your baking game significantly.
The journey of mastering blind baking isn't just about achieving a technical skill; it's about understanding the delicate balance between heat, time, and the inherent properties of puff pastry. It's about embracing the imperfections, learning from each attempt, and ultimately finding joy in the process. As Julia Child wisely said, Don't be afraid to experiment. To err is human; to forgive divine. But to learn from your mistakes is truly divine.
This sentiment perfectly encapsulates the spirit of baking, and blind baking puff pastry is no exception. The journey of mastering this technique mirrors the larger journey of culinary exploration—a process of continuous learning and refinement.
Now, it's your turn. Don't just read about blind baking; do it. Experiment with different weights of baking beans, explore various filling options, and most importantly, enjoy the process of creating something beautiful and delicious. The next time you're faced with a recipe calling for a blind-baked puff pastry shell, remember the steps outlined in this guide, and approach the task with confidence and creativity. The reward—a perfectly crisp, golden shell ready to showcase your culinary artistry—is well worth the effort.
Unlock Your Inner Pastry Chef: Master the Art of Blind Baking!
Thanks for joining us on this journey to perfect puff pastry shells! You've just gained a valuable skill that will elevate your desserts to the next level. Ready to put your newfound knowledge into action?
- Bake your dream tart: Try your hand at a classic French apple tart or experiment with a savory quiche using your perfectly blind-baked shell. This is your chance to showcase your skills!
- Share your baking triumph: Post a picture of your creation on social media and tag us @BakeWithEase – we’d love to see your masterpiece!
- Explore more baking adventures: Dive into our other recipes on BakeWithEase.com for more inspiration and techniques to expand your baking repertoire.
What unique flavor combination will you create with your flawlessly blind-baked puff pastry shell?