
Your First Perfect Cream Pie: An Easy StepbyStep Guide

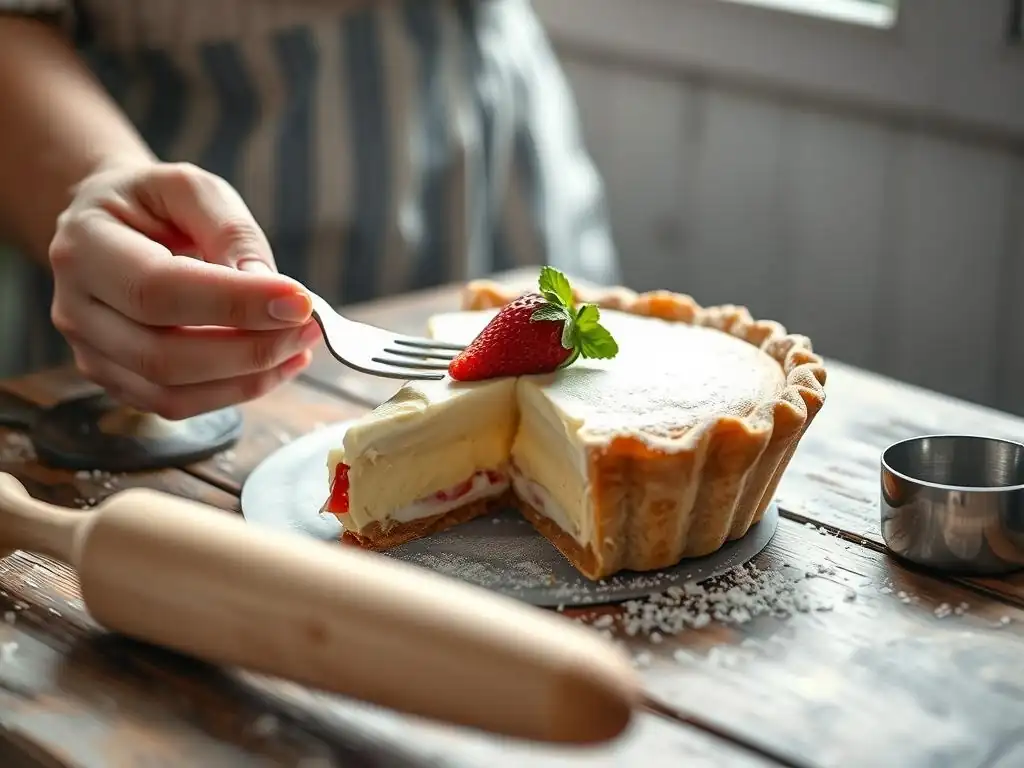
Welcome to BakeWithEase, your partner in creating delicious baked goods! Ever dreamed of effortlessly whipping up a show-stopping cream pie? This is where that dream becomes reality. We're diving deep into an easy cream pie recipe for beginners, demystifying every step to ensure your first attempt is a resounding success. Intrigued? Let's get baking and discover how simple it can be to create a perfect pastry masterpiece!
- Mastering the Perfect Apple Pie: A Beginner's Guide
- BakeWithEase Presents: Apple Pie Baking for New Bakers
- Easy Apple Pie Recipe for Beginners: A Step-by-Step Guide
- Apple Pie Variations for Beginner Bakers
- Troubleshooting Your Apple Pie: Common Mistakes and How to Avoid Them
- Serving and Storing Your Homemade Apple Pie
- Elevate Your Baking Skills: Beyond the Easy Apple Pie Recipe
- Frequently Asked Questions
- Final Reflection: The Sweetness of Success, One Pie at a Time
- Unleash Your Inner Pastry Chef!
Mastering the Perfect Apple Pie: A Beginner's Guide
BakeWithEase Presents: Apple Pie Baking for New Bakers
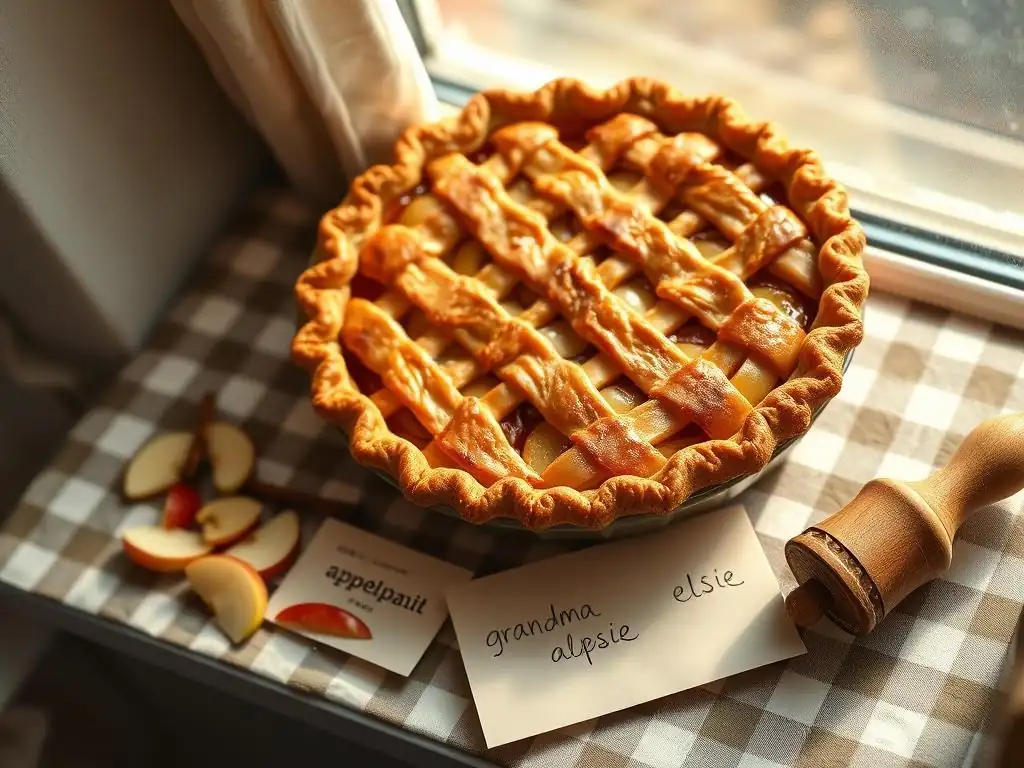
Familiar Flavors, Satisfying Results: The Allure of Apple Pie
Apple pie holds a special place in many cultures, evoking feelings of warmth, comfort, and nostalgia. Its familiar aroma filling the kitchen is a truly rewarding experience, especially for a first-time baker. Unlike some complex pastries, the core components of apple pie – a simple crust and a fruit filling – are relatively straightforward, making the successful outcome highly achievable. The universal appeal of apple pie means your first baking project is likely to be met with enthusiastic appreciation from friends and family, providing a significant confidence boost early in your baking journey.
Furthermore, the ingredients for a classic apple pie are readily available in most grocery stores year-round, making it an accessible project whenever inspiration strikes. You don't need exotic spices or hard-to-find fruits. Just common apples like Granny Smith, a bit of sugar, flour, and butter. This accessibility, combined with the high probability of a delicious result, positions apple pie as an ideal entry point into the world of baking, offering a gentle introduction to fundamental techniques without overwhelming complexity. It's a satisfying project where effort directly translates into a tangible, tasty reward.
Building Essential Skills: Apple Pie as a Foundation for Baking
Tackling an easy apple pie recipe for beginners is more than just making a dessert; it's about acquiring foundational baking skills that are transferable to countless other recipes. Working with pie crust, whether store-bought or homemade, teaches you about dough handling, temperature control, and achieving texture. You'll learn the importance of chilling dough and how to roll it out without it sticking or tearing excessively. These skills are invaluable when moving on to other pies, tarts, or even savory pastries.
Beyond the crust, preparing the filling introduces you to balancing flavors, understanding how fruits behave when heated, and using thickeners like flour or cornstarch. You'll practice measuring ingredients accurately and combining them effectively.
The process of assembling the pie, from fitting the bottom crust to crimping the edges and venting the top, builds spatial reasoning and fine motor skills essential for presentation. Successfully baking an apple pie equips you with a core set of techniques that serve as a solid foundation for exploring more advanced baking projects down the line, like perhaps even an easy cream pie recipe beginners often seek out.
Easy Apple Pie Recipe for Beginners: A Step-by-Step Guide
Step 1: Preparing the Crust - A Beginner-Friendly Approach
Preparing the crust is often seen as the most intimidating part of pie making, but it doesn't have to be! For beginners, starting with a store-bought crust is perfectly acceptable and significantly simplifies the process. Look for pre-made pie crusts in the refrigerated section of your grocery store – they come rolled up and just need to be unfolded and placed in your pie dish.
This step alone removes a lot of potential frustration related to making and handling dough from scratch. If you're feeling adventurous, a simple press-in crust using crushed cookies or graham crackers mixed with melted butter is another easy alternative that requires no rolling.
If you opt for a refrigerated pie crust, make sure to let it sit at room temperature for about 15-20 minutes before unrolling. This makes it pliable and prevents cracking. Carefully unfold the crust and gently press it into a standard 9-inch pie plate, ensuring it fits snugly into the corners and up the sides. Trim any excess dough, leaving about a 1-inch overhang, which you'll use later for crimping or sealing with the top crust. Handling the dough minimally with warm hands is key to keeping it flaky.
Choosing Your Crust: Store-Bought vs. Homemade
For your very first pie, a store-bought crust is the easiest path to success. It saves significant time and effort, allowing you to focus on the filling and baking process. Many high-quality brands offer flaky, delicious crusts that are ready to use.
If you're ready for a slightly bigger challenge, a simple homemade crust can be incredibly rewarding. A basic recipe usually involves just flour, salt, cold butter or shortening, and ice water. The key is keeping ingredients cold and handling the dough gently to develop those desired flaky layers.
Pre-Baking: Achieving a Golden-Brown Base [Specific Instructions & Timing]
Pre-baking, or "blind baking," the bottom crust is crucial for preventing a soggy bottom, especially with juicy fruit fillings like apple.
- Fit the crust into the pie plate.
- Trim and crimp the edges.
- Line the crust with parchment paper or foil, pressing it against the sides.
- Fill the lined crust with pie weights, dried beans, or rice, distributing them evenly to hold the shape. You'll need approximately 1-2 cups of weights for a 9-inch pie.
- Bake in a preheated oven at 375°F (190°C) for about 15 minutes.
- Carefully remove the weights and parchment/foil.
- Prick the bottom of the crust all over with a fork (this helps prevent puffing).
- Return the crust to the oven for another 5-10 minutes, or until the bottom is lightly golden brown and looks dry.
Preventing a Soggy Crust: Tips and Tricks for Success
Beyond pre-baking, several strategies help ensure a crisp bottom crust. Firstly, use a pie plate made of glass or ceramic, as these conduct heat more evenly than metal. Secondly, ensure your filling isn't excessively wet; properly thickening it is key.
Thirdly, some bakers brush the bottom of the pre-baked crust with a thin layer of egg white or melted butter after removing the weights and before the final browning; this creates a barrier against moisture from the filling. Lastly, make sure the filling has cooled slightly before adding it to the hot crust, as hot filling can steam and soften the bottom.
Step 2: Making the Apple Filling - Simple and Flavorful
Creating a delicious apple filling is straightforward and forgiving, making it perfect for an easy cream pie recipe beginners might attempt later, but focusing on apples first builds confidence. The choice of apples significantly impacts the flavor and texture. A mix of apple varieties, like tart Granny Smiths combined with sweeter Honeycrisp or Fuji, offers a balanced flavor profile and ensures the filling isn't too mushy. You'll need about 6-8 medium apples for a standard 9-inch pie.
Peeling, coring, and slicing the apples uniformly is the most time-consuming part. Aim for slices about 1/4 inch thick for even cooking. Once sliced, toss them gently in a large bowl with your sugar, spices, and thickener. Allowing the apples to sit for 15-20 minutes after coating them can help draw out some juice, which you can then drain off before adding the filling to the crust – another trick against sogginess.
Ingredients for a Classic Apple Pie Filling [Specific Measurements]
Here are approximate measurements for a classic 9-inch apple pie filling:
- 6-8 medium apples (about 2.5 - 3 pounds), mixed varieties recommended
- 1/2 to 3/4 cup granulated sugar (adjust based on apple sweetness and preference)
- 1/4 cup all-purpose flour or cornstarch (use cornstarch for a clearer filling)
- 1 teaspoon ground cinnamon
- 1/4 teaspoon ground nutmeg (optional)
- 1 tablespoon lemon juice (helps balance sweetness and prevents browning)
- 2 tablespoons unsalted butter, cut into small pieces (optional, adds richness)
Ingredients:
- 6-8 medium apples (mixed varieties)
- 1/2 - 3/4 cup granulated sugar
- 1/4 cup flour or cornstarch
- 1 tsp ground cinnamon
- 1/4 tsp ground nutmeg (optional)
- 1 tbsp lemon juice
- 2 tbsp cold butter pieces (optional)
Combining Ingredients: Achieving a Balanced Sweet and Tart Flavor
The key to a great apple pie filling is balancing sweetness with the natural tartness of the apples. Start with the lower amount of sugar and taste a small piece of apple coated in the sugar mixture (don't eat raw flour!). Adjust the sugar up if needed, especially if using very tart apples like only Granny Smiths. The lemon juice is essential for brightness and preventing the apples from tasting flat. Gently toss all the ingredients together in a large bowl until the apple slices are evenly coated. Don't overmix, as this can break down the apple slices.
Incorporating spices like cinnamon and nutmeg adds warmth and depth. Some recipes also include a pinch of allspice or ground cloves, but cinnamon is the defining flavor. Ensure the thickener (flour or cornstarch) is well-distributed so the filling sets properly during baking, preventing a runny mess when you slice the pie. The small pieces of cold butter dotting the top of the filling before adding the top crust will melt and create pockets of richness within the apple mixture.
Cooking the Filling: The Importance of Even Cooking
For most easy apple pie recipes for beginners, the apple filling isn't pre-cooked before going into the pie shell. The apples soften and cook through during the pie's baking time in the oven. This is why slicing the apples uniformly is important – it ensures they all become tender at roughly the same rate. If some slices are thick and others thin, you'll end up with a mix of crunchy and mushy pieces.
Some recipes suggest briefly sautéing the apples on the stovetop before filling the pie. While this can help reduce shrinkage and guarantee tender apples, it adds an extra step. For a beginner-friendly approach, simply tossing the raw, prepared apples with the sugar, spice, and thickener mixture is sufficient, provided your slices are consistent and the baking time is adequate. The heat from the oven will work its magic, transforming the firm slices into a soft, bubbling, flavorful filling.
Step 3: Assembling Your Perfect Apple Pie
Assembling the pie is where everything comes together! You'll need your pre-baked bottom crust (cooled slightly) and your prepared apple filling. This step involves carefully transferring the filling, adding the top crust, and sealing the edges. Taking your time here helps create a beautiful and functional pie that holds its shape and keeps the delicious filling contained while baking. It’s a satisfying part of the process, seeing the raw ingredients transform into the beginnings of a classic dessert.
Ensuring the filling is evenly distributed is important for both appearance and even baking. The top crust needs to be properly vented to allow steam to escape during baking; otherwise, the crust can puff up or even burst. Sealing the edges prevents the filling from bubbling out excessively onto your oven floor. These details might seem small, but they contribute significantly to the final look and success of your easy apple pie.
Cooling the Filling: Preventing a Soggy Crust
After tossing your apple slices with the sugar, spice, and thickener mixture, let the filling sit for about 15-20 minutes. This allows the sugar to draw out some of the liquid from the apples. You'll notice a pool of juice forming at the bottom of the bowl.
For a less soggy bottom crust, it's beneficial to drain off some of this excess liquid before spooning the apples into the pie shell. Don't drain it all, as you need some moisture for a juicy filling, but removing a few tablespoons can make a difference, especially if your apples were very juicy.
Additionally, make sure your pre-baked bottom crust has cooled down for at least 10-15 minutes before adding the filling. Pouring a hot filling into a hot crust can generate a lot of steam at the crust's base, leading to sogginess. A slightly cooled crust provides a better barrier against the moisture from the warm filling as it bakes. This simple step, combined with pre-baking and proper thickening, significantly increases your chances of a perfectly crisp bottom.
Pouring the Filling: Achieving a Level and Even Surface
Carefully spoon the apple filling into the pre-baked bottom crust. Try to distribute the apple slices evenly, creating a slight mound in the center. As the apples cook, they will soften and shrink, so starting with a slightly mounded center helps ensure the pie isn't too flat after baking. Aim for an even surface so the top crust rests nicely without large gaps or bumps.
If you're using the optional butter pieces, dot them evenly over the top of the apple filling before adding the top crust. Use a spatula or spoon to gently press the filling down slightly to eliminate any large air pockets, but don't pack it down tightly, as this can result in a dense filling. The goal is a relatively level surface that fills the crust appropriately, allowing for the apples to soften and settle during baking.
Adding the Top Crust: Crimping and Venting
For the top crust, you can use a second store-bought crust or roll out your homemade dough. Place the top crust over the filling. Use kitchen shears or a knife to trim the edges, leaving about a 1-inch overhang that aligns with the bottom crust's overhang. Now, it's time to seal the pie. You can do this by simply pressing the edges of the top and bottom crusts together with a fork, or by using your fingers to create a decorative crimped edge. Ensure the edges are well-sealed all the way around to prevent the filling from leaking out.
Finally, you must create vents in the top crust to allow steam to escape. Without vents, the steam builds up, potentially causing the top crust to crack or separate from the edges. Use a sharp knife to cut several slits (at least 4-6) in the top crust, perhaps in a decorative pattern. Alternatively, you can use small cookie cutters to create shapes (like leaves or stars) for vents. For a beautiful finish, you can brush the top crust lightly with an egg wash (one egg whisked with a tablespoon of water) and sprinkle with a little sugar before baking.
Step 4: Baking Your Apple Pie to Perfection
Baking is the final stage where the magic truly happens! The oven heat transforms the raw ingredients into a bubbling, golden, aromatic masterpiece. Getting the temperature and timing right is key to ensuring the crust is perfectly browned and flaky, and the apple filling is tender and cooked through. This step requires a little patience and monitoring, but the result is well worth the wait. Remember that oven temperatures can vary, so using an oven thermometer can be helpful for accuracy.
The aroma of a baking apple pie is one of the most rewarding scents in the kitchen. As the pie bakes, you'll notice the crust turning a beautiful golden brown and the filling starting to bubble up through the vents. This bubbling indicates that the filling is heating through and thickening. Don't rush this process; under-baked apple pie results in hard apple slices and a pale, potentially doughy crust.
Baking Temperature and Time: Achieving a Golden-Brown Crust
Preheat your oven to 425°F (220°C). Place the assembled pie on a baking sheet (this catches any potential drips). Bake for 15 minutes at this higher temperature. The initial high heat helps set the bottom crust quickly and encourages the top crust to brown.
After 15 minutes, reduce the oven temperature to 375°F (190°C) without opening the oven door if possible. Continue baking for another 35-45 minutes, or until the crust is deeply golden brown and you see the filling bubbling vigorously through the vents. The total baking time is typically around 50-60 minutes. If the edges of the crust start browning too quickly, you can loosely cover them with strips of aluminum foil.
Monitoring the Baking Process: Preventing Burning
Keep a close eye on your pie, especially during the second half of the baking time. If the edges of the crust are browning much faster than the center or the top, use strips of aluminum foil to gently shield the edges. This is a common issue and easily fixed. Simply mold thin strips of foil around the outer edge of the pie crust.
You'll know the pie is done when the top crust is a rich golden brown, and the filling is visibly bubbling in the center through the vents. If you're unsure if the apples are tender, you can gently insert a knife or skewer through a vent into the filling. It should meet little resistance. A perfectly baked pie will look and smell incredible!
Cooling the Pie: Allowing the Filling to Set
This is arguably the hardest part: waiting! Once your pie is out of the oven, it's crucial to let it cool completely on a wire rack for at least 2-3 hours, or ideally even longer, before slicing. While it's tempting to cut into a warm, bubbling pie, the filling needs time to cool and set. If you slice it too soon, the filling will be runny and spill out, and the slices won't hold their shape.
As the pie cools, the thickener in the filling (flour or cornstarch) continues to absorb moisture and solidify, resulting in clean, neat slices. Allowing sufficient cooling time is a critical step often overlooked by beginners eager to taste their creation. Patience here ensures your beautiful, easy apple pie holds together perfectly when served.
Apple Pie Variations for Beginner Bakers
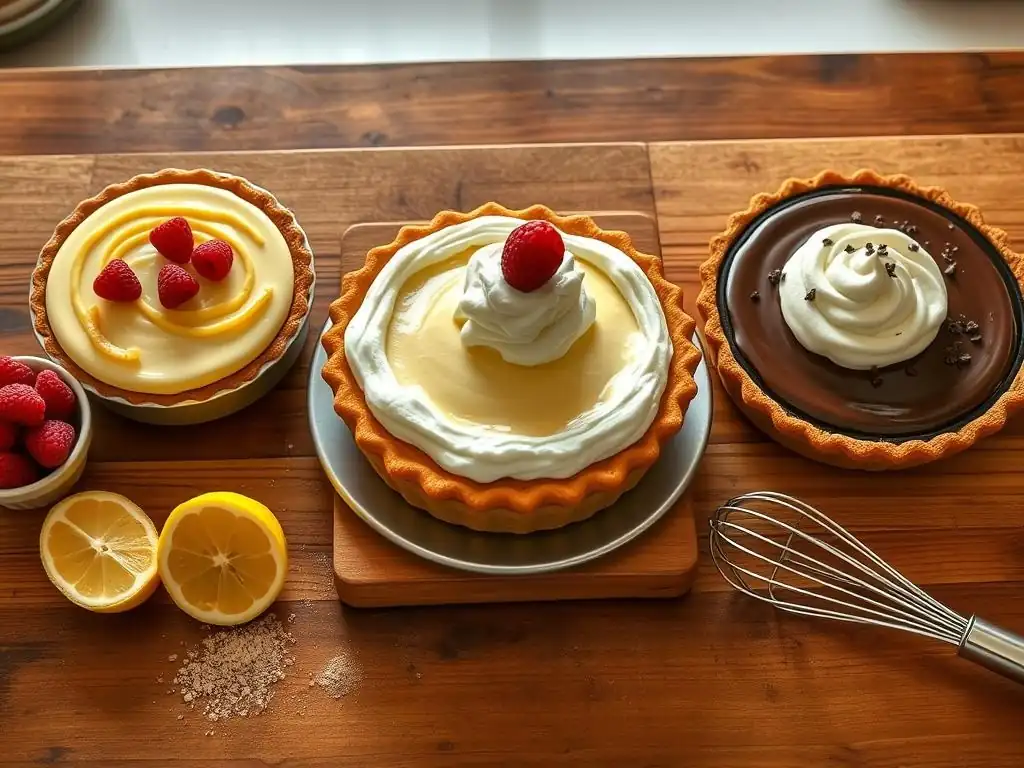
Once you've mastered the classic easy apple pie recipe for beginners, you might want to explore some fun variations. These offer slightly different textures and flavors while still utilizing many of the same basic skills you've just learned. Trying variations is a great way to expand your repertoire without venturing into entirely new baking territory, keeping the process approachable and enjoyable.
Exploring variations also helps you understand how small changes in ingredients or technique can significantly alter the final outcome. It builds confidence in adapting recipes and encourages creativity in the kitchen. From adding a crunchy topping to incorporating other fruits or flavors, these variations build upon your apple pie foundation.
Dutch Apple Pie: Adding a Crumble Topping
Dutch apple pie, also known as apple crumble pie, replaces the traditional double crust with a sweet, buttery streusel topping. This is an excellent variation for beginners as it eliminates the need to handle a top crust, including rolling, crimping, and venting. The crumble topping is simply a mixture of flour, sugar, butter, and often oats or nuts, which is sprinkled over the apple filling before baking.
To make the crumble, you'll typically combine about 1 cup of flour, 1/2 cup packed brown sugar, 1/2 cup granulated sugar, 1/2 teaspoon cinnamon, and a pinch of salt in a bowl. Cut in 1/2 cup (1 stick) of cold, unsalted butter using your fingers, a pastry blender, or a food processor until the mixture resembles coarse crumbs.
If using oats or chopped nuts, stir them in. Sprinkle this mixture evenly over your prepared apple filling in the bottom crust and bake as directed for a classic apple pie, adjusting timing slightly if needed until the crumble is golden brown and the filling is bubbling.
Caramel Apple Pie: Incorporating Caramel for Added Sweetness
Adding caramel takes your easy apple pie to a new level of indulgence. You can swirl store-bought caramel sauce into the apple filling before baking, or even better, make a simple caramel sauce while the apples are prepping. A basic stovetop caramel involves heating sugar until it melts and turns amber, then carefully whisking in butter and cream.
If using store-bought caramel, simply drizzle about 1/2 cup of a thick caramel sauce throughout the apple filling as you layer it into the pie crust. Ensure the caramel is well-distributed but not pooled entirely in one spot. If making your own, let the caramel cool slightly before swirling it into the filling. Be mindful that adding caramel will make the filling sweeter and potentially a bit runnier, so ensure your thickener amount is sufficient. Bake as usual, noting that the caramel might bubble quite a bit during baking.
Apple Cranberry Pie: A Festive and Flavorful Twist
Combining apples with cranberries adds a lovely tartness and vibrant color, making it a perfect variation for the fall and holiday seasons. Cranberries hold their shape well during baking and provide a pleasant burst of flavor that complements the sweetness of the apples. This variation uses the same basic technique for the filling and crust as the classic easy apple pie recipe for beginners.
Simply substitute about 1 to 1.5 cups of fresh or frozen cranberries (no need to thaw frozen ones) for an equal volume of apple slices in your filling recipe. Adjust the sugar slightly based on your preference for tartness; you might need to add an extra tablespoon or two to balance the cranberries. Toss the apples and cranberries together with the sugar, thickener, and spices. Bake as you would a classic apple pie. The cranberries will soften and mingle with the apples, creating a beautiful, slightly tangy, and visually appealing pie.
Troubleshooting Your Apple Pie: Common Mistakes and How to Avoid Them
Even with an easy apple pie recipe for beginners, sometimes things don't go exactly as planned. Don't be discouraged! Baking is a learning process. Understanding common issues and knowing how to prevent or fix them will make you a more confident baker. Most pie problems have simple explanations and straightforward solutions.
Encountering a problem like a soggy crust or a runny filling is a normal part of learning. Each challenge is an opportunity to understand the science behind baking a little better. By identifying the cause, you can adjust your technique for the next pie and improve with every bake.
Soggy Crust Solutions: Preventative Measures and Fixes
A soggy bottom crust is one of the most common and frustrating pie problems. It usually happens because moisture from the filling seeps into the bottom crust before it has a chance to set and crisp up. The best approach is prevention! As mentioned in Step 1, pre-baking (blind baking) the bottom crust is the most effective preventative measure. Baking the crust partially before adding the filling creates a barrier.
Another preventative tip is to use a thickener like cornstarch or flour in your filling and ensure your apple slices aren't excessively wet (draining off some juice after letting them sit can help). For an extra layer of protection, some bakers brush the partially baked bottom crust with a thin layer of egg white or melted butter before adding the filling. If you find your pie has a slightly soggy bottom after baking, serving it warm can sometimes make it less noticeable, and storing leftovers uncovered in the refrigerator helps keep the crust drier.
Runny Filling: How to Thicken It
A runny filling means there wasn't enough thickener (flour or cornstarch) used, or the pie wasn't baked long enough for the filling to heat and set properly. Flour and cornstarch need heat and time to activate their thickening power. Ensure you use the specified amount of thickener in the recipe – for a 9-inch pie with about 2.5-3 pounds of apples, 1/4 cup is a good starting point.
Baking the pie until you see the filling actively bubbling in the center is crucial. This bubbling indicates that the filling has reached a high enough temperature for the thickener to work. If your pie is done baking but the filling seems too liquidy, let it cool completely for several hours, or even chill it in the refrigerator. Often, fillings will continue to set as they cool. For future pies, consider slightly increasing the amount of thickener or ensuring you bake until the filling is visibly bubbling.
Burnt Crust: Protecting Your Pie While Baking
A burnt crust, especially around the edges, occurs when those parts bake faster than the rest of the pie. This is common because the edges are thinner and exposed directly to the oven's heat. The simple solution, as mentioned in Step 4, is to shield the edges with aluminum foil.
Keep an eye on your pie starting about halfway through the baking time. If the edges are already golden brown but the rest needs more time, gently wrap strips of aluminum foil around the outer rim of the pie plate, covering only the edges of the crust. You can buy pre-cut pie crust shields, or simply tear off strips of heavy-duty aluminum foil and mold them around the edge. This reflects the heat away from the crust edges, allowing the rest of the pie to catch up and bake evenly without burning.
Serving and Storing Your Homemade Apple Pie
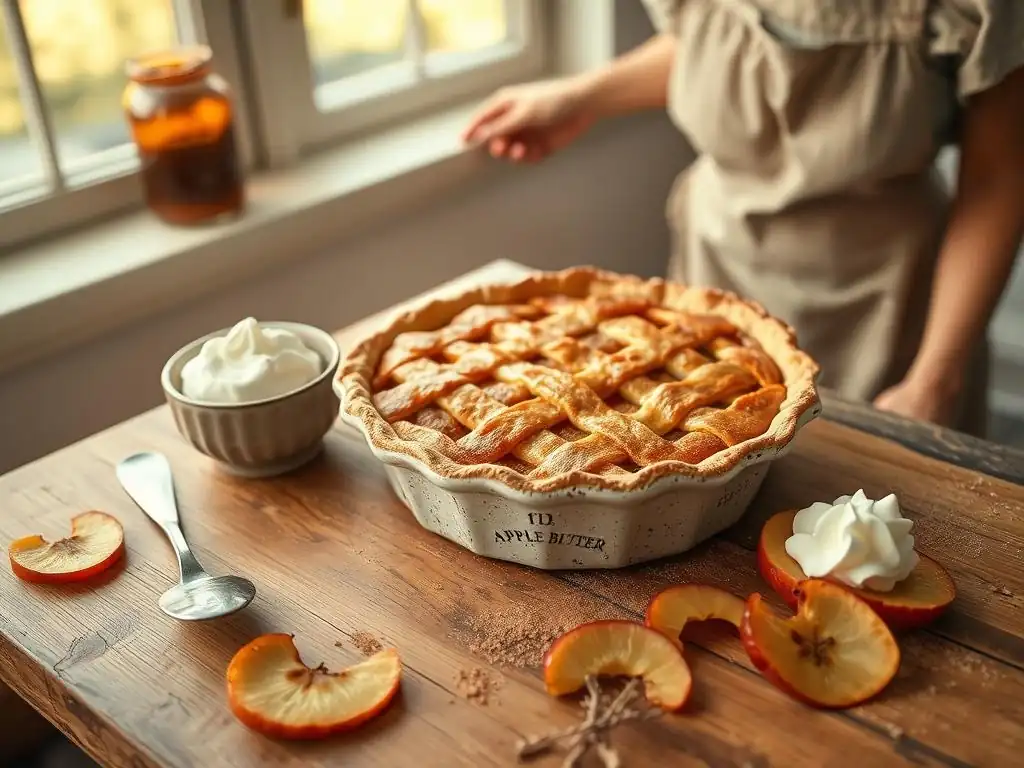
You've baked your first perfect apple pie – congratulations! Now comes the best part: enjoying it. How you serve and store your pie can impact its texture and flavor. While freshly baked pie is often best, proper storage ensures you can savor the fruits of your labor for a few days. Sharing your creation is also a wonderful way to celebrate your baking success.
Serving pie is a simple pleasure, and there are classic ways to enjoy it. Storing it correctly helps maintain that delicious taste and texture, especially the crispness of the crust. Taking pride in your finished pie, from the way you slice it to how you present it, is part of the joy of baking.
Best Serving Practices: Warm or Cold
Apple pie is delicious served either warm or at room temperature. Many people prefer it warm, as the filling is soft and gooey, and the aroma is more pronounced. If serving warm, let the pie cool for at least an hour or two after baking before slicing. This allows it to set slightly but keeps it warm enough for that comforting experience. You can gently reheat slices in a microwave for 30-60 seconds or in a low oven (300°F / 150°C) for 10-15 minutes.
Serving apple pie à la mode (with a scoop of vanilla ice cream) is a classic choice. The cold, melting ice cream contrasts beautifully with the warm, sweet apple filling. A dollop of whipped cream is another popular accompaniment. While warm is preferred by many, serving at room temperature or even chilled allows the filling to set fully, resulting in cleaner slices, which some prefer for texture.
Proper Storage: Maintaining Freshness and Flavor
An easy apple pie recipe for beginners, once baked, can be stored at room temperature for up to 2 days, loosely covered with foil or plastic wrap. Avoid airtight containers at room temperature, as they can trap moisture and make the crust soggy.
For longer storage, or in warm, humid environments, refrigerate the pie. Cover it loosely with plastic wrap or foil once it has cooled completely. It will keep well in the refrigerator for 3-4 days. The crust might lose some crispness in the fridge, but the flavor remains excellent. For longer storage, you can freeze baked apple pie. Wrap the cooled pie tightly in plastic wrap, then in aluminum foil, or place it in a freezer-safe container. It can be frozen for up to 3-4 months. Thaw overnight in the refrigerator and reheat gently in the oven.
Enjoying Your Baking Success: Sharing with Friends and Family
The most rewarding part of baking, especially when you've followed an easy recipe for beginners like this apple pie guide, is sharing your creation. Present your beautiful pie proudly! Slice it carefully with a sharp knife that has been run under hot water and wiped dry (this helps get clean slices).
Sharing your pie with friends and family not only spreads joy but also provides valuable feedback for your future baking adventures. Hearing compliments on your first perfect apple pie is incredibly encouraging and reinforces your newfound skills. Baking is often about connection, and a homemade pie is a wonderful way to connect with others. Take a moment to appreciate what you've accomplished – you've successfully baked a classic dessert from scratch!
Elevate Your Baking Skills: Beyond the Easy Apple Pie Recipe
Mastering this easy apple pie recipe for beginners is just the beginning of your baking journey! The skills you've learned – handling dough, preparing fillings, baking temperatures, and troubleshooting – are transferable to a vast array of other baked goods. Pie making itself offers many avenues for exploration, but your newfound confidence can also propel you into different baking realms.
Think of this apple pie as your delicious diploma from "Pie Baking 101." You've built a solid foundation. Now you can look towards more complex pies, different types of crusts, or even branch out into cakes, cookies, or breads using the fundamental techniques and understanding you've gained.
Exploring Other Pie Recipes: From Berry Pies to Pumpkin Pies
Having successfully baked an apple pie, you're well-equipped to tackle other fruit pies like cherry, blueberry, or mixed berry pie. The process for making the filling is quite similar – preparing the fruit, mixing with sugar and thickener, and pouring into a prepared crust. You'll encounter variations in thickening requirements depending on the juiciness of the fruit, but the core technique remains the same.
Custard pies, like pumpkin pie or an easy cream pie recipe beginners often find appealing, involve a different type of filling that sets through egg coagulation rather than relying solely on starch thickeners. However, they still utilize a pie crust, often pre-baked, so your crust-making or handling skills are still relevant. Exploring these different pie types will broaden your understanding of how various fillings behave and set.
Mastering Pie Crusts: Taking Your Baking to the Next Level
If you used a store-bought crust for your first apple pie, the next logical step to elevate your skills is to try making your own pie crust from scratch. There are different types of pie crusts – flaky butter crusts, tender shortening crusts, or a combination. Mastering a basic all-butter flaky crust is a significant achievement in baking.
Learning to make pie crust involves understanding the importance of cold ingredients, minimal handling, and proper chilling. It requires practice to roll out dough without it sticking or becoming tough. Once you can confidently make your own pie dough, the possibilities for pie creations are endless, and you'll have a deeper appreciation for the craft.
Continued Baking Adventures with BakeWithEase
Your journey into baking doesn't have to stop with apple pie! BakeWithEase is filled with easy-to-follow recipes and guides for all skill levels, from simple cookies and muffins to more challenging breads and pastries. The confidence you've gained from baking your first perfect apple pie will serve you well as you explore new recipes.
Whether you decide to master other fruit pies, try your hand at an easy cream pie recipe beginners rave about, or venture into entirely new categories like cakes or tarts, remember the fundamental principles you've learned: accurate measuring, understanding ingredients, following steps patiently, and not being afraid to troubleshoot. Keep baking, keep learning, and most importantly, keep enjoying the delicious results!
Frequently Asked Questions
What makes this cream pie recipe easy for beginners?
This recipe focuses on simple ingredients and straightforward instructions, minimizing complex techniques. It guides you through each step with clear explanations, making it perfect for first-timers.
What are the key ingredients I need for this cream pie?
You'll primarily need pre-made pie crust, milk, sugar, cornstarch, egg yolks, vanilla extract, and whipped cream topping. All ingredients are commonly available at most grocery stores.
Can I customize the flavor of my cream pie?
Absolutely! While the base recipe is vanilla, you can easily add chocolate shavings, fruit purees, or extracts like almond or lemon to the filling for a unique flavor profile.
What if my cream pie filling is too runny or too thick?
If runny, gently simmer the filling longer, stirring constantly, until it thickens. If too thick, whisk in a small amount of warm milk until you reach the desired consistency.
How long should I chill the cream pie before serving?
For the best results, chill the cream pie in the refrigerator for at least 4 hours, or preferably overnight. This allows the filling to fully set and the flavors to meld together.
Final Reflection: The Sweetness of Success, One Pie at a Time
Mastering the art of the cream pie isn't just about following a recipe; it's about unlocking a world of culinary confidence. The seemingly simple act of creating a perfect cream pie, as detailed in this guide, opens doors to a broader understanding of baking and the joy of creating something delicious from scratch. This isn't just about satisfying a sweet tooth; it's about empowerment.
The enduring appeal of the cream pie lies in its ability to connect us to simpler times, to memories of family gatherings and shared moments of sweetness. It's a testament to the power of simple ingredients transformed into something extraordinary. As Julia Child once wisely said, Find something you're passionate about and keep tremendously interested in it.
For many, that passion is found in the kitchen, and the cream pie serves as a perfect gateway to that passion. The satisfaction of creating something beautiful and delicious from basic ingredients is a feeling that resonates deeply, fostering a sense of accomplishment and pride.
Now, it's your turn. Don't let the fear of failure hold you back. Gather your ingredients, follow the steps outlined in this guide, and embrace the process. The journey of creating your first perfect cream pie is as rewarding as the final taste. Remember the feeling of accomplishment, the pride in your creation, and the joy of sharing your delicious masterpiece with others. You might surprise yourself with your newfound baking skills and the sweet satisfaction that comes with it. Go forth and conquer the world of cream pies, one delicious slice at a time!
Unleash Your Inner Pastry Chef!
Thanks for joining us on this creamy adventure! We hope you’ve gained the confidence to tackle your first (or next!) perfect cream pie. Ready to take your baking skills to the next level?
- Bake your dream pie: Grab your ingredients and follow the steps outlined in the article – you've got this! We're confident you'll create a delicious masterpiece.
- Share your creation: Post a picture of your finished pie on social media and tag us @BakeWithEase – we’d love to see your baking success!
- Explore our other recipes: Dive into our collection of easy-to-follow dessert recipes on BakeWithEase.com and discover your next baking project.
What unique twist will you add to your next cream pie creation? Let's chat in the comments!