
The Best Way to Slice and Enjoy Your Homemade Brioche

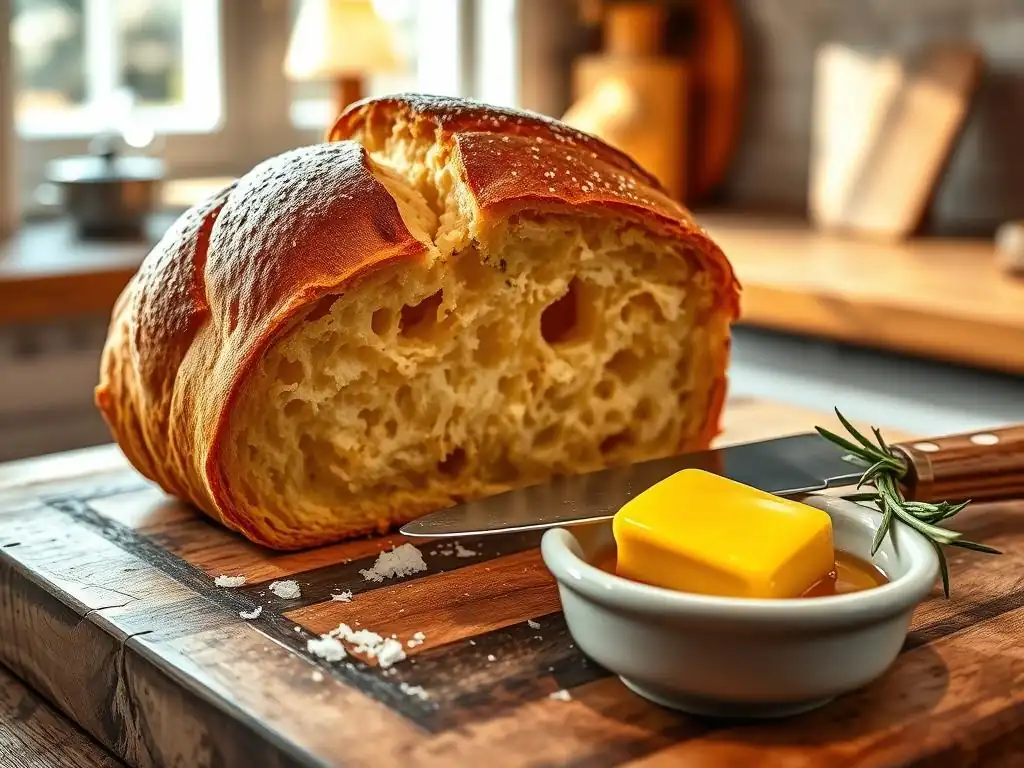
Welcome to BakeWithEase, your companion in the delightful journey of baking! Ever wondered how to achieve that perfect, even slice on your freshly baked brioche? We're diving deep into the art of homemade brioche slicing techniques, revealing secrets to unlock the full potential of your delicious creation. Get ready to elevate your brioche experience – discover the method that will transform your slices from ordinary to extraordinary, making every bite a masterpiece!
- Introduction to Perfectly Slicing Homemade Brioche
- Preparing Your Homemade Brioche for Slicing
- Mastering Homemade Brioche Slicing Techniques
- Preventing Common Brioche Slicing Problems
- Serving Suggestions and Enjoying Your Sliced Brioche
- Storing Sliced Homemade Brioche for Lasting Freshness
- Conclusion: Enjoying the Fruits (and Breads) of Your Labor
- Frequently Asked Questions
- Final Reflection: The Art and Soul of the Brioche Slice
- Unlock Brioche Bliss: Your Next Baking Adventure Awaits!
Introduction to Perfectly Slicing Homemade Brioche
You've nurtured your dough, waited patiently through proofing, and witnessed the glorious golden-brown transformation in your oven. Your homemade brioche is finally ready! This rich, tender bread, with its buttery crumb and delicate crust, is a triumph of baking. But the final step – slicing – can be surprisingly tricky. A beautiful loaf can be easily squashed or torn if not handled with care. Mastering the art of cutting your brioche ensures that every slice is as perfect as the loaf itself, ready to be enjoyed in all its buttery glory.
Achieving clean, even slices is key to appreciating the texture and flavor you worked so hard to create. Whether you plan to use your brioche for elegant French toast, delightful sandwiches, or simply toasted with butter, the way you slice it impacts the final experience. This guide will walk you through the best homemade brioche slicing techniques, offering practical tips and advice to help you preserve the integrity of your beautiful bake and make every bite a pleasure.
Why Proper Brioche Slicing Matters
The texture of homemade brioche is one of its defining characteristics: incredibly soft, airy, and tender due to the high butter and egg content. Improper slicing, such as using the wrong knife or cutting the loaf while it's still warm, can easily compress this delicate structure. Instead of clean, distinct slices, you end up with squashed, uneven pieces that lose their wonderful crumb structure and visual appeal. It's like trying to slice a cloud – you need the right approach to maintain its form.
Moreover, the presentation of your brioche slices significantly enhances the enjoyment. Imagine serving perfectly uniform slices for French toast versus jagged, uneven ones. The former looks professional and inviting, while the latter can detract from the overall dining experience. Proper homemade brioche slicing techniques ensure that each slice is a testament to your baking skill, ready for whatever delicious use you have in mind, from elegant canapés to simple toast.
A Baker's Guide to Brioche Perfection
For any baker, the journey from raw ingredients to a finished loaf is a labor of love. Every step, from kneading the dough until it passes the windowpane test to achieving the perfect golden crust, contributes to the final masterpiece. Slicing is the final act before consumption, and it requires just as much attention to detail as the earlier stages. Think of it as the finishing touch on a culinary artwork – you wouldn't frame a painting poorly.
Understanding the nuances of homemade brioche slicing techniques is part of becoming a truly accomplished baker. It's not just about getting the bread cut; it's about preserving its quality. A well-sliced loaf stays fresher longer when stored correctly, and each slice offers the intended balance of crust and crumb. By applying the right techniques, you ensure that your hard work in the kitchen results in the best possible eating experience, showcasing the rich flavor and tender texture of your homemade brioche.
Preparing Your Homemade Brioche for Slicing
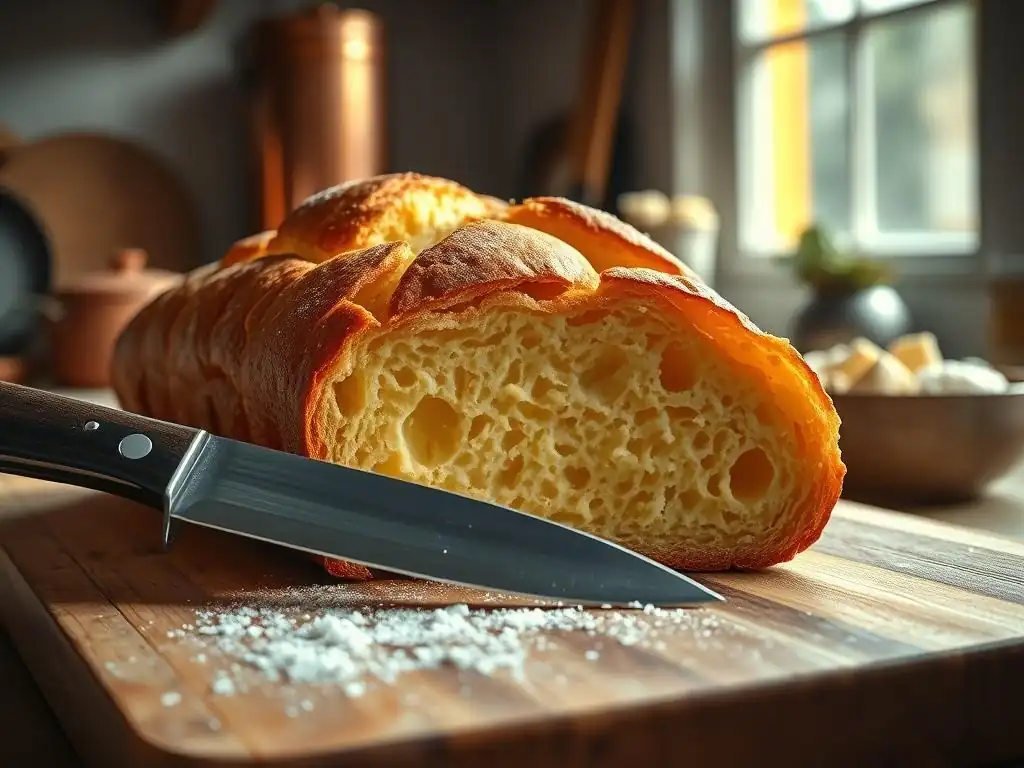
Before you even think about picking up a knife, there's a crucial preparatory step that determines the success of your brioche slicing: cooling. Skipping this step is perhaps the most common mistake bakers make, leading to frustratingly difficult cuts and a compromised texture. Proper cooling allows the internal structure of the bread to set, making it much easier to handle and slice cleanly.
Beyond cooling, having the right tools at your disposal is equally important. Just as you wouldn't knead dough with a spoon, you shouldn't attempt to slice delicate brioche with an inappropriate knife. The right tool, used correctly, is essential for achieving those desirable, clean slices without damaging the bread's delicate structure. Preparing your loaf and your tools correctly sets the stage for effortless and successful slicing.
Cooling Brioche for Optimal Texture
Cooling is absolutely non-negotiable when it comes to slicing homemade brioche. As the brioche cools, moisture redistributes evenly throughout the loaf, and the internal structure firms up. Attempting to slice a warm loaf results in steam escaping, which can make the crumb gummy and sticky, causing it to cling to the knife and tear easily. You'll likely end up with compressed, uneven slices and a squashed loaf center.
Allow your brioche to cool completely on a wire rack. This allows air circulation around the entire loaf, preventing the bottom from becoming soggy from condensation. A standard-sized loaf (like one baked in a 9x5 inch pan) typically needs at least 2-3 hours to cool fully at room temperature. For larger loaves or those baked in humid conditions, it might take even longer, potentially up to 4 hours. Patience is key here; waiting ensures the best texture and easiest slicing experience.
The Right Tools for Slicing Brioche: Knives and More
Choosing the correct knife is paramount for successful homemade brioche slicing. While a sharp chef's knife might work for some breads, the soft interior and often slightly tougher crust of brioche require a different approach. A knife designed specifically for bread is your best bet, as it can navigate the contrasting textures without crushing the delicate crumb.
Beyond the knife, consider your cutting surface. A stable cutting board is essential for safety and control. Some bakers also find a bread slicing guide box helpful, particularly when aiming for uniform slices for things like French toast or sandwiches. These simple wooden or plastic guides have slots that help you cut straight and consistently, ensuring every slice is the same thickness.
Serrated Bread Knife: The Brioche Baker's Best Friend
When it comes to slicing homemade brioche, a serrated bread knife reigns supreme. The saw-like edge of a serrated knife works by gently sawing through the bread rather than pressing down. This action minimizes compression on the delicate crumb, allowing the blade to cut through both the crust and the soft interior with minimal distortion. A sharp serrated knife glides through brioche, leaving clean edges behind.
Look for a serrated bread knife with a blade length of at least 8-10 inches. A longer blade allows you to slice across the entire width of most loaves in a single, smooth stroke, which further reduces the chance of squashing the bread. Ensure the serrations are sharp; a dull serrated knife can be just as damaging as a straight blade. Quality matters here; a good serrated knife will make a significant difference in your homemade brioche slicing techniques.
Mastering Homemade Brioche Slicing Techniques
With your perfectly cooled brioche and your trusty serrated knife ready, it's time to put those homemade brioche slicing techniques into practice. The key is to let the knife do the work, using a gentle sawing motion rather than forcing the blade down. Applying too much pressure is the quickest way to crush your beautiful loaf and ruin the delicate crumb structure you worked so hard to achieve.
Proper technique involves positioning the loaf correctly, using a steady hand, and employing the right motion. While it might seem intuitive, a little focus on technique can elevate your slicing from passable to professional. By following a few simple steps and keeping key principles in mind, you can consistently produce perfect slices of your homemade brioche.
The Classic Serrated Knife Method for Brioche
The standard and most effective method for slicing homemade brioche involves a sharp serrated bread knife and a gentle sawing motion. Place the cooled loaf on a stable cutting board. If your loaf has a distinct top and bottom (like a braided brioche), place it on its side for stability. If it's a standard pan loaf, placing it flat on the board is fine. Use your non-dominant hand to gently but firmly hold the loaf in place. Avoid gripping it too tightly, as this can cause compression.
Position the serrated knife where you want to start your slice. Begin the sawing motion, moving the knife back and forth across the loaf's width. Use the full length of the blade and apply minimal downward pressure. Let the serrations do the cutting. Continue the sawing motion until the knife has passed completely through the loaf. Lift the knife and repeat for the next slice, aiming for consistent thickness. This method ensures clean cuts without squashing the delicate crumb.
Step-by-Step Guide to Serrated Knife Slicing
- Ensure Complete Cooling: Wait at least 2-3 hours for a standard loaf to cool on a wire rack.
- Prepare Your Station: Place the cooled brioche loaf on a stable cutting board.
- Position the Loaf: Place the loaf on its side if it's a round or braided loaf for better stability. A pan loaf can rest flat.
- Grip the Knife: Hold your sharp serrated bread knife firmly but comfortably.
- Position the Blade: Place the knife edge where you want the first slice to begin.
- Initiate the Cut: Begin a gentle back-and-forth sawing motion with the knife, using the full length of the blade.
- Apply Minimal Pressure: Avoid pressing down hard. Let the serrations do the work.
- Complete the Slice: Continue the sawing motion until the knife cuts cleanly through the entire loaf.
- Repeat: Lift the knife and repeat the process for subsequent slices, aiming for uniform thickness.
This step-by-step approach, focusing on the gentle sawing motion and minimal pressure, is fundamental to successful homemade brioche slicing techniques. Consistency in your motion and pressure will lead to beautifully uniform slices. Practicing on a less delicate bread first might help build confidence before tackling your precious brioche.
Tips for Achieving Even Brioche Slices
Achieving uniform slices is key for aesthetic appeal and consistent cooking results, especially when making French toast or bread pudding. One helpful tip is to mark your desired slice thickness along the top of the loaf before you begin cutting. You can use a ruler and the tip of your knife to make small, shallow score marks as a guide. For example, marking every 3/4 inch can help you maintain consistency.
Another technique is to focus on keeping your hand steady and your knife blade perpendicular to the cutting board throughout the entire sawing motion. Avoid tilting the knife, which can lead to wedges or uneven slices. If you struggle with consistency, consider using a bread slicing guide box mentioned earlier. These guides provide physical barriers that ensure your knife passes through the loaf at a consistent angle and thickness, taking the guesswork out of the process and guaranteeing uniform homemade brioche slicing techniques.
Preventing Common Brioche Slicing Problems
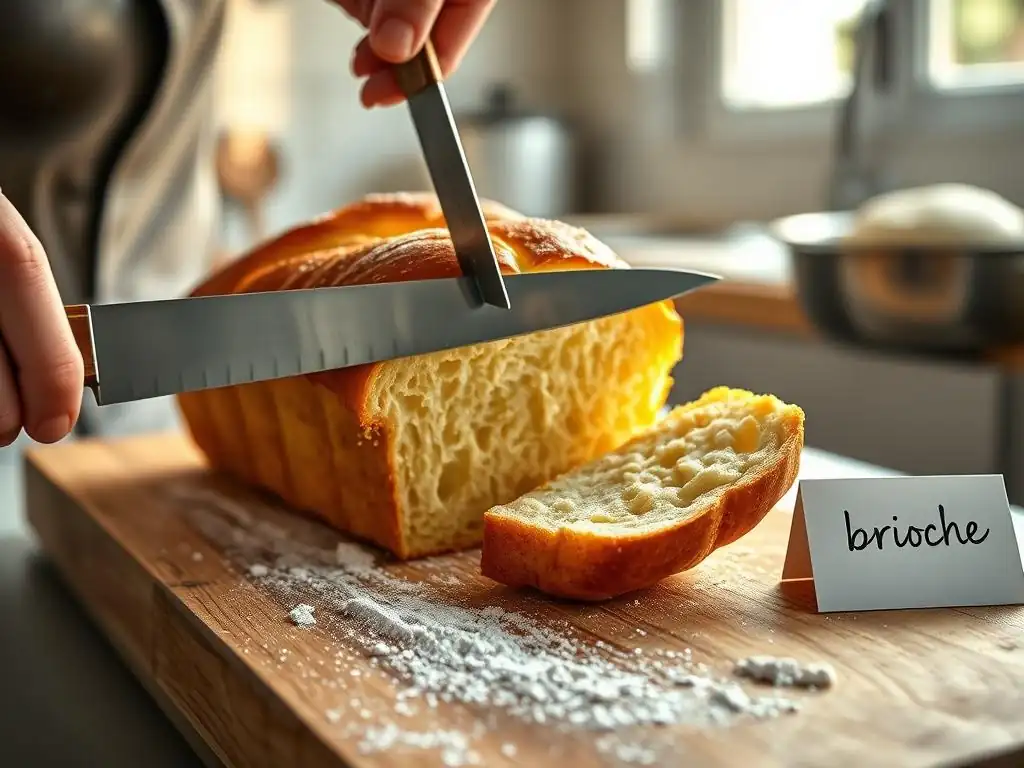
Even with the right tools and techniques, you might encounter a few challenges when slicing homemade brioche. The delicate nature of this bread makes it susceptible to crushing, especially if it's not fully cooled or if excessive pressure is applied. Understanding these common issues and how to avoid them is crucial for preserving the quality of your bake.
Sticky dough clinging to the knife can also be a frustrating problem, often indicating the bread isn't quite cool enough or the knife isn't sharp enough. Addressing these issues proactively ensures a smoother slicing experience and helps you maintain the beautiful texture of your brioche. Prevention is always easier than trying to salvage a poorly sliced loaf.
Avoiding Crushing Your Delicate Brioche Loaf
The primary cause of crushing when slicing homemade brioche is cutting it before it has fully cooled. As mentioned earlier, warm brioche is still structurally fragile and easily compressed. Ensure you allow ample cooling time, typically 2-4 hours depending on the loaf size and environment. Rushing this step is the most common culprit behind squashed slices.
Another major factor is applying too much downward pressure with your knife. Remember to let the serrated edge do the work with a gentle sawing motion. Imagine you are lightly gliding the knife back and forth rather than pushing it down. Holding the loaf too tightly with your non-cutting hand can also cause compression; use just enough pressure to stabilize it without deforming its shape. Patience and a light touch are your best allies in preventing crushing.
Dealing with Sticky Brioche Dough During Slicing
If you find sticky dough clinging to your knife as you slice, it's a strong indicator that your brioche hasn't cooled completely. The internal temperature is still too high, and the crumb hasn't fully set, causing it to stick to the blade. The best solution is to stop slicing and let the loaf cool for another hour or two on the wire rack.
Alternatively, a dull serrated knife can also exacerbate stickiness. A sharp blade cuts cleanly, reducing friction and the likelihood of dough sticking. Ensure your serrated knife is sharp; while sharpening serrated knives is different from straight blades, they do need maintenance. If the problem persists even with a fully cooled loaf and a sharp knife, very lightly dusting the blade with flour between slices can sometimes help, but this is usually a sign that the bread needed more cooling time.
Maintaining Brioche Freshness After Slicing
Once you've sliced your beautiful homemade brioche, the clock starts ticking on its freshness. The exposed surfaces of the slices can dry out relatively quickly compared to an unsliced loaf. To maintain that wonderfully soft texture, it's essential to store the sliced brioche properly immediately after cutting. Don't leave the cut loaf sitting out on the counter for extended periods.
Wrap the remaining unsliced portion of the loaf tightly in plastic wrap, ensuring no air can reach the cut surface. Store the individual slices you plan to use soon in an airtight container or a resealable plastic bag. Removing as much air as possible before sealing helps prevent moisture loss and keeps the brioche soft and delicious for longer. Proper post-slicing storage is a key part of the homemade brioche slicing techniques puzzle.
Serving Suggestions and Enjoying Your Sliced Brioche
Now that you've mastered the homemade brioche slicing techniques and have a pile of perfect slices, it's time for the best part: enjoying the fruits of your labor! Sliced brioche is incredibly versatile, lending itself beautifully to a wide array of sweet and savory applications. Its rich flavor and tender crumb elevate even simple dishes.
From classic morning favorites to decadent desserts, sliced brioche is a culinary canvas. Don't be afraid to experiment and find your favorite ways to use it. Whether you prefer it lightly toasted with a smear of jam or transformed into a luxurious bread pudding, each slice is a delightful experience thanks to your careful baking and slicing.
Classic Brioche Uses: Toast, Sandwiches, and More
Perhaps the simplest and most satisfying way to enjoy sliced homemade brioche is lightly toasted. The gentle heat warms the butter within the bread, making it incredibly fragrant and giving the crust a lovely crispness while keeping the interior soft. A smear of good butter, jam, or honey on warm brioche toast is pure bliss. The rich flavor of the brioche shines through beautifully.
Sliced brioche also makes exceptional sandwiches. Its sturdy yet tender structure holds up well to fillings, and its slightly sweet, eggy flavor pairs wonderfully with both sweet and savory ingredients. Think elegant tea sandwiches with cucumber and cream cheese, or elevate your everyday grilled cheese into a gourmet experience by using brioche slices. The soft crumb is delightful with fillings like smoked salmon, ham and cheese, or even just simple butter and sugar.
Creative Brioche Recipes: French Toast and Bread Pudding
Homemade brioche is arguably the best bread for making French toast. Its high fat and egg content means it absorbs the custard batter beautifully without becoming soggy, and it fries up into a golden, custardy dream. Using thick, even slices (about 1 inch thick is ideal) is key to achieving that perfect crispy exterior and soft, rich interior. A loaf can yield approximately 10-12 thick slices perfect for this application.
Beyond French toast, sliced brioche is the star of many decadent desserts. Brioche bread pudding is a classic for a reason – the rich bread transforms into a luxurious, comforting dessert when baked with a sweet custard. You can cube or tear the slices for bread pudding. Another creative use is making croutons for salads or soups; cube the slices, toss with olive oil and herbs, and bake until golden and crispy. These homemade brioche slicing techniques open up a world of culinary possibilities.
Pairing Suggestions: Complimenting Flavors for Your Brioche
The rich, buttery flavor of homemade brioche pairs well with a variety of ingredients. For sweet pairings, think about contrasting or enhancing its sweetness. Fresh berries, stone fruits like peaches or plums, and caramelized apples or bananas are fantastic alongside toasted brioche. Spreads like chocolate hazelnut spread, lemon curd, or simply a dusting of powdered sugar also work beautifully.
On the savory side, the subtle sweetness of brioche complements salty or rich flavors. It's excellent with cured meats like prosciutto or ham, smoked salmon, and various cheeses, from creamy brie to sharp cheddar. Consider using it for slider buns or small canapés topped with savory spreads. The richness also stands up well to robust flavors like roasted garlic or balsamic glaze. Experimenting with different pairings is part of the fun of having delicious sliced brioche on hand.
Storing Sliced Homemade Brioche for Lasting Freshness
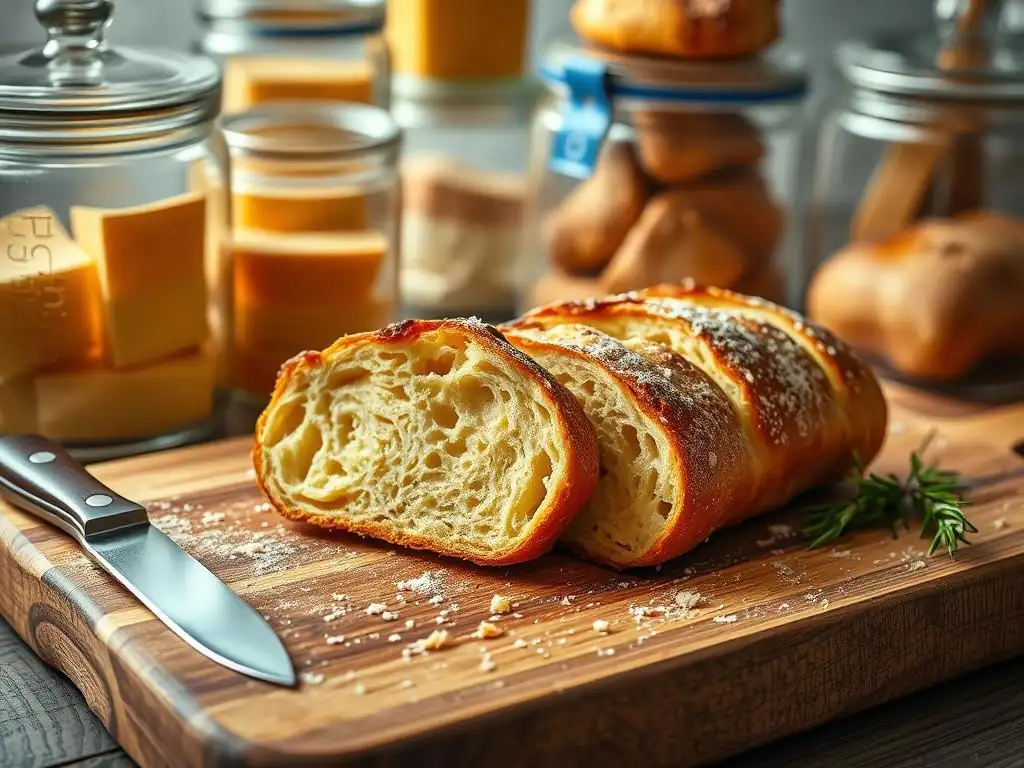
Proper storage is essential to keep your sliced homemade brioche soft and delicious for as long as possible. While an unsliced loaf stays fresh longer, sliced bread has more surface area exposed to air, which accelerates drying. Implementing good storage habits immediately after slicing will help preserve that wonderful texture you worked so hard to achieve.
Whether you plan to consume the brioche within a few days or save some for later, knowing the best methods for wrapping and storing will make a significant difference in its quality over time. Avoid leaving sliced brioche uncovered or simply in its original paper packaging, as this will quickly lead to staleness.
Proper Storage Methods to Keep Brioche Soft and Delicious
For short-term storage (1-3 days), the best way to keep sliced homemade brioche soft is to store it in an airtight environment at room temperature. Plastic wrap is very effective; wrap the remaining unsliced portion tightly, covering the cut end completely. For the individual slices, place them in a resealable plastic bag, squeezing out as much air as possible before sealing.
Another excellent option for storing sliced brioche is a dedicated bread box, provided it's relatively airtight, or a large airtight container. Avoid refrigerating brioche, as the cold temperature actually speeds up the staling process by promoting starch retrogradation, making the bread dry and firm faster than if left at room temperature. Store it away from direct sunlight or heat sources.
Freezing Sliced Brioche for Later Use
If you won't be using your sliced homemade brioche within a few days, freezing is an excellent option to preserve its quality for longer. Freezing effectively pauses the staling process. The key is to freeze it correctly to prevent freezer burn and maintain its texture upon thawing. Freezing can keep brioche fresh for up to 2-3 months.
To freeze, first ensure the brioche is completely cooled. Slice the loaf using your preferred homemade brioche slicing techniques. For easy thawing and access, you can place parchment paper or wax paper between the slices before stacking them. Wrap the stack tightly in plastic wrap, then place the wrapped stack inside a resealable freezer bag, pressing out all the air before sealing. Label the bag with the date.
Tips for Reheating Sliced Frozen Brioche
When you're ready to enjoy your frozen sliced brioche, there are a few ways to thaw and reheat it to bring back its delightful texture. The simplest method is to take the desired number of slices from the freezer bag and let them thaw at room temperature for about 15-30 minutes, depending on thickness. Once thawed, they can be eaten as is or toasted.
For a warmer, more "freshly baked" feel, you can gently reheat thawed slices. Pop them in a toaster on a low setting, or warm them in a preheated oven at a low temperature (around 300°F or 150°C) for a few minutes until warmed through. If you're making French toast, you can often use the slices directly from frozen; the soaking time in the custard will allow them to thaw before cooking. Proper thawing and reheating ensure that your frozen slices are just as enjoyable as when they were first cut using your expert homemade brioche slicing techniques.
Conclusion: Enjoying the Fruits (and Breads) of Your Labor
Baking a beautiful homemade brioche loaf is a rewarding experience, a testament to your patience and skill in the kitchen. From the rich ingredients to the careful kneading and proofing, every step contributes to the final, delectable result. Mastering the art of slicing is the final, crucial step that ensures you can fully appreciate the wonderful texture and flavor you've created without disappointment.
By understanding the importance of cooling, using the right tools like a sharp serrated knife, and employing gentle, effective homemade brioche slicing techniques, you can effortlessly cut perfect, even slices every time. Preventing common issues like crushing and stickiness ensures that each slice maintains its delicate crumb structure. And with proper storage methods, you can enjoy the fruits (or rather, the breads) of your labor for days or even months to come.
Recap of Key Brioche Slicing Techniques
To recap the essential homemade brioche slicing techniques, remember these key takeaways: Always allow your brioche to cool completely on a wire rack for at least 2-4 hours before attempting to slice it. This is perhaps the single most important step to prevent crushing and stickiness. Trying to slice warm brioche is the most common pitfall.
Equip yourself with a sharp serrated bread knife, ideally 8-10 inches long. Use a gentle back-and-forth sawing motion with minimal downward pressure, allowing the serrations to cut through the loaf. Hold the loaf gently but firmly to stabilize it without deforming its shape. For consistency, consider using a bread slicing guide or marking your desired slice thickness beforehand. Finally, store any unused sliced brioche immediately in an airtight container or bag at room temperature, or freeze it for longer storage, ensuring your delicious bake stays fresh and ready to enjoy.
Frequently Asked Questions
How soon after baking should I slice my homemade brioche?
It's best to let your brioche cool completely before slicing. This usually takes at least one to two hours. Slicing it while warm can lead to squishing and a less attractive presentation.
What is the best type of knife to use for slicing brioche?
A serrated bread knife is the ideal tool. Its saw-like edge helps to cut through the soft, enriched dough without tearing or compressing it.
What are some techniques to prevent brioche from crumbling during slicing?
Ensure the brioche is fully cooled. Also, use a gentle sawing motion rather than pressing down hard. A sharp knife is also absolutely essential.
How thick should I slice my homemade brioche?
The ideal thickness depends on your intended use. For toast or sandwiches, aim for about 1/2 inch. Adjust to your preference, but avoid slices that are too thin or thick.
What are some creative ways to enjoy sliced homemade brioche?
Beyond toast and sandwiches, try using it for French toast, bread pudding, or even as a base for savory appetizers. The rich flavor and texture of brioche make it incredibly versatile.
Final Reflection: The Art and Soul of the Brioche Slice
The perfect slice of homemade brioche isn't just about technique; it's about unlocking the full potential of this rich, buttery bread. From the initial kneading to the final golden-brown bake, every step contributes to that ultimate moment: the first bite. This article explored various slicing methods, highlighting how the right technique can elevate the entire experience, transforming a simple loaf into a culinary masterpiece.
The journey of crafting and then savoring homemade brioche is deeply personal. It’s a testament to the power of simple ingredients transformed by time, care, and skill. Bread is the staff of life,
they say, and this rings especially true for the brioche, a bread that embodies comfort, celebration, and the artistry of baking. The act of slicing, therefore, becomes more than a mere preparation; it's a ritual, a final act of respect for the labor and love poured into its creation. It's a moment to appreciate the texture, the aroma, the subtle sweetness that unfolds with each carefully cut piece.
Now, consider your own approach to slicing your homemade brioche. Do you favor a clean, precise cut, or a more rustic, uneven approach? Perhaps you've discovered a unique technique of your own? I encourage you to experiment, to find the method that best complements your loaf and your personal preferences. The perfect slice is subjective, a reflection of your individual taste and appreciation for this exquisite bread. Embrace the process, savor the moment, and let the joy of homemade brioche fill your kitchen and your heart.
Unlock Brioche Bliss: Your Next Baking Adventure Awaits!
Thanks for joining us on this delicious journey into the world of homemade brioche! We hope you've gained some valuable tips and tricks to perfect your baking skills. Now it's time to put your newfound knowledge into action.
- Bake your own brioche masterpiece today! Use our recipe (found earlier in the article) as a starting point—experiment with different flavors and glazes to truly personalize your creation.
- Share your baking success with the BakeWithEase community! Post a picture of your brioche on social media using #BakeWithEaseBrioche and tag us—we love seeing your creations!
- Challenge yourself: Try a new brioche technique from our extensive recipe library or browse different bread types for your next baking adventure.
Ready to transform your kitchen into a fragrant haven of freshly baked brioche? What unique twist will you add to your next batch?