
Rolling and Shaping Croissants Like a Pro (The Easy Way)

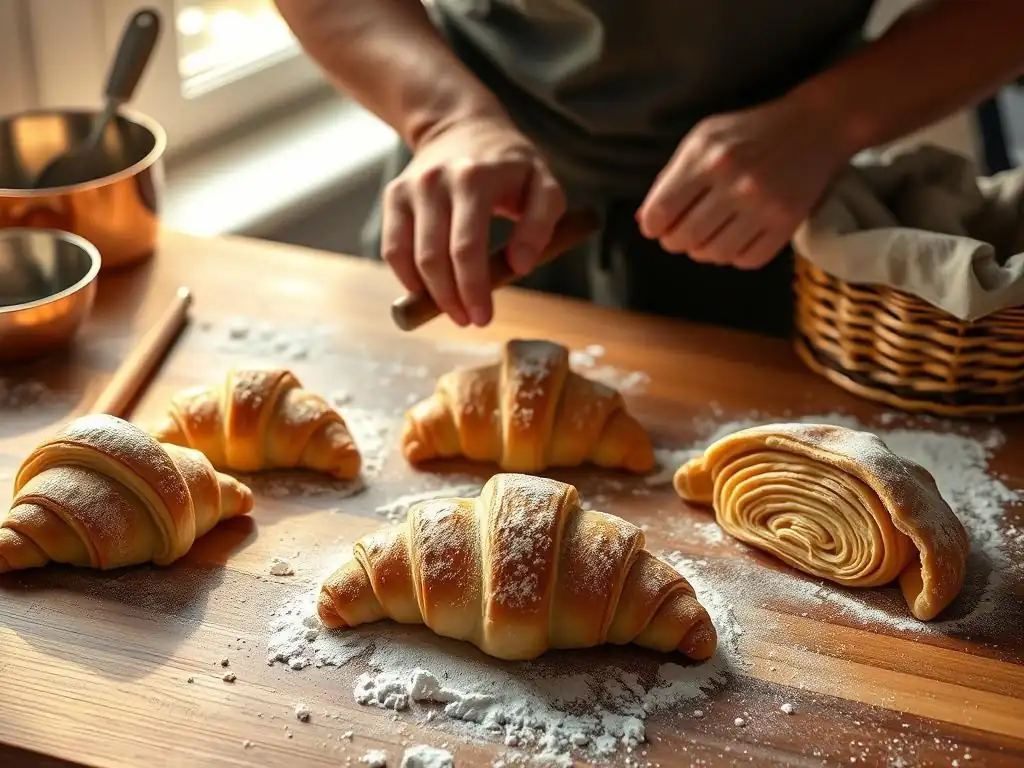
Welcome to BakeWithEase, your guide to transforming simple ingredients into delectable creations! Are you ready to elevate your baking game and impress everyone with perfectly formed pastries? This week, we're tackling a baking challenge many find daunting: mastering easy croissant shaping techniques. Forget complicated methods; we'll reveal the secrets to creating those beautiful, flaky layers with minimal effort. Intrigued? Let's get rolling and discover how you can achieve professional-looking croissants in your own kitchen!
- BakeWithEase: Mastering Croissant Shaping at Home
- Understanding the Fundamentals of Croissant Dough for Easy Shaping
- Easy Croissant Shaping Techniques: A Step-by-Step Guide
- Troubleshooting Common Croissant Shaping Problems
- Pro Tips for Perfectly Shaped Croissants
- Baking Your Perfectly Shaped Croissants
- Beyond the Basics: Exploring Croissant Variations
- Conclusion: Mastering Easy Croissant Shaping Techniques with BakeWithEase
-
Frequently Asked Questions
- How can I ensure my croissant dough is cold enough for easy shaping?
- What's the easiest way to cut the triangles for croissant shaping?
- What's the secret to getting those perfect layers in my croissants?
- How tightly should I roll the croissant dough when shaping?
- What's the best way to proof my shaped croissants before baking?
- Final Reflection: Mastering the Flaky Delight: Croissants, Simplified
- Unleash Your Inner Pastry Chef: Master the Croissant!
BakeWithEase: Mastering Croissant Shaping at Home
Welcome to the BakeWithEase Guide to Perfect Croissants
Welcome, fellow baking enthusiasts, to our comprehensive guide on mastering easy croissant shaping techniques right in your own kitchen! Croissants might seem intimidating with their buttery layers and delicate shape, but with the right approach and a few simple techniques, you can achieve bakery-quality results. We'll walk you through the process, focusing on methods that make shaping croissants easily accessible for home bakers of all levels.
This article is designed to demystify the shaping process, turning a potentially daunting task into an enjoyable part of your baking journey. We'll cover everything from understanding the fundamental dough properties to specific techniques that yield beautifully formed croissants. Whether you're aiming for the classic curve or a modern straight shape, our step-by-step instructions and practical tips will help you gain confidence and produce delicious, flaky pastries using simple croissant shaping techniques.
Understanding the Fundamentals of Croissant Dough for Easy Shaping
The Importance of Cold Dough in Croissant Making
Working with cold dough is absolutely crucial for successful croissant shaping. The butter incorporated during the lamination process needs to remain solid and distinct within the dough layers. If the dough warms up, the butter softens and can melt into the dough, destroying the delicate layers that create the signature flakiness. A well-chilled dough, typically kept at around 4°C (39°F) between folds and before shaping, is firm and much easier to handle without becoming sticky.
Maintaining a low temperature prevents the butter from squeezing out during rolling and shaping. This ensures that when the croissants bake, the butter melts rapidly, creating steam that pushes the dough layers apart, resulting in that airy, flaky interior. Trying to shape dough that is too warm will inevitably lead to frustration, sticky hands, and a less than ideal final product. So, remember: cold dough is your best friend for easy croissant shaping techniques.
Laminating Dough: Creating Layers for Flaky Croissants
Lamination is the process of repeatedly folding and rolling dough with a layer of butter enclosed within it. This creates hundreds, if not thousands, of alternating thin layers of dough and butter. For example, a dough laminated with three folds (like a book fold followed by two single folds) can result in over 700 layers! These layers are the secret behind the incredible flakiness of a perfect croissant.
Achieving even layers during lamination is key to easy croissant shaping techniques later on. Each fold and roll should be done carefully, ensuring the dough is rolled to a consistent thickness before folding. Resting the dough in the refrigerator between folds allows the gluten to relax and the butter to firm up, making the dough pliable but resistant to tearing. This meticulous process, while requiring patience, sets the foundation for effortless shaping and a truly spectacular texture.
Easy Croissant Shaping Techniques: A Step-by-Step Guide
Step 1: Preparing the Dough for Shaping
Dividing the Dough into Triangles for Consistent Croissants
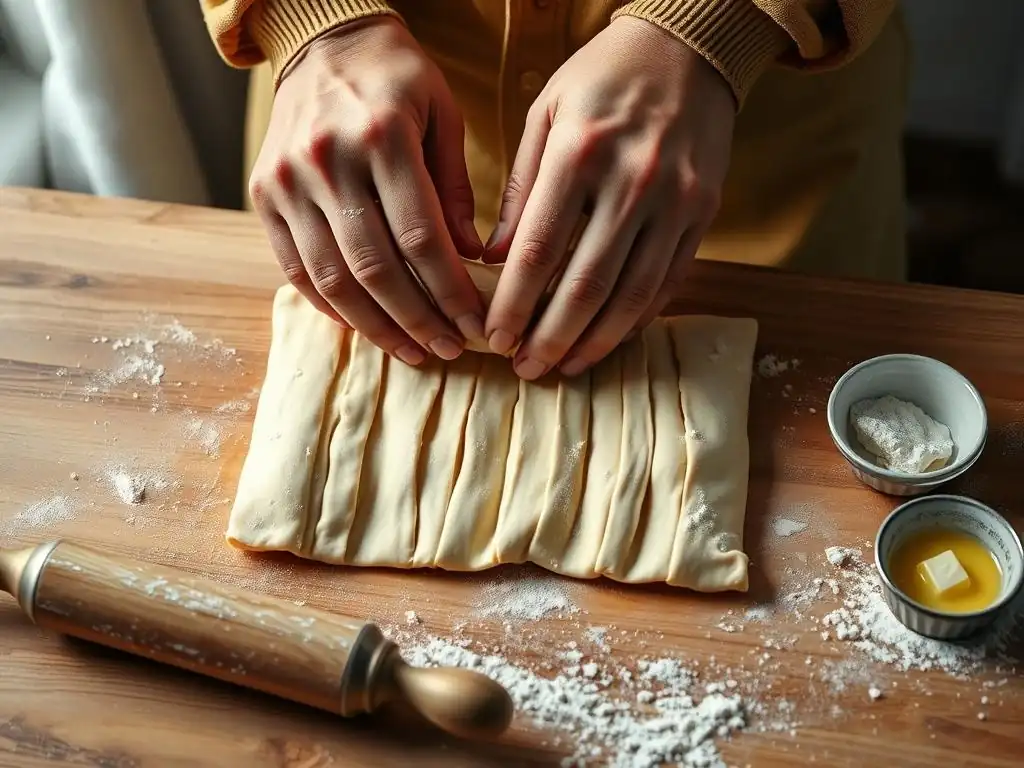
Once your laminated dough has completed its final rest and is well-chilled, it's time to prepare it for shaping. The dough should be rolled out evenly to a thickness of typically 4-5 mm (about 1/6 to 1/5 inch). A consistent thickness across the entire sheet is vital for uniform croissants. Using a sharp knife or pizza cutter, trim the edges to create a clean rectangle. Then, using a ruler as a guide, mark points along the top and bottom edges to create a series of isosceles triangles.
For standard-sized croissants, the base of each triangle is usually around 8-10 cm (3-4 inches), and the length from base to tip is roughly 25-30 cm (10-12 inches). Cutting precise, uniform triangles is the first step towards achieving consistent croissant shapes. This preparation ensures that each croissant starts with the same amount of dough, leading to even baking and a professional appearance.
Resting the Dough: Essential for Easy Handling
After cutting the triangles, it's beneficial to let them rest briefly before shaping. While the dough is already cold from refrigeration, handling and cutting can cause it to warm slightly and the gluten to become tense. A short rest, perhaps 10-15 minutes in the refrigerator (or even freezer for a few minutes if your kitchen is warm), allows the dough to relax.
This relaxation makes the dough much more pliable and easier to stretch without tearing during the shaping process. It prevents the dough from springing back excessively when you try to roll it, which is a common frustration. Taking this small extra step ensures that your easy croissant shaping techniques go smoothly and you can roll your triangles effectively.
Step 2: The Basic Croissant Roll: A Beginner-Friendly Method
Stretching the Triangle: Creating Length for More Layers
Start with one cold dough triangle on a lightly floured surface. Gently stretch the dough triangle, pulling from the base towards the tip. You want to elongate the triangle, making it thinner and longer, perhaps increasing its length by 5-10 cm (2-4 inches). Some bakers like to make a small notch or cut in the center of the base of the triangle, about 1-2 cm deep.
This stretching and optional notch helps create more turns as you roll, leading to more layers in the final croissant. It also makes it easier to start the rolling process evenly. Be firm but gentle; avoid tearing the dough, which can cause butter leaks during baking. This simple stretching step is a key part of achieving flaky layers using easy croissant shaping techniques.
Rolling from Base to Tip: Achieving the Classic Croissant Shape
Begin rolling the triangle from the wide base towards the pointed tip. Use even pressure across the width of the base as you start. As you roll, guide the sides inwards slightly, maintaining a relatively tight coil. The goal is to create a uniform spiral from the base to the tip.
Continue rolling until you reach the pointed end. The weight of the dough itself often helps in the final stages. This rolling motion is the core of basic croissant shaping techniques, transforming a flat triangle into a three-dimensional pastry ready for proofing and baking.
Securing the Tip: Preventing Unraveling During Baking
Once you've rolled the croissant completely, the pointed tip should end up on the bottom of the roll. Press the tip gently onto the dough to secure it. Some bakers even tuck the tip slightly underneath the croissant.
Ensuring the tip is well-secured is important to prevent the croissant from unraveling during the proofing or baking process. This simple action helps the croissant maintain its shape as it expands and bakes, ensuring your easy croissant shaping techniques result in visually appealing pastries.
Step 3: Advanced Croissant Shaping Techniques for a Professional Look
The Straight Croissant: A Modern and Elegant Variation
While the classic crescent shape is iconic, the straight croissant offers a sleek, modern aesthetic. To shape a straight croissant using easy croissant shaping techniques, follow the same steps for cutting and preparing the dough triangles. When you roll, however, avoid curving the ends inwards.
Roll the triangle straight, keeping the body of the croissant relatively straight. The tip should still be secured underneath. This results in a longer, straighter pastry. Many bakeries now prefer the straight shape as it can sometimes yield a more consistent crumb structure throughout the length of the croissant. It's a simple variation on the basic roll.
The Curved Croissant: The Traditional and Flaky Favorite
To achieve the traditional curved shape, after rolling the triangle and securing the tip, gently curve the ends of the rolled croissant inwards towards the center. This creates the classic crescent moon shape that is instantly recognizable.
The curve is primarily for aesthetics, but some argue it can influence the texture slightly, particularly at the curved ends. When shaping the curve, be careful not to compress the layers you've just created. A gentle touch is key to preserving the internal structure while achieving the desired shape. This remains a beloved and easy croissant shaping technique for many home bakers.
Tips for Achieving Uniform Croissant Shapes
Consistency is key for professional-looking croissants.
- Use a ruler when cutting your triangles to ensure they are the same size.
- Roll the dough to a uniform thickness before cutting.
- Practice the stretching and rolling motion to develop muscle memory.
- Work quickly but carefully to keep the dough cold.
- If the dough becomes too warm, pop it back in the fridge for 10-15 minutes.
- [x] Ensure dough is cold before cutting.
- [x] Measure triangles for consistency.
- [x] Stretch dough gently before rolling.
- [x] Roll from base to tip with even pressure.
- [x] Secure the tip firmly.
- [x] Curve gently for traditional shape (optional).
Following these steps and tips will greatly improve the uniformity of your batch, making your easy croissant shaping techniques yield beautiful results every time.
Troubleshooting Common Croissant Shaping Problems
Dough Too Warm: Solutions for Sticky Dough
A common issue when shaping croissants is the dough becoming too warm, leading to stickiness and difficulty in handling. When the dough is too warm, the butter starts to soften, making the dough prone to tearing and the layers less defined. If you notice the dough becoming sticky or the butter starting to ooze, stop working immediately.
Place the dough triangles or the entire sheet back into the refrigerator for at least 15-20 minutes, or even the freezer for 5-10 minutes, until it is firm and cold to the touch again. Working in a cool kitchen environment also helps. You can even chill your rolling pin briefly. Patience is key here; trying to force warm, sticky dough into shape will only lead to frustration and poor results. Keeping the dough cold is fundamental to easy croissant shaping techniques.
Uneven Layers: Tips for Consistent Lamination
Uneven layers often stem from inconsistent rolling during the lamination process or uneven cutting of the dough sheet. If the dough is not rolled to a uniform thickness before each fold, or if the butter block isn't evenly distributed, you'll end up with areas that are dough-heavy and areas that are butter-heavy.
To improve consistency, ensure your rolling surface is level and you apply even pressure across the dough as you roll. Use a ruler if necessary to check the thickness periodically. Make sure the dough is well-rested and pliable before rolling to prevent tearing, which also disrupts layers. While achieving perfectly uniform layers takes practice, focusing on even rolling and chilling between folds are the best steps for consistent results.
Croissants Unraveling: Preventing and Fixing the Issue
Croissants unraveling during proofing or baking is usually a sign that the tip wasn't secured properly or the dough wasn't rolled tightly enough at the base. The expansion during proofing and the rapid rise in the oven can cause loosely secured tips to detach and the croissant to unfold.
To prevent this, make sure the pointed tip is firmly pressed onto the underside of the rolled croissant. You can even brush the tip with a tiny amount of water before pressing it down to help it adhere. Rolling the base of the triangle slightly tighter when you begin the roll also helps create tension that holds the shape together. If a croissant starts to unravel during proofing, you can sometimes gently re-secure the tip, but it's best to focus on proper technique during the initial easy croissant shaping techniques.
Pro Tips for Perfectly Shaped Croissants
Using a Croissant Cutter for Uniformity
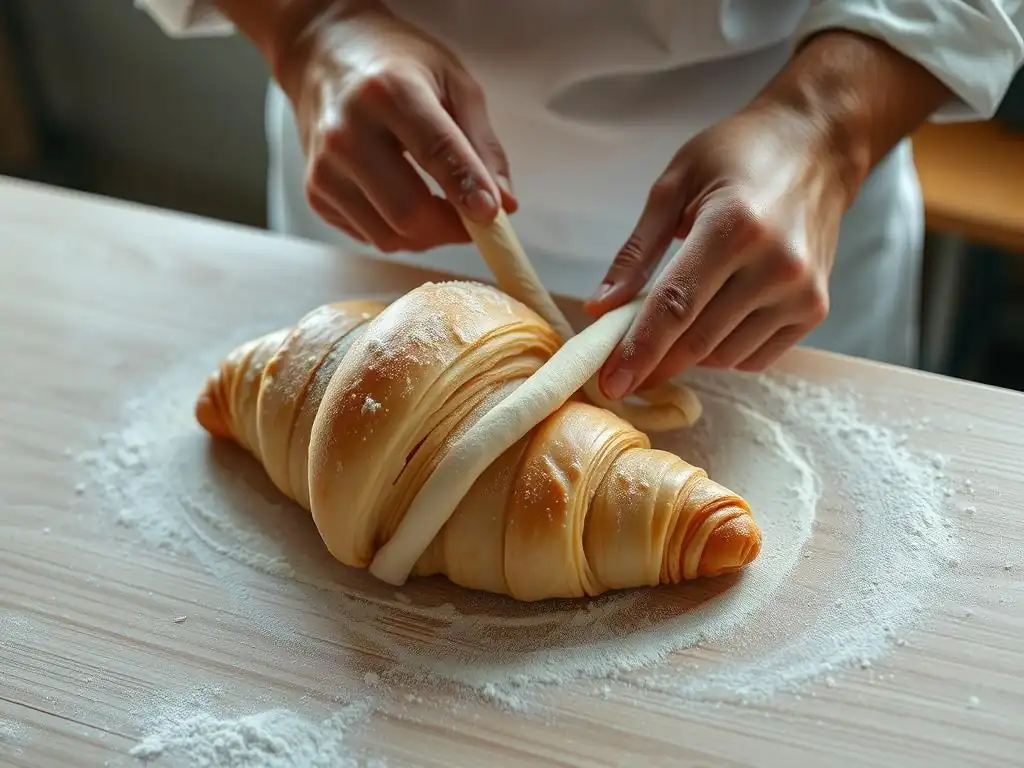
For ultimate consistency and speed, especially if making large batches, a specialized croissant cutter can be a game-changer. This tool is a rolling cutter designed to cut multiple triangles of the exact same size and shape from a sheet of dough in one pass.
Using a croissant cutter ensures that every single triangle is identical, eliminating variations that can occur with hand-cutting. This leads to a batch of croissants that are uniform in size and shape, which is particularly important for even baking. While not essential, a croissant cutter simplifies the preparation step and makes achieving consistent results with your easy croissant shaping techniques much easier.
The Importance of a Sharp Knife or Pizza Wheel
If you are cutting your croissants by hand, using a very sharp knife or a sharp pizza wheel is crucial. A dull blade will drag and compress the delicate dough layers, potentially sealing them together and hindering the flaky rise.
A sharp tool cuts cleanly through the dough and butter layers without smearing or compressing them. This preserves the integrity of the lamination, ensuring maximum puff and flakiness during baking. A simple, sharp pizza wheel is often preferred for its ease of use and ability to make long, clean cuts across the dough sheet.
Proofing Shaped Croissants: Achieving Maximum Volume
Shaping is only part of the equation; proper proofing is essential for achieving maximum volume and a light, airy texture. After shaping, croissants need to proof in a warm, humid environment until they are visibly puffy and jiggly. This can take anywhere from 2 to 3 hours at room temperature (around 24-26°C or 75-79°F) or longer if proofing in a cooler spot or overnight in the refrigerator.
During proofing, the yeast ferments, producing gas that expands the dough, and the butter remains solid (or just starting to soften slightly). The croissants should look significantly larger and the layers should be more defined. They are properly proofed when they jiggle gently if the tray is nudged and they look inflated but not so fragile that they might collapse. Over-proofing can lead to collapsed layers in the oven, while under-proofing results in dense croissants.
Baking Your Perfectly Shaped Croissants
Oven Temperature and Baking Time for Golden-Brown Croissants
Baking croissants requires a hot oven to ensure the butter melts quickly and creates steam, forcing the layers apart. A common starting temperature is around 200°C (400°F). Croissants are typically baked for 15-25 minutes, depending on their size and your oven.
Begin baking at the higher temperature for the first 10-15 minutes to achieve maximum lift and golden color, then you can reduce the temperature slightly (to around 180°C or 350°F) for the remaining time to ensure the interior cooks through without the exterior burning. The croissants are done when they are deep golden brown all over, including the sides.
The Final Result: Enjoying Your Homemade Croissants
The moment of truth arrives when you pull your batch of golden, puffy croissants from the oven. The result of applying easy croissant shaping techniques, careful lamination, and proper proofing is a pastry that is crispy and flaky on the outside, with a tender, airy, and buttery interior.
Allow them to cool on a wire rack for just a few minutes before tearing into one. The aroma alone is incredibly rewarding. Enjoying a warm, homemade croissant is one of baking's greatest pleasures, a testament to the care and technique you've put into every step, from lamination to easy croissant shaping techniques.
Beyond the Basics: Exploring Croissant Variations
Chocolate Croissants (Pain au Chocolat): Easy Shaping Techniques
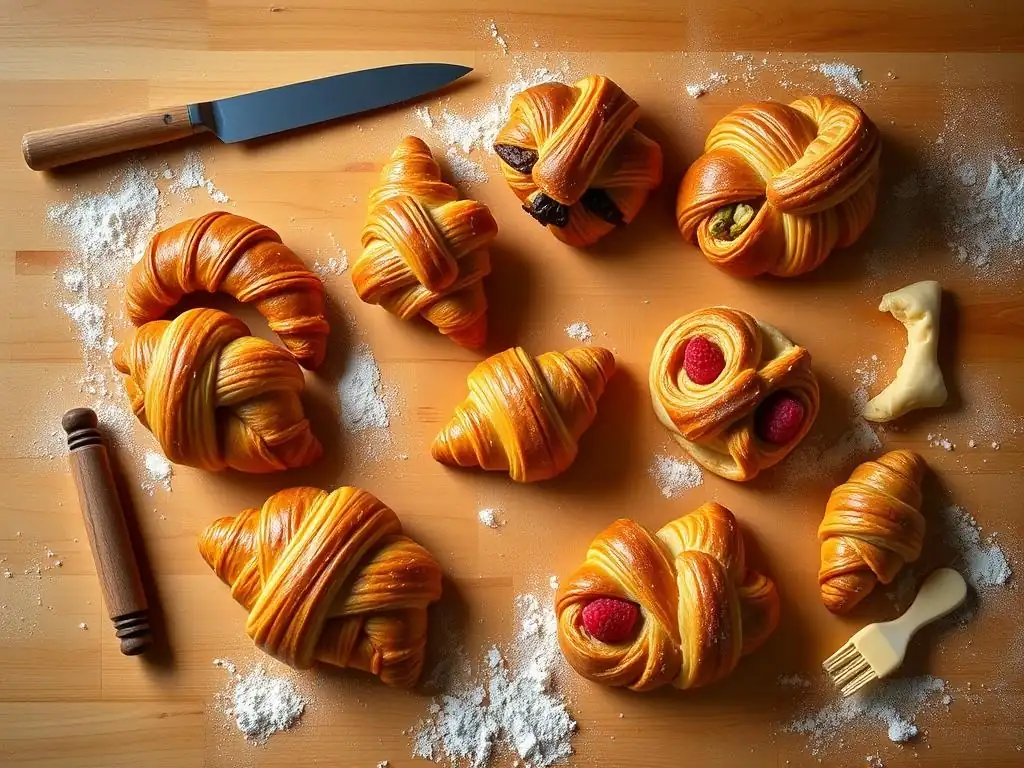
Once you've mastered the basic croissant, exploring variations is exciting. Chocolate croissants, or Pain au Chocolat, are a popular next step. The easy croissant shaping technique here involves placing one or two batons of dark chocolate at the base of the dough triangle before rolling.
Simply place the chocolate baton(s) parallel to the base, then roll the triangle up as usual. The chocolate gets encased in the layers as you roll. Ensure the chocolate is completely enclosed to prevent it from leaking out during baking. It's a simple adaptation of the basic roll.
Almond Croissants: Transforming Leftover Croissants
Almond croissants are a fantastic way to use day-old croissants. While not a shaping technique from raw dough, it's a common variation. The process involves slicing the croissant horizontally, dipping or brushing it with a sugar syrup (often flavored with rum or almond extract), filling it with frangipane (almond cream), reassembling, topping with more frangipane and sliced almonds, and baking again until golden.
This transformation gives stale croissants a new life and a rich, nutty flavor. It's a great example of how versatile the basic croissant can be and a delicious reward for your initial efforts in easy croissant shaping techniques.
Savory Croissants: Experimenting with Fillings and Shapes
Croissants don't have to be sweet! Savory fillings like ham and cheese, spinach and feta, or mushroom and herbs can be incorporated. For savory croissants, you can either roll the filling inside the dough triangle before shaping (similar to Pain au Chocolat) or slice shaped and proofed croissants open and fill them before a final quick bake.
Experimenting with shapes is also possible. You can form squares or rectangles and fold them around fillings, creating different types of savory pastries using variations of your easy croissant shaping techniques. The key is to ensure fillings are not too wet, which can make the dough soggy.
Conclusion: Mastering Easy Croissant Shaping Techniques with BakeWithEase
Mastering easy croissant shaping techniques is a rewarding skill that opens the door to creating incredible pastries at home. From understanding the critical role of cold dough and lamination to practicing the basic roll and exploring variations like Pain au Chocolat, each step brings you closer to croissant perfection.
Remember that practice makes perfect. Don't be discouraged if your first batch isn't picture-perfect. With each attempt, your understanding of the dough will grow, and your easy croissant shaping techniques will become more refined. At BakeWithEase, we believe that with clear guidance and a little patience, anyone can learn to shape and bake beautiful, flaky croissants. Keep practicing, stay patient, and enjoy the delicious process!
Frequently Asked Questions
How can I ensure my croissant dough is cold enough for easy shaping?
Keeping your dough cold is crucial! Place your dough in the refrigerator for at least 30 minutes before shaping. You can also chill your rolling pin and work surface for optimal results.
What's the easiest way to cut the triangles for croissant shaping?
Using a pizza cutter or a sharp knife is recommended. Roll the dough into a circle and then cut it into triangles like you would a pizza.
What's the secret to getting those perfect layers in my croissants?
The layers come from the laminated dough, which is alternating layers of dough and butter. Careful folding and chilling are essential to keep the butter solid and create those distinct layers.
How tightly should I roll the croissant dough when shaping?
Roll the dough firmly but not too tightly. A tight roll will prevent proper rising, while a loose roll will result in a flat croissant. Aim for a balance between tightness and flexibility.
What's the best way to proof my shaped croissants before baking?
Proofing is key to a light and airy croissant. Place the shaped croissants on a baking sheet lined with parchment paper and proof in a warm, humid environment until they have almost doubled in size.
Final Reflection: Mastering the Flaky Delight: Croissants, Simplified
The pursuit of the perfect croissant, once a culinary Everest, is now within everyone's reach. This article has demonstrated that achieving that signature layered, buttery texture doesn't require years of pastry school or superhuman patience. By breaking down the process into manageable, easily understood steps, we've shown that anyone can confidently roll and shape croissants at home.
The joy of baking, and specifically the satisfaction of creating something as beautiful and delicious as a croissant, transcends mere culinary skill. It's a connection to tradition, a celebration of simple ingredients transformed into something extraordinary. Baking is at once child's play and adult joy. And love, of course.
This quote perfectly encapsulates the feeling of accomplishment and the sheer pleasure derived from mastering a challenging recipe, like the croissant. The impact of accessible baking techniques extends beyond individual kitchens; it fosters a sense of community and shared experience, connecting people through a common love of food.
Now, it's your turn. Don't let the perceived complexity of croissant-making intimidate you. Take the techniques outlined in this article, experiment with them, and embrace the process. The journey of creating your own perfect, flaky croissant is as rewarding as the final bite. Remember, even small successes build confidence, and with each croissant you shape, you'll refine your skills and deepen your appreciation for this timeless pastry. So, gather your ingredients, roll up your sleeves, and unleash your inner pastry chef!
Unleash Your Inner Pastry Chef: Master the Croissant!
Thanks for taking the time to explore the art of croissant-making with us! We hope you've gained the confidence to tackle this seemingly daunting pastry. Ready to put your new skills to the test?
- Bake your own perfect croissants: Grab your ingredients and follow the recipe again – this time, experiment with a different filling or shaping technique. The possibilities are endless!
- Share your croissant creations: Show off your baking prowess on social media and tag us! Use #BakeWithEaseCroissants to join our community of croissant enthusiasts.
- Explore our other recipes: Discover more simple yet impressive baking projects on our website – we have plenty of delicious ideas waiting for you!
Ready to share your amazing croissant journey with the BakeWithEase community? What unique twist will you add to your next batch?