
Frozen Cookie Dough Balls Spreading Too Much? Set Shape with These Tips

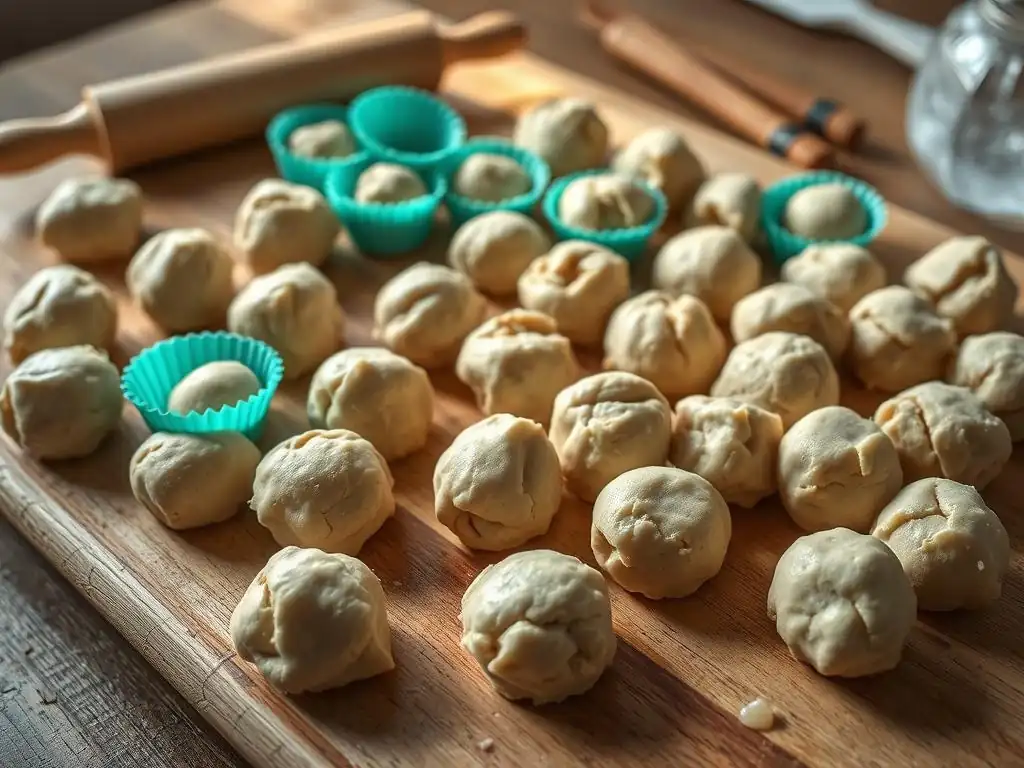
Welcome to BakeWithEase, your compass in the delightful world of baking! Ever wrestled with frozen cookie dough spreading too much in the oven? You're not alone! Unlock the secrets to perfectly shaped cookies every time with our essential tips and tricks. Discover how to conquer that common baking frustration and achieve bakery-worthy results. Ready to bid farewell to flat, shapeless cookies? Let's dive in!
- Preventing Cookie Spread: Expert Baking Tips
- Understanding Cookie Spread
- Troubleshooting Cookie Spread: Practical Tips
- Preventing Spread Before Baking: Proactive Measures
- Rescue Techniques: Fixing Spreading Cookies
- Achieving Perfectly Shaped Cookies: Best Practices
-
Frequently Asked Questions
- What causes frozen cookie dough balls to spread excessively during baking?
- How long should I thaw frozen cookie dough balls before baking?
- Can the type of baking sheet affect how much my frozen cookie dough spreads?
- What temperature should my oven be for baking frozen cookie dough balls to minimize spreading?
- Besides freezing, what other techniques can help prevent cookie dough from spreading while baking?
- Final Reflection: The Perfect Cookie Dough Ball: A Testament to Precision and Patience
- Unleash Your Perfectly Shaped Cookie Dough Balls!
Cookie spread is a complex interaction of ingredients and heat during baking. As the cookie dough heats up in the oven, the fat (usually butter) melts. This melting fat causes the dough to loosen and spread outwards before the other ingredients have a chance to set.
Simultaneously, leavening agents like baking soda or baking powder produce gas, which contributes to the cookie rising and further influences its shape and spread. The rate at which the fat melts compared to when the structure sets (due to proteins in flour and eggs coagulating and sugars melting and caramelizing) dictates how much the cookie spreads.
The gluten structure developed in the flour also plays a role, though often minimal in tender cookie recipes. A dough with slightly more developed gluten might resist spread slightly more than one with very little. Sugars melting contribute to the final crispness and color, but also add to the initial liquefaction of the dough, promoting spread.
For example, butter melts around 90-95°F (32-35°C), while sugar doesn't significantly melt until over 300°F (150°C), but its presence affects the dough's viscosity as heat increases. Understanding this interplay is key to controlling your frozen cookie dough spreading tips and achieving the desired shape.
Several factors contribute to cookies spreading too much. One primary culprit is using butter that is too soft or melted. When butter is already liquid, it provides no structure to the dough in the initial crucial moments in the oven, leading to immediate and excessive spread. Another common issue is inaccurate ingredient measurements, particularly too little flour or too much sugar or fat. An imbalance can make the dough too wet or too weak to hold its shape.
Other causes include baking on warm baking sheets (always use cool sheets for each batch), overcrowding the pan (which affects air circulation), or using an oven that isn't preheated properly or has an inaccurate temperature. For example, if your recipe calls for 1 cup of flour but you only add 3/4 cup, the dough lacks the necessary structural component to resist the melting fat, resulting in thin, widespread cookies. Similarly, using vegetable oil instead of solid or softened butter will almost always lead to more spread because the fat is liquid at room temperature.

Tip 1: Chill Dough Thoroughly
Chilling cookie dough is perhaps the most crucial step for controlling spread, especially when dealing with frozen cookie dough spreading tips. When cookie dough is chilled, the fat within the dough solidifies. As the dough enters the hot oven, this solid fat takes longer to melt than soft or liquid fat. This delay allows the other ingredients, particularly the proteins in the flour and eggs, more time to set and create structure before the dough collapses and spreads excessively.
A well-chilled dough, whether from the refrigerator or frozen, will hold its shape better initially. Refrigerating for at least 30 minutes is often recommended, but chilling for 2-3 hours or even overnight yields significantly better results for many recipes prone to spreading. For frozen cookie dough balls, the chilling is already done; they go into the oven in a solid state, offering maximum resistance to initial spread.
Pre-Baking Chill Time
Even if you've just mixed a batch of dough, giving it a significant chill time before shaping and baking is vital. Scooping or shaping dough balls and then chilling them on a tray for at least 30-60 minutes in the refrigerator or 10-15 minutes in the freezer before baking is highly effective. This ensures the individual portions are cold through to the center.
For those working with frozen cookie dough balls, the pre-baking chill is inherent to their state. However, allowing frozen dough balls to sit at room temperature for too long before baking can negate the benefits of freezing. Bake them directly from frozen for the best control over spread and shape, adding a minute or two to the overall baking time compared to chilled dough.
Tip 2: Adjust Flour Content
Flour provides the primary structure in cookies through its protein (gluten) and starch content. If your cookies are consistently spreading too much, it might indicate a slight imbalance where there isn't enough flour to support the amount of fat and sugar. While you don't want tough cookies from too much flour, adding a tablespoon or two extra flour per batch can sometimes provide just enough extra structure to limit excessive spread without negatively impacting texture too much.
This adjustment is particularly useful if you live in a humid environment, as flour absorbs moisture from the air, potentially making the dough effectively wetter and more prone to spreading. When troubleshooting your frozen cookie dough spreading tips, consider if your base dough recipe might benefit from a small flour adjustment before freezing future batches.
The Role of Flour in Cookie Structure
Flour's starch granules absorb moisture and swell during baking, contributing to the cookie's internal structure. The proteins in flour, when hydrated, can form a gluten network, though this is typically minimized in cookie recipes to ensure tenderness. This network, however slight, provides a framework that helps the cookie hold its shape as it bakes.
Without sufficient flour, the dough lacks the internal scaffolding needed to resist the forces of melting fat and expanding gases from leavening. A common ratio in many cookie recipes provides a balance where the flour content is just enough to set the cookie before it spreads into a thin disc. For instance, a standard chocolate chip cookie recipe might use about 1.5 cups (approx. 180g) of all-purpose flour per cup (approx. 2 sticks or 227g) of butter. Adjusting this ratio slightly can impact spread.
Tip 3: Control Butter Temperature
The temperature of your butter is a critical factor influencing cookie spread. Recipes typically call for "softened" butter, which means it should be pliable but still cool to the touch, around 65-68°F (18-20°C). Using butter that is too warm or melted means the fat is already liquid before it even goes into the oven. This leads to immediate and rapid spread as soon as the dough hits the hot baking sheet.
When creaming butter and sugar, softened butter is essential for incorporating air pockets into the dough. These air pockets contribute to the cookie's lift and texture. Melted butter, on the other hand, cannot hold air effectively, resulting in a denser dough that spreads more thinly. Ensure your butter is at the correct temperature before you even start mixing to lay the groundwork for controlling spread.
How Butter Temperature Affects Spread
Consider the difference between cookies made with properly softened butter versus melted butter. Cookies made with softened butter that has been creamed with sugar tend to be thicker, with slightly puffed centers and edges that crinkle or hold their shape well. The solid fat melts gradually in the oven, allowing the structure to set.
In contrast, cookies made with melted butter often result in thin, flat, and sometimes greasy cookies that spread significantly more. The liquid fat offers no initial resistance to spread. For instance, a classic shortbread uses cold, hard butter cut into flour, resulting in minimal spread and a crumbly texture, showcasing how butter temperature dramatically impacts the final cookie shape and consistency.
Tip 4: Choose the Right Sugar
The type of sugar used significantly impacts cookie spread and texture. Granulated sugar promotes more spread and contributes to a crispier texture. It melts at oven temperatures and helps the dough liquefy and spread outwards. Brown sugar, which contains molasses, is more acidic and hygroscopic (attracts moisture). It leads to less spread, a chewier texture, and a moister cookie.
Recipes often use a combination of granulated and brown sugar to achieve a desired balance of spread, chewiness, and crispness. If your cookies are spreading too much, try slightly increasing the ratio of brown sugar to granulated sugar, or slightly decreasing the total amount of sugar, particularly granulated sugar. A recipe using equal parts granulated and brown sugar will generally spread less than one using only granulated sugar.
Sugar's Impact on Cookie Texture
Beyond spread, sugar affects the cookie's final texture in several ways. As sugar melts during baking, it contributes to the cookie's crispness upon cooling. The caramelization of sugars, especially brown sugar, adds flavor and color. The hygroscopic nature of brown sugar helps keep cookies softer and chewier over time compared to those made primarily with granulated sugar.
Different sugars also interact differently with leavening agents. Baking soda, for instance, reacts with the acidic molasses in brown sugar to produce carbon dioxide gas, adding to lift. Understanding these interactions helps troubleshoot not just spread, but also texture issues, providing more nuanced frozen cookie dough spreading tips for various cookie types.
Tip 5: Optimize Baking Sheet Surface
The surface you bake your cookies on can influence how much they spread. Ungreased baking sheets can sometimes cause cookies to stick slightly, which might minimally restrict spread. However, this often leads to uneven bottoms or difficulty removing the cookies. The most common and recommended surfaces are parchment paper or silicone baking mats.
Both parchment paper and silicone mats provide a non-stick surface, allowing cookies to release easily. They also help with even heat distribution. While both are effective, some bakers find that cookies spread slightly more on silicone mats compared to parchment paper due to the extremely slick surface. This is a subtle difference, but worth considering if you are trying to minimize spread.
Parchment Paper vs. Silicone Mats
Parchment paper is single-use and provides a consistent, slightly absorbent surface. It prevents sticking effectively and makes cleanup easy. For most standard cookie recipes and troubleshooting frozen cookie dough spreading tips, parchment paper is an excellent choice that offers good control over spread.
Silicone baking mats are reusable and provide an even more non-stick surface than parchment. While great for many baked goods, their ultra-smooth surface can sometimes allow very soft or warm doughs to slide and spread a little more easily in the initial moments in the oven. If you're struggling with excessive spread, trying parchment paper if you normally use silicone mats might offer a slight improvement.
Preventing Spread Before Baking: Proactive Measures
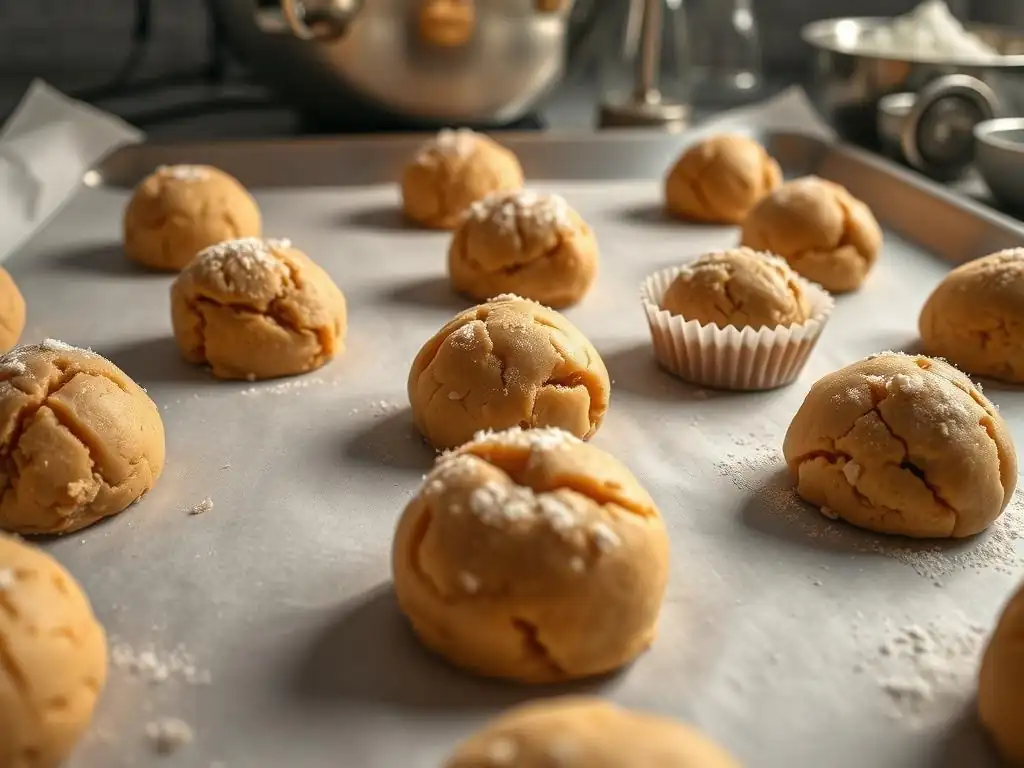
One of the best proactive measures for controlling cookie spread, especially for having ready-to-bake treats, is freezing your cookie dough. For optimal results and consistent shape, scoop or shape your cookie dough into balls before freezing. Place the dough balls on a baking sheet lined with parchment paper, ensuring they aren't touching.
Freeze the dough balls on the tray until they are solid, typically 1-2 hours. Once frozen solid, transfer them to a freezer-safe airtight container or bag. This method prevents them from sticking together and allows you to bake just a few cookies at a time directly from frozen, which is a key strategy in frozen cookie dough spreading tips. Properly frozen dough balls maintain their shape much better in the oven than chilled or room-temperature dough.
Dough Consistency Before Freezing
The effectiveness of freezing as a method to control spread is dependent on the initial consistency of the dough before it goes into the freezer. If your dough is too soft, warm, or wet to begin with, freezing it will preserve those characteristics. When baked, even from frozen, a fundamentally too-soft dough will still likely spread excessively once the fat melts and the dough warms up.
Ensure your dough recipe is balanced and the dough is mixed correctly to achieve a manageable, slightly firm consistency before shaping and freezing. Chilling the dough in the refrigerator for 30 minutes to an hour before shaping the balls for freezing can help achieve this ideal initial consistency, setting you up for success with your frozen cookie dough spreading tips.

If you notice your cookies spreading more than desired while they are baking, there's a brief window to intervene. About halfway through the baking time, or when the edges are just starting to set but the centers are still soft, you can gently try to reshape them.
Remove the baking sheet from the oven. Working quickly while the cookies are hot and pliable, use a spatula or the back of a spoon to gently nudge the edges of the cookie inwards to create a more rounded or compact shape. Alternatively, if you have a round cutter slightly larger than your desired cookie size, you can place it around the hot cookie and gently swirl it to pull the edges back into a perfect circle. This must be done immediately upon removing from the oven, typically within the first 30-60 seconds, before they set.
Emergency Chilling
This is a less common or effective rescue technique once significant spread has occurred, but in theory, if you catch the excessive spreading very early in the bake cycle (within the first 2-3 minutes), you could potentially remove the tray from the oven and place it in the freezer for a few minutes to re-solidify the fat slightly before returning it to the oven.
However, this method is risky. Rapid temperature changes can affect texture, and it's often difficult to stop the spread once it's truly underway. It's generally more effective to focus on preventing spread through proper dough preparation, chilling, and baking techniques rather than relying on mid-bake emergency measures. For frozen cookie dough spreading tips, focusing on the initial quality of the dough and baking directly from frozen are far more reliable strategies.
Freezing cookie dough balls is one of the most effective techniques for achieving consistently shaped cookies batch after batch. When you bake cookies directly from a frozen state, each dough ball starts at the same low temperature. This consistent starting point ensures that the fat melts at a predictable rate, allowing the structure to set more uniformly across all cookies on the tray and from one bake to the next.
This method is invaluable for busy bakers or those who want fresh cookies on demand. Simply preheat your oven, grab the desired number of frozen dough balls from the freezer, place them on a prepared baking sheet (adjusting bake time slightly), and bake. This eliminates variables like how long the dough has been sitting out or inconsistencies in chilling, leading to reliable results and perfectly shaped cookies every time you use your frozen cookie dough spreading tips.
Frequently Asked Questions
Excessive spreading is often due to warm dough, too much butter or sugar in the recipe, or inadequate chilling time before freezing or baking.
Ideally, thaw them only slightly, just enough to handle them without them being rock solid. This helps maintain their shape during baking and prevents excessive spreading due to warm dough.
Yes, using non-stick baking sheets or greasing them too heavily can encourage spreading. Consider using parchment paper or silicone baking mats instead.
Ensure your oven is at the correct temperature, as an oven that's too low can cause the dough to melt before it sets, leading to significant spreading.
Besides freezing, you can try using cold butter when making the dough, chilling the dough before shaping it into balls, and avoiding overmixing.
The quest for the perfectly formed frozen cookie dough ball is more than just a culinary pursuit; it's a microcosm of achieving our goals with precision and attention to detail. A seemingly simple task, preventing cookie dough spread reveals the importance of understanding fundamental principles – from chilling techniques to the right ingredients – and how these small details impact the final outcome. This translates far beyond the kitchen, impacting everything from project management to personal growth.
The struggle to control the spread of cookie dough, and the subsequent triumph of perfectly round cookies, mirrors our own journeys towards achieving desired results. We often underestimate the power of preparation and the importance of seemingly minor adjustments. The details are not the details. They make the design.
- Charles Eames. This quote perfectly encapsulates the essence of this article: mastering the seemingly insignificant details leads to extraordinary results, not just in baking, but in life. The satisfaction of a perfectly baked cookie, born from carefully crafted dough balls, is a testament to this principle.
Now, consider your own "cookie dough balls" – your projects, your goals, your aspirations. What small adjustments can you make to ensure they achieve their intended shape and form? Take a moment to reflect on the lessons learned here: the importance of chilling, the right balance of ingredients, and the power of careful execution. Apply this newfound precision to your own endeavors, and watch as your "cookies" rise to their full potential, perfectly formed and deliciously satisfying.
Thanks for taking the time to learn how to conquer those pesky spreading cookie dough balls! We hope you now feel confident in creating perfectly shaped treats. Ready to put your new skills to the test?
- Master the art of chilling: Experiment with different chilling times to find the sweet spot for your dough recipe and preferred consistency. This is your key to preventing spreading!
- Share your success (and failures!): We'd love to see your perfectly shaped cookie creations (or even your funny spreading fails!). Share photos on social media using #BakeWithEasePerfectCookies.
- Dive deeper into cookie dough mastery: Explore our other baking guides on BakeWithEase.com for even more tips and tricks!
Ready to bake a batch of perfectly shaped cookies? What's your favorite cookie dough flavor to work with?