
Why is My Cake Tough? Troubleshooting Gluten Development

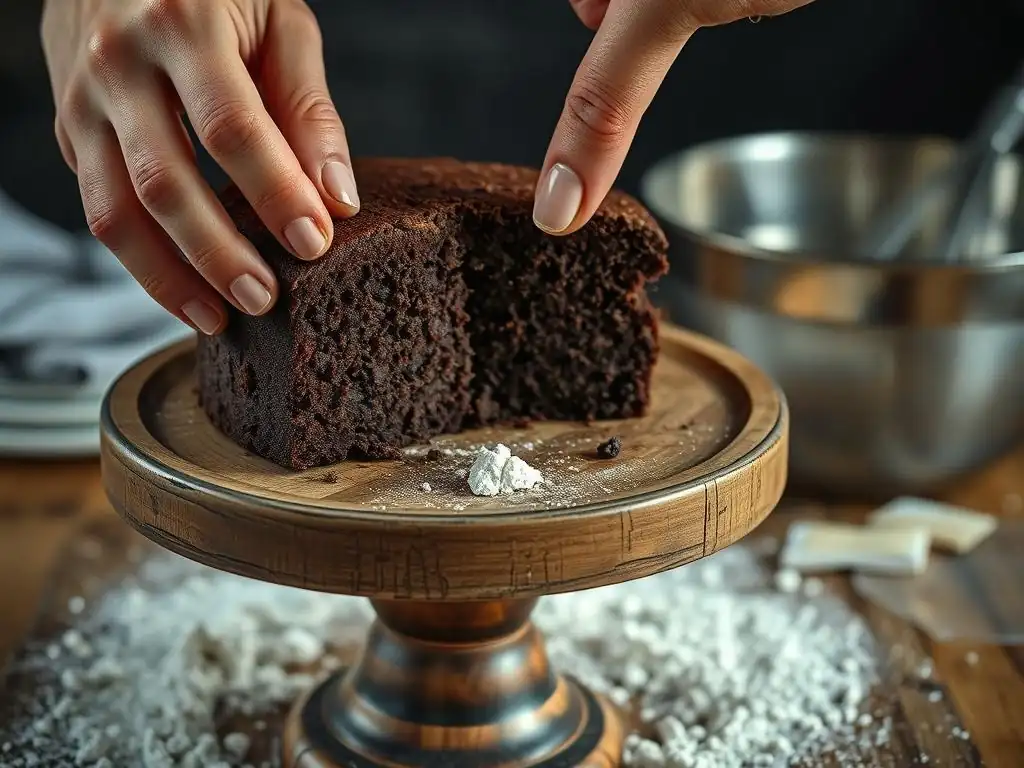
Welcome to BakeWithEase, where we unravel the mysteries of baking, one delicious crumb at a time! Ever wondered why your cake is tough despite following the recipe to the letter? You're not alone! Dive into our comprehensive guide to troubleshooting gluten development and discover the secrets to achieving that perfectly tender crumb you've always dreamed of. Get ready to transform your baking and say goodbye to dense, chewy cakes forever! Let's get started!
- Understanding Tough Cakes: A BakeWithEase Guide
- The Culprit: Gluten Overdevelopment in Cakes
- Common Causes of a Tough Cake Texture
- Troubleshooting Gluten Development for a Tender Cake
- Preventing Tough Cakes: Proactive Baking Techniques
- BakeWithEase: Mastering the Art of Baking Tender Cakes
- Frequently Asked Questions
- Final Reflection: The Unexpected Delights of Gluten Mastery
- Unlock Your Cake's Softest Potential!
Understanding Tough Cakes: A BakeWithEase Guide
There's little more disappointing than slicing into a freshly baked cake, anticipating a light, fluffy bite, only to find it dense, rubbery, and just plain tough. If you've ever wondered, "Why is my cake tough?" you're not alone. It's a common baking frustration, but thankfully, one that's often easily fixable once you understand the science behind it. At BakeWithEase, we believe understanding the 'why' makes you a better baker, turning potential mistakes into learning opportunities.
A tough cake texture is usually a symptom of issues related to gluten development. While gluten is essential for structure in many baked goods, like bread, too much of it, or gluten that's developed too strongly, can ruin the delicate crumb you want in a cake. This article will guide you through identifying the signs of a tough cake, uncovering the most common culprits behind this issue, and providing actionable steps to ensure your next cake is perfectly tender and moist.
The Culprit: Gluten Overdevelopment in Cakes
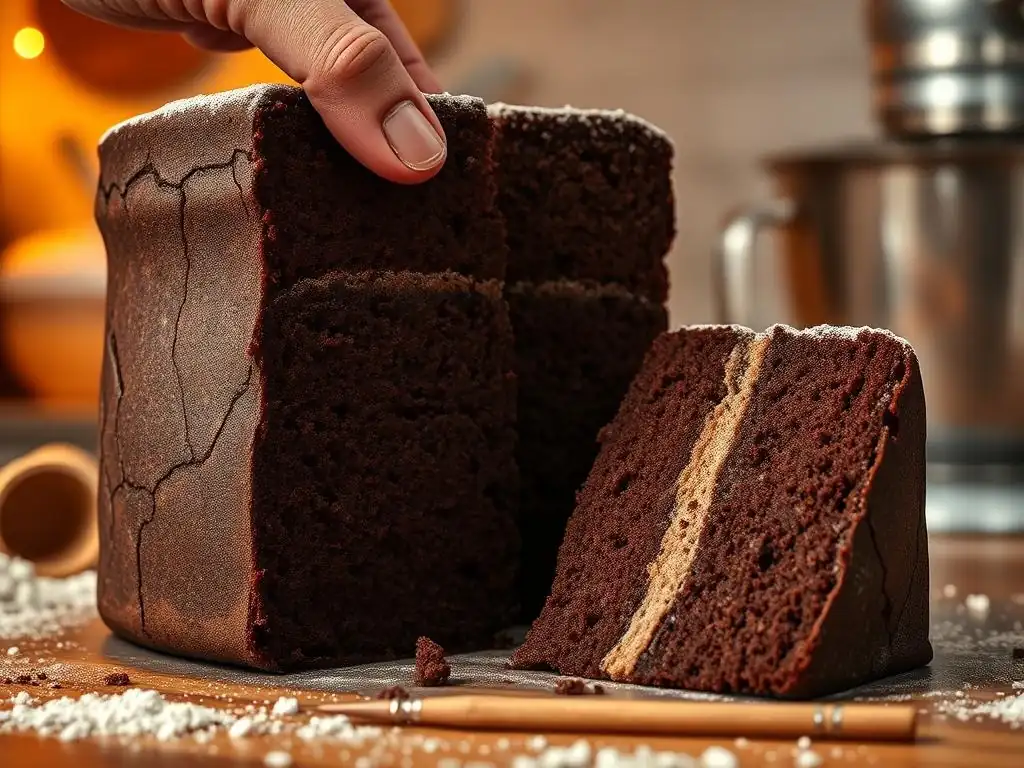
The primary reason behind a cake's tough texture often boils down to how gluten behaved during the mixing and baking process. Unlike bread, where we actively encourage gluten development to create chewiness, cakes require minimal gluten structure to remain tender. When this balance is off, you end up with a cake that's not only tough but can also be dry and less pleasant to eat.
Understanding the role of gluten in cakes is the first step to preventing toughness. It's a delicate dance between providing just enough structure for the cake to hold its shape and preventing the formation of a strong, elastic network that belongs in a loaf of sourdough, not a birthday cake. Let's dive deeper into what gluten is and how its overdevelopment leads to that undesirable tough texture.
What is Gluten and Why Does it Matter in Baking?
Gluten is a complex protein structure formed when two proteins found in wheat flour, glutenin and gliadin, combine in the presence of liquid and are agitated (like during mixing). Glutenin provides elasticity, allowing dough to stretch, while gliadin provides extensibility, enabling it to spread. Together, they form a network that traps gases produced by leavening agents (like baking powder or soda), causing the cake batter to rise and set into its final structure.
In cake baking, we want just enough of this network to support the cake's rise and hold its shape without becoming dominant. Standard all-purpose flour typically contains around 10-12% protein. When you mix flour with wet ingredients and stir or beat the batter, these proteins link up, forming gluten strands. The more you mix, the stronger and more extensive this network becomes. For a tender cake, a loose, delicate gluten network is desired, not a strong, elastic one.
Identifying a Tough Cake: Signs and Symptoms
Recognizing the signs of a tough cake is crucial for diagnosing the problem and preventing it in the future. It's more than just a feeling; there are specific visual and textural cues to look for. If your cake is tough, you might notice several of these characteristics upon slicing or biting into it.
One of the most obvious signs is a dense, heavy texture rather than a light and airy one. The crumb structure will appear tight, with small, uniform holes, instead of having a more open, delicate structure. When you cut into the cake, it might feel resistant, almost rubbery, under the knife. A tough cake also often feels dry in the mouth, even if the recipe contained plenty of fat and moisture. This dryness is a consequence of the tight gluten network holding onto moisture less effectively than a tender crumb would.
- Visual Cues:
- Cake doesn't rise as much as expected.
- Crumb looks tight and dense.
- Cake might look sunken in the center.
- Textural Cues:
- Rubbery or chewy texture when bitten.
- Feels heavy for its size.
- Dry mouthfeel.
Why is my cake tough?
- Overmixing batter
- Too much flour
- Insufficient fat
- Overbaking
Common Causes of a Tough Cake Texture
Understanding what causes toughness is key to fixing it. Several factors can contribute to excessive gluten development or other issues that result in a tough cake. Often, it's a combination of these elements rather than just one single mistake. Let's explore the most frequent culprits.
Identifying the specific cause in your baking process helps you pinpoint where adjustments are needed. Maybe you're too enthusiastic with your mixer, or perhaps your ingredient measurements are slightly off. By examining these common issues, you can start to troubleshoot your own baking and move towards consistently producing tender, delicious cakes.
Overmixing the Cake Batter: A Primary Cause
This is arguably the most common reason people ask, "Why is my cake tough?". When you mix cake batter, you are developing gluten. While some mixing is necessary to combine ingredients and activate leavening agents, too much mixing, especially after the flour is added, builds a strong gluten network. This is fantastic for chewy bread but detrimental to a tender cake.
Think of gluten development like kneading dough. The more you knead, the stronger and more elastic the dough becomes. In cake batter, vigorous or prolonged mixing after the flour goes in has a similar effect, albeit on a wetter matrix. This overdeveloped gluten creates a tough structure that resists breaking apart easily when you bite into the cake.
The Science Behind Overmixing and Gluten Formation
When wet ingredients meet flour, the glutenin and gliadin proteins begin to hydrate. Mechanical action, like stirring or beating, then causes these hydrated proteins to link together, forming the gluten network. The energy from the mixer blades or whisk provides the force needed to create these bonds and align the protein chains.
In cake baking, the goal is merely to combine the ingredients until just blended. Excessive mixing provides too much energy, allowing the gluten proteins to form numerous strong, elastic bonds. This results in a batter with high viscosity and elasticity. During baking, this tight network sets, trapping air bubbles but creating a rigid structure that translates to a tough, sometimes rubbery, cake crumb.
How to Avoid Overmixing: Best Practices for Cake Baking
Avoiding overmixing is simpler than you might think, but it requires attention to detail and a gentle hand. The key principle is minimum effective mixing. Once you add the dry ingredients (primarily flour) to the wet ingredients, mix only until no streaks of dry flour are visible.
- Use a Low Speed: If using an electric mixer, switch to the lowest speed once you add the flour.
- Mix by Hand: For many cake recipes, especially those using the creaming method, finishing the mixing by hand with a spatula or whisk after adding the dry ingredients is a great way to prevent overmixing.
- Watch for Visual Cues: Stop mixing the moment the batter looks uniform and no dry flour pockets remain. It's okay if there are a few small lumps; these often disappear during baking.
- Follow Recipe Instructions: Pay close attention to mixing times and techniques specified in the recipe. If a recipe says "mix until just combined," take that literally.
Consider a typical vanilla cake recipe. After creaming butter and sugar, adding eggs, and alternating between dry and wet ingredients, the final step is adding the last of the dry ingredients. Mixing for just 30-60 seconds on low speed, or folding gently by hand until combined, is usually sufficient. Mixing for 2-3 minutes or longer will almost certainly lead to a tough cake.
Too Much Flour: Impact on Cake Texture
Using too much flour is another common pitfall that can result in a tough cake. Flour provides structure, but an excess amount means there are more gluten-forming proteins available to create a dense, rigid network when combined with liquid and mixed. It also throws off the balance of ingredients like fat and sugar, which help tenderize the cake.
When a recipe calls for, say, 200 grams of flour, and you accidentally add 250 grams, you've significantly increased the potential for gluten development. This extra flour absorbs more liquid, making the batter stiffer and requiring more mixing to incorporate, further contributing to toughness.
Measuring Flour Accurately for Perfect Cakes
Accurate flour measurement is critical for consistent baking results. The most reliable method is using a kitchen scale to measure flour by weight (grams or ounces) rather than volume (cups). Volume measurements can vary significantly based on how the flour is scooped and whether it's sifted.
For example, one cup of all-purpose flour can weigh anywhere from 120 grams (if lightly spooned and leveled) to 150 grams (if scooped directly from the bag and packed down). This variation of up to 25% can dramatically affect the outcome of your cake, often leading to excessive flour and thus, a tough texture. If a recipe provides weight measurements, always use them. If not, use the spoon and level method: gently spoon flour into your measuring cup until it overflows, then level off the excess with a straight edge without packing the flour down.
Flour Types and Their Effect on Cake Toughness
The type of flour used also influences the potential for toughness because different flours have varying protein contents.
- All-Purpose Flour: Contains a moderate amount of protein (10-12%) and is suitable for many cakes, but can lead to toughness if overmixed or used in excess.
- Cake Flour: Has a lower protein content (around 6-8%) and is often bleached, which weakens the proteins. This makes it ideal for delicate, tender cakes like sponge cakes or chiffons, as it forms a weaker gluten network.
- Bread Flour: High in protein (12-14%), designed specifically for strong gluten development needed for chewy bread. Using bread flour in a cake recipe will almost guarantee a tough result.
Using cake flour instead of all-purpose flour in certain recipes can be a proactive step to prevent toughness, even if you accidentally overmix slightly. Conversely, using all-purpose or bread flour in a recipe designed for cake flour will likely result in a tough cake.
Insufficient Fat: The Role of Fat in Tenderizing Cakes
Fat is a tenderizer in baking. Ingredients like butter, oil, or shortening work by coating the flour particles, preventing them from fully hydrating and thus inhibiting the formation of a strong gluten network. Fat also shortens gluten strands, making the crumb more tender and crumbly rather than elastic and tough.
When a cake recipe has insufficient fat relative to the amount of flour, there isn't enough interference to prevent gluten development. This allows the gluten network to form more freely and strongly during mixing, resulting in a tougher texture. A recipe might have insufficient fat if it's poorly formulated or if you've accidentally measured the fat incorrectly.
The Importance of Fat-to-Flour Ratio
The ratio of fat to flour is a key indicator of a cake's potential tenderness. While there's no single perfect ratio for all cakes, recipes designed for tender cakes often have a fat-to-flour ratio (by weight) of around 0.75:1 to 1:1 or even higher. For example, a recipe with 200g flour might use 150g to 200g of butter or oil.
If this ratio is significantly lower, say 0.5:1 (100g fat to 200g flour), the cake is more likely to be tough and dry because there isn't enough fat to effectively coat the flour proteins and interfere with gluten development. This is often why lower-fat cake recipes can be more challenging to get right and may rely more heavily on other tenderizing factors like sugar or specific mixing methods.
Best Fat Sources for a Moist and Tender Cake
Different fats affect cake texture in slightly different ways.
- Butter: Provides flavor and contributes to tenderness. Using softened butter in the creaming method incorporates air, contributing to lift and a tender crumb.
- Oil: Very effective at coating flour particles and preventing gluten development, often resulting in a very moist, tender cake. Vegetable oil or canola oil are common choices. Cakes made with oil tend to stay moist longer than those made with butter.
- Shortening: Like oil, it's 100% fat and very effective at tenderizing. It produces a soft, fine crumb but lacks the flavor of butter.
Using the type and amount of fat specified in a well-tested recipe is crucial. Substituting fats without understanding their properties can drastically change the outcome and potentially lead to a tough or greasy cake. For instance, substituting oil for butter in a recipe relying on the creaming method would fail, as oil cannot be creamed to incorporate air.
Overbaking: Drying Out Your Cake
While overbaking doesn't directly cause gluten overdevelopment during the mixing phase, it certainly results in a tough, dry cake texture. When a cake bakes for too long or at too high a temperature, moisture evaporates excessively. This dries out the cake and causes the protein structure (including the gluten network that did form) to become rigid and brittle.
An overbaked cake feels hard and dry, and the crumb will be coarse and potentially crumbly, yet somehow still tough and unpleasant to eat. It's like drying out a sponge – it becomes stiff and less yielding. This contributes significantly to the question, "Why is my cake tough and dry? ".
How to Check for Cake Doneness
Knowing exactly when your cake is done is a crucial skill. The most common method is the "toothpick test."
- Toothpick Test: Insert a toothpick, wooden skewer, or cake tester into the center of the cake. If it comes out clean or with just a few moist crumbs attached, the cake is likely done. If it comes out with wet batter, it needs more time.
- Visual Cues: The cake should begin to pull away slightly from the sides of the pan. The top should look set and may spring back lightly when gently pressed.
- Internal Temperature: For ultimate accuracy, use an instant-read thermometer. Most cakes are done when the internal temperature reaches 200-210°F (93-99°C).
Start checking for doneness a few minutes before the recipe's minimum suggested baking time. Ovens vary, and it's better to check early than to overbake.
Adjusting Baking Time and Temperature for Different Cakes
Baking time and temperature are often interconnected. A cake baked at too high a temperature might form a hard crust quickly while the inside remains underbaked, or it could dry out the exterior before the interior is cooked. Too low a temperature might prevent proper rising or result in a gummy texture.
- Oven Calibration: Ovens can be notoriously inaccurate. Using an inexpensive oven thermometer to check your oven's actual temperature is highly recommended. If your oven runs hot or cold, you'll need to adjust the temperature accordingly (e.g., if it's 25°F hot, set it 25°F lower than the recipe calls for).
- Pan Size and Material: Dark metal pans absorb more heat than shiny metal or glass pans, often requiring a slight reduction in oven temperature (by about 25°F) or shorter baking time. A cake baked in a smaller pan will take longer than the same recipe in a larger pan.
- Altitude: High altitude baking requires adjustments to time, temperature, and sometimes ingredients due to lower atmospheric pressure.
If your cakes consistently come out tough and dry, even if you think you're not overmixing, consider if you might be overbaking due to inaccurate oven temperature or not checking for doneness properly.
Troubleshooting Gluten Development for a Tender Cake
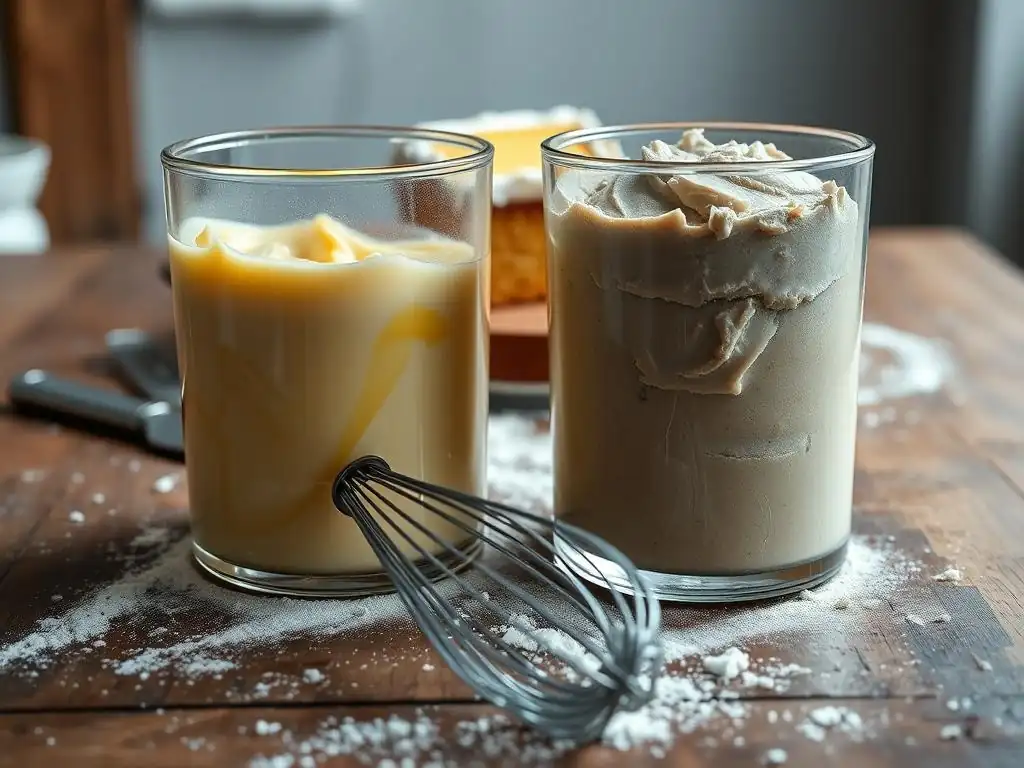
Now that we've identified the key reasons why a cake is tough, let's talk about how to fix them. Troubleshooting often involves adjusting your technique and being more precise with ingredients and baking conditions.
Making small, deliberate changes in your baking process can yield significant improvements in cake texture. It's about being mindful at each step, from preparing your ingredients to cooling the finished cake.
Adjusting Your Mixing Technique: Gentle is Key
The most impactful change you can make to prevent a tough cake is refining your mixing technique, especially after adding the flour. The goal is to develop just enough gluten for structure without creating a strong, elastic network.
Embrace the philosophy of minimum effective mixing. If you've been using a stand mixer on medium speed until the batter looks perfectly smooth, try switching to low speed and stopping the moment the dry ingredients are incorporated. You'll likely see a dramatic difference in tenderness.
Folding Ingredients for a Light and Airy Cake
For delicate cakes like sponges or chiffon cakes, where maintaining air bubbles is paramount, the technique of folding is often preferred over beating. Folding involves gently cutting through the mixture with a spatula and lifting the mixture from the bottom of the bowl over the top, rotating the bowl as you go.
This technique minimizes the force applied to the batter, reducing gluten development and preventing the deflation of air bubbles incorporated earlier (like whipped egg whites). Using a spatula to fold dry ingredients into wet, or folding aerated components like whipped cream or meringue into batter, is a critical skill for achieving a light, tender crumb.
When to Stop Mixing: Visual Cues
Learning to recognize when to stop mixing is more important than adhering strictly to a timer, which can vary based on mixer speed and batch size.
- After adding dry ingredients: Stop mixing the moment you no longer see streaks of dry flour. The batter should look uniform in color. A few small lumps are acceptable and will bake out.
- Creaming butter and sugar: Mix until the mixture is light and fluffy, significantly lighter in color, and has increased in volume (this incorporates air). This can take 3-5 minutes with an electric mixer.
- Adding eggs: Mix until the eggs are just incorporated after each addition. Overmixing here can sometimes curdle the batter slightly, though this often smooths out later.
The critical point for avoiding toughness is the final mixing stage after flour is added. Be decisive and stop mixing as soon as the flour disappears.
Controlling Flour Amount: Precise Measurements Matter
As discussed, too much flour is a major contributor to tough cakes. Mastering accurate flour measurement is non-negotiable for consistent results.
Investing in a digital kitchen scale is the single best step you can take to improve accuracy. Weight measurements are far more reliable than volume measurements for dry ingredients like flour, sugar, and leaveners.
Using a Kitchen Scale for Accurate Flour Measurement
Using a kitchen scale is simple:
- Place your mixing bowl or a separate container on the scale.
- Tare the scale (set it to zero).
- Spoon flour into the container until the scale reads the weight specified in the recipe.
This method eliminates the variability of scooping and leveling, ensuring you use the exact amount of flour intended by the recipe developer. If a recipe only provides volume measurements, look online for reliable ingredient weight charts to convert cups to grams for common baking ingredients. For example, 1 cup of all-purpose flour is widely accepted as 120-125 grams when measured correctly (spooned and leveled).
Sifting Flour: When and Why?
Sifting flour can serve a few purposes:
- Aeration: Sifting adds air to the flour, making it lighter and helping to prevent compaction, which can lead to more accurate volume measurement (if you must use cups).
- Lump Removal: It breaks up lumps and removes any foreign particles.
- Even Distribution: It helps distribute leavening agents and other dry ingredients evenly when they are sifted together.
Some recipes specifically call for sifting the flour before measuring, while others call for sifting after. Pay close attention to the instructions. Sifting before measuring by volume will result in less flour by weight than sifting after measuring. If a recipe says "1 cup flour, sifted," measure 1 cup then sift it. If it says "1 cup sifted flour," sift the flour then measure 1 cup. When measuring by weight, sifting is primarily for aeration and lump removal, not measurement accuracy.
Incorporating the Right Amount of Fat: Achieving the Perfect Balance
Ensuring your cake has the correct amount of fat is crucial for tenderness. This means accurately measuring your fat source and understanding how different fats behave.
If you suspect your cakes are tough because of insufficient fat, double-check your measurements and consider the type of fat the recipe uses.
Using Softened Butter vs. Melted Butter
The state of your butter matters significantly, particularly in the creaming method.
- Softened Butter: Butter should be cool to the touch but yield slightly when pressed (around 65°F/18°C). Creaming softened butter with sugar creates tiny air pockets, which contribute to the cake's rise and tender crumb structure. Using butter that is too cold will not cream properly; using butter that is too warm (melted or greasy) will not hold air, resulting in a dense, potentially tough cake.
- Melted Butter: Used in recipes where air incorporation via creaming isn't the primary leavening method (e.g., some brownies, muffins, or specific cake types). Melted butter contributes moisture and tenderness by coating flour particles but doesn't add air like creamed butter.
Following the recipe's instruction on the state of the butter is vital for achieving the intended texture.
Alternatives to Butter: Oils and Shortening
If a recipe calls for oil, use a neutral-flavored oil like canola, vegetable, or sunflower oil unless specified otherwise (like olive oil for a specific flavor profile). Measure oil accurately, usually by volume or weight.
Shortening is 100% fat and very effective at tenderizing, producing a very soft crumb. It's often used in combination with butter for both flavor and texture benefits. Like butter, shortening should often be used at room temperature unless melted shortening is specified.
When troubleshooting why a cake is tough, consider if you used the wrong type of fat, if your butter was the wrong temperature, or if your fat measurement was inaccurate.
Optimizing Baking Time and Temperature: Avoiding Overbaking
Overbaking is a common cause of dryness and toughness. Even a cake with a perfectly developed crumb can become tough if too much moisture is driven out in the oven.
Precise temperature control and accurate doneness testing are your best defenses against overbaking.
Calibrating Your Oven for Accurate Temperature
As mentioned, oven temperatures can be inaccurate. An oven thermometer placed inside your oven will show you the true temperature. If it consistently reads higher or lower than the setting, you'll need to adjust your oven dial accordingly. For instance, if your oven thermometer reads 375°F when the dial is set to 350°F, set your dial to 325°F for future baking to achieve an actual 350°F. This simple step can prevent many baking woes, including tough, dry cakes.
Using a Cake Tester for Perfect Doneness
Relying solely on the recipe's suggested baking time is risky. Always use a cake tester (like a toothpick or skewer) to check for doneness.
- Insert the tester into the deepest part of the cake, avoiding any fruit or chocolate chips which can give a false wet reading.
- For most cakes, a clean tester means it's done.
- For fudgy cakes or brownies, a few moist crumbs are acceptable.
- For very delicate cakes, checking the internal temperature with a thermometer might be less disruptive to the crumb.
Remove the cake from the oven promptly once it's done. Allowing it to sit in the hot oven or hot pan for too long after baking can also contribute to overbaking through residual heat.
Preventing Tough Cakes: Proactive Baking Techniques
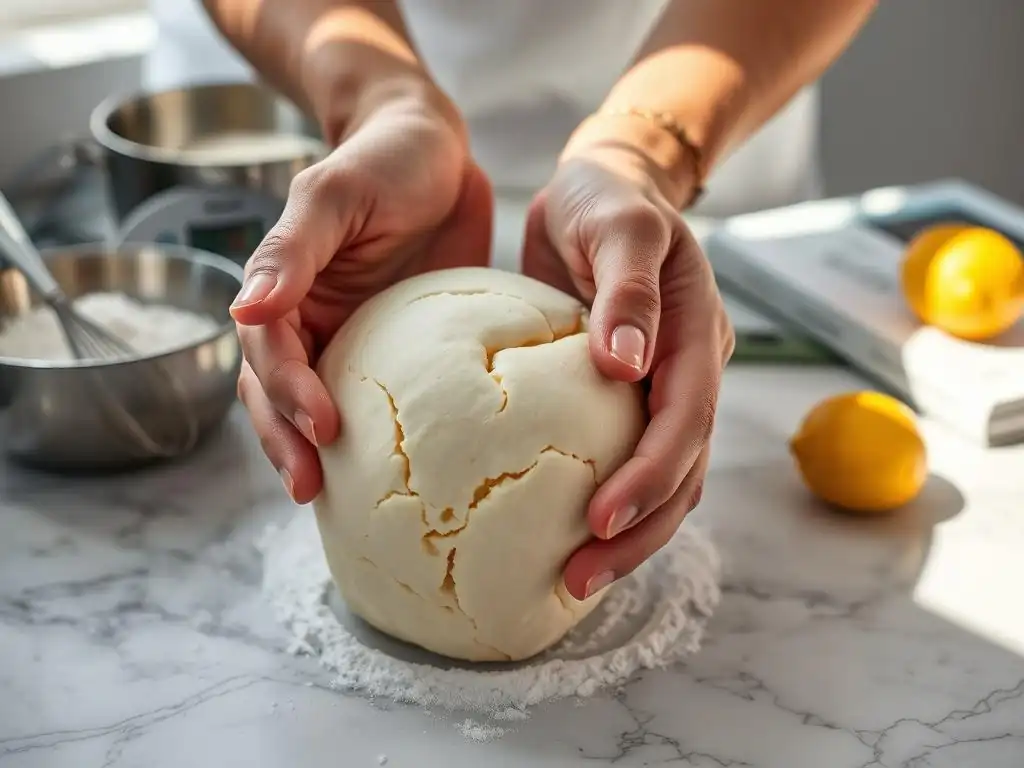
Moving from troubleshooting to prevention is key to consistent baking success. By adopting proactive techniques, you can minimize the chances of ending up with a tough cake in the first place.
It's about building good habits and understanding the foundational principles of cake baking.
Choosing the Right Cake Recipe for Your Skill Level
Start with recipes designed for your current skill level. Many beginner recipes are formulated to be more forgiving, often using methods like the "one-bowl" method or using oil (which is less prone to overmixing issues than butter).
As you gain confidence and understanding, you can move on to more complex recipes that might require precise techniques like the creaming method or incorporating whipped egg whites. Attempting an advanced recipe before mastering basic techniques can easily lead to common problems like a tough cake.
Understanding Ingredient Functions in Cake Baking
Educating yourself about what each ingredient does in a cake batter empowers you to anticipate how changes or errors might affect the outcome.
| Ingredient | Primary Function(s) | Impact on Toughness (if imbalanced) |
|---|---|---|
| Flour | Structure (gluten), absorbs liquid | Too much = Tough |
| Sugar | Sweetness, tenderizer, moisture retention, crust | Too little = Tough |
| Fat | Tenderizer, moisture, flavor, richness | Too little = Tough |
| Eggs | Structure, leavening, richness, moisture | Too many whites, not enough fat = Tough |
| Liquid | Hydrates dry ingredients, activates leaveners | Too little = Dry, potentially tough |
| Leaveners | Produce gas for rise (baking powder, soda) | Insufficient rise can make crumb seem dense |
Understanding these roles helps you see why, for example, reducing sugar or fat significantly in a recipe without other adjustments can result in a tough cake, even if you mix it correctly.
Testing and Adjusting Your Recipes for Optimal Results
Don't be afraid to experiment slightly or make notes on recipes. If a recipe consistently yields a cake that's slightly tough, consider making small adjustments:
- Reduce mixing time slightly after adding flour.
- Ensure you are measuring flour accurately by weight.
- Check your oven temperature.
Keep a baking journal to note what worked and what didn't. For example: "Vanilla cake recipe X: Baked 35 mins at 350°F, slightly tough. Next time, try 33 mins and check internal temp." Over time, you'll learn how recipes behave in your specific kitchen environment and with your techniques.
BakeWithEase: Mastering the Art of Baking Tender Cakes
Baking a perfect cake – one that's moist, tender, and flavorful – is a rewarding experience. Encountering a tough cake can be discouraging, but it's a common hurdle every baker faces. By understanding the primary culprit, gluten overdevelopment, and the factors that contribute to it – overmixing, too much flour, insufficient fat, and overbaking – you are well on your way to diagnosing and fixing the problem.
Remember the key takeaways: measure accurately, mix gently (especially after adding flour), ensure proper fat levels, and bake just until done. Practice makes perfect, and every bake is a learning opportunity. Don't let a tough cake discourage you! With these tips from BakeWithEase, you're equipped to troubleshoot why your cake is tough and confidently bake tender, delicious cakes every time. Happy baking!
Frequently Asked Questions
Why does too much mixing lead to a tough cake?
Overmixing develops the gluten in the flour excessively. This results in a tight crumb and a chewy, tough texture, rather than a light and tender one.
How can I avoid overmixing my cake batter?
Use a gentle hand when combining the wet and dry ingredients. Mix until just combined, ensuring there are no large lumps of flour remaining, but avoid vigorous stirring. Fold ingredients carefully rather than stirring.
What role does flour play in cake toughness?
The type of flour used significantly impacts cake texture. Using a flour with high gluten content, like bread flour, can make a cake tough. Cake flour, with lower protein, is recommended for tender results.
Can using cold ingredients contribute to a tough cake?
Yes, using cold ingredients can hinder proper emulsification, leading to a less smooth batter. This can affect the distribution of ingredients and contribute to a tougher texture.
What are some other factors besides gluten that can make a cake tough?
Besides gluten development, overbaking or using too little fat can result in a dry, tough cake. Ensure accurate oven temperature and proper measurements of ingredients, especially fats.
Final Reflection: The Unexpected Delights of Gluten Mastery
Understanding gluten development isn't just about baking a perfect cake; it's about understanding the fundamental chemistry that transforms simple ingredients into something truly special. A tough cake, a frustrating experience for many home bakers, is often a symptom of a deeper issue – a lack of understanding of the intricate dance between flour, water, and time. This article has explored the science behind gluten formation, highlighting the crucial role it plays in cake texture. But more than just troubleshooting, it's about unlocking the potential for consistently delicious results.
The journey of mastering gluten development is a continuous one, mirroring our own personal growth. It's about embracing imperfection, learning from mistakes, and finding joy in the process. Each failed cake, each slightly tough crumb, offers a valuable lesson. It reminds us that even in the seemingly simple act of baking, there's a profound connection to the natural world and the transformative power of understanding fundamental principles. The best way to find yourself is to lose yourself in the service of others.
– Mahatma Gandhi. While not directly about baking, this quote speaks to the dedication and patience required to master any skill, including the art of baking a perfect cake.
Now, consider your own baking journey. What have you learned from your past experiences? What adjustments will you make to your technique based on the insights shared here? Don't be afraid to experiment, to embrace the challenges, and to find joy in the process of learning. The next time you bake a cake, remember the power of understanding gluten development, and let that knowledge guide you towards creating a masterpiece, one perfectly tender crumb at a time.
Unlock Your Cake's Softest Potential!
Thanks for taking the time to explore the science behind perfectly tender cakes! You now possess the knowledge to troubleshoot gluten development and avoid tough textures. Ready to put your new skills to the test?
- Bake a test batch: Using your newfound understanding, try baking a small cake following the tips discussed in the article. Observe the results and note any adjustments you might make.
- Share your baking triumph (or challenge!): Let's connect! Tell us about your experience in the comments below. What worked, what didn't, and what you learned along the way?
- Experiment with different flours: Explore how different flour types impact gluten development and the texture of your cake. Try a recipe with a different flour than you usually use!
Ready to discover the secrets to flawlessly fluffy cakes? What unique flour combination will you try first?