
Bake Classic Kaiser Rolls at Home

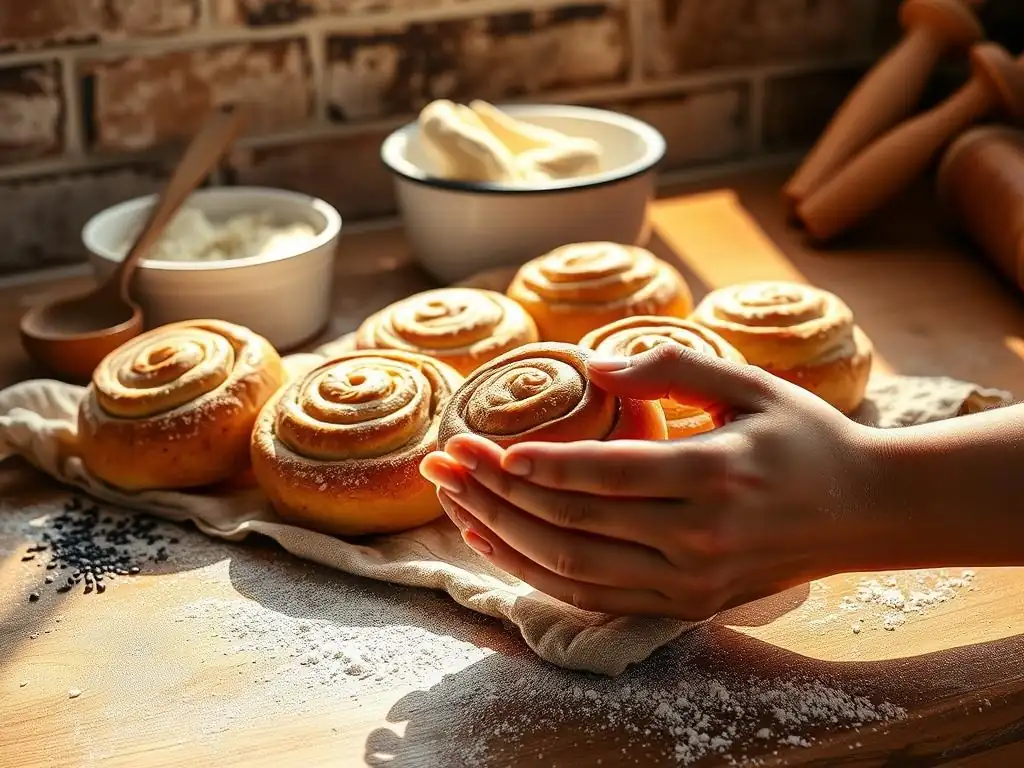
Welcome to BakeWithEase, your trusted guide to creating delicious baked goods! Ever dreamed of mastering the art of the perfect Kaiser roll? Imagine the aroma of freshly baked, crusty rolls filling your kitchen. Discover our easy homemade kaiser roll recipe and unlock the secrets to crafting these classic breads at home. Ready to embark on a baking adventure? Let's get started!
- Bake Classic Kaiser Rolls at Home: An Easy Homemade Kaiser Roll Recipe
- Introduction to Homemade Kaiser Rolls: The BakeWithEase Guide
- Easy Homemade Kaiser Roll Recipe: Step-by-Step Instructions
- Kaiser Roll Variations and Flavor Enhancements
- Troubleshooting Common Kaiser Roll Baking Issues
- Serving Suggestions for Your Homemade Kaiser Rolls
- Conclusion: Enjoying Your Homemade Kaiser Rolls
- Frequently Asked Questions
- Final Reflection: The Enduring Magic of Homemade Kaiser Rolls
- Unleash Your Inner Baker: Craft Perfect Kaiser Rolls!
Bake Classic Kaiser Rolls at Home: An Easy Homemade Kaiser Roll Recipe
Introduction to Homemade Kaiser Rolls: The BakeWithEase Guide
Why Bake Kaiser Rolls at Home?
Baking Kaiser rolls at home offers a uniquely rewarding experience that goes far beyond simply acquiring bread. When you embark on creating this easy homemade kaiser roll recipe, you gain control over every ingredient, ensuring quality and freshness unmatched by store-bought options. Think about the aroma filling your kitchen – that alone is a compelling reason! Furthermore, mastering an easy homemade kaiser roll recipe builds confidence in your baking skills, proving that delicious, classic bread is within reach for home bakers of all levels. It's a tangible way to connect with traditional baking methods and produce something truly special.
Beyond the sensory pleasure and skill development, baking Kaiser rolls at home is often more cost-effective in the long run, especially if you bake frequently. A 500g bag of flour, yeast, and a few pantry staples can yield a dozen or more rolls for a fraction of the price of buying them individually from a bakery. Plus, you can tailor the recipe to your dietary needs or preferences, like using a specific type of flour or adjusting the salt content. This control and customization are key benefits of following an easy homemade kaiser roll recipe from scratch.
What Makes Kaiser Rolls Special?
Kaiser rolls, also known as Vienna rolls, are distinguished by their characteristic five-petal star shape and their delightful texture: a crisp crust giving way to a soft, fluffy interior. This specific shape, traditionally achieved by folding the dough or using a special stamp, isn't just for aesthetics; it contributes to the roll's surface area, influencing the crust development during baking.
The dough itself is typically a lean dough, meaning it has little to no fat or sugar, which results in a lighter, airier crumb compared to richer bread rolls. This makes them incredibly versatile, perfect for sandwiches or accompanying meals.
The history of the Kaiser roll is often traced back to Vienna, Austria, around the 18th century, supposedly named in honor of Emperor Franz Joseph I. Their enduring popularity stems from their simple elegance and perfect balance of texture and flavor. An easy homemade kaiser roll recipe aims to replicate this classic profile, providing that satisfying combination of a slightly chewy crust and a tender inside. The subtle, pure bread flavor makes them an ideal canvas for various fillings or toppings, a quality that has cemented their place as a beloved bread roll worldwide.
Easy Homemade Kaiser Roll Recipe: Step-by-Step Instructions
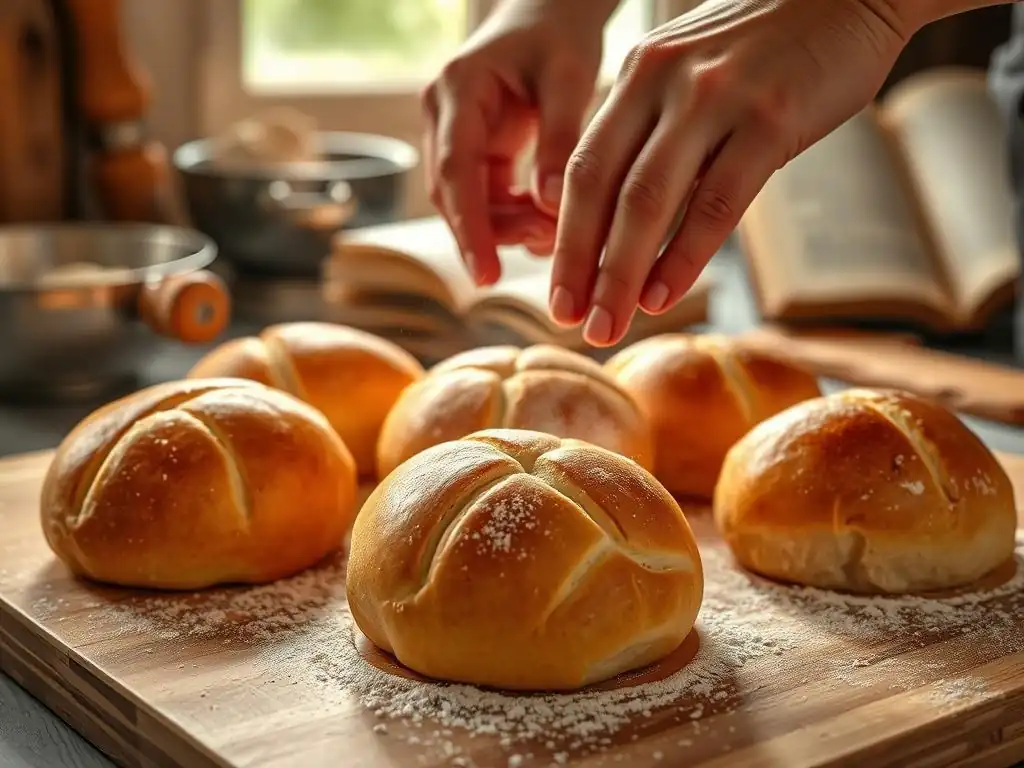
Ingredients for Perfect Kaiser Rolls
Essential Ingredients List
Creating a truly authentic and delicious easy homemade kaiser roll recipe starts with a few fundamental ingredients. These components work together to build the structure, flavor, and texture characteristic of classic Kaiser rolls.
- All-Purpose Flour: Approximately 500 grams (about 4 cups). This provides the main structure. While bread flour can be used for a chewier roll, all-purpose is excellent for a balanced texture in an easy homemade kaiser roll recipe.
- Water: About 300-350 milliliters (1 ¼ to 1 ½ cups) of lukewarm water (around 40-45°C or 105-115°F). The exact amount can vary slightly depending on your flour and humidity.
- Yeast: 7 grams (about 2 ¼ teaspoons) of active dry yeast or instant yeast. Active dry yeast may need to be proofed first, while instant yeast can often be added directly to the dry ingredients.
- Salt: 10 grams (about 1 ½ teaspoons). Salt is crucial for flavor and controlling yeast activity.
- Sugar (Optional but Recommended): A pinch, perhaps 5-10 grams (1-2 teaspoons). A small amount of sugar helps "feed" the yeast initially and can contribute to browning, although it's not strictly necessary for a lean dough.
Ingredient Substitutions and Tips
While the essential list provides the foundation for your easy homemade kaiser roll recipe, sometimes substitutions are necessary, or small adjustments can enhance the outcome. For flour, if you prefer a slightly chewier roll, you can substitute up to half of the all-purpose flour with bread flour. Gluten-free flour blends can be used, but the results in terms of texture and shaping will differ significantly from a traditional Kaiser roll; look for blends specifically designed for yeast breads.
When it comes to yeast, if you only have fresh yeast, use about 20 grams (a 0.6 oz cake) and dissolve it in the lukewarm water. If using instant yeast, you can skip the proofing step and mix it directly with the flour and salt. Regarding water temperature, too hot will kill the yeast, while too cold will slow down the rise considerably. Aim for lukewarm, feeling just warm to the touch. For extra flavor depth, some bakers add a small amount of malt powder or honey (about 1 teaspoon) to the dough, which also aids in crust browning.
Equipment You'll Need
Baking an easy homemade kaiser roll recipe doesn't require a professional bakery setup, but having the right tools makes the process smoother and more enjoyable. Here's a list of essential equipment:
- Large Mixing Bowl: For combining ingredients and the first rise. A bowl with a capacity of at least 4-5 liters (4-5 quarts) is ideal to accommodate the dough as it expands.
- Measuring Cups and Spoons or Kitchen Scale: Accurate measurement, especially of flour and yeast, is key in baking. A kitchen scale is highly recommended for precision, measuring flour by weight (grams) rather than volume (cups). For water, a liquid measuring cup is sufficient.
- Dough Scraper: Useful for handling sticky dough, cleaning surfaces, and dividing dough portions. A bench scraper with a metal blade is versatile.
- Clean Kitchen Towel or Plastic Wrap: For covering the dough during proofing to prevent it from drying out.
- Baking Sheets: At least one, preferably two, lined with parchment paper or silicone baking mats. This prevents sticking and aids in even baking.
- Oven: A standard home oven is perfectly suitable. Ensure it's preheated properly.
- Cooling Rack: To allow the baked rolls to cool evenly and prevent the bottoms from becoming soggy.
Optional but helpful tools for your easy homemade kaiser roll recipe include a stand mixer with a dough hook attachment (saves on manual kneading), a spray bottle (for creating steam in the oven), a sharp knife, bench knife, or a specific Kaiser roll stamp for shaping, and an oven thermometer to verify your oven's accuracy. While the stamp makes shaping easy, the classic fold can be achieved with just your hands and a sharp knife or bench scraper.
Preparing the Dough for Kaiser Rolls
Mixing the Dough: A Detailed Guide
The first step in your easy homemade kaiser roll recipe is bringing the ingredients together to form the dough. If using active dry yeast, start by proofing it: dissolve the yeast and a pinch of sugar (if using) in the lukewarm water in your mixing bowl. Let it sit for 5-10 minutes until it becomes foamy and bubbly – this confirms the yeast is active. If using instant yeast, you can skip this step and add it directly to the flour.
Once the yeast is ready (or if using instant yeast), add the flour and salt to the bowl. If using a stand mixer, attach the dough hook. Mix on low speed until the ingredients just come together into a shaggy dough. If mixing by hand, use a wooden spoon or your hands to combine everything.
At this stage, the dough will likely be quite sticky. Continue mixing for another minute or two until no dry pockets of flour remain. Don't worry about kneading yet; the goal here is simply to hydrate the flour and distribute the ingredients evenly. The dough might seem a bit wet, which is often desirable for a soft interior.
Kneading Techniques for the Ideal Texture
Kneading is a critical step in developing the gluten structure necessary for a light and airy Kaiser roll. For your easy homemade kaiser roll recipe, you can knead by hand or use a stand mixer. If using a stand mixer, increase the speed to medium-low and knead for about 8-10 minutes. The dough should become smooth, elastic, and pull away from the sides of the bowl, although it might still stick slightly to the bottom.
If kneading by hand, turn the shaggy dough out onto a lightly floured surface. Knead by folding the dough over, pressing down with the heel of your hand, rotating, and repeating. This process should take about 10-15 minutes.
The dough is properly kneaded when it is smooth, elastic, and passes the "windowpane test": you should be able to gently stretch a small piece of dough thin enough to see light through it without it tearing. Avoid adding too much extra flour during kneading, as this can make the rolls dense. A slightly sticky dough is often preferred for a softer crumb.
First Rise: Achieving Optimal Dough Proofing
The first rise, or bulk fermentation, allows the yeast to produce carbon dioxide, causing the dough to double in size and develop flavor. After kneading your easy homemade kaiser roll recipe dough, shape it into a ball and place it back in the clean mixing bowl. Lightly grease the bowl with a little oil or cooking spray to prevent sticking.
Cover the bowl tightly with plastic wrap or a damp kitchen towel. Place the bowl in a warm, draft-free place. An oven with the light on (but not heated) is often a good spot. The dough should double in size in about 1 to 1.5 hours, depending on the temperature of your kitchen. You can tell it's ready if you gently poke it with a floured finger and the indentation remains. If it springs back immediately, it needs more time. This slow fermentation is key to developing the delicious flavor of your easy homemade kaiser roll recipe.
Shaping Classic Kaiser Rolls
The Kaiser Roll Fold: Step-by-Step Visual Guide
Shaping is what gives the Kaiser roll its iconic look. While a stamp is easiest, the traditional fold is achievable with practice for your easy homemade kaiser roll recipe. First, gently punch down the dough after its first rise and turn it out onto a lightly floured surface. Divide the dough into equal portions, typically weighing around 70-80 grams (2.5-2.8 oz) each, which should yield about 10-12 rolls. Round each piece into a taut ball.
Let the dough balls rest for about 10-15 minutes, covered, to relax the gluten. This makes shaping much easier. Now, take one ball and flatten it into a disk about 5-6 inches (12-15 cm) in diameter. Imagine the disk is a clock face. Fold the edge at 12 o'clock towards the center, pressing down firmly.
Then, fold the edge at 4 o'clock over the previous fold, pressing again. Next, fold the edge at 8 o'clock over the previous two folds. Continue folding the remaining two points (approximately 2 o'clock and 6 o'clock) over the center, creating a layered star shape. Flip the shaped roll over so the folds are underneath and place it on your prepared baking sheet.
Alternative Shaping Methods
If the traditional fold feels too challenging initially for your easy homemade kaiser roll recipe, there are simpler ways to achieve a similar look or just make round rolls. The easiest method is simply to round the dough portions into tight balls. While they won't have the star pattern, they will still bake into delicious, classic-style rolls with the right texture. This is a perfectly valid approach for an easy homemade kaiser roll recipe, prioritizing simplicity.
Another method involves using a sharp knife or a bench scraper to cut a star pattern into the top of a round dough ball. After the first rise and dividing the dough, round the portions and place them on the baking sheet. Before the second rise, use a sharp blade to make five cuts radiating from the center, creating a star or flower pattern.
Be careful not to cut all the way through. As the rolls rise and bake, these cuts will open up, mimicking the look of the traditional shape. This method is quicker than the fold and still gives your easy homemade kaiser roll recipe a distinctive appearance.
Baking Your Homemade Kaiser Rolls
Oven Temperature and Baking Time
Proper oven temperature is crucial for achieving the perfect crust and crumb in your easy homemade kaiser roll recipe. Preheat your oven to a relatively high temperature, typically around 200-220°C (400-425°F). This high initial heat helps the rolls spring up quickly (oven spring) and develops a crisp crust. It's a good idea to use an oven thermometer to ensure your oven is reaching and maintaining the correct temperature, as oven thermostats can sometimes be inaccurate by as much as 20-30 degrees.
Once your oven is preheated and the rolls have completed their second rise, carefully place the baking sheet in the oven. The baking time for Kaiser rolls is relatively short, usually between 15-20 minutes. The exact time will depend on your oven and the size of your rolls. You'll know they are done when they are golden brown on top and bottom and sound hollow when tapped on the bottom. Baking them directly on a preheated baking stone or steel can also improve crust development if you have one.
Achieving a Golden-Brown Crust: Tips and Tricks
A beautiful golden-brown crust is a hallmark of a classic Kaiser roll baked using an easy homemade kaiser roll recipe. One of the most effective ways to achieve this is by creating steam in your oven at the beginning of the bake. Steam keeps the surface of the dough moist longer, allowing it to expand fully before the crust sets. This results in a thinner, crispier crust and better oven spring.
To create steam, you can place a shallow pan on the bottom rack of your oven while it preheats. Carefully pour about a cup of hot water into this pan just as you place the rolls in the oven. Close the oven door quickly to trap the steam.
Alternatively, you can spray the walls of the oven with water from a spray bottle a couple of times during the first few minutes of baking (avoiding the light bulb and glass door). Another tip is to lightly brush the tops of the rolls with water before baking. For an even richer color, some bakers brush the tops with an egg wash (one egg beaten with a tablespoon of water) or milk before baking, though this deviates slightly from the traditional lean roll profile.
Second Rise: Ensuring a Light and Airy Texture
The second rise, also known as proofing, is the final rise before your easy homemade kaiser roll recipe goes into the oven. This step is crucial for ensuring a light, airy texture in the finished rolls. After shaping your rolls and placing them on the prepared baking sheets, cover them lightly with a clean kitchen towel or loose plastic wrap.
Allow the shaped rolls to rise in a warm, draft-free place for about 30-45 minutes. They should increase in size by about 50-75% and look visibly puffy. Be careful not to over-proof them; if they double in size or look very fragile and inflated, they might collapse in the oven. You can test if they are ready by gently poking the side of a roll; the indentation should spring back slowly, not immediately.
If it springs back instantly, they need more time. If it stays completely indented, they are likely over-proofed. Proper second rise is key to that desirable soft interior.
Cooling and Storing Your Kaiser Rolls
How to Cool Your Baked Kaiser Rolls Properly
Once your easy homemade kaiser roll recipe has successfully emerged from the oven, golden and fragrant, proper cooling is essential. Resist the urge to cut into them immediately! As they cool, the internal structure sets, and steam escapes. Removing them from the hot baking sheet promptly is important to prevent the bottoms from becoming soggy from residual heat and steam.
Transfer the baked Kaiser rolls to a wire cooling rack as soon as they are out of the oven. Arrange them in a single layer, ensuring air can circulate around all sides. Let them cool completely on the rack. This allows the crust to crisp up nicely and the interior to finish cooking slightly from residual heat, resulting in the best possible texture. Cooling usually takes about 30-60 minutes, depending on the size of the rolls and the ambient temperature.
Storage Solutions for Freshness
Homemade bread, including your easy homemade kaiser roll recipe, is best enjoyed the day it's baked. However, if you have leftovers, proper storage will help maintain their freshness for a couple of days. Once completely cooled, store Kaiser rolls at room temperature in a paper bag to preserve the crust's crispness. A plastic bag can make the crust soft and chewy, which isn't ideal for Kaiser rolls.
For longer storage, Kaiser rolls freeze exceptionally well. Once fully cooled, place them in a freezer-safe bag or airtight container. They can be frozen for up to 2-3 months. To thaw, simply remove from the freezer and let them sit at room temperature. You can refresh frozen or day-old rolls by sprinkling them lightly with water and warming them in a 180°C (350°F) oven for 5-10 minutes. This brings back some of that wonderful fresh-baked texture and aroma, making your easy homemade kaiser roll recipe enjoyable even days later.
Kaiser Roll Variations and Flavor Enhancements
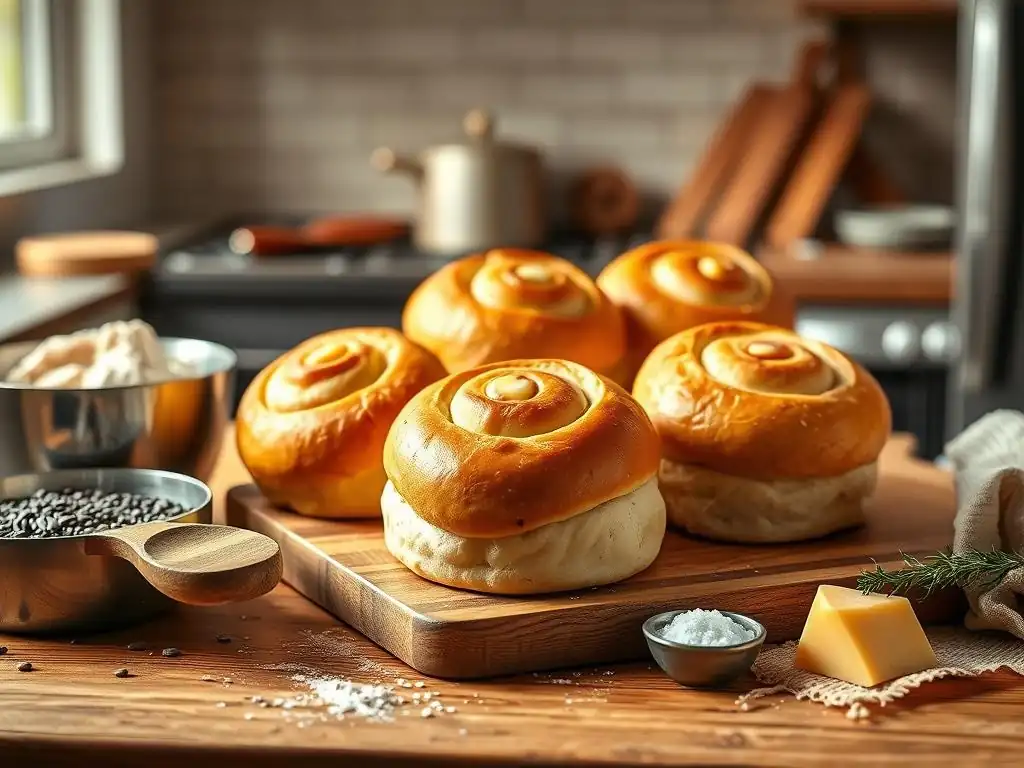
Seeded Kaiser Rolls: Adding Texture and Flavor
Adding seeds is a popular and delicious variation to the classic easy homemade kaiser roll recipe, introducing both texture and enhanced flavor. Seeds can be incorporated in several ways. You can mix seeds directly into the dough during the kneading phase. Poppy seeds, sesame seeds, or a mix of seeds like flax, sunflower, and pumpkin seeds work well, adding a subtle nutty flavor and visual appeal to the crumb. For a 500g flour recipe, start with 2-3 tablespoons of mixed seeds.
Alternatively, and more commonly for Kaiser rolls, seeds are sprinkled on top of the rolls just before baking. After the second rise, lightly brush the tops of the rolls with water or an egg wash (for better adhesion) and generously sprinkle with your choice of seeds. Sesame seeds and poppy seeds are classic choices, often used together.
A "everything bagel" mix is also a fantastic option. Press the seeds gently into the dough to help them stick. This method provides a delightful crunch and burst of flavor with every bite, complementing the soft interior of your easy homemade kaiser roll recipe.
Herb-Infused Kaiser Rolls: Aromatic Variations
Infusing your easy homemade kaiser roll recipe dough with herbs is a wonderful way to add aromatic complexity and savory notes, making them perfect for specific meal pairings. Dried or fresh herbs can be incorporated directly into the dough during the mixing stage. About 1-2 tablespoons of finely chopped fresh herbs or 1-2 teaspoons of dried herbs per 500g of flour is a good starting point.
Popular choices for herb-infused Kaiser rolls include rosemary, thyme, or chives. Imagine a warm roll with hints of rosemary served alongside a hearty soup or stew! Garlic powder (about ½ teaspoon) can also be added for a savory depth. Ensure the herbs are finely chopped or dried so they distribute evenly throughout the dough. The aroma they release while baking is simply incredible, elevating your easy homemade kaiser roll recipe from simple bread to a flavorful accompaniment.
Sweet Kaiser Rolls: A Touch of Sweetness
While traditionally a lean, savory roll, your easy homemade kaiser roll recipe can be adapted to include a touch of sweetness for different uses, such as breakfast rolls or a base for fruit sandwiches. This variation involves slightly adjusting the dough formula. Increase the amount of sugar in the recipe from a pinch to about 20-30 grams (1.5-2 tablespoons) per 500g of flour. You can also add a tablespoon of butter or oil to the dough for a richer, more tender crumb, moving it slightly away from the lean dough definition but resulting in a delightful sweet roll.
Flavorings like cinnamon (1 teaspoon), a sprinkle of nutmeg, or even some finely grated orange zest can be incorporated with the sugar and fat. These sweet variations are fantastic served warm with butter and jam, or used for sweet fillings. While not the classic Vienna roll, this adaptation of the easy homemade kaiser roll recipe demonstrates its versatility and allows for creative exploration in your home baking.
Troubleshooting Common Kaiser Roll Baking Issues
Dough Not Rising Properly
One of the most common issues when following an easy homemade kaiser roll recipe is the dough failing to rise adequately. This is almost always related to the yeast. The most likely culprit is inactive or dead yeast. This can happen if the yeast is old, has been stored improperly (e.g., in a warm, humid place), or was exposed to water that was too hot during the initial mixing phase (water above 55°C or 130°F can kill yeast instantly).
To troubleshoot, first check the expiration date on your yeast package. If it's past date or you're unsure, proof the yeast separately in lukewarm water with a pinch of sugar before adding it to the flour. If it doesn't become foamy within 5-10 minutes, the yeast is dead, and you'll need a fresh batch.
Another factor is the temperature of your proofing environment; if it's too cold (below 20°C or 68°F), the yeast activity will be very slow. Find a warmer spot, like an oven with just the light on, or extend the rising time significantly. Ensure your salt wasn't added directly on top of the yeast before mixing, as high concentrations of salt can inhibit yeast activity.
Kaiser Rolls Too Dense or Dry
If your homemade Kaiser rolls turn out dense and heavy or excessively dry, several factors from your easy homemade kaiser roll recipe process could be the cause. A dense crumb often indicates insufficient kneading or under-proofing. Kneading develops the gluten network that traps the gases produced by the yeast; if the dough wasn't kneaded enough (less than 8-10 minutes by machine or 10-15 minutes by hand until elastic), the structure won't be strong enough to hold the rise. Similarly, if the dough didn't rise fully during the first or second proofing stages, it won't have the airy structure desired.
Dry rolls can result from adding too much flour during mixing or kneading. Always measure flour accurately, preferably by weight (grams), and use just enough flour on your work surface to prevent sticking, resisting the urge to incorporate excess flour into the dough. Over-baking is another cause of dryness; baking for too long or at too low a temperature can dry out the crumb before the crust is perfectly golden.
Ensure your oven temperature is accurate and bake only until the rolls are golden brown and sound hollow when tapped. A slightly wetter dough initially (using the higher end of the water range) can also contribute to a softer, less dry roll.
Shaping Challenges and Solutions
Achieving the classic Kaiser roll shape can be one of the trickiest parts of an easy homemade kaiser roll recipe, especially when attempting the traditional fold. If your folds aren't holding, or the dough is tearing, it's likely an issue with gluten development or relaxation.
If the dough is tearing when you try to flatten it or fold it, it might not have been kneaded enough, or it hasn't rested long enough after dividing. Allowing the dough portions to rest for 10-15 minutes after rounding helps the gluten relax, making the dough more pliable and easier to shape without tearing.
If the folds aren't staying put after shaping, ensure you are pressing down firmly enough with each fold to help them adhere. Also, make sure the surface isn't overly floured; too much flour can prevent the layers from sticking together. Flipping the roll seam-side down immediately after shaping helps the folds seal during the second rise.
If you are consistently having trouble with the traditional fold, don't get discouraged! Use an alternative shaping method like simply rounding the rolls or cutting a star pattern on top. The flavor and texture of your easy homemade kaiser roll recipe will still be delicious, even if the shape isn't perfectly traditional.
Serving Suggestions for Your Homemade Kaiser Rolls
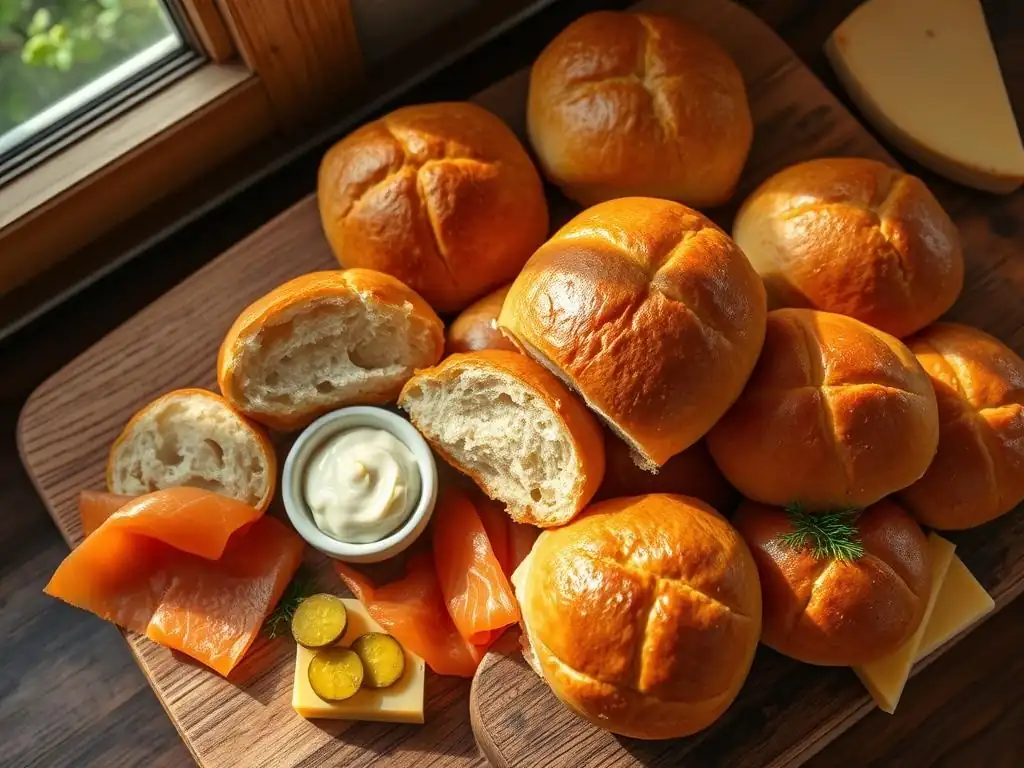
Perfect Pairings: What to Serve with Kaiser Rolls
The versatility of Kaiser rolls baked from an easy homemade kaiser roll recipe makes them a fantastic accompaniment to a wide variety of meals. Their sturdy yet soft structure and neutral flavor profile pair beautifully with savory dishes. They are excellent served warm alongside soups, stews, and chili, perfect for dipping and soaking up flavorful broths. Think about a classic beef stew or a hearty lentil soup – a warm Kaiser roll is the ideal companion.
Kaiser rolls are also superb with salads, particularly substantial ones like chicken salad or tuna salad that you might serve on the side. They complement roasted meats like chicken or pork, and are a staple on the side of a traditional Austrian Wiener Schnitzel. For a simple yet satisfying option, serve warm Kaiser rolls with just butter, maybe a sprinkle of flaky sea salt, allowing the pure bread flavor of your easy homemade kaiser roll recipe to shine.
Kaiser Rolls for Sandwiches and More
Perhaps the most popular use for Kaiser rolls is as the foundation for delicious sandwiches. Their size and shape are ideal for holding fillings without being too large or too small. The crisp crust provides a satisfying bite, while the soft interior absorbs juices and flavors beautifully. Classic fillings include cold cuts and cheese, egg salad, or grilled vegetables.
Beyond traditional sandwiches, your easy homemade kaiser roll recipe can be used in creative ways. Slice them horizontally and toast them lightly for mini pizzas. Use them as buns for sliders or small burgers. They can be hollowed out slightly and filled with a creamy dip or served as bread bowls for individual servings of soup (though they are smaller than typical bread bowls). The possibilities are vast, making your batch of easy homemade kaiser roll recipe a versatile addition to your culinary repertoire.
Conclusion: Enjoying Your Homemade Kaiser Rolls
Baking classic Kaiser rolls at home using an easy homemade kaiser roll recipe is a rewarding journey that culminates in delicious, fresh bread rolls. From mixing the simple ingredients to mastering the distinctive shape and achieving that perfect balance of a crisp crust and soft interior, each step contributes to the final, satisfying result. You've gained control over the process, creating rolls that are fresher and often more flavorful than anything you can buy.
Whether you serve them warm with butter, use them as the base for a fantastic sandwich, or pair them with a comforting meal, the Kaiser rolls you bake yourself are a testament to the simple pleasures of home baking. Don't be discouraged by initial challenges with shaping; practice makes perfect, and even imperfectly shaped rolls from an easy homemade kaiser roll recipe will taste wonderful. So go ahead, embrace the process, fill your kitchen with that irresistible aroma, and savor the taste of your very own classic homemade Kaiser rolls.
Frequently Asked Questions
What are kaiser rolls?
Kaiser rolls are round, crusty bread rolls that are often topped with poppy or sesame seeds. They are known for their distinctive shape and are perfect for sandwiches.
How do I make kaiser rolls at home?
To make kaiser rolls at home, follow our easy homemade kaiser roll recipe. It includes simple ingredients and step-by-step instructions to ensure success for bakers of all levels.
What is the best way to shape kaiser rolls?
To shape kaiser rolls, form the dough into a ball and then create a pattern by pinching or scoring the top. This gives the rolls their traditional appearance and allows them to expand properly while baking.
Can I freeze homemade kaiser rolls?
Yes, you can freeze homemade kaiser rolls! Simply cool them completely, wrap them tightly in plastic wrap, and store them in an airtight container or freezer bag for up to three months.
What are some variations of kaiser rolls?
Variations of kaiser rolls can include different toppings such as sesame seeds, poppy seeds, or even herbs. You can also experiment with adding flavored ingredients like garlic or cheese for a unique twist.
Final Reflection: The Enduring Magic of Homemade Kaiser Rolls
The simple act of baking, and specifically crafting perfect Kaiser rolls at home, connects us to a culinary heritage while offering a surprisingly accessible path to joy and satisfaction. In a world increasingly dominated by convenience, taking the time to knead dough, shape these iconic rolls, and savor their warm, crusty goodness offers a powerful antidote to the hurried pace of modern life. It's a reminder that even the most seemingly mundane tasks can hold profound meaning.
The influence of homemade bread, and specifically the Kaiser roll with its distinctive crown, extends far beyond the kitchen table. It speaks to a deeper human need for connection – to tradition, to family, and to the simple pleasures of creating something beautiful with our own hands. Bread is the staff of life,
a proverb often repeated, truly encapsulates the enduring importance of this staple food, and the act of making it elevates it to an art form. The aroma alone, filling your home as the rolls bake, is a testament to this enduring power.
Now, I invite you to consider your own relationship with food and the act of creation. Will you embrace the challenge of crafting your own Kaiser rolls? Perhaps this seemingly small act will spark a larger exploration of your culinary heritage, or simply provide a moment of mindful creation in your busy day. The reward, I promise, is far greater than the sum of its parts – a taste of tradition, a sense of accomplishment, and the warm, comforting aroma of home.
Unleash Your Inner Baker: Craft Perfect Kaiser Rolls!
Thanks for joining us on this baking adventure! We hope you've gained the confidence to tackle classic Kaiser rolls. Ready to take your newfound skills to the next level?
- Bake a batch today! Use the recipe and tips from this article to create your own delicious Kaiser rolls. Imagine the satisfying aroma filling your kitchen!
- Share your creations: Post a picture of your Kaiser rolls on social media using #BakeWithEaseKaiserRolls and tag us – we’d love to see them!
- Experiment with fillings: Try adding different herbs, cheeses, or meats to your rolls for a unique twist.
What surprising ingredient will you add to your next batch of Kaiser rolls to elevate their flavor?