
Informative Basic Sourdough Recipe for New Bakers

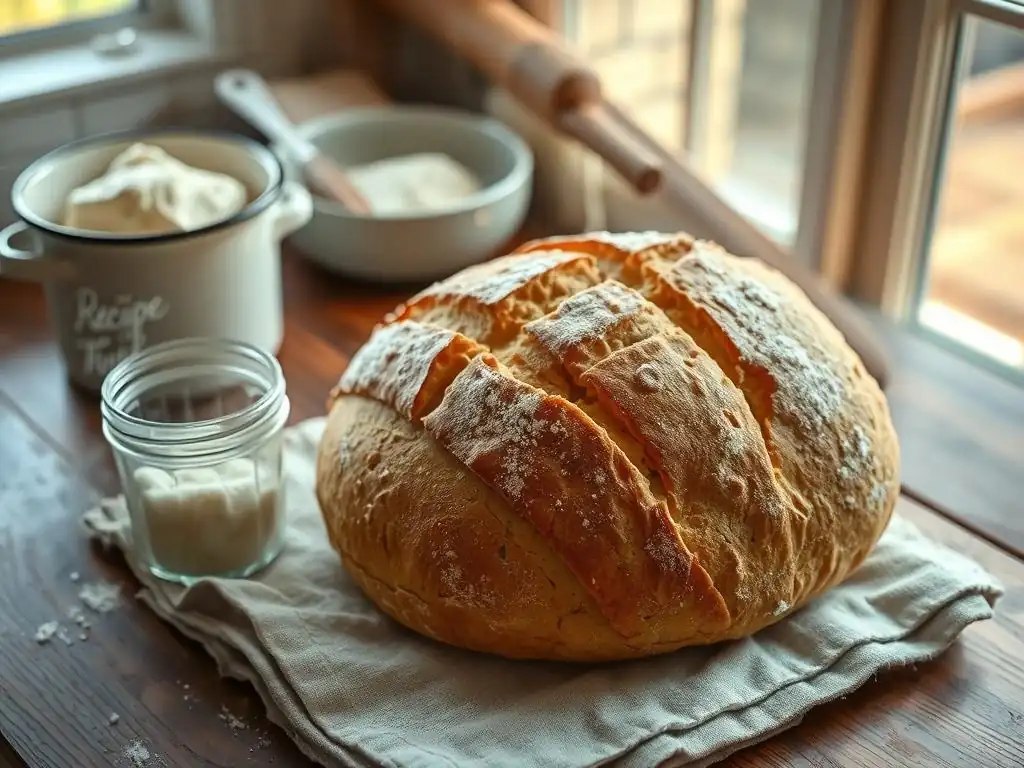
Welcome to BakeWithEase, your guide to unlocking the magic of baking! Ever dreamed of crafting that perfect, tangy loaf? Dive in and discover our easy sourdough starter recipe for beginners. It's simpler than you think to cultivate your own bubbling batch of deliciousness. Intrigued? Let's get started and transform flour and water into something truly extraordinary!
- Beginner's Guide to Sourdough Bread Baking
- Introduction to Sourdough Baking
- Creating and Maintaining a Sourdough Starter
- Baking a Basic Sourdough Loaf
- Enjoying Your Sourdough
- Conclusion: Expanding Your Sourdough Journey
-
Frequently Asked Questions
- What exactly is a sourdough starter, and why is it important for sourdough bread?
- How often do I need to feed my sourdough starter, especially when I'm just starting out?
- What are the signs that my sourdough starter is ready to use in a recipe?
- What type of flour is best for making a sourdough starter, especially for beginners?
- What if my sourdough starter isn't doubling in size after several days of feeding?
- Final Reflection: The Humble Rise of Sourdough
- Unleash Your Inner Baker: Start Your Sourdough Journey Today!
Beginner's Guide to Sourdough Bread Baking
Introduction to Sourdough Baking
Understanding Sourdough: A Beginner's Overview
Sourdough baking is a time-honored craft that relies on a natural leavening process rather than commercial yeast. At its heart is the sourdough starter, a living culture created by fermenting flour and water. This culture harbors wild yeasts and beneficial bacteria, primarily lactic acid bacteria, which work together to produce carbon dioxide (making the dough rise) and organic acids (contributing to flavor and texture). Unlike baking with instant yeast, which provides a rapid and predictable rise, sourdough fermentation is slower and more nuanced, resulting in bread with a unique tang, complex flavor profile, and often a more digestible structure.
For those new to the world of natural leavening, the concept of maintaining a starter might seem daunting, but it's quite manageable with an easy sourdough starter recipe beginners can follow. The key is consistency in feeding and observation. Over several days, a simple mixture of flour and water transforms into a bubbly, active culture capable of leavening bread.
This process not only gives the bread its characteristic lift but also breaks down complex starches and proteins in the flour, potentially making the nutrients more available and the bread easier on the digestive system for some individuals. It's a journey of patience and learning, yielding incredibly rewarding results.
The Benefits of Sourdough: Taste, Texture, and Health
The most immediate and perhaps celebrated benefit of sourdough is its distinct taste and texture. The fermentation process develops a complex array of flavors, ranging from subtly tangy to pleasantly sour, depending on the starter's maturity and the fermentation duration. This depth of flavor is simply unmatched by commercially yeasted bread. Texturally, sourdough often boasts a wonderfully chewy crumb and a thick, crispy crust, the result of the long fermentation and high baking temperatures often used. Achieving that perfect balance of chewiness and crispness is a hallmark of a well-made sourdough loaf.
Beyond the sensory pleasures, sourdough offers potential health advantages. The lactic acid bacteria in the starter contribute to the production of lactic acid and acetic acid, which lower the bread's pH. This acidic environment can inhibit the growth of less desirable bacteria and also helps break down phytates, compounds found in grains that can hinder mineral absorption.
Furthermore, the slow fermentation process can reduce the gluten content in the dough and pre-digest some of the carbohydrates, which some people find beneficial for digestion. While not a cure for celiac disease, many individuals with gluten sensitivity report being able to tolerate traditional, long-fermented sourdough bread better than conventional bread.
Creating and Maintaining a Sourdough Starter
The Sourdough Starter: The Heart of Sourdough
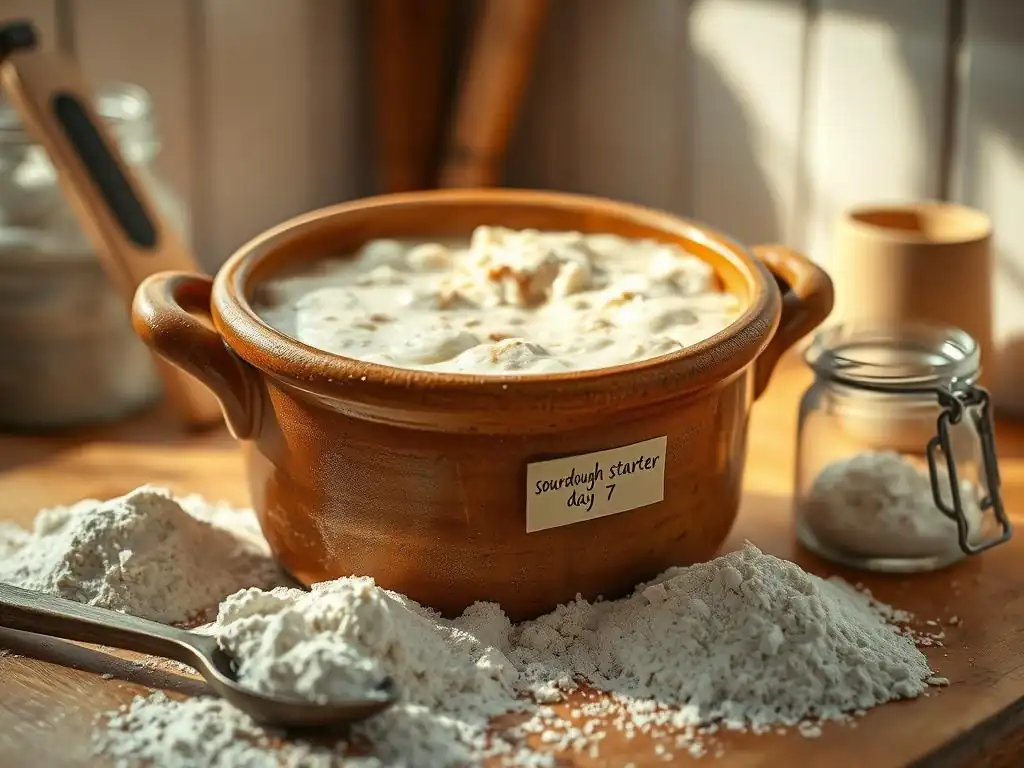
The sourdough starter is the living, breathing foundation upon which all sourdough baking is built. It's essentially a symbiotic culture of wild yeasts and bacteria, harvested from the environment and the flour itself, thriving in a simple mixture of flour and water. Think of it as your natural leavening agent, replacing commercial yeast entirely.
When you embark on creating an easy sourdough starter recipe beginners often start with, you're cultivating a unique microbial ecosystem that will provide the lift, flavor, and texture for your bread. The quality and activity of your starter directly impact the success of your bakes, making its health and maintenance paramount.
Creating and nurturing a starter requires patience and consistent feeding. The wild yeasts consume sugars in the flour, producing carbon dioxide gas (which causes bubbles and makes the starter rise) and alcohol. The lactic acid bacteria consume sugars and also byproducts of yeast fermentation, producing lactic acid and acetic acid, which give sourdough its characteristic tang and help preserve the starter.
A healthy, active starter will typically double or even triple in volume within a few hours after feeding, exhibit numerous bubbles throughout, and have a pleasant, slightly acidic aroma. This active state indicates it's ready to leaven dough effectively.
Step-by-Step Starter Creation
Creating your own easy sourdough starter recipe beginners can master is a rewarding process that takes about 7-14 days. It starts with just flour and water and evolves into a vibrant culture.
Day 1: Initial Flour and Water Mixture
To begin your easy sourdough starter recipe beginners can follow, you'll need a clean glass jar or container, 50 grams of unbleached all-purpose or bread flour, and 50 grams of lukewarm water (around 70-80°F or 21-27°C). Measure the flour and water into the jar. Mix thoroughly with a spoon or fork until no dry clumps of flour remain. The mixture will be thick and paste-like.
Scrape down the sides of the jar and loosely cover it with a lid, plastic wrap, or a clean cloth secured with a rubber band. This allows air exchange while preventing drying. Place the jar in a warm spot, ideally between 70-80°F (21-27°C), away from direct sunlight.
After mixing, you might not see much activity on the first day, and that's perfectly normal. The wild yeasts and bacteria present in the flour and air are just beginning to wake up and multiply. The temperature of your environment plays a significant role; a warmer spot encourages faster initial activity. If your kitchen is cooler, it might take a bit longer to see the first signs of life. Just ensure the mixture is well combined and covered loosely to protect it.
Days 2-7: Feeding and Observing Starter Activity
From Day 2 onwards, you'll begin a daily feeding routine. Each day, around the same time, discard half of the starter (this reduces its volume and concentrates the microbial population) and feed the remaining starter with 50 grams of fresh flour and 50 grams of fresh lukewarm water. Stir well, cover loosely, and return it to its warm spot. In the initial days (Days 2-4), you might see some small bubbles or a slight rise, possibly followed by a period of inactivity or even an unpleasant smell (like nail polish remover), which is normal as different microbes compete.
By Day 5-7 (or sometimes a bit longer, depending on temperature and flour), you should start seeing more vigorous activity. Your starter should consistently develop noticeable bubbles throughout the mixture, and it should visibly rise after feeding, potentially doubling in size within 4-8 hours. The smell should become more pleasant, tangy, and yeasty, perhaps like ripe fruit or yogurt. This increasing activity indicates that a stable, healthy population of yeasts and lactic acid bacteria is establishing itself. Continue the daily feeding routine until your starter shows reliable signs of maturity.
Identifying a Mature and Active Starter
A mature and active starter, ready for baking an easy sourdough starter recipe beginners can follow, exhibits several key characteristics. Firstly, it should consistently double or even triple in volume within 4-8 hours after being fed at a 1:1:1 ratio (starter:flour:water by weight). Secondly, it should be full of bubbles, both large ones on the surface and smaller ones visible through the sides of a glass jar. Thirdly, the aroma should be pleasant, tangy, and slightly sweet, without strong off-putting smells like acetone.
A simple test to confirm readiness is the "float test." Take a small spoonful of your active starter at its peak (when it has doubled and is full of bubbles) and gently drop it into a glass of water. If it floats, it's active and light enough to leaven dough. If it sinks, it might need a few more days of consistent feeding to build strength. While the float test isn't foolproof, it's a good indicator alongside the visual and aromatic cues. Once your starter consistently passes these checks, it's ready to bake!
Long-Term Starter Maintenance and Care
Once your easy sourdough starter recipe beginners culture is mature, you can adapt its feeding schedule based on how often you plan to bake. If you bake frequently (daily or every few days), you can keep your starter at room temperature and feed it once or twice a day with a ratio like 1:2:2 or 1:3:3 (starter:flour:water) to maintain vigor. Daily feeding requires discarding a portion each time to keep the volume manageable and the culture healthy. For example, you might keep 50g starter, feed with 100g flour and 100g water.
If you bake less often, storing your starter in the refrigerator is the most convenient option. Refrigeration significantly slows down microbial activity, reducing the need for frequent feeding. You can feed your starter, let it sit at room temperature for an hour or two to start activating, and then place it in the fridge.
When stored cold, it typically only needs to be fed once a week. When you want to bake, take the starter out of the fridge, discard most of it, and feed it generously (perhaps 1:3:3 or 1:4:4 ratio) at room temperature. You'll need to feed it 1-3 times over 1-2 days until it becomes consistently active and doubles reliably again before using it in a recipe.
Baking a Basic Sourdough Loaf
Essential Ingredients
Baking a basic sourdough loaf requires just four main ingredients: flour, water, salt, and your active sourdough starter. The quality of these ingredients directly impacts the final bread.
Flour: Bread Flour vs. All-Purpose Flour
For a basic sourdough loaf, bread flour is often recommended, especially for beginners, because of its higher protein content, typically around 12-14%. This higher protein means more gluten development, which is crucial for creating the strong network needed to trap the gases produced by the starter, resulting in a well-risen loaf with an open crumb structure. All-purpose flour, with its protein content usually between 10-12%, can also be used, and many successful sourdough loaves are made with it. However, it might result in a slightly less structured dough and a denser crumb, particularly in higher hydration recipes.
Using a mix of bread flour and whole wheat or rye flour (even just 10-20% of the total flour weight) can add complexity to the flavor and often boosts starter activity and dough fermentation. Whole grain flours contain more nutrients and microbial life than refined white flour. Experimenting with different flour types is part of the sourdough journey, but for a first easy sourdough starter recipe beginners bake, sticking primarily to bread flour or a reliable all-purpose flour is a solid starting point.
Water: The Role of Temperature
Water is not just a hydrating agent in sourdough; it plays a critical role in dough consistency and fermentation temperature. The temperature of the water you use for mixing directly influences the initial dough temperature. A dough temperature between 75-80°F (24-27°C) is often ideal for promoting healthy fermentation by your starter's microbes. Using warmer water in a cooler kitchen or cooler water in a warmer kitchen helps you achieve this target dough temperature.
Beyond temperature, the type of water can matter. Chlorinated tap water can potentially inhibit microbial activity in your starter and dough. If your tap water is heavily chlorinated, letting it sit out in an open container for 24 hours allows the chlorine to dissipate, or using filtered or bottled water are good alternatives.
The hydration level (the ratio of water to flour by weight) is also crucial; a higher hydration dough (more water) is typically stickier and harder to handle but can result in a more open crumb, while lower hydration is easier but yields a denser loaf. A common starting point for a basic sourdough is 70-75% hydration relative to the total flour weight.
Salt: Enhancing Flavor and Controlling Fermentation
Salt, typically fine sea salt or kosher salt, is a vital ingredient in sourdough, usually added at a concentration of 1.8-2.2% of the total flour weight. Its primary role is to enhance the flavor of the bread, balancing the tanginess from the fermentation. Without salt, sourdough can taste bland and flat.
Furthermore, salt plays a significant role in dough structure and fermentation control. It strengthens the gluten network, making the dough easier to handle and contributing to better oven spring. Crucially, salt also slows down the fermentation rate. This is important because it prevents the dough from over-fermenting too quickly, allowing for better flavor development and structure building over the bulk fermentation period. Adding salt after the initial mixing (autolyse) is a common technique to allow gluten development to begin unimpeded by salt in the very early stages.
The Sourdough Baking Process
Baking sourdough involves several distinct stages, each contributing to the final loaf. This process turns an easy sourdough starter recipe beginners used into a tangible, delicious bread.
Mixing: Achieving Proper Dough Hydration
The first step in making your basic sourdough loaf is mixing the ingredients. Start by combining the active starter and water in a bowl, mixing until the starter is dispersed. Then, add the flour. For many recipes, it's beneficial to perform an "autolyse" step: mix only the flour and water (and starter) until just combined, forming a shaggy dough. Cover and let it rest for 30 minutes to an hour. This rest period allows the flour to fully hydrate and enzymes to start breaking down starches, which helps with gluten development without kneading.
After the autolyse, incorporate the salt. This is often done by dimpling the salt into the dough and then performing a series of folds or gentle kneading to distribute it evenly. The dough will likely be sticky, especially at higher hydration levels (75% or more). Resist adding too much extra flour at this stage; proper mixing techniques like stretch and folds or coil folds during bulk fermentation will develop the necessary strength and handleability. A good initial mix ensures all ingredients are incorporated and the dough is properly hydrated.
Bulk Fermentation: Developing Flavor and Strength
Bulk fermentation, or the first rise, is a critical phase where the magic of the easy sourdough starter recipe beginners cultivated really happens. This is the period from when you mix the ingredients until you shape the dough. During bulk fermentation, the starter ferments the dough, producing gas that makes it rise, and enzymes continue to break down components, developing flavor and strengthening the gluten network. This phase typically lasts 3-6 hours at room temperature (around 75-80°F or 24-27°C), but can be longer or shorter depending on the dough temperature and starter activity.
To build strength and even out the dough temperature, you perform a series of "stretch and folds" or "coil folds" every 30-60 minutes during the first 2-3 hours of bulk fermentation. For stretch and folds, gently stretch a portion of the dough up and fold it over itself. Rotate the bowl and repeat 3-4 times.
Coil folds involve lifting the dough from the center with wet hands, allowing the ends to tuck underneath. These folds align the gluten strands and build tension. By the end of bulk fermentation, the dough should be noticeably increased in volume (perhaps 30-50%), feel lighter and airy, and show signs of fermentation like surface bubbles.
Shaping: Creating Tension for Oven Spring
Once bulk fermentation is complete, you'll gently turn the dough out onto a lightly floured surface for shaping. The goal of shaping is to create tension on the surface of the dough, which helps the loaf hold its structure during proofing and provides the necessary "skin" for good oven spring – the final dramatic rise in the oven. Avoid degassing the dough too much; handle it gently to preserve the trapped gases.
There are various shaping techniques, but a common one for a boule (round loaf) involves gently pre-shaping the dough into a loose round and letting it rest for 15-20 minutes (called the bench rest). This allows the gluten to relax before the final shape. For the final shape, you'll perform a series of folds and tucks to create a taut surface.
Imagine pulling the edges of the dough into the center and then flipping the dough over so the seam is underneath. The surface should feel tight and smooth. Place the shaped dough seam-side up into a floured proofing basket (banneton), which supports the dough during its final rise.
Proofing: The Final Rise Before Baking
Proofing is the final rise of the shaped dough before it hits the hot oven. This step allows the dough to build up a bit more gas and relax slightly after shaping. The most common method for proofing sourdough is cold proofing in the refrigerator for 8-12 hours, or even up to 24 hours. Cold proofing slows fermentation significantly, which deepens flavor development and makes the dough easier to handle and score (cut) just before baking.
Alternatively, you can proof the dough at room temperature for 1-3 hours. Room temperature proofing is faster but requires careful monitoring to avoid over-proofing, where the dough expands too much and can collapse. A properly proofed dough will have increased slightly in size and feel airy but still have some structure. To test if it's ready, gently poke the side of the dough with a wet finger; if the indentation springs back slowly and not completely, it's likely ready.
Baking: Achieving a Crispy Crust and Open Crumb
Baking is where your easy sourdough starter recipe beginners' efforts pay off. The most effective way to bake sourdough at home to achieve a crispy crust and excellent oven spring is by using a Dutch oven or a cloche. Preheat your oven with the Dutch oven inside to a high temperature, typically 450-500°F (230-260°C), for at least 30-60 minutes. The hot vessel provides radiant heat and, crucially, traps the steam released by the dough as it bakes.
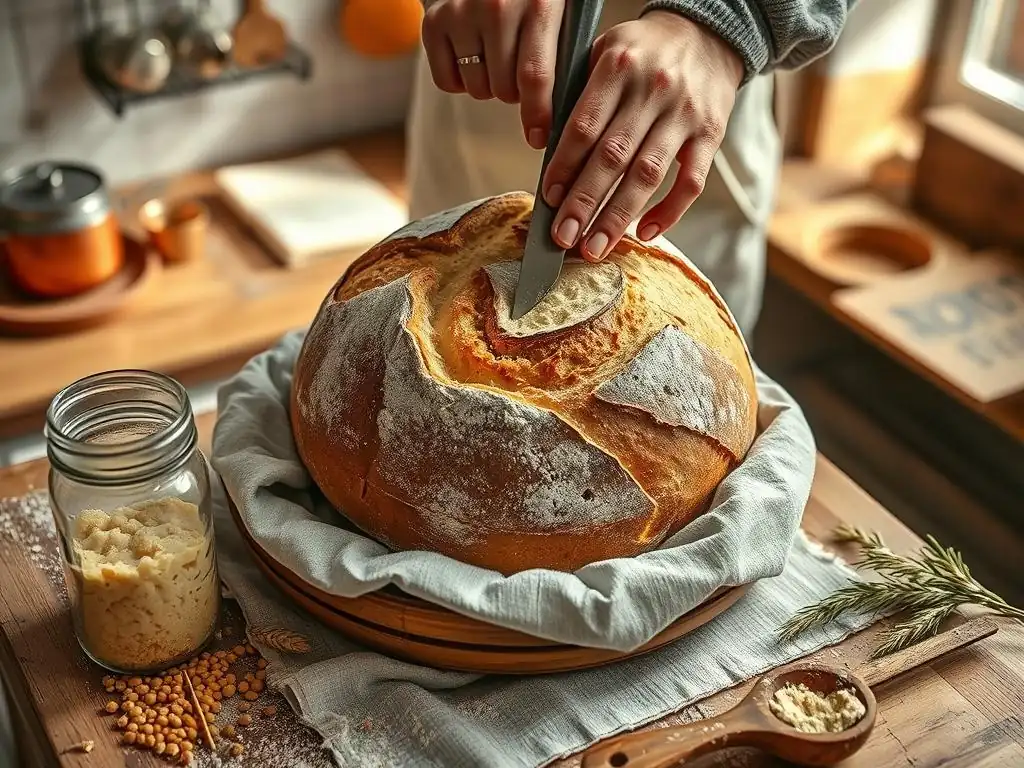
Carefully transfer the proofed dough from the banneton into the hot Dutch oven. Score the top of the dough with a sharp blade (like a razor blade or lame) to control where the loaf expands. Immediately cover the Dutch oven and bake for 20-25 minutes.
The trapped steam keeps the crust soft initially, allowing the loaf to expand dramatically (oven spring). After this initial period, remove the lid and continue baking for another 20-30 minutes, or until the crust is a deep golden brown and the internal temperature reaches 205-210°F (96-99°C). Baking uncovered allows the crust to dry out and become wonderfully crisp.
Troubleshooting and Tips
Even with an easy sourdough starter recipe beginners might face challenges. Here are some common issues and tips.
Addressing Common Issues: Dense Loaf, Sour Taste
A common problem for new sourdough bakers is a dense loaf with little rise and a tight crumb. This can be caused by several factors: an inactive starter (ensure your starter consistently doubles after feeding), insufficient bulk fermentation (the dough didn't develop enough strength or gas), over-proofing (the dough rose too much and collapsed before baking), or insufficient oven spring (often due to not enough steam or the dough surface drying out). Ensure your starter is vigorous, allow sufficient time for bulk fermentation with proper folds, don't over-proof, and bake in a steamy environment like a preheated Dutch oven.
Regarding taste, sourdough should have a pleasant tang, but if it's excessively sour, it might indicate the starter was very acidic or the dough was fermented for too long or at too warm a temperature. Feeding your starter more frequently or with a higher ratio of flour to starter (e.g., 1:3:3 or 1:4:4) can make it less acidic. Shortening bulk fermentation time or proofing in the refrigerator can also mellow the sourness. Conversely, if the bread isn't tangy enough, you might try a longer, cooler bulk fermentation or proofing period.
Scoring: Creating Patterns and Controlling Expansion
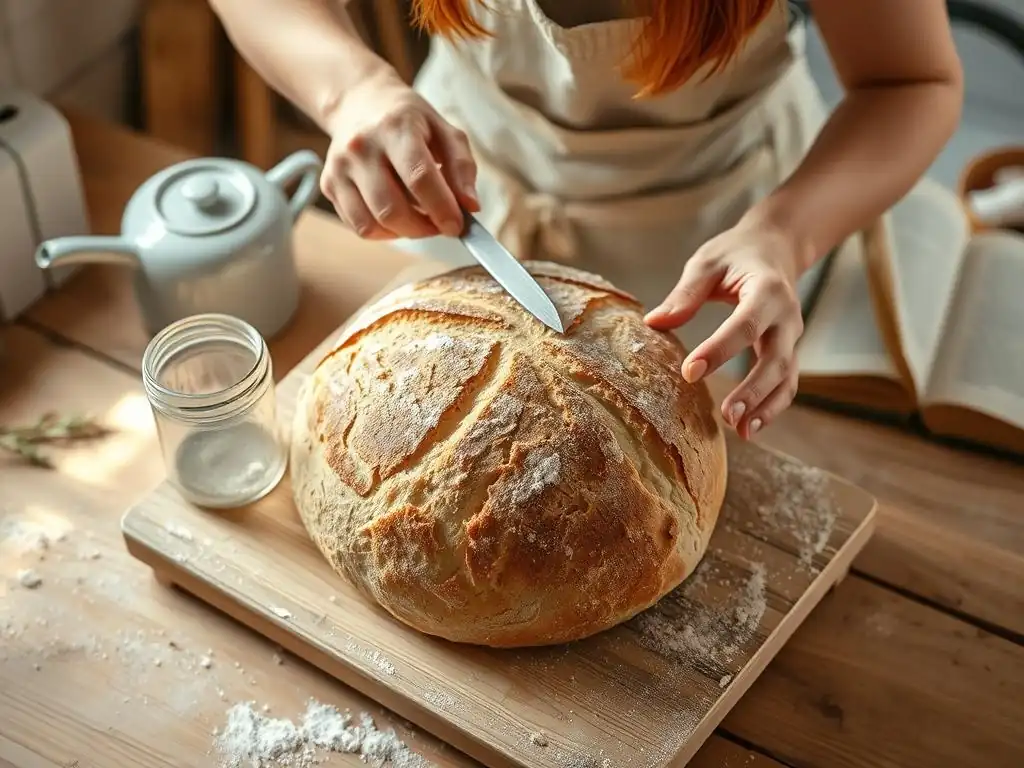
Scoring, cutting the surface of the dough just before baking, is both functional and artistic. Functionally, scores act as controlled vents, directing the expansion of the loaf during oven spring. Without scoring, the crust will rupture randomly as the gas inside expands. Artistically, scores allow you to create beautiful patterns on the crust.
Use a very sharp blade, like a razor blade (lame), held at about a 30-45 degree angle to the dough surface. For a simple score, a single deep cut along the length of an oval loaf or a cross on a round loaf is sufficient. For more elaborate patterns, multiple shallow cuts can be made. Aim for a depth of about 1/2 inch (1-2 cm) for the main score to ensure good expansion. Practice makes perfect, and experimenting with different angles and depths will show you how they affect the final shape and crust.
Temperature and Time: Achieving Optimal Baking
Achieving the perfect balance of crust color and internal doneness relies heavily on oven temperature and baking time. As mentioned, starting with a high temperature (450-500°F or 230-260°C) in a preheated Dutch oven is key for initial oven spring. The covered baking period (around 20-25 minutes) ensures the loaf expands fully before the crust sets.
After removing the lid, reducing the temperature slightly (e.g., to 425-450°F or 220-230°C) can help prevent the crust from burning while the interior finishes cooking. The final uncovered baking time (another 20-30 minutes) is crucial for developing the deep golden-brown crust and ensuring the bread is cooked through. The most reliable way to check for doneness is to measure the internal temperature with an instant-read thermometer; a fully baked loaf should register between 205-210°F (96-99°C). Baking to this temperature ensures the crumb is set and not gummy.
Enjoying Your Sourdough
Storage: Maintaining Freshness
Once your beautiful basic sourdough loaf has cooled completely (allow at least 1-2 hours for the internal structure to set), proper storage is key to maintaining its wonderful crust and crumb. Sourdough bread is best stored at room temperature. Avoid refrigerating it, as this can actually accelerate staling due to a process called retrogradation of starches that happens rapidly at cool temperatures above freezing.
For short-term storage (1-2 days), simply leaving the cut side down on a cutting board can work, especially if your crust is very sturdy. For slightly longer storage (up to 3-4 days), wrapping the loaf in a linen bread bag, a clean kitchen towel, or a paper bag allows the crust to remain somewhat crisp while protecting the crumb.
Plastic bags should generally be avoided for the first day as they can trap moisture and make the crust soft, though they can be used for longer storage if preserving the soft crumb is a priority over a crisp crust. For longer storage beyond 3-4 days, slicing the loaf and freezing the slices in an airtight bag or container is the best option; they can be easily toasted directly from frozen.
Serving Suggestions: Pairing and Serving
A freshly baked sourdough loaf, especially one made using an easy sourdough starter recipe beginners found success with, is incredibly versatile and delicious. It's fantastic simply sliced and served with good quality butter or olive oil. Its sturdy structure and tangy flavor also make it perfect for open-faced sandwiches or robust toast.
Consider pairing sourdough with soups, stews, or chili, where its crust can provide a satisfying contrast and its crumb can soak up flavorful liquids. It also works wonderfully with cheese, charcuterie, avocado, or as the base for bruschetta. Don't forget the classic combination of sourdough and jam or honey for a simple breakfast or snack. Even stale sourdough can be repurposed into delicious croutons, bread crumbs, or panzanella salad, ensuring no part of your hard-earned loaf goes to waste.
Conclusion: Expanding Your Sourdough Journey
Congratulations: Your First Loaf!
Congratulations! You've successfully nurtured an easy sourdough starter recipe beginners can handle and baked your very first loaf of sourdough bread. This is a significant achievement in the world of baking, marking your entry into a rewarding craft. You've navigated creating a living culture, understanding its needs, and transforming simple ingredients through time and technique into a truly artisanal product. Take pride in your creation – the result of patience, learning, and hands-on effort. Slice it, admire the crumb, smell that unique aroma, and savor the taste. This first loaf is just the beginning of a fulfilling baking adventure.
Each loaf you bake will teach you something new. Observe how your starter behaves, how your dough feels at different stages, and how minor adjustments in time or temperature affect the final result. Keep notes if you like! The journey of sourdough baking is one of continuous learning and refinement. Don't be discouraged by loaves that aren't perfect; they are all part of the process. Your skill and intuition will grow with every bake, building upon the foundation you've just created with this basic recipe.
Further Exploration: Advanced Techniques
With a successful basic sourdough loaf under your belt, you're now ready to explore the vast possibilities of sourdough baking. There are many avenues for further exploration. You can experiment with different hydration levels to achieve a more open, airy crumb or try incorporating various flours like whole wheat, rye, or spelt for different flavors and textures. Adding inclusions like seeds, nuts, dried fruits, or cheese can transform your basic loaf into something entirely new.
Beyond ingredient variations, you can delve into more advanced techniques such as using a levain (a build of starter specifically for a bake), exploring different bulk fermentation and proofing schedules (like extended cold fermentation for maximum flavor), or mastering more complex shaping methods. Baking techniques can also be refined, perhaps trying baking on a baking steel or stone with steam pans instead of a Dutch oven. The world of sourdough is rich and diverse, offering endless opportunities to learn, experiment, and bake delicious bread.
Frequently Asked Questions
What exactly is a sourdough starter, and why is it important for sourdough bread?
A sourdough starter is a living culture of wild yeast and bacteria. It's important because it's what makes sourdough bread rise and gives it its signature tangy flavor, unlike commercial yeast.
How often do I need to feed my sourdough starter, especially when I'm just starting out?
When establishing your starter, feed it twice a day (every 12 hours) with equal parts flour and water. This ensures the culture thrives and develops the necessary strength for baking.
What are the signs that my sourdough starter is ready to use in a recipe?
A ready starter will have doubled in size after feeding, show active bubbles, and have a slightly tangy, yogurt-like smell. These indicate it's active and ready to leaven dough.
What type of flour is best for making a sourdough starter, especially for beginners?
For beginners, unbleached all-purpose flour or whole wheat flour works best. These flours provide the necessary nutrients for the yeast and bacteria to flourish and establish a strong starter.
What if my sourdough starter isn't doubling in size after several days of feeding?
Don't panic! It can take time. Ensure you're maintaining a warm environment (around 70-75°F). Also, make sure your water isn't chlorinated. If issues persist, try switching to whole wheat flour temporarily.
Final Reflection: The Humble Rise of Sourdough
The enduring appeal of sourdough bread, once a niche pursuit, has exploded in popularity, transforming from a complex culinary challenge into a surprisingly accessible home baking project. This shift reflects a growing desire for connection to traditional foodways, a pursuit of healthier eating habits, and a simple pleasure found in creating something delicious from scratch. The ease of creating a sourdough starter, as detailed in this article, is a key factor in this democratization of baking.
The journey of nurturing a sourdough starter is more than just a recipe; it's a testament to patience, observation, and the subtle magic of fermentation. It’s a process that connects us to generations of bakers past, a living culture passed down through time. Bread is the staff of life,
a simple phrase, yet it encapsulates the profound significance of this fundamental food. This simple starter, carefully tended, becomes a tangible link to that history, a small act of creation with far-reaching implications.
Now, it's your turn. Consider the possibilities: the satisfying tang of your own homemade sourdough, the pride in crafting something from nothing, the simple joy of sharing your freshly baked loaf with loved ones. Don't be intimidated by the perceived complexity; embrace the process, nurture your starter, and discover the rewarding journey of sourdough baking. The reward is far more than just a delicious loaf; it's a connection to something ancient and deeply satisfying.
Unleash Your Inner Baker: Start Your Sourdough Journey Today!
Thanks for taking the time to explore the wonderful world of sourdough with us! We hope you gained valuable insights and feel more confident about tackling this rewarding baking adventure. Now it's time to put your new knowledge into practice.
- Bake your first sourdough loaf! Use the recipe from this article as your guide and document your progress. Even if it's not perfect, the learning process is half the fun!
- Share your baking experience! Post a picture of your loaf (or even just your starter!) on social media and tag #BakeWithEaseSourdough – we'd love to see your creations!
- Explore other sourdough recipes on BakeWithEase.com (we have tons!). You might find inspiration for your next delicious baking project.
So, what unique ingredient will you add to your first sourdough loaf to make it truly your own? Let's hear your ideas in the comments below!