
How to Make Elegant VolauVents from Puff Pastry

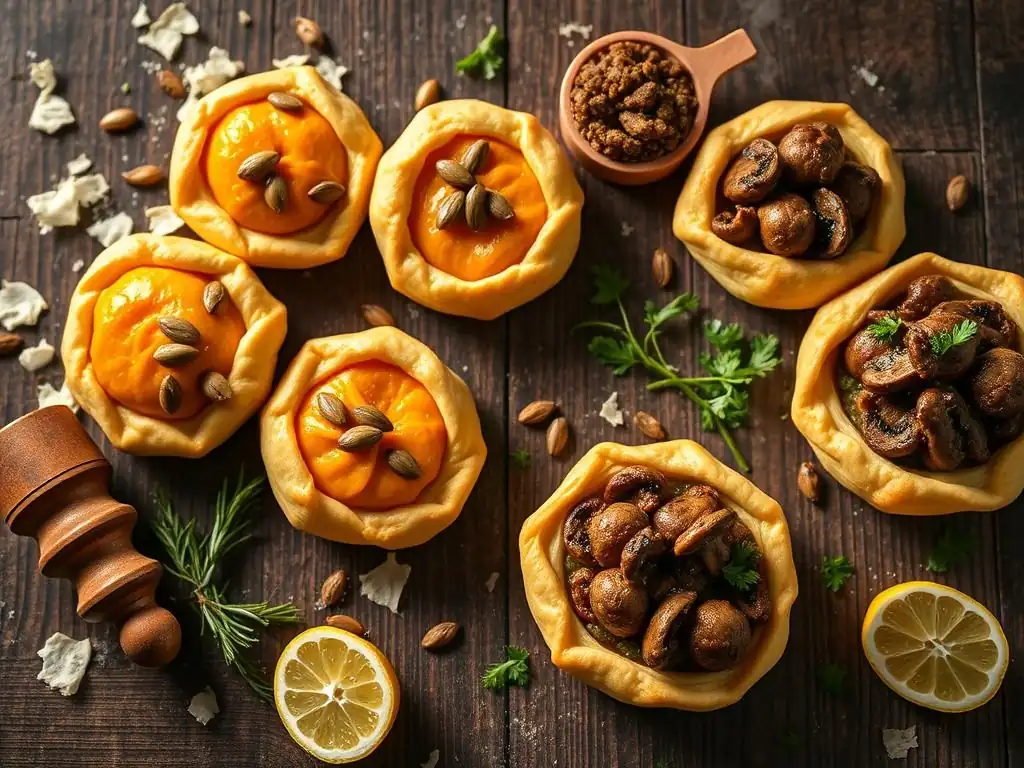
Welcome to BakeWithEase, your trusted companion on your baking journey! Ever dreamt of creating impressive, delicate pastries but thought it was too complicated? Prepare to be amazed! Our new article unveils an easy puff pastry volauvent recipe, demystifying this elegant treat. Discover how to transform store-bought puff pastry into stunning volauvents with our step-by-step guide, and unlock a world of delicious possibilities. Ready to impress your friends and family? Let's get baking!
- Chicken Vol-au-Vent Recipe: Classic Comfort Food
- Introduction to Vol-au-Vent: A Culinary Staple
- Preparing for Your Chicken Vol-au-Vent Recipe
-
Step-by-Step: Chicken Vol-au-Vent Recipe Instructions
- Step 1: Preparing the Puff Pastry Dough for Vol-au-Vent
- Step 2: Cutting the Vol-au-Vent Shapes: Circles and Rings
- Step 3: Assembling the Vol-au-Vent: Sticking the Rings Together
- Step 4: Baking the Vol-au-Vent Shells to Golden Brown
- Step 5: Preparing the Creamy Chicken Filling
- Step 6: Combining Filling and Shells for Serving
- Filling Variations: Exploring Different Flavors
- Troubleshooting Your Vol-au-Vent
- Storing and Serving Your Homemade Vol-au-Vent
- Conclusion: Enjoying Your Classic Chicken Vol-au-Vent
- Frequently Asked Questions
- Final Reflection: The Enduring Allure of the Volauvent
- Unleash Your Inner Pastry Chef!
Chicken Vol-au-Vent Recipe: Classic Comfort Food
Introduction to Vol-au-Vent: A Culinary Staple
What is a Vol-au-Vent? Exploring this Savory Pastry
A vol-au-vent, whose name charmingly translates from French to "windblown," is a small, hollow puff pastry case traditionally filled with a savory or sweet mixture. These delightful pastries are a staple of French cuisine and have graced appetizer platters and main courses for centuries, offering a delicate, airy vessel for rich fillings. Historically, they are attributed to the famous French chef Marie-Antoine Carême in the late 18th or early 19th century, who is said to have been surprised by the dramatic rise of the puff pastry shell in the oven, exclaiming "Il vole au vent!"
Typically, a vol-au-vent consists of a base disk of puff pastry topped with one or more rings of pastry, creating a "well" or cavity in the center. When baked, the layers of pastry expand dramatically, creating a light, flaky shell. The size can vary significantly, from bite-sized canapés just an inch or two in diameter to larger individual servings measuring four to six inches across, designed to hold substantial fillings like stews or creamy mixtures. The key characteristic is the contrast between the crisp, buttery shell and the often moist, flavorful filling.
Why Puff Pastry is Ideal for Vol-au-Vent
Puff pastry is uniquely suited for creating vol-au-vents due to its incredible ability to rise and form multiple thin, crispy layers when baked. This characteristic is achieved through the meticulous process of folding butter into dough, creating hundreds or even thousands of alternating layers of fat and dough. As the pastry bakes, the water in the butter turns to steam, forcing these layers apart and creating a light, airy structure that is both delicate and provides enough structural integrity to hold a filling.
The high fat content (often around 50% butter by weight) contributes significantly to the pastry's tenderness and rich flavor. Unlike other doughs, puff pastry doesn't rely on leavening agents like yeast or baking powder; its lift comes purely from steam expansion. This natural leavening process results in the signature flaky texture that defines a great vol-au-vent shell, making it the only practical choice for achieving the desired "windblown" effect and the perfect balance of crispness and richness against a creamy filling. An easy puff pastry volauvent recipe truly highlights the magic of this dough.
Elevating Your Cooking: Achieving Flaky Puff Pastry
Achieving truly flaky puff pastry, whether homemade or using a store-bought product, requires attention to temperature and handling. The most crucial factor is keeping the dough cold. Cold butter layers are essential for creating steam pockets during baking; if the butter melts before hitting the hot oven, the layers will merge, resulting in a dense, greasy pastry instead of a light, airy one. Ensure your dough is well-chilled before cutting and assembling.
Proper baking temperature is equally important. A hot oven, typically around 400°F (200°C), provides the initial burst of heat needed for rapid steam expansion and quick setting of the pastry layers. Using an egg wash (a beaten egg mixed with a little water or milk) on the exposed surfaces helps achieve a beautiful golden-brown color and a lovely sheen, while avoiding the cut edges prevents them from sticking together and inhibiting the rise. Baking on a preheated baking sheet can also give the pastry an extra lift from underneath.
Preparing for Your Chicken Vol-au-Vent Recipe
Gathering Your Ingredients: Chicken, Vegetables, and Cream Sauce
For a classic chicken vol-au-vent recipe, you'll need a few key components. Start with the protein: about 2 cups of cooked chicken, ideally from chicken breasts or thighs, diced into small, bite-sized pieces. This can be leftover roast chicken, poached chicken, or chicken sautéed specifically for the filling. Next, select your vegetables. Common additions include finely diced celery, carrots, and onions, often sautéed until tender. About 1/2 cup total of these aromatics adds depth and texture.
The heart of the filling is the creamy sauce. This typically involves making a simple béchamel base (a white sauce made from butter, flour, and milk) and enriching it. You'll need about 1/4 cup butter, 1/4 cup all-purpose flour, and 2 cups milk (whole milk works best for richness).
Additional flavor comes from seasonings like salt, black pepper, and a pinch of nutmeg. Fresh herbs like parsley or chives, about 2 tablespoons chopped, add freshness at the end. And, of course, you'll need 1-2 sheets of good quality puff pastry, thawed according to package directions, for the shells of your simple vol-au-vent recipe.
Essential Tools: Round Cutters, Baking Sheet, and Saucepan
Having the right tools makes preparing your easy puff pastry volauvent recipe much smoother. You will definitely need round pastry cutters in at least two sizes: one larger cutter for the base circles (perhaps 3-4 inches in diameter) and a smaller cutter (about 1-2 inches smaller) to create the inner ring that forms the well. Having a set of graduated cutters is ideal for versatility. A sharp knife is also necessary for cutting the pastry sheet and dicing your chicken and vegetables.
A sturdy baking sheet, preferably lined with parchment paper or a silicone baking mat, is essential for baking the puff pastry shells evenly and preventing sticking. A small saucepan is needed to make the creamy chicken filling, along with a whisk to ensure a smooth sauce free of lumps. You'll also need mixing bowls for preparing the filling components and a pastry brush for applying the egg wash to the shells. A cooling rack is useful for letting the baked shells cool slightly before filling.
Tips for Optimal Puff Pastry Results
Working with puff pastry requires a gentle touch and mindful temperature control to ensure maximum rise and flakiness. Always handle the dough as little as possible, as the heat from your hands can warm the butter and compromise the layers. If using store-bought dough, thaw it slowly in the refrigerator overnight, or for about 30-40 minutes at room temperature if you're in a hurry, but never let it get warm and sticky.
When cutting the shapes, use a sharp cutter and press straight down without twisting. Twisting can seal the edges of the pastry layers, preventing them from rising properly. Chill the cut pastry shapes on the baking sheet for at least 15-20 minutes before baking. This firms up the butter again, ensuring an explosive rise in the oven. Finally, ensure your oven is fully preheated to the correct temperature before putting the pastries in; a hot oven is key to triggering the steam lift.
Step-by-Step: Chicken Vol-au-Vent Recipe Instructions
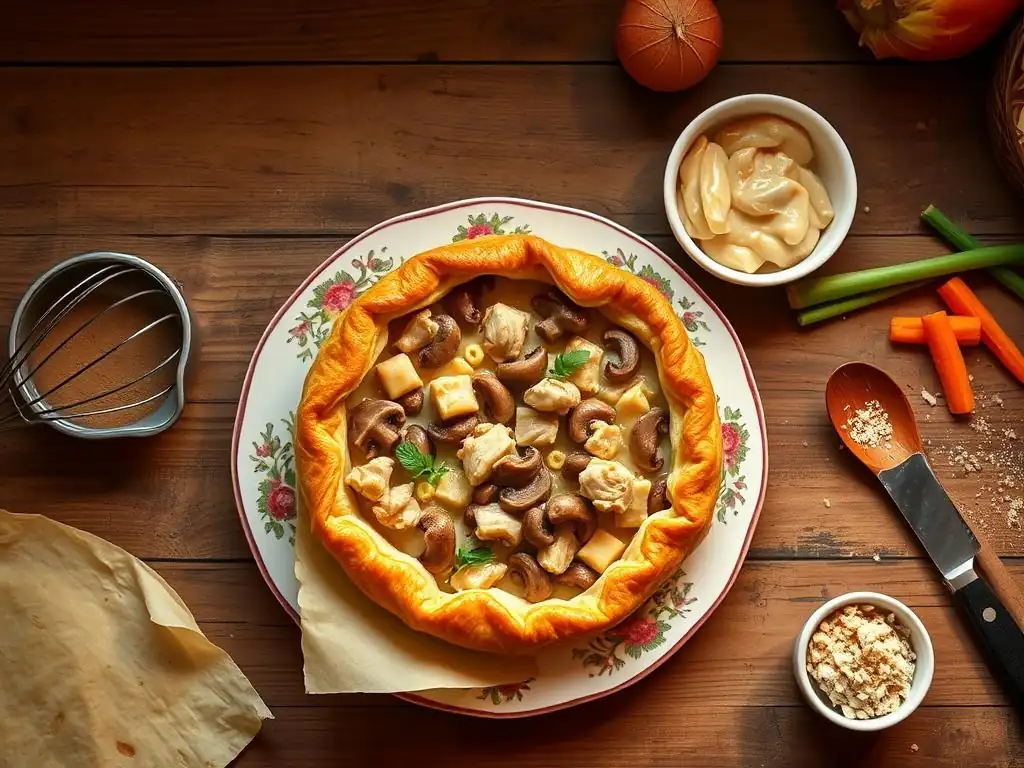
Step 1: Preparing the Puff Pastry Dough for Vol-au-Vent
Begin by thawing your puff pastry according to the package instructions. If using frozen sheets, this typically involves placing them in the refrigerator for several hours or overnight. Once thawed but still cold, gently unfold the pastry sheet onto a lightly floured surface. Use a rolling pin to lightly roll the dough, just enough to smooth out any creases and ensure a uniform thickness, usually about 1/8 inch. Avoid rolling it too thin, as this can reduce the potential for a good rise.
Ensure your workspace remains cool during this process. If the dough becomes sticky or soft, pop it back into the refrigerator for 10-15 minutes to firm up before continuing. This step is crucial for maintaining the integrity of the butter layers within the dough, which are responsible for the incredible flakiness of your homemade vol-au-vent recipe. Work quickly and efficiently to keep the dough chilled.
Step 2: Cutting the Vol-au-Vent Shapes: Circles and Rings
Using your larger round cutter, cut out an even number of circles from the puff pastry sheet. These will form the bases and the rings of your vol-au-vent shells. Maximize the number of circles you can get from each sheet by placing the cutter close together. Gather the scraps, gently press them together (do not knead), and re-roll once if necessary to cut out a few more shapes, though these may not rise quite as evenly as the first cuts.
Now, take half of the cut circles. Using your smaller round cutter, centered perfectly within each of these circles, cut out the inner portion. This will leave you with a ring shape. The small inner circles can be baked alongside the rings and bases to use as decorative tops or simply as little puff pastry bites. You should now have an equal number of full circles (bases) and pastry rings.
Step 3: Assembling the Vol-au-Vent: Sticking the Rings Together
Place the full pastry circles (the bases) onto your prepared baking sheet. In a small bowl, whisk together one egg with a tablespoon of water or milk to create an egg wash. Lightly brush the top surface of each base circle with this egg wash, being careful not to let any drip down the sides, as this can glue the layers together and prevent rising.
Carefully lift one of the pastry rings and place it directly on top of an egg-washed base circle, aligning the edges neatly. Lightly press down to help it adhere. Repeat this process, stacking a second or even a third ring onto the first ring on each base, using egg wash between each layer to help them stick.
The more rings you stack (up to three is common), the taller your vol-au-vent shell will be, creating a deeper well for the filling. Once assembled, brush the top ring and sides (avoiding the cut edges) with egg wash for a beautiful golden color. Chill the assembled shells for at least 20 minutes before baking.
Step 4: Baking the Vol-au-Vent Shells to Golden Brown
Preheat your oven to 400°F (200°C). Ensure the oven has reached temperature before placing the pastries inside. Bake the assembled vol-au-vent shells for 12-15 minutes, or until they have puffed up dramatically, are a beautiful golden brown color, and feel light and crisp. The centers should look fully baked, not doughy.
Halfway through baking, you may notice some centers puffing up more than others. If this happens, you can gently press down the center of the base with the back of a spoon or a fork to create a deeper well after they have set in the oven (usually around the 8-10 minute mark), but be very careful not to deflate the outer rings. Once baked, transfer the shells to a wire rack to cool completely. The centers will likely sink slightly as they cool, naturally forming a cavity for the filling.
Step 5: Preparing the Creamy Chicken Filling
While the vol-au-vent shells are baking or cooling, prepare the creamy chicken filling. Melt 1/4 cup of butter in a saucepan over medium heat. Add your finely diced vegetables (onions, celery, carrots) and sauté until softened, about 5-7 minutes. Stir in 1/4 cup of all-purpose flour and cook, stirring constantly, for 1-2 minutes to cook out the raw flour taste.
Gradually whisk in 2 cups of milk, a little at a time, whisking continuously to prevent lumps. Bring the mixture to a gentle simmer, stirring, until the sauce thickens to a consistency that coats the back of a spoon. Season with salt, pepper, and a pinch of nutmeg. Stir in the cooked, diced chicken and any other desired additions like peas or mushrooms. Cook for another 2-3 minutes to heat the chicken through and allow the flavors to meld. Stir in fresh chopped herbs just before removing from the heat.
Step 6: Combining Filling and Shells for Serving
Once the vol-au-vent shells have cooled slightly (they can still be warm, but not hot enough to melt the filling immediately), gently spoon the warm creamy chicken filling into the cavity of each shell. Fill them generously, allowing the filling to mound slightly over the top. The richness of the filling complements the delicate flakiness of the puff pastry shell beautifully.
Serve the vol-au-vents immediately after filling. The contrast between the warm filling and the crisp pastry is best enjoyed fresh. If you fill them too far in advance, the moisture from the filling can start to soften the pastry shell, leading to a less desirable texture. Garnish with extra fresh herbs if desired. This easy puff pastry volauvent recipe is now ready to be savored!
Filling Variations: Exploring Different Flavors
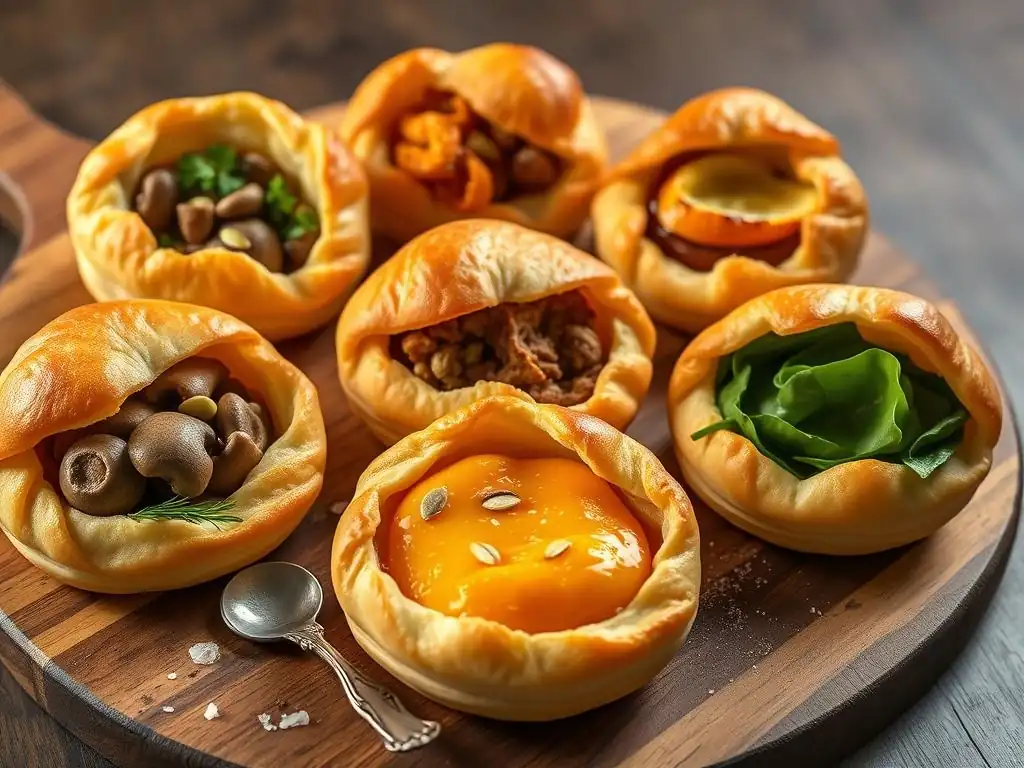
Seafood Vol-au-Vent Filling: Shrimp, Scallops, and Lobster
A luxurious seafood filling is a classic alternative to chicken for vol-au-vents. This variation often features delicate white seafood cooked quickly to retain its tenderness. A common mix includes small cooked shrimp, bay scallops, and chunks of cooked lobster meat. You'll need about 2 cups total of mixed seafood.
Prepare a creamy sauce similar to the chicken filling, but perhaps flavored with a splash of dry white wine and a pinch of cayenne pepper or paprika for a touch of warmth. Sauté finely minced shallots or garlic in butter, then add flour, whisk in milk (or a mix of milk and cream), and bring to a simmer. Gently fold in the cooked seafood and heat just until warmed through, being careful not to overcook the seafood, which can make it tough. Finish with fresh dill or chives. This sophisticated filling elevates your simple vol-au-vent recipe.
Vegetarian Vol-au-Vent Filling: Asparagus, Mushrooms, and Gruyere
Vol-au-vents are incredibly versatile and can easily be adapted for vegetarian diets with flavorful vegetable and cheese fillings. A popular combination includes sautéed mushrooms (such as cremini or shiitake), tender asparagus tips, and melted Gruyere cheese. You'll need about 1 cup sliced mushrooms and 1 cup asparagus tips, blanched or lightly steamed.
Create a creamy base using butter, flour, and milk, as with the other fillings. Sauté the mushrooms until golden brown, then stir in the blanched asparagus. Remove from the heat and stir in about 1/2 cup grated Gruyere cheese, allowing it to melt into the warm sauce. The nutty flavor of Gruyere pairs wonderfully with the earthy mushrooms and fresh asparagus. Season with salt, pepper, and perhaps a pinch of thyme. This offers a delightful savory pastry option without meat.
Tips for Creating Unique Vol-au-Vent Fillings
The beauty of vol-au-vents lies in their adaptability. When creating your own unique fillings, consider both texture and flavor. Aim for a creamy or saucy consistency that will hold together in the pastry shell but isn't so wet that it will quickly make the pastry soggy. Thicker sauces are generally better than thin ones.
Think about complementary flavors. For instance, chicken pairs well with mushrooms, leeks, or ham. Seafood is excellent with lemon, dill, and white wine. Vegetarian options can include combinations like spinach and ricotta, roasted root vegetables with goat cheese, or curried lentils and vegetables. Always ensure your filling ingredients are cooked through and seasoned well before adding them to the sauce, as they won't cook further once inside the pastry shell.
Troubleshooting Your Vol-au-Vent
Common Puff Pastry Problems and Solutions
One common issue when making vol-au-vents is uneven rising or collapsing shells. This is often due to inconsistent dough temperature or improper cutting/handling. If your dough wasn't cold enough, the butter may have melted prematurely. Ensure dough is thoroughly chilled before cutting and assembling. If you twisted the cutter, the edges might have sealed; always press straight down.
Another problem can be the center base puffing up excessively, leaving no room for filling. While some puff is expected, if it's too much, you can gently press it down with a spoon after the pastry has set in the oven (around the 8-10 minute mark). If shells collapse completely, it might be an oven temperature issue (not hot enough initially) or the pastry wasn't baked long enough to set its structure. Bake until truly golden and firm.
Preventing a Soggy Vol-au-Vent
The nemesis of a perfect vol-au-vent is a soggy bottom or shell. This occurs when moisture from the filling seeps into the flaky pastry. The primary defense is to ensure your filling is thick enough. A runny sauce will quickly saturate the pastry. Cook your sauce until it is quite thick and coats the back of a spoon.
Another preventative measure is to serve immediately after filling. The longer the filling sits in the shell, the more time moisture has to transfer. If you must prepare ahead, bake and store the shells separately from the filling, and only combine them just before serving. For fillings with high moisture ingredients (like spinach), ensure you squeeze out as much excess liquid as possible before adding them to the sauce. Baking the shells thoroughly until deeply golden and crisp also creates a better barrier against moisture.
Achieving the Perfect Golden-Brown Color
A beautiful golden-brown color is the sign of a well-baked vol-au-vent shell and contributes to its appealing appearance. This is primarily achieved through the application of an egg wash. A simple egg wash (one egg whisked with a tablespoon of water or milk) brushed evenly over the top and sides of the assembled pastry ensures even browning.
Ensure you apply the egg wash carefully, avoiding the cut edges, especially between the stacked rings, as mentioned earlier. If egg wash drips down the sides, it can glue the layers together and prevent them from rising properly, leading to pale, stunted pastries. Bake at the correct temperature (around 400°F/200°C) for the recommended time. If your oven has hot spots, rotate the baking sheet halfway through baking for more uniform color.
Storing and Serving Your Homemade Vol-au-Vent
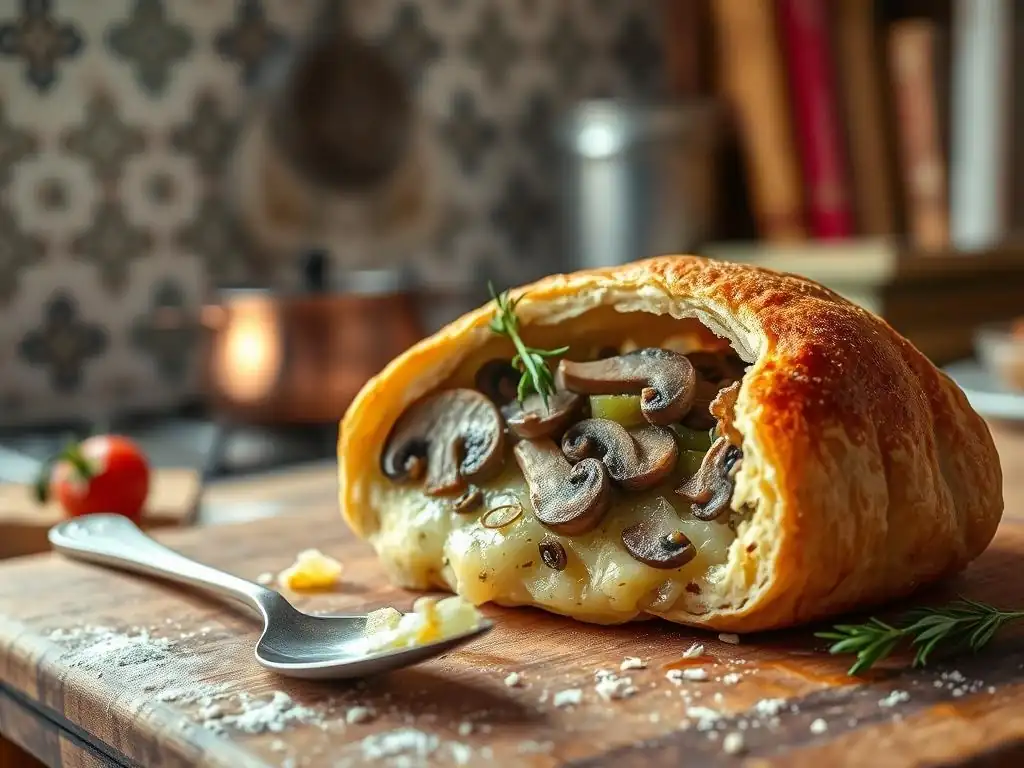
Best Practices for Storing Baked Vol-au-Vent Shells
Baked vol-au-vent shells are best stored unfilled in an airtight container at room temperature for up to 2 days. Ensure they are completely cooled before storing, as trapping warmth will create condensation and make them soggy. For longer storage, you can freeze the baked shells. Once cooled, place them in a single layer on a baking sheet and freeze until solid, then transfer them to a freezer-safe bag or container. They can be frozen for up to 1-2 months.
Do not store filled vol-au-vents, as the filling will inevitably make the pastry soggy over time. The goal is to keep the shells crisp and ready to be filled just before serving. Proper storage ensures that the delicate, flaky texture you worked hard to achieve is preserved until you are ready to enjoy your easy puff pastry volauvent recipe.
Reheating Vol-au-Vent for Optimal Freshness
To restore the crispness of baked and stored vol-au-vent shells, it's best to reheat them in the oven rather than a microwave. Preheat your oven to 350°F (175°C). Place the shells directly on a baking sheet.
Bake for 5-10 minutes, or until they are warmed through and crisp again. If reheating from frozen, it might take a few minutes longer. The goal is to refresh the pastry without over-baking it. Once reheated, let them cool slightly before filling with your warm filling. This method brings them back to their near-freshly baked glory, ensuring a delightful crunch with every bite of your homemade vol-au-vent recipe.
Serving Suggestions: Garnishing and Presentation
Presentation can elevate your simple vol-au-vent recipe from delicious comfort food to an elegant dish. Once filled, vol-au-vents can be garnished to add color and freshness. A sprinkle of finely chopped fresh herbs, such as parsley, chives, or dill (depending on the filling), adds a vibrant touch.
For a chicken filling, a tiny sprig of parsley or a dusting of paprika can be nice. Seafood fillings often benefit from a sprinkle of fresh dill or a small cooked shrimp placed on top. Vegetarian fillings can be garnished with extra cheese shavings or a few blanched asparagus tips. Serve them individually on small plates as appetizers or alongside a light salad for a main course. Arranging them neatly on a platter makes for an inviting presentation.
Conclusion: Enjoying Your Classic Chicken Vol-au-Vent
Mastering the Chicken Vol-au-Vent Recipe: A Culinary Achievement!
Creating homemade vol-au-vents from puff pastry is a rewarding baking project that yields impressive results. While it involves careful steps, particularly with handling the delicate pastry, mastering this classic chicken vol-au-vent recipe is absolutely achievable for bakers of intermediate skill levels. The satisfaction of biting into a perfectly flaky, buttery shell filled with a rich, creamy filling is truly unmatched.
Each step, from carefully cutting the pastry to preparing the luscious filling, contributes to the final delicious outcome. Following an easy puff pastry volauvent recipe like this empowers you to create a dish that is both elegant enough for special occasions and comforting enough for a cozy meal. Don't be discouraged by initial attempts; like any baking skill, practice makes perfect.
Further Exploration: Other Savory Pastry Recipes
Once you've successfully made chicken vol-au-vents, you've gained valuable skills that can be applied to many other savory pastry creations. Consider exploring other recipes that utilize puff pastry, such as savory tarts filled with vegetables and cheese, sausage rolls, or individual beef Wellingtons.
You can also experiment with different doughs, like shortcrust pastry for quiches or flaky pie dough for savory pies. The techniques learned in handling puff pastry, such as maintaining cold temperatures and understanding the importance of steam lift, are fundamental across many baking disciplines. Continue practicing and expanding your savory baking repertoire – the possibilities are delicious!
Frequently Asked Questions
What exactly is a vol-au-vent?
A vol-au-vent is a small, hollow case made of puff pastry. It's typically filled with a savory or sweet filling and served as an appetizer or dessert.
Is puff pastry difficult to work with when making vol-au-vents?
While puff pastry can seem intimidating, using a store-bought variety makes this recipe surprisingly easy. The key is to keep it cold and handle it gently to maintain its layers.
What are some popular filling options for vol-au-vents?
Savory fillings often include creamy chicken, mushroom, or seafood mixtures. Sweet fillings can range from fruit compotes to custard or chocolate mousse, offering endless possibilities.
Can I make vol-au-vents ahead of time?
Yes! You can bake the puff pastry shells ahead of time and store them in an airtight container at room temperature. Fill them just before serving to prevent them from becoming soggy, ensuring optimal crispness.
What is the best way to ensure the vol-au-vents rise properly?
Making sure the puff pastry is very cold before baking is crucial. Also, avoid overhandling the dough and docking (poking holes) in the center circle, as this helps the sides rise and create the signature hollow shape.
Final Reflection: The Enduring Allure of the Volauvent
The seemingly simple volauvent, a humble puff pastry shell, holds a surprising power to elevate any occasion. From casual gatherings to sophisticated dinner parties, its delicate crispness and versatility continue to captivate both amateur bakers and seasoned chefs alike. This enduring appeal speaks to a deeper human desire for both beauty and deliciousness, effortlessly combined in this classic pastry.
The journey of mastering the volauvent, as detailed in this article, is more than just a recipe; it's a testament to the transformative power of simple ingredients and careful technique. The satisfaction derived from creating something so elegant from such readily available materials is deeply rewarding. As Julia Child once said, Find something you're passionate about and keep tremendously interested in it.
This sentiment perfectly encapsulates the joy of baking, and the volauvent, in its exquisite simplicity, serves as a perfect embodiment of this passion.
Now, I invite you to step into your kitchen, armed with this newfound knowledge and a renewed appreciation for the art of puff pastry. Don't be intimidated by the seemingly intricate process; embrace the challenge, experiment with fillings, and discover the unique joy of crafting your own elegant volauvents.
The satisfaction of presenting these delicate pastries to friends and family, knowing you created them with your own hands, is an experience that transcends the simple act of baking. Let the aroma of freshly baked puff pastry fill your home, and let the elegance of the volauvent inspire you to create culinary magic.
Unleash Your Inner Pastry Chef!
Thanks for joining us on this delicious journey into the world of elegant vol-au-vents! We hope you've gained the confidence to create these delightful pastries. Now it's time to put your newfound skills to the test!
- Bake your masterpiece: Try out the vol-au-vent recipe today – impress your friends and family with your culinary prowess! Use the tips we shared to create truly show-stopping results.
- Share your creation: Post a picture of your vol-au-vents on social media and tag us – we’d love to see your culinary triumph! #BakeWithEase #VolauVent
- Experiment with fillings: Don’t be afraid to get creative! What unique and flavorful fillings will you dream up next?
Ready to transform your kitchen into a pastry paradise? What innovative filling will you create to make your vol-au-vents truly unique?