
Preventing a Tough Bread Crumb Texture

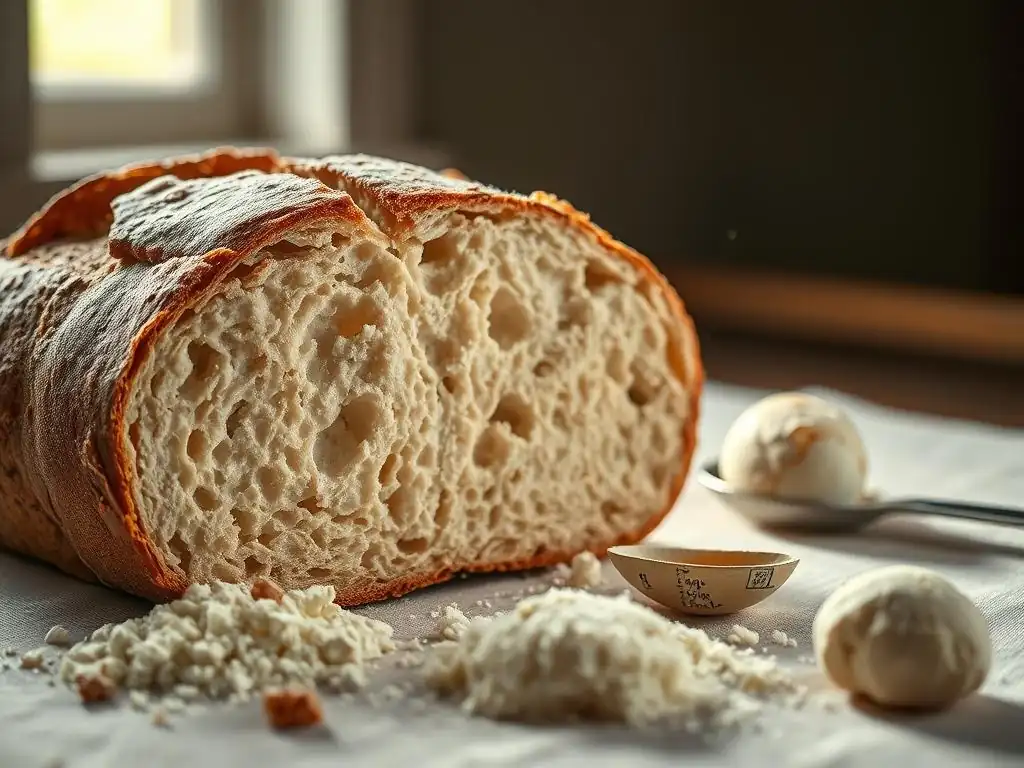
Welcome to BakeWithEase, where baking becomes a joy, not a chore! Ever wondered why bread crumbs toughen and how to avoid that dreaded texture? Unlock the secrets to achieving perfectly soft and airy crumbs with our expert guide. Discover the simple tweaks and techniques that can transform your bread baking today!
- Achieving a Soft and Airy Bread Crumb: A Comprehensive Guide
- Understanding Bread Crumb Texture: Identifying Key Factors
- Troubleshooting Bread Texture: Practical Solutions
- Addressing Specific Bread Types and Their Texture Challenges
- Pro Tips for a Superior Bread Crumb
- Advanced Techniques for Enhancing Bread Crumb Texture
- Summary: Key Principles for a Perfect Bread Crumb
- Frequently Asked Questions
- Final Reflection: The Quest for the Perfect, Tender Crumb
- Unlock Your Softest Bread Ever!
Achieving a Soft and Airy Bread Crumb: A Comprehensive Guide
Understanding Bread Crumb Texture: Identifying Key Factors
Causes of a Dense and Tough Bread Crumb
Many factors can contribute to a dense, heavy, and tough bread crumb. Often, it's not just one issue but a combination of elements gone awry during the baking process. One primary culprit is insufficient gluten development, which prevents the dough from trapping gases produced by yeast effectively. This results in a tight, compact structure rather than an open, airy one. Overworking the dough can also lead to a tough crumb by developing the gluten too much, making it tight and resistant.
Another common reason why bread crumbs tough is improper fermentation. If the yeast isn't active enough or the dough isn't given sufficient time to rise (proof), the gases needed to inflate the dough won't be adequately produced or retained. This leads to a dough that doesn't expand properly in the oven, resulting in a dense interior. Conversely, over-proofing can cause the dough to collapse, expelling the trapped gases and leading to a similar dense texture. Additionally, issues with hydration levels or baking temperatures can significantly impact the final crumb structure.
Gluten Development and its Impact on Bread Texture
Gluten is a protein network formed when two proteins, glutenin and gliadin, found in wheat flour, are hydrated and worked (kneaded). This network is elastic and extensible, allowing the dough to stretch and hold the carbon dioxide gas produced by yeast during fermentation. Proper gluten development is crucial for creating the structure that defines the bread's texture, including the size and distribution of air pockets within the crumb.
When gluten is adequately developed, it forms a strong yet flexible matrix. Imagine a balloon: the gluten network is the balloon itself, and the yeast-produced gas is the air inflating it. A well-developed gluten network is strong enough to hold the gas, allowing the dough to rise and create an open crumb with visible holes (alveoli). If the gluten is underdeveloped, the network is weak and cannot trap gas effectively, leading to a dense crumb. If it's overdeveloped, the network becomes too tight and tears easily, also resulting in a dense, tough texture.
The Role of Yeast Fermentation in Creating a Light Crumb
Yeast fermentation is the process where yeast consumes sugars in the dough and produces carbon dioxide gas and alcohol. The carbon dioxide gas is what creates the air pockets in the bread crumb, causing the dough to rise. The alcohol and other byproducts contribute significantly to the bread's flavor and aroma. A healthy, active fermentation is essential for achieving a light and airy texture.
During fermentation (including the initial bulk rise and subsequent proofing), the yeast activity directly impacts the volume and structure of the final loaf. Sufficient fermentation time allows enough gas to be produced to inflate the gluten network. The length and temperature of fermentation influence the rate of gas production and the dough's overall maturity. Too little fermentation means insufficient gas, leading to a dense crumb. Too much fermentation can exhaust the yeast or break down the gluten structure, causing the dough to collapse and resulting in a heavy, sometimes gummy, texture.
Troubleshooting Bread Texture: Practical Solutions
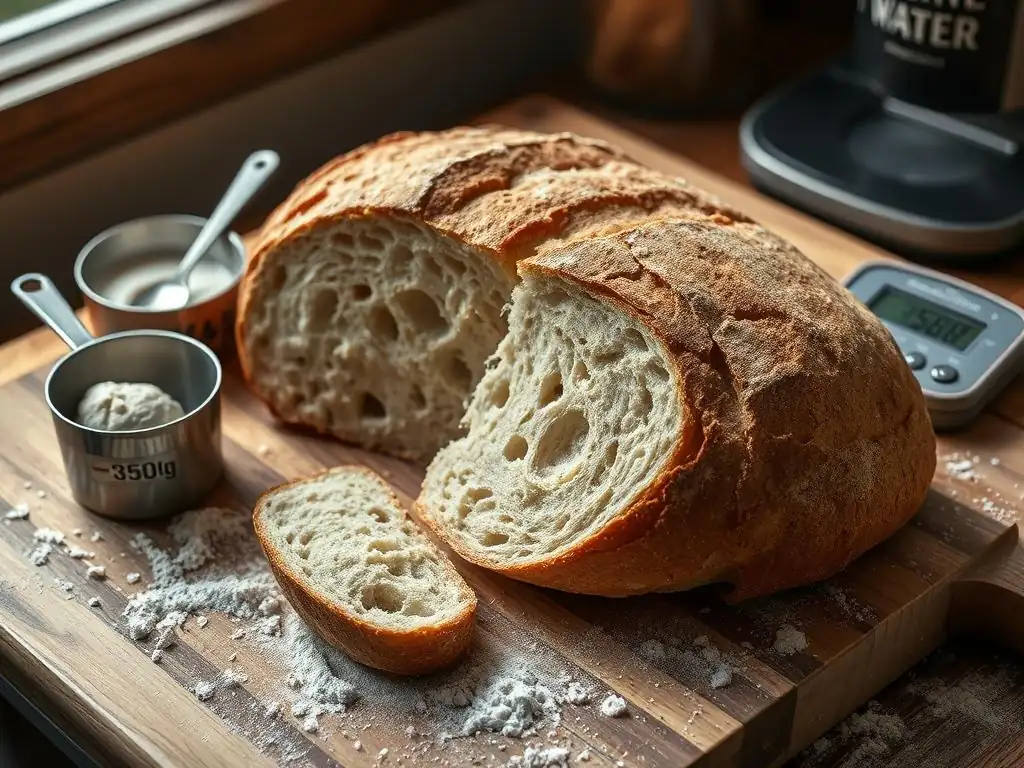
Mastering Gluten Development: Effective Kneading Techniques
Kneading is the process of working the dough to develop the gluten network. Whether you knead by hand or with a stand mixer, the goal is to align the gluten strands and build strength and elasticity. Proper kneading transforms a shaggy, sticky mass into a smooth, pliable dough that can hold its shape and stretch without tearing. The intensity and duration of kneading are key factors in achieving the desired gluten development for a tender crumb.
Effective kneading ensures the gluten network is strong enough to support the rise during fermentation and baking. For instance, lean doughs like baguettes require significant kneading to develop a strong structure for a rustic crumb. Enriched doughs, containing fats and sugars, require less intensive kneading as these ingredients can interfere with gluten formation, but still need enough development to create a soft, yet structured, crumb. Learning to recognize the signs of properly kneaded dough – the windowpane test is a classic example – is crucial for preventing a tough bread crumb.
Optimal Kneading Time for Different Bread Types
The ideal kneading time varies significantly depending on the type of bread, the hydration level of the dough, the flour used, and whether you are kneading by hand or machine. For a standard lean bread dough (like a simple white loaf) kneaded in a stand mixer on medium speed, approximately 8 to 12 minutes is often sufficient. The dough should become smooth, elastic, and pull away cleanly from the sides of the bowl.
Kneading by hand generally takes longer, often between 15 to 25 minutes for the same type of dough, as the process is less efficient. Enriched doughs, such as brioche or challah, might require slightly less kneading time, perhaps 6-10 minutes in a mixer, because the added fats and sugars can inhibit gluten development. However, it's more important to rely on visual and tactile cues (smoothness, elasticity, passing the windowpane test) than strictly adhering to time, as flour characteristics can vary.
Recognizing and Preventing Over-Kneading
Over-kneading can lead to a tough bread crumb because the gluten network becomes too tight and brittle. Instead of being able to stretch and expand, it resists the force of the rising gases. Signs of over-kneaded dough include it becoming very stiff and difficult to work with, tearing easily when stretched thin (it won't pass the windowpane test properly, often breaking quickly), and feeling tight and resistant.
To prevent over-kneading, pay close attention to the dough's texture and appearance during the process. Stop kneading as soon as the dough is smooth, elastic, and passes the windowpane test. If using a stand mixer, be mindful of the time and speed. For very wet doughs, sometimes less traditional kneading and more 'stretch and fold' techniques are used, which build strength more gently and reduce the risk of overworking the gluten.
Optimizing Yeast Fermentation: Ensuring Proper Rise
Proper fermentation is paramount for a light and airy crumb. It's not just about the dough doubling in size; it's also about the development of flavor and the maturation of the gluten structure. Insufficient rise means the dough hasn't produced enough gas, leading to a dense loaf. Over-rising, on the other hand, can cause the gluten structure to break down, resulting in a loaf that might collapse in the oven or have a coarse, uneven crumb.
Ensuring the yeast is active and providing the correct environment for fermentation are key steps. This involves using yeast that is fresh and properly activated (if required), maintaining the correct dough temperature, and allowing adequate time for both the bulk fermentation and the final proofing stages. Understanding the signs of a properly proofed dough is essential before baking.
Controlling Temperature and Time During Proofing
Temperature and time are critical factors in yeast activity. Yeast is most active in temperatures between 70°F and 85°F (21°C and 30°C). Proofing dough in this range typically results in the dough doubling in size within 1 to 2 hours, depending on the recipe and yeast quantity. Cooler temperatures, like those in a refrigerator (around 40°F or 4°C), significantly slow down fermentation, allowing for longer, slower rises (cold proofing) which can develop more complex flavors over 8 to 48 hours or even longer.
Warmer temperatures accelerate fermentation but can also lead to off-flavors and potentially over-proofing more quickly. A proofing temperature slightly below room temperature, around 70-75°F (21-24°C), is often ideal for a balance of rise and flavor development. Using a thermometer to check the dough's internal temperature or the ambient temperature of your proofing environment can help ensure consistent results and prevent issues that make bread crumbs tough.
Assessing Yeast Activity Before Baking
Knowing when your dough is perfectly proofed is a crucial skill. The most common test is the "poke test." Gently press a floured finger into the dough about half an inch deep. If the indentation springs back immediately, the dough is under-proofed and needs more time. If the indentation remains fully or mostly visible and springs back very slowly, the dough is likely perfectly proofed and ready to bake. If the indentation remains completely and the dough feels very fragile and deflates slightly, it is likely over-proofed.
Another sign of readiness is the dough having significantly increased in volume, often doubling or nearly doubling, depending on the recipe and desired outcome. The surface should look smooth and puffy, indicating that gas has been trapped effectively within the gluten network. Baking at the right moment, when the dough has achieved optimal rise but before the structure weakens, helps ensure a light and airy crumb and avoids the problem of why bread crumbs tough.
Hydration and Dough Consistency: Achieving the Right Balance
Hydration refers to the ratio of water to flour in a dough, typically expressed as a percentage (e.g., 60% hydration means 60g of water per 100g of flour). The hydration level significantly impacts the dough's consistency and, consequently, the final crumb structure. Higher hydration doughs are wetter and stickier but tend to produce a more open, airy crumb with larger holes because the extra water facilitates gluten development and allows for greater expansion.
Lower hydration doughs are stiffer and easier to handle but usually result in a tighter, more uniform crumb. Finding the right balance is essential for the specific type of bread you are making. Too little water can lead to a dry, dense dough that struggles to rise and results in a tough crumb, which is a common reason why bread crumbs tough. Too much water can make the dough difficult to handle and may require different techniques (like stretch and folds) to develop sufficient structure.
The Significance of Water Content in Bread Making
Water plays several vital roles in bread making beyond just hydrating the flour. It activates the yeast, allowing fermentation to begin. It dissolves sugars and salts, distributing them evenly throughout the dough. Crucially, water is necessary for the glutenin and gliadin proteins in flour to form the gluten network. Without sufficient water, these proteins cannot properly link together, hindering gluten development and resulting in a weak dough that produces a dense, tight crumb.
The amount of water also affects the dough's viscosity and extensibility. A wetter dough is more extensible, allowing it to stretch further during fermentation and oven spring, contributing to larger air pockets. However, it requires more careful handling and technique to build tension and structure. Understanding how hydration impacts your specific flour and recipe is key to controlling the final crumb texture.
Adjusting Hydration Levels Based on Flour Type
Different flours absorb water differently due to variations in protein content and milling processes. For example, whole wheat flour and other whole grain flours contain the bran and germ, which are very absorbent. This means they typically require significantly more water than white all-purpose or bread flour to achieve a similar dough consistency. While a white bread dough might be 60-65% hydration, a whole wheat dough could easily be 75-85% hydration or even higher.
High-protein bread flours also tend to absorb more water than lower-protein all-purpose flours. When using a new flour, it's often best to start with the recipe's specified hydration and then adjust slightly based on how the dough feels. If the dough feels too stiff and dry, you might need to add a little more water, a tablespoon at a time, until it reaches the desired consistency – pliable but not overly sticky. This adaptability helps prevent a tough bread crumb regardless of the flour used.
Addressing Specific Bread Types and Their Texture Challenges
Sourdough Bread: Managing Acidity and Fermentation for a Tender Crumb
Sourdough bread relies on a wild yeast and bacteria culture (the starter) for leavening. The bacteria, primarily lactic acid bacteria, produce acids that contribute to the characteristic sour flavor but also impact the dough's structure. High acidity can weaken the gluten network if fermentation is too long or too warm, potentially leading to a dense or gummy crumb instead of the desired open, airy structure.
Managing fermentation time and temperature is crucial for sourdough. Using a healthy, active starter is the first step. Proofing at cooler temperatures, often in the refrigerator for the final proof (cold proofing), slows down acid production while allowing the yeast to continue producing gas. This balance helps develop flavor without excessively degrading the gluten, resulting in a tender crumb. For example, a cold proof at 40°F (4°C) for 12-18 hours is common practice to achieve a good balance.
Whole Wheat Bread: Techniques for Softening Dense Crumb
Whole wheat flour contains the bran and germ, which can cut the gluten strands, making it harder to develop a strong, extensible network. This is a primary reason why whole wheat bread crumbs can be tough and dense. To counteract this, whole wheat doughs often require higher hydration levels than white flour doughs to help the gluten form and the dough expand. Hydration levels of 80% or more are not uncommon for soft whole wheat loaves.
Techniques like autolyse (mixing flour and water and letting it rest before adding other ingredients) are particularly beneficial for whole wheat doughs. This rest period allows the bran to soften and the flour to fully hydrate, which aids in gluten development. Gentle handling and using methods like stretch and folds instead of aggressive kneading can also help preserve the fragile gluten network and prevent the tough bread crumb often associated with whole wheat.
Enriched Breads [e.g., Brioche, Challah]: Achieving a Light and Tender Texture
Enriched breads are made with the addition of fats (like butter or oil), eggs, sugar, and sometimes milk. These ingredients interfere with gluten development, which might seem counterintuitive for achieving structure. However, they coat the gluten strands, inhibiting the formation of a strong, tight network. This results in a softer, more tender crumb rather than a chewy one.
Achieving a light texture in enriched doughs involves sufficient, but not excessive, kneading to develop enough gluten to support the rich ingredients without making the dough tough. The fat and sugar also contribute to moisture retention, keeping the crumb soft over time. Proper proofing is also vital; enriched doughs often rise more slowly due to the heavy ingredients and require a warm environment and patience to achieve their full, fluffy potential before baking.
Pro Tips for a Superior Bread Crumb
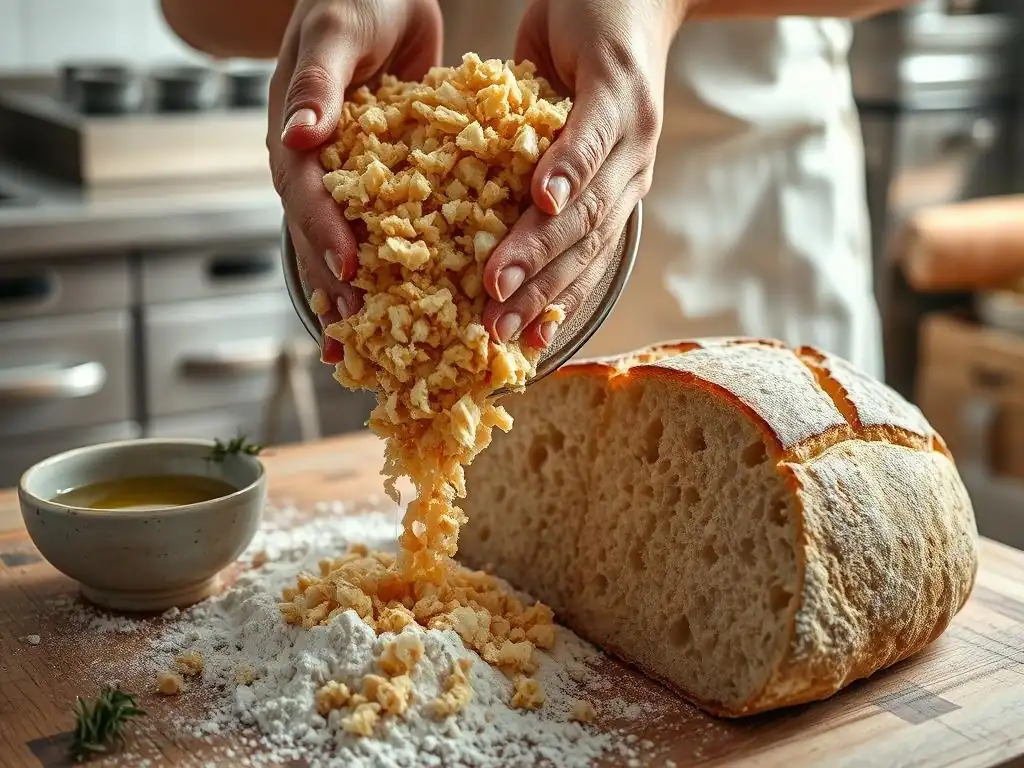
Accurate Ingredient Measurement: The Importance of Precision
Baking is a science, and accuracy in measuring ingredients is fundamental to achieving consistent and desirable results. Using a digital kitchen scale to weigh your ingredients, especially flour and water, is significantly more accurate than using volume measurements (cups). The density of flour can vary greatly depending on how it's stored and scooped, leading to variations of 10-20% or more in weight when measured by volume.
For instance, one cup of all-purpose flour can weigh anywhere from 120g to 150g. This variance directly impacts the hydration percentage and the overall ingredient balance of the recipe. Inaccurate measurements are a frequent cause of dough inconsistencies, which in turn can lead to issues like a tough bread crumb. Weighing ensures you use the exact amount specified in the recipe, giving you the best chance for success.
Using a Dough Thermometer: Monitoring Internal Temperature for Doneness
Baking bread to the correct internal temperature is crucial for achieving a properly cooked crumb that is neither gummy nor dry and tough. While the crust color can be an indicator, the internal temperature confirms that the bread is fully baked through. For most lean bread loaves, the internal temperature should reach approximately 190-200°F (88-93°C). Enriched breads, with their higher moisture and fat content, are often done at a slightly lower temperature, around 180-190°F (82-88°C).
Using an instant-read thermometer inserted into the center of the loaf helps you know precisely when to remove the bread from the oven. Baking to the correct temperature ensures that the starches are fully gelatinized and the structure is set. Under-baking can result in a dense, gummy interior, while significantly over-baking can dry out the crumb, contributing to a tough texture.
Cooling Techniques: Preventing a Gummy or Soggy Crumb
The baking process doesn't end when the bread comes out of the oven; proper cooling is just as important for the final crumb texture. As bread cools, residual heat continues the cooking process, and moisture within the loaf redistributes. Cutting into a hot loaf immediately traps steam, leading to a gummy or dense texture inside.
Always cool bread on a wire rack, allowing air to circulate around the entire loaf. This permits steam to escape evenly, preventing a soggy bottom or a gummy crumb. Lean breads should ideally cool for at least 1-2 hours before slicing, and larger loaves or enriched breads might require even longer. Patience during the cooling phase is key to achieving the perfectly set, non-tough bread crumb you've worked hard for.
Advanced Techniques for Enhancing Bread Crumb Texture
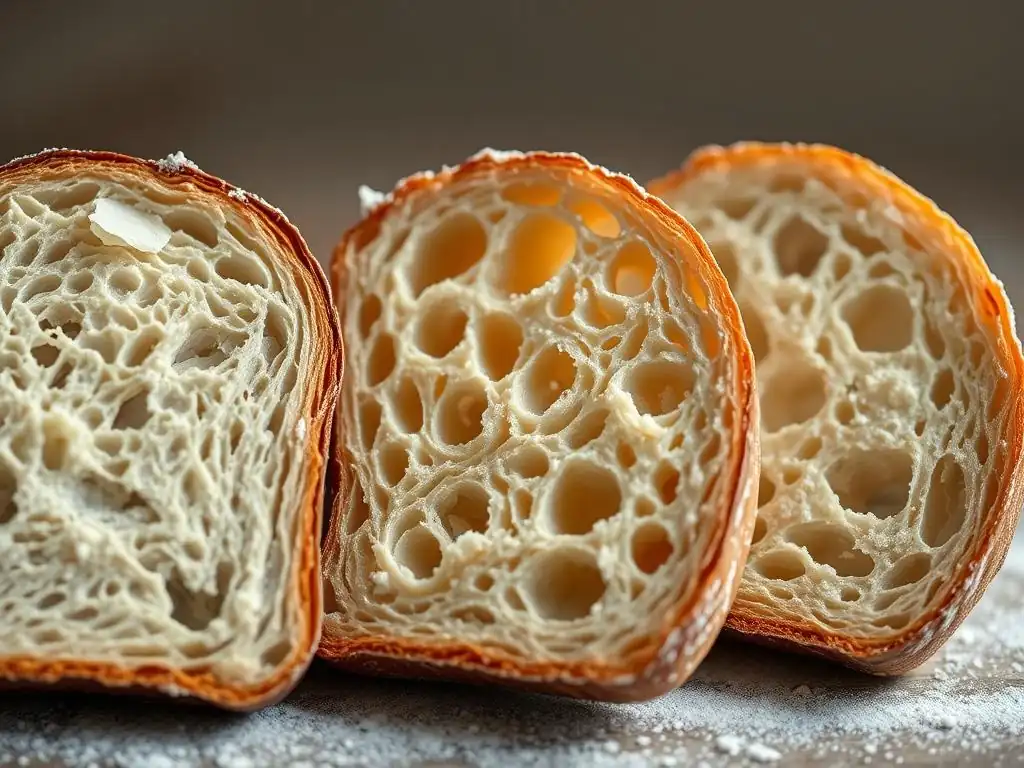
Autolyse: Improving Dough Hydration and Gluten Development
Autolyse is a simple technique involving mixing just the flour and water from a recipe and letting the mixture rest for 20 minutes to several hours before adding the salt, yeast, and other ingredients. During this rest period, the flour fully hydrates, and enzymes naturally present in the flour begin to break down starches and proteins. This process helps initiate gluten development without any mechanical work (kneading).
The benefits of autolyse include easier kneading, as the gluten network has already started to form, and improved dough extensibility. This makes it easier to achieve higher hydration levels and promotes a more open crumb structure. For doughs with a significant amount of whole grain flour or those aiming for a very open crumb, an autolyse of 30-60 minutes can make a noticeable difference in texture and handling, helping to avoid why bread crumbs tough.
Tangzhong Method: Incorporating a Cooked Flour Paste for Enhanced Softness
The Tangzhong method, originating from Asian baking, involves cooking a small portion of the flour with liquid (usually milk or water) to form a thick paste or roux before adding it to the main dough ingredients. This cooked paste, often made by whisking 5-10% of the total flour with 5-10 times its weight in liquid and heating it to 149°F (65°C), gelatinizes the starches in the flour.
When added to the dough, this gelatinized starch holds significantly more liquid than uncooked flour. This increased hydration capacity results in an exceptionally soft, moist, and fluffy crumb that stays fresh longer. While it adds an extra step, the Tangzhong method is highly effective for achieving a tender texture in sandwich breads, rolls, and other soft loaves where avoiding a tough bread crumb is a priority.
Using Bread Improvers: Benefits and Considerations
Bread improvers are commercial blends of ingredients designed to enhance various aspects of bread making, including dough handling, volume, crust color, and crumb texture. They often contain enzymes (like amylase or protease), emulsifiers (like DATEM or lecithin), and sometimes ascorbic acid (Vitamin C) or vital wheat gluten. Enzymes can help break down starches for better fermentation or modify gluten for improved extensibility. Emulsifiers can strengthen the gluten network and improve crumb softness.
While not necessary for home baking, small amounts of certain improvers can help address specific challenges, such as improving volume in whole wheat loaves or extending the softness of a white loaf. For instance, a touch of diastatic malt powder (containing amylase) can enhance crust browning and provide more food for yeast, indirectly aiding crumb development. However, using improvers requires understanding their function and using them sparingly according to instructions, as too much can negatively impact texture.
Summary: Key Principles for a Perfect Bread Crumb
Common Mistakes and How to Avoid Them
Achieving a consistently soft and airy bread crumb involves understanding and controlling several key variables. Common mistakes that lead to a dense or tough bread crumb include insufficient kneading, which results in underdeveloped gluten unable to trap gases. Conversely, over-kneading can tighten the gluten too much, making the crumb tough. Improper fermentation, either too short (under-proofed) or too long (over-proofed), also drastically impacts crumb structure by affecting gas production and retention.
Another frequent issue is incorrect hydration; too little water hinders gluten development and makes the dough stiff, leading to a dense result. Finally, incorrect baking temperature or duration, or cutting the bread before it's fully cooled, can ruin an otherwise perfect loaf by creating a gummy or dry texture. Paying attention to dough feel, proofing signs, and using accurate measurements are fundamental steps to avoid these pitfalls.
Recommended Recipes for Achieving Optimal Crumb Texture
Recipes designed for high hydration, enriched doughs, or those incorporating techniques like autolyse or Tangzhong are excellent choices for beginners looking to achieve a soft, tender crumb. Simple white sandwich bread recipes often use enriched doughs and moderate hydration, making them forgiving and likely to produce a soft result. Recipes for Challah or Brioche, rich with eggs and butter, are inherently designed for tenderness.
Exploring recipes that specify techniques like stretch and folds for gluten development rather than intensive kneading can also help achieve an open, airy crumb with less risk of toughness, especially for higher hydration doughs. Ultimately, selecting recipes appropriate for your skill level and paying close attention to the details regarding kneading, proofing, and baking temperatures provided within the recipe are your best guides to preventing a tough bread crumb.
Frequently Asked Questions
Why does my bread often have a tough crumb texture?
A tough bread crumb is often caused by over-mixing the dough, which develops too much gluten. Also, using too much flour can lead to a dense and chewy result.
Can the type of flour I use affect the bread crumb texture?
Yes, absolutely! Using high-protein flours, like bread flour, can create a tougher crumb if not balanced correctly. Consider using a lower-protein flour for a softer crumb.
What role does kneading play in the final texture of the bread?
Kneading is crucial, but over-kneading can lead to a tough crumb. Knead until the dough is smooth and elastic, but not overly so.
How does oven temperature impact the bread crumb?
Baking at too high a temperature can cause the crust to set too quickly, preventing the bread from fully expanding and resulting in a tough crumb. Use a reliable oven thermometer.
Is there a way to salvage a dough that I think I've over-kneaded?
While you can't completely reverse it, try incorporating a small amount of fat (like butter or oil) into the dough. This can help to soften the gluten and improve the texture slightly.
Final Reflection: The Quest for the Perfect, Tender Crumb
The seemingly simple act of making breadcrumbs hides a world of potential pitfalls, leading to that frustratingly tough texture many home bakers encounter. Understanding the science behind crumb formation—from flour selection to baking technique—is crucial for achieving consistently tender, melt-in-your-mouth results. This knowledge isn't just about perfecting a recipe; it's about mastering a fundamental element of cooking and baking.
The pursuit of the perfect breadcrumb has, for me, become a microcosm of the larger culinary journey. It's a reminder that even the smallest details can have a profound impact on the final product. The difference between something good and something great is attention to detail.
This quote, often attributed to various sources, perfectly encapsulates the importance of understanding the nuances of breadcrumb production. The journey to mastering this seemingly simple task has taught me patience, precision, and the profound satisfaction of transforming ordinary ingredients into something truly exceptional.
Now, I invite you to reflect on your own baking experiences. Have you encountered the dreaded tough crumb? What techniques have you found successful? More importantly, consider the broader implications: the dedication to detail, the understanding of process, and the joy of creating something delicious from scratch. Don't let the tough crumb discourage you; instead, let it fuel your curiosity and inspire you to explore the fascinating world of baking, one perfectly tender crumb at a time.
Unlock Your Softest Bread Ever!
Thanks for taking the time to learn about achieving perfectly soft bread! We hope you now have the tools to banish those tough crumbs for good. Ready to put your newfound knowledge into practice?
- Bake a test loaf: Use your favorite recipe and try implementing just one of the techniques discussed – maybe focus on the hydration level this time. See the difference it makes!
- Share your baking journey: Tag us on social media @BakeWithEase (we're on [all major platforms - this is implied, no need to list]) and show off your beautifully soft creations. Let's inspire each other!
- Explore our other resources: Dive deeper into bread baking techniques and discover even more tips and tricks on our website.
What’s your biggest bread baking challenge, and how will you tackle it next time?