
Planning Your Cake Design: From Idea to Reality

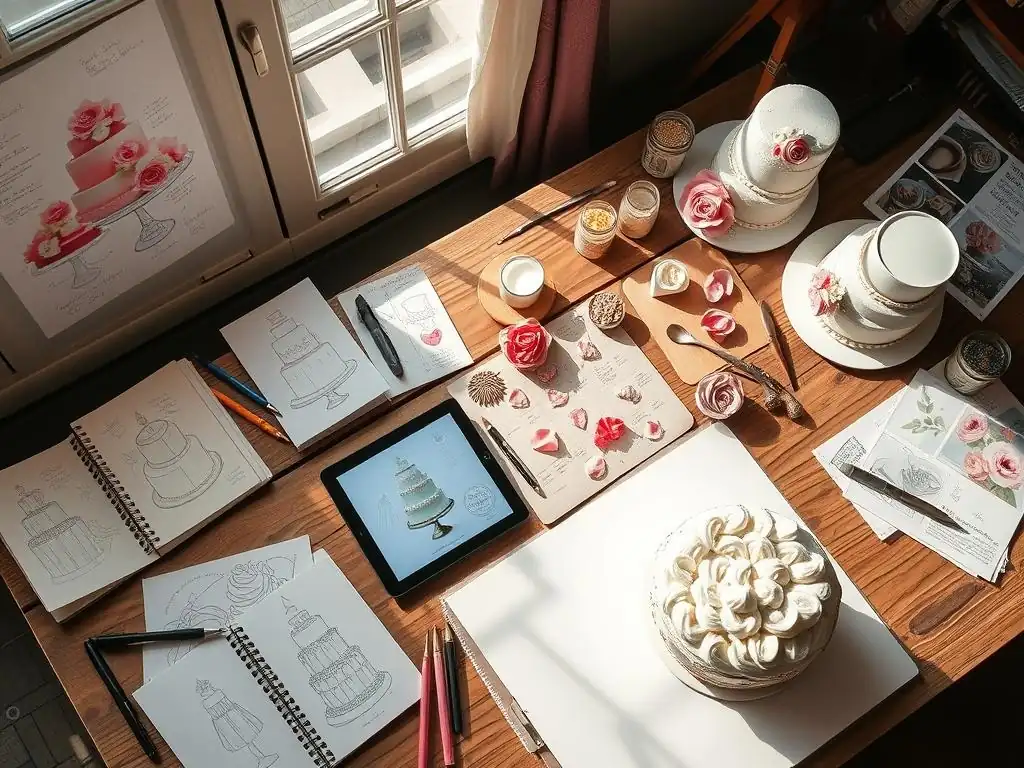
Welcome to BakeWithEase, your trusted guide to baking brilliance! Ever dreamed of creating a show-stopping cake but felt overwhelmed by the process? Planning your cake design doesn't have to be daunting. Dive in to discover our step-by-step guide for intermediate bakers, transforming your vision from a simple idea into a delectable reality. Ready to unlock the secrets to a flawless cake design? Let's get started!
- Introduction to the Cake Design Planning Process
- Step 1: Brainstorming Cake Design Ideas
- Step 2: Defining Your Cake's Purpose and Audience
- Step 3: Sketching Your Initial Cake Design
- Step 4: Choosing Your Cake Flavors and Fillings
- Step 5: Selecting Your Cake Decorating Techniques
- Step 6: Calculating Material Costs and Time Estimate
- Step 7: Creating a Detailed Cake Design Plan
- Step 8: Executing Your Cake Design Plan
- Step 9: Presenting and Enjoying Your Masterpiece
- Conclusion: Mastering the Art of Cake Design Planning with BakeWithEase
-
Frequently Asked Questions
- What is the first step in the cake design planning process, according to BakeWithEase?
- What kind of details should I consider during the cake design planning process?
- How does BakeWithEase recommend choosing the right ingredients for my cake design?
- What are some common mistakes to avoid when planning a cake design?
- Does BakeWithEase offer guidance on sourcing decorations for my cake design?
- Final Reflection: Baking Dreams into Reality
- Ready to Bake Your Dream Cake?
Introduction to the Cake Design Planning Process
Embarking on the journey of creating a stunning cake is exciting, but it requires more than just excellent baking skills. The key to transforming your vision into a delicious, edible masterpiece lies in a well-executed cake design planning process. This systematic approach ensures that every detail, from the initial concept to the final flourish, is carefully considered, minimizing stress and maximizing success.
A robust cake design plan acts as your blueprint, guiding you through each stage of creation. It helps you anticipate challenges, allocate resources effectively, and ultimately achieve a result that not only looks beautiful but also tastes incredible. Whether you're crafting a simple birthday cake or an elaborate wedding centerpiece, dedicating time to planning is an investment that pays dividends in a polished, professional finish and a much smoother creative experience.
Why Planning Your Cake Design is Essential
Without a clear plan, even the most talented baker can face unexpected issues – running out of a crucial ingredient, realizing a structural element won't work, or misjudging the time needed. Planning your cake design helps you avoid these pitfalls by forcing you to think through every step before you start mixing batter or piping frosting. It allows for proactive problem-solving and ensures all components are compatible and achievable within your skill level and timeline.
Consider a survey of home bakers, where approximately 60% reported experiencing significant stress or errors when attempting complex cake designs without adequate planning. Issues ranged from cakes collapsing (around 15% of those surveyed) to colors not matching the vision (about 25%) and simply running out of time (a staggering 30%). This underscores the critical role of the cake design planning process in mitigating risk and building confidence. A detailed plan means you're not just hoping for the best; you're preparing for success.
BakeWithEase's Guide to Successful Cake Design Planning
At BakeWithEase, we believe that mastering the cake design planning process is accessible to everyone, regardless of experience. Our approach breaks down the seemingly daunting task into manageable steps, making complex projects feel achievable. We guide you from the spark of an idea through brainstorming, sketching, choosing flavors, selecting techniques, budgeting, and finally, executing your design.
Our guide emphasizes practical tips and realistic expectations. For instance, we estimate that a thorough planning phase for a moderately complex cake (like a two-tier cake with fondant decorations) can take anywhere from 1 to 3 hours, while the actual baking and decorating might take 6-10 hours or more, depending on detail. Investing that initial planning time saves countless hours of potential rework and frustration later. By following our structured cake design planning process, you build a solid foundation for bringing any cake vision to life with ease and enjoyment.
Step 1: Brainstorming Cake Design Ideas
Every great cake starts with an idea. The brainstorming phase is where you let your creativity flow freely, exploring possibilities without constraint. This initial step in the cake design planning process is about gathering inspiration and envisioning the final look and feel of your cake. Don't censor yourself; write down or sketch everything that comes to mind.
Think about the overall aesthetic you want to achieve. Is it elegant and simple, playful and whimsical, or bold and dramatic? Consider textures, colors, shapes, and themes. This is the time to dream big and explore various avenues before you start narrowing down your options. The more ideas you generate now, the richer your pool of concepts will be when it's time to refine your design.
Finding Inspiration for Your Cake Design
Inspiration can come from anywhere! For a cake design planning process, look beyond just other cakes. Consider art, fashion, nature, architecture, fabrics, patterns, and even everyday objects. A beautiful ceramic tile might inspire a geometric pattern, or a vibrant flower could dictate a color palette and sugar flower design. The goal is to find visual cues that resonate with the overall feeling or theme you want to convey.
Online platforms like Pinterest and Instagram are popular starting points, offering millions of images tagged with terms like "cake design," "wedding cakes," or "birthday cake ideas." However, try to dig deeper. Look at interior design blogs for color scheme ideas, explore fabric shops for texture inspiration, or visit a botanical garden for natural forms. Keeping a digital or physical scrapbook of inspiring images is a great way to collect these disparate ideas during your cake design planning process.
Exploring Different Cake Themes and Styles
Defining a theme or style early in your cake design planning process provides a valuable framework. Themes can be literal, like a specific character or hobby for a birthday, or more abstract, like "vintage elegance" or "modern minimalist." Styles dictate the overall aesthetic and techniques used – think rustic naked cakes, sleek fondant finishes, elaborate buttercream piping, or gravity-defying structures.
Let's say you're planning a cake for a child's birthday. A popular theme might be "under the sea." This immediately suggests colors (blues, greens, purples), potential decorations (sea creatures, coral, waves), and perhaps flavors (coconut, tropical fruits). If the style is "whimsical," you might opt for bright colors, playful figures, and perhaps edible glitter. If the style is "realistic," you'd focus on detailed sculpting and natural textures. Exploring different themes and styles helps narrow your focus and makes the next steps in your cake design planning process much clearer.
Creating a Mood Board for Your Cake
A mood board is a visual collage that captures the essence of your cake design idea. It's an invaluable tool in the cake design planning process, helping to solidify your concept and ensure all elements work together harmoniously. Your mood board can be physical, made with cuttings from magazines and fabric swatches, or digital, using software or online tools.
Include images of cakes you like (for inspiration, not direct copying), color palettes, textures, patterns, flowers, objects related to the theme, and even fonts if you plan on using lettering. For a rustic wedding cake, your mood board might include images of wood grain, lace patterns, specific types of flowers like succulents and roses, a color palette of creams, greens, and blush pinks, and maybe a photo of the venue. This visual reference serves as your north star throughout the cake design planning process, keeping you focused on the desired outcome.
Step 2: Defining Your Cake's Purpose and Audience
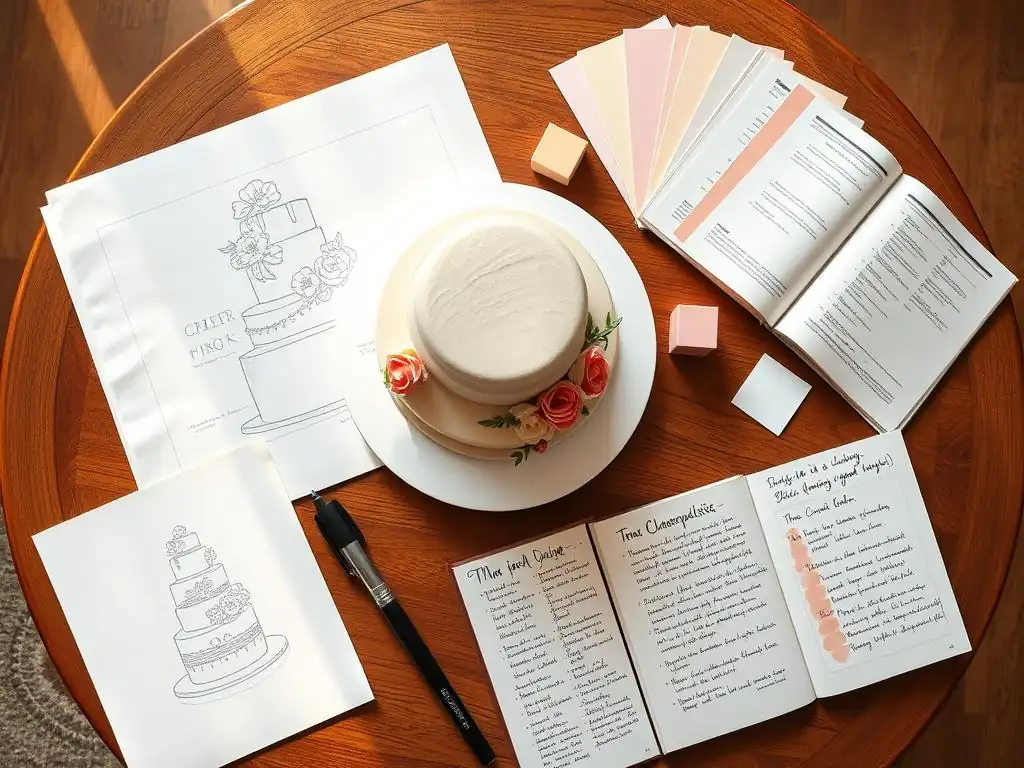
Before you get too deep into specific decorations, it's crucial to understand the context of your cake. Who is it for? What is the occasion? Where will it be served? Answering these questions is a vital step in the cake design planning process, as they significantly influence decisions about size, flavor, and overall design appropriateness.
A cake for a casual family gathering will have different requirements than a formal wedding cake or a cake for a corporate event. Considering the purpose and audience ensures your beautiful design is also practical, fits the setting, and delights the people who will be enjoying it. This step grounds your creative ideas in reality.
Considering the Occasion and Theme
The occasion dictates the fundamental nature of the cake. A wedding cake often requires multiple tiers, a more formal or elegant aesthetic, and flavors that appeal to a broad group. A child's birthday cake can be fun, brightly colored, and themed around their favorite characters or hobbies. A holiday cake might incorporate seasonal motifs and flavors.
For example, a 50th-anniversary cake might lean towards classic designs, gold accents, and perhaps flavors reminiscent of the couple's wedding cake. A baby shower cake could feature pastel colors, cute animals, and a lighter flavor profile like lemon or vanilla bean. Aligning your design with the occasion is a fundamental part of the cake design planning process and ensures your cake is appropriate and celebratory.
Understanding Your Audience's Preferences
Knowing who will be eating the cake is just as important as knowing the occasion. Are there any dietary restrictions or allergies? Are your guests generally adventurous eaters, or do they prefer classic flavors? Is the cake for adults, children, or a mixed group? These factors should heavily influence your flavor and ingredient choices during the cake design planning process.
If you're baking for a group with common allergies like nuts or gluten, you must plan for safe alternatives or avoid those ingredients entirely. If the cake is for children, overly complex or bitter flavors might not be appreciated. For a large event, offering one tier with a popular flavor like vanilla or chocolate and another with a slightly more unique option can cater to diverse tastes. Gathering this information early is a critical part of a responsible cake design planning process.
Determining the Cake's Size and Servings
Accurately estimating the number of servings you need is crucial for planning the size and structure of your cake. Standard cake serving charts provide guidance on how many portions you can get from different size and shape pans. For instance, a single 8-inch round cake typically yields 10-12 servings, while a 12-inch round can provide 35-40 servings. Tiered cakes multiply these numbers based on the sizes of each tier.
It's usually wise to slightly overestimate the number of servings needed, perhaps by 5-10%, to account for generous cutting or unexpected guests. This calculation directly impacts the quantity of batter, frosting, and decorating materials required, making it a foundational element of the cake design planning process and subsequent cost estimations.
Step 3: Sketching Your Initial Cake Design
Once you have a clear idea of your theme, audience, and size requirements, it's time to translate your abstract concepts into a visual form. Sketching is a powerful tool in the cake design planning process, allowing you to experiment with proportions, placement, and the overall flow of your design before you commit to baking and decorating. You don't need to be a professional artist; simple drawings are perfectly sufficient.
Use a pencil so you can erase and revise as needed. Draw the basic shape and size of your cake tiers. Then, start adding the decorative elements you envisioned during brainstorming. This step helps you visualize how different components will fit together and identify potential issues with balance or scale early on.
Translating Your Ideas into a Visual Representation
Your initial sketches are the bridge between your imagination and the physical cake. Start by drawing the cake's structure – the number of tiers, their sizes, and how they are stacked. Then, begin adding details like frosting textures, placement of sugar flowers, drip effects, borders, or sculpted figures. Don't worry about perfection; focus on capturing the essence of your design.
For a three-tier cake, you might sketch three stacked circles or squares of decreasing size. Then, you could draw lines to indicate where a ribbon might go, circles for flower clusters, or dots for pearl borders. Use different colors or shading to differentiate between elements like buttercream, fondant, or edible paint. This visual representation is a core output of the cake design planning process's early stages.
Experimenting with Different Cake Shapes and Structures
Sketching allows you to play with variations on your initial idea. Maybe your first thought was a classic round tiered cake, but sketching a square or hexagonal shape might open up new design possibilities that better fit your theme. Consider structural elements like pillars, internal supports, or even gravity-defying setups if your design is ambitious.
Draw your design from different angles – front, side, and perhaps a top-down view for details on the upper surface. Experiment with placing decorative elements in different positions. Would the flower cluster look better on the side of the top tier or cascading down from the second tier? Would a drip go all the way down or just partway? Sketching these variations helps you refine your vision and make informed decisions during the cake design planning process.
Incorporating Specific Design Elements in Your Sketch
As you refine your sketches, start adding more specific details. If you plan to use a specific piping tip, try to draw the texture it creates. If you're using fondant cutouts, sketch their shapes and sizes. Indicate colors clearly, either by using colored pencils or writing notes on the sketch (e.g., "light blue buttercream," "gold leaf accent," "dark red sugar roses").
Add measurements or notes about proportions if they are critical to your design. For instance, you might note that a border should be X inches high or a figure should be proportional to the cake tier it sits on. These detailed sketches become part of your formal cake design plan, providing a clear visual reference when you begin the hands-on work.
Step 4: Choosing Your Cake Flavors and Fillings
While the visual design is crucial, the flavor is what truly makes a cake memorable. Selecting the right combination of cake, filling, and frosting is a delightful, yet important, step in the cake design planning process. The flavors should complement each other and also fit the occasion and audience preferences you identified earlier.
Consider the texture and richness of each component. A light, airy cake pairs well with a delicate mousse filling, while a dense pound cake can support a richer ganache or buttercream. Think about how the flavors will interact and whether they create a balanced and enjoyable taste experience.
Selecting Complementary Flavors
The goal is to create a harmonious flavor profile where each component enhances the others. Classic pairings like chocolate cake with raspberry filling or vanilla cake with lemon curd are popular because they work so well together. When planning your cake design, think about flavor families – fruits, spices, nuts, chocolates, etc.
For example, if you're making a carrot cake, cream cheese frosting is a traditional and complementary choice. Adding a pecan or walnut filling could enhance the nutty notes. If you're designing a tropical-themed cake, consider coconut cake with passion fruit filling and lime buttercream. Avoid combining too many strong, competing flavors that might clash. Aim for balance and synergy in your cake design plan's flavor profile.
Considering Dietary Restrictions and Allergies
Revisiting your audience assessment is critical when choosing flavors. If you know guests have allergies to nuts, dairy, or gluten, you must select recipes and ingredients that accommodate these needs. There are excellent recipes available for allergy-friendly cakes and fillings, but they often require specific ingredients and careful preparation to avoid cross-contamination.
For instance, if gluten sensitivity is a concern for a portion of your guests (affecting roughly 1-2% of the population with Celiac disease, plus others with non-celiac sensitivity), you might plan for a dedicated gluten-free tier or use certified gluten-free ingredients throughout if necessary. Similarly, dairy allergies require careful sourcing of plant-based milks, butter substitutes, and non-dairy chocolate. Incorporating these considerations early in the cake design planning process is vital for guest safety and enjoyment.
Testing Flavor Combinations for the Perfect Cake
If you're trying a new or unusual flavor combination as part of your cake design plan, it's highly recommended to test it beforehand on a smaller scale. Bake a few cupcakes or small cake layers and make small batches of the filling and frosting. This allows you to taste the combination and make adjustments before committing to baking a large cake.
A quick test batch can save you from disappointment later. For example, you might think lavender and dark chocolate sound interesting, but a small test could reveal that the lavender is too overpowering or doesn't meld well with the chocolate. Adjusting proportions or choosing a different type of lavender extract based on a test batch is a smart move in the cake design planning process.
Step 5: Selecting Your Cake Decorating Techniques
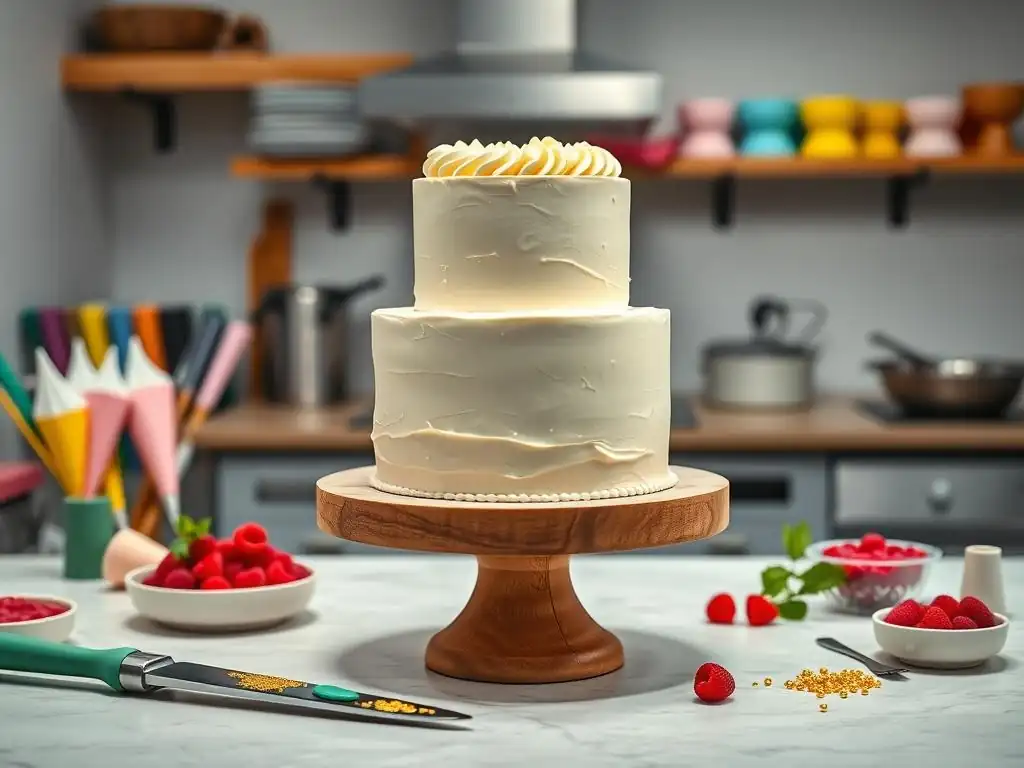
With your design sketched and flavors chosen, the next step in the cake design planning process is to decide how you will bring the visual elements to life. This involves selecting the appropriate decorating techniques based on your design, skill level, and the practical requirements of the cake (like transport or display).
From classic buttercream swirls to intricate fondant details or smooth ganache finishes, each technique offers unique possibilities. Consider the overall style of your cake and choose techniques that align with that vision and are within your current capabilities or that you are willing to practice and learn.
Exploring Different Decorating Options (e.g., buttercream, fondant, ganache)
Each type of cake covering and decoration medium has its advantages and characteristics. Buttercream is versatile, delicious, and comes in various types (American, Swiss meringue, Italian meringue, etc. ), offering different levels of sweetness and stability. It's great for piping textures, swirls, and borders.
Fondant provides a smooth, professional finish and is ideal for sculpting figures, creating sharp edges, and adding intricate cutouts or impressed patterns. Ganache, a rich mixture of chocolate and cream, can be used for smooth coatings or drips and offers a luxurious flavor. Your cake design planning process should consider which medium best suits the desired look and feel – a sharp-edged modern cake might call for fondant or ganache, while a rustic look is perfect for textured buttercream.
Mastering Essential Cake Decorating Skills
Your chosen techniques will dictate the skills you need to employ. If your design involves smooth fondant, you'll need to practice covering cakes without wrinkles or tears. If it features piped flowers, honing your piping skills with various tips is essential. A drip cake requires mastering the ganache consistency and application technique.
Many essential skills form the foundation of cake decorating: crumb coating, applying a final smooth layer of frosting, leveling cakes, stacking tiers securely (especially important for multi-tiered cakes which require doweling for support), and basic piping. Incorporate practice sessions for specific techniques into your cake design planning process if you're attempting something new. A little practice can significantly improve your final result. For instance, spending 30 minutes practicing piping shells or rosettes on parchment paper can make a huge difference when you're decorating the actual cake.
Choosing the Right Tools and Equipment for Your Design
Having the correct tools makes a world of difference in executing your cake design plan successfully. Your chosen techniques will determine the specific equipment you need. Smooth frosting requires an offset spatula and possibly a bench scraper or cake smoother. Fondant work necessitates rolling pins, smoothers, and various cutters or modeling tools. Piping requires piping bags and a selection of tips.
Don't forget essential structural tools like cake boards (one for each tier, plus a base board), dowels for supporting stacked cakes (using plastic or wooden dowels is critical for cakes over one tier; a typical 8-inch tier might need 4-5 dowels), and potentially central supports for very tall or complex structures. List all required tools during your cake design planning process to ensure you have everything on hand before you start.
Step 6: Calculating Material Costs and Time Estimate
Realistic budgeting and time management are often overlooked but critical parts of the cake design planning process. Understanding the potential costs involved and how long each stage will take helps prevent surprises and ensures you can complete the project without undue stress or financial strain.
Factor in not just the ingredients but also specialized decorating supplies, new tools you might need to purchase, and even electricity/gas costs. Similarly, break down the timeline into manageable steps, allocating sufficient time for baking, cooling, frosting, decorating, and chilling.
Creating a Detailed Shopping List for Your Cake
Based on your chosen recipes, flavors, and decorating techniques, create a comprehensive list of every ingredient and supply you will need. Be specific with quantities. For a standard two-tier cake (e.g., 8-inch and 6-inch tiers), you might need 6-8 cups of flour, 4-6 lbs of sugar (for cake, frosting, and possibly fondant), several dozen eggs, and significant amounts of butter or shortening (perhaps 3-4 lbs).
Include details for decorating supplies too: specific food coloring shades (e.g., 2 oz bottle of gel color in "sky blue"), types and amounts of sprinkles (e.g., 4 oz container of silver dragées), specific piping tips (e.g., Wilton 1M, Ateco 2D), and fondant (e.g., 2 lbs of white fondant, plus smaller amounts of colored fondant). Estimating these quantities is a key part of the cake design planning process's practical side.
Estimating the Time Required for Each Step
Break down the cake-making process into distinct phases and estimate the time needed for each. Be realistic, especially if you are trying new techniques.
- Baking: Mixing batter, baking layers (e.g., 40-50 minutes per 8-inch layer).
- Cooling: Layers must cool completely (at least 2-3 hours, preferably overnight).
- Making Frosting/Filling: (e.g., 30-60 minutes per batch).
- Crumb Coating: Applying the initial thin layer of frosting (e.g., 30 minutes per cake, plus chilling time of 30-60 minutes).
- Final Frosting/Fondant: Applying the final smooth layer (e.g., 1-2 hours per tier).
- Decorating: This varies greatly depending on complexity. Simple piping might add 1-2 hours per tier, while intricate sugar flowers or sculpting could add 4-8+ hours total for the project.
Add buffer time for unexpected issues. A detailed time estimate is a cornerstone of an effective cake design planning process.
Budgeting for Unexpected Expenses
It's wise to allocate a small buffer in your budget, perhaps 10-15% of your estimated costs, for unexpected expenses. This could include needing to buy extra ingredients if a batch fails, purchasing a tool you forgot, or accounting for slight variations in ingredient prices.
For instance, if your initial ingredient list totals $50, budgeting an extra $5-$7.50 can cover unforeseen needs. While not strictly "data," this percentage is a common practice in project planning. This financial foresight is an important, albeit less glamorous, part of the cake design planning process that helps avoid last-minute stress.
Step 7: Creating a Detailed Cake Design Plan
Now it's time to consolidate all your decisions into a formal document – your comprehensive cake design plan. This plan should include all the specifications, steps, and timelines you've developed. It serves as your central reference point throughout the entire project, ensuring consistency and keeping you on track.
Think of this as the final blueprint before construction begins. It should be detailed enough that someone else (or you, weeks later) could pick it up and understand exactly what needs to be done to execute the design. This detailed plan is the culmination of the cake design planning process.
Documenting Your Design Specifications (e.g., dimensions, colors, decorations)
Your plan should clearly state the dimensions of each cake layer (e.g., two 8-inch round layers, two 6-inch round layers). Specify the desired finished height of each tier. List the exact colors and types of frosting or fondant for each section (e.g., "Bottom tier: Swiss Meringue Buttercream, colored with Teal gel color," "Top tier: White Satin Ice Fondant").
Describe the placement and type of all decorative elements. For example: "Around the base of the bottom tier: piped shell border using Wilton 1M tip, white buttercream." "On the top tier: three clusters of sugar roses (2 large, 3 medium per cluster) in blush pink, ivory, and peach." "Drip: White chocolate ganache, tinted light blue, applied from the top edge of the top tier." Include references to your sketches.
Outlining the Steps for Baking and Decorating
Break down the actual execution into a logical sequence of steps. This is a crucial part of the cake design planning process, turning the abstract plan into actionable tasks.
Example sequence:
- Bake cake layers (specify flavors and pan sizes).
- Cool layers completely.
- Make fillings and frostings.
- Level cake layers.
- Fill and stack layers for each tier.
- Apply crumb coat to each tier.
- Chill crumb-coated tiers.
- Apply final coat of frosting or cover with fondant.
- Chill tiers again if needed for stability.
- Prepare decorating elements (make sugar flowers, sculpt figures, etc. - these can often be done in advance).
- Dowel and stack tiers.
- Apply final decorations (piping, placing flowers, adding drips, etc. ).
- Task List Example:
- [ ] Bake 8" Chocolate Layers (x2)
- [ ] Bake 6" Vanilla Layers (x2)
- [ ] Make Raspberry Filling
- [ ] Make Swiss Meringue Buttercream
- [ ] Level Cake Layers
- [ ] Fill & Stack 8" Tier
- [ ] Fill & Stack 6" Tier
- [ ] Crumb Coat Both Tiers
- [ ] Chill (1 hour)
- [ ] Apply Final Buttercream (8" tier, Teal)
- [ ] Cover with Fondant (6" tier, White)
- [ ] Chill (30 mins)
- [ ] Make Sugar Roses (can be done days ahead)
- [ ] Dowel & Stack Tiers
- [ ] Add Piped Border (8" tier, White)
- [ ] Add Sugar Rose Clusters
- [ ] Add Blue Ganache Drip (6" tier)
Creating a Timeline for Your Cake Project
Assign dates or time blocks to each step in your outlined process. Work backward from the date the cake is needed. If the cake is due Saturday afternoon, plan to finish decorating by Saturday morning. This means stacking might happen Friday evening, final frosting Friday afternoon, baking Thursday, etc.
Factor in chilling times, which are essential for stability but add hours to the overall process. For a complex tiered cake, the timeline might span 2-3 days of active work, not including the initial planning time (which might have occurred a week or more prior). A realistic timeline within your cake design planning process prevents rushing and errors.
Step 8: Executing Your Cake Design Plan
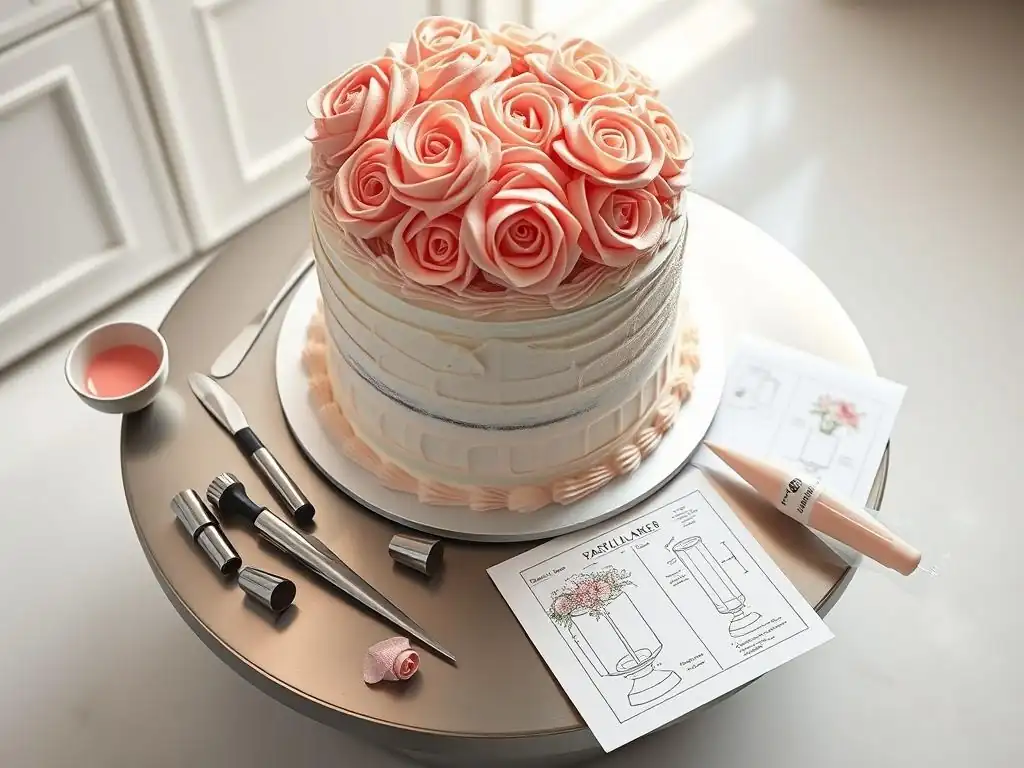
With your detailed cake design plan in hand, it's time for the exciting part – bringing your vision to life! This phase requires focus, patience, and the ability to follow your carefully laid-out steps. Having a plan minimizes guesswork and allows you to concentrate on the techniques and details.
Keep your sketches, notes, and timeline visible as you work. Refer back to them frequently to ensure you are staying true to your design and schedule. Remember that even the best plans can encounter small hiccups, so staying calm and adaptable is key during execution.
Following Your Plan Step-by-Step
Resist the urge to jump ahead or skip steps. Your cake design plan outlines a logical progression designed for success. For instance, attempting to apply a final smooth frosting layer before the crumb coat is fully chilled will lead to crumbs getting into your outer layer. Trying to stack tiers before they are properly doweled can result in collapse.
Work through your task list methodically. Check off steps as you complete them. This provides a sense of accomplishment and ensures you don't miss anything crucial. For a multi-day project, knowing exactly what needs to be done each day keeps you organized and on schedule.
Making Adjustments as Needed
Even with thorough planning, things don't always go exactly as expected. The frosting might be a little too soft, the color might not be quite right, or a delicate decoration might break. Be prepared to make minor adjustments to your cake design plan on the fly.
Perhaps you planned for intricate piped details, but the temperature is making your buttercream too soft to hold shape. You might need to pivot to a different technique, like a textured spatula finish. Or if a sugar flower breaks, you might rearrange the cluster slightly or replace it with a simpler element. Flexibility is a valuable trait during the execution phase of the cake design planning process.
Troubleshooting Common Cake Decorating Problems
Knowing how to troubleshoot common issues can save your cake design.
- Cracks in Fondant: Small cracks can often be smoothed with a fondant smoother or a tiny bit of shortening. Larger cracks might require patching or covering with a decorative element.
- Bulges in Fondant/Frosting: This can happen if the filling isn't contained or the cake settles. Sometimes a gentle smoothing can help, but severe bulges may require carefully trimming.
- Leaning Tiers: If a stacked cake starts to lean, it usually indicates insufficient or improperly placed dowels. You may need to carefully disassemble the tiers, add more support, and restack.
- Color Bleeding: Vibrant colors, especially red and black, can sometimes bleed into lighter colors over time, particularly in humid conditions. Using gel colors rather than liquid and applying them closer to the event time can help.
Being aware of potential problems and having a basic understanding of how to address them is an integral part of the execution phase, stemming from a solid cake design planning process.
Step 9: Presenting and Enjoying Your Masterpiece
You've planned, baked, and decorated! The final step is presenting your beautiful creation and sharing it. This involves safely transporting the cake (if necessary) and displaying it in a way that highlights your hard work.
This is the moment to step back and appreciate the result of your meticulous cake design planning process and dedicated execution. Capturing photos is a great way to document your achievement before the cake is cut and enjoyed.
Tips for Transporting Your Cake Safely
Transporting a finished cake, especially a multi-tiered one, requires careful planning. Use a sturdy, non-slip cake board that is at least 2-4 inches wider than the base of your cake. Place the cake box or carrier on a flat surface in your vehicle – the floor of the passenger side or the trunk are often better than a seat.
If possible, transport the cake chilled, as this makes the structure more stable. For tiered cakes, some bakers prefer to transport tiers separately and assemble them at the venue. Drive slowly and avoid sudden stops or sharp turns. Having a second person to hold or stabilize the cake during transport is highly recommended for larger designs.
Displaying Your Cake for Maximum Impact
Choose a prominent and stable location for your cake display. A sturdy table that won't wobble is essential, especially for tiered cakes which can be quite heavy (a three-tier cake can easily weigh 15-25 lbs or more). Ensure the location is away from direct sunlight, heat sources (like radiators or ovens), or drafts, which can melt frosting or affect fondant.
Consider the background and surrounding decor. A simple tablecloth or cake stand can enhance the presentation. If your cake design incorporates specific colors or themes, ensure the display area complements them. Good lighting is also important for showcasing the details of your design.
The ultimate reward for your hard work in the cake design planning process and execution is sharing your delicious masterpiece. Be ready to explain the flavors and perhaps a few interesting details about the design process. Prepare to answer questions about techniques or ingredients.
Have a proper cake knife ready for cutting. For tiered cakes, it's often easiest to remove the top tier and cut the layers from the bottom up. Encourage guests to enjoy the cake you poured your time and creativity into.
Conclusion: Mastering the Art of Cake Design Planning with BakeWithEase
Bringing a cake design from a fleeting idea to a tangible, beautiful reality is a rewarding experience. As we've explored, the cake design planning process is not just an optional step; it is the foundation upon which successful and stress-free cake decorating is built. It empowers you to think creatively while staying grounded in practicality, ensuring that your final creation is not only stunning but also structurally sound and delicious.
By dedicating time to brainstorming, sketching, defining purpose, selecting flavors and techniques, budgeting, and creating a detailed plan, you transform a potentially overwhelming project into a series of manageable steps. This systematic approach, central to mastering the cake design planning process, reduces the likelihood of errors, saves time and resources, and ultimately boosts your confidence as a baker and decorator.
The Importance of Practice and Experimentation
Like any skill, mastering the cake design planning process and the decorating techniques themselves comes with practice. Don't be discouraged if your first few attempts don't perfectly match your vision. Each cake you plan and create is a learning opportunity. Reflect on what worked well and what could be improved for next time.
Experiment with different techniques, flavors, and design styles. Try a new piping tip, attempt a simple sugar flower, or experiment with a different frosting recipe. Each new skill learned expands your creative possibilities for future cake design plans. Embrace the process of learning and growing.
Continuing Your Cake Decorating Journey
Your journey in cake decorating is continuous. The principles of the cake design planning process can be applied to every project, from simple cupcakes to elaborate celebration cakes. As you gain experience, your planning will become more intuitive, and your ability to troubleshoot will improve.
Keep seeking inspiration, learning new techniques, and challenging yourself with new designs. BakeWithEase is here to support you every step of the way with recipes, tips, and guides. Continue to plan your cake designs thoughtfully, bake with passion, and share your delicious creations with the world.
Frequently Asked Questions
What is the first step in the cake design planning process, according to BakeWithEase?
The first step involves brainstorming and inspiration. This includes gathering ideas from various sources and establishing a clear vision for the final cake.
What kind of details should I consider during the cake design planning process?
You should think about details like the cake's size and shape, the desired flavor profiles, and the overall theme or occasion for the cake.
How does BakeWithEase recommend choosing the right ingredients for my cake design?
BakeWithEase emphasizes selecting ingredients based on flavor compatibility with your design and their suitability for the chosen techniques. Consider freshness and quality for the best results.
What are some common mistakes to avoid when planning a cake design?
Avoid overcomplicating the design, neglecting structural integrity, and failing to account for transportation. Proper planning prevents cake disasters!
Does BakeWithEase offer guidance on sourcing decorations for my cake design?
Yes, BakeWithEase suggests considering both homemade and store-bought decorations. They also recommend planning your decoration strategy well in advance to ensure availability and compatibility with your design.
Final Reflection: Baking Dreams into Reality
The meticulous planning of a cake design isn't just about aesthetics; it's about translating a vision into a tangible masterpiece that evokes emotion and delight. In a world saturated with visual stimulation, the ability to thoughtfully plan and execute a unique cake design stands out, offering a personalized touch that resonates deeply with recipients and showcases the baker's skill. This careful process, from initial concept to final frosting, is more than just a recipe; it's a journey of creative problem-solving and meticulous execution.
The impact of thoughtful cake design extends far beyond the immediate enjoyment of the finished product. It reflects a growing appreciation for handcrafted artistry and the personalized experience it offers. It's a testament to the power of intentionality, a commitment to detail that elevates a simple dessert into a statement piece. The details are not the details. They make the design.
– Charles Eames. This quote perfectly encapsulates the essence of planning a cake design; every element, from the flavor profile to the smallest decorative flourish, contributes to the overall impact.
Now, consider your own creative endeavors. What elements of this planning process can you apply to your own projects, whether it's a personal project or a professional undertaking? Embrace the power of meticulous planning, allowing your vision to unfold with intention and precision. Don't be afraid to experiment, to iterate, and to refine your process. The journey of creating something beautiful and meaningful is just as rewarding as the final result. Let the meticulous planning of a cake design inspire you to approach your own creative pursuits with the same level of care and dedication.
Ready to Bake Your Dream Cake?
Thanks for taking the time to explore the exciting world of cake design with us! We hope you've gained valuable insights and inspiration to bring your cake visions to life. Now it's time to put those ideas into action.
- Sketch your masterpiece! Grab a pen and paper (or your favorite digital art program) and start sketching out your cake design. Don't worry about perfection – just let your creativity flow. This is the crucial first step to translating your ideas into reality.
- Share your design: Show off your creative cake vision! Post your sketch on social media and tag us (@BakeWithEase – pretend this is our social media handle) to share your progress and inspire others.
- Gather your baking supplies: Take a look at your pantry and make a list of the ingredients and tools you'll need. This will help you plan your baking journey effectively.
Ready to transform your cake dreams into a delicious reality? What's the first element of your cake design that you're most excited to perfect?