
Preventing That Annoying Cracking Bread Crust

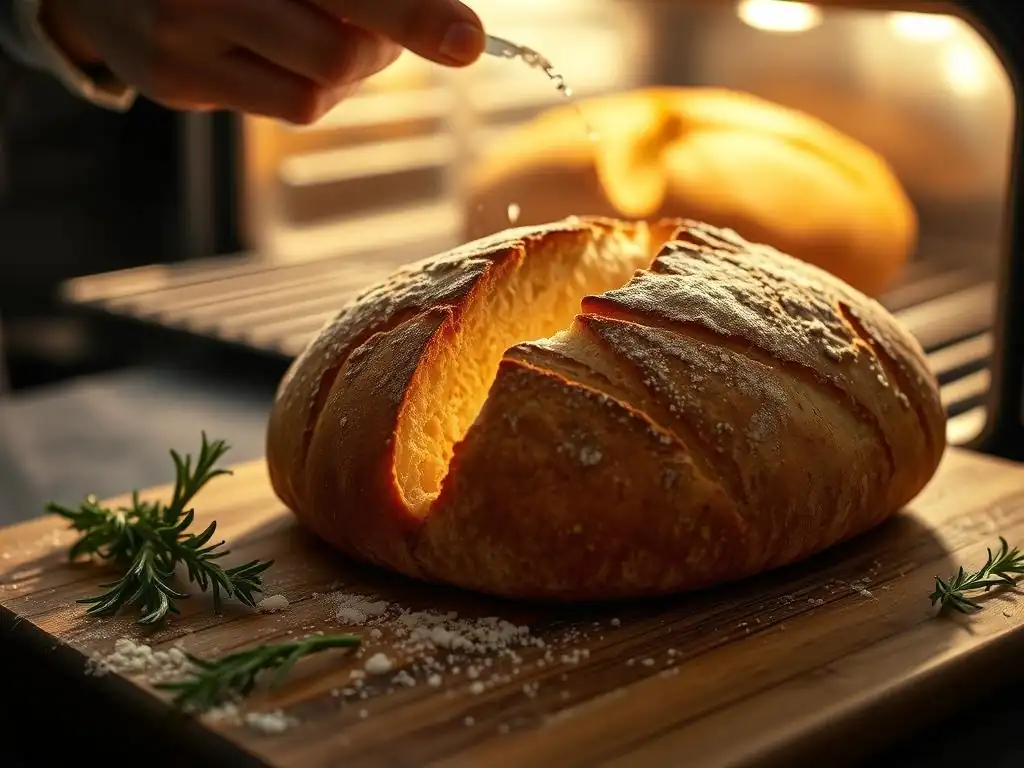
Welcome to BakeWithEase, your haven for all things baking! Ever battled the frustration of a cracked bread crust, leaving your beautiful loaf looking less than perfect? You're not alone. Dive into our guide to uncover the secrets behind achieving that flawlessly smooth, golden-brown crust you've always dreamed of. Discover the simple solutions and expert tips that will transform your bread baking forever, starting right here!
- Preventing Cracking Bread Crusts: A Comprehensive Guide
- Understanding Why Bread Crusts Crack: The Science
- Solutions: A Baker's Toolkit
- Troubleshooting Specific Bread Types
- Advanced Techniques
- Achieving the Perfect Crust: Final Tips
- Frequently Asked Questions
- Final Reflection: The Enduring Quest for a Perfect Crust
- Unlock Your Crust's Perfect Crisp!
Preventing Cracking Bread Crusts: A Comprehensive Guide
Understanding Why Bread Crusts Crack: The Science
Steam's Role in Crust Formation and Expansion
During the initial phase of baking, often called oven spring, the heat causes the water within the dough to rapidly turn into steam. This internal pressure is crucial for expanding the loaf, giving it volume and shaping the final structure. As the loaf expands, the outer surface, which is beginning to dry and form the crust, needs to be elastic enough to stretch without tearing. Adequate steam in the oven environment keeps the surface moist and pliable during this critical expansion phase.
Without sufficient external steam, the dough surface dries out too quickly in the hot oven. This premature drying creates a rigid skin that cannot accommodate the rapid internal expansion driven by steam and yeast activity. Imagine trying to blow up a balloon with a stiff, dry surface – it's much more likely to tear or burst. Similarly, a dry bread surface will tear or crack as the loaf attempts to achieve its full oven spring, resulting in unsightly fissures rather than a smooth, well-developed crust. Providing a humid baking environment is a key cracking bread crust solution.
Gluten's Impact on Crust Integrity
Gluten, the protein network formed when water is added to wheat flour and kneaded, is the primary structural component of bread dough. This network traps gases produced by yeast (or fermentation in sourdough), allowing the dough to rise and hold its shape. A well-developed gluten structure provides the dough with strength and elasticity – the ability to stretch and spring back. This elasticity is vital for the crust during baking.
If the gluten is underdeveloped or overworked, it might not have the necessary elasticity to stretch gracefully during oven spring. Underdeveloped gluten results in a weak structure prone to tearing, while overly tight gluten can resist stretching and also lead to cracks. The balance is key; a strong yet extensible gluten network allows the crust to expand along with the loaf's interior, contributing to a smooth, even texture rather than a brittle shell that cracks under pressure. Ensuring proper dough development is a foundational cracking bread crust solution.
Common Causes of Cracking
Several factors commonly contribute to a cracking bread crust. One of the most frequent culprits is insufficient steam during the initial baking phase. As discussed, a dry oven environment causes the crust to set too early and rigidly. Another major cause is underproofing. If a loaf hasn't proofed long enough, it still has significant rising potential left when it hits the hot oven. This rapid, vigorous expansion puts excessive stress on the developing crust, leading to tears.
Other common issues include the dough's hydration level being too low, making the dough less extensible, or the oven temperature being too high initially, which shocks the surface and promotes rapid drying. Incorrect scoring or failing to score at all can also cause cracks, as scoring provides designated weak points for the crust to expand through. Addressing these specific issues is crucial for finding a reliable cracking bread crust solution.
Solutions: A Baker's Toolkit
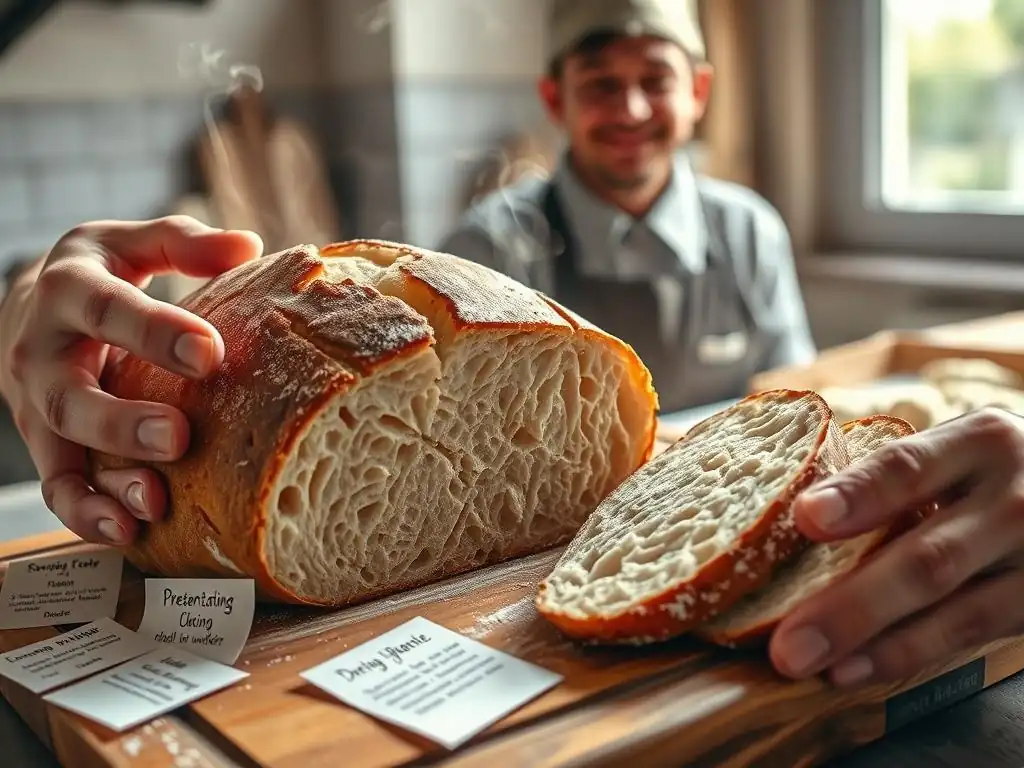
Temperature Control: Baking at the Right Heat
Controlling oven temperature is a fundamental aspect of preventing a cracking bread crust. Most artisan bread recipes call for a high initial temperature, often around 450-500°F (230-260°C), for the first 15-20 minutes. This high heat promotes rapid oven spring and sets the crust quickly. However, if the temperature is too high for the specific dough or oven, it can cause the crust to harden prematurely before the internal expansion is complete, leading to cracks. Conversely, if the temperature is too low, oven spring is sluggish, and the crust develops too slowly, potentially drying out in a less controlled manner.
Adjusting the temperature based on the type of bread is also important for a cracking bread crust solution. Lean doughs like baguettes or sourdough often benefit from that initial high heat followed by a reduction to around 400-425°F (200-220°C) to finish baking without burning.
Enriched doughs with butter, milk, or eggs brown faster and may require a slightly lower initial temperature, perhaps 400-425°F (200-220°C), to prevent the crust from setting too quickly and cracking or becoming too dark before the interior is cooked. Monitoring your oven with a separate thermometer is highly recommended, as oven thermostats can be off by as much as 50°F (10°C) or more.
Steam Injection: Achieving Ideal Texture
Introducing steam into the oven during the initial baking phase is arguably the most effective cracking bread crust solution. The steam keeps the surface of the dough moist and elastic, allowing it to stretch with the expanding loaf during oven spring. This results in a thinner, crispier crust and contributes to a better rise. Without sufficient steam, the crust forms too early and becomes rigid, leading to the characteristic tears or cracks.
There are several common methods for creating steam in a home oven. Baking the loaf in a preheated Dutch oven or lidded baking vessel traps the moisture released by the dough itself, effectively creating a steamy micro-environment.
Another popular method is placing a pan of hot water or ice cubes on the bottom rack of the oven when you preheat it, or pouring water into a preheated cast iron pan just as you load the bread. Aim to maintain high humidity for at least the first 15-20 minutes of baking before venting the steam for the remainder of the bake to allow the crust to properly crisp and brown.
Dough Hydration: Finding the Sweet Spot
Dough hydration, the ratio of water to flour by weight, significantly impacts crust elasticity and is a key factor in finding a cracking bread crust solution. Higher hydration doughs (e.g., 70-80% hydration) are typically more extensible and less prone to cracking than lower hydration doughs (e.g., 55-65% hydration). The extra water keeps the dough surface moist for longer during baking, allowing it to stretch more easily with the expanding loaf. However, very high hydration doughs can be challenging to handle.
Adjusting hydration based on the type of flour is also important. Different flours absorb water differently; for example, whole wheat flour typically absorbs more water than white bread flour due to the presence of bran and germ. Therefore, a whole wheat dough might require a higher hydration percentage to achieve the same consistency and elasticity as a white flour dough. Experimenting within a reasonable range (e.g., starting at 65% for a white loaf and adjusting up or down slightly) helps find the optimal hydration for your specific flour and recipe, contributing to a more pliable crust.
Scoring Techniques: Guiding Expansion
Scoring, the act of cutting the surface of the proofed dough just before baking, is a deliberate cracking bread crust solution. These cuts create controlled weak points in the crust, directing where the loaf will expand during oven spring. Instead of the crust tearing randomly and unevenly, it opens along the score lines, resulting in a more aesthetically pleasing loaf with a predictable bloom or ear. Proper scoring allows the internal pressure to be released constructively.
The depth, angle, and pattern of scoring depend on the type of bread and desired outcome. For instance, a single deep cut down the length is common for batards (oval loaves), while multiple diagonal cuts are typical for baguettes. Using a very sharp blade, like a lame (pronounced "lahm") or a razor blade, is crucial for clean cuts that open beautifully. Dull tools can drag the dough, leading to uneven tears or preventing the scores from opening properly, which can ironically cause the crust to crack elsewhere.
Troubleshooting Specific Bread Types
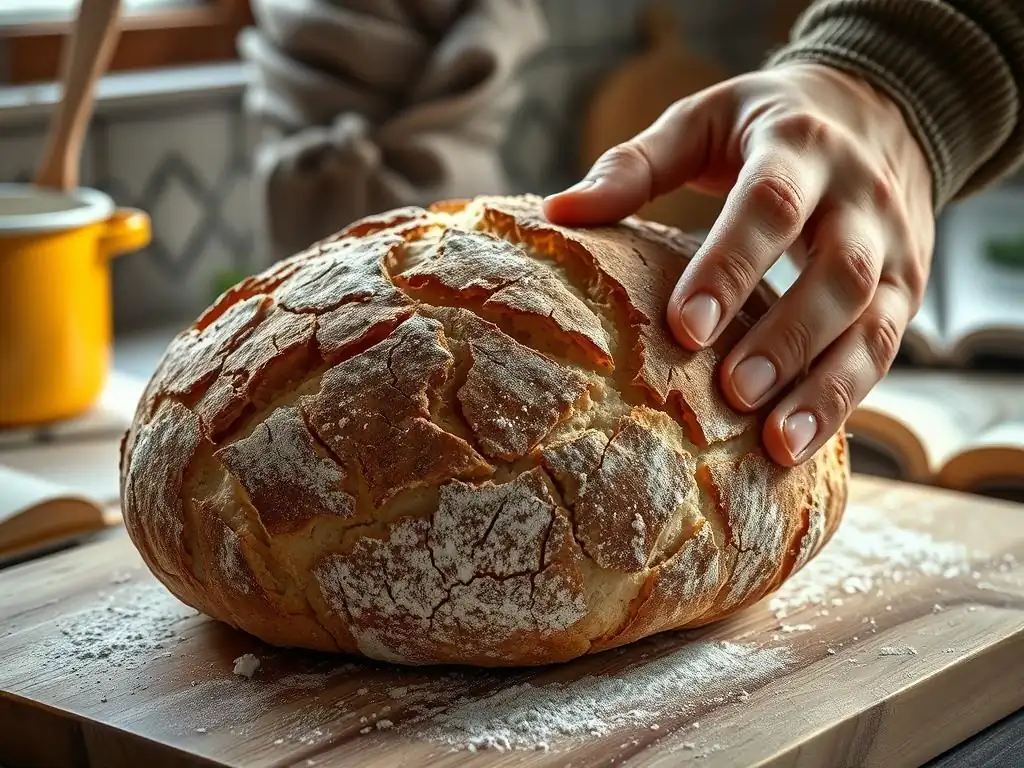
Sourdough Crust Cracking
Sourdough loaves are particularly susceptible to cracking because they often use high hydration doughs and rely solely on wild yeast for leavening, which can sometimes result in vigorous and slightly unpredictable oven spring. A common cracking bread crust solution for sourdough involves ensuring adequate proofing time; underproofed sourdough has too much potential expansion left for the oven. Using a preheated Dutch oven is highly recommended for sourdough, as it excels at trapping the steam necessary for that crucial initial expansion.
If your sourdough is cracking consistently, evaluate your starter's activity, your bulk fermentation time, and your final proofing duration. An active starter and properly fermented dough will have developed sufficient strength and extensibility. Also, ensure your scoring is deep enough (often about 1/2 inch or 1-2 cm) and made with a very sharp blade right before the loaf goes into the hot, steamy environment.
Baguette Crust Cracking
Baguettes, with their high surface area to volume ratio and typically lower hydration compared to many sourdoughs, require careful attention to prevent cracking. The classic baguette crust should be thin and crisp. A primary cracking bread crust solution for baguettes is ensuring sufficient steam throughout the initial bake. Many bakers use methods like placing a pan of hot water or lava rocks in the oven or even misting the oven walls (though be careful with oven electronics).
Proper shaping and tension are also important for baguettes. A well-shaped baguette has surface tension that helps it hold its form and expand predictably along the scores. Multiple shallow, overlapping diagonal scores are traditional and provide many points for the crust to open. Baking on a preheated baking stone or steel also helps provide a good heat source from underneath, contributing to even crust development.
Whole Wheat Bread Crust Cracking
Whole wheat doughs present unique challenges due to the bran and germ particles, which can interfere with gluten development and absorb more water than white flour. Whole wheat loaves are often denser and may expand less dramatically than white loaves, but the crust can still crack if not managed correctly. A good cracking bread crust solution for whole wheat is often slightly higher hydration than you might use for white bread to compensate for the bran's absorption and improve extensibility.
Ensuring thorough kneading or folding is crucial to develop the gluten despite the interference from bran. Like other loaves, adequate steam in the oven's initial phase is vital. Whole wheat loaves can sometimes benefit from slightly less aggressive initial oven temperatures compared to lean white loaves, perhaps starting around 425°F (220°C), to prevent the crust from setting too fast before the denser interior has expanded sufficiently.
Advanced Techniques
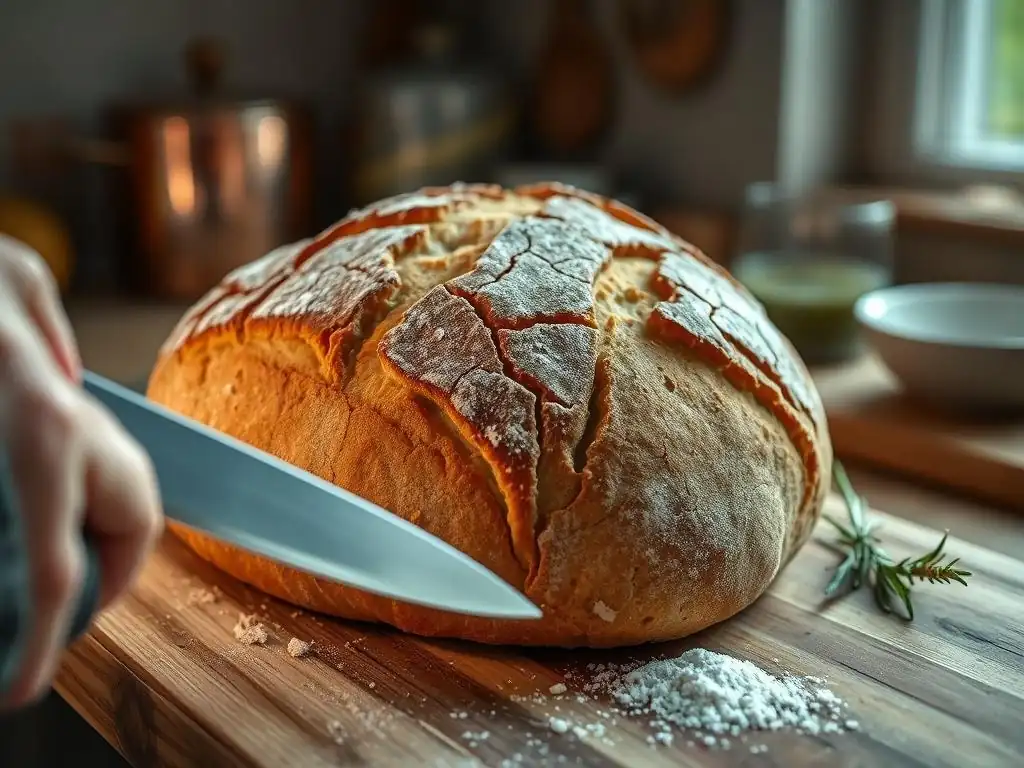
Baking Stone or Steel for Even Heat
Using a preheated baking stone or steel is an excellent advanced cracking bread crust solution, particularly for loaves baked directly on the oven rack rather than in a Dutch oven. A stone or steel absorbs and retains heat very effectively. When the dough is placed on the hot surface, it receives a strong, even burst of heat from the bottom.
This strong bottom heat promotes rapid oven spring and contributes to a well-formed crust across the entire loaf. It helps prevent the bottom of the loaf from lagging behind the top in terms of crust development, ensuring a more uniform expansion. A stone or steel also helps stabilize oven temperature, reducing fluctuations that could negatively impact crust formation. Preheat it in the oven for at least 30-60 minutes at your target baking temperature.
Banneton Proofing Basket for Support
Proofing your dough in a banneton (or brotform) can indirectly serve as a cracking bread crust solution by promoting better shape and surface tension during the final rise. Bannetons, typically made of rattan or cane, are dusted with flour and hold the dough during its final proof. They provide support, helping the dough maintain its shape and build structure.
When the dough is inverted from the banneton onto the baking surface, it retains a taut surface thanks to the support it received during proofing. This taut surface is easier to score cleanly and is better prepared to expand predictably in the oven. The consistent shape achieved in a banneton also contributes to more even heat distribution during baking, further reducing the likelihood of random cracks.
Achieving the Perfect Crust: Final Tips
Patience: Cooling Properly
Once your beautiful loaf is out of the oven, the journey to a perfect, uncracked crust isn't quite over. Proper cooling is a vital, often overlooked, cracking bread crust solution. As the bread cools, moisture from the interior migrates towards the crust. If the bread is cut too soon, this moisture escapes rapidly, and the internal structure hasn't fully set, leading to a gummy interior and potentially causing the crust to soften or even crack as it cools unevenly.
Allow your bread to cool completely on a wire rack for at least 1-2 hours, and often longer for larger loaves. This allows steam to escape gradually and the internal structure to stabilize. Cutting into hot bread is tempting, but waiting ensures the best texture inside and out, preventing issues like a cracking bread crust after baking.
Storing Bread for Quality
How you store your bread can also impact the quality and integrity of the crust over time. While not a solution for preventing cracks during baking, proper storage helps maintain the crust you've worked hard to achieve. Once cooled, store your bread at room temperature.
Do not refrigerate(This speeds up staling).- Store crusty loaves in a paper bag to allow the crust to breathe and remain crisp.
- For softer loaves or to preserve freshness longer, store in a bread box or a sealed plastic bag once completely cool.
- For long-term storage, slice the loaf and freeze it in an airtight container or bag.
Following these simple storage tips helps keep your crust in optimal condition, complementing your efforts in preventing that annoying cracking bread crust during the bake itself.
Frequently Asked Questions
What causes bread crusts to crack during baking?
Cracking is primarily caused by the rapid expansion of the bread during baking and a lack of sufficient moisture on the surface. This can lead to uneven pressure and tears in the crust.
How can I prevent my bread crust from cracking?
Increasing surface moisture is key. This can be achieved by steaming the oven with water or using a Dutch oven. Also, ensure proper gluten development and scoring.
What role does scoring play in preventing cracks?
Scoring provides controlled release points for the expanding gases within the dough. This directs the expansion and prevents uncontrolled cracking in unwanted areas.
Can humidity levels affect bread crust cracking?
Yes, low humidity in your baking environment can dry out the crust too quickly. This makes it less elastic and more prone to cracking during baking.
Are certain bread types more susceptible to cracking?
Yes, lean doughs (those low in fat and sugar) tend to crack more easily due to their lower moisture content. Sourdough is a prime example where proper hydration and steam are crucial.
Final Reflection: The Enduring Quest for a Perfect Crust
The seemingly simple act of baking bread reveals a complex interplay of science and art, and the frustrating crack in the crust is a testament to this delicate balance. A perfect, unblemished crust remains the holy grail for many home bakers, and understanding the factors that contribute to cracking—from hydration levels to oven temperature—is crucial to achieving that coveted result. This pursuit isn't merely about aesthetics; it's about mastering a fundamental aspect of bread making, a skill that connects us to centuries of culinary tradition.
The quest for a crack-free crust reflects a broader human desire for perfection and control. We strive for consistency, for predictable outcomes in a world often characterized by uncertainty. The seemingly minor imperfection of a cracked crust can symbolize a larger frustration with the unpredictable nature of baking, and even life itself. The best bread is made with love,
a baker once told me, "but even love can't always prevent a crack." This quote highlights the inherent challenges and the rewarding journey of mastering the craft.
Now, consider your own baking journey. Have you experienced the frustration of a cracked crust? What did you learn from that experience? I encourage you to embrace the imperfections, to see them not as failures, but as opportunities for learning and growth.
Remember the techniques discussed in this article, experiment with different methods, and most importantly, enjoy the process. The journey to the perfect crust is a rewarding one, filled with delicious discoveries and the satisfaction of creating something beautiful from simple ingredients. Don't be discouraged by a few cracks; let them guide you towards a deeper understanding of the art of bread baking.
Unlock Your Crust's Perfect Crisp!
Thanks for joining us on this baking journey! We hope you learned valuable tips to banish that frustrating cracked crust for good. Ready to put your new knowledge into practice?
- Bake your next loaf with confidence: Try implementing the humidity control techniques discussed and notice the difference! Remember, consistent oven temperature is key.
- Share your baking triumphs (and challenges!): Let's build a supportive community. Post a picture of your perfectly crisp crust on social media using #BakeWithEaseCrust.
- Experiment with different flours: Explore how various flour types affect crust texture. What will you discover?
Have you ever noticed a correlation between dough hydration and crust cracking? Let's discuss in the comments below!