
Gummy Sourdough Crumb? Expert Fixes to Avoid Doughiness

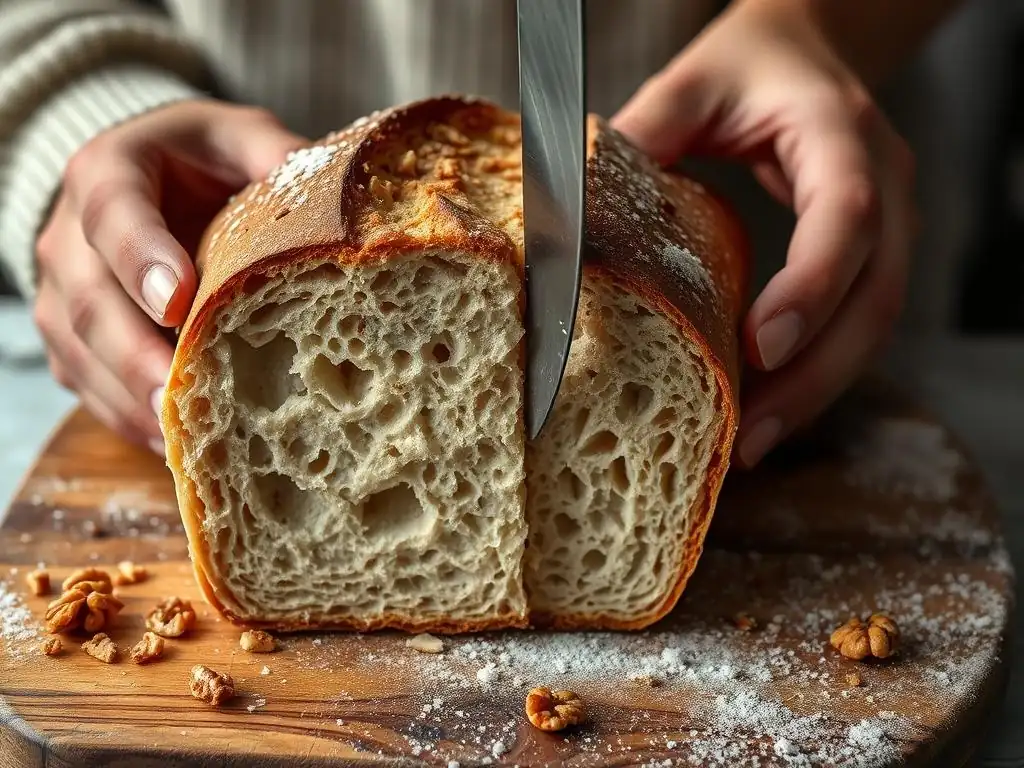
Welcome to BakeWithEase, your haven for all things baking! Ever wrestled with a gummy sourdough crumb? It's a common frustration, but fear not! Discover expert fixes and techniques to achieve that perfect, airy texture you crave. Dive in to learn how to avoid doughiness and unlock the secrets to sourdough success. Ready to transform your baking game?
- Troubleshooting Gummy Sourdough: Expert Techniques for a Perfect Crumb
- Understanding Gummy Sourdough: Identifying and Preventing a Doughy Texture
- Solutions for Fixing Gummy Sourdough Crumb
- Troubleshooting Checklist: Identifying the Cause of Gummy Sourdough
- Preventing Gummy Sourdough: Best Practices for Consistent Results
- Achieving the Perfect Sourdough Crumb: Key Takeaways
-
Frequently Asked Questions
- What are the most common causes of a gummy sourdough crumb?
- How can I tell if my sourdough is properly fermented?
- What role does hydration play in the texture of sourdough bread?
- What baking techniques can help prevent a gummy sourdough crumb?
- What can I do if my sourdough already has a gummy crumb?
- Final Reflection: The Quest for the Perfect Sourdough Crumb
- Unlock Your Perfect Sourdough: Ditch the Gummy Crumb!
Troubleshooting Gummy Sourdough: Expert Techniques for a Perfect Crumb
Understanding Gummy Sourdough: Identifying and Preventing a Doughy Texture
Achieving that perfect, open crumb in your sourdough loaf is the goal for many bakers. However, sometimes you slice into your beautiful creation only to find a dense, wet, and unpleasantly doughy or gummy texture. This is a common frustration, but understanding its causes is the first step toward a successful sourdough crumb gummy fix. A gummy crumb isn't just unappetizing; it often indicates that something went wrong during the fermentation or baking process, impacting the bread's digestibility and overall quality.
The journey to a light, airy, and well-baked sourdough crumb involves mastering several variables, from the health of your starter to the final bake. Identifying exactly why your sourdough crumb is gummy requires a bit of detective work, examining each stage of your process. By pinpointing the specific issue, you can implement targeted solutions to transform your future loaves from doughy disappointments into perfectly textured bread. Let's dive into how to recognize this problem and explore its most frequent culprits.
Recognizing a Gummy Crumb in Sourdough
A gummy crumb is distinct from a dense crumb, although they can sometimes occur together. When you slice into a loaf with a gummy crumb, the interior doesn't spring back; instead, it feels wet, sticky, and compressed. The texture might stick to your knife, and when you press a piece between your fingers, it feels doughy and doesn't easily pull apart into distinct strands or cells.
Visually, the crumb structure often appears tight, with small, uneven holes, or sometimes large, isolated tunnels surrounded by dense, wet dough. The color might also seem slightly darker or duller than a properly baked loaf.
Beyond the visual and tactile signs, a gummy sourdough crumb often has a heavy, slightly underbaked taste. It can feel heavy in the stomach and may have an overly sour flavor, sometimes bordering on acrid, which can be a sign of fermentation issues. Recognizing these characteristics early is crucial for implementing an effective sourdough crumb gummy fix. Don't confuse this with a moist crumb, which is desirable; a moist crumb is elastic and light, whereas a gummy crumb is heavy and sticky.
Common Causes of Gummy Sourdough
Several factors can contribute to a gummy sourdough crumb. One of the most frequent issues is underbaking. If the internal temperature of the loaf doesn't reach the necessary point (typically around 205-210°F or 96-99°C), starches in the flour won't fully gelatinize and set, leaving a wet, doughy interior. This can happen if the oven temperature is too low, the baking time is insufficient, or if the loaf is removed from the oven too soon, perhaps because the crust looks done.
Another significant cause is insufficient fermentation, particularly during the bulk fermentation stage. If the dough doesn't ferment long enough or at the right temperature, gluten development might be inadequate, and the yeast and bacteria won't produce enough gases to create an open structure. Conversely, over-fermentation can also weaken the gluten structure, leading to collapse in the oven and a dense, gummy texture.
High hydration doughs, while capable of producing very open crumbs, are also more susceptible to a gummy outcome if not handled correctly or if baking conditions aren't optimized. Issues with starter activity, incorrect hydration levels for the flour used, or poor gluten development can all play a role in creating that undesirable gummy sourdough crumb.
Solutions for Fixing Gummy Sourdough Crumb
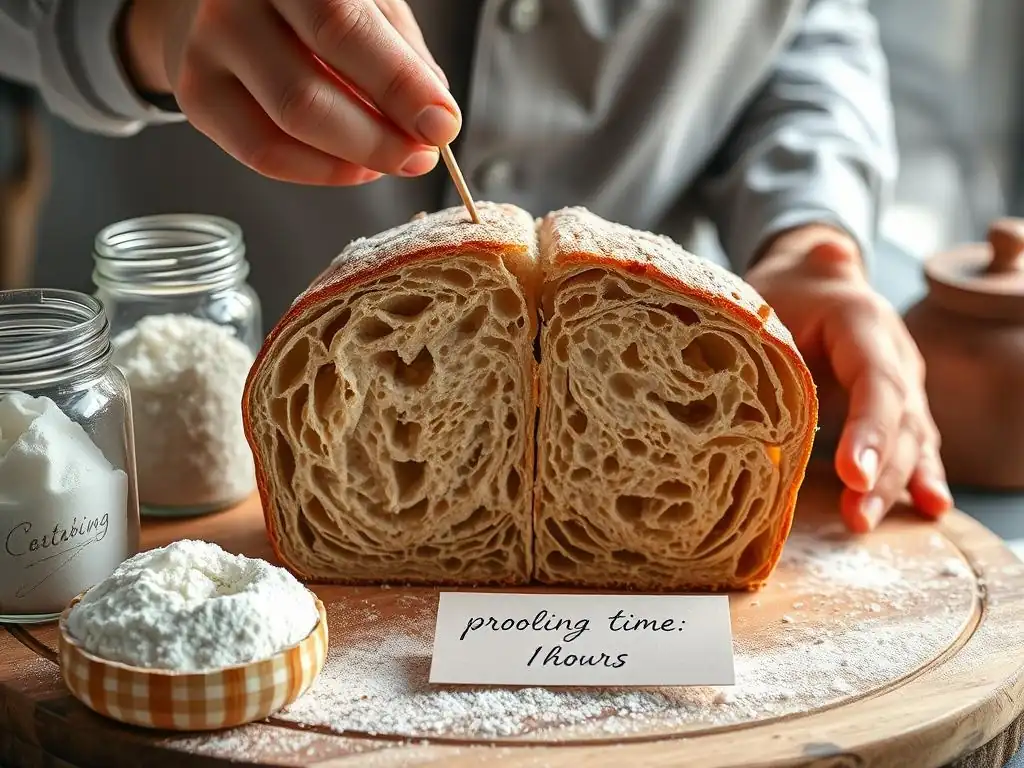
Identifying the root cause of a gummy crumb is the first step, and fortunately, there are several effective strategies to implement a sourdough crumb gummy fix. These solutions often involve fine-tuning your process at different stages, from fermentation to baking and even dough hydration. By addressing the specific issue you've diagnosed, you can significantly improve the texture and quality of your future sourdough loaves.
The key is often finding the right balance. Sourdough baking is a dynamic process, influenced by variables like ambient temperature, starter strength, and flour type. Making small, targeted adjustments based on your troubleshooting can lead to substantial improvements. Let's explore some of the most impactful techniques you can use to banish that gummy texture and achieve the airy crumb you desire.
Optimizing Fermentation for Improved Crumb Structure
Fermentation is arguably the most critical stage in sourdough baking, directly impacting both flavor and texture. Proper fermentation builds the gluten network, produces the gases that create the crumb structure, and develops complex flavors. When fermentation is off – whether too short, too long, or at the wrong temperature – the resulting loaf is likely to suffer, often manifesting as a gummy sourdough crumb.
Paying close attention to the signs of fermentation is vital. This includes monitoring the dough's volume increase, observing the presence of bubbles, and checking the dough's feel and elasticity. Achieving the correct level of fermentation ensures the dough has the strength and gas production needed to expand properly in the oven and develop a light, open interior texture, providing a solid sourdough crumb gummy fix.
Achieving Proper Bulk Fermentation
Bulk fermentation, the initial rise after mixing and before shaping, is where the majority of gas production and gluten development occurs. Insufficient bulk fermentation means the dough hasn't developed enough strength or produced enough gas, leading to a dense, gummy crumb. The dough might not increase significantly in volume, feel heavy, and lack elasticity.
A common guideline is to let the dough increase by 30-50% in volume during bulk fermentation, depending on the flour and temperature. For example, a dough fermenting at a warm room temperature of 75°F (24°C) might take 4-6 hours to reach this stage, while at a cooler 68°F (20°C), it could take 8-12 hours.
On the other hand, over-fermentation during bulk can also result in a gummy crumb. If the dough ferments too long, the gluten structure can begin to break down, leading to a dough that is very slack, sticky, and difficult to shape. It might show signs of collapsing and smell overly acidic.
While it might initially look airy, this weakened structure often collapses in the oven, resulting in a dense, wet, and gummy interior. Learning to read your dough – watching for signs like doming, jiggliness, and the presence of small bubbles on the surface – is key to hitting that sweet spot of perfect bulk fermentation.
The Role of Starter Activity in Sourdough Texture
The health and activity level of your sourdough starter are paramount to successful fermentation. A weak or inactive starter will not produce enough gas to lift the dough, resulting in inadequate rise and a dense, gummy crumb. Before mixing your dough, ensure your starter is active and bubbly, ideally having doubled or tripled in volume within 4-8 hours after feeding, depending on the temperature and feeding ratio. Using a starter that hasn't peaked or is past its peak can both lead to fermentation issues.
Feeding your starter regularly and maintaining a consistent feeding schedule helps ensure it's strong when you need it. Factors like the temperature of your feeding water, the type of flour used for feeding, and the ratio of starter, flour, and water all influence its activity. A robust starter is crucial for providing the necessary leavening and metabolic activity to properly break down starches and develop gluten during fermentation, directly contributing to a well-structured, non-gummy sourdough crumb.
Temperature Management During Fermentation
Temperature significantly impacts the rate of fermentation. Warmer temperatures accelerate yeast and bacterial activity, while cooler temperatures slow it down. Inconsistent or incorrect temperatures can lead to unpredictable fermentation outcomes and potentially a gummy crumb. For example, if your bulk fermentation environment is too cold, the dough might ferment too slowly or not enough, resulting in a dense, gummy loaf. Conversely, a very warm environment can cause fermentation to happen too quickly, potentially leading to over-fermentation before sufficient gluten development occurs.
Maintaining a consistent temperature, ideally between 70-78°F (21-26°C) for most bulk fermentation, allows for predictable fermentation times and optimal development. Using a proofing box, an oven with the light on (but not preheated! ), or simply finding a warm spot in your kitchen can help. Understanding how temperature affects your specific starter and dough is key to controlling the fermentation process and preventing a gummy sourdough crumb.
Mastering Baking Techniques for a Well-Baked Loaf
Even if fermentation goes perfectly, improper baking can ruin your crumb texture, leading to that frustrating gummy interior. Sourdough requires high temperatures and often steam to achieve optimal oven spring and ensure the interior is fully cooked. Underbaking is a very common cause of a gummy sourdough crumb, leaving the inside wet and doughy.
Addressing baking technique is a critical part of the sourdough crumb gummy fix. This involves understanding how to maximize oven spring, ensuring the oven is at the correct temperature, and effectively utilizing steam during the initial phase of baking. Getting these elements right helps the loaf achieve its maximum volume and ensures the heat penetrates effectively to cook the interior thoroughly.
Maximizing Oven Spring
Oven spring is the rapid expansion of the dough during the first 10-15 minutes of baking. It's fueled by the gases produced during fermentation and the sudden heat of the oven. Good oven spring contributes to an open, airy crumb structure. Several factors influence oven spring, including proper fermentation, sufficient gluten development, and baking in a hot oven with steam. If your loaf doesn't spring well, it might remain dense, increasing the likelihood of a gummy interior, especially if combined with underbaking.
Ensuring your dough is properly proofed (not over or under) and scoring it correctly helps direct the oven spring. Baking in a preheated Dutch oven is one of the most popular methods for home bakers to maximize oven spring, as it traps steam around the loaf and allows for high baking temperatures. A good oven spring indicates that your dough had sufficient strength and leavening power to expand, setting the stage for a well-textured crumb.
Baking at the Correct Temperature
Baking temperature is crucial for setting the crumb structure and ensuring the loaf is cooked through. Sourdough is typically baked at high temperatures, often starting around 450-500°F (230-260°C). This high heat helps achieve rapid oven spring and sets the crust quickly, which in turn supports the expanding loaf. Baking at a temperature that is too low will result in less oven spring and a slower bake, increasing the chances of a dense, gummy interior, as the heat doesn't penetrate the dough effectively to cook the starches fully.
It's vital to preheat your oven thoroughly, often for 30-60 minutes, especially if using a baking stone or Dutch oven. Using an oven thermometer can help verify that your oven is reaching and maintaining the set temperature, as many home ovens can be inaccurate. Starting with a high temperature and potentially reducing it later in the bake helps achieve a good crust while ensuring the interior bakes completely, preventing a gummy sourdough crumb.
Utilizing Steam for Optimal Crust and Crumb
Steam plays a critical role in the initial phase of baking sourdough. High humidity around the loaf prevents the crust from forming too quickly, allowing the dough to expand fully during oven spring. Without adequate steam, the crust sets prematurely, restricting expansion and resulting in a denser loaf. Steam also contributes to a thinner, crispier crust and a more open crumb structure by keeping the surface pliable longer.
Baking in a covered Dutch oven is the most effective way for home bakers to create a steamy environment. The lid traps the moisture released by the dough as it heats up. If you're not using a Dutch oven, you can create steam by placing a tray of hot water or ice cubes on the bottom rack of your oven just before loading the bread. Baking with steam for the first 20-30 minutes, then removing the lid or steam source for the remainder of the bake, helps achieve both excellent oven spring and a well-cooked, non-gummy interior.
Adjusting Hydration for Ideal Sourdough Texture
Hydration refers to the ratio of water to flour in your dough, typically expressed as a percentage of the flour weight. Higher hydration doughs (e.g., 75% or more) are often sought after for their potential to produce very open, airy crumbs. However, working with high hydration dough requires more skill and precision, and if not handled correctly, it can easily result in a sticky, difficult-to-handle dough that bakes into a gummy sourdough crumb.
Understanding how hydration affects your dough and adjusting it based on your flour type and skill level is a key aspect of achieving a perfect crumb. Sometimes, a gummy crumb isn't solely a fermentation or baking issue, but a result of using a hydration level that is too high for the flour's absorption capacity or the baker's technique.
The Impact of Hydration on Sourdough
Water plays a crucial role in gluten development by enabling the proteins in flour to bond and form a network. Higher hydration allows for more extensive gluten development and makes the dough more extensible, which is why it can potentially lead to a very open crumb. The extra water also contributes to a moist texture in the finished loaf. However, more water also means the dough is stickier and harder to handle, shape, and build tension.
A very high hydration dough requires careful handling to develop sufficient strength to support its structure during fermentation and baking. If the gluten network isn't strong enough to hold the large amount of water, the dough can spread excessively, lack structure, and bake into a dense, wet, gummy loaf. It's a delicate balance; while higher hydration offers the potential for a more open crumb, it also increases the risk of a gummy sourdough crumb if not managed skillfully.
Fine-Tuning Hydration Levels
If you consistently get a gummy sourdough crumb, especially with high hydration recipes, consider reducing your hydration level slightly. Even a reduction of 5-10% can make a significant difference in dough handling and the final crumb texture. For example, if you're struggling with an 80% hydration recipe, try reducing it to 75% or even 70%. This makes the dough easier to work with, allowing you to develop better tension and structure, which in turn helps prevent a gummy interior.
It's also important to remember that different flours absorb water differently. Whole wheat flour and other specialty flours typically absorb more water than white bread flour. Knowing the characteristics of your flour and adjusting hydration accordingly is essential. Start with a hydration level you are comfortable handling and gradually increase it as your skills improve. This iterative process is a practical sourdough crumb gummy fix for issues related to hydration.
Hydration Recommendations for Different Flour Types
The ideal hydration level varies significantly depending on the type of flour used. Standard white bread flour, with a protein content typically around 12-14%, can often handle hydration levels between 65% and 80% or even higher for experienced bakers aiming for a very open crumb. However, starting in the 65-70% range is often recommended for beginners.
Whole wheat flour and rye flour absorb significantly more water than white flour due to their higher bran and germ content. A dough made with 100% whole wheat flour might require 80-90% hydration or more to feel similar in consistency to a 70% hydration white flour dough. When using a blend of flours, calculate the hydration based on the total flour weight and consider the absorption capacity of each flour type.
For instance, a mix of 80% white bread flour and 20% whole wheat might work well at 75-80% total hydration. Adjusting hydration based on your specific flour mix is key to preventing a gummy sourdough crumb.
Enhancing Gluten Development for Strength and Structure
Gluten development is fundamental to sourdough baking. Gluten is the protein network that forms when water is added to flour and manipulated (through mixing, kneading, or folding). This network provides the dough with elasticity and strength, allowing it to trap the gases produced by fermentation and hold its shape during baking. Insufficient gluten development is a major contributor to a dense, flat, and gummy sourdough crumb.
Developing a strong, extensible gluten network is paramount for a well-structured loaf. This process happens during the initial mixing, kneading, and subsequent folding stages of bulk fermentation. Ensuring your dough has adequate gluten strength is a vital step in achieving a light, airy crumb and implementing a sourdough crumb gummy fix.
The Significance of Kneading
Kneading, or mixing, is the initial step where gluten development begins. Traditional kneading involves working the dough vigorously to align the protein strands and form a strong network. For sourdough, especially higher hydration doughs, intensive kneading might not always be necessary or practical. However, sufficient initial mixing to bring the ingredients together and start the gluten formation is important.
For no-knead or minimal-knead sourdough methods, the initial mix should still be thorough enough that there are no dry flour pockets. The dough might be shaggy at first, but subsequent folding techniques will build the necessary strength. Whether you choose traditional kneading or a no-knead approach, ensuring the gluten development process is effectively initiated is the first step towards a non-gummy crumb.
Gluten Strengthening Techniques: Stretch and Folds, Coil Folds
For many sourdough bakers, especially those working with wetter doughs, gluten development is primarily achieved through a series of 'stretch and folds' or 'coil folds' during the early part of bulk fermentation. These techniques gently work the dough, strengthening the gluten network without the need for vigorous kneading. Stretch and folds involve wetting your hands, stretching a portion of the dough up, and folding it over itself, repeating this around the bowl. Coil folds involve lifting the dough from the center and letting the ends coil under, effectively folding the dough onto itself.
Performing 3-5 sets of these folds, spaced 20-45 minutes apart during the first 2-3 hours of bulk fermentation, helps build significant dough strength. As you perform the folds, you'll notice the dough becoming smoother, more elastic, and holding its shape better between sets. This development of strength and structure is crucial for the dough to support the gas produced during fermentation and achieve a good oven spring, preventing a gummy sourdough crumb.
Autolyse: Benefits and Implementation
Autolyse is a technique where you mix just the flour and water for your dough and let it rest for 20 minutes to several hours before adding the starter and salt. This simple step allows the flour to fully hydrate and permits enzymes naturally present in the flour to begin breaking down proteins, initiating gluten development without any mechanical action.
Implementing an autolyse can make the dough easier to mix and work with, reduce the overall kneading or folding time required, and contribute to a more extensible dough. Even a short 30-minute autolyse can make a noticeable difference in dough handling and gluten development. While not strictly necessary for all sourdoughs, incorporating autolyse can be a helpful technique for enhancing gluten strength and contributing to a better crumb structure, acting as a proactive sourdough crumb gummy fix.
Troubleshooting Checklist: Identifying the Cause of Gummy Sourdough
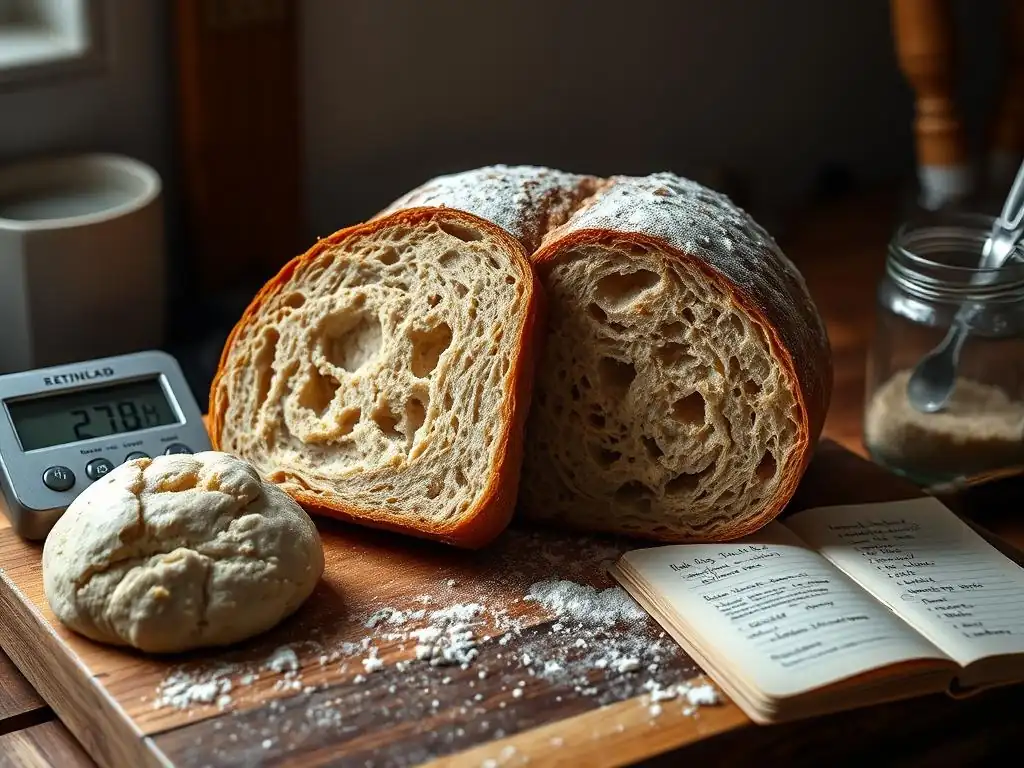
When faced with a gummy sourdough crumb, a systematic approach to troubleshooting can help you pinpoint the exact issue. Instead of guessing, go back through your process step-by-step and evaluate each stage. This checklist provides a framework for diagnosing what might have gone wrong.
By asking specific questions about your ingredients, starter, fermentation environment, and baking execution, you can narrow down the potential causes. Remember that sometimes it might be a combination of factors contributing to the problem. This diagnostic process is key to implementing the correct sourdough crumb gummy fix for your specific situation.
Questions to Diagnose Doughy Sourdough
Ask yourself the following questions about your recent bake:
- Was my starter active and bubbly when I used it? Did it pass the float test?
- Did the dough increase sufficiently in volume during bulk fermentation (e.g., 30-50%)?
- Did the dough feel strong and elastic after bulk fermentation, or was it slack and sticky?
- What was the ambient temperature during bulk fermentation? Was it consistent?
- Did the dough feel light and airy after shaping and proofing, or did it feel dense?
- Was my oven fully preheated to the correct temperature (e.g., 450-500°F)? Did I use an oven thermometer?
- Did I use steam during the initial part of the bake (e.g., first 20-30 minutes)?
- How long did I bake the loaf? Did I bake it uncovered after the initial steamy period?
- What was the internal temperature of the loaf when I took it out of the oven? Was it at least 205°F (96°C)?
- What hydration level did I use? Is this appropriate for the type of flour and my skill level?
- Did I perform sufficient stretch and folds or other gluten development techniques?
- Did I let the loaf cool completely before slicing?
Step-by-Step Guide to Identifying the Root Cause
- Evaluate the Starter: Check your starter's activity. If it wasn't doubling reliably before use, a weak starter could be the primary issue, leading to under-fermentation.
- Review Bulk Fermentation: Consider the dough's behavior during bulk fermentation.
- If it didn't rise much: Likely under-fermented or weak starter.
- If it rose significantly then started to spread or collapse: Likely over-fermented, weakening gluten.
- If it felt weak and sticky throughout: Possibly insufficient gluten development or too high hydration.
- Assess Proofing: Did the dough look light and airy before baking? Over-proofed dough can lose structure and collapse in the oven. Under-proofed dough won't have enough gas for good oven spring.
- Check Baking Execution: This is a very common culprit for a gummy sourdough crumb.
- Did the loaf brown quickly but the interior is gummy? Oven too hot, or not enough steam causing crust to set too fast, restricting oven spring and potentially underbaking the interior.
- Did the loaf look pale or take a very long time to brown? Oven temperature too low, leading to underbaking.
- Did you slice it while warm? Slicing before cooling traps steam and gives a false impression of gumminess.
- Consider Hydration & Flour: Was the hydration level very high (e.g., >80%)? Is this appropriate for your flour type and your experience? High hydration combined with insufficient gluten development or underbaking is a frequent cause of gummy crumb.
- Examine Crumb Structure: Look closely at the crumb.
- Small, dense, uniform holes: Often under-fermentation or underbaking.
- Large tunnels with dense areas around them: Can indicate uneven gluten development, over-fermentation, or shaping issues.
- Wet, sticky texture that doesn't bounce back: Classic sign of underbaking or severe under-fermentation/weak gluten.
By walking through these points, you can usually narrow down the most probable cause(s) and focus your efforts on the appropriate sourdough crumb gummy fix.
Preventing Gummy Sourdough: Best Practices for Consistent Results
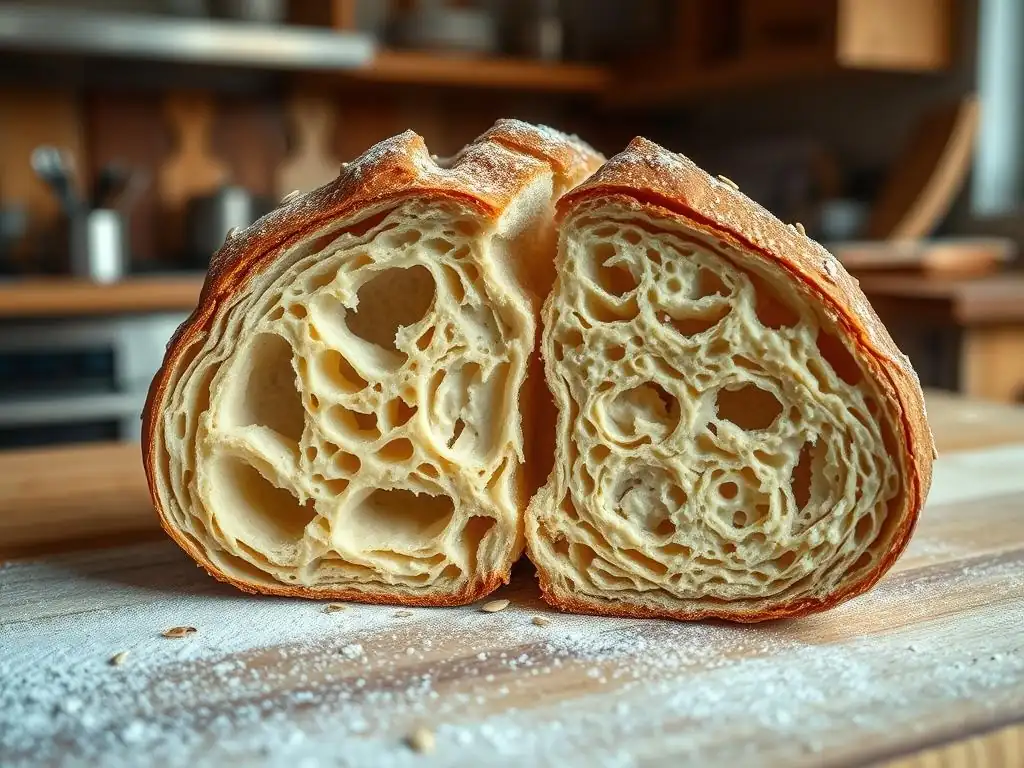
Prevention is often easier than fixing a problem after it occurs. By adopting best practices in your sourdough routine, you can significantly reduce the chances of encountering a gummy sourdough crumb in the first place. Consistency in your process, attention to detail, and understanding the science behind sourdough baking are your best allies.
Implementing these tips will not only help prevent a gummy crumb but will also contribute to more consistent and delicious sourdough loaves overall. It's about building good habits from maintaining your starter to the final bake.
Tips for Consistent Sourdough Baking
- Use a Kitchen Scale: Measuring ingredients by weight, not volume, is crucial for accuracy in baking, especially with hydration levels. Flour density can vary significantly, impacting the actual water-to-flour ratio.
- Keep Detailed Notes: Record your process, including temperatures, times, starter activity, and any observations about the dough. This helps you identify what works and troubleshoot when things go wrong. Note the type of flour used, hydration, bulk ferment time/temp, proofing time/temp, and baking time/temp.
- Monitor Dough Temperature: The temperature of your dough directly impacts fermentation speed. Using a thermometer to check dough temperature can help predict fermentation times more accurately. Aim for a dough temperature around 75-78°F (24-26°C) after mixing for many recipes.
- Learn to Read Your Dough: Pay attention to how the dough looks and feels throughout the process. Does it feel elastic? Is it developing bubbles? Does it pass the "windowpane test" (stretching a small piece thin enough to see light through)? These tactile and visual cues are invaluable.
- Don't Rush the Process: Sourdough takes time. Trying to speed up fermentation too much can lead to underdeveloped flavor and structure. Allow the dough the time it needs based on the temperature.
- Ensure Full Cooling: Always let your loaf cool completely on a wire rack before slicing. This allows the internal structure to set and moisture to redistribute. Slicing too early will always result in a seemingly gummy texture. Cooling can take 2-4 hours for a standard-sized loaf.
Maintaining a Healthy Starter
A healthy, active starter is the bedrock of successful sourdough baking and a key factor in preventing a gummy sourdough crumb. A weak starter is a common cause of under-fermentation, leading directly to dense, gummy bread.
- Regular Feeding: Feed your starter regularly, whether daily if kept at room temperature or weekly if stored in the refrigerator. Use a consistent feeding ratio (e.g., 1:1:1 starter:flour:water by weight) and temperature.
- Discarding: Discarding a portion of your starter before feeding ensures there's enough "food" (flour) for the remaining microbes to thrive and prevents the starter from becoming too acidic or diluted.
- Observation: Pay attention to your starter's behavior. Does it reliably double or triple after feeding? Does it have a pleasant, tangy aroma (not overly acidic or alcoholic)? Does it have lots of bubbles? These are signs of a healthy, active culture ready to leaven your bread effectively. Using a strong starter is a primary sourdough crumb gummy fix.
Essential Baking Equipment for Sourdough Success
While you don't need a professional kitchen, certain pieces of equipment can significantly improve your sourdough results and help prevent issues like a gummy crumb.
- Digital Kitchen Scale: Essential for accurate measurement of ingredients, vital for consistent hydration.
- Dough Scraper: Helps handle sticky dough and shape loaves effectively without adding excessive flour.
- Proofing Baskets (Bannetons): Provide support during the final proof, helping the dough maintain its shape and contributing to better oven spring.
- Dutch Oven or Baking Stone with Steam Setup: Creates the necessary high heat and steamy environment for optimal oven spring and thorough baking. A Dutch oven is highly recommended for beginners.
- Oven Thermometer: Verifies your oven's actual temperature, ensuring you are baking at the correct heat.
- Instant-Read Thermometer: Crucial for checking the internal temperature of your loaf to ensure it's fully baked (target 205-210°F / 96-99°C). This is perhaps the most direct check against underbaking, a common cause of a gummy sourdough crumb.
Achieving the Perfect Sourdough Crumb: Key Takeaways
Achieving that coveted open, airy, and perfectly cooked sourdough crumb is a rewarding experience. While a gummy sourdough crumb can be frustrating, it's a common hurdle that every baker encounters at some point. The good news is that by understanding the potential causes – primarily underbaking, fermentation issues, incorrect hydration, or insufficient gluten development – you have the power to implement specific sourdough crumb gummy fix strategies.
Remember the key steps: ensure your starter is active, optimize bulk fermentation by paying attention to time and temperature, develop sufficient gluten strength through folds, use the correct hydration for your flour and skill level, bake at high temperatures with steam, and always, always cool your loaf completely before slicing. By focusing on these areas and making small, iterative adjustments based on your troubleshooting, you'll be well on your way to consistently producing beautiful loaves with a delightful, non-gummy interior. Happy baking!
Frequently Asked Questions
What are the most common causes of a gummy sourdough crumb?
A gummy sourdough crumb is often caused by undercooking the bread, insufficient fermentation or high hydration in the dough.
How can I tell if my sourdough is properly fermented?
Look for signs like increased volume, visible bubbles throughout the dough, and a slightly acidic smell. A float test can also help determine if it's ready.
What role does hydration play in the texture of sourdough bread?
Higher hydration levels can lead to a more open and airy crumb, but also increase the risk of a gummy texture if not handled correctly. Proper baking techniques are crucial.
What baking techniques can help prevent a gummy sourdough crumb?
Baking at a higher temperature initially, using a Dutch oven to trap steam, and ensuring the internal temperature reaches at least 200°F (93°C) can help.
What can I do if my sourdough already has a gummy crumb?
Unfortunately, you can't fully fix a gummy crumb after baking. However, you can try toasting slices to dry them out or using the bread for recipes like croutons where the texture matters less.
Final Reflection: The Quest for the Perfect Sourdough Crumb
The struggle for a light, airy sourdough crumb is a universal baker's journey, a testament to the capricious nature of this ancient craft. Many factors contribute to a gummy, dense loaf, and understanding these nuances is key to achieving that coveted open crumb structure. This article has explored those nuances, offering practical solutions to troubleshoot common issues and elevate your sourdough game.
The pursuit of the perfect sourdough crumb is more than just a technical challenge; it's a reflection of our connection to the process, a testament to patience and attention to detail. The subtle shifts in hydration, fermentation time, and baking techniques all contribute to the final result, mirroring the delicate balance found in life itself. The best bread is made with love and patience,
a wise baker once said, and this rings especially true for sourdough. The journey, with its triumphs and failures, is as rewarding as the final product.
So, fellow sourdough enthusiasts, I urge you to embrace the learning process. Don't be discouraged by a gummy loaf; instead, see it as an opportunity to refine your technique, to understand the subtle interplay of ingredients and time. Experiment, observe, and most importantly, enjoy the journey. The perfect crumb awaits, not as a destination, but as a continuous evolution of your baking skills and understanding. The next time you encounter a gummy crumb, remember the lessons learned here, and let your passion guide you towards that airy, delightful texture you've been striving for.
Unlock Your Perfect Sourdough: Ditch the Gummy Crumb!
Thanks for joining us on this sourdough journey! We hope you gained valuable insights into achieving that perfect crumb. Ready to take your baking to the next level?
- Master the art of sourdough hydration: Dive deeper into our advanced hydration techniques guide (available on our site!) to tailor your dough to your ideal crumb. This is the key to consistently amazing results.
- Share your sourdough success (or challenges!): We’d love to see your bakes! Share photos on social media using #BakeWithEaseSourdough – let’s connect and inspire each other.
- Experiment with different flours: Try experimenting with different types of flour – rye, whole wheat, or even spelt – to discover unique flavor profiles and crumb textures.
What unique flour blend will you try next to perfect your sourdough crumb?