
The Ideal Temperature for Melting Chocolate: A Baker's Guide

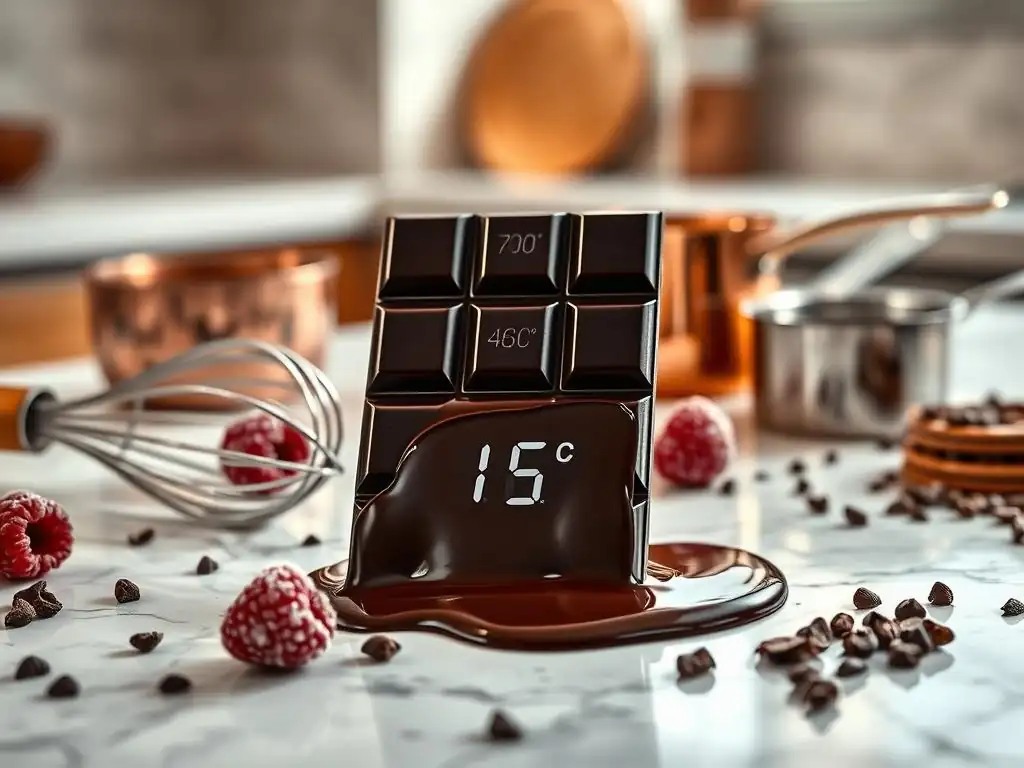
Welcome to BakeWithEase, your trusted companion in the delightful world of baking! Ever wondered if you're really getting the most out of your chocolate creations? Dive in as we unravel the secrets to achieving chocolate perfection with our guide to the ideal melting chocolate temperature. Discover the crucial nuances that separate amateur attempts from professional results and unlock the full potential of every delicious bite. Ready to elevate your baking game?
- Bake Like a Pro: Mastering Chocolate Melting Temperatures
- Understanding Chocolate and Temperature: The Key to Smooth Results
- The Ideal Melting Chocolate Temperature Guide: Step-by-Step
- Achieving the Perfect Melt: Tips and Techniques for Smooth Chocolate
- Troubleshooting Chocolate Melting Problems: Solutions for Common Issues
- Measuring Chocolate Temperature Accurately: Tools and Techniques
- Storing Melted Chocolate: Maintaining Quality
- Conclusion: Mastering Chocolate Melting for Baking Success
- Frequently Asked Questions
- Final Reflection: The Enduring Sweetness of Precision
- Unlock Your Chocolate's Full Potential!
Bake Like a Pro: Mastering Chocolate Melting Temperatures
Melting chocolate is a fundamental skill in baking, essential for everything from simple chocolate drizzles to complex ganaches and molded candies. However, achieving a smooth, glossy melt without scorching or seizing can be tricky. The secret often lies in controlling the temperature. Understanding the ideal melting chocolate temperature guide for different types of chocolate is paramount to avoiding common pitfalls and ensuring your baked goods turn out perfectly every time. This guide will walk you through the nuances of melting chocolate, providing practical tips and techniques for bakers of all levels looking to elevate their chocolate creations.
Achieving the correct temperature transforms solid chocolate into a fluid, workable state, crucial for dipping, coating, or incorporating into batters and fillings. Too much heat, and the delicate cocoa solids can burn, resulting in a bitter, grainy mess. Too little, and you're left with stubborn lumps. This comprehensive melting chocolate temperature guide is designed to demystify the process, giving you the confidence to handle chocolate like a seasoned professional, ensuring smooth, luscious results every single time you bake.
Understanding Chocolate and Temperature: The Key to Smooth Results
Why Temperature Matters When Melting Chocolate
The composition of chocolate, primarily cocoa solids, cocoa butter, and sugar, dictates how it behaves when heated. Cocoa butter, a fat, is polymorphic, meaning it can solidify into different crystalline structures depending on temperature. When you melt chocolate, you're essentially melting these crystals.
For a smooth, stable melt that can be tempered (if needed) for gloss and snap, you need to melt the chocolate just enough to break down the unstable crystals but keep some stable ones intact, or melt it completely and then carefully rebuild the desired crystal structure through tempering. Overheating destroys all crystal structures and can burn the cocoa solids and sugar, leading to a bitter, thick, or grainy texture that is often irreparable.
Furthermore, temperature control is vital to prevent seizing. Seizing occurs when a small amount of liquid or steam comes into contact with melting chocolate. Even a tiny drop can cause the chocolate to clump and become stiff.
This happens because sugar in the chocolate attracts the liquid, forming a syrup, while the cocoa solids and fat separate. Maintaining a consistent, controlled temperature, especially during a double boiler melt, minimizes the risk of steam contact and allows for a smoother transition from solid to liquid, respecting the delicate balance of ingredients within the chocolate. Following a reliable melting chocolate temperature guide helps bakers avoid these common issues, leading to consistently superior results.
Types of Chocolate and Their Melting Point Differences
Different types of chocolate have varying compositions, particularly in their cocoa solid and sugar content, which directly impacts their melting points. Dark chocolate, with a higher percentage of cocoa solids and less sugar and milk, melts at a slightly higher temperature range than milk or white chocolate. Milk chocolate includes milk solids and more sugar, which lowers its melting point.
White chocolate, made from cocoa butter, sugar, and milk solids (but no cocoa solids), has the lowest melting point among the three. Understanding these differences is crucial when following a melting chocolate temperature guide, as attempting to melt all types at the same temperature can lead to problems.
Knowing the typical melting point ranges allows bakers to adjust their melting technique and heat source accordingly. For instance, white chocolate is particularly sensitive to heat and requires a much gentler approach to prevent scorching or seizing compared to dark chocolate. This is why a universal "melting chocolate temperature guide" needs to account for these variations. Using a thermometer is highly recommended to accurately track the temperature, ensuring you don't exceed the ideal range for the specific type of chocolate you are working with, thus preserving its flavor and texture.
Dark Chocolate Melting Temperatures
Dark chocolate typically contains 35% to 80%+ cocoa solids, with varying amounts of sugar. Due to its higher cocoa solid and lower sugar/milk content, it has the highest melting point among common types of chocolate. A general range for melting dark chocolate is between 115°F and 120°F (46°C to 49°C). However, it's important to note that the ideal working temperature for tempering dark chocolate is lower, usually between 88°F and 91°F (31°C to 33°C), after it has been melted and cooled. For simple melting (not necessarily tempering), reaching the 115-120°F range ensures all cocoa butter crystals are melted.
When melting dark chocolate for uses like ganache or sauces where tempering isn't strictly necessary for structure, reaching this slightly higher temperature ensures complete liquefaction. However, great care must be taken not to exceed 120°F (49°C), as it significantly increases the risk of burning the cocoa solids. Using a digital thermometer is invaluable here to monitor the temperature precisely. A good melting chocolate temperature guide for dark chocolate emphasizes slow, controlled heating to reach this specific range without overheating.
Milk Chocolate Melting Temperatures
Milk chocolate contains milk solids and typically more sugar than dark chocolate, which lowers its melting point. The ideal temperature range for melting milk chocolate is generally between 105°F and 110°F (40°C to 43°C). Like dark chocolate, its working temperature for tempering is lower, usually between 86°F and 88°F (30°C to 31°C). The presence of milk solids makes milk chocolate slightly more susceptible to scorching than dark chocolate, requiring a gentler heat source.
Melting milk chocolate requires patience and lower heat. Exceeding 110°F (43°C) can quickly lead to a burnt taste and grainy texture due to the caramelization of the milk sugars. A careful melting chocolate temperature guide for milk chocolate will stress the importance of low heat and constant stirring, especially when using a double boiler or microwave. Monitoring the temperature with a reliable thermometer helps ensure you stay within the safe and effective melting range.
White Chocolate Melting Temperatures
White chocolate is made from cocoa butter, sugar, and milk solids, but contains no cocoa solids. It has the lowest melting point of the three main types, typically melting between 100°F and 105°F (38°C to 40°C). Its working temperature for tempering is the lowest, usually between 82°F and 84°F (28°C to 29°C). White chocolate is the most delicate and prone to scorching because of its high sugar and milk solid content and the specific properties of cocoa butter when not mixed with cocoa solids.
Due to its sensitivity, white chocolate demands the most careful approach when melting. It's crucial to use very low heat and constant attention. Exceeding 105°F (40°C) almost guarantees scorching, resulting in a yellowish, grainy, and unpleasantly sweet mixture. A melting chocolate temperature guide specifically for white chocolate must highlight the need for gentle heat – often the residual heat after removing from the heat source is sufficient to finish melting the last few pieces – and precise temperature monitoring to prevent irreparable damage.
The Ideal Melting Chocolate Temperature Guide: Step-by-Step
Preparing Your Chocolate for Melting: Chopping and Weighing
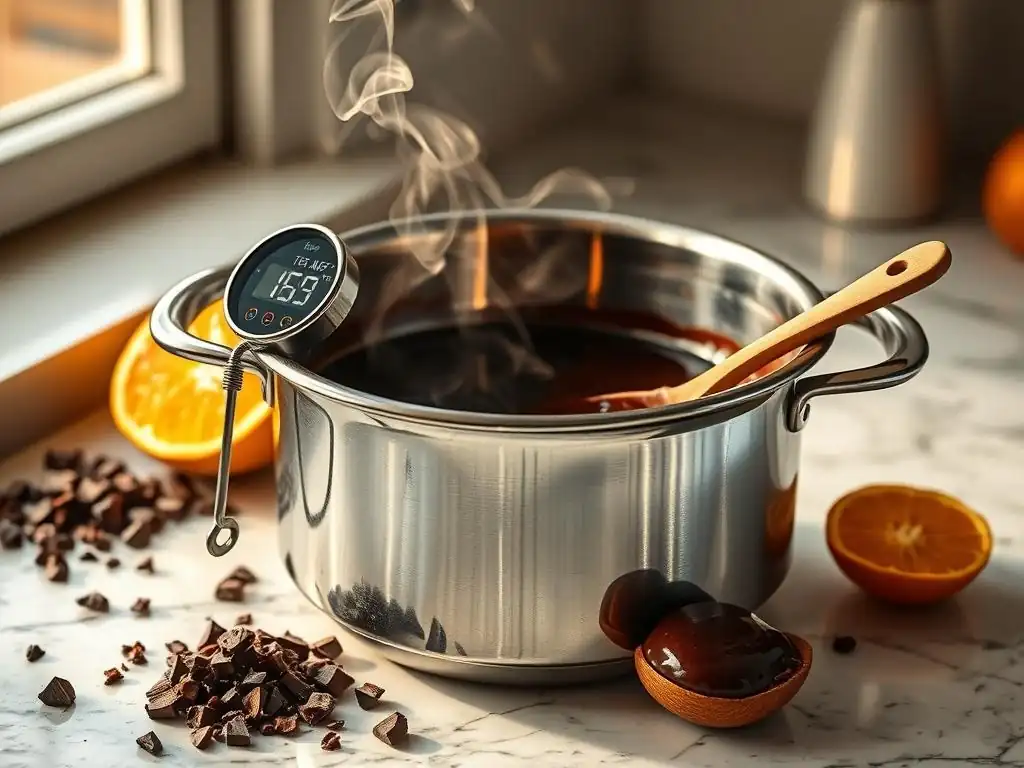
Before you even think about heat, proper preparation of your chocolate is key to a successful melt. Start by using high-quality chocolate designed for baking – chips, bars, or callets work well. If using a bar, chop it into small, uniform pieces.
Aim for pieces roughly the size of chocolate chips or smaller (about 1/2 inch or 1-1.5 cm). Uniformity is crucial because smaller pieces will melt at a similar rate to larger ones, preventing some pieces from melting while others start to overheat. Weighing your chocolate rather than relying on volume measurements ensures accuracy, especially for recipes where the ratio of chocolate to other ingredients is important, like ganache.
Chopping also increases the surface area of the chocolate, allowing it to melt more quickly and evenly. This reduces the amount of time the chocolate is exposed to heat, further minimizing the risk of burning or seizing. Using a sharp knife and a cutting board, carefully chop the chocolate, being mindful of creating consistently sized pieces. Once chopped, place the chocolate in a dry, heatproof bowl appropriate for your chosen melting method. This step is foundational in any good melting chocolate temperature guide, setting the stage for a smooth process.
Choosing Your Melting Method: Double Boiler vs. Microwave
There are two primary methods for melting chocolate at home: using a double boiler (or a makeshift version) on the stovetop or using a microwave. Both methods can achieve the desired result, but they differ in control and speed. The double boiler method offers more gentle, controlled heat, making it ideal for larger quantities or delicate chocolates like white chocolate, though it takes longer.
The microwave method is faster and convenient for smaller amounts but requires careful attention to avoid overheating. The best method for you depends on the amount of chocolate, the type of chocolate, and your comfort level with each technique.
Regardless of the method chosen, the principle remains the same: apply heat gradually and indirectly to avoid scorching. A reliable melting chocolate temperature guide will provide instructions for both methods, allowing bakers to choose the one that best suits their needs for a particular recipe. Mastering both techniques ensures you can melt chocolate successfully in almost any baking scenario, always aiming for that smooth, flowing consistency.
Melting Chocolate with a Double Boiler: The Gentle Approach
The double boiler method is often preferred by professional bakers because it uses indirect heat from steam, providing a gentler and more controlled melting process. This significantly reduces the risk of burning the chocolate. To set up a double boiler, you'll need a saucepan and a heatproof bowl (glass or metal) that fits snugly over the saucepan without touching the bottom.
Fill the saucepan with about an inch or two of water – just enough so the bottom of the bowl doesn't touch the water level when placed over it. Bring the water to a gentle simmer over low to medium-low heat.
Once the water is simmering, place the bowl with your chopped chocolate over the saucepan. The steam from the simmering water will gently heat the bottom of the bowl, melting the chocolate. It is absolutely crucial that no water or steam comes into direct contact with the chocolate, as this will cause it to seize.
Stir the chocolate frequently with a dry spatula or spoon as it melts. Remove the bowl from the heat just before all the chocolate is melted; the residual heat will finish the job. This controlled approach is a cornerstone of any effective melting chocolate temperature guide.
Setting Up Your Double Boiler for Chocolate
Setting up a double boiler correctly is key to preventing seized or scorched chocolate. Begin by selecting a saucepan and a bowl. The bowl should rest on the rim of the saucepan, creating a seal, and its bottom should be several inches above the bottom of the saucepan. Add water to the saucepan, ensuring the water level is low enough that it will not touch the bottom of the bowl when the bowl is in place.
Typically, 1-2 inches (2.5-5 cm) of water is sufficient. Bring this water to a gentle simmer, not a rolling boil, over low to medium-low heat. High heat can create too much steam and potentially cause water droplets to splash into your chocolate.
Place the heatproof bowl containing your finely chopped chocolate over the simmering water. Ensure the fit is snug to trap the steam and prevent it from escaping and condensing into the chocolate. The gentle heat from the steam will warm the bowl, which in turn melts the chocolate slowly and evenly. This setup is fundamental for a low-risk melting process, as highlighted in any detailed melting chocolate temperature guide focused on stovetop methods. Keep the heat low and be patient; slow and steady wins the race when melting chocolate this way.
Monitoring the Chocolate Temperature in a Double Boiler
Monitoring the temperature is crucial when using a double boiler, even though it's a gentler method. While the indirect heat makes scorching less likely than in a microwave, exceeding the ideal temperature range for your specific type of chocolate can still negatively impact its quality and ability to temper properly. Stir the chocolate constantly as it melts to ensure even heat distribution. Once about two-thirds of the chocolate has melted, remove the bowl from the heat source completely.
Use a digital thermometer to check the temperature of the melted chocolate, stirring it to get an accurate reading. For dark chocolate, aim for 115-120°F (46-49°C); for milk chocolate, 105-110°F (40-43°C); and for white chocolate, 100-105°F (38-40°C). Continue stirring the chocolate off the heat; the residual heat in the melted portion and the bowl will continue to melt the remaining solid pieces. This technique ensures you reach the target melting temperature without overshooting it. This careful temperature monitoring is a critical step in any precise melting chocolate temperature guide.
Melting Chocolate in the Microwave: A Quick Guide
Melting chocolate in the microwave is the fastest method, making it convenient for small amounts or when you're in a hurry. However, it requires extreme caution due to the risk of rapid overheating and burning. Microwaves heat from the inside out, and chocolate can appear solid even when it's already burning internally. The key to success is using low power settings and short heating intervals, stirring frequently. Never attempt to melt chocolate on high power or for extended periods without checking.
Use a microwave-safe bowl and add your finely chopped chocolate. Start by microwaving on 50% power for 30-second intervals. After each interval, remove the bowl and stir the chocolate thoroughly, even if it doesn't look melted. The stirring helps distribute the heat and encourages the chocolate to melt evenly from the residual warmth. As the chocolate melts, reduce the heating intervals to 15 or even 10 seconds. Stop microwaving when there are still a few small lumps remaining; stirring will melt these with the residual heat. This cautious approach is essential for a successful microwave melting chocolate temperature guide.
Microwave Power Settings for Melting Chocolate
Using the correct power setting is the most critical factor when melting chocolate in the microwave. High power settings can quickly and unevenly heat the chocolate, leading to scorching before you even realize it. Always use a reduced power setting, typically 50% power, especially when you are new to melting chocolate this way or working with delicate types like white or milk chocolate. Some bakers even prefer to use 30% power for maximum control, although this will take longer.
Starting with 50% power allows for more gradual heating. For example, melt 4 ounces (about 115g) of chopped chocolate on 50% power for an initial 30 seconds. Remove, stir, and repeat. As the chocolate begins to soften and melt, decrease the intervals. For the final stages, use very short bursts (10-15 seconds) and rely more on stirring to finish the melt. This controlled power usage is a non-negotiable rule in any reliable microwave melting chocolate temperature guide.
Checking Chocolate Temperature During Microwave Melting
Although you are using a microwave, monitoring the temperature is still important, especially if you plan to temper the chocolate afterward. The frequent stirring between intervals is your primary way to gauge how the chocolate is melting and distributing heat. As you stir, you'll feel the chocolate softening and becoming more fluid. Once most of the chocolate is melted and only a few small pieces remain, stop microwaving.
Use a digital thermometer to check the temperature of the melted chocolate after you've removed it from the microwave and stirred it thoroughly. For dark chocolate, aim for 115-120°F (46-49°C); milk chocolate, 105-110°F (40-43°C); white chocolate, 100-105°F (38-40°C). If it's slightly below the target, you can microwave for another very short interval (5-10 seconds) and stir again, but be extremely cautious. It's better to be slightly under temperature and let residual heat finish the job than to overshoot and burn the chocolate. This diligent checking complements the power settings in a comprehensive microwave melting chocolate temperature guide.
Achieving the Perfect Melt: Tips and Techniques for Smooth Chocolate
Avoiding Common Chocolate Melting Mistakes
One of the most common mistakes when melting chocolate is using too high heat. This is the quickest way to scorch chocolate, resulting in a bitter, burnt taste and a grainy texture that cannot be fixed. Always use low heat, whether on a double boiler or in the microwave. Patience is key; melting chocolate should not be rushed.
Another frequent error is introducing moisture. Even a tiny drop of water or condensation can cause the chocolate to seize, turning it into a stiff, clumpy mass. Ensure all your equipment (bowls, spatulas) is completely dry and be careful of steam when using a double boiler.
Over-stirring is another less common but possible issue. While stirring is necessary for even melting, excessive or vigorous stirring can sometimes introduce air bubbles or cause the chocolate to cool down too quickly if done away from the heat source for too long. Stir just enough to distribute heat and check progress. Following a detailed melting chocolate temperature guide and being mindful of these potential pitfalls will dramatically improve your success rate in achieving a perfectly smooth melt every time.
Preventing Chocolate Seizing
Preventing chocolate seizing is paramount for a smooth melt. Seizing occurs when water or steam comes into contact with melted chocolate. The sugar in the chocolate reacts with the water, forming a syrup, while the fat separates, leading to a thick, lumpy, and unusable texture.
To avoid this, ensure all your equipment – bowls, spatulas, and cutting boards – are perfectly dry before they touch the chocolate. When using a double boiler, make sure the water in the pot does not touch the bottom of the chocolate bowl, and that steam is contained and doesn't condense back into the chocolate.
Humidity in the air can even cause seizing, though this is less common in typical kitchen environments unless boiling large amounts of water nearby. If you are adding liquid ingredients (like cream for ganache or liqueurs), ensure the chocolate is fully melted first, and then whisk the liquid in gradually and thoroughly. Adding cold liquid to warm, not hot, chocolate can also help prevent shock and seizing. Understanding and mitigating the risk of moisture is a vital part of any practical melting chocolate temperature guide.
Dealing with Lumpy Chocolate
Lumpy chocolate after melting is usually a sign of uneven heating or partial seizing. If the lumps are just unmelted pieces, it might mean you removed the chocolate from the heat too soon, or the pieces were not uniformly chopped. In this case, gently reapply heat (very low on a double boiler, or a 5-10 second burst on 50% power in the microwave) and stir vigorously off the heat. The residual warmth should melt the remaining bits. Do not continue heating if it seems fully melted but still lumpy; this can easily lead to scorching.
If the chocolate is lumpy and also thick or pasty, it has likely seized due to moisture contact or possibly overheating. While true seizing is difficult to fully reverse for all applications, you can sometimes salvage it for certain uses by stirring in a small amount of hot liquid fat, like vegetable oil, melted shortening, or even hot melted cocoa butter, a tablespoon at a time, whisking vigorously until it smooths out. The ratio is typically 1-2 teaspoons of fat per ounce of seized chocolate.
This thins the chocolate but may affect its setting properties and flavor. For precise work like tempering or dipping, seized chocolate is often unusable. This troubleshooting advice is a necessary component of a thorough melting chocolate temperature guide.
Tempering Chocolate: A Key Step for Professional Results
Tempering chocolate is a process of melting chocolate and then cooling it to specific temperatures while agitating it, in order to encourage the formation of stable cocoa butter crystals (specifically, Beta crystals, or Form V). Properly tempered chocolate will set with a beautiful glossy sheen, a firm snap when broken, and will not develop cocoa butter bloom (the grayish streaks that can appear on untempered chocolate) when stored correctly. Tempering is essential for making molded chocolates, dipped candies, and coatings where appearance and texture are critical.
The tempering process typically involves melting chocolate completely (melting chocolate temperature guide: 115-120°F/46-49°C for dark, 105-110°F/40-43°C for milk, 100-105°F/38-40°C for white), cooling it down to a specific temperature (seeding or tabling method), and then gently warming it back up to a working temperature (dark: 88-91°F/31-33°C, milk: 86-88°F/30-31°C, white: 82-84°F/28-29°C). Maintaining these precise temperatures throughout the process is crucial for successful tempering, highlighting why accurate temperature control, as detailed in a comprehensive melting chocolate temperature guide, is indispensable for professional-level chocolate work.
Troubleshooting Chocolate Melting Problems: Solutions for Common Issues
Chocolate is Too Thick: How to Thin It Out
If your melted chocolate is too thick and not flowing smoothly, it could be due to several reasons: it might not be fully melted (still has tiny crystals), it might be slightly seized, or it might have cooled down too much, especially if you were aiming to hold it at a working temperature. If it's just a bit too cool or not fully melted, gently warm it slightly using your preferred melting method (double boiler or very short microwave bursts) while stirring constantly, until it reaches the correct fluid consistency and temperature as per your melting chocolate temperature guide.
If the chocolate is thick and seems pasty or slightly grainy, it might be partially seized. As mentioned earlier, you can try to salvage it for certain applications by stirring in a small amount of hot liquid fat (like vegetable oil or melted shortening), about 1-2 teaspoons per ounce of chocolate, whisking until smooth. Be aware that adding fat will change the chocolate's properties and it may not set properly or have the desired snap. For tempering or molding, a seized batch is usually best discarded.
Chocolate is Burnt: What to Do
Unfortunately, burnt chocolate is one of the hardest problems to fix. Overheating causes the sugar and cocoa solids to scorch, resulting in a bitter, acrid taste and a dry, grainy, or extremely thick texture. You'll often detect a distinct burnt smell. Once chocolate is burnt, there's no way to remove the burnt flavor or restore the smooth texture. Attempting to stir in more chocolate or liquid won't fix it; it will just ruin more ingredients.
If you suspect your chocolate is burnt, it's best to discard the affected portion and start over with fresh chocolate, paying extra attention to using low heat and monitoring the temperature carefully according to a reliable melting chocolate temperature guide. Prevention is key: always use low heat, stir frequently, remove from the heat source when a few lumps remain, and use a thermometer to ensure you don't exceed the recommended melting temperature for the specific type of chocolate.
Chocolate is Grainy: Salvaging the Melt
Grainy melted chocolate can be caused by several factors, including slight seizing from moisture contact, overheating (which can cause sugar to crystallize or cocoa solids to clump), or using chocolate that wasn't properly stored and developed sugar bloom. If the graininess is due to slight seizing or overheating without outright burning, sometimes adding a small amount of hot fat (as described in the "Chocolate is Too Thick" section) can help smooth it out for use in sauces or ganaches, though it may not be suitable for delicate work like tempering.
If the graininess is due to sugar bloom (crystallized sugar on the surface from moisture fluctuations during storage), melting it might incorporate the crystals, but the texture can still be slightly grainy or the chocolate might seize more easily. Melting chocolate that has cocoa butter bloom (gray streaks from improper storage or temperature fluctuations) usually resolves the bloom upon melting, provided it hasn't been overheated during the process. The best defense against grainy chocolate is proper melting technique, controlling temperature, and avoiding moisture, all key points covered in a good melting chocolate temperature guide.
Measuring Chocolate Temperature Accurately: Tools and Techniques
Using a Digital Thermometer: Ensuring Precision
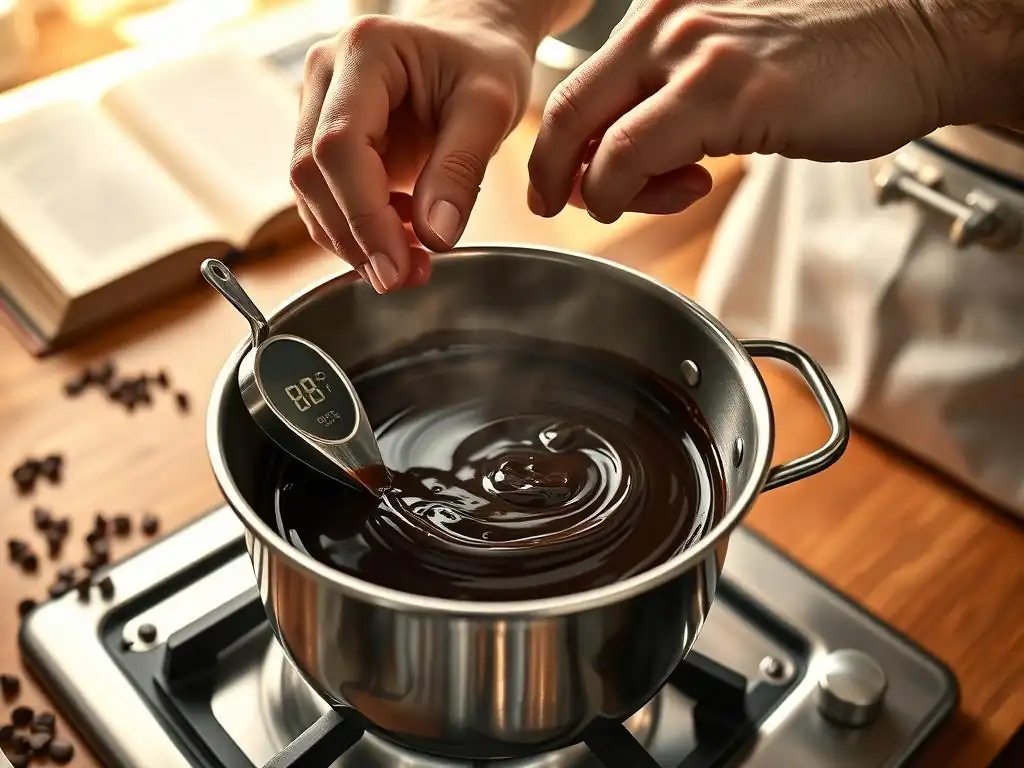
For truly consistent and successful chocolate melting, especially if you plan on tempering, a digital thermometer is an indispensable tool. Relying solely on visual cues can be misleading, as chocolate can hold its shape even when the interior is overheating. A good instant-read digital thermometer allows you to quickly and accurately check the temperature of the chocolate as it melts and as you cool or reheat it for tempering. This precision is critical for hitting the narrow temperature ranges required for optimal results.
To use a digital thermometer, stir the melted chocolate thoroughly to ensure the temperature is uniform throughout the bowl. Insert the thermometer probe into the chocolate, making sure it's fully submerged but not touching the bottom or sides of the bowl. Wait a few seconds for the reading to stabilize. Compare the reading to the ideal melting or working temperature for the type of chocolate you are using, as outlined in your melting chocolate temperature guide. Clean the thermometer probe thoroughly and dry it completely before each use to prevent introducing moisture.
Visual Cues for Determining Chocolate Temperature
While a thermometer provides the most accurate measurement, visual cues can also give you an indication of your chocolate's temperature and readiness, especially if you're not tempering. As chocolate melts, it will transform from solid pieces to a soft, then fluid, and finally a smooth, glossy liquid. When using a double boiler, you'll see the edges of the chocolate pieces soften first. In the microwave, stirring will reveal the softening and liquefying texture.
For melting purposes (not tempering), stop heating when there are still a few small solid pieces visible. Stirring the melted chocolate off the heat will usually melt these remaining pieces with residual heat. This helps ensure you don't overheat the bulk of the chocolate. Properly melted chocolate should be smooth and pourable (viscosity varies by type). If it looks thick, pasty, or grainy, it's a sign something has gone wrong with the temperature or moisture. While useful, visual cues are best used in conjunction with a melting chocolate temperature guide and a thermometer for the most reliable results.
Storing Melted Chocolate: Maintaining Quality
Maintaining the Ideal Temperature for Holding Melted Chocolate
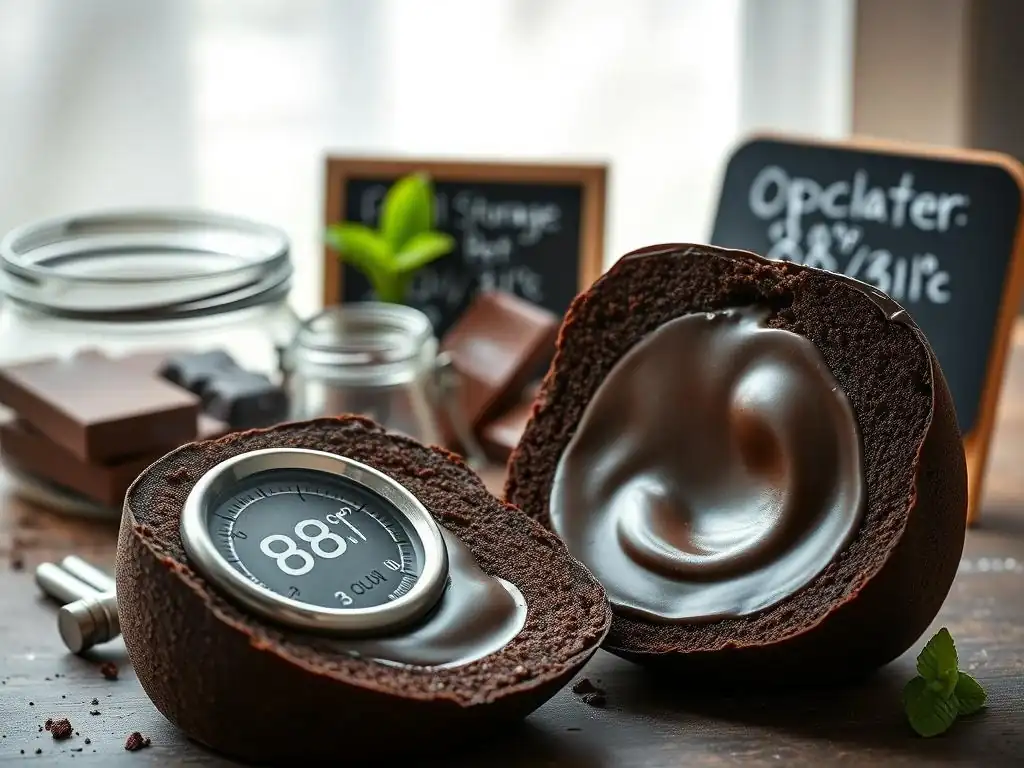
Once chocolate is melted, if you need to keep it in a liquid state for dipping, coating, or other uses, maintaining it at the correct working temperature is crucial, especially if it's tempered. For tempered chocolate, this means holding it within its specific working temperature range (dark: 88-91°F/31-33°C, milk: 86-88°F/30-31°C, white: 82-84°F/28-29°C).
If it cools too much, it will start to set; if it gets too warm, it will lose its temper. A warming tray set to a very low temperature, a heat lamp, or even placing the bowl back over a very gently simmering double boiler (with the heat turned off or on lowest setting) can help maintain the temperature.
For simply melted (untempered) chocolate used in ganaches or sauces, you don't need such strict temperature control, but keeping it warm and fluid usually involves leaving it over the double boiler (with heat off) or gently reheating as needed. Avoid letting it get too hot, which can lead to separation or a dull finish. A reliable melting chocolate temperature guide will often include advice on holding temperatures depending on whether the chocolate is tempered or not.
Preventing Bloom in Stored Melted Chocolate
Bloom (either fat bloom or sugar bloom) occurs when chocolate is stored improperly, often due to temperature fluctuations. Fat bloom appears as grayish streaks or a dull surface and is caused by cocoa butter crystals melting and recrystallizing on the surface. Sugar bloom is caused by moisture drawing sugar to the surface, where it crystallizes, appearing as a grainy, white coating. While melting chocolate that has bloomed will usually make the bloom disappear visually, the underlying crystal structure can be affected, making it harder to temper successfully, and the texture might still be slightly off.
To prevent bloom in melted and then re-solidified chocolate (like coatings or molded items), proper tempering is the key. Tempered chocolate is stable and resistant to bloom under reasonable storage conditions. Store finished chocolate items in a cool, dry place (ideally 60-68°F / 15-20°C) away from direct sunlight and significant temperature swings. Avoid refrigeration unless necessary, as it can cause condensation leading to sugar bloom. Following a complete melting chocolate temperature guide, including tempering steps, is your best defense against bloom in finished products.
Conclusion: Mastering Chocolate Melting for Baking Success
Mastering the art of melting chocolate is a fundamental skill that significantly impacts the quality of your baked goods. By understanding the ideal temperature ranges for different types of chocolate – dark, milk, and white – and employing careful techniques like using a double boiler or controlled microwave heating, you can consistently achieve smooth, luscious results. Avoiding common pitfalls such as overheating and moisture contact is crucial, and a digital thermometer is your best friend for ensuring accuracy throughout the process.
Whether you're making a simple chocolate drizzle or attempting complex tempered decorations, following a reliable melting chocolate temperature guide like this one provides the knowledge and confidence needed. Remember to prepare your chocolate properly, choose the right melting method for your needs, monitor the temperature diligently, and be patient. With practice and attention to these details, you'll unlock the full potential of chocolate in your baking, creating treats that are not only delicious but also visually stunning, all thanks to a perfect melt.
Frequently Asked Questions
What is the ideal temperature range for melting chocolate?
The ideal temperature range depends on the type of chocolate, but generally, aim for around 110-115°F (43-46°C) for dark chocolate, 105-113°F (40-45°C) for milk chocolate, and 100-110°F (38-43°C) for white chocolate. Overheating can cause the chocolate to seize.
Why is it important to control the temperature when melting chocolate?
Controlling the temperature is crucial for achieving a smooth, glossy finish and preventing the chocolate from seizing. Seized chocolate becomes grainy and unusable.
What are the best methods for melting chocolate?
Popular methods include using a double boiler or the microwave, employing short intervals and stirring frequently to prevent overheating. A slow cooker on low setting can also be used.
How do I prevent chocolate from seizing while melting?
Avoid getting any water or steam into the chocolate, as even a small amount can cause it to seize. Use a clean, dry bowl and utensils.
What should I do if my chocolate seizes while melting?
Sometimes, you can rescue seized chocolate by adding a small amount of hot liquid (like water or vegetable oil), a teaspoon at a time, and stirring vigorously until smooth. This isn't always successful.
Final Reflection: The Enduring Sweetness of Precision
The ideal temperature for melting chocolate, as explored throughout this guide, isn't just a technical detail; it's the key to unlocking the full potential of this beloved ingredient. A seemingly small detail, mastering the precise temperature range transforms a potentially grainy, lumpy mess into a smooth, luxurious experience that elevates any dessert. This precision, we've seen, is the difference between culinary success and disappointment.
The pursuit of the perfect melt has shaped baking traditions for centuries, influencing everything from the texture of truffles to the sheen of a ganache. The subtle nuances of temperature control reflect a deeper appreciation for the artistry of baking. It's a testament to the power of careful observation and the rewarding nature of mastering a craft. The difference between ordinary and extraordinary is that little extra.
This quote, though not specifically about chocolate melting, perfectly encapsulates the impact of attention to detail in achieving culinary excellence.
Now, consider your own baking journey. What other seemingly small details have you discovered hold the key to unlocking greater success? I encourage you to apply the principles of precise temperature control to other aspects of your baking, and indeed, to other areas of your life. Embrace the pursuit of perfection, not for the sake of perfection itself, but for the joy and satisfaction that comes from mastering a skill and creating something truly exceptional. The journey towards the ideal temperature, in baking and in life, is a rewarding one.
Unlock Your Chocolate's Full Potential!
Thanks for taking the time to explore the perfect temperature for melting chocolate with BakeWithEase! We hope you now feel confident in achieving flawlessly smooth, melt-in-your-mouth results.
Ready to put your newfound knowledge into practice? Here’s how:
- Master the melt: Try melting a batch of chocolate using the techniques we discussed, and note the differences in texture and consistency. Keep experimenting until you find your perfect method!
- Share your successes (or challenges!): Tell us about your chocolate melting adventures in the comments below! We’d love to hear about your experiences and any tips you’ve discovered.
- Elevate your baking: Use your perfectly melted chocolate to create a decadent dessert – and share the results with friends and family!
What's your favorite chocolate-based treat to make, and what temperature do you usually use for melting? Let's chat!