
Storing Oils and Fats: Preventing Rancidity in Your Baking Pantry

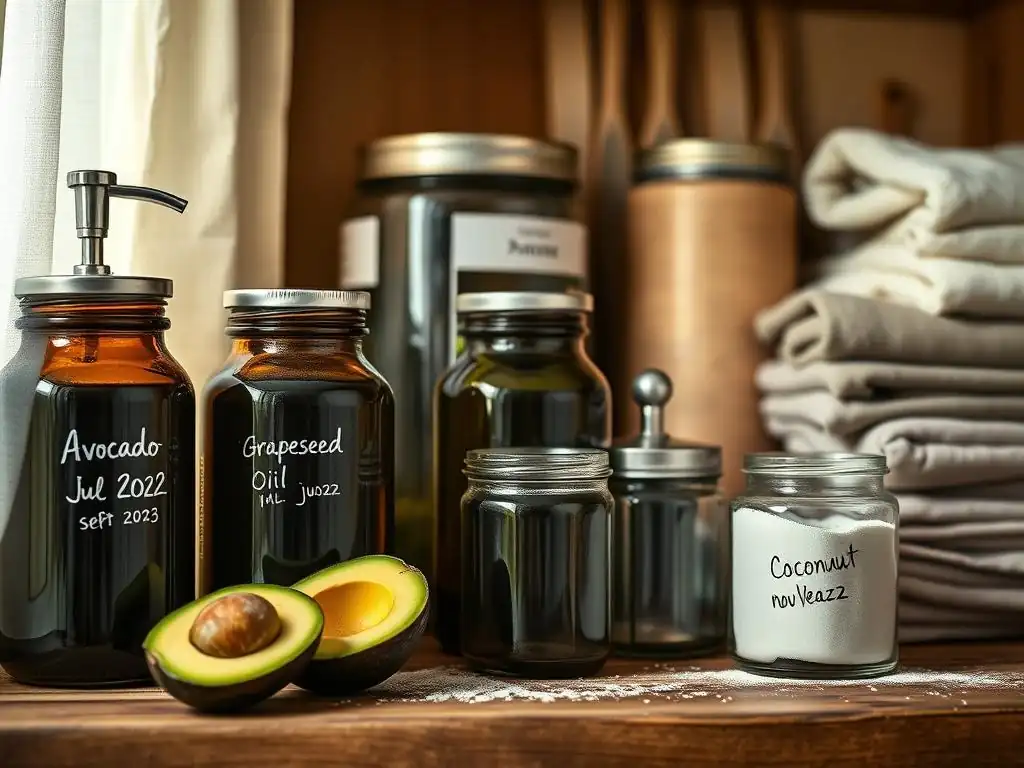
Welcome to BakeWithEase, your haven for delicious baking adventures! Ever wondered if your baking oils are truly at their peak, or if they're secretly sabotaging your recipes? Discover the secrets to properly storing baking oils in our latest guide, ensuring your pastries, breads, and cakes always boast the freshest, most vibrant flavors. Don't let rancidity ruin your next masterpiece – unlock the simple techniques that will keep your baking pantry in perfect order and your creations tasting divine!
- Why Proper Storage of Baking Oils and Fats Matters for Baking
- Best Practices: How to Store Baking Oils for Optimal Freshness
- Specific Oils and Fats: Tailored Storage Tips for Baking
- Identifying Spoiled Oils and Fats: Signs of Rancidity
- Extending Shelf Life: Tips and Tricks for Long-Term Storage
- Common Mistakes to Avoid When Storing Baking Oils
- Maintaining Your Baking Pantry: A Clean and Organized Space
- Frequently Asked Questions
- Final Reflection: The Enduring Freshness of Flavor
- Unlock the Secrets to Fresh Oils: Extend Your Baking Ingredients' Life!
Why Proper Storage of Baking Oils and Fats Matters for Baking
Understanding Rancidity: The Enemy of Fresh Baked Goods
Rancidity is a chemical process that occurs when fats and oils deteriorate, primarily through oxidation. This happens when the double bonds in fatty acid molecules react with oxygen from the air. Factors like heat, light, and certain enzymes can accelerate this reaction, breaking down the fats into smaller compounds like aldehydes and ketones, which are responsible for the unpleasant flavors and smells associated with spoiled oil. It's not just about an off-taste; rancid fats lose nutritional value and can even produce potentially harmful compounds, making proper storage crucial for both quality and health.
Think of it like an apple browning when exposed to air – a similar oxidative process is at play, just much slower and more complex with fats. Polyunsaturated fats, like those found in vegetable oils such as sunflower or corn oil, have more double bonds and are therefore more susceptible to oxidation and turning rancid quickly compared to saturated fats found in butter or coconut oil. Understanding this vulnerability is the first step in mastering how to store baking oils effectively to preserve their freshness and performance in your recipes.
The Impact of Improper Storage on Flavor and Texture
Using rancid oils or fats in your baking can completely ruin the final product, negating all your careful measuring and mixing. The distinctive off-flavors – often described as metallic, stale, bitter, or crayon-like – will permeate your cakes, cookies, breads, and pastries, making them unpalatable. A delicate vanilla cake might end up with a sharp, unpleasant aftertaste, or a batch of buttery shortbread could taste strangely acrid instead of rich and sweet.
Beyond just flavor, improperly stored fats can also negatively impact the texture of baked goods. Rancid fats may alter how they interact with other ingredients, potentially leading to flat cookies that don't spread correctly, greasy cakes that crumble, or tough pie crusts instead of flaky ones. For example, if the fat structure is compromised, it might not create the necessary air pockets or tenderize the gluten effectively. Ensuring you know how to store baking oils correctly is fundamental to achieving the desired taste and texture outcomes in all your baking endeavors.
Best Practices: How to Store Baking Oils for Optimal Freshness
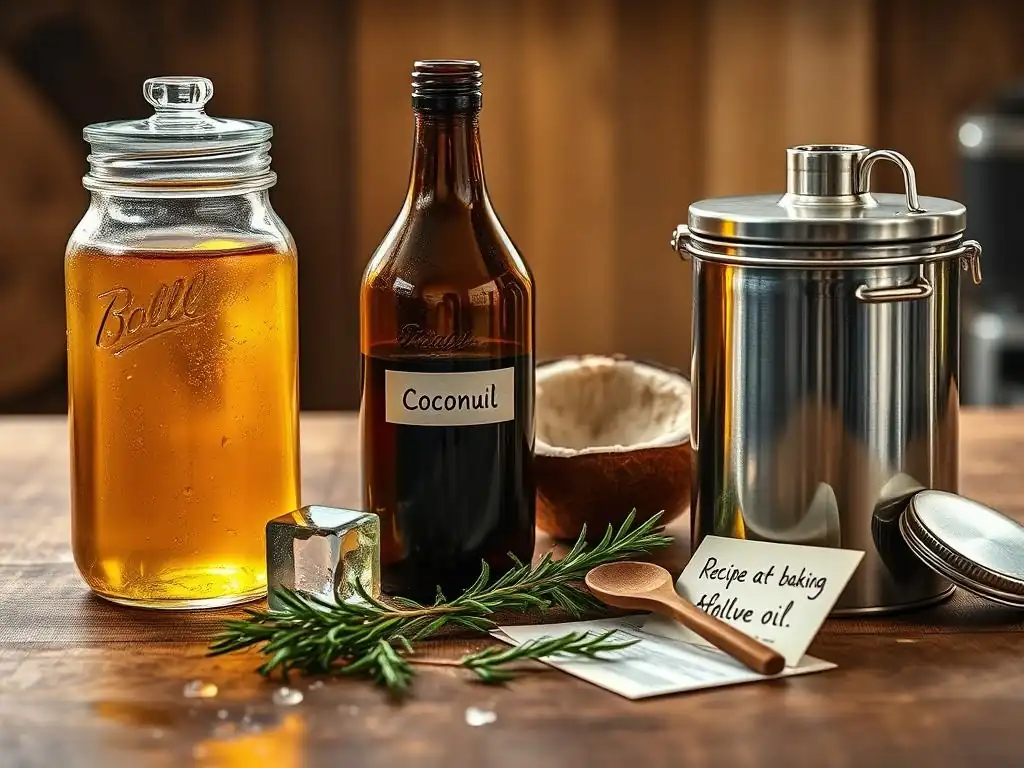
Choosing the Right Containers for Oil Storage
The container you choose for storing baking oils plays a significant role in protecting them from degradation factors like light and air. Many oils are sold in their ideal containers, but if you buy in bulk or transfer oils, selecting the right vessel is key. The material and opacity of the container directly influence the oil's exposure to light, which is a major catalyst for oxidation. Using containers designed for food storage and made from appropriate materials is a foundational step in learning how to store baking oils to maintain their quality over time.
Furthermore, the seal of the container is paramount. An airtight seal prevents oxygen from entering and reacting with the oil, slowing down the rancidity process considerably. While some oils are less reactive than others, minimizing air exposure is a universal best practice. This is why bottles and jars with tight-fitting screw caps or stoppers are preferred over simple pour spouts that don't seal completely. Proper containment is a simple yet powerful technique in the overall strategy of how to store baking oils for maximum shelf life.
Dark Glass vs. Clear Plastic: Which is Better?
When considering the container material for your baking oils, dark glass is generally superior, especially for more delicate oils like extra virgin olive oil or nut oils. Dark glass, such as amber or green, helps block out harmful UV rays and visible light, both of which accelerate oxidation and lead to rancidity. Storing your baking oils in opaque containers significantly reduces light exposure compared to clear alternatives, preserving the oil's flavor and freshness for longer.
Clear plastic or glass containers offer no protection against light. While convenient for seeing the oil level, they leave the oil vulnerable to light damage, particularly if stored in a well-lit pantry or near a window. If you purchase oils in clear containers, it's best to store them inside a cupboard or pantry away from light sources. Ultimately, for optimal protection when you store your baking oils, dark, opaque containers are the preferred choice.
Airtight Seals: Keeping Oxygen Out
Oxygen is a primary culprit in the oxidation process that leads to rancidity in baking oils. An airtight seal on your storage container is essential to minimize the oil's contact with air. When a bottle or jar is opened, oxygen enters, and if the seal is not secure after use, this exposure continues, accelerating the breakdown of the fats. Even a small amount of consistent air exposure can significantly shorten the shelf life of your oils.
Ensure that the caps or lids on your oil containers are screwed on tightly after every use. For bottles with pour spouts, consider replacing the spout with the original cap for longer storage. Using airtight containers is a non-negotiable step in how to store baking oils effectively, particularly after the original seal has been broken, to keep them fresh and ready for your next baking project.
Ideal Storage Conditions: Temperature, Light, and Air
Beyond the container itself, the environment in which you store your baking oils is critical. Fats and oils are sensitive to temperature, light, and air exposure, and controlling these factors is key to preventing premature rancidity. A stable, cool environment away from direct light is the gold standard for most types of baking oils and fats. Understanding the ideal conditions helps you create the perfect home for your ingredients, extending their usability.
Fluctuations in temperature are particularly detrimental. Repeatedly heating and cooling oils can cause condensation inside the container, introducing moisture which can also contribute to degradation. Finding a consistent spot in your kitchen or pantry that meets these requirements will significantly impact how long your baking oils remain fresh and effective for your baking needs.
The Importance of Cool, Dark Places
Storing your baking oils in a cool, dark place is perhaps the most fundamental rule for maintaining their freshness. Heat dramatically speeds up the chemical reactions that cause rancidity; even small increases in temperature can shorten an oil's shelf life considerably. Ideally, oils should be stored at temperatures between 50°F and 70°F (10°C and 21°C). Avoid storing oils above the stove, near the oven, or on countertops exposed to sunlight.
Darkness is equally important because light, especially UV light, acts as a catalyst for oxidation. Storing oils in a pantry, cupboard, or basement where light is minimal protects them. If you use clear containers, ensuring they are kept inside a dark space is even more crucial. Prioritizing cool, dark storage is a simple yet highly effective strategy when learning how to store baking oils to prevent them from going rancid before you can use them up.
Avoiding Temperature Fluctuations
Consistency is key when it comes to storing baking oils. Avoiding significant temperature swings is important because fluctuations can cause the oil to expand and contract, potentially drawing air into the container and creating condensation. Moisture introduced this way can encourage microbial growth or further accelerate chemical degradation processes within the oil.
Find a storage location where the temperature remains relatively stable throughout the day and across seasons. Basements or interior pantries away from external walls and heat-generating appliances are often ideal. While refrigeration can be beneficial for some oils (more on that later), frequent moving from the fridge to warm countertops can introduce condensation. Maintaining a steady temperature environment is a subtle but important factor in how to store baking oils properly for long-term freshness.
Specific Oils and Fats: Tailored Storage Tips for Baking
While general rules apply, different oils and fats used in baking have unique compositions and sensitivities, requiring slightly tailored storage approaches. Understanding these specifics helps you optimize the shelf life and performance of each type of fat in your pantry. From delicate olive oil to stable shortening, knowing the best way to store your baking oils and fats ensures they are always ready to deliver the best results in your recipes.
Considering the fatty acid profile and processing method of each fat is key. For example, oils high in polyunsaturated fats need more protection than those high in saturated fats. Butter, being a dairy product, has different needs than pure oil. Applying these specific tips is crucial for anyone serious about how to store baking oils and fats correctly for different baking applications.
How to Store Olive Oil for Baking Projects
Olive oil, particularly extra virgin olive oil (EVOO), is prized for its flavor but is also relatively sensitive to heat, light, and air due to its monounsaturated and minor polyunsaturated fat content and presence of antioxidants. It is best stored in its original dark glass bottle or an opaque container. Plastic containers are not recommended as they can impart flavors to the oil over time.
Store olive oil in a cool, dark pantry or cupboard, away from the stove or direct sunlight. Refrigeration is generally not necessary for standard olive oil and can cause it to become cloudy or solidify, though this doesn't harm the quality. If it solidifies, simply bring it back to room temperature to liquefy. With proper storage, EVOO typically lasts 18-24 months from bottling, while refined olive oil may last a bit longer, but always check for signs of rancidity.
Coconut Oil Storage: Maintaining Texture and Flavor
Coconut oil is unique because it is solid at room temperature below approximately 76°F (24°C) and liquid above that point. Its high saturated fat content makes it relatively stable and less prone to oxidation than many liquid vegetable oils. You can store coconut oil in its original container, usually a jar or tub, in a cool, dark pantry.
The pantry is generally sufficient for storing coconut oil for baking, as it remains stable at typical room temperatures. Refrigeration is not strictly necessary but can extend its shelf life, especially in warm climates, and ensures it stays solid. Avoid storing it in a location where temperatures fluctuate drastically, as repeatedly melting and solidifying isn't ideal for texture consistency, although it doesn't usually affect quality significantly. Unopened coconut oil can last up to two years, while opened oil is best used within a year or two if stored properly.
Vegetable Oil Storage: Preventing Rancidity
Common vegetable oils used in baking, such as canola, sunflower, corn, and soybean oil, are often higher in polyunsaturated fats, making them more susceptible to oxidation and rancidity than olive or coconut oil. These oils are typically sold in clear plastic bottles, which means extra care is needed for storage. Learning how to store baking oils like these correctly is vital for preventing off-flavors in your baked goods.
Store these vegetable oils in a cool, dark place, such as a pantry or cupboard, away from heat and light. If the bottle is clear, ensure it's inside a cabinet to shield it from light exposure. While refrigeration isn't common for these oils and can cause cloudiness (which is harmless and resolves at room temp), it can help extend their shelf life after opening. Aim to use opened vegetable oils within 6-12 months, checking for signs of rancidity before use.
Shortening and Butter: Unique Storage Considerations
Shortening and butter are solid fats commonly used in baking, each with distinct storage requirements due to their composition. Shortening, often made from hydrogenated vegetable oils, is quite stable, while butter, a dairy product, is more perishable. Understanding their differences is key to proper storage.
- Butter contains water and milk solids, making it prone to microbial spoilage as well as oxidation.
- Shortening is primarily fat, making it less susceptible to microbial issues but still subject to oxidation over time.
These differences necessitate different storage methods to maintain freshness and prevent rancidity or spoilage, ensuring they perform correctly in your baking recipes.
Storing Butter for Baking: Salted vs. Unsalted
Butter is best stored in the refrigerator to prevent spoilage and slow down rancidity. Its composition of fat, water (around 15-18%), and milk solids makes it more perishable than pure oils. Keep butter wrapped in its original packaging or in an airtight container in the coldest part of your refrigerator.
Unsalted butter, often preferred for baking to control salt levels, is more perishable than salted butter because salt acts as a preservative. Unsalted butter typically lasts about 1-2 months in the fridge, while salted butter might last 2-3 months. For longer storage, butter freezes exceptionally well, lasting 6-9 months or even longer if wrapped properly to prevent freezer burn and absorption of odors. Always check for off smells or discoloration before using refrigerated or frozen butter.
Shortening: Shelf Life and Storage Methods
Vegetable shortening, like Crisco or similar brands, is generally more shelf-stable than butter due to its lower water content and often hydrogenated composition (though non-hydrogenated versions are also available). It is typically stored at cool room temperature in the pantry.
Keep shortening in its original container (usually a can or tub) and ensure the lid is tightly sealed after each use to minimize air exposure. While it doesn't require refrigeration, keeping it in a cool pantry away from heat sources is ideal. Unopened shortening can last 1-2 years, while opened shortening is typically best used within 6 months to a year for optimal quality. Look for signs of rancidity like a yellowish color or an off smell.
Identifying Spoiled Oils and Fats: Signs of Rancidity
Even with the best storage practices, oils and fats don't last forever. Knowing how to identify when your baking oils or fats have gone rancid is crucial to avoid ruining your baked goods and potentially consuming unhealthy compounds. There are a few key indicators to look for, primarily involving your senses.
Never assume an oil is good just because it's within its "best by" date; storage conditions can accelerate spoilage. Conversely, an oil past its date might still be perfectly fine if stored ideally. Relying on sensory cues is the most reliable way to determine if your baking oils are still fresh.
Smell Test: Recognizing Rancid Odors
The smell test is usually the most reliable and earliest indicator that an oil or fat has gone rancid. Fresh oils typically have a neutral, mild, or characteristic aroma (like the distinct smell of olive or coconut oil). Rancid oils, however, develop unpleasant odors that are hard to miss once you recognize them.
Common descriptions of rancid smells include:
- Old crayons
- Stale nuts
- Metallic
- Sharp or pungent
- Like wet cardboard
If your baking oil or fat smells anything other than fresh or its usual aroma, it's likely rancid and should be discarded. Trust your nose – it's a powerful tool in identifying if you need to replace your baking oils.
Visual Inspection: Checking for Cloudiness or Sediment
While smell is the primary indicator of rancidity, visual cues can sometimes signal degradation or other issues, although they are less definitive for rancidity itself in liquid oils. Fresh oils are typically clear and free of sediment.
Things to look for during a visual inspection include:
- Cloudiness: While some oils like olive oil can become cloudy when cold (which is normal), persistent cloudiness at room temperature might indicate spoilage or contamination.
- Sediment: Particles settling at the bottom of the bottle could suggest breakdown or impurities.
- Color Change: Some oils might darken or change color as they age or oxidize. Butter might turn a deeper yellow or even show mold spots (a sign of spoilage, not just rancidity).
However, remember that an oil can be clear and free of sediment yet still be rancid if oxidation has occurred without visible changes. The smell test remains paramount when checking your baking oils.
Taste Test: A Last Resort (Use Caution!)
A taste test can confirm rancidity, but it should be used with extreme caution and only after the smell and visual tests. Rancid fats are unpleasant to taste and, as mentioned, can contain potentially harmful compounds. It's generally safer to discard an oil if you suspect it's rancid based on smell or appearance.
If you do a taste test, use only a tiny drop. Rancid oil will taste bitter, metallic, or acrid, a sharp departure from the oil's normal flavor. If it tastes "off" in any way, do not use it in your baking. Discarding a small amount of questionable oil is far better than ruining a batch of baked goods or risking your health.
Extending Shelf Life: Tips and Tricks for Long-Term Storage
Beyond the basic principles of cool, dark, and airtight storage, there are a few additional strategies you can employ to maximize the shelf life of your baking oils and fats. These tips can be particularly useful if you buy larger quantities or use certain oils less frequently. Implementing these practices complements knowing how to store baking oils properly for extended periods.
While you can't stop the aging process entirely, you can significantly slow it down, ensuring your ingredients remain fresh and potent for as long as possible. These methods focus on further protecting the oil from the factors that cause degradation.
Adding Antioxidants: Vitamin E and Rosemary Extract
Antioxidants are compounds that can help slow down the oxidation process in fats and oils by reacting with free radicals. Some commercial oils have antioxidants like Vitamin E (tocopherols) or rosemary extract added during processing specifically to extend shelf life.
While you wouldn't typically add pure antioxidants to oils at home, understanding their role reinforces the importance of antioxidants naturally present in some oils (like the polyphenols in olive oil) which contribute to their relative stability. For home bakers, relying on proper storage conditions and timely use is the most practical approach to leveraging the benefits of antioxidants, whether naturally present or commercially added, when you store your baking oils.
Refrigeration vs. Room Temperature: Knowing When to Refrigerate
Deciding whether to refrigerate your baking oils depends on the type of oil and how quickly you plan to use it. As a general rule, oils high in polyunsaturated fats (like flaxseed or walnut oil) benefit most from refrigeration to slow down their rapid oxidation. These are often specialty oils used in smaller quantities.
Most common baking oils like canola, vegetable, and olive oil are perfectly fine stored at cool room temperature in a dark pantry if used within their typical opened shelf life (6-12 months). Coconut oil can be stored in the pantry or fridge depending on desired texture. Butter, however, must always be refrigerated or frozen due to its dairy content. Knowing which fats benefit from cooler temperatures is a key part of how to store baking oils and fats effectively.
Proper Handling: Avoiding Cross-Contamination
Good handling practices are essential for maintaining the purity and freshness of your baking oils. Always use clean utensils when scooping solid fats like shortening or coconut oil. Avoid dipping spoons or knives that have touched other ingredients (especially water or food particles) into your oil or fat containers.
Wipe the neck of oil bottles after pouring to prevent drips from attracting dust or becoming sticky, which can compromise the seal over time. Ensuring that no foreign substances enter the container helps prevent potential microbial growth or accelerated degradation. Clean handling is a simple yet effective measure when you store your baking oils to keep them pristine.
Common Mistakes to Avoid When Storing Baking Oils
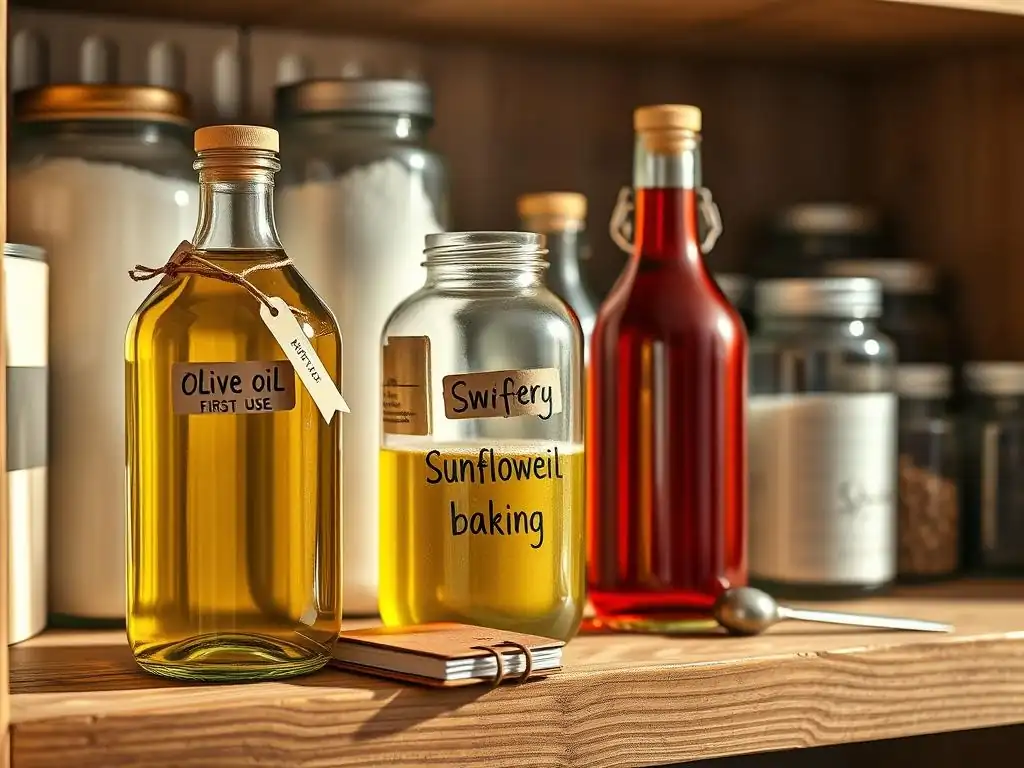
Even experienced bakers can sometimes overlook simple mistakes that compromise the freshness of their oils and fats. Being aware of these common pitfalls helps you proactively protect your ingredients and ensure they perform optimally in your baking. Avoiding these errors is just as important as knowing the best practices for how to store baking oils.
These mistakes often involve exposing the oils to the very elements that accelerate rancidity: heat, light, and air. A little attention to detail in your storage routine can make a big difference in the longevity of your baking pantry staples.
Storing Oils Near Heat Sources
One of the most common and detrimental mistakes is storing baking oils near sources of heat. This includes placing bottles or tubs on countertops right next to the stove, on shelves directly above the oven, or even near heat vents or radiators. Heat significantly increases the rate of oxidation, dramatically shortening the shelf life of oils and fats.
An oil stored consistently at 80°F (27°C) will go rancid much faster than one stored at 60°F (16°C). Even if the container is dark and sealed, prolonged exposure to elevated temperatures breaks down the fats more quickly. Always find a location that remains consistently cool to properly store your baking oils and prevent premature spoilage.
Leaving Containers Open or Partially Sealed
Failing to tightly seal containers after each use is another major mistake that exposes baking oils to oxygen, the primary driver of oxidative rancidity. A loosely replaced cap or lid allows air to continuously interact with the surface of the oil, initiating and accelerating the breakdown process.
Even if you only use a small amount of oil, take the extra second to ensure the cap is screwed on securely. For tubs of shortening or coconut oil, press the lid down firmly all around the edge. Minimizing air exposure each time you access your ingredients is fundamental to how to store baking oils effectively and keep them fresh between uses.
Ignoring Expiration Dates and "Best By" Dates
While "best by" dates are indicators of peak quality rather than strict expiration dates for safety (in the case of pure oils), ignoring them entirely can lead to using stale or rancid products. These dates provide a guideline based on typical storage conditions.
It's important to use the date on the package as a reminder to check the oil's condition, especially if it's approaching or past that date. Combine the date check with the smell and visual tests. Don't automatically discard an oil just because the date has passed if it smells and looks fine, but be more vigilant in checking. Conversely, an oil stored improperly might go rancid before the date. Paying attention to these dates, while still verifying quality, is part of responsible practice when you store your baking oils.
Maintaining Your Baking Pantry: A Clean and Organized Space
Proper storage of baking oils and fats is part of a larger effort to maintain a functional, clean, and organized baking pantry. A well-managed pantry not only makes finding ingredients easier but also helps ensure everything stays fresh and in good condition. Integrating oil storage into your overall pantry maintenance routine is a smart move for any baker.
Regular checks, clear labeling, and simple cleaning habits contribute significantly to the longevity and quality of all your baking ingredients, including your valuable oils and fats. A tidy pantry is a happy pantry, leading to more successful baking adventures.
Regular Inventory Checks: Rotating Your Stock
Performing regular inventory checks of your baking pantry helps you keep track of what you have and ensures you use ingredients before they spoil. Adopt the "first in, first out" (FIFO) principle: when you buy new stock, place it behind older stock of the same item so you use the older items first.
Check your oils and fats every few months, especially those you use less frequently. Give the containers a quick sniff test if they are approaching their "best by" date. This practice helps prevent waste and ensures you're always baking with the freshest possible ingredients, which is key to great results. Regular rotation is an essential habit for anyone serious about how to store baking oils efficiently.
Labeling and Dating Your Oils and Fats
Adding labels to your oil and fat containers can be incredibly helpful, particularly if you transfer oils to different bottles or buy in bulk. Note the type of oil and, importantly, the date you purchased it or opened the container.
A simple label maker or even masking tape and a marker can help you track the age of your oils. For instance, you might label a bottle of canola oil "Opened 2023-07-15". This makes it easy to see at a glance which bottles should be used first during your inventory checks. Clear labeling complements your efforts to store your baking oils effectively by providing crucial information right on the container.
Cleaning Up Spills and Preventing Contamination
Keeping your pantry shelves clean is important not just for hygiene but also for preventing potential contamination of your ingredients. Spilled oil can attract pests and dust, and while a spill on the outside of a bottle might not directly affect the oil inside, it creates a less-than-ideal environment.
Wipe up any oil spills immediately. Ensure that the areas where you store your oils and fats are dry and free from food crumbs or other debris. A clean storage space minimizes the risk of introducing contaminants to your oil containers when you handle them and is a fundamental part of a well-maintained baking pantry.
Frequently Asked Questions
How long can I store baking oils at room temperature?
Most baking oils, like vegetable or canola oil, can be stored at room temperature for approximately 6-12 months, provided they are kept in a cool, dark place. However, shelf life can vary based on the specific oil.
What are the signs that my baking oil has gone rancid?
The most obvious sign is a distinct off-odor or taste. Rancid oil may also appear cloudy or have a thickened texture.
Should I refrigerate my baking oils after opening them?
Refrigeration is recommended for oils with high polyunsaturated fat content, such as flaxseed or walnut oil, to extend their shelf life and prevent rancidity. Olive oil can also benefit from refrigeration, although it might solidify slightly (it will return to normal at room temperature).
What type of container is best for storing baking oils?
Store oils in airtight, opaque containers to minimize exposure to light and oxygen, which contribute to rancidity. Dark glass bottles are an excellent choice.
Can I use rancid oil in my baking?
No, you should never use rancid oil in baking. It will negatively impact the flavor and quality of your baked goods, and can potentially be harmful to your health in large quantities.
Final Reflection: The Enduring Freshness of Flavor
The proper storage of oils and fats is not merely a matter of convenience; it's the cornerstone of preserving the quality and flavor of your baked goods. Failing to store these ingredients correctly can lead to rancidity, impacting not only the taste but also the nutritional value of your creations. This ultimately translates to wasted ingredients and disappointing results in the kitchen.
The subtle nuances of flavor in baking are often overlooked, yet they are the very essence of a truly satisfying culinary experience. The journey from carefully selected ingredients to a perfectly baked treat is profoundly impacted by how we handle those ingredients before they even reach the oven. Maintaining the freshness of oils and fats is a testament to our respect for the craft and our commitment to quality. The best baking is a dance between precision and passion, and that dance begins with the careful handling of ingredients.
This quote, though not directly from a baking expert, perfectly encapsulates the importance of proper storage in achieving baking excellence.
Now, consider your own baking pantry. Take a moment to examine how you currently store your oils and fats. Are you maximizing their shelf life and preserving their delicate flavors? I challenge you to implement the storage techniques discussed in this article – from choosing the right containers to understanding the importance of temperature and light control.
By making these small changes, you'll not only elevate the quality of your baking but also cultivate a deeper appreciation for the ingredients that bring your culinary visions to life. The reward? Baked goods that are not only delicious but also a testament to your dedication to the art of baking.
Unlock the Secrets to Fresh Oils: Extend Your Baking Ingredients' Life!
Thanks for taking the time to learn how to keep your oils and fats fresh! We hope you now feel confident in preventing rancidity and maximizing the flavor of your baked goods. Ready to put your new knowledge into practice?
- Prioritize proper storage: Immediately transfer oils and fats from their original containers into airtight, dark-colored containers. This is the single most effective step!
- Consider rotating your stock: Use the oldest oils and fats first to ensure freshness. Try keeping a simple inventory list to track expiration dates.
- Share your favorite oil storage tips with fellow bakers! Let's create a community of fresh-ingredient fanatics.
What's your biggest challenge when it comes to keeping your baking oils and fats fresh? Let's discuss!