
Why Your Oatmeal Raisin Cookies Are Turning Too Dense

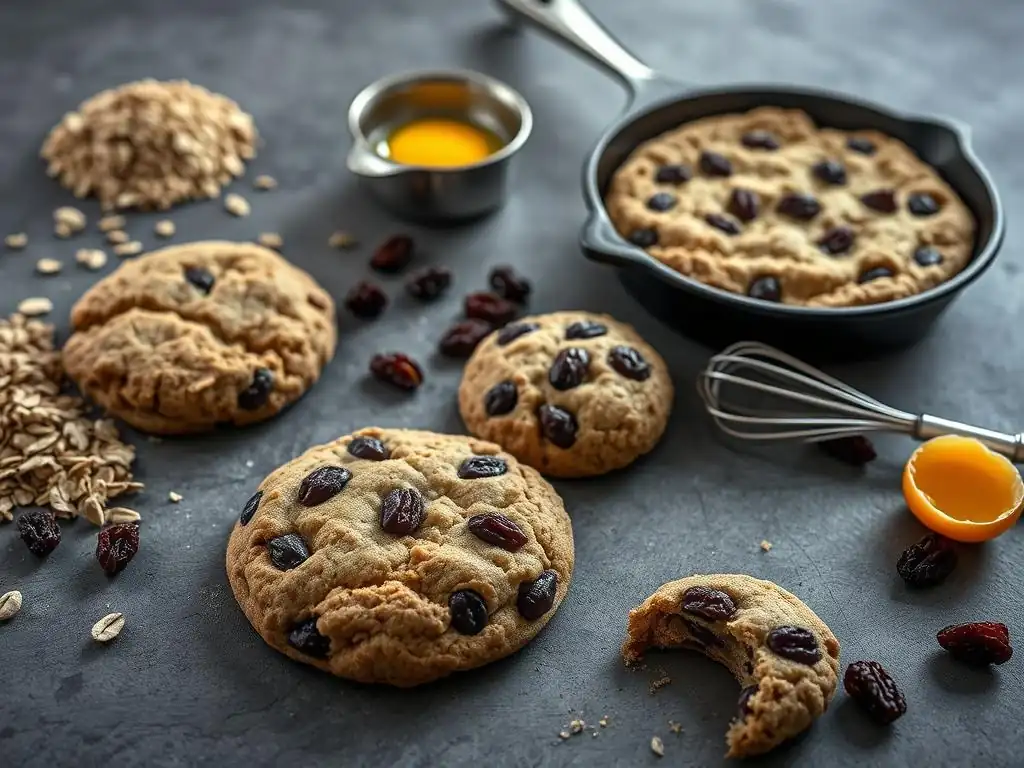
Welcome to BakeWithEase, your haven for unlocking baking brilliance! Ever wondered why your oatmeal raisin cookies are more brick than bliss? You're not alone! Dive into our latest article, " Why Your Oatmeal Raisin Cookies Are Turning Too Dense," where we unravel the secrets to achieving that perfect chewy texture. Discover the simple fixes that will transform your baking and leave you craving more. Ready to bake better? Let's get started!
- Understanding Dense Oatmeal Raisin Cookies: Troubleshooting Baking Issues
- The Science Behind Cookie Texture: Factors Affecting Density
- Step-by-Step Solutions: How to Fix Dense Oatmeal Raisin Cookies
- Preventing Dense Cookies: Proactive Baking Strategies
- Perfecting Your Oatmeal Raisin Cookie Recipe: Baking Tips
- Conclusion: Enjoying Perfectly Textured Oatmeal Raisin Cookies Every Time
-
Frequently Asked Questions
- How does overmixing the dough contribute to dense oatmeal raisin cookies?
- What role does the type of flour play in the density of oatmeal raisin cookies?
- Can improper creaming of butter and sugar cause dense oatmeal raisin cookies?
- How does the amount of oats affect the density of oatmeal raisin cookies?
- Is baking powder or baking soda important for preventing dense oatmeal raisin cookies?
- Final Reflection: The Art of Perfecting Oatmeal Raisin Cookies
- Unlock the Secret to Perfectly Chewy Oatmeal Raisin Cookies!
Dense oatmeal raisin cookies lack that desirable soft, chewy texture. Instead, they might feel hard, heavy, or crumbly in an unpleasant way. This isn't about being crispy; it's about a lack of lightness and tenderness throughout the cookie's structure. Think of a dense cookie as one where the ingredients haven't properly interacted to create air pockets or maintain sufficient moisture, resulting in a compact crumb.
Several factors contribute to this dense texture. Often, it's a combination of issues rather than a single culprit. Common problems include using too much flour, improper mixing techniques that develop too much gluten, insufficient leavening, or even baking errors that dry out the cookies excessively. Understanding the role each ingredient and step plays in the final texture is key to achieving that perfect balance of chewiness and tenderness.
A primary reason for dense oatmeal raisin cookies is an imbalance in the dry and wet ingredients, particularly an excess of flour. Flour provides structure, but too much, especially when packed into measuring cups, can absorb excessive moisture, leading to a dry, heavy dough that bakes into a dense cookie. For example, using just 1/4 cup more flour than a recipe calls for, especially in a standard batch yielding around 2 dozen cookies, can significantly alter the hydration balance and increase density.
Another frequent cause is overmixing the dough after the flour is added. Wheat flour contains proteins that form gluten when hydrated and mixed. While some gluten development is necessary for structure, too much creates a tough, dense cookie. Imagine mixing cookie dough for an extra minute or two after the flour is just combined; this seemingly small action can activate enough gluten to shift the texture from tender to tough and dense. The goal is to mix until just combined.
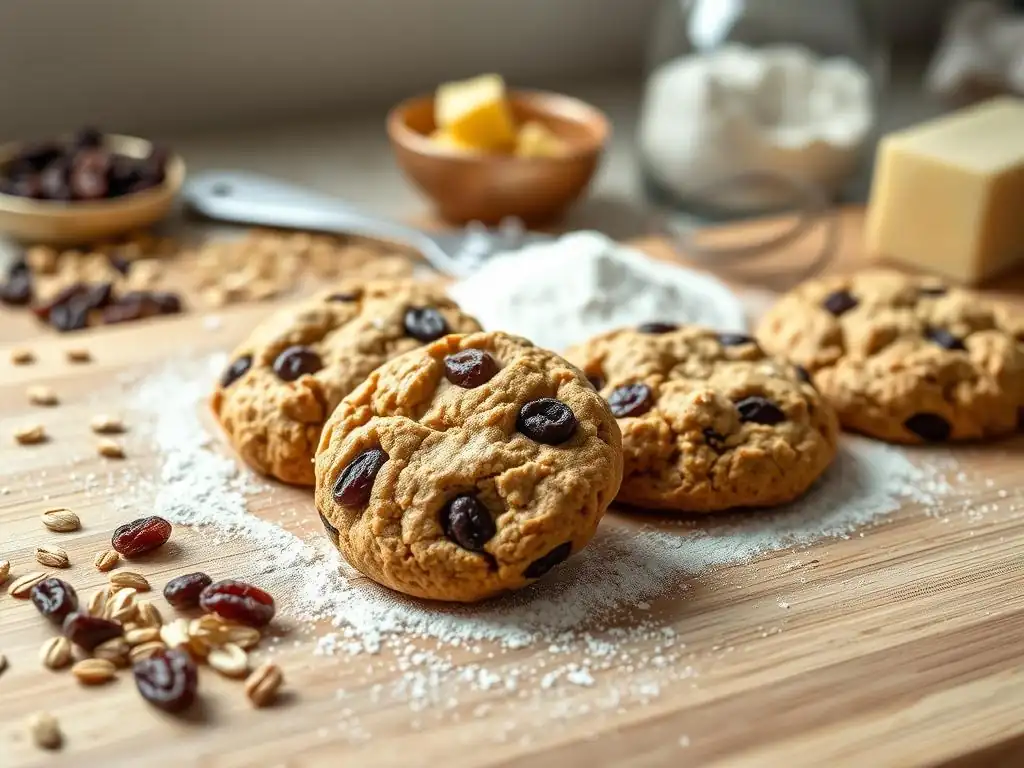
Fat, typically butter or shortening, plays a critical role in cookie texture by tenderizing the dough. It coats the flour particles, preventing excessive gluten development. The amount and state of the fat influence how much gluten forms and how the cookie spreads and sets. Without enough fat, or if the fat isn't properly incorporated, the gluten network can become too strong, resulting in a tougher, denser cookie.
Consider a recipe calling for one cup of butter. If you accidentally use only three-quarters of a cup, the ratio of fat to flour changes significantly. This reduced fat means less coating of flour particles, allowing more gluten to develop during mixing. The result is a cookie that lacks the richness and tenderness that fat provides, instead turning out more compact and dense.
Butter Temperature and Consistency: Impact on Density
The temperature and consistency of butter are crucial for proper creaming, which incorporates air into the dough. Using butter that is too cold makes it difficult to cream effectively, leading to less air incorporation. This lack of initial aeration can contribute to a denser final product because there are fewer air pockets to expand during baking.
Conversely, using butter that is too soft or melted can also be detrimental, though it often relates more to spread. However, if melted butter is used in a recipe designed for creamed butter, the distribution of fat and sugar changes, potentially affecting the overall structure and leading to a less tender, potentially denser crumb depending on other factors like flour amount and mixing. The ideal is usually softened butter (around 65-68°F or 18-20°C), which creams smoothly and incorporates air efficiently.
The Balance of Fats: Avoiding Toughness
Recipes often use a combination of butter and other fats like shortening or oil, or just butter. Butter provides flavor and contributes to tenderness and some spread. Shortening, being 100% fat compared to butter's ~80%, can reduce spread and create a softer, almost cake-like texture. Oil, while liquid, also coats flour particles but doesn't contribute to creaming or structure in the same way as solid fats.
An incorrect balance, such as substituting oil for butter without adjusting other ingredients, can drastically change the texture. For instance, replacing a significant portion of the butter with oil might lead to a greasier cookie that lacks the structural integrity provided by creamed butter, potentially resulting in a heavy or dense texture rather than a light chew. Maintaining the specified fat type and quantity is vital for the intended texture.
Sugar is more than just a sweetener in cookies; it's a tenderizer. Sugar is hygroscopic, meaning it attracts and holds onto moisture. By competing with flour for liquid in the dough, sugar inhibits gluten development. The more sugar relative to flour and liquid, the more tender the cookie will be. Sugar also caramelizes during baking, contributing to color and flavor.
If a recipe has too little sugar, or if the sugar isn't fully dissolved or evenly distributed, the dough can become tougher. Imagine a recipe where the sugar amount is reduced by 25% without other adjustments. This reduction in a key tenderizer means less interference with gluten formation and less moisture retention, leading to a more rigid, potentially dense cookie structure after baking.
Sugar's Role: Moisture and Tenderness
As mentioned, sugar holds moisture, which is crucial for a soft, chewy texture. Both granulated and brown sugar contribute moisture, though brown sugar adds more due to the presence of molasses. This moisture helps keep the baked cookie from becoming dry and brittle, which can be perceived as dense.
The interaction between sugar and fat during creaming also incorporates air, contributing to leavening. If the sugar isn't properly creamed with the butter, or if there isn't enough sugar to create a stable structure during creaming, the initial aeration will be poor. This can result in a cookie that doesn't rise properly and sets into a denser form.
Granulated vs. Brown Sugar: Texture Contributions
Oatmeal raisin cookie recipes often use a mix of granulated and brown sugar. Granulated sugar contributes to crispness and spread. Brown sugar, with its molasses content, adds moisture, chewiness, and a richer flavor. The ratio of these two sugars significantly impacts the final texture.
A higher proportion of brown sugar typically results in a moister, chewier, and less dense cookie compared to one made primarily with granulated sugar. Conversely, using too much granulated sugar and too little brown sugar might yield a cookie that is crispier and potentially denser if other factors (like flour amount or mixing) are also off. The molasses in brown sugar directly contributes to that desirable soft chewiness needed for a good oatmeal raisin cookie.
Temperature affects cookie dough at every stage, from mixing to baking. The temperature of the ingredients, the dough itself, and the oven all play a part in how the cookie bakes and its final texture, including its density.
Ingredients at the wrong temperature can affect how they combine. For example, using cold eggs with creamed butter and sugar can curdle the mixture, impacting the emulsion and potentially leading to a less uniform texture and greater density. Similarly, dough temperature before baking influences spread and how quickly the cookie sets, which in turn affects how leavening agents work and the final crumb structure.
Warm Dough and Its Effect on Density
Baking very warm cookie dough (e.g., dough that hasn't been chilled) typically results in more spread because the fat melts faster in the oven. While primarily associated with flat cookies, overly warm dough can also impact density. If the dough spreads too rapidly before the structure sets, the leavening agents might escape prematurely, leading to a cookie that doesn't puff up properly and ends up denser.
Furthermore, warm dough can be more susceptible to overmixing. If the dough is warm and soft, it's easier to mix it for too long, inadvertently developing excess gluten. This is especially true if using a stand mixer on a higher speed. The combination of potential early leavening loss and increased gluten development contributes to a less tender, more dense oatmeal raisin cookie.
Chilling Dough and Its Effect on Density
Chilling cookie dough has several benefits. It solidifies the fat, which helps control spread during baking. It allows the dry ingredients, particularly the flour and oats, to fully hydrate, resulting in a more tender crumb. Chilling also allows flavors to meld.
While chilling is often discussed in relation to preventing flat cookies, it also impacts density by promoting hydration and limiting spread. Dough that is sufficiently chilled bakes up thicker with a more even structure. This controlled spread and better hydration contribute to a final texture that is less likely to be dense and more likely to be soft and chewy. Baking very cold dough might require a minute or two longer in the oven, but it's a crucial step for optimal texture.
If your oatmeal raisin cookies are consistently dense, consider slightly adjusting your recipe. Start by examining the flour-to-liquid ratio. Many recipes specify "spoon and level" for flour measurement, but if you're scooping directly with the measuring cup, you could be adding significantly more flour – perhaps 20-30% more by weight. Try reducing the flour amount by a small margin, say 2 tablespoons per cup called for, or better yet, measure your flour by weight (standard all-purpose flour is approximately 120-130 grams per cup).
Another adjustment involves the leavening. Ensure your baking soda and baking powder are fresh. If your recipe relies heavily on baking soda, ensure there's an acidic ingredient (like brown sugar, molasses, or buttermilk if used) to activate it. Sometimes, a slight increase in leavening (e.g., adding an extra 1/4 teaspoon of baking soda) can provide the necessary lift to counteract density, but be cautious, as too much can cause excessive spread or an unpleasant taste.
Balancing Flour-to-Fat Ratio for Tenderness
The balance between flour and fat is fundamental to cookie texture. Fat tenderizes by interfering with gluten development. If your cookies are dense, it might indicate too much flour relative to the amount of fat. Review your recipe's proportions.
While you shouldn't drastically increase fat without considering other ingredients, ensuring you are using the full amount specified is key. For example, if a recipe calls for 1 cup (2 sticks) of butter, make sure you are using the full amount. If you've been slightly shorting the fat, correcting this can significantly improve tenderness. Conversely, adding a tablespoon or two of extra butter (if the original ratio seems low) might help, but precise measurement is the best starting point for achieving the desired dense oatmeal raisin cookies fix.
Adjusting Sugar and Moisture for Tenderness
Sugar, particularly brown sugar, brings essential moisture and tenderness to oatmeal raisin cookies. If your cookies are dense, double-check the sugar quantities and the type of sugar used. Ensure you're using the specified amount of brown sugar, packed firmly if the recipe indicates.
If you suspect dryness is contributing to density, consider adding a touch more moisture. This could be an extra tablespoon of milk, a splash of vanilla extract (which is liquid), or ensuring your eggs are large and at room temperature for better emulsification. Sometimes, even slightly increasing the amount of brown sugar (e.g., by 1/4 cup) can add enough moisture and tenderness to improve a dense oatmeal raisin cookies fix attempt, provided it doesn't make the cookies too sweet or spread too much.
Beyond ingredients, how you mix the dough is paramount. Proper technique ensures ingredients are evenly distributed and prevents undesirable reactions like excessive gluten development.
One critical technique is the creaming of butter and sugar. This step incorporates air, which acts as a leavener and contributes to a lighter texture. Ensure your butter is properly softened, not melted or too cold, and cream it with the sugars until light and fluffy, typically for 2-3 minutes on medium speed in a mixer. This creates tiny air pockets that will expand in the oven.
The Importance of Creaming Butter and Sugar Properly
Creaming is the foundation of many cookie recipes and is essential for preventing dense results. When softened butter and sugar are beaten together, the sharp sugar crystals cut into the fat, creating small air pockets. This process lightens the mixture and sets the stage for the cookie's structure.
Insufficient creaming means fewer air pockets are incorporated. This results in a denser dough from the start. On the other hand, over-creaming (beating for too long after the mixture is already light and fluffy) can sometimes incorporate too much air, leading to excessive spread, though it's less directly related to density issues than under-creaming or overmixing after adding flour. Aim for a pale, fluffy texture that has visibly increased in volume.
Avoiding Overmixing the Dough: A Key to Tender Cookies
This is arguably the most common cause of dense, tough cookies, especially once the flour is added. Flour contains proteins that form gluten when hydrated and agitated (mixed). The more you mix after adding flour, the more gluten develops. For chewy cookies, some gluten is fine, but too much makes them hard and dense.
Once you add the flour and oats, mix just until the dry ingredients are incorporated and no streaks of flour remain. This usually takes less than 30-60 seconds on low speed in a mixer or careful folding by hand. Adding the raisins and nuts (if using) should also be done with minimal mixing, often just folding them in until evenly distributed. Overmixing develops that tough gluten structure, making a dense oatmeal raisin cookies fix much harder post-baking.
Chilling the Dough: Why It Matters for Texture
Chilling the dough isn't just about preventing spread; it significantly impacts the final texture. As the dough chills, the fats solidify, and the liquids have time to hydrate the dry ingredients, particularly the flour and oats.
This hydration process is key to preventing density. Properly hydrated flour and oats bake up more tenderly. Chilled dough also melts more slowly in the oven, allowing the cookie to set around the edges while the center remains soft, contributing to a desirable chewy texture rather than a uniformly dense one. Aim to chill your oatmeal raisin cookie dough for at least 30-60 minutes, or even longer (up to 2-3 days) for enhanced flavor and texture.
Even with perfect dough, incorrect baking can lead to dense cookies. The oven temperature and baking duration need to be precise to activate leavening, set the structure, and achieve the desired moisture level.
Baking at too low a temperature can cause excessive spread before the cookie sets, potentially leading to a thinner, sometimes denser cookie. Baking at too high a temperature can cause the outside to set too quickly, preventing the interior from cooking properly or causing the cookies to dry out rapidly, resulting in a hard, dense crumb.
Overbaking: A Common Cause of Dry, Dense Cookies
Overbaking is a frequent culprit behind dense, hard cookies. As cookies bake, moisture evaporates. Baking for too long, even by just 1-2 minutes past the optimal point, removes too much moisture. Without sufficient moisture, the cookie's structure becomes rigid and dry, which is perceived as dense or tough.
Oatmeal raisin cookies are often done when the edges are set and lightly golden, but the centers still look slightly soft or underbaked. They will continue to set as they cool on the baking sheet. Removing them at this stage ensures they retain moisture and achieve that perfect chewy, non-dense texture. Baking until they are uniformly golden and firm on the sheet almost guarantees a dense, dry result.
Optimizing Baking Temperature for Even Cooking
Using the correct oven temperature is vital for consistent results and avoiding density. Most cookie recipes call for temperatures between 350°F and 375°F (175°C and 190°C). Baking at the specified temperature ensures that the leavening agents work correctly and the cookie bakes through evenly.
An oven that runs too cool will bake the cookies slowly, potentially leading to excessive spread and a less desirable texture. An oven that runs too hot will bake the cookies too quickly on the outside, possibly leaving the inside undercooked or, more commonly related to density, drying them out rapidly before the interior structure fully sets, resulting in a hard, dense cookie. Using an oven thermometer to verify your oven's actual temperature is a simple step that can make a big difference in your dense oatmeal raisin cookies fix efforts.
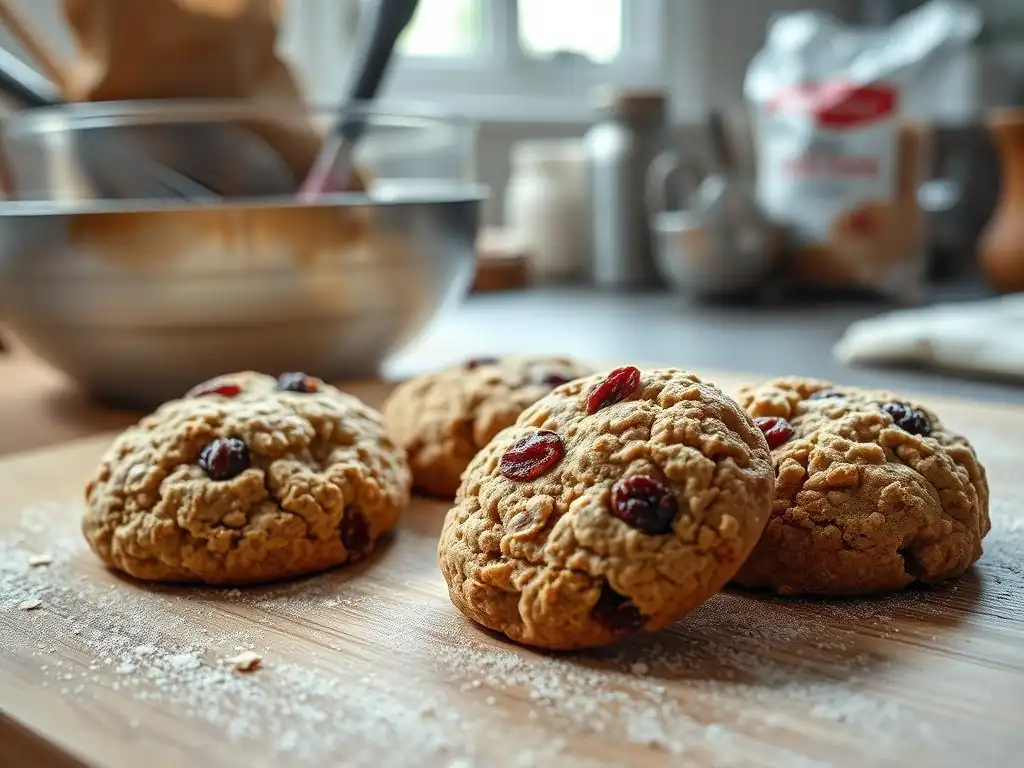
Accurate Measurements: The Foundation of Good Baking
Precision in measuring ingredients is perhaps the single most important step in preventing baking problems like dense cookies. Small deviations, especially with flour and leavening agents, can significantly impact the final outcome.
Using standard measuring cups and spoons and employing proper techniques is crucial. For dry ingredients like flour, spoon it lightly into the measuring cup and level off the excess with a straight edge – never scoop directly from the bag, as this packs the flour and adds too much. For liquids, use liquid measuring cups at eye level. For ingredients like butter and sugar, follow the recipe's cues – are they packed, softened, melted? Accurate measurements lay the groundwork for predictable, successful baking.
Using Quality Ingredients: Freshness Matters
The quality and freshness of your ingredients can influence cookie texture. Leavening agents (baking soda and baking powder) lose potency over time. Using expired or stale leaveners can result in cookies that don't rise properly, leading to a denser texture. Baking soda can be tested by adding vinegar; it should bubble vigorously. Baking powder can be tested by adding hot water; it should fizz.
Similarly, old or improperly stored flour can affect hydration and gluten development. Even the freshness of oats and raisins can play a minor role in moisture content. Using fresh, good-quality ingredients ensures they behave as expected in the recipe, contributing to the desired soft and chewy, non-dense texture.
Testing Your Oven Temperature: Ensuring Accurate Baking
As discussed, oven temperature accuracy is critical. Ovens can often be off by 25-50°F (approx. 15-30°C) from their set temperature. Baking cookies in an oven that is significantly cooler or hotter than intended will inevitably impact the baking time and the resulting texture.
Investing in an inexpensive oven thermometer and placing it in your oven allows you to see the true temperature. Adjust your oven setting accordingly. If your oven reads 325°F when set to 350°F, set it higher to achieve the correct baking temperature. This simple tool eliminates a major variable and helps ensure your oatmeal raisin cookies bake correctly, preventing issues like excessive density.
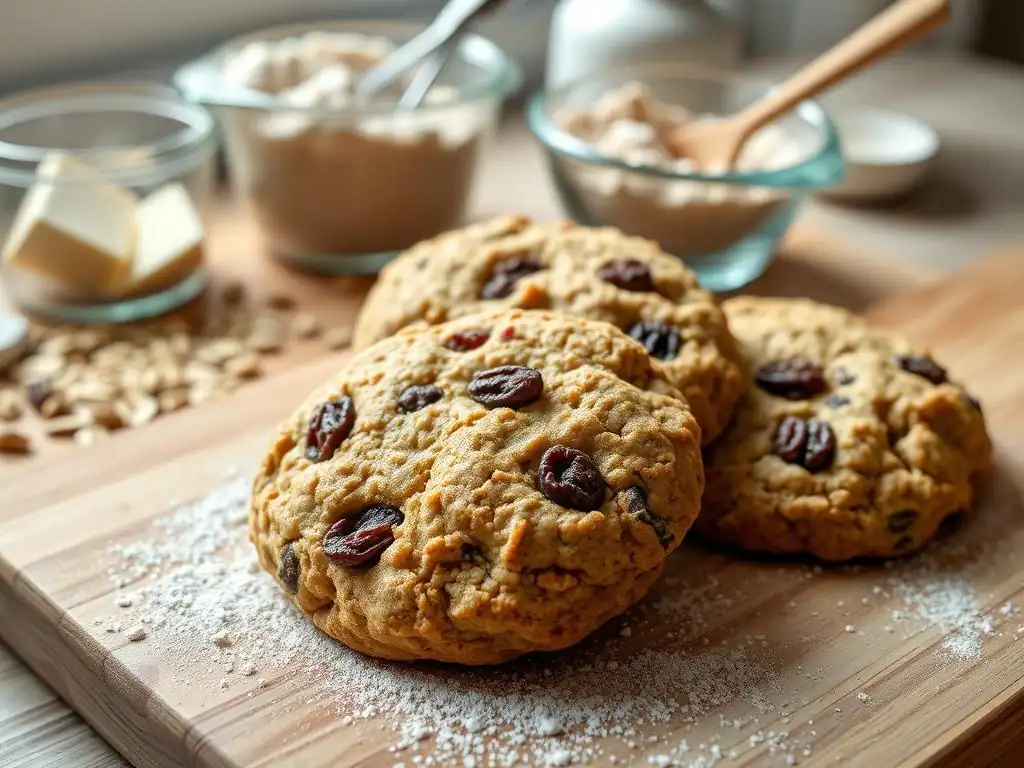
Finding a reliable oatmeal raisin cookie recipe is key to consistent results. A good recipe will provide clear measurements, specify ingredient temperatures (like softened butter), give precise instructions on mixing (especially regarding adding dry ingredients), and offer helpful cues for recognizing when the cookies are perfectly baked (e.g., "edges set, centers still soft"). Look for recipes that are highly rated or come from trusted baking resources, as these have often been tested multiple times to achieve optimal texture and flavor. A well-structured recipe is the best starting point for your dense oatmeal raisin cookies fix journey.
Beyond the core techniques, a few extra tips can help ensure your oatmeal raisin cookies turn out perfectly. Consider weighing your ingredients, particularly flour, for ultimate accuracy. Don't overcrowd the baking sheet, as this can lead to uneven baking.
Allowing cookies to cool on the baking sheet for a few minutes before transferring them to a wire rack helps them set properly without breaking. Storing cookies correctly – in an airtight container, possibly with a slice of bread to maintain moisture – can also keep them soft and prevent them from becoming stale and dense over time. Pay attention to the visual cues during baking – the edges should be lightly golden, but the center should still look soft.
Achieving that ideal soft and chewy oatmeal raisin cookie texture is entirely within your reach. By understanding the common culprits behind dense cookies – primarily too much flour, overmixing, incorrect fat/sugar balance, and improper baking – you can troubleshoot your baking process effectively.
Focus on accurate measurements, especially for flour, and resist the urge to overmix once the dry ingredients are added. Ensure your butter is properly softened for creaming, and consider chilling your dough. Pay close attention to baking time and temperature, removing cookies when they are just set around the edges. By applying these techniques and adjustments, you'll be well on your way to enjoying perfectly textured, tender oatmeal raisin cookies with every batch, leaving dense disappointments behind.
Frequently Asked Questions
Overmixing develops the gluten in the flour, resulting in a tougher and denser cookie. Avoid excessive mixing for a lighter texture.
Using too much flour or the wrong type (like bread flour, which has higher gluten) can lead to a dense cookie. Stick to all-purpose flour and measure accurately.
Yes, proper creaming incorporates air into the batter, which creates a light and airy texture. If the creaming process is insufficient, the cookies may become dense and flat.
Too many oats can absorb excess moisture and create a drier, denser cookie. Ensure you're using the correct ratio of oats to other ingredients.
Yes! These are leavening agents that help the cookies rise and create a lighter texture. Make sure they are fresh and used correctly according to the recipe.
In the world of baking, achieving the perfect texture can often feel like an elusive goal, especially when it comes to dense oatmeal raisin cookies. The insights shared in this article highlight not only the common pitfalls that lead to density but also the simple adjustments that can transform your baking experience. Today, as home bakers seek to recreate the comforting nostalgia of their favorite cookies, understanding the science behind texture is more relevant than ever. Baking is not just a culinary skill; it’s an art form that invites us to experiment, learn, and savor the results.
The journey of perfecting oatmeal raisin cookies reflects a broader cultural appreciation for homemade treats and the joy they bring to our lives. As we navigate through recipes, we uncover not just techniques but also memories and connections with loved ones. The act of baking becomes a shared experience, bridging generations and fostering community. Baking is both an art and a science, where every ingredient plays a crucial role in the final masterpiece.
This ongoing influence of baking in our social fabric reminds us that even the simplest recipes can hold profound significance.
As you embark on your own baking adventures, I invite you to reflect on the lessons learned from this exploration of dense oatmeal raisin cookies. Consider how small changes can lead to delightful outcomes, not just in baking but in life as well. Embrace the process, experiment with your ingredients, and don’t shy away from making mistakes—they are often the stepping stones to success. Let each batch of cookies be a reminder that perfection is a journey, not a destination, and that the joy of baking lies in the love and creativity you pour into each creation.
Thanks for taking the time to explore the world of perfectly textured oatmeal raisin cookies! We hope you gained some valuable insights into avoiding that dreaded dense dough. Now it's time to put your new knowledge into action.
- Experiment with your baking powder: Try substituting a bit of baking soda for a lighter, chewier texture – you might be surprised by the result! This is your primary action step, putting the article's advice directly to the test.
- Share your baking triumphs (and disasters!): We'd love to see your results – tag us on social media with your cookie creations!
- Dive deeper: Explore other BakeWithEase articles on cookie baking techniques for even more delicious discoveries.
Ready to bake the chewiest, most delicious oatmeal raisin cookies you've ever tasted? What's your favorite tip for achieving the perfect cookie texture?