
Why Are My Chocolate Chip Cookies Spreading Into One Giant Mess? 7 Expert Fixes

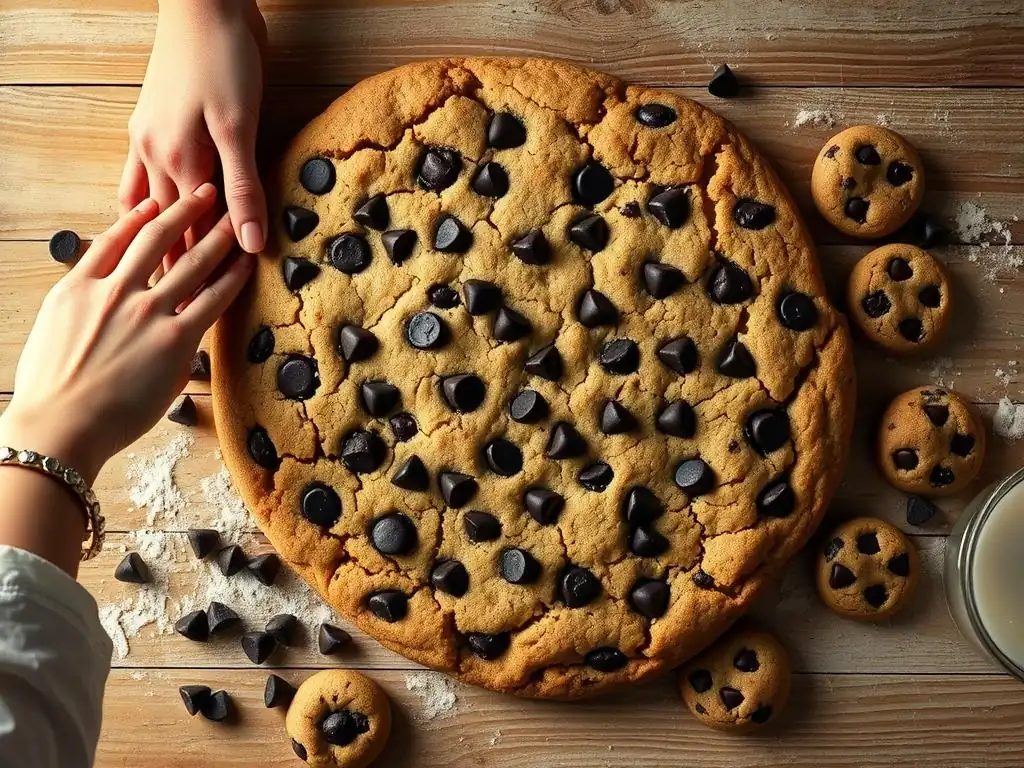
Welcome to BakeWithEase, your guide to baking bliss! Ever wondered why your chocolate chip cookies transform from perfectly formed dough balls into a flattened, crispy-edged disappointment? You're not alone! Discover the secrets to achieving bakery-worthy results and finally solve the mystery of the chocolate chip cookies spreading fix with our 7 expert tips. Get ready to bake better, not bitter!
- Understanding Why Your Chocolate Chip Cookies Spread Too Thin
-
7 Expert Fixes to Prevent Chocolate Chip Cookies From Spreading
- Fix #1: Chill Your Cookie Dough for Perfect Chocolate Chip Cookies
- Fix #2: Use the Right Flour Ratio for Optimal Cookie Structure
- Fix #3: Control Butter Temperature for Chewy, Not Flat, Cookies
- Fix #4: Adjust Sugar Levels for Balanced Cookie Texture
- Fix #5: Baking Sheet Temperature: Avoid Warm Baking Sheets
- Fix #6: Oven Temperature Accuracy: Ensure Proper Baking
- Fix #7: Don't Overcrowd the Baking Sheet: Proper Cookie Placement
- Troubleshooting: What If My Cookies Are Still Spreading?
- Mastering the Art of Chocolate Chip Cookies: A Recap of Key Fixes
- Frequently Asked Questions
- Final Reflection: The Quest for the Perfect Chocolate Chip Cookie
- Unleash Your Inner Baking Boss: Perfect Chocolate Chip Cookies Await!
There's little more disappointing in baking than pulling a batch of chocolate chip cookies out of the oven only to find they've merged into a single, flat, greasy sheet. This common issue, where cookies spread excessively rather than holding a pleasant shape and thickness, is a frequent source of frustration for home bakers. Instead of chewy centers and slightly crisp edges, you end up with thin, brittle discs that lack the desired texture and visual appeal. Identifying the exact reason your chocolate chip cookies are spreading too much is the first step toward achieving cookie perfection.
This problem isn't just about aesthetics; excessive spread often impacts the cookie's texture and flavor profile. A cookie that spreads too much tends to be uniformly thin and crispy, losing that delightful contrast between a soft interior and a firmer exterior that is the hallmark of many beloved chocolate chip cookie recipes. Pinpointing the specific factor, or combination of factors, causing your chocolate chip cookies spreading issue is key to implementing the right fix and ensuring your next batch is a success.
Several factors can contribute to chocolate chip cookies spreading more than desired. One of the most frequent culprits is the temperature of your butter; using butter that is too soft or melted provides less structure to the dough before it hits the heat. Another major factor is the ratio of ingredients, particularly the balance between flour, sugar, and fat. Too little flour or too much sugar or fat can easily lead to excessive spread.
Beyond the ingredients themselves, the dough's temperature before baking, the temperature of your baking sheets, and even the accuracy of your oven can play significant roles in how much your cookies spread. Understanding how each of these elements influences the cookie dough's behavior in the oven is crucial for any chocolate chip cookies spreading fix. For instance, a warm baking sheet can cause the butter to melt too quickly, accelerating spread before the cookie has a chance to set.
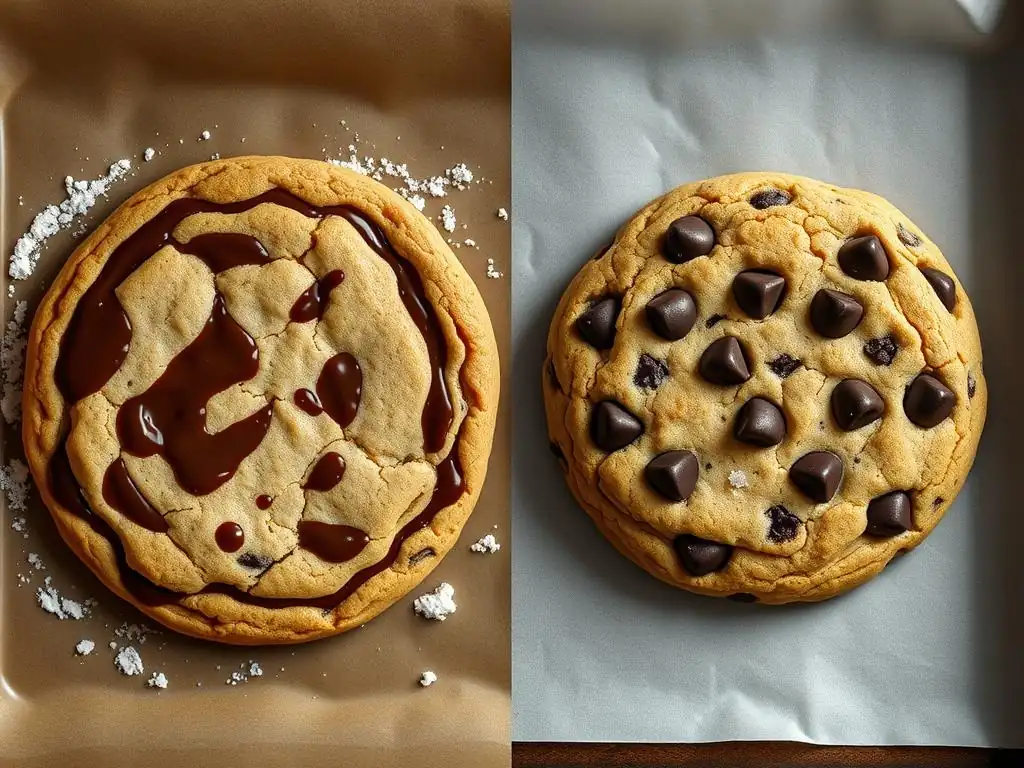
One of the most effective and widely recommended methods to prevent chocolate chip cookies from spreading excessively is chilling the dough before baking. This simple step allows the fat in the dough (butter, shortening) to firm up, providing more structure. When the cold dough is placed in a hot oven, the edges begin to set while the center remains cool, leading to a slower, more controlled spread that results in thicker cookies with chewy centers.
Chilling also offers additional benefits beyond just structure. It allows the flour to fully hydrate and the sugar to dissolve partially, leading to a more uniform texture. Furthermore, chilling gives the flavors a chance to meld and deepen, often resulting in a richer, more complex cookie. Many bakers find that dough chilled for at least 24 hours yields cookies with superior flavor compared to those baked immediately. This step is a cornerstone of many successful chocolate chip cookies spreading fix strategies.
How Chilling Prevents Excessive Spreading
When cookie dough is chilled, the solid fats within it become firm. As the cold dough enters the hot oven, these fats don't melt instantly. Instead, they melt gradually, giving the cookie's structure (provided by flour and eggs) time to set around the pockets of melting fat and leavening gases. This slower melting process means the cookie expands upward and outward at a controlled pace, rather than collapsing into a thin puddle.
Consider dough baked straight from mixing: the butter is soft, and it melts rapidly in the oven, causing the dough to spread outwards quickly before the flour proteins have time to coagulate and provide structure. Chilling reverses this, ensuring the butter remains solid longer, thus delaying the significant spread until the cookie has developed some internal structure.
Best Practices for Chilling Cookie Dough
For an effective chocolate chip cookies spreading fix through chilling, aim for at least 30 minutes in the refrigerator. However, for best results, many recipes recommend chilling for 2 to 24 hours, or even up to 72 hours for maximum flavor development. Portion the dough into balls before chilling if you plan to bake in batches over several days; this makes baking quick and easy.
Store the dough in an airtight container or wrapped tightly in plastic wrap to prevent it from drying out or absorbing odors from the refrigerator. When you're ready to bake, simply place the chilled dough balls directly onto the prepared baking sheet. There's no need to bring them back to room temperature.
Flour provides the structural backbone of a cookie. It contains proteins (gluten) that develop when mixed with liquid and heated, creating a network that holds the cookie together. Using too little flour in your recipe relative to the amount of fat and sugar is a very common reason why chocolate chip cookies spread too much. The lack of sufficient structure means the dough cannot support itself as the fat melts in the oven.
Different types of flour also behave differently. All-purpose flour is standard for most cookie recipes. Using a lower-protein flour like cake flour might result in more spread, while a higher-protein flour like bread flour could result in a tougher cookie, though potentially less spread. Ensuring you have the correct amount of the specified flour is critical for a good chocolate chip cookies spreading fix.
The Importance of Flour in Preventing Spreading
Flour absorbs moisture and, through gluten development (even minimal in cookies), creates a matrix that gives the cookie its shape and prevents it from becoming a completely formless mass when heated. If there isn't enough flour to absorb the moisture and provide sufficient structure to counteract the melting fat and expanding gases, the cookie will spread thinly. Think of it like building a house: flour is the framing; without enough framing, the walls (the rest of the ingredients) won't hold up properly.
An imbalance where wet or fatty ingredients outweigh the dry, structural ingredients like flour will almost always lead to excessive spread. This highlights why sticking to recipe ratios, or slightly increasing flour if spread is a consistent problem, can be an effective chocolate chip cookies spreading fix.
Measuring Flour Accurately: Spoon and Level Method
Accurate measurement of flour is paramount. Scooping flour directly from the bag with your measuring cup can compact the flour, resulting in significantly more flour than intended (sometimes 20-30% more by weight). This can lead to dense, dry cookies. Conversely, if a recipe intends for you to scoop but you spoon and level, you might end up with too little flour.
The most commonly recommended method for accuracy is the "spoon and level" method: Gently spoon flour into your dry measuring cup until it overflows, then level off the excess with a straight edge (like a knife or spatula) without tapping or compacting the flour. For even greater accuracy, especially if you frequently struggle with spread, consider using a kitchen scale to weigh your ingredients. A standard cup of all-purpose flour, properly spooned and leveled, typically weighs around 120-125 grams.
The temperature and state of your butter are perhaps the most critical factors influencing cookie spread. Most classic chocolate chip cookie recipes call for "softened" butter, which means butter that is pliable but still cool to the touch, around 65-68°F (18-20°C). This temperature range allows the butter to cream properly with sugar, incorporating air which helps with leavening and texture.
However, using butter that is too soft, greasy, or even partially melted is a primary cause of excessive spread. Melted butter offers no structure and simply contributes liquid fat to the dough, causing it to liquefy and spread rapidly in the oven. Butter that is too cold, on the other hand, won't cream properly, resulting in dense cookies, though they may not spread as much.
The Role of Butter in Cookie Spread
Butter plays a dual role in cookies: it provides richness and flavor, and it influences texture and spread. When butter is creamed with sugar, tiny air pockets are created. In the oven, these air pockets expand, contributing to the cookie's lift and texture. The rate at which the butter melts directly impacts how quickly the cookie spreads.
Butter contains water, fat, and milk solids. As the cookie bakes, the water turns to steam, aiding in leavening. The fat melts. If the fat melts too quickly (because it was too soft to begin with, or the baking sheet was hot), the dough structure collapses prematurely, leading to excessive spread. Using butter at the correct softened but cool temperature allows it to melt at a pace that gives the cookie structure time to set, providing a reliable chocolate chip cookies spreading fix.
Achieving the Ideal Butter Consistency
To achieve softened butter that is not too warm, take it out of the refrigerator about 30-60 minutes before you plan to bake. It should be soft enough to indent easily with your finger but still hold its shape and not look greasy. If your kitchen is warm, this process will be faster; if it's cool, it will take longer.
Avoid microwaving butter to soften it, as this often results in uneven heating with some parts melting. If you're in a hurry, you can cut the butter into small cubes and let it sit for 15-20 minutes, or gently beat it with a mixer for a minute or two until it reaches the desired consistency. Remember, slightly cooler is better than too warm when trying to prevent chocolate chip cookies spreading issues.
Sugar is another ingredient that significantly impacts cookie spread and texture. Sugar melts when heated and, along with fat, causes the cookie to spread. Recipes with higher sugar content generally produce thinner, crispier cookies that spread more. The type of sugar also matters; granulated sugar contributes more to crispness and spread, while brown sugar, due to its molasses content, adds moisture and chewiness and can slightly reduce spread compared to using only granulated sugar.
If you find your cookies are consistently spreading too much despite other efforts, your recipe might simply have a higher sugar-to-fat/flour ratio than ideal for a thicker cookie. Slightly reducing the total amount of sugar, or adjusting the ratio of granulated to brown sugar, can be an effective chocolate chip cookies spreading fix.
Sugar's Impact on Cookie Spread and Crispness
As sugar heats in the oven, it caramelizes, contributing to the cookie's browning and flavor. More importantly for spread, melted sugar is a liquid, and like melted fat, it causes the cookie dough to flow outwards. A higher concentration of sugar means more liquid is introduced as the cookie bakes, leading to greater spread and a crispier final texture.
Conversely, less sugar results in less spread, a thicker cookie, and a softer texture. This is why recipes for soft, cakey cookies often have less sugar and more flour/leavening compared to thin, crispy ones.
Reducing Sugar to Minimize Spreading
If your recipe consistently yields flat cookies, try slightly reducing the total amount of sugar by about 1/4 cup per standard batch (approx. 2-3 cups flour). You can also experiment with increasing the proportion of brown sugar to granulated sugar, which adds moisture and chewiness while slightly mitigating spread compared to an all-granulated sugar recipe.
Be mindful that significant reductions in sugar can affect flavor and texture beyond just spread. Sugar also contributes to browning and overall sweetness. Start with small adjustments (e.g., reducing sugar by 10-15%) and see if it provides the desired chocolate chip cookies spreading fix without negatively impacting other qualities.
Fix #5: Baking Sheet Temperature: Avoid Warm Baking Sheets
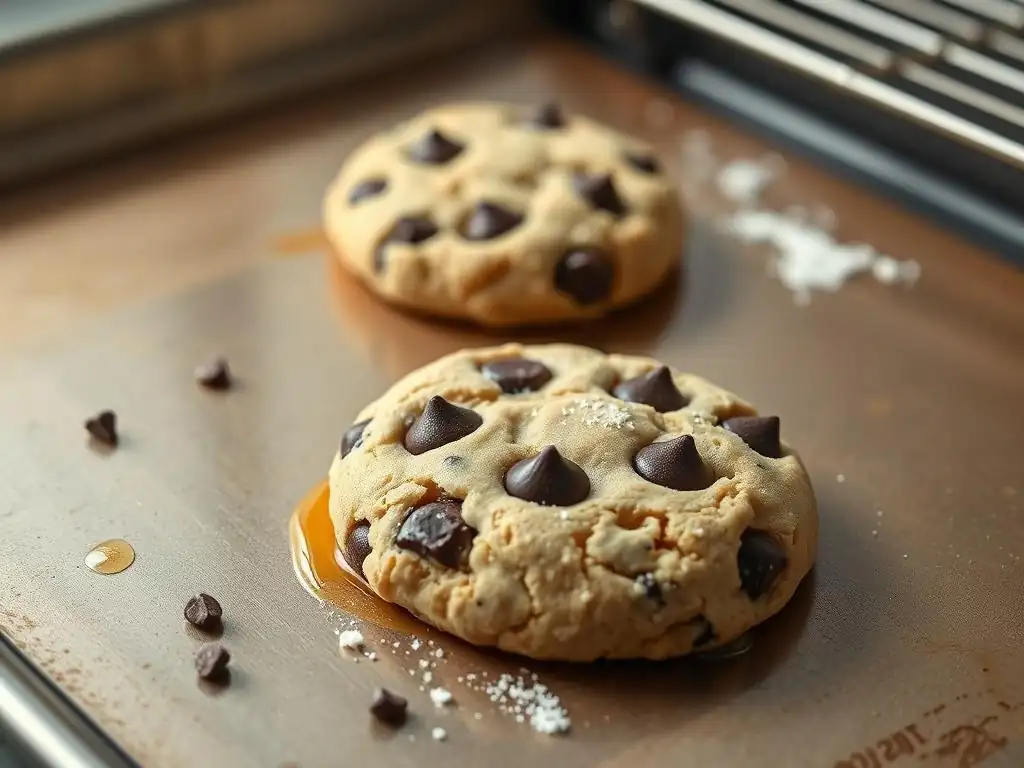
Placing cookie dough onto a warm or hot baking sheet is a sure way to guarantee excessive spread. If the baking sheet is warm, the butter in the cookie dough begins to melt immediately upon contact, before the cookie even enters the oven. This gives the fat a head start in liquefying and causing the dough to flatten out before the structure has any chance to set in the heat of the oven.
Using cool or room-temperature baking sheets allows the cookie dough to maintain its shape for a few crucial moments as it begins to bake, giving the exterior time to firm up slightly before the major spread occurs. This controlled spread is key to achieving cookies with good thickness and shape.
Why Warm Baking Sheets Cause Spreading
Imagine placing an ice cube on a warm surface versus a cold one. On the warm surface, it starts melting instantly and rapidly. Cookie dough behaves similarly. The solid or semi-solid fats in the dough start to soften and melt as soon as they touch the baking sheet. A warm sheet accelerates this melting process significantly, leading to a rapid loss of dough structure right from the start of baking.
This premature melting causes the dough balls to quickly flatten and spread outwards before the heat of the oven can activate the leavening agents or set the flour structure. This is a very common, yet often overlooked, reason for chocolate chip cookies spreading issues.
Cooling Baking Sheets Between Batches
If you're baking multiple batches of cookies, resist the urge to reuse a hot baking sheet immediately. You need to allow the sheet to cool down between batches. The fastest way to do this is to run it under cold water or place it in the refrigerator or freezer for a few minutes until it reaches room temperature or is cool to the touch.
Having two or three baking sheets can make this process much more efficient. As one batch bakes, you can prepare the next batch on a cool sheet, then swap them out. This simple practice is a highly effective chocolate chip cookies spreading fix.
Fix #6: Oven Temperature Accuracy: Ensure Proper Baking
An inaccurate oven temperature can significantly impact how your cookies bake and spread. If your oven runs too cool, the cookie dough will take longer to heat up and set. This extended time in a lower temperature environment gives the fat more time to melt and the cookies more time to spread before the structure solidifies.
Conversely, an oven that is too hot can cause the edges to set too quickly, potentially resulting in cookies that don't spread quite enough or burn around the edges while the center remains raw. For a reliable chocolate chip cookies spreading fix and consistent baking results, ensuring your oven is heating accurately is essential.
The Importance of Accurate Oven Temperature
Most cookie recipes assume your oven is heating to the temperature you set. However, oven thermostats can be notoriously inaccurate, often varying by 25°F or even more from the set temperature. This variance can drastically affect baking time and how ingredients like butter and leavening agents behave, directly impacting spread.
Baking at the correct temperature (often 350-375°F for chocolate chip cookies) ensures that the cookie sets at the right pace. The outside and edges should set relatively quickly, containing the spread, while the inside finishes baking to the desired texture.
Using an Oven Thermometer for Precise Baking
The best way to check your oven's accuracy is with an inexpensive oven thermometer. Place it in the center of your oven and let the oven preheat for at least 15-20 minutes to stabilize the temperature. Check the thermometer reading against the oven's display. If there's a significant difference (more than 15-20°F), you'll need to adjust your oven's setting accordingly for future baking.
For example, if your oven reads 350°F but the thermometer says 325°F, you'll need to set your oven to 375°F to achieve a true 350°F. This simple check can be a game-changer for achieving consistent results and is a vital step in troubleshooting chocolate chip cookies spreading problems.
While it might be tempting to cram as many dough balls as possible onto a baking sheet to finish faster, overcrowding is detrimental to achieving properly shaped cookies and can exacerbate spreading issues. When cookies are placed too close together, they not only risk merging into one giant cookie but also affect the airflow around each individual cookie.
Proper spacing allows heat to circulate evenly around each cookie, promoting uniform baking and setting. It also gives the cookies ample room to spread within expected parameters without colliding with their neighbors.
Impact of Overcrowding on Cookie Shape
When cookies are too close, as they spread, they quickly bump into each other. This forces the dough to spread upwards or irregularly rather than in a natural, circular pattern. More importantly, the lack of space inhibits proper heat circulation. This can lead to uneven baking, where the edges might be done or even burnt, while the centers are still raw and prone to collapsing or spreading further once out of the oven.
Overcrowding creates a microclimate on the baking sheet that prevents the edges of the cookies from setting properly and quickly, which is a key mechanism in controlling spread.
Optimal Spacing for Evenly Baked Cookies
As a general rule, place cookie dough balls at least 2 inches apart on the baking sheet. For larger cookies or recipes known to spread significantly, even 3 inches might be necessary. This ensures that each cookie has enough room to expand without interference and that hot air can circulate freely around it, promoting even baking and a controlled spread.
Using parchment paper or silicone baking mats on your baking sheets can also help prevent sticking and promote even browning, contributing to a better overall cookie structure and appearance, further aiding in your chocolate chip cookies spreading fix efforts.
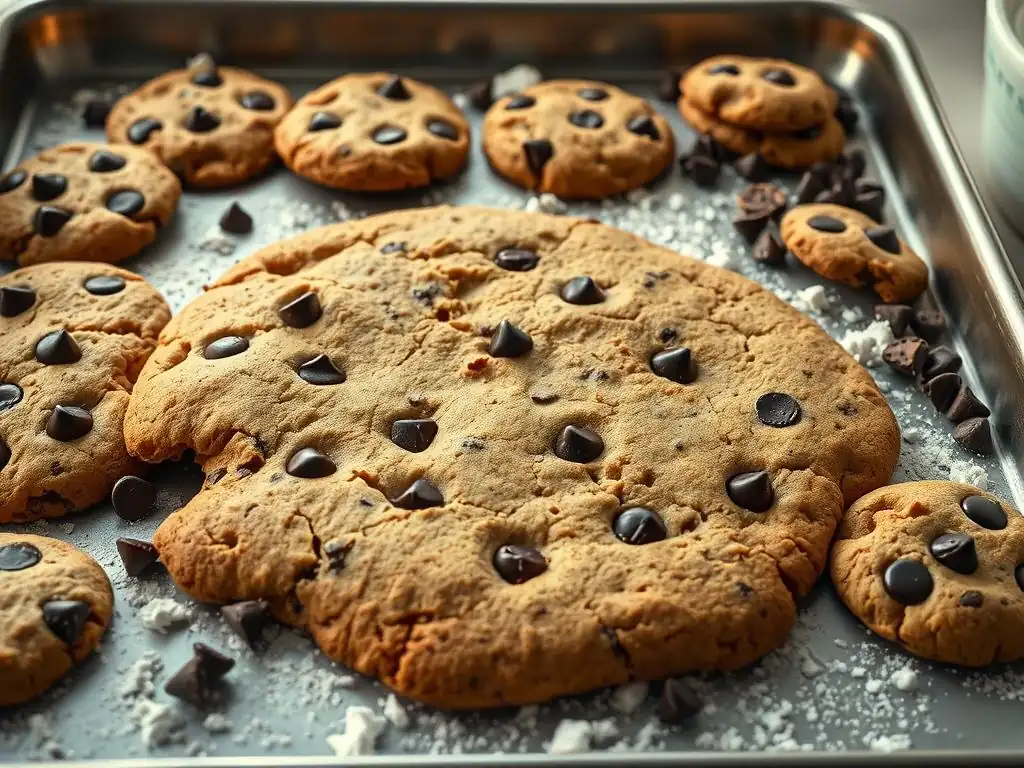
If you've tried the main fixes – chilling dough, checking butter temperature, measuring flour accurately, cooling baking sheets, verifying oven temp, and proper spacing – and your chocolate chip cookies are still spreading too much, consider these additional factors. The type and freshness of your leavening agents (baking soda and baking powder) can play a role. Old leavening might not provide enough lift, leading to flatter cookies. Ensure your baking soda and powder are fresh (they typically last 6-12 months once opened).
Also, over-creaming the butter and sugar can incorporate too much air, which can sometimes contribute to excessive spread as the air pockets collapse. Cream until just light and fluffy, not for an extended period. The type of fat matters too; shortening tends to produce thicker, puffier cookies than butter alone due to its higher melting point. Swapping a small portion of the butter for shortening might help.
When to Adjust Your Recipe: High Altitude Baking
Baking at high altitudes presents unique challenges that can affect cookie spread. Lower atmospheric pressure causes leavening gases to expand more rapidly and liquids to evaporate faster. This can lead to cookies spreading too quickly and becoming dry or brittle. Standard recipes often need adjustments above 3,000 feet.
Common high-altitude adjustments for cookies include slightly increasing the flour (to provide more structure), slightly decreasing leavening agents (to control expansion), slightly decreasing sugar and fat (as they contribute to spread), and sometimes increasing liquid (like milk or an extra egg yolk) or baking at a slightly higher temperature for a shorter time to set the structure faster. If you live at high altitude, seeking out or adapting recipes specifically for your elevation might be the ultimate chocolate chip cookies spreading fix you need.
Achieving that perfect balance of chewiness, crispness, and thickness in chocolate chip cookies is a skill honed through practice and understanding the science behind baking. By addressing the common causes of excessive spread, you can significantly improve your results. Remember that baking is often about precision and the interaction of ingredients under heat.
Implementing these expert fixes – from managing ingredient temperatures to ensuring accurate baking conditions – will set you on the path to consistently producing beautiful, delicious chocolate chip cookies that hold their shape. Don't be discouraged by a few flat batches; each one is a learning opportunity.
Here is a quick checklist to help you troubleshoot and prevent chocolate chip cookies spreading issues:
- [ ] Did I chill the dough for at least 30 minutes? (Longer is often better!)
- [ ] Was my butter softened but still cool, not greasy or melted?
- [ ] Did I measure my flour accurately, preferably by spooning and leveling or by weight?
- [ ] Is my sugar ratio balanced, or did I potentially use too much?
- [ ] Were my baking sheets cool or at room temperature before adding dough?
- [ ] Is my oven temperature accurate? (Use an oven thermometer!)
- [ ] Did I space the cookie dough balls at least 2 inches apart on the sheet?
- [ ] Are my leavening agents (baking soda/powder) fresh?
- [ ] Did I avoid over-creaming the butter and sugar?
- [ ] (If applicable) Have I considered high-altitude adjustments?
By paying attention to these details, you'll be well-equipped to tackle the common problem of chocolate chip cookies spreading too much. Each adjustment you make based on these expert fixes will bring you closer to baking those ideal cookies – golden brown around the edges, perfectly chewy in the center, and holding a lovely, inviting shape. Happy baking, and enjoy the perfectly formed, delicious results of your efforts!
Frequently Asked Questions
Cookie spreading is often caused by too much butter, too little flour, or using warm dough. Addressing these factors can help prevent over-spreading.
Using softened, but not melted, butter is crucial. Melted butter contributes to a flatter cookie; chill the dough if it's too warm.
How can I adjust the flour to prevent spreading?
Adding a tablespoon or two of extra flour can help provide more structure. Be careful not to add too much, or the cookies will be dry.
Yes, brown sugar attracts more moisture, potentially leading to more spreading. A balance of granulated and brown sugar is usually best.
Is there a baking technique I can use to minimize spreading?
Chilling the dough before baking is a key technique. Also, ensure your oven temperature is accurate and avoid over-greasing the baking sheet.
The seemingly simple act of baking a chocolate chip cookie holds a surprising depth of scientific precision. A perfectly crisp edge, a chewy center, and distinct, individual cookies—these are not accidental achievements, but the result of understanding the delicate balance of ingredients and baking techniques. The frustration of flat, spread-out cookies is a common experience, highlighting the importance of mastering these fundamentals.
The pursuit of the perfect chocolate chip cookie transcends mere baking; it's a reflection of our desire for control and mastery over seemingly simple processes. It's a microcosm of life itself, where attention to detail and understanding the underlying principles can lead to remarkable results. The greatest pleasure in life is doing what people say you cannot do.
This quote, while not directly about cookies, speaks to the satisfaction derived from overcoming challenges, much like conquering the spread-out cookie conundrum.
Now, armed with the knowledge gleaned from this exploration of cookie science, I invite you to embark on your own baking journey. Don't be discouraged by initial failures; embrace the learning process. Experiment with different techniques, adjust your recipes, and most importantly, enjoy the process of creating something delicious. The perfect chocolate chip cookie awaits – and the journey to get there is just as rewarding as the final bite.
Thanks for taking the time to discover the secrets to perfectly crisp-edged, chewy chocolate chip cookies! We hope you now feel empowered to tackle that baking challenge head-on. Ready to put your newfound knowledge to the test?
- Bake a batch of amazing cookies tonight! Use the tips you just learned to create your masterpiece. Don't forget to experiment – that's half the fun!
- Share your baking success (or even your baking fails!) with our community on social media. Let's inspire each other! Use #BakeWithEasePerfection.
- Subscribe to our newsletter for more delicious recipes and baking tips delivered straight to your inbox.
So, what innovative chocolate chip cookie creation will you whip up first?