
Sorghum Flour and Millet Flour: Baking Tips for GlutenFree Goodness

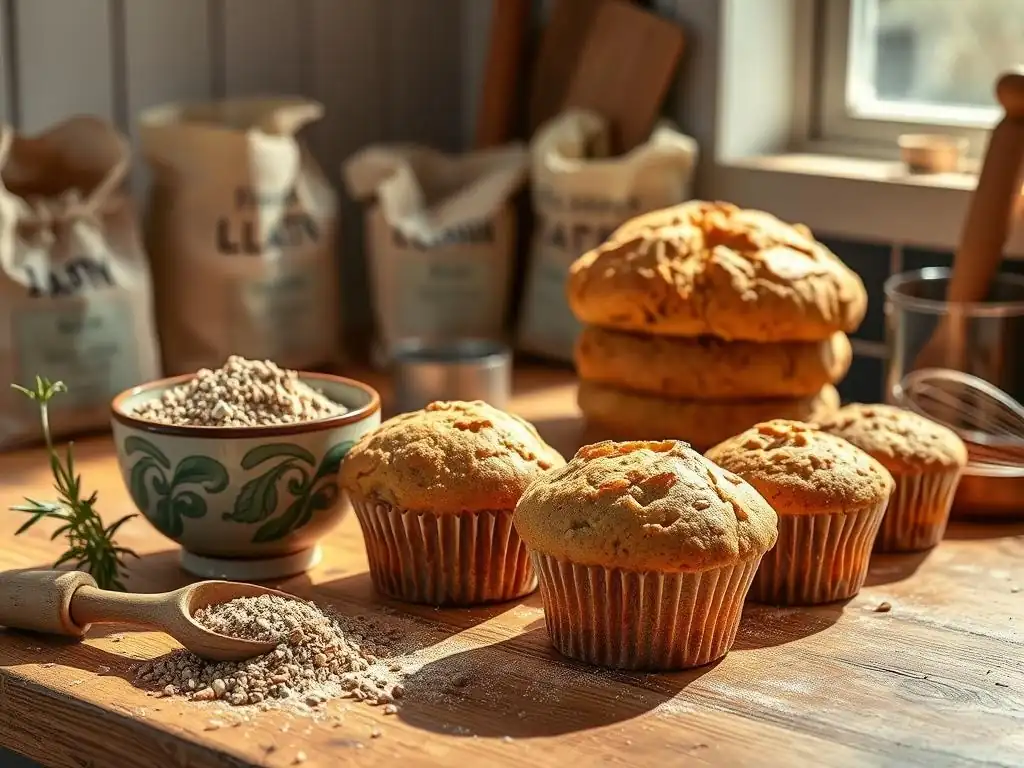
Welcome to BakeWithEase, your haven for mastering the sweet science of baking! Ever wondered how to achieve perfect gluten-free treats? This week, we're diving deep into Glutenfree flour baking tips, specifically unlocking the secrets of sorghum and millet flour. Discover how these ancient grains can transform your baking, offering delicious and nutritious alternatives. Ready to bake with ease and create gluten-free masterpieces? Let's get started!
- Understanding Sorghum and Millet Flours for Gluten-Free Baking
- Gluten-Free Flour Baking Tips: Mastering Sorghum and Millet
- Baking with Sorghum Flour: Tips and Techniques
- Baking with Millet Flour: Tips and Techniques
- Combining Sorghum and Millet Flour for Optimal Results
- Advanced Gluten-Free Baking Tips: Sorghum and Millet Edition
- Troubleshooting Common Gluten-Free Baking Problems with Sorghum and Millet
- Expanding Your Gluten-Free Baking Repertoire: Beyond Sorghum and Millet
- Conclusion: Embrace the Versatility of Sorghum and Millet in Gluten-Free Baking
-
Frequently Asked Questions
- What are the primary differences between sorghum flour and millet flour when baking gluten-free?
- Can I substitute sorghum or millet flour directly for wheat flour in my favorite recipes?
- What are some tips for using sorghum flour to achieve a better texture in gluten-free baking?
- How can I reduce the potentially gritty texture sometimes associated with millet flour in baked goods?
- What kind of recipes are best suited for using sorghum flour or millet flour as a major ingredient?
- Final Reflection: Embracing the Gluten-Free Bake
- Unleash Your Gluten-Free Baking Potential!
Understanding Sorghum and Millet Flours for Gluten-Free Baking
What is Sorghum Flour? Exploring its Baking Potential
Sorghum flour, derived from the ancient grain sorghum, is a popular choice for gluten-free flour baking tips because of its mild, slightly sweet flavor and smooth texture. It's a whole grain flour, meaning it retains all parts of the grain kernel – the bran, germ, and endosperm – which contributes to its nutritional profile, including fiber, protein, and various minerals.
Unlike some gluten-free flours that can be gritty or have a strong taste, sorghum flour offers a neutral base, making it versatile for both sweet and savory applications. Historically a staple in African and Indian cuisines, its use has expanded globally, especially within the gluten-free community.
When used in baking, sorghum flour provides structure and a tender crumb, similar to wheat flour in some respects, but without the gluten. It works well in cakes, cookies, muffins, and quick breads. However, because it lacks gluten, the protein network that gives structure and elasticity to traditional baked goods, sorghum flour often needs support from other ingredients like starches or gums to prevent crumbling. Its protein content is relatively high compared to some gluten-free flours, often around 10-11%, which can contribute positively to the final texture when properly hydrated.
What is Millet Flour? Discovering its Unique Characteristics
Millet flour is ground from the small, round grains of the millet plant, which are cultivated across the globe, particularly in Asia and Africa. It's another ancient grain, naturally gluten-free, and highly nutritious, offering good amounts of protein, fiber, B vitamins, and minerals like magnesium and phosphorus. Millet flour has a slightly nutty or earthy flavor, which can add depth to baked goods. The texture can vary depending on the milling process; some millet flours are finer, while others retain a bit more of the grain's natural grittiness.
In the context of gluten-free flour baking tips, millet flour is valued for its ability to add a pleasant flavor and a tender crumb. It can absorb liquid well, which is crucial in gluten-free baking where doughs and batters often require specific hydration levels. Millet flour performs well in breads, muffins, pancakes, and flatbreads. While it contributes structure, like sorghum, it also requires the assistance of binders to achieve the desired elasticity and prevent baked goods from becoming too crumbly. Its unique flavor profile makes it a great partner for ingredients like nuts, seeds, and certain fruits.
Gluten-Free Flour Baking Tips: Mastering Sorghum and Millet
Key Differences Between Sorghum and Millet Flour in Baking
While both sorghum and millet are gluten-free grains useful for baking, they offer distinct characteristics that impact the final product. Sorghum flour tends to have a milder, slightly sweeter flavor and a smoother texture, making it a good substitute for part of the wheat flour in recipes where you want a neutral base. It contributes a soft, tender crumb. Millet flour, on the other hand, brings a nuttier, sometimes slightly earthy flavor and can have a slightly coarser texture, adding a rustic quality to baked goods.
From a functional perspective, sorghum flour often requires slightly less liquid than millet flour in recipes, although this can vary based on the specific grind and humidity. Sorghum is excellent for delicate cakes and cookies, providing tenderness. Millet is often preferred for heartier baked goods like rustic breads or muffins, where its flavor can shine and its absorbent nature helps manage moisture. Understanding these differences is key to successful gluten-free flour baking tips, allowing you to choose the right flour or blend for your desired outcome.
Understanding Gluten-Free Baking Challenges
Gluten-free baking presents unique challenges primarily due to the absence of gluten, the protein network that provides elasticity, structure, and chewiness in wheat-based baked goods. Without gluten, doughs can be difficult to handle, lacking the ability to stretch and hold shape. Baked goods made with gluten-free flours often tend to be more crumbly, dense, or gummy if not properly formulated. Achieving a light, airy texture and a pleasant mouthfeel requires understanding how different gluten-free flours behave and how to compensate for the missing gluten.
Common issues include poor rise, dense texture, dryness, or a gritty mouthfeel. Effective gluten-free flour baking tips often involve using a blend of flours and starches to mimic the properties of wheat flour, incorporating binding agents like xanthan gum or psyllium husk, adjusting hydration levels, and sometimes using specific mixing techniques. For instance, a recipe might use 40% sorghum flour for tenderness, 30% rice flour for structure, and 30% starch (like tapioca or potato) for lightness, plus a binder, to achieve a balanced result. Mastering these techniques is crucial for successful gluten-free baking.
Baking with Sorghum Flour: Tips and Techniques
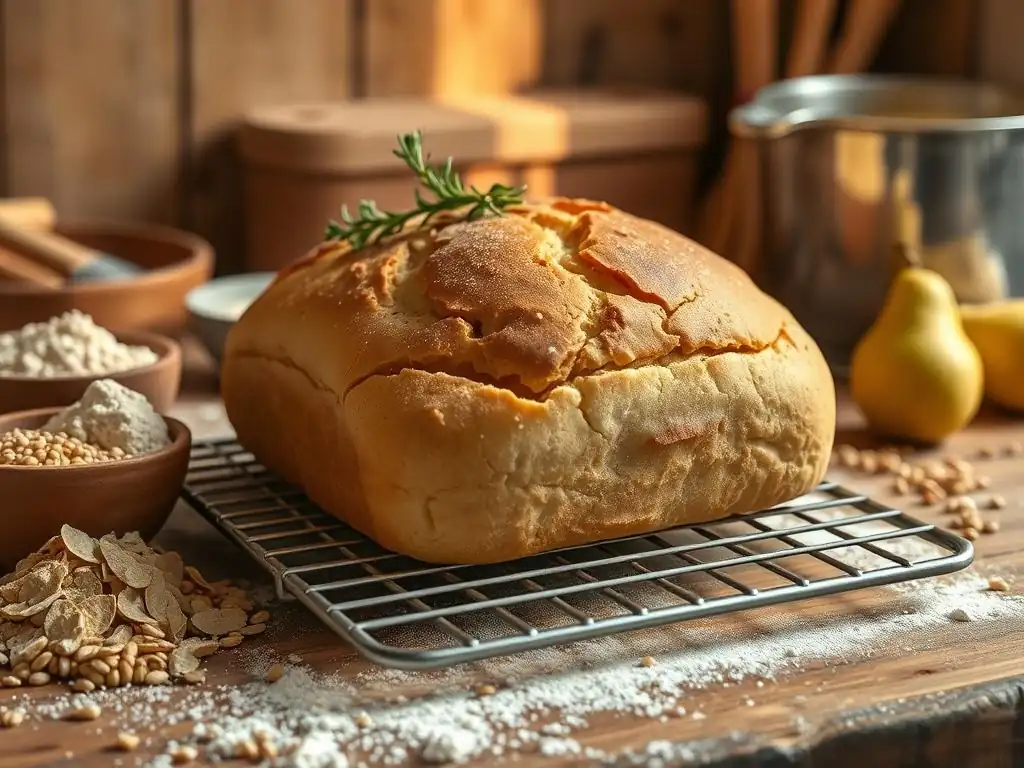
Sorghum Flour Baking: Achieving the Right Texture
Achieving the right texture with sorghum flour requires careful attention to hydration and structure. Sorghum flour is relatively absorbent but needs sufficient liquid to prevent dryness. A common guideline is to ensure your batter or dough is slightly wetter than you might expect for a traditional wheat recipe. For example, a gluten-free muffin batter using sorghum flour might have a consistency closer to a thick cake batter than a standard muffin batter.
To build structure and prevent crumbling, sorghum flour often benefits from being combined with other ingredients. Using a binder like xanthan gum is almost essential; typically, 1/4 teaspoon per cup of gluten-free flour blend for cookies and cakes, or 1/2 to 3/4 teaspoon for breads, can make a significant difference. Combining sorghum with starches (like tapioca or cornstarch) or other flours (like brown rice flour) also helps create a balanced texture, preventing the final product from being too tender to hold its shape. A good starting point for a blend might be 60% sorghum flour and 40% starch.
Let's consider a simple example: Sorghum Chocolate Chip Cookies. A basic recipe might involve:
- 1 cup sorghum flour
- 1/2 cup tapioca starch
- 1/2 tsp xanthan gum
- 1/2 tsp baking soda
- 1/4 tsp salt
- 1/2 cup softened butter
- 1/4 cup granulated sugar
- 1/2 cup brown sugar
- 1 egg
- 1 tsp vanilla extract
- 1 cup chocolate chips
Mix dry ingredients. Cream butter and sugars. Beat in egg and vanilla. Gradually add dry ingredients. Stir in chocolate chips. Chill dough for at least 30 minutes (this is crucial for gluten-free cookies made with sorghum flour to improve texture and prevent excessive spreading). Bake at 350°F (175°C) for 10-12 minutes. The chilling step allows the sorghum flour and starches to hydrate properly, leading to a less crumbly cookie. Using a blend like this, rather than 100% sorghum, helps balance tenderness with structure.
Sorghum Flour: Common Mistakes to Avoid
One common mistake when using sorghum flour is treating it exactly like wheat flour. Because it lacks gluten, simply substituting it 1:1 in a traditional recipe usually results in a dense, crumbly failure. It requires recipe adjustments, particularly regarding liquid and structure builders. Another pitfall is not using a binder; without xanthan gum or similar, sorghum baked goods often fall apart.
Over-mixing the batter or dough can also be detrimental, although less so than with wheat flour. Gentle mixing until just combined is usually sufficient. Finally, insufficient hydration or not allowing the batter/dough to rest can lead to dry or gritty results. For example, a sorghum bread dough might need a longer rest period than a wheat dough to allow the flours to absorb moisture fully. Paying attention to these specific gluten-free flour baking tips for sorghum ensures better outcomes.
Baking with Millet Flour: Tips and Techniques
Millet Flour Baking: Enhancing Flavor and Structure
Millet flour's slightly nutty flavor is a wonderful asset in gluten-free baking, adding a depth that plain rice flours often lack. To enhance this flavor, consider pairing it with ingredients that complement nutty notes, such as maple syrup, brown sugar, nuts, seeds (like flax or chia), or dried fruits. Its natural flavor makes it particularly suitable for breakfast items like muffins, pancakes, and quick breads.
For structure, millet flour is somewhat more robust than sorghum but still requires assistance. It absorbs liquids well, which can be beneficial for moisture retention, but too much can lead to a gummy texture. Using a binder is just as important as with sorghum.
Psyllium husk powder often pairs well with millet, contributing structure and a slightly chewier texture, especially in bread recipes. A common ratio might be 1-2 teaspoons of psyllium husk per cup of millet flour for yeast breads, or 1/2 teaspoon for muffins. Combining millet with starches or other flours like buckwheat or almond flour can also improve texture and overall performance.
Millet Flour Recipes: Millet and Flax Seed Muffins
Let's look at a recipe where millet flour shines: Millet and Flax Seed Muffins.
- 1 cup millet flour
- 1/2 cup brown rice flour
- 1/4 cup ground flaxseed (flax meal)
- 2 tbsp tapioca starch
- 1 tsp baking powder
- 1/2 tsp baking soda
- 1/4 tsp salt
- 1/2 tsp xanthan gum (optional but recommended for better dome)
- 1/3 cup melted coconut oil or butter
- 1/3 cup maple syrup or honey
- 1 large egg
- 3/4 cup milk (dairy or non-dairy)
- 1 tsp vanilla extract
Combine dry ingredients. In a separate bowl, whisk wet ingredients. Add wet to dry and mix gently until just combined (do not overmix). Fold in any desired additions like berries or nuts. Fill muffin cups about two-thirds full. Bake at 375°F (190°C) for 20-25 minutes. The combination of millet flour, brown rice flour, and flaxseed provides structure, fiber, and a delightful nutty flavor, while the tapioca starch ensures tenderness. This recipe highlights how millet can be used as a primary flour in a blend for flavorful results.
Millet Flour: Addressing Potential Bitterness
Sometimes, millet flour can have a slightly bitter aftertaste, particularly if it's not fresh or if the specific variety used has a stronger flavor. To mitigate potential bitterness, ensure you are using fresh flour; check the expiration date and storage conditions. Storing gluten-free flours like millet in an airtight container in the refrigerator or freezer can significantly extend their freshness and prevent off-flavors from developing.
Another technique is to toast the millet grain lightly before grinding it into flour (if you're grinding your own), or purchasing flour from suppliers known for their quality and freshness. In recipes, pairing millet flour with sweeter ingredients like brown sugar, maple syrup, or fruit can help mask any subtle bitterness. Spices like cinnamon, nutmeg, or cardamom also complement millet's flavor profile and can help balance any less desirable notes. Following these gluten-free flour baking tips helps ensure your millet creations are delicious, not bitter.
Combining Sorghum and Millet Flour for Optimal Results
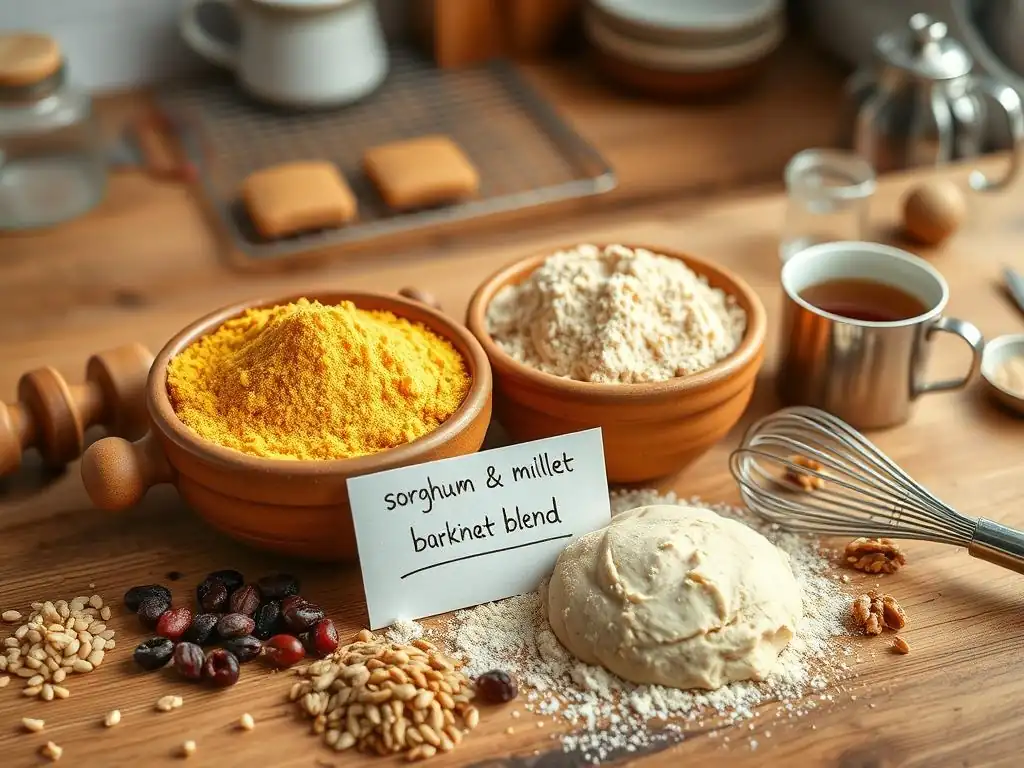
Gluten-Free Flour Blends: The Synergy of Sorghum and Millet
Creating effective gluten-free flour blends is a cornerstone of successful gluten-free baking. Sorghum and millet flours, while distinct, can work synergistically when combined. Sorghum contributes tenderness and a neutral base, while millet adds structure, a pleasant nutty flavor, and good absorption capabilities. A blend using both can result in baked goods with a balanced texture and a more complex flavor profile than using either flour alone or relying solely on bland starches.
A common approach for a versatile gluten-free blend might be to use a base of neutral flours like sorghum or brown rice, add a secondary flavorful flour like millet or buckwheat, and then incorporate starches (tapioca, potato, corn) for lightness and binders (xanthan gum, psyllium). For instance, a blend could be 40% sorghum, 20% millet, 30% starch, and 10% other flours or binders.
The specific ratio will depend on the type of baked good; cakes might use more sorghum and starch for tenderness, while breads might lean slightly more on millet and a binder like psyllium for structure and chewiness.
Recipe Adjustments for Sorghum and Millet Flour Mixes
When using a blend that includes both sorghum and millet, you'll still need to make adjustments compared to traditional wheat recipes. The total amount of liquid might need to be increased, as gluten-free flours are often more absorbent. Start with the amount specified in a gluten-free recipe, or if converting a wheat recipe, increase the liquid by about 10-20% initially and adjust as needed; the batter or dough should feel adequately moist but not soupy.
Binding agents are crucial. If your blend doesn't already contain a binder, add it based on the total amount of flour in the recipe. For example, for 2 cups of a sorghum/millet/starch blend, you might add 1 teaspoon of xanthan gum for muffins or cookies, or 1.5 teaspoons for bread.
Baking time and temperature may also need slight adjustments. Gluten-free items sometimes benefit from a slightly lower temperature and longer baking time to cook through without drying out the exterior. Using a blend of these flours requires applying comprehensive gluten-free flour baking tips tailored to the specific properties of the mix.
Advanced Gluten-Free Baking Tips: Sorghum and Millet Edition
Hydration Techniques for Gluten-Free Flours: Sorghum and Millet
Proper hydration is paramount when baking with sorghum and millet flours. These flours absorb liquid differently than wheat flour, and ensuring they are fully hydrated before baking helps prevent a dry, crumbly, or gritty texture. One technique is to allow the batter or dough to rest for 15-30 minutes after mixing. This resting period gives the flours time to absorb the liquid evenly. For instance, a gluten-free bread dough made with a sorghum and millet blend might benefit from a 30-minute autolyse-like rest before the final kneading or shaping.
Another hydration tip involves using warm liquids (around 100-110°F or 38-43°C), especially in yeast recipes. Warmth can help gluten-free flours absorb moisture more effectively and also aids yeast activity. Measuring flour by weight rather than volume is also highly recommended for consistency in hydration. A cup of sorghum flour can vary significantly in weight depending on how it's scooped, but 1 cup typically weighs around 120 grams. Using weight ensures you have the correct flour-to-liquid ratio every time, improving the reliability of your gluten-free flour baking tips.
Binding Agents in Gluten-Free Baking: Sorghum and Millet Considerations
While sorghum and millet provide some structure, they lack the elastic network of gluten. Binding agents are necessary to hold the baked goods together and provide some chewiness. Xanthan gum is the most common binder, mimicking gluten's stickiness.
As mentioned, typical usage is 1/4 to 3/4 teaspoon per cup of gluten-free flour blend, varying by recipe type. Psyllium husk, particularly psyllium husk powder, is another excellent binder, especially for yeast breads, creating a more elastic dough and a chewier crumb. Approximately 1 to 2 teaspoons of psyllium husk powder per cup of flour blend is a common starting point for bread.
Other natural binders can also be used, such as ground flaxseed (flax meal) or chia seeds mixed with water to form a gel ("flax egg" or "chia egg"), or ingredients like applesauce, mashed banana, or pureed pumpkin. These contribute moisture and some binding properties, though they won't provide the same level of structure as xanthan gum or psyllium husk in recipes requiring significant lift, like yeast breads. Experimenting with different binders is part of mastering gluten-free flour baking tips for sorghum and millet.
Storing Sorghum and Millet Flour and Baked Goods
Proper storage is vital for maintaining the freshness and quality of sorghum and millet flours. Both flours, being whole grain, contain natural oils that can go rancid if exposed to air, heat, or light for prolonged periods. It is best to store them in airtight containers in a cool, dark pantry. For longer storage, especially in warmer climates or if you don't bake frequently, storing these flours in the refrigerator or freezer is highly recommended. This can extend their shelf life significantly, often for up to a year or more.
Baked goods made with sorghum and millet flour also benefit from proper storage. Gluten-free baked goods can sometimes dry out faster than wheat-based ones. Store cakes, muffins, and quick breads in airtight containers at room temperature for a few days, or in the refrigerator for up to a week. Cookies can be stored in airtight containers at room temperature.
For longer storage, most gluten-free baked goods freeze exceptionally well. Wrap them tightly in plastic wrap or foil and place them in a freezer-safe bag or container. Thaw at room temperature or gently reheat. Following these storage tips helps preserve the texture and flavor achieved through careful gluten-free flour baking tips.
Troubleshooting Common Gluten-Free Baking Problems with Sorghum and Millet
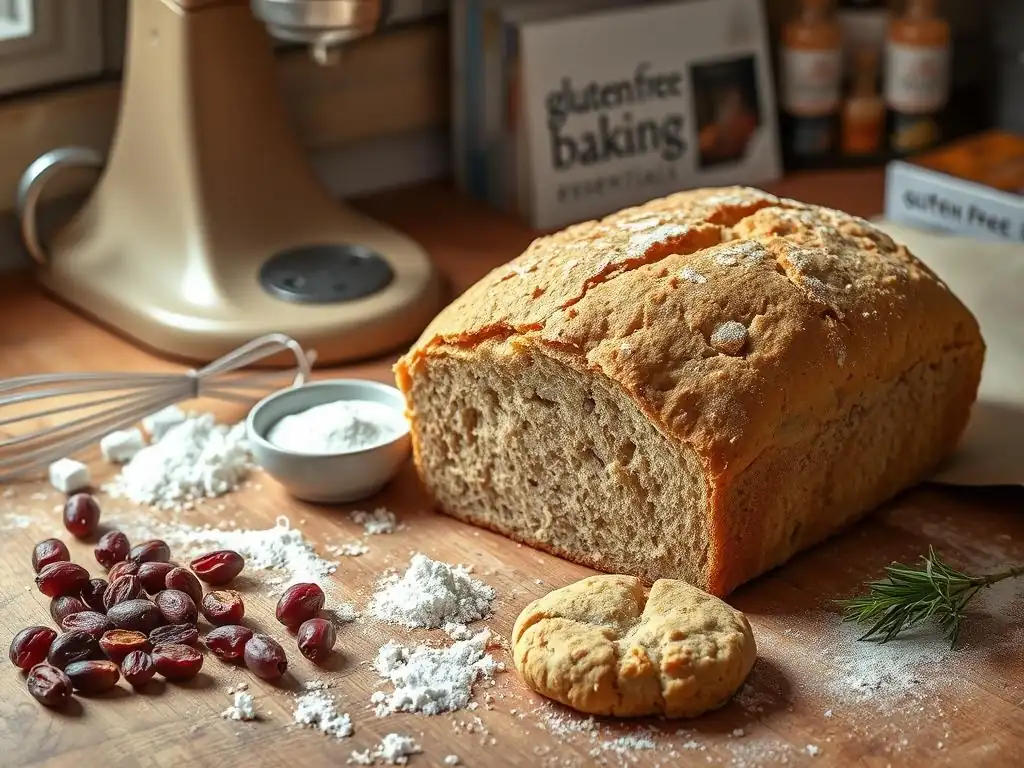
Dense and Gummy Baked Goods: Solving Texture Issues
One of the most frustrating issues in gluten-free baking, including with sorghum and millet, is ending up with dense or gummy results. Density often stems from insufficient leavening, poor hydration, or the wrong flour blend. Ensure your baking powder and baking soda are fresh. Check that your recipe includes adequate leavening for the volume of flour used. Gummy texture is often a result of too much liquid, over-mixing (which can develop starches negatively), or sometimes using too much binder.
If your sorghum or millet baked goods are dense, try increasing the leavening slightly in your next attempt or ensure you're incorporating enough air by creaming butter and sugar properly or whipping eggs. If they are gummy, reduce the liquid slightly, be careful not to overmix the batter once the wet and dry ingredients are combined, and double-check the amount of binder used – too much xanthan gum, for instance, can lead to a gummy texture.
Balancing the flour blend with sufficient starch (like tapioca or potato starch) can also help reduce density and gumminess, as starches contribute lightness. These gluten-free flour baking tips are crucial for improving texture.
Dry and Crumbly Baked Goods: Adding Moisture and Structure
Conversely, dry and crumbly results are also common. This usually indicates insufficient moisture or lack of adequate binding and structure. Sorghum and millet flours, when not properly hydrated, can produce a dry, sandy texture. Ensure you are adding enough liquid as specified in a reliable gluten-free recipe. If converting a wheat recipe, you almost always need more liquid. Using fats like butter, oil, or shortening, as well as moist ingredients like applesauce, yogurt, or mashed banana, can significantly improve moisture.
To combat crumbliness, ensure you are using a binding agent like xanthan gum or psyllium husk. Without a binder, gluten-free flours simply won't hold together well. Adding ingredients that contribute to structure, such as eggs or a small amount of protein powder, can also help. Sometimes, simply allowing the baked goods to cool completely before slicing can prevent crumbling, as they continue to set as they cool. Resting the dough or batter before baking, as mentioned earlier, also helps the flours absorb moisture, reducing dryness and crumbliness. Applying these gluten-free flour baking tips helps achieve a better crumb.
Flavor Imbalances in Gluten-Free Baking
While sorghum has a mild flavor, millet can introduce a nutty or sometimes slightly bitter note. Flavor imbalances can occur if the flour flavor is too dominant or clashes with other ingredients. If millet's nuttiness is too strong, try blending it with milder flours like sorghum or white rice flour. If there's a hint of bitterness, ensure your flour is fresh, and consider adding complementary flavors like vanilla, cinnamon, or a touch more sweetener.
Using high-quality ingredients is key to good flavor. Fresh flours, good quality fats, and pure extracts make a difference. Sometimes, a pinch of salt can enhance sweetness and balance flavors. For savory applications, pairing millet with herbs, spices, or cheese works well. Don't be afraid to experiment with flavor pairings that complement the unique characteristics of sorghum and millet. Tasting the raw batter or dough (if it doesn't contain raw egg) can give you a hint of the flavor profile before baking, allowing for minor adjustments. Mastering flavor is part of advanced gluten-free flour baking tips.
Expanding Your Gluten-Free Baking Repertoire: Beyond Sorghum and Millet
Exploring Other Gluten-Free Flour Options: A Brief Overview
While sorghum and millet are excellent staples for gluten-free flour baking tips, a wide variety of other gluten-free flours can enhance your baking. Rice flour (brown and white) is a common base, providing structure but can be dense. Buckwheat flour offers an earthy, slightly bitter flavor and good nutrition. Almond flour adds moisture, richness, and protein, ideal for cakes and cookies. Oat flour (ensure it's certified gluten-free) provides a soft texture and fiber.
Starches like tapioca, potato, and cornstarch are essential for creating lightness and tenderness in gluten-free blends. Coconut flour is highly absorbent and requires significant liquid, adding a distinct flavor. Teff flour has a unique malty flavor and works well in breads. Understanding the properties of these various flours allows you to create custom blends tailored to specific recipes, further expanding your gluten-free flour baking tips and possibilities.
Resources for Gluten-Free Baking Recipes and Information
Finding reliable resources is crucial when navigating the world of gluten-free baking. Many excellent cookbooks are dedicated specifically to gluten-free recipes, often providing tested flour blends and techniques. Websites and blogs specializing in gluten-free cooking are also valuable sources, frequently offering detailed guides and troubleshooting advice. Look for sites that explain the why behind the techniques, not just the steps.
Online communities and forums where gluten-free bakers share experiences and tips can also be helpful. Don't hesitate to seek out recipes that specifically call for sorghum or millet flour if you want to use those ingredients as the primary base. As you gain experience, you'll become more comfortable adapting recipes and developing your own gluten-free flour baking tips based on your preferred flours and desired results.
Conclusion: Embrace the Versatility of Sorghum and Millet in Gluten-Free Baking
Sorghum and millet flours are valuable additions to any gluten-free baker's pantry. Understanding their individual properties – sorghum's mildness and tenderness, millet's nutty flavor and structure – allows you to harness their strengths. While gluten-free baking presents challenges like achieving the right texture and preventing crumbling or gumminess, applying specific gluten-free flour baking tips related to hydration, binding agents, and blending can lead to delicious and satisfying results.
From creating tender sorghum cookies to flavorful millet muffins, these ancient grains offer versatility and nutritional benefits. Don't be discouraged by initial setbacks; like any baking skill, mastering gluten-free baking with sorghum and millet takes practice and experimentation. With the right knowledge and techniques, you can confidently incorporate these flours into your baking, expanding your gluten-free repertoire and enjoying a wide range of tasty, homemade treats. Embrace the learning process, experiment with blends and recipes, and discover the wonderful possibilities that sorghum and millet bring to gluten-free goodness.
Frequently Asked Questions
What are the primary differences between sorghum flour and millet flour when baking gluten-free?
Sorghum flour has a slightly sweet and neutral flavor, making it versatile. Millet flour has a nutty flavor, which can be more pronounced in baked goods.
Can I substitute sorghum or millet flour directly for wheat flour in my favorite recipes?
No, a direct substitution is not recommended. Gluten-free flours like sorghum and millet require binders like xanthan gum or a blend of other flours for structure.
What are some tips for using sorghum flour to achieve a better texture in gluten-free baking?
Sorghum flour works well in blends. Using a fine grind is crucial to prevent a gritty texture. Consider combining with starches for a softer result.
How can I reduce the potentially gritty texture sometimes associated with millet flour in baked goods?
To minimize grittiness, try toasting the millet flour lightly before using it. Also, ensure it's finely ground and use it in combination with other flours.
What kind of recipes are best suited for using sorghum flour or millet flour as a major ingredient?
Sorghum flour excels in pancakes, muffins, and breads, offering a mild sweetness. Millet flour's nutty flavor is great in cookies, muffins, and flatbreads, adding a unique taste.
Final Reflection: Embracing the Gluten-Free Bake
The rising popularity of gluten-free baking reflects a growing awareness of dietary needs and a desire for delicious, inclusive food. This shift necessitates a deeper understanding of alternative flours, and sorghum and millet, with their unique properties, offer exciting possibilities for bakers seeking both health and flavor. Mastering these flours unlocks a world of gluten-free treats that are not only satisfying but also nutritious.
The journey into gluten-free baking, while initially challenging, has revealed a surprising depth of culinary creativity. It's a testament to human ingenuity that we can adapt and innovate, finding delicious alternatives to traditional ingredients. The subtle nuttiness of sorghum and the delicate lightness of millet, when handled correctly, can produce truly remarkable results. As the culinary writer and activist Alice Waters once said, Good food, good mood.
This holds true whether you're baking with wheat or exploring the world of gluten-free flours; the process itself is a source of joy and connection.
Now, it's your turn to experiment! Don't be afraid to explore the versatility of sorghum and millet flours. Try adjusting recipes, substituting ingredients, and most importantly, have fun in the kitchen. Each bake is a learning opportunity, a chance to refine your technique and discover your own signature gluten-free creations. Embrace the challenge, savor the process, and share your delicious discoveries with others. The world of gluten-free baking awaits!
Unleash Your Gluten-Free Baking Potential!
Thanks for exploring the world of sorghum and millet flours with us! We hope you've gained some delicious insights and inspiration for your next gluten-free baking adventure. Ready to take your skills to the next level?
- Bake your first sorghum or millet creation today! Try one of the recipes mentioned in the article, or experiment with your own using the tips we shared.
- Share your baking triumphs (and challenges!) on BakeWithEase's social media channels—we'd love to see your creations!
- Discover even more gluten-free flour options and recipes by browsing our BakeWithEase blog.
What exciting gluten-free recipe are you going to try first?