
Temperature is Key: Troubleshooting Bread Rise Issues

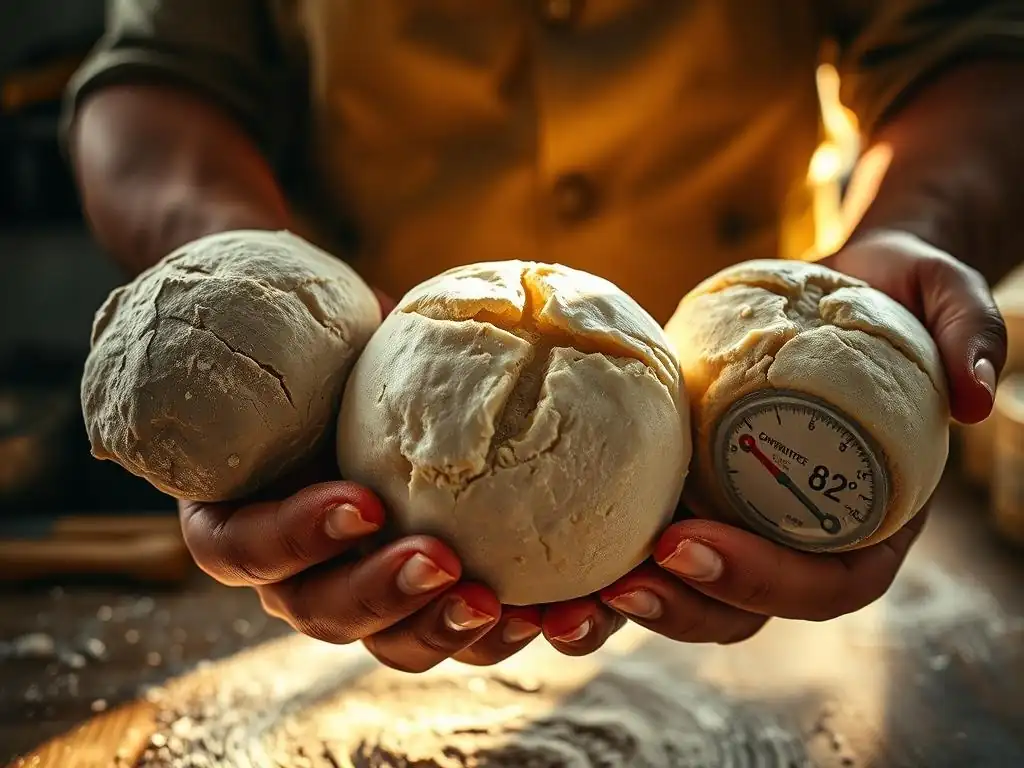
Welcome to BakeWithEase, your haven for unlocking baking success! Ever wondered why your bread stubbornly refuses to rise? This article dives deep into the crucial role of temperature, offering simple yet effective solutions. Discover the secrets to a perfect loaf and banish baking frustration forever. Let's get started!
- Why Bread Won't Rise: Understanding Common Causes
- Yeast Activity and Temperature: The Core of Bread Rising
- Dough Temperature: Achieving the Perfect Rise
- Environmental Factors Affecting Bread Rise
- Troubleshooting Specific Scenarios: Bread Rise Problems and Solutions
- Other Factors Influencing Bread Rise: Beyond Temperature
- Preventing Bread Rising Problems: Proactive Measures
- Conclusion: Mastering Bread Rising with Temperature Control
- Frequently Asked Questions
- Final Reflection: The Humble Rise—Unlocking Baking's Mysteries
- Unlock Your Baking Potential: Perfect Bread Every Time!
Why Bread Won't Rise: Understanding Common Causes
Understanding why bread won't rise is a common challenge for many bakers, but temperature is arguably the most critical factor. Yeast, the tiny microorganism responsible for the magic of fermentation and rise, is extremely sensitive to its environment, particularly temperature. If the temperature is too cold, the yeast becomes sluggish; too hot, and it can die. This delicate balance is fundamental to achieving that beautifully airy crumb and well-risen loaf.
Beyond temperature, other factors contribute to why bread won't rise, including the viability of your yeast, the hydration level of your dough, proper gluten development through kneading, and even the quality of your ingredients. However, when troubleshooting a flat, dense loaf, temperature is often the first variable to investigate because its impact on yeast activity is so direct and profound. Addressing temperature issues can solve many common problems bakers face.
The Importance of Temperature in Bread Rising
Temperature dictates the rate at which yeast ferments sugars in your dough, producing carbon dioxide gas. This gas is what creates the bubbles that make bread rise. At optimal temperatures, yeast activity is vigorous, leading to a steady and predictable rise. For example, many standard bread recipes suggest a bulk fermentation temperature range of 75-80°F (24-27°C), where active dry or instant yeast thrives, often resulting in the dough doubling in size within 1-2 hours.
Conversely, temperatures outside the ideal range dramatically alter fermentation speed. A dough proofing at a chilly 60°F (15°C) might take 3-4 hours or even longer to achieve the same rise as one at 75°F (24°C). If the temperature is too high, say above 130°F (54°C), the yeast cells are killed, halting gas production entirely and explaining precisely why bread won't rise in such conditions. Controlling temperature is not just about speeding up or slowing down the process; it's about ensuring the yeast is alive and working effectively.
Identifying the Root Cause of a Flat Loaf
When faced with a loaf that didn't rise, the first step is to consider the temperatures involved throughout your process. Did you use water that was too hot when activating your yeast? Was the room temperature significantly colder than recommended for the recipe? Perhaps you placed the dough near an open window or an air conditioning vent, exposing it to drafts or temperature fluctuations that inhibited yeast activity. These simple temperature checks can often pinpoint the issue when you're wondering why bread won't rise.
Another key area is the proofing environment. Was the dough left in a cold spot, like directly on a granite countertop in a cool kitchen? Or was it placed somewhere too hot, potentially killing the yeast? Consider the temperature of your ingredients themselves – cold flour and water will result in a cooler dough temperature, slowing fermentation. By systematically reviewing the temperatures at each stage – mixing, bulk fermentation, and final proofing – you can often identify the specific temperature-related reason why your bread didn't rise as expected.
Yeast Activity and Temperature: The Core of Bread Rising
Ideal Yeast Temperature for Optimal Fermentation
Active dry yeast typically requires activation in warm water before being added to dry ingredients. The ideal water temperature for this step is generally between 105-115°F (40-46°C). Water within this range awakens the yeast cells from their dormant state and allows them to begin multiplying and becoming active. Using water that is too cool might not activate the yeast effectively, while water that is too hot can damage or kill the delicate organisms, leading to a failed rise.
Once mixed into the dough, both active dry and instant yeast perform best within a dough temperature range of 75-85°F (24-29°C) for optimal fermentation speed. This range allows the yeast to consume sugars and produce carbon dioxide efficiently, resulting in a strong, steady rise. Many professional bakers target a specific 'desired dough temperature' within this range to ensure consistent results, understanding that even a few degrees difference can significantly impact the fermentation time and the final texture of the bread.
Testing Your Yeast's Viability: A Simple Guide
Before you even mix your dough, you can perform a quick test, often called "proofing the yeast," to check if your active dry yeast is still alive and active. Dissolve one packet (about 2.25 teaspoons or 7 grams) of active dry yeast in 1/4 cup (60ml) of warm water, ideally between 105-115°F (40-46°C). Stir in a pinch of sugar – the sugar provides food for the yeast, helping them wake up and become active.
After about 5 to 10 minutes, check the mixture. If the yeast is viable, it should have foamed up and developed a frothy layer on the surface, indicating that the yeast is actively producing carbon dioxide. If there is little to no activity, the yeast is likely dead or inactive, and using it will result in a loaf where the bread won't rise. In this case, it's best to discard the yeast and start with a fresh packet to avoid disappointment.
Cold Temperature Impact on Yeast: Slow Fermentation
Cold temperatures significantly slow down yeast activity. Yeast is a living organism, and like many biological processes, its metabolic rate decreases as the temperature drops. While cooler temperatures (say, 35-45°F or 2-7°C, like in a refrigerator) don't kill the yeast, they put it into a state of near-dormancy, drastically slowing fermentation. This is the principle behind 'cold proofing' or 'retarding' dough in the refrigerator overnight or even for a couple of days, which develops complex flavors but results in a very slow rise.
If your kitchen is cold, perhaps 60°F (15°C) or below, your dough will rise, but it will take considerably longer than most recipes indicate. A rise that might take 1.5 hours at 78°F (26°C) could easily take 3-4 hours or more at 60°F (15°C). This isn't necessarily a bad thing, as slow fermentation can enhance flavor, but it's a crucial factor to consider when troubleshooting why bread won't rise within the expected timeframe. Patience and adjusting rising times based on ambient temperature are key.
Hot Temperature Impact on Yeast: Killing the Yeast
While yeast loves warmth, it cannot tolerate excessive heat. Exposure to temperatures above approximately 130-140°F (54-60°C) will kill yeast cells. This is why using water that is too hot when activating active dry yeast is a common mistake leading to a failed rise. If the water feels uncomfortably hot to the touch, it's likely too hot for the yeast.
Another scenario where excessive heat kills yeast is proofing dough in an environment that's too hot. Leaving dough in a sunny car, on a hot stovetop, or in an oven that hasn't fully cooled down after baking can elevate the dough temperature quickly past the point of no return. Once the yeast is dead, it can no longer produce gas, and the dough will not rise, leaving you with a flat, dense result. Understanding this temperature threshold is vital for preventing a key reason why bread won't rise.
Dough Temperature: Achieving the Perfect Rise
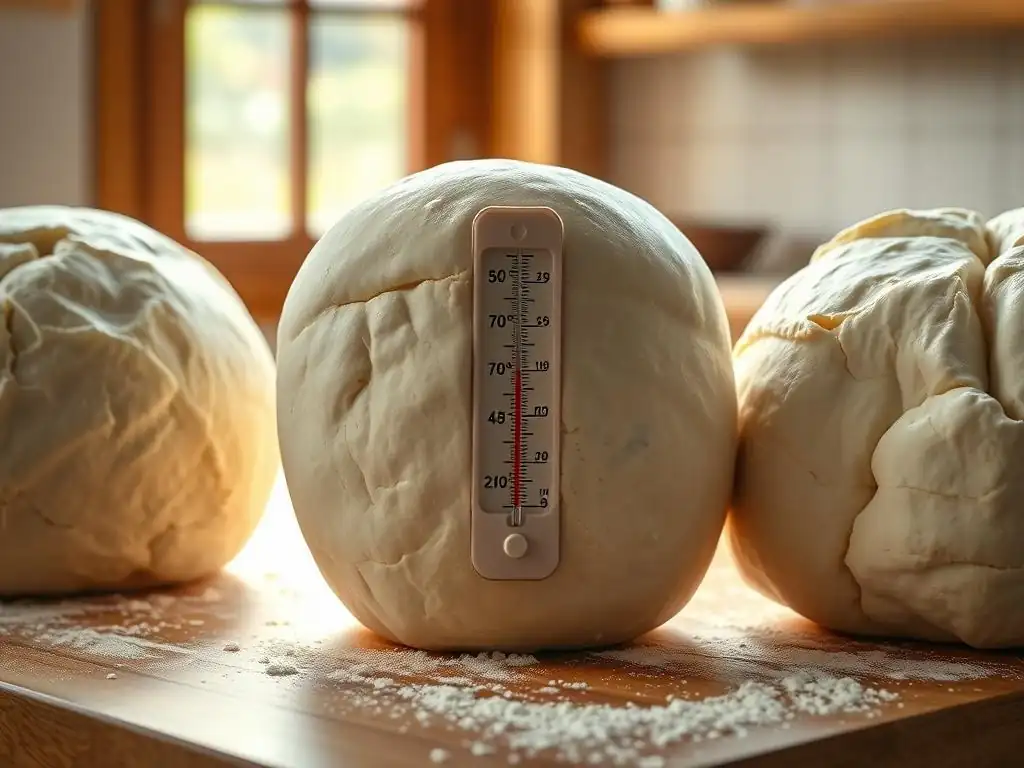
Measuring Dough Temperature: Essential Tools and Techniques
Precisely measuring your dough's internal temperature is a powerful technique for ensuring consistent and successful bread baking, helping you understand why bread won't rise if the temperature is off. The most effective tool for this is an instant-read thermometer or a dedicated dough thermometer. After mixing, and periodically during bulk fermentation, insert the thermometer probe into the center of the dough ball. Avoid touching the bottom or sides of the bowl, as these can give inaccurate readings based on the ambient temperature of the container.
Knowing your dough temperature allows you to make informed decisions about the environment needed for rising. If your target is 78°F (26°C) and your dough is only 70°F (21°C), you know you need to find a warmer spot for proofing or extend the rising time significantly. Conversely, if your dough is warmer than desired, you might need to find a cooler spot or shorten the rising time to prevent over-proofing. This simple measurement removes much of the guesswork from the fermentation process.
Adjusting Water Temperature to Control Dough Temperature
The temperature of the water you use to mix your dough is the most controllable factor influencing the initial dough temperature, which in turn affects why bread won't rise as expected. A common method to calculate the ideal water temperature is based on achieving a "desired dough temperature" (DDT). While precise formulas exist, a simple rule of thumb is that warmer water will result in warmer dough, and cooler water will result in cooler dough.
Consider the temperature of your flour and your room. If your flour and room are both cool, say 65°F (18°C), and you're aiming for a dough temperature of 78°F (26°C), you'll need to use significantly warmer water, perhaps around 90-100°F (32-38°C). If your flour and room are already warm, say 75°F (24°C), you might only need water around 80°F (27°C) to reach your target DDT. Experimenting and using a thermometer will help you dial in the right water temperature for your specific conditions.
Understanding the Impact of Room Temperature on Dough
The ambient temperature of your kitchen plays a significant, often underestimated, role in how your bread dough rises. A warm kitchen, ideally between 75-80°F (24-27°C), provides a favorable environment for yeast activity, leading to relatively quick and efficient fermentation. In such conditions, a typical dough might double in size in 1 to 2 hours during the initial bulk fermentation.
However, if your room temperature is cooler, say 60-65°F (15-18°C), the yeast will work much more slowly. The same dough might take 3 to 4 hours, or even longer, to achieve the desired rise. Understanding this relationship is key to troubleshooting why bread won't rise on schedule. Instead of relying solely on recipe timing, learn to judge the rise by the dough's appearance and feel, taking into account the temperature of your environment.
Environmental Factors Affecting Bread Rise
Proofing Environment: Creating the Ideal Warm and Humid Space
Creating an ideal proofing environment is crucial for a successful rise, especially when troubleshooting why bread won't rise properly. Yeast thrives in warmth, ideally between 75-85°F (24-29°C), but humidity is also beneficial. A humid environment prevents the surface of the dough from drying out and forming a skin, which can restrict the dough's ability to expand freely as the yeast produces gas.
To create this environment, you can lightly oil the dough and the inside of the bowl, then cover the bowl tightly with plastic wrap or a damp kitchen towel. This traps moisture released by the dough and prevents drying. Alternatively, using a dedicated proofing box or placing the dough in a slightly warm, humid place, such as a turned-off oven with the light on and a pan of hot water, can provide consistent conditions for optimal rising.
Drafts and Temperature Fluctuations: Avoiding Rise Inhibition
Yeast prefers a stable environment. Sudden drops in temperature or exposure to cold drafts can shock the yeast, significantly slowing down or even halting fermentation. Placing your dough near an open window, an air conditioning vent, or a drafty doorway can be a major reason why bread won't rise consistently or at all.
Ensure your dough is placed in a location free from drafts and significant temperature swings. A cupboard, a turned-off oven (as mentioned above), or even just a sheltered spot on the counter away from external influences can provide the stable temperature yeast needs to work its magic. Consistency in temperature is just as important as hitting the right temperature range initially.
Using Your Oven for Proofing: A Step-by-Step Guide
Your oven, when turned off, can be an excellent, draft-free environment for proofing bread dough, helping to ensure a consistent temperature and addressing a common reason why bread won't rise predictably. First, ensure the oven is completely turned off and has cooled down if it was recently used. Some ovens have a "Proof" setting, which maintains a low, consistent temperature (typically around 80-90°F or 27-32°C).
If your oven doesn't have a proof setting, you can often achieve a suitable temperature simply by turning on the oven light. The heat from the bulb is often enough to raise the internal temperature of the oven to a warm, but not too hot, range for yeast activity (check with a thermometer). For added humidity, place a pan of hot water on the rack below the dough. Place your covered dough in the oven, close the door, and let it rise undisturbed. Remember to remove the dough before preheating the oven for baking!
Troubleshooting Specific Scenarios: Bread Rise Problems and Solutions
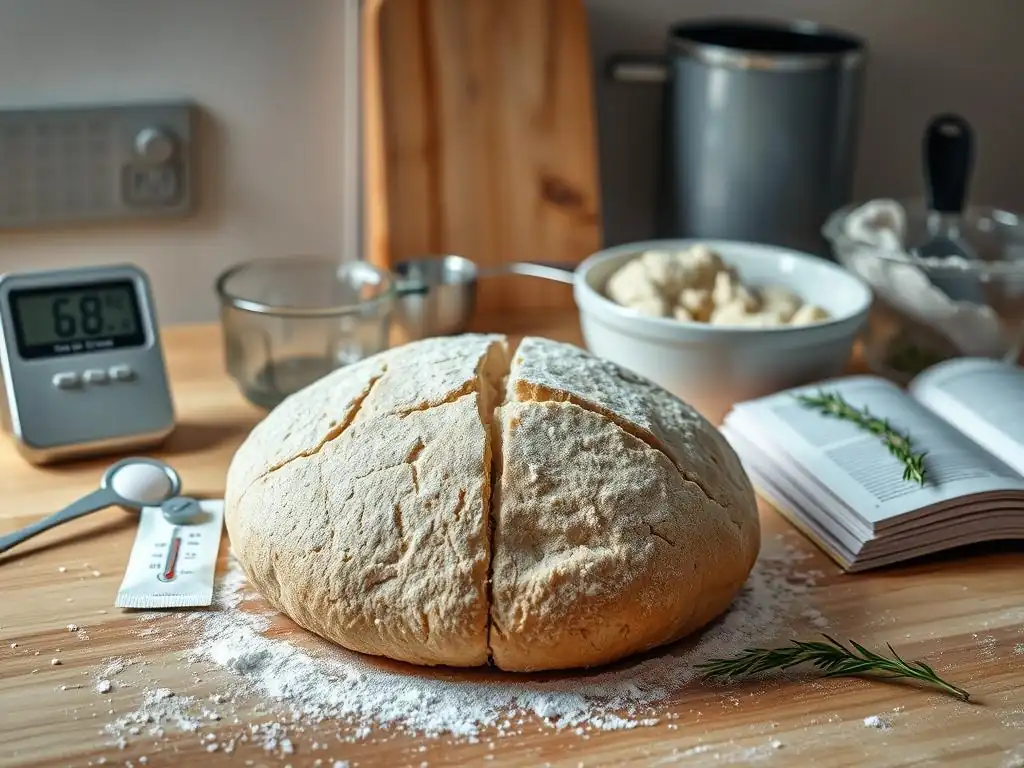
My Bread Dough Didn't Rise Overnight: What Went Wrong?
If your bread dough didn't rise overnight as expected, temperature is almost certainly the primary culprit. Overnight rises typically occur at cooler temperatures than standard counter-top proofing, often in a refrigerator or a very cool room (say, 50-60°F / 10-15°C). If your environment was colder than anticipated, the yeast activity would have been significantly slower, resulting in minimal or no visible rise. For instance, dough left at 40°F (4°C) in a cold garage won't show much activity compared to dough at 55°F (13°C).
Another possibility, especially if you intended a counter-top overnight rise in a cooler room, is that the yeast itself was inactive or insufficient for the long, slow fermentation. Old yeast or yeast killed by improper storage won't work regardless of temperature. Also, ensure you used enough yeast for the recipe's intended method – some long, slow recipes use less yeast than quick ones. Check your yeast's expiry date and consider proofing it first if unsure of its viability.
Sourdough Starter Not Active Enough: Temperature Considerations
A sluggish sourdough starter is a common reason why bread won't rise when using natural leavening, and temperature plays a huge role in starter activity. Sourdough starters are cultures of wild yeast and bacteria, and their metabolism is highly dependent on temperature. For robust activity and consistent rising power, starters generally perform best when maintained and fed at temperatures between 75-80°F (24-27°C).
If your starter seems inactive, consider where it's being stored and fed. Keeping it on a cold counter (e.g., 65°F / 18°C) will result in slower fermentation compared to a warmer spot. If you store your starter in the refrigerator (around 40°F / 4°C), it will be very dormant and will need several feedings at warmer temperatures over a day or two to become active enough to reliably leaven bread. Ensure your starter is consistently doubling or tripling in size within 4-8 hours after feeding at room temperature before using it for baking.
Dense Bread After Baking: Temperature Issues During Proofing
One frequent cause of dense bread, even if it seemed to rise a little, is insufficient proofing, often directly related to temperature. If the dough is too cold during the final proofing stage (after shaping), the yeast won't produce enough gas to create an open, airy structure before the loaf goes into the oven. The heat of the oven provides a final burst of activity ("oven spring"), but if the dough hasn't developed enough structure and gas beforehand, it won't expand adequately.
Ensure your final proofing environment is warm and consistent, ideally within the 75-85°F (24-29°C) range, and proof for the time recommended by the recipe, adjusting based on how the dough looks and feels (it should look visibly expanded and feel light). Under-proofing due to low temperature means the gluten structure hasn't been stretched enough by the gas, resulting in a tight, dense crumb. Conversely, over-proofing (often accelerated by too high temperatures) can cause the structure to collapse, also leading to density, but typically with larger, uneven holes.
Other Factors Influencing Bread Rise: Beyond Temperature
Gluten Development: Kneading and its Role in Rise
While temperature is critical for yeast activity, the dough's ability to capture the gas produced by the yeast depends on the development of gluten. Gluten is a protein network formed when two proteins in flour, glutenin and gliadin, combine with water and are agitated through kneading or folding. This network is elastic and extensible, allowing it to stretch and trap the carbon dioxide bubbles, causing the dough to rise.
If the dough is not kneaded or folded sufficiently, the gluten network will be weak and underdeveloped. Even if the yeast is active and producing gas at the perfect temperature, the dough won't have the structural integrity to hold onto the gas bubbles effectively. This results in a dough that might expand slightly but won't achieve the significant volume increase needed for a light, airy loaf, contributing to the problem of why bread won't rise properly.
Hydration Levels: Too Wet or Too Dry Dough
The amount of water (hydration) in your dough significantly impacts its consistency and, consequently, how it rises. A very dry dough, one with a low hydration percentage, can be stiff and resistant to expansion. The dense structure makes it harder for the gas bubbles to inflate the dough, potentially resulting in a less dramatic rise and a tighter crumb.
On the other hand, a dough that is too wet can be difficult to handle and may spread outwards rather than rising upwards. While high-hydration doughs like ciabatta can achieve incredible openness, they require specific techniques to manage their looseness. For standard loaves, striking the right balance of hydration is key to a dough that is extensible enough to rise well but has enough structure to hold its shape. Incorrect hydration can indirectly affect why bread won't rise optimally by impacting the dough's physical properties.
The Impact of Ingredients: Flour Type and Quality
The ingredients you use also play a role in how well your bread rises, even when temperature is controlled. Different types of flour have varying protein content, which affects gluten development. Bread flour, with its higher protein percentage (typically 12-14%), develops a stronger gluten network compared to all-purpose flour (around 10-12%), allowing for a better rise and structure. Whole wheat flour, while nutritious, contains bran particles that can interfere with gluten development, often resulting in slightly denser loaves unless specific techniques are used.
The quality and freshness of your yeast are paramount, as discussed earlier – expired or improperly stored yeast is a primary reason why bread won't rise. Salt is essential for controlling yeast activity and enhancing flavor, but too much salt can inhibit yeast and slow the rise. Sugar, in small amounts, can feed the yeast and boost activity, but excessive sugar can also slow fermentation by drawing water away from the yeast cells. Using fresh, high-quality ingredients is a foundational step for successful baking.
Preventing Bread Rising Problems: Proactive Measures
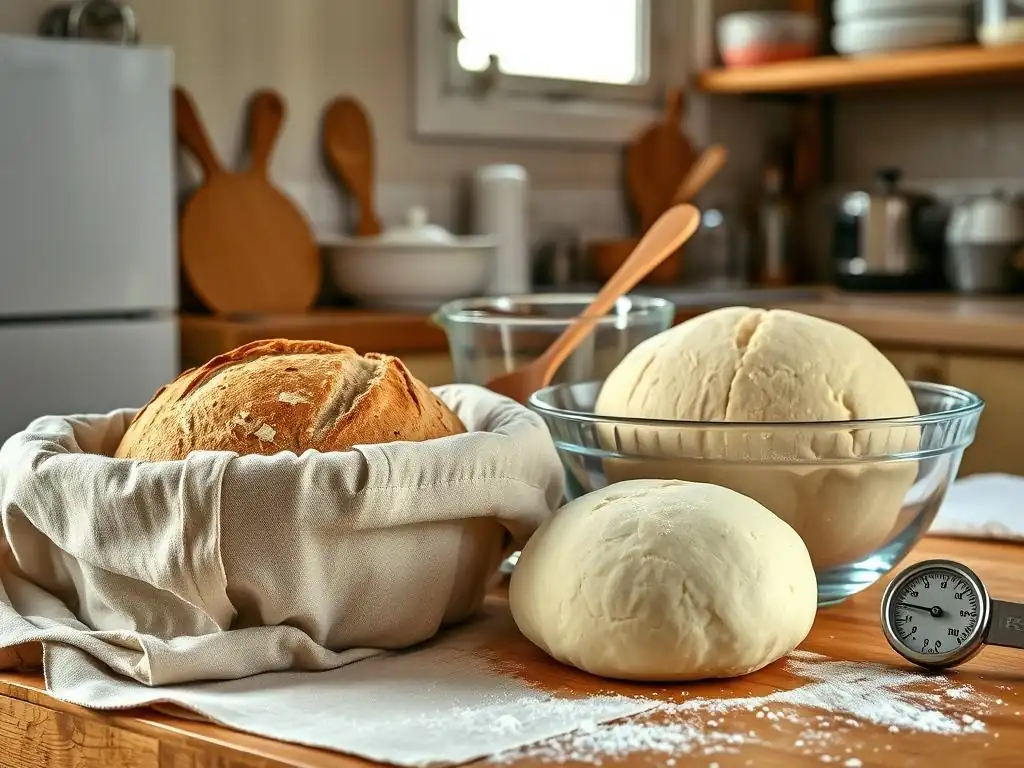
Maintaining Consistent Temperature: Tips and Tricks
Maintaining a consistent temperature throughout the bread-making process is perhaps the most effective proactive measure against a failed rise, ensuring why bread won't rise isn't a question you have to ask. Use a thermometer to check the temperature of your mixing water and, ideally, the dough itself. Aim for the recommended dough temperature range (typically 75-85°F / 24-29°C) for active fermentation.
Identify a warm, draft-free spot in your kitchen for proofing. This could be inside a turned-off oven with the light on, a microwave (turned off), a cupboard, or a dedicated proofing box. Avoid placing dough near cold windows, air vents, or drafty doors. If your kitchen is consistently cool, consider adjusting your rising times or finding warmer proofing locations to accommodate the slower yeast activity.
Accurate Measurements: The Key to Successful Baking
Accurate measurement of ingredients, especially flour and water, is fundamental to achieving the correct dough consistency, which indirectly supports a good rise. Using a kitchen scale to weigh ingredients is far more accurate than using volume measurements (cups), particularly for flour, which can be compacted to varying degrees. Even small variations in hydration can impact how the dough handles and rises.
Following recipe measurements precisely helps ensure the correct balance of ingredients, including the critical yeast-to-flour ratio and the salt content. Too little yeast, too much salt, or an incorrect flour-to-water ratio can all contribute to a poor or failed rise, independent of temperature issues. Precision in measurement sets the stage for successful fermentation.
Choosing Quality Ingredients: Ensuring Yeast Activity
Starting with fresh, high-quality ingredients is a simple yet crucial step in preventing rising problems. Always check the expiration date on your yeast and store it properly (usually in the refrigerator or freezer once opened). Using expired or improperly stored yeast is a leading cause of why bread won't rise.
Ensure your flour is fresh and stored in a cool, dry place. While flour doesn't technically "expire" quickly, very old flour can sometimes yield less predictable results. Using filtered water, free from high levels of chlorine which can potentially inhibit yeast, is also a good practice, though often tap water is perfectly fine. Quality ingredients provide the best foundation for healthy yeast activity and a successful bake.
Conclusion: Mastering Bread Rising with Temperature Control
Mastering bread rising often boils down to understanding and controlling temperature. Yeast is a living organism that thrives within a specific temperature range, and deviations outside this range are a primary reason why bread won't rise as expected. From the temperature of your mixing water to the ambient temperature of your proofing environment, every degree matters.
By using a thermometer, finding a warm, consistent spot for rising, and adjusting your process based on your kitchen's temperature, you gain significant control over fermentation. While other factors like gluten development and ingredient quality are important, addressing temperature issues is often the most impactful step in troubleshooting a flat loaf. With practice and attention to temperature, you'll be well on your way to consistently baking beautifully risen, airy bread.
Frequently Asked Questions
Why is temperature so important for bread to rise?
Temperature is crucial because yeast, the leavening agent in bread, thrives in specific temperature ranges. Too cold, and the yeast becomes dormant. Too hot, and the yeast dies, preventing a proper rise.
What's the ideal temperature range for bread dough to rise?
The ideal temperature range for proofing bread dough is typically between 70-80°F (21-27°C). This range allows the yeast to ferment effectively, producing carbon dioxide and causing the dough to rise.
How can I tell if my dough is rising properly?
You'll notice the dough increasing in volume. It should also feel lighter and airier than it did when you first mixed it. A properly risen dough will have a slightly sour, yeasty aroma.
What can I do if my kitchen is too cold for bread to rise?
You can create a warmer environment by placing the dough in a slightly warmed oven (turned off!), a microwave with a cup of hot water, or a proofer. These methods provide a consistent, gentle warmth to encourage yeast activity.
Can over-proofing cause my bread to not rise properly in the oven?
Yes, over-proofing can cause the dough to collapse before baking. This is because the yeast has exhausted its food source, and the gluten structure has weakened, resulting in a flat, dense loaf.
Final Reflection: The Humble Rise—Unlocking Baking's Mysteries
Temperature's subtle dance with yeast is the unsung hero (or villain!) of successful bread baking, and understanding this relationship is key to avoiding those deflated disappointments. The seemingly simple act of bread rising is a complex interplay of biological processes, and mastering temperature control unlocks a world of perfectly risen loaves. Ignoring this crucial element guarantees frustration, but understanding it empowers bakers of all levels.
The impact of consistent, accurate temperature control extends far beyond just a successful loaf; it speaks to the precision and patience required in many creative endeavors. It's a lesson in paying attention to the details, a reminder that even the smallest variables can have significant consequences. The difference between ordinary and extraordinary is that little extra.
– Jimmy Johnson. This quote, while not directly about baking, perfectly encapsulates the importance of meticulous attention to detail in achieving baking excellence, particularly when it comes to temperature management.
Now, I invite you to consider your own baking experiences. Have you noticed a pattern in your failures? Was it a consistently cold kitchen, a rushed proofing process, or perhaps an oven that runs too hot or too cold? Take this knowledge, this newfound understanding of temperature's crucial role, and apply it to your next baking adventure. Experiment, adjust, and most importantly, learn from each rise (or lack thereof). The journey of mastering bread baking is a rewarding one, filled with delicious discoveries and the satisfaction of creating something truly special from simple ingredients.
Unlock Your Baking Potential: Perfect Bread Every Time!
Thanks for taking the time to explore the secrets of perfect bread rise! We hope you gained valuable insights into troubleshooting those frustrating baking hiccups. Now it's time to put your new knowledge into action.
- Master your oven's temperature: Begin experimenting with slight adjustments (up or down by 10-15 degrees) to see how it impacts your bread's rise in your specific oven. This is the key takeaway to truly mastering your baking.
- Share your baking triumphs (or challenges!): Tell us about your experiences in the comments below – we love hearing from our community!
- Try our advanced bread-making techniques course: Take the next step and dive into more expert techniques to level up your baking game! (This could be an optional paid course for your website).
Ready to bake your best bread yet? What temperature adjustment will you try first?