
Troubleshooting Flat Ciabatta: Fix Your Loaf Today

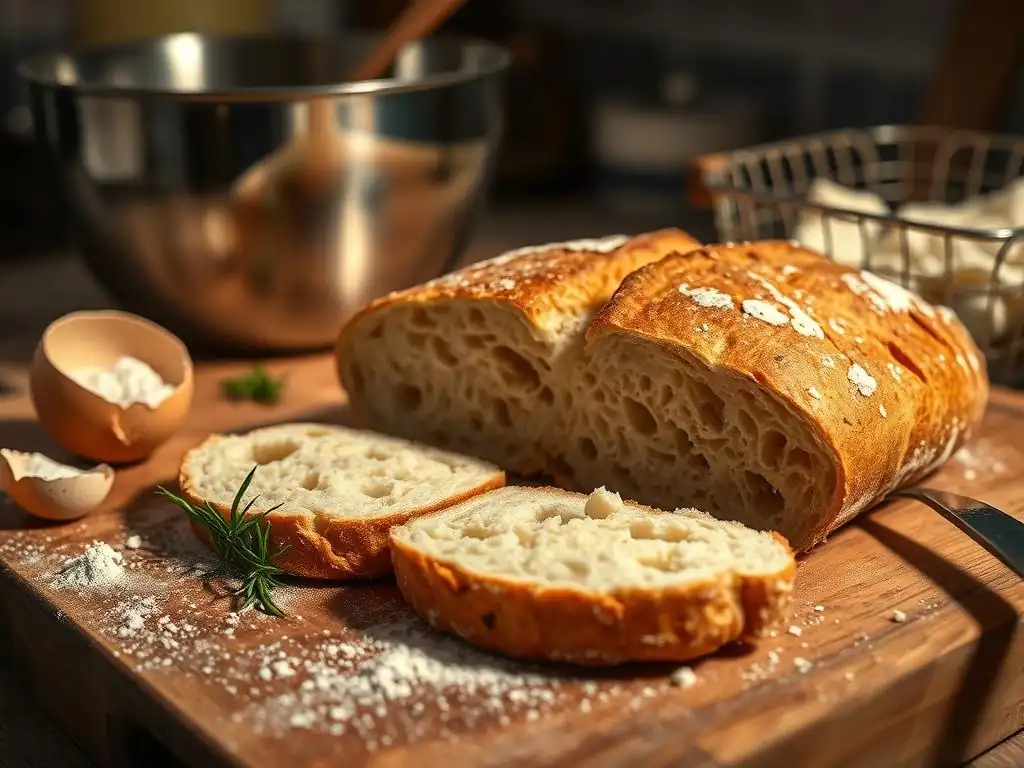
Welcome to BakeWithEase, your trusted companion in the delightful world of baking! Ever wondered why your Ciabatta bread won't rise? You're not alone! We're diving deep into the secrets behind that perfect, airy loaf, offering solutions and insights to rescue your baking endeavors. Get ready to troubleshoot and transform your flat dough into a masterpiece – let's get baking!
Ciabatta, the beloved Italian "slipper" bread, is known for its airy, open crumb and rustic crust. When your ciabatta bread won't rise, it can be incredibly frustrating. Instead of achieving that light, bubbly texture, you might end up with a dense, flat loaf. This common problem can stem from several factors in the baking process, but understanding the 'why' is the first step to fixing your flat ciabatta and achieving baking success. Don't despair; troubleshooting is part of the journey to mastering this rustic bread.
A flat ciabatta loaf often indicates an issue with the dough's ability to trap the gases produced during fermentation. Unlike denser breads, ciabatta relies heavily on a strong gluten network and vigorous yeast activity to create its characteristic irregular holes and volume. When one or both of these elements falter, the dough lacks the structure and lift needed to expand properly. Identifying the specific cause among the possibilities is crucial for preventing future disappointments and enjoying perfectly risen ciabatta.
- Understanding Why Your Ciabatta Bread Won't Rise
- Diagnosing the Cause of Your Flat Ciabatta
- Solutions for Ciabatta Bread That Doesn't Rise
- Preventing Future Ciabatta Bread Rising Problems
- Troubleshooting Checklist: Flat Ciabatta Edition
- Achieving the Perfect Ciabatta: A Summary of Key Takeaways
- Frequently Asked Questions
- Final Reflection: The Humble Rise of Ciabatta, and Yours
- Rediscover Your Baking Confidence: Perfect Ciabatta Awaits!
Understanding Why Your Ciabatta Bread Won't Rise
When you find your ciabatta bread won't rise as expected, it's usually a sign that one or more critical elements in the dough development or fermentation process didn't perform optimally. Ciabatta dough is notoriously high in hydration, often containing water that is 70% to 85% or even more of the flour's weight. This high hydration is key to the open crumb, but it also makes the dough slack and requires significant strength from the gluten network to hold its shape and trap gas. Without sufficient strength or gas production, the dough simply spreads out instead of rising up.
Furthermore, the fermentation process itself, driven by yeast, is responsible for producing the carbon dioxide that makes bread dough rise. If the yeast is inactive, the environment isn't right for it, or the fermentation time is incorrect, the dough won't leaven properly. A flat ciabatta is a direct consequence of insufficient gas production or a weak structure unable to contain that gas, leading to a dense or overly tight crumb instead of the desired airy texture.
Common Reasons for a Flat Ciabatta Loaf
Several common culprits can lead to your ciabatta bread not rising. One frequent issue is insufficient gluten development. Ciabatta requires a strong gluten network to support its high hydration and trap the large air pockets characteristic of this bread. If the dough isn't mixed or folded enough, or if a low-protein flour is used, the gluten structure will be weak, causing the dough to collapse or spread rather than rise. This is particularly challenging with wet doughs like ciabatta.
Another significant factor is yeast activity. If your yeast is old, expired, or killed by using water that is too hot, it won't produce the necessary carbon dioxide gas to leaven the dough. Similarly, improper proofing conditions—temperatures that are too cold or too hot, or proofing times that are too short or too long—can hinder yeast performance. Even seemingly minor factors like inaccurate ingredient measurements, especially the flour-to-water ratio, can drastically affect the dough's consistency and ability to rise.
The Role of Gluten Development in Ciabatta's Rise
Gluten development is arguably the most critical structural element for high-hydration doughs like ciabatta. Gluten, formed when water is mixed with the proteins (glutenin and gliadin) in flour, creates a network of elastic strands. This network gives the dough its strength and elasticity, allowing it to be stretched and folded without tearing. More importantly, it forms the tiny pockets that capture the carbon dioxide gas produced by the yeast during fermentation.
For ciabatta, which can have a hydration level of 80% or higher, a very strong gluten network is essential. This network must be robust enough to support the significant weight of the water and resist the outward pressure of the expanding gas bubbles. Insufficient kneading or folding results in a weak gluten structure that cannot hold its form, leading to a flat, dense loaf where the ciabatta bread won't rise properly. Think of gluten as the scaffolding that holds up the bread's volume.
Importance of Yeast Activity for Proper Ciabatta Proofing
Yeast is the engine of fermentation, converting sugars in the dough into carbon dioxide gas and alcohol. This gas is what causes the dough to rise, creating the light texture and open crumb desired in ciabatta. Proper yeast activity is therefore non-negotiable for successful ciabatta proofing and baking. Yeast is a living organism and requires specific conditions to thrive: food (sugars), moisture, and a suitable temperature range.
If the water used to activate or mix the yeast is too cold (below 70°F or 21°C), the yeast will be sluggish. If it's too hot (above 135°F or 57°C, though temperatures above 120°F or 49°C can start killing active dry yeast rapidly), it can kill the yeast entirely. Expired yeast also loses its potency. Without vigorous yeast activity producing sufficient gas, your ciabatta dough simply won't inflate, resulting in a flat loaf. The fermentation process also contributes significantly to the flavor and texture of the final bread.
Diagnosing the Cause of Your Flat Ciabatta
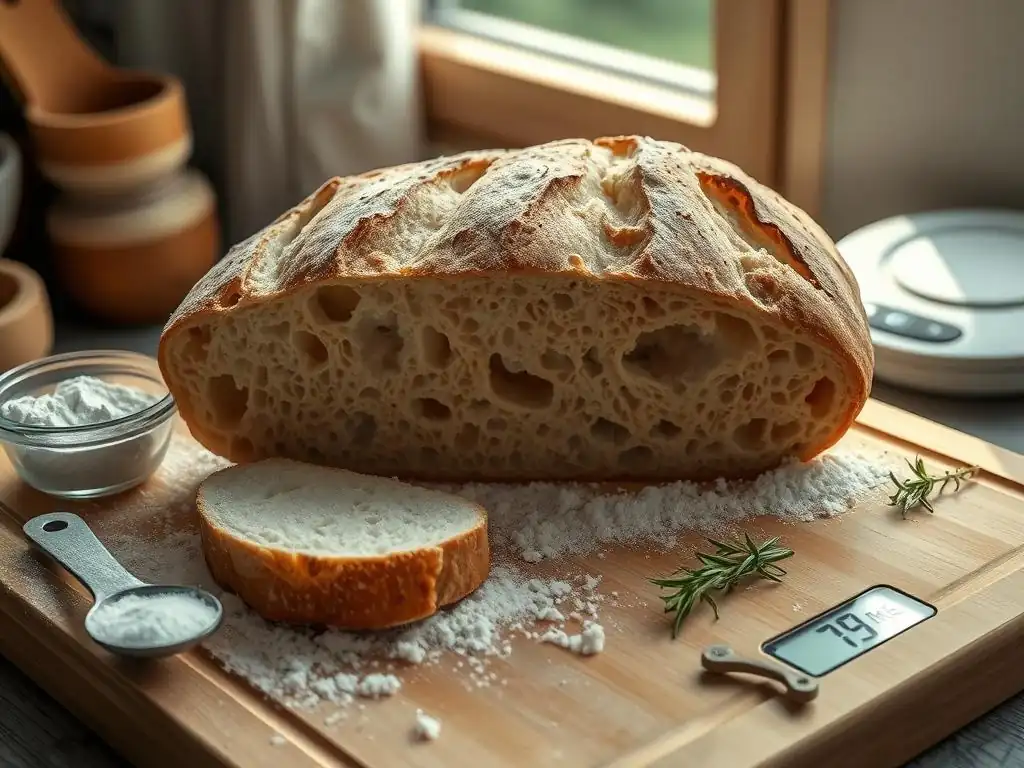
Pinpointing why your ciabatta bread won't rise requires a bit of detective work. You need to examine the evidence left by your dough and the conditions it was subjected to. Start by considering the state of your dough after mixing and throughout the proofing stages. Was it extremely sticky and difficult to handle, even more so than expected for high hydration? Did it gain any volume at all during bulk fermentation or proofing? These observations provide valuable clues about where things went wrong.
Evaluating your process step-by-step is key. Did you measure ingredients carefully? What was the temperature of the water you used? How long did you mix or knead the dough? What was the ambient temperature during proofing? By systematically reviewing each stage, you can often narrow down the potential causes. Don't overlook the simple things; sometimes the issue is as straightforward as old yeast or inaccurate measurements.
Evaluating Your Ciabatta Dough's Consistency
The consistency of your ciabatta dough offers significant insight into potential problems. Ciabatta dough is inherently wet and sticky, but it should still develop some structure and elasticity as gluten forms. If the dough remains a completely formless, soupy mass even after mixing and initial resting, it might be over-hydrated (too much water relative to flour) or lack sufficient gluten development. Conversely, if the dough feels stiff or difficult to stretch, it might be under-hydrated, which also hinders gluten development and gas expansion.
During mixing and folding, observe how the dough behaves. Does it resist tearing when stretched gently? Does it become smoother and more elastic over time? If it tears easily or remains shaggy and weak after significant handling, it indicates poor gluten development. This lack of structure means the dough won't be able to hold the gas produced by the yeast, inevitably leading to a flat ciabatta loaf.
Assessing the Proofing Environment for Ciabatta Dough
The temperature and humidity of the proofing environment play a major role in how well your ciabatta dough rises. Yeast is most active within a specific temperature range, generally between 70°F and 80°F (21°C to 27°C). If the environment is too cold, yeast activity slows significantly, leading to a very slow or stalled rise. If it's too hot, the yeast can become overly active initially but then exhaust its food supply too quickly or the dough might over-proof before developing adequate structure.
For ciabatta, which often undergoes a long, slow fermentation (sometimes overnight in the refrigerator), temperature control is critical. A cold fermentation develops flavor and structure gradually. If your kitchen is significantly colder than typical room temperature, proofing will take much longer, and impatience might lead to baking a dough that hasn't fully risen. Conversely, a very warm kitchen can cause the dough to rise too fast, potentially collapsing later due to a weak structure unable to keep up with the rapid gas production.
Checking the Yeast: Is Your Yeast Active Enough?
Inactive or dead yeast is a common culprit when your ciabatta bread won't rise at all. Yeast is a living organism, and its viability can decrease over time, especially if not stored properly (ideally in an airtight container in the refrigerator or freezer). Before adding yeast to your dough, particularly if you're using active dry yeast, it's a good practice to "proof" it first.
To check your yeast, dissolve the specified amount of active dry yeast in a small amount of warm water (around 105-115°F or 40-46°C) with a pinch of sugar. Let it sit for 5-10 minutes. If the mixture becomes foamy and bubbly, your yeast is active and ready to go. If nothing happens, the yeast is likely dead and needs to be replaced. Instant yeast doesn't strictly require this step as it can be mixed directly with dry ingredients, but checking its expiration date is still vital.
Solutions for Ciabatta Bread That Doesn't Rise
Once you've diagnosed the potential cause for your flat ciabatta, implementing targeted solutions can help salvage your current dough or prevent issues in future bakes. Addressing problems with gluten development, yeast activity, or hydration are the primary pathways to achieving that desired airy ciabatta crumb. Remember that baking is often about making small adjustments and observing their effects.
Even if your current loaf is destined to be flat, understanding why allows you to make informed changes for your next attempt. Sometimes, a slightly flat loaf is still perfectly edible and delicious, perhaps just not visually perfect. The process of troubleshooting builds your intuition as a baker, helping you recognize dough behavior and make real-time adjustments.
Improving Gluten Development for a Better Ciabatta Rise
A weak gluten network is a major reason ciabatta bread won't rise properly. Improving gluten development is crucial for building the structure needed to support the high hydration and trap gas. This is achieved through mechanical action (mixing/kneading) and time (autolyse and fermentation).
Techniques for Kneading Ciabatta Dough Effectively
Given ciabatta's high hydration, traditional kneading on a floured surface can be messy and difficult. Alternative techniques are often more effective. The "stretch and fold" method is ideal: wet your hands, grab a portion of the dough, stretch it upwards gently, and fold it back over the center. Rotate the bowl and repeat this process around the dough. Perform sets of stretches and folds (e.g., 4-8 folds per set) every 20-30 minutes during the initial bulk fermentation period. This builds strength without incorporating too much extra flour, which would lower hydration.
Using a stand mixer with a dough hook on a medium speed can also develop gluten efficiently for ciabatta dough, though it requires careful monitoring to avoid overmixing. Mix until the dough clears the sides of the bowl and becomes elastic, even if it still sticks to the bottom. Allow the dough to rest between mixing periods if needed.
The Windowpane Test: Ensuring Adequate Gluten Strength
The windowpane test is a classic method to assess gluten development. Take a small piece of dough and gently stretch it between your fingers. If the dough can be stretched thin enough to see light through it without tearing, it has developed sufficient gluten strength. It should look like a thin membrane or a "windowpane."
If the dough tears easily before becoming translucent, it needs more gluten development. This means more mixing, kneading, or additional sets of stretch and folds. Performing this test periodically during dough development helps you know when the gluten structure is strong enough to support a good rise and prevent your ciabatta bread from being flat.
Optimizing Yeast Activity for a Light and Airy Ciabatta
Ensuring your yeast is active and working efficiently is key to getting that airy ciabatta crumb. Yeast performance is highly dependent on temperature and the availability of food (sugars).
Adjusting Water Temperature for Yeast Activation
If you're using active dry yeast, the water temperature for activation is critical. Aim for water that feels warm but not hot to the touch, ideally between 105°F and 115°F (40°C to 46°C). Temperatures below this range will slow activation; temperatures above can kill the yeast. Use a thermometer for accuracy. Instant yeast is less finicky and can often be mixed directly with dry ingredients, but very cold or hot water in the recipe will still impact its activity.
For the main dough water, using lukewarm water (around 80-90°F or 27-32°C) can help kickstart fermentation, especially in cooler environments. However, for long, slow ferments (like an overnight cold proof), cooler water is fine as the yeast has more time to work.
Proper Proofing Times and Temperatures for Ciabatta
Proofing involves letting the dough rise in a controlled environment. Ciabatta often benefits from a long, slow bulk fermentation, sometimes 12-18 hours in a cool kitchen (around 65-70°F or 18-21°C) or refrigerator (38-45°F or 3-7°C). This develops flavor and structure. After dividing and shaping, the final proofing (before baking) is usually shorter, perhaps 1-2 hours, depending on the temperature.
Look for signs the dough is ready rather than strictly adhering to times. The dough should have significantly increased in volume (perhaps doubled or more during bulk fermentation) and feel airy. For the final proof, the loaves should look puffy and expanded. If the dough hasn't risen much during the prescribed time, give it more time, ensuring the environment is warm enough (75-80°F or 24-27°C is often good for final proofing). Under-proofing is a common reason ciabatta bread won't rise well in the oven.
Correcting Dough Hydration for a Successful Ciabatta Bake
Hydration level significantly impacts ciabatta dough consistency and requires accurate measurement. Too much water makes the dough too weak; too little makes it dense and hinders the open crumb.
Measuring Flour and Water Accurately
Baking, especially with high-hydration doughs like ciabatta, is a science, and accuracy matters. Weighing your flour and water using a digital kitchen scale is far more accurate than using volumetric cups. Flour can settle in cups, leading to inconsistent amounts. For example, 1 cup of all-purpose flour can weigh anywhere from 120g to 150g depending on how it's scooped and leveled. Using weights ensures you're hitting the target hydration percentage every time, reducing the likelihood of your ciabatta bread being flat due to incorrect ratios.
Most ciabatta recipes provide ingredient amounts by weight (grams or ounces). Stick to these measurements for best results.
Adjusting Hydration Levels Based on Flour Type
Different flours absorb water differently. Bread flour, with its higher protein content (typically 12-14%), absorbs more water than all-purpose flour (around 10-12% protein). If a recipe calls for bread flour at 80% hydration and you substitute all-purpose flour without adjustment, the dough might be too wet because the all-purpose flour can't absorb as much liquid.
Conversely, using a very high-protein or specialty flour might require slightly more water than the recipe states to achieve the correct consistency. Pay attention to the type of flour specified in the recipe and be prepared to make minor adjustments based on how the dough feels. It should be very wet and sticky but still show signs of structure developing during mixing and folding.
Preventing Future Ciabatta Bread Rising Problems
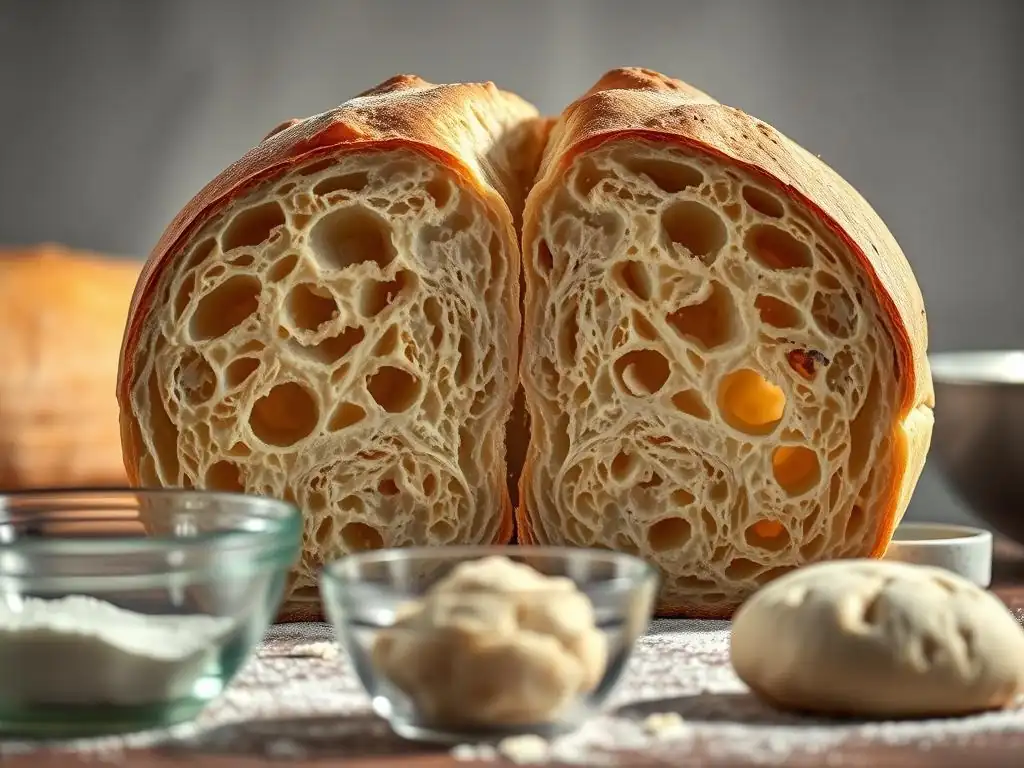
Consistency and careful technique are your best allies in preventing future instances where your ciabatta bread won't rise. By focusing on best practices during mixing, handling, and ingredient selection, you can significantly improve your chances of baking a beautiful, airy loaf every time. Developing muscle memory for the feel of properly developed dough and understanding the subtle signs of fermentation are skills that improve with practice.
Don't be discouraged by past failures. Each bake is a learning opportunity. By implementing reliable techniques and paying attention to the details, you'll build confidence and achieve more consistent results with your ciabatta.
Best Practices for Mixing Ciabatta Dough
Given the high hydration, ciabatta dough is often mixed using methods that minimize sticking and maximize gluten development. An initial autolyse phase (mixing just flour and water and letting it rest for 20-60 minutes) allows the flour to hydrate fully and gluten to start forming before yeast and salt are added. This makes subsequent mixing easier and more effective.
Whether using a mixer or hand-folding, aim for a dough that is visibly smoother and more elastic than when you started. It will still be very wet and sticky, but it should pull away from the sides of the bowl to some extent (in a mixer) or hold some shape between folds (by hand). Don't be afraid to mix for longer than you might for a lower-hydration dough, ensuring sufficient gluten development to prevent a flat ciabatta.
Mastering the Art of Ciabatta Folding Techniques
Folding is essential for developing strength and structure in high-hydration doughs like ciabatta without adding excess flour. During the bulk fermentation, performing several sets of stretch and folds at regular intervals (e.g., every 30-45 minutes for the first 2-3 hours) is crucial. This technique aligns the gluten strands, builds tension, and helps the dough hold its shape.
Wet your hands slightly before handling the dough to prevent sticking. Be gentle but firm as you stretch and fold, aiming to incorporate air and build tension. The dough should become progressively smoother, stronger, and more able to hold tension with each set of folds. Proper folding contributes significantly to the final volume and open crumb structure, reducing the chance your ciabatta bread won't rise.
The Importance of High-Quality Ingredients for Ciabatta Bread
The quality of your ingredients directly impacts the outcome of your ciabatta. Using a good quality bread flour with a protein content of 12-14% is highly recommended, as it provides the necessary gluten-forming proteins to handle the high hydration. All-purpose flour can work, but it's more challenging to achieve the same open crumb and structure, potentially leading to a flatter loaf.
Fresh, active yeast is non-negotiable. Check expiration dates and store yeast properly. Use filtered water if your tap water is heavily chlorinated, as chlorine can sometimes inhibit yeast activity. While less critical than flour and yeast, using good quality salt and ensuring it's properly dissolved and distributed also contributes to the dough's overall health and flavor.
Troubleshooting Checklist: Flat Ciabatta Edition
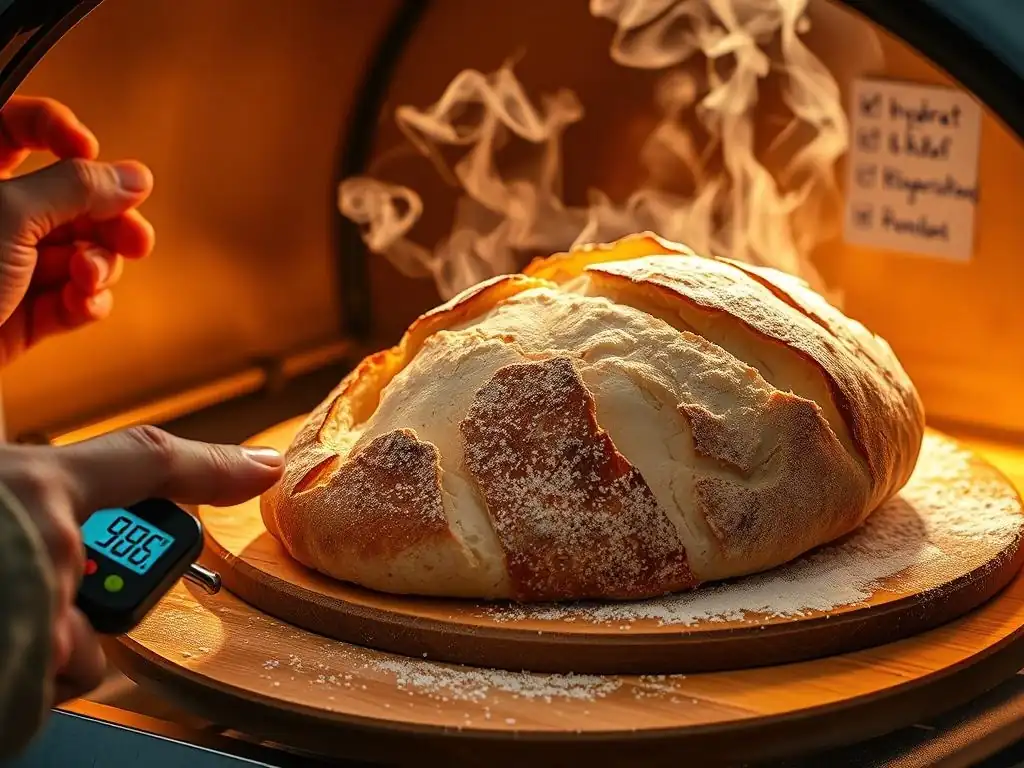
When your ciabatta bread won't rise, a systematic checklist can help you identify what might have gone wrong during your process. Go through each step of your recipe and compare it against ideal conditions and techniques. This helps pinpoint the deviation that led to the flat loaf.
- Did I weigh all ingredients accurately?
- Was the water temperature correct for the yeast?
- Is my yeast active and not expired?
- Did I use the correct type of flour?
- Was the dough mixed or folded enough to develop sufficient gluten?
- Was the proofing environment temperature suitable?
- Did the dough proof for the correct amount of time (or show the correct signs of readiness)?
- Was the oven preheated properly?
Checklist for Ciabatta Ingredients and Measurements
- [ ] Flour: Used high-protein bread flour (12-14%)?
- [ ] Flour Weight: Weighed flour accurately (grams)?
- [ ] Water Weight: Weighed water accurately (grams)?
- [ ] Yeast: Checked yeast expiration date?
- [ ] Yeast Activation: Used correct water temp (105-115°F for active dry)?
- [ ] Salt: Weighed salt accurately?
- [ ] Other Ingredients: Measured any other ingredients correctly?
Checklist for Ciabatta Dough Preparation and Proofing
- [ ] Mixing: Mixed until dough showed signs of gluten development (became smoother, pulled away from sides)?
- [ ] Autolyse (if used): Allowed sufficient rest time?
- [ ] Stretch & Folds: Performed enough sets of folds at regular intervals?
- [ ] Gluten Strength: Dough passes the windowpane test?
- [ ] Bulk Fermentation Temp: Was the environment temp correct (e.g., 65-75°F)?
- [ ] Bulk Fermentation Time: Did the dough double or show significant increase in volume?
- [ ] Dividing/Shaping: Handled dough gently to preserve air bubbles?
- [ ] Final Proof Temp: Was the environment temp correct (e.g., 75-80°F)?
- [ ] Final Proof Time: Did the loaves look puffy and airy before baking?
Checklist for Baking Ciabatta Bread to Perfection
- [ ] Oven Preheat: Did oven reach full temperature before loading bread?
- [ ] Baking Surface: Used a preheated baking stone or steel?
- [ ] Steam: Created sufficient steam in the oven for the initial phase of baking? (e.g., using a steam pan or ice cubes)
- [ ] Baking Temperature: Baked at the correct temperature (often high initially, e.g., 450-475°F)?
- [ ] Baking Time: Baked for the full recommended time until crust is golden brown and internal temp is ~200-210°F?
Achieving the Perfect Ciabatta: A Summary of Key Takeaways
Baking ciabatta successfully, with its signature open crumb and airy texture, is incredibly rewarding. When your ciabatta bread won't rise, it's usually down to one of three core issues: inadequate gluten development, insufficient yeast activity, or incorrect dough hydration. Mastering these elements is the path to consistently great results.
Remember that ciabatta is a high-hydration dough that requires patience and specific techniques like stretch and folds to build strength. Ensuring your yeast is active and proofing conditions are within the optimal temperature range are also vital. By paying attention to accurate measurements, using quality ingredients, and observing how your dough behaves at each stage, you can prevent most common problems and enjoy delicious, perfectly risen ciabatta loaves.
Key Factors for Ciabatta Success: Gluten, Yeast, and Hydration
- Gluten Development: Crucial for structure in high-hydration dough. Achieved through proper mixing/kneading and stretch & folds. A strong gluten network traps gases, enabling the dough to rise significantly. Aim for dough that passes the windowpane test.
- Yeast Activity: The engine of the rise. Use fresh, active yeast. Ensure water temperature is correct for activation and proofing environment is within the optimal range (70-80°F for active fermentation). Proper proofing time allows yeast to produce enough gas.
- Hydration: Ciabatta is high-hydration (often 75-85%+). Accurate measurement by weight is essential. Hydration impacts dough consistency and the potential for an open crumb. Adjust slightly based on flour type if needed.
From Flat to Fantastic: Your Ciabatta Transformation
Transforming your experience from flat, dense loaves to light, airy ciabatta is achievable with knowledge and practice. By understanding why your ciabatta bread won't rise and systematically addressing potential issues with gluten, yeast, and hydration, you gain control over the baking process.
Don't be afraid to experiment and adjust based on your specific ingredients and kitchen environment. Pay attention to the feel of the dough, the signs of active fermentation, and the visual cues of proper proofing. With each bake, you'll refine your technique and get closer to mastering this wonderful rustic bread. Enjoy the journey and the delicious results!
Frequently Asked Questions
Why is my ciabatta bread not rising?
The most common reason is inactive yeast or a proofing environment that's too cold. Also, using old flour can hinder the rise.
What type of flour is best for ciabatta to ensure a good rise?
Ciabatta requires a flour with high protein content, such as bread flour, to develop the gluten structure needed for a good rise.
How long should I proof my ciabatta dough?
Proofing time varies based on temperature, but generally, allow for at least 1-2 hours or until the dough has doubled in size. Watch the dough, not the clock!
What temperature should my water be when activating the yeast for ciabatta?
The ideal water temperature for activating yeast is between 105°F and 115°F (40°C and 46°C). Too hot will kill the yeast, and too cold won't activate it properly.
Can over-mixing the dough cause my ciabatta not to rise properly?
Yes, over-mixing ciabatta dough can develop the gluten too much, resulting in a dense and flat loaf. Ciabatta needs a light touch.
Final Reflection: The Humble Rise of Ciabatta, and Yours
The quest for the perfect ciabatta, that airy, open-crumbed masterpiece, often ends in frustration. Many bakers, even experienced ones, grapple with dough that refuses to rise to its full potential. This article has explored the common pitfalls—from hydration issues to fermentation failures—highlighting the crucial steps needed to achieve that signature ciabatta texture. But the journey to a successful loaf is more than just following a recipe; it's a journey of understanding.
The pursuit of the perfect ciabatta reflects a deeper human desire: the desire to create something beautiful and delicious from simple ingredients. It's a testament to the power of patience and precision, a reminder that even seemingly small details can have a profound impact on the final result. This process, with its inherent challenges and rewards, mirrors the complexities of life itself. As the renowned baker, Chad Robertson, once said: Baking is a metaphor for life. You put in the work, you wait patiently, and sometimes, you are rewarded with something truly extraordinary.
This sentiment resonates deeply with the experience of baking ciabatta, a bread that demands respect and attention but generously repays the effort.
So, the next time your ciabatta dough seems stubbornly uncooperative, remember the lessons learned here. Don't be discouraged! Embrace the challenge, analyze the process, and adjust your technique. Each failed attempt brings you closer to mastering this beautiful bread. You have the power to transform a dense, disappointing loaf into a light, airy triumph. The journey is as important as the destination, and the satisfaction of a perfectly risen ciabatta is a reward worth striving for.
Rediscover Your Baking Confidence: Perfect Ciabatta Awaits!
Thanks for joining us on this ciabatta journey! You've now gained valuable insights into troubleshooting those frustrating flat loaves. Ready to put your new skills to the test?
- Bake your best ciabatta yet: Try the recipe again, focusing on the hydration and proofing techniques we discussed. Note your adjustments and results.
- Share your ciabatta success (or even your flops!): Post a picture of your loaf on social media and tag us—we love seeing your creations!
- Challenge a friend to bake along: See who can achieve the most airy crumb!
What unique ingredient will you experiment with in your next ciabatta attempt?