
Troubleshooting Bread That's Too Crumbly

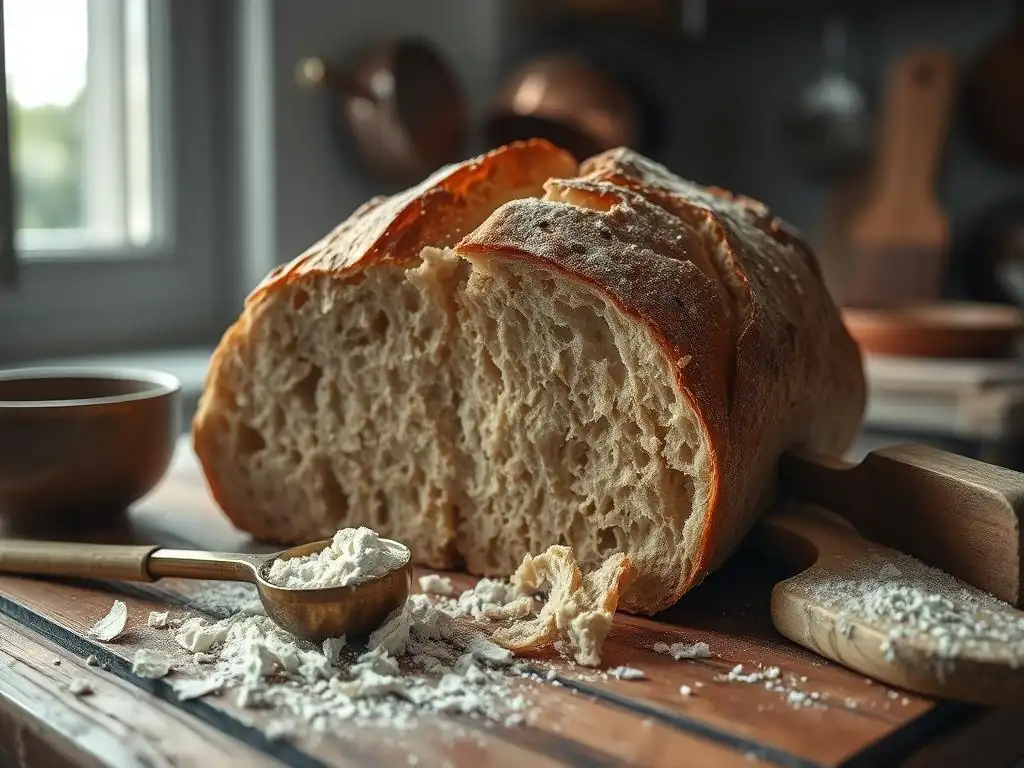
Welcome to BakeWithEase, your trusted companion on your baking journey! Ever wondered why your homemade bread sometimes ends up more crumbly than crusty? You're not alone! Dive into our latest article on crumbly bread troubleshooting tips and unlock the secrets to achieving that perfect, satisfying slice. Let's banish bread crumbs and bake with confidence!
- Bread Troubleshooting Guide: Achieving the Perfect Crumb
- Understanding Crumb Structure
- Solutions for Improving Crumb
- Ingredient Selection for Better Crumb
- Troubleshooting Specific Bread Types
- Best Practices for Consistent Results
- Troubleshooting Checklist
- Frequently Asked Questions
- Final Reflection: The Unexpected Joys of a Crumbly Loaf
- Unlock Your Perfectly Crusty Loaf!
Bread Troubleshooting Guide: Achieving the Perfect Crumb
A beautiful, open, and tender crumb is the hallmark of well-baked bread. Conversely, a dense, tight, or crumbly texture can be disheartening. If you're finding your bread falling apart or feeling dry and cake-like, you're likely searching for crumbly bread troubleshooting tips. This guide will walk you through the common culprits and provide actionable solutions to help you achieve that ideal structure every time you bake.
Understanding Crumb Structure
The crumb, or the interior texture of bread, is formed by a network of gluten or alternative structure-building ingredients that trap gases produced during fermentation. This network creates the characteristic holes and airy texture we desire. Factors like ingredient ratios, mixing, fermentation, and baking all play critical roles in developing this internal architecture. Understanding these fundamentals is the first step in fixing crumbly bread.
Common Causes of Poor Crumb: Baking Mistakes and Environmental Factors
Several issues can lead to a tight, dense, or crumbly bread texture. Often, it's a combination of factors rather than a single error. One frequent cause is insufficient liquid; dough that is too dry will not allow gluten to develop properly, resulting in a tight structure that breaks easily. For instance, a recipe calling for 60% hydration (60g water per 100g flour) might yield a much drier dough than intended if flour absorbency varies or if liquid is lost during mixing.
Another significant factor is under-kneading. Gluten needs sufficient manipulation to form a strong network. If the dough isn't kneaded enough, the structure won't be strong enough to hold the gases produced by yeast, leading to a dense crumb that can feel crumbly. Similarly, over-proofing can cause the gluten structure to collapse, resulting in a heavy, dense loaf that might seem dry even if properly hydrated. Environmental conditions like cold room temperature can slow fermentation significantly, requiring longer proofing times than a recipe might state, potentially leading to under-proofed dough if not adjusted.
Gluten Development: Its Role in Bread Structure and How to Achieve It
Gluten is the protein network formed when gliadin and glutenin, found in wheat flour, combine with water and are developed through mixing or kneading. This elastic network is crucial because it traps the carbon dioxide gas produced by yeast, causing the dough to rise and creating the characteristic airy structure of bread. Without sufficient gluten development, the dough lacks the strength and elasticity needed to hold its shape and volume during proofing and baking, often resulting in a dense or crumbly bread.
To achieve optimal gluten development, proper kneading is essential. Whether by hand or with a stand mixer, the dough needs to be worked until it becomes smooth, elastic, and passes the windowpane test (where a small piece can be stretched thinly without tearing).
For example, a typical enriched dough might require 8-10 minutes of kneading on medium speed in a stand mixer, while a lean dough could take 10-12 minutes or more. Resting periods (autolyse or bulk fermentation) also contribute to gluten development by allowing the flour to fully hydrate and enzymes to begin breaking down proteins, making kneading more efficient.
Hydration: Balancing Moisture for Optimal Texture
Hydration refers to the ratio of water to flour in a bread dough, typically expressed as a percentage (e.g., 65% hydration means 65g of water per 100g of flour). This is a critical factor influencing dough consistency, handling, and ultimately, the bread's crumb structure.
Doughs with higher hydration (like ciabatta at 80%+) tend to produce breads with more open, airy crumbs, while lower hydration doughs (like bagels at 50-55%) result in denser textures. If your dough is too dry (low hydration), the gluten network cannot fully form and expand, leading to a tight, compact crumb that breaks easily, contributing to a crumbly bread issue.
Finding the right hydration level is key to troubleshooting crumbly bread. It's not just about the percentage in the recipe; flour type significantly impacts how much water it can absorb. Whole wheat flour, for instance, absorbs more water than white all-purpose flour due to its bran and germ content.
Environmental humidity can also play a small role. A dough that feels stiff and dry during kneading, resisting stretching and tearing easily, is likely under-hydrated. Adjusting hydration involves adding water gradually during the initial mixing or kneading phase until the dough reaches the desired consistency – pliable, slightly sticky, and able to stretch without immediate tearing.
Solutions for Improving Crumb
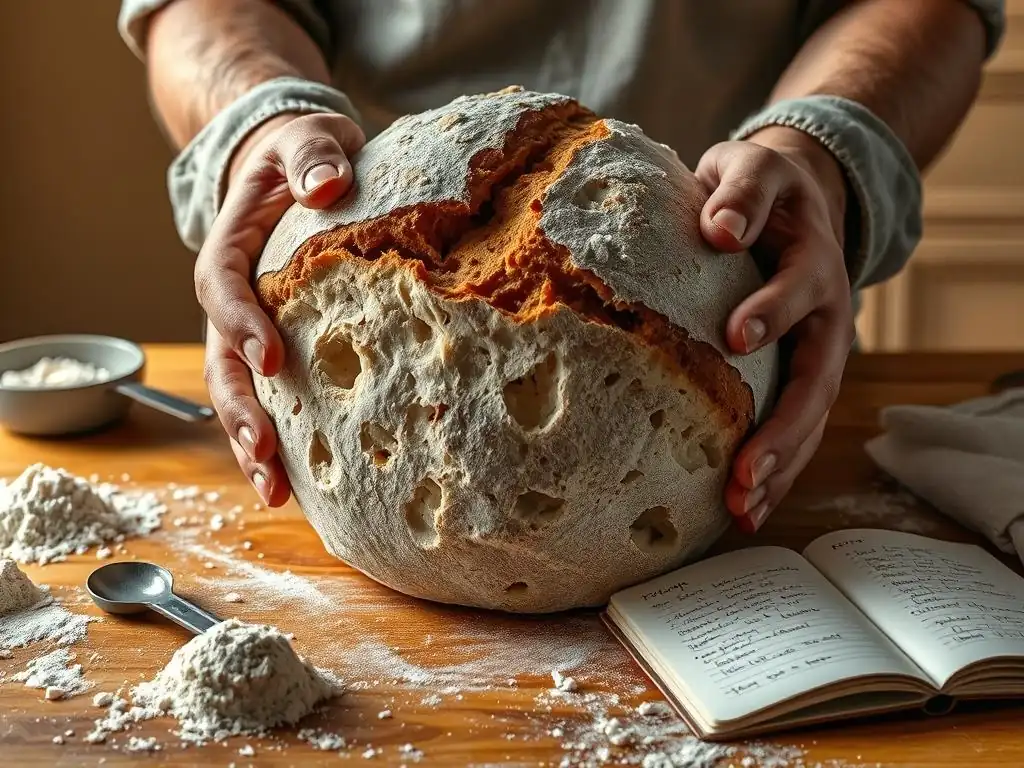
Addressing the root causes of poor crumb involves making specific adjustments to your baking process. Implementing these solutions systematically can significantly improve the texture and structure of your loaves.
Adjusting Hydration: Finding the Right Dough Consistency
If your bread consistently turns out dry and crumbly, increasing the hydration is often the most direct solution. Start by adding just a few extra grams of water (perhaps 1-2% of the flour weight) to your recipe during the initial mixing phase. Observe how the dough feels – it should be moist and somewhat sticky, but still manageable. For instance, if your standard recipe uses 500g flour and 300g water (60% hydration), try increasing the water to 310-315g (62-63% hydration) and see if the dough feels more pliable and less prone to tearing.
Remember that adding more water will make the dough stickier and potentially harder to handle, especially initially. This is where kneading techniques become important. Don't be afraid of sticky dough; with proper kneading or techniques like stretch-and-folds during bulk fermentation, it will become less sticky as gluten develops.
If you're unsure, add water in small increments (a tablespoon at a time for a standard loaf) until the dough feels right – hydrated enough to be extensible but not so wet it won't hold shape at all. This iterative process helps you understand the ideal hydration for your flour and environment, providing effective crumbly bread troubleshooting tips.
Kneading Techniques: Developing Strength and Elasticity
Proper kneading is fundamental to developing the gluten structure that prevents crumbly bread. The goal is to align the gluten strands into a strong, elastic network. For manual kneading, this involves rhythmic pushing, folding, and turning the dough for a sustained period, typically 15-20 minutes, until it becomes smooth and passes the windowpane test. Using a stand mixer is often more efficient; 8-12 minutes on medium speed can achieve sufficient development for many doughs.
Beyond initial kneading, techniques like stretch-and-folds during bulk fermentation can further strengthen the gluten network, especially for higher hydration doughs. Performing a set of folds every 30-45 minutes during the first hour or two of fermentation helps build tension and structure without aggressive kneading. For example, with a wetter dough, you might perform 3-4 sets of stretch-and-folds over a two-hour period. This gentle development allows the dough to build strength gradually, leading to a more robust structure capable of supporting a lighter, airier crumb and preventing that undesirable crumbly texture.
Proofing: Achieving Proper Fermentation
Proofing, the final rise of the dough before baking, is where the yeast produces most of the carbon dioxide gas that gives bread its volume and internal structure. Proper proofing is crucial; both under-proofing and over-proofing can lead to a dense, tight, or crumbly bread texture. The dough should increase significantly in size, typically doubling or nearly doubling, depending on the recipe and desired outcome. The "poke test" is a reliable indicator: gently press a floured finger into the dough about half an inch deep.
If the indentation springs back slowly, leaving a small mark, the dough is likely properly proofed. If it springs back immediately, it needs more time. If it doesn't spring back at all and the dough deflates slightly, it's likely over-proofed.
Temperature plays a significant role in proofing speed. A dough might double in size in 1-1.5 hours at a warm room temperature (around 75-80°F or 24-27°C), but could take 2-3 hours or longer at a cooler temperature (68-72°F or 20-22°C). Paying attention to the dough's visual cues and the poke test, rather than strictly adhering to time, is key. Adjusting proofing time based on temperature and dough activity is a critical crumbly bread troubleshooting tip.
Over-Proofing: Identifying and Preventing Collapse
Over-proofing occurs when the yeast has produced too much gas, and the gluten structure, having been stretched to its limit, begins to weaken and collapse. An over-proofed dough will often look puffy and swollen, but feel fragile and may deflate slightly when touched. The poke test will show an indentation that remains fully or mostly sunken. Baking an over-proofed loaf typically results in poor oven spring (little to no rise in the oven), a dense structure, and sometimes a gummy texture, which can feel crumbly once cooled and dried slightly.
To prevent over-proofing, monitor your dough closely, especially in warmer conditions. Use the poke test as your primary guide. If you suspect your dough is proofing too quickly, you can slow it down by placing it in a cooler spot or even briefly in the refrigerator. If a dough is significantly over-proofed and has started to collapse, you might be able to gently reshape it (this will degas it somewhat) and give it a much shorter second proofing time (perhaps 15-30 minutes) before baking, though the final loaf structure may still be compromised.
Under-Proofing: Ensuring Sufficient Rise
Under-proofing means the dough hasn't had enough time for the yeast to produce sufficient gas, or for the gluten structure to relax and expand properly. An under-proofed dough will appear dense and tight, with little increase in volume. The poke test will show an indentation that springs back almost immediately. Baking an under-proofed loaf results in poor volume, a dense, tight crumb with small, uneven holes, and a thick, sometimes tough crust. This dense interior can often feel heavy and contribute to a perceived crumbly bread texture because the structure is so compact.
To ensure sufficient proofing, allow the dough ample time to rise according to the recipe and the environmental temperature. Ensure your yeast is active. If using active dry yeast, proof it in warm water before adding to the flour. Place the dough in a warm, draft-free spot. Again, rely on visual cues (significant volume increase) and the poke test. If your dough feels dense and springs back immediately during the poke test, give it more time, checking every 15-20 minutes until it passes the test. Patience during proofing is essential for achieving a light, airy crumb.
Baking Temperature and Time: Optimizing for Doneness
The baking process is where the dough's structure is set. Insufficient baking time or an incorrect oven temperature can leave the interior of the bread undercooked and moist, while the exterior might seem done. An undercooked center can lead to a dense, gummy texture that feels crumbly or wet. On the other hand, over-baking can dry out the interior excessively, also resulting in a dry, crumbly crumb. Achieving the correct balance is crucial for a well-set structure.
Most lean bread recipes call for high initial temperatures (e.g., 450-475°F or 230-245°C) to promote good oven spring before potentially reducing the temperature to finish baking. Enriched doughs or those with fillings often bake at slightly lower temperatures (e.g., 375-425°F or 190-220°C) to prevent burning. The total baking time varies significantly with loaf size and shape, but a typical loaf might bake for 30-45 minutes.
Oven Temperature Accuracy: Ensuring Consistent Baking
One common issue contributing to inconsistent baking results and potential crumbly bread is an inaccurate oven thermostat. Many home ovens can be off by as much as 25-50°F (15-30°C). If your oven runs cooler than the setting, your bread will bake slower and might not reach the proper internal temperature in the time specified by the recipe, leading to undercooked areas. If it runs too hot, the crust might burn before the interior is fully cooked.
Using an inexpensive oven thermometer placed inside your oven is a simple yet effective crumbly bread troubleshooting tip. This allows you to see the actual temperature and adjust your oven setting accordingly. If your oven consistently reads 25°F low, preheat it to 425°F when the recipe calls for 400°F. Preheating the oven sufficiently (often 20-30 minutes after it reaches the set temperature) is also vital, especially when using baking stones or Dutch ovens, which need time to absorb and radiate heat effectively.
Internal Temperature: A Key Indicator of Doneness
While visual cues like a golden-brown crust and a hollow sound when tapping the bottom are helpful, the most reliable way to determine if bread is fully baked is by checking its internal temperature. Bread is generally considered done when the internal temperature reaches 200-210°F (93-99°C). This temperature range ensures that the starches are fully gelatinized and the gluten structure is set throughout the loaf, preventing a gummy or undercooked interior that could contribute to a crumbly texture.
Using an instant-read thermometer is highly recommended for consistent results. Insert the probe into the thickest part of the loaf, avoiding any large air pockets. If the temperature is below the target range, return the bread to the oven for a few more minutes, checking again. For example, if your loaf only reaches 190°F (88°C) after the recommended baking time, it likely needs another 5-10 minutes. Relying on internal temperature takes the guesswork out of baking time and is a crucial step in perfecting your crumb and applying effective crumbly bread troubleshooting tips.
Ingredient Selection for Better Crumb
The ingredients you choose significantly impact the final texture of your bread. Understanding how different flours, fats, and sweeteners behave can help you select the best options for your desired result and address potential crumb issues.
Flour Type: Choosing the Right Flour for Your Desired Result
The type of flour is arguably the most important ingredient affecting bread structure. Different flours have varying protein levels and absorbency rates, which directly influence gluten development and hydration needs. For example, bread flour, with its higher protein content (typically 12-14%), is ideal for creating strong, elastic doughs needed for crusty loaves and airy sandwich breads. All-purpose flour (10-12% protein) is more versatile but may result in a slightly less structured crumb. Cake flour (7-9% protein) is very low in protein and unsuitable for most yeast bread as it won't develop enough gluten, leading to a cake-like, crumbly texture.
Using the incorrect flour type for a recipe can be a major source of crumb problems. If a recipe calls for bread flour and you use all-purpose, you might need to knead longer or adjust hydration slightly to compensate for the difference in gluten potential. Conversely, using bread flour in a recipe designed for lower-protein flour could result in a tough loaf. Choosing a flour with adequate protein for gluten formation is a fundamental crumbly bread troubleshooting tip.
Protein Content: Impact on Gluten Formation
The protein content of flour directly correlates with its ability to form gluten. Flours with higher protein levels, like bread flour, contain more of the proteins (gliadin and glutenin) that combine with water to create the strong, extensible gluten network. This robust network is essential for trapping gases during fermentation and supporting a well-risen loaf with an open, chewy crumb. A flour with insufficient protein, such as cake flour, will produce a weak gluten network, resulting in a dense loaf that crumbles easily.
Understanding the protein content of your flour is key to predicting its behavior. For instance, using a high-protein flour around 13% protein will allow you to develop a much stronger dough structure than using a lower-protein all-purpose flour around 10.5%. If you consistently struggle with crumbly bread, ensuring you are using a flour with adequate protein for the type of bread you are making is a vital step in your troubleshooting process.
Fat Incorporation: Adding Tenderness and Richness
Fats, such as butter, oil, or eggs, are often added to enriched bread doughs like brioche, challah, or sandwich bread. While they add richness and flavor, fats also interact with gluten development. Fats coat the protein strands, inhibiting their ability to fully bond and form a strong network. This doesn't mean fat is bad; in these types of bread, the aim isn't a super-chewy, open crumb like a baguette, but rather a softer, more tender texture.
Adding too much fat to a lean dough recipe (like a standard rustic loaf) can interfere with gluten development to the point where the structure is weakened, potentially leading to a denser, more crumbly loaf than intended. Conversely, including a moderate amount of fat (e.g., 2-5% of flour weight) in a sandwich bread recipe helps tenderize the crumb, preventing it from being tough and contributing to a pleasant, soft texture that doesn't crumble. The key is using fat appropriately for the type of bread you are making.
Sweeteners: Enhancing Moisture and Flavor
Sweeteners like sugar, honey, or molasses are often added to bread doughs not just for flavor, but also because they affect the dough's structure and moisture. Sugar is hygroscopic, meaning it attracts and retains moisture. This property helps keep the finished bread softer and extends its shelf life by preventing it from drying out quickly. Sugar also competes with yeast for water, which can slightly slow fermentation, but this is usually manageable in standard recipes.
In enriched doughs, sugar contributes to a softer crumb. A recipe with 5-10% sugar (relative to flour weight) will typically yield a loaf with a much softer, more tender interior than a lean loaf with no sugar. If your bread is consistently dry and crumbly, and your recipe includes minimal or no sugar, consider adding a small amount (1-2%) in your next attempt. This can help retain moisture in the final product, addressing dryness which is a common factor in crumbly bread issues.
Troubleshooting Specific Bread Types
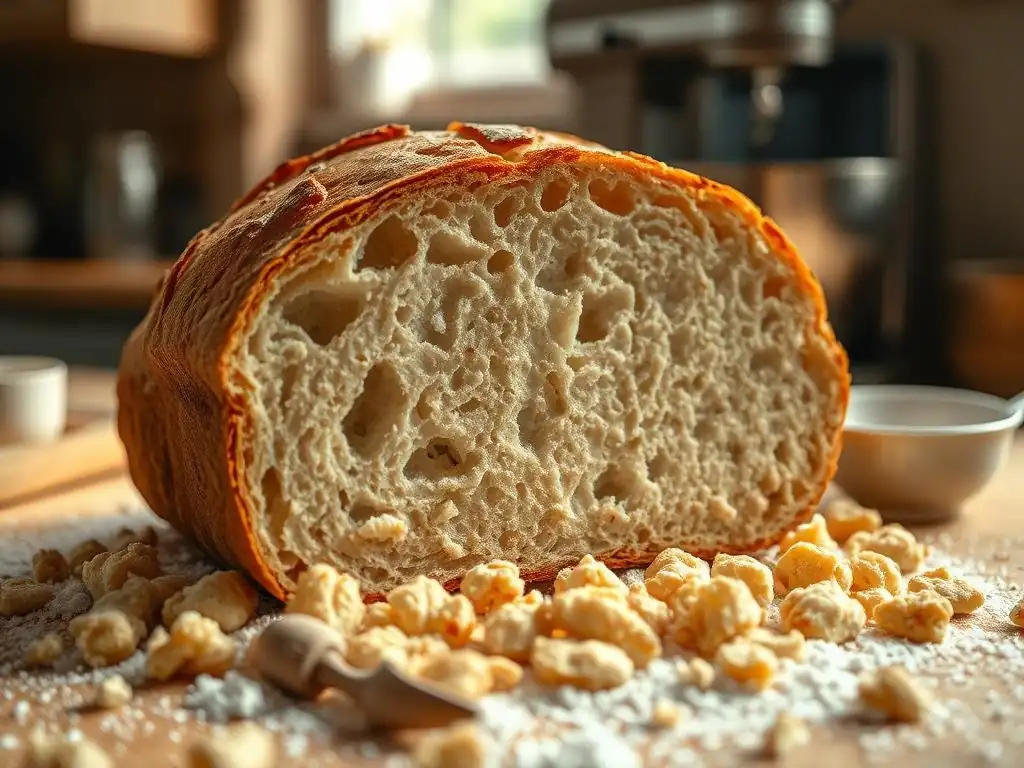
Different types of bread present unique challenges when it comes to crumb structure. Let's look at some specific examples and how to tackle their common crumb problems.
Sourdough: Addressing Tight or Gummy Crumb
Sourdough bread, with its characteristic tangy flavor and open crumb, relies on a wild yeast and bacteria culture (starter) for leavening. Common crumb issues in sourdough include a tight, dense crumb or a gummy texture. A tight crumb often results from insufficient proofing or a weak starter that didn't produce enough gas. The acidity of sourdough can also affect gluten structure; an overly acidic dough (often from over-fermenting the starter or dough) can degrade gluten, leading to a dense or slightly gummy texture.
To improve sourdough crumb, ensure your starter is active and robust before baking – it should double or triple in size and be bubbly. Pay close attention to bulk fermentation and proofing times, relying on visual cues (dough volume increase by 50-100%) and the poke test, rather than strict timing.
For example, if your recipe suggests a 4-hour bulk ferment, but your dough hasn't increased significantly and still feels dense, give it more time, checking every 30 minutes. Using strong bread flour (12.5-14% protein) also helps build a robust gluten network capable of handling the acidity and producing a more open crumb, effectively addressing potential crumbly bread tendencies.
Whole Wheat: Achieving a Light and Airy Texture
Baking with 100% whole wheat flour can be challenging because the bran and germ particles interfere with gluten development, often resulting in a denser loaf compared to white bread. If your whole wheat bread is coming out heavy and crumbly, it's likely due to insufficient gluten development or hydration. Whole wheat flour absorbs more water than white flour; a typical hydration for 100% whole wheat might be 75-85%, significantly higher than a white loaf.
To achieve a lighter crumb with whole wheat, ensure adequate hydration – the dough should feel quite wet and sticky. Use techniques that promote gluten development despite the bran, such as a longer autolyse (mixing flour and water for 30-60 minutes before adding other ingredients) or incorporating stretch-and-folds during bulk fermentation. Sifting out some of the coarser bran and adding it back after gluten development can also help.
Adding a small amount of vital wheat gluten (1-2% of flour weight) can boost protein content and improve structure. Patience with proofing is also key, as whole wheat dough can proof slower.
Gluten-Free: Improving Structure and Binding
Gluten-free baking presents a unique challenge as it lacks the protein network that gives traditional bread its structure. Gluten-free bread often relies on a blend of different flours (rice, sorghum, tapioca, etc.) and binders like xanthan gum, psyllium husk, or eggs to mimic gluten's properties. If your gluten-free bread is dense, dry, or crumbly, it's usually due to an imbalance in the flour blend, insufficient binder, or improper hydration.
Hydration is critical in gluten-free baking; the dough often looks and feels more like a thick batter than traditional dough. Ensure your recipe uses an appropriate binder (like 1-2 teaspoons of xanthan gum per cup of gluten-free flour blend, or psyllium husk at about 2% of flour weight) and the correct amount of liquid. Gluten-free doughs typically don't require kneading; simply mixing until combined is sufficient.
Over-mixing can sometimes create a gummy texture. Proper proofing (often just until significantly puffy, not necessarily doubled) and baking until the internal temperature reaches 205-210°F (96-99°C) are also vital for setting the structure and preventing a crumbly result.
Best Practices for Consistent Results
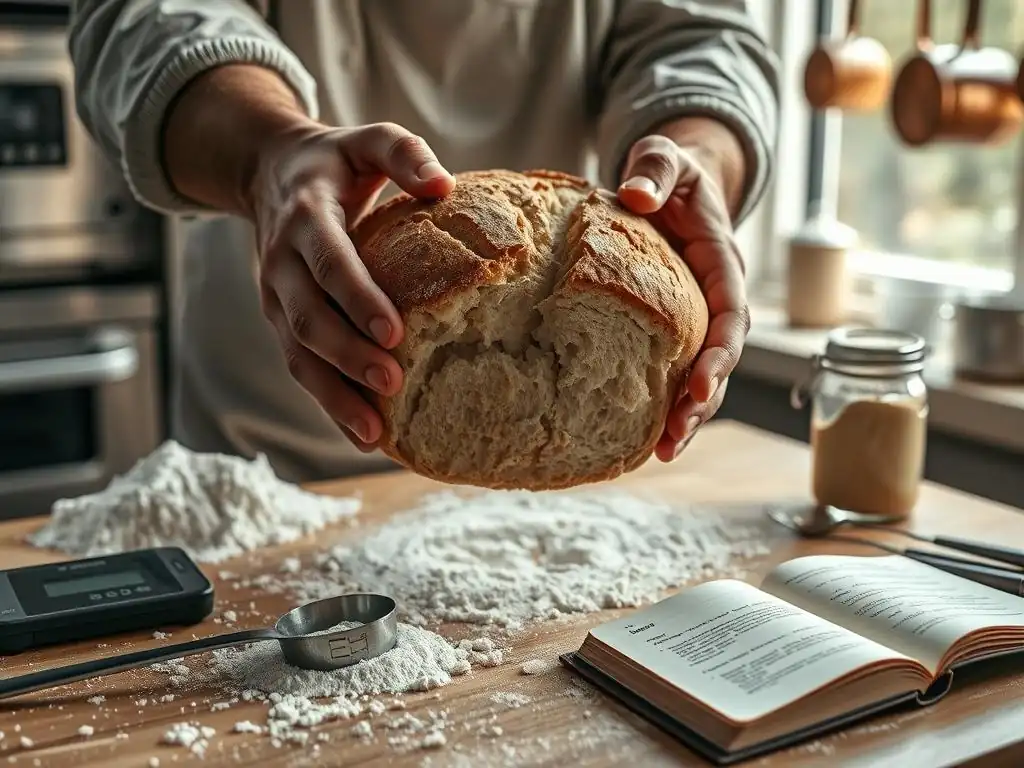
Beyond specific troubleshooting, adopting consistent best practices in your baking routine will help you avoid many common problems, including crumbly bread.
Accurate Measurement: Precision for Predictable Outcomes
Baking is a science, and precision in measurement is paramount for consistent results. Using volume measures (cups, spoons) can lead to significant variations, especially with flour, which can be packed differently each time. For example, a cup of all-purpose flour can weigh anywhere from 120g lightly spooned to 150g packed. This variation directly impacts the hydration percentage of your dough.
Using a digital kitchen scale to weigh ingredients, particularly flour and water, is the most accurate method. Weighing ensures you are using the exact proportions specified in the recipe every time, eliminating a major variable that can lead to inconsistent dough consistency, poor gluten development, and ultimately, crumbly bread. Investing in a scale is one of the most impactful crumbly bread troubleshooting tips for bakers seeking reliability.
Gentle Handling: Avoiding Overworking and Deflating
Once your dough has proofed, handle it gently. The airy structure you've worked hard to build through fermentation is fragile. Aggressively punching down, shaping roughly, or transferring carelessly can deflate the dough, expelling the precious gases trapped by the gluten network. This loss of gas leads to a denser final loaf with a tighter crumb, which can feel less tender and potentially crumbly.
When shaping, aim to create tension on the surface while disturbing the interior as little as possible. For example, when shaping a boule, gently fold the edges towards the center and then cup your hands around the dough, rotating it to create a smooth, taut surface underneath. Transfer the shaped dough carefully to its proofing basket or baking surface. Minimizing handling ensures that the maximum amount of gas is retained, contributing to a lighter, more open crumb structure.
Cooling Techniques: Preventing Soggy or Hard Crusts
Allowing bread to cool properly after baking is just as important as the baking itself. As bread cools, residual heat continues to cook the interior slightly, and moisture redistributes throughout the loaf. Cutting into a hot loaf traps steam, leading to a gummy, dense interior. Conversely, cooling improperly can lead to a hard or soggy crust, though less directly related to crumbly bread, it impacts overall texture.
Always cool bread on a wire rack, allowing air circulation on all sides. This prevents steam from collecting on the bottom crust, which can make it soggy. For most loaves, allow them to cool completely to room temperature before slicing – this can take 1-2 hours for a standard loaf, or longer for very large loaves. While waiting is hard, letting the crumb set properly during cooling ensures the best possible texture and prevents gumminess that might be mistaken for or contribute to a crumbly feel.
Troubleshooting Checklist
When faced with a crumbly loaf, reviewing your entire process step-by-step can help pinpoint the issue. Use this checklist to systematically analyze your recent bake.
Process Review: Identifying Potential Issues in Your Recipe and Technique
Reviewing your baking process with specific questions in mind is a highly effective crumbly bread troubleshooting tip. Did you use the correct flour type and measure accurately, preferably by weight? Was the hydration level appropriate for the flour used – did the dough feel too dry or stiff during mixing and kneading? Consider the kneading: did you knead long enough for the dough to become smooth and elastic, passing the windowpane test?
Next, evaluate the proofing phase. Did the dough increase significantly in volume (e.g., doubling) and pass the poke test, indicating proper fermentation without over-proofing or under-proofing? Think about the baking itself: was the oven accurately preheated to the correct temperature, and did the bread bake until it reached the proper internal temperature (200-210°F or 93-99°C)? Finally, consider post-baking: was the bread cooled completely on a wire rack before slicing? Systematically checking these points can help you identify where your process might be contributing to a crumbly bread outcome.
- [ ] Did I weigh my flour and water accurately?
- [ ] Was the hydration level appropriate for the flour type used?
- [ ] Did I knead the dough sufficiently to develop gluten (passed windowpane test)?
- [ ] Did the dough proof properly (volume increase, poke test)?
- [ ] Was the oven temperature accurate?
- [ ] Did the bread bake until the internal temperature reached 200-210°F (93-99°C)?
- [ ] Did the bread cool completely on a wire rack before slicing?
Frequently Asked Questions
How does over-proofing affect bread crumb?
Over-proofing leads to a weak gluten structure, causing a crumbly texture. The air pockets become too large and collapse during baking.
What role does hydration play in crumb structure?
Insufficient hydration can result in dry, crumbly bread. The dough needs enough water to develop proper gluten and create a cohesive crumb.
Can incorrect flour measurement contribute to crumbly bread?
Absolutely! Too much flour relative to liquid can lead to a dry dough and a crumbly final product. Accurate measurements are crucial for baking success.
How does cooling bread too quickly impact its texture?
Rapid cooling can cause moisture loss, leading to a dry, crumbly texture. Allowing bread to cool slowly on a wire rack helps retain moisture.
What's the impact of insufficient kneading on bread crumb?
Insufficient kneading prevents the gluten from fully developing, resulting in a weak dough and a crumbly bread. Aim for a smooth and elastic dough through proper kneading.
Final Reflection: The Unexpected Joys of a Crumbly Loaf
The quest for the perfect loaf is a journey, not a destination, and understanding why our bread sometimes crumbles offers valuable insights into the baking process itself. A seemingly simple problem—crumbly bread—reveals a deeper understanding of hydration, gluten development, and the delicate balance required to create a satisfying texture. This isn't just about fixing a flawed loaf; it's about mastering the art of bread making.
The frustration of a crumbly loaf is a universal experience for bakers, a testament to the subtle nuances of this ancient craft. It's a reminder that even with precise measurements and careful technique, unexpected challenges can arise. Yet, these challenges often lead to greater appreciation for the process and a deeper understanding of the ingredients involved. The best bread is made with love, patience, and a willingness to learn from mistakes.
This unspoken truth resonates deeply with every baker who has faced a less-than-perfect result.
So, the next time your bread crumbles, don't despair! Consider it an opportunity for growth. Review the troubleshooting tips outlined in this article, experiment with different techniques, and don't be afraid to adjust your recipe based on your flour, environment, and even your mood. Remember the journey, savor the learning, and celebrate the deliciousness of even the most imperfect loaf. You, my friend, are well on your way to becoming a true bread-baking artisan.
Unlock Your Perfectly Crusty Loaf!
Thanks for taking the time to explore the world of bread baking with us! We hope you now feel more confident in tackling those crumbly loaves. Ready to put your new knowledge into practice?
- Try our recommended flour blend today: Experiment with the suggested ratios to see the difference a simple adjustment can make. This is your chance to perfect your technique!
- Share your baking journey: Post a photo of your next loaf on social media using #BakeWithEaseCrumbCrusher and tag us – we’d love to see your success!
- Dive deeper into our bread-making resources: Explore our other articles for more tips and tricks to elevate your baking game!
Ready to bake the crispiest, most satisfying loaf you’ve ever made? What’s your biggest bread-baking challenge, and how will you tackle it next?